Found Art – Another Floral Collage

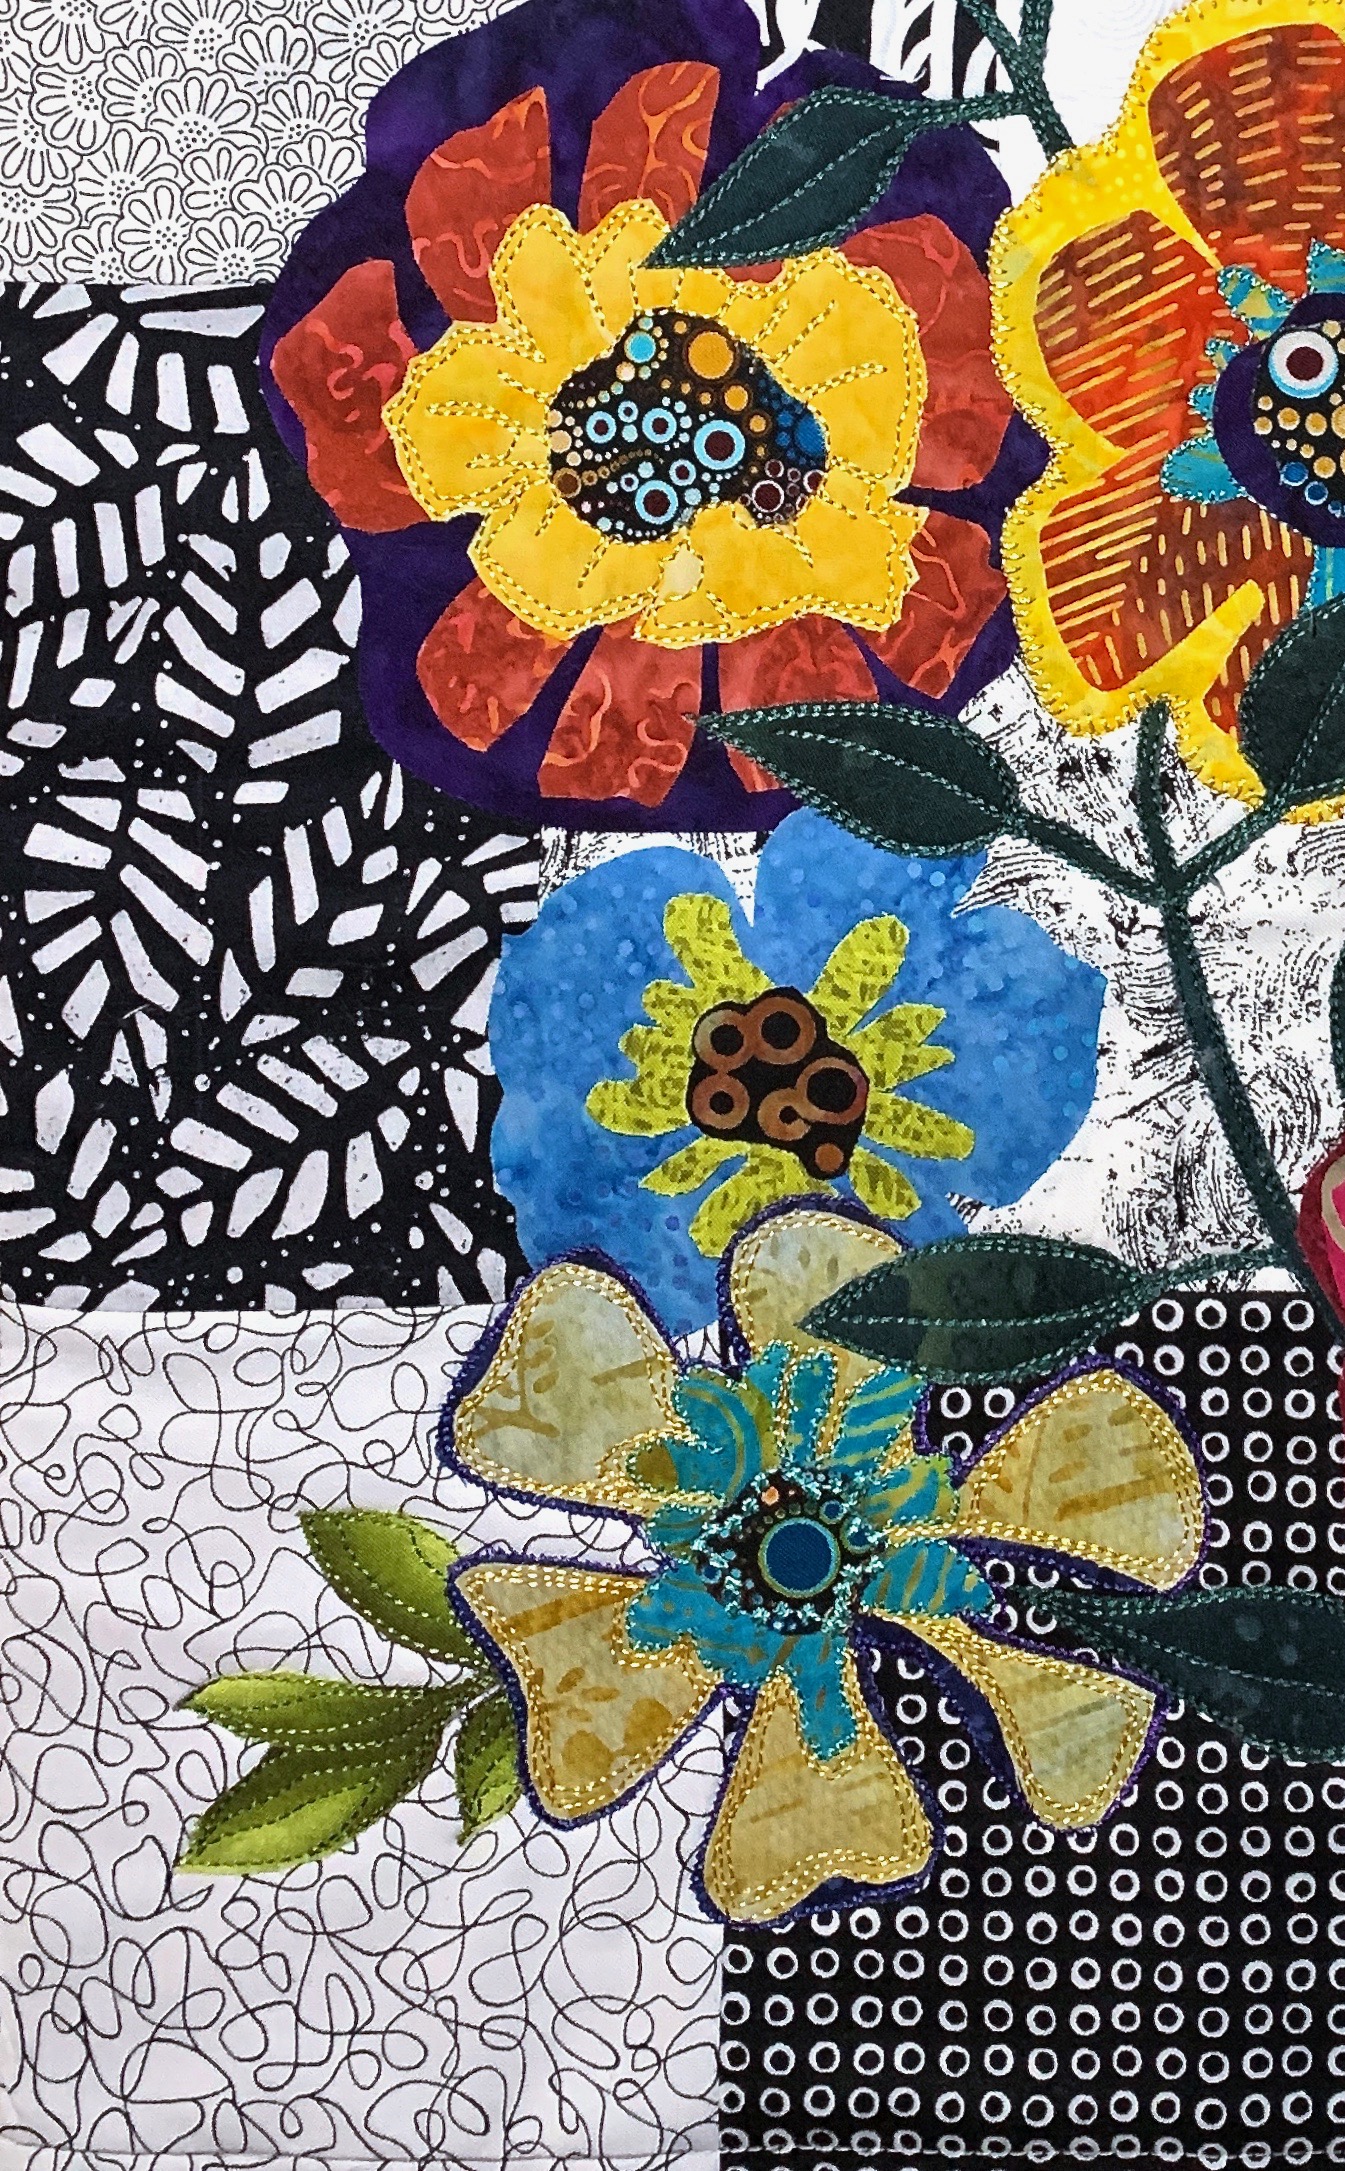
While I was working on “Flowers” I came across a fabric scrap from some zippered bags I’d made and thought the blossoms were interesting, sharply enough printed to allow some detailed thread painting, so I cut out what I could and here’s what I’ve come up with.
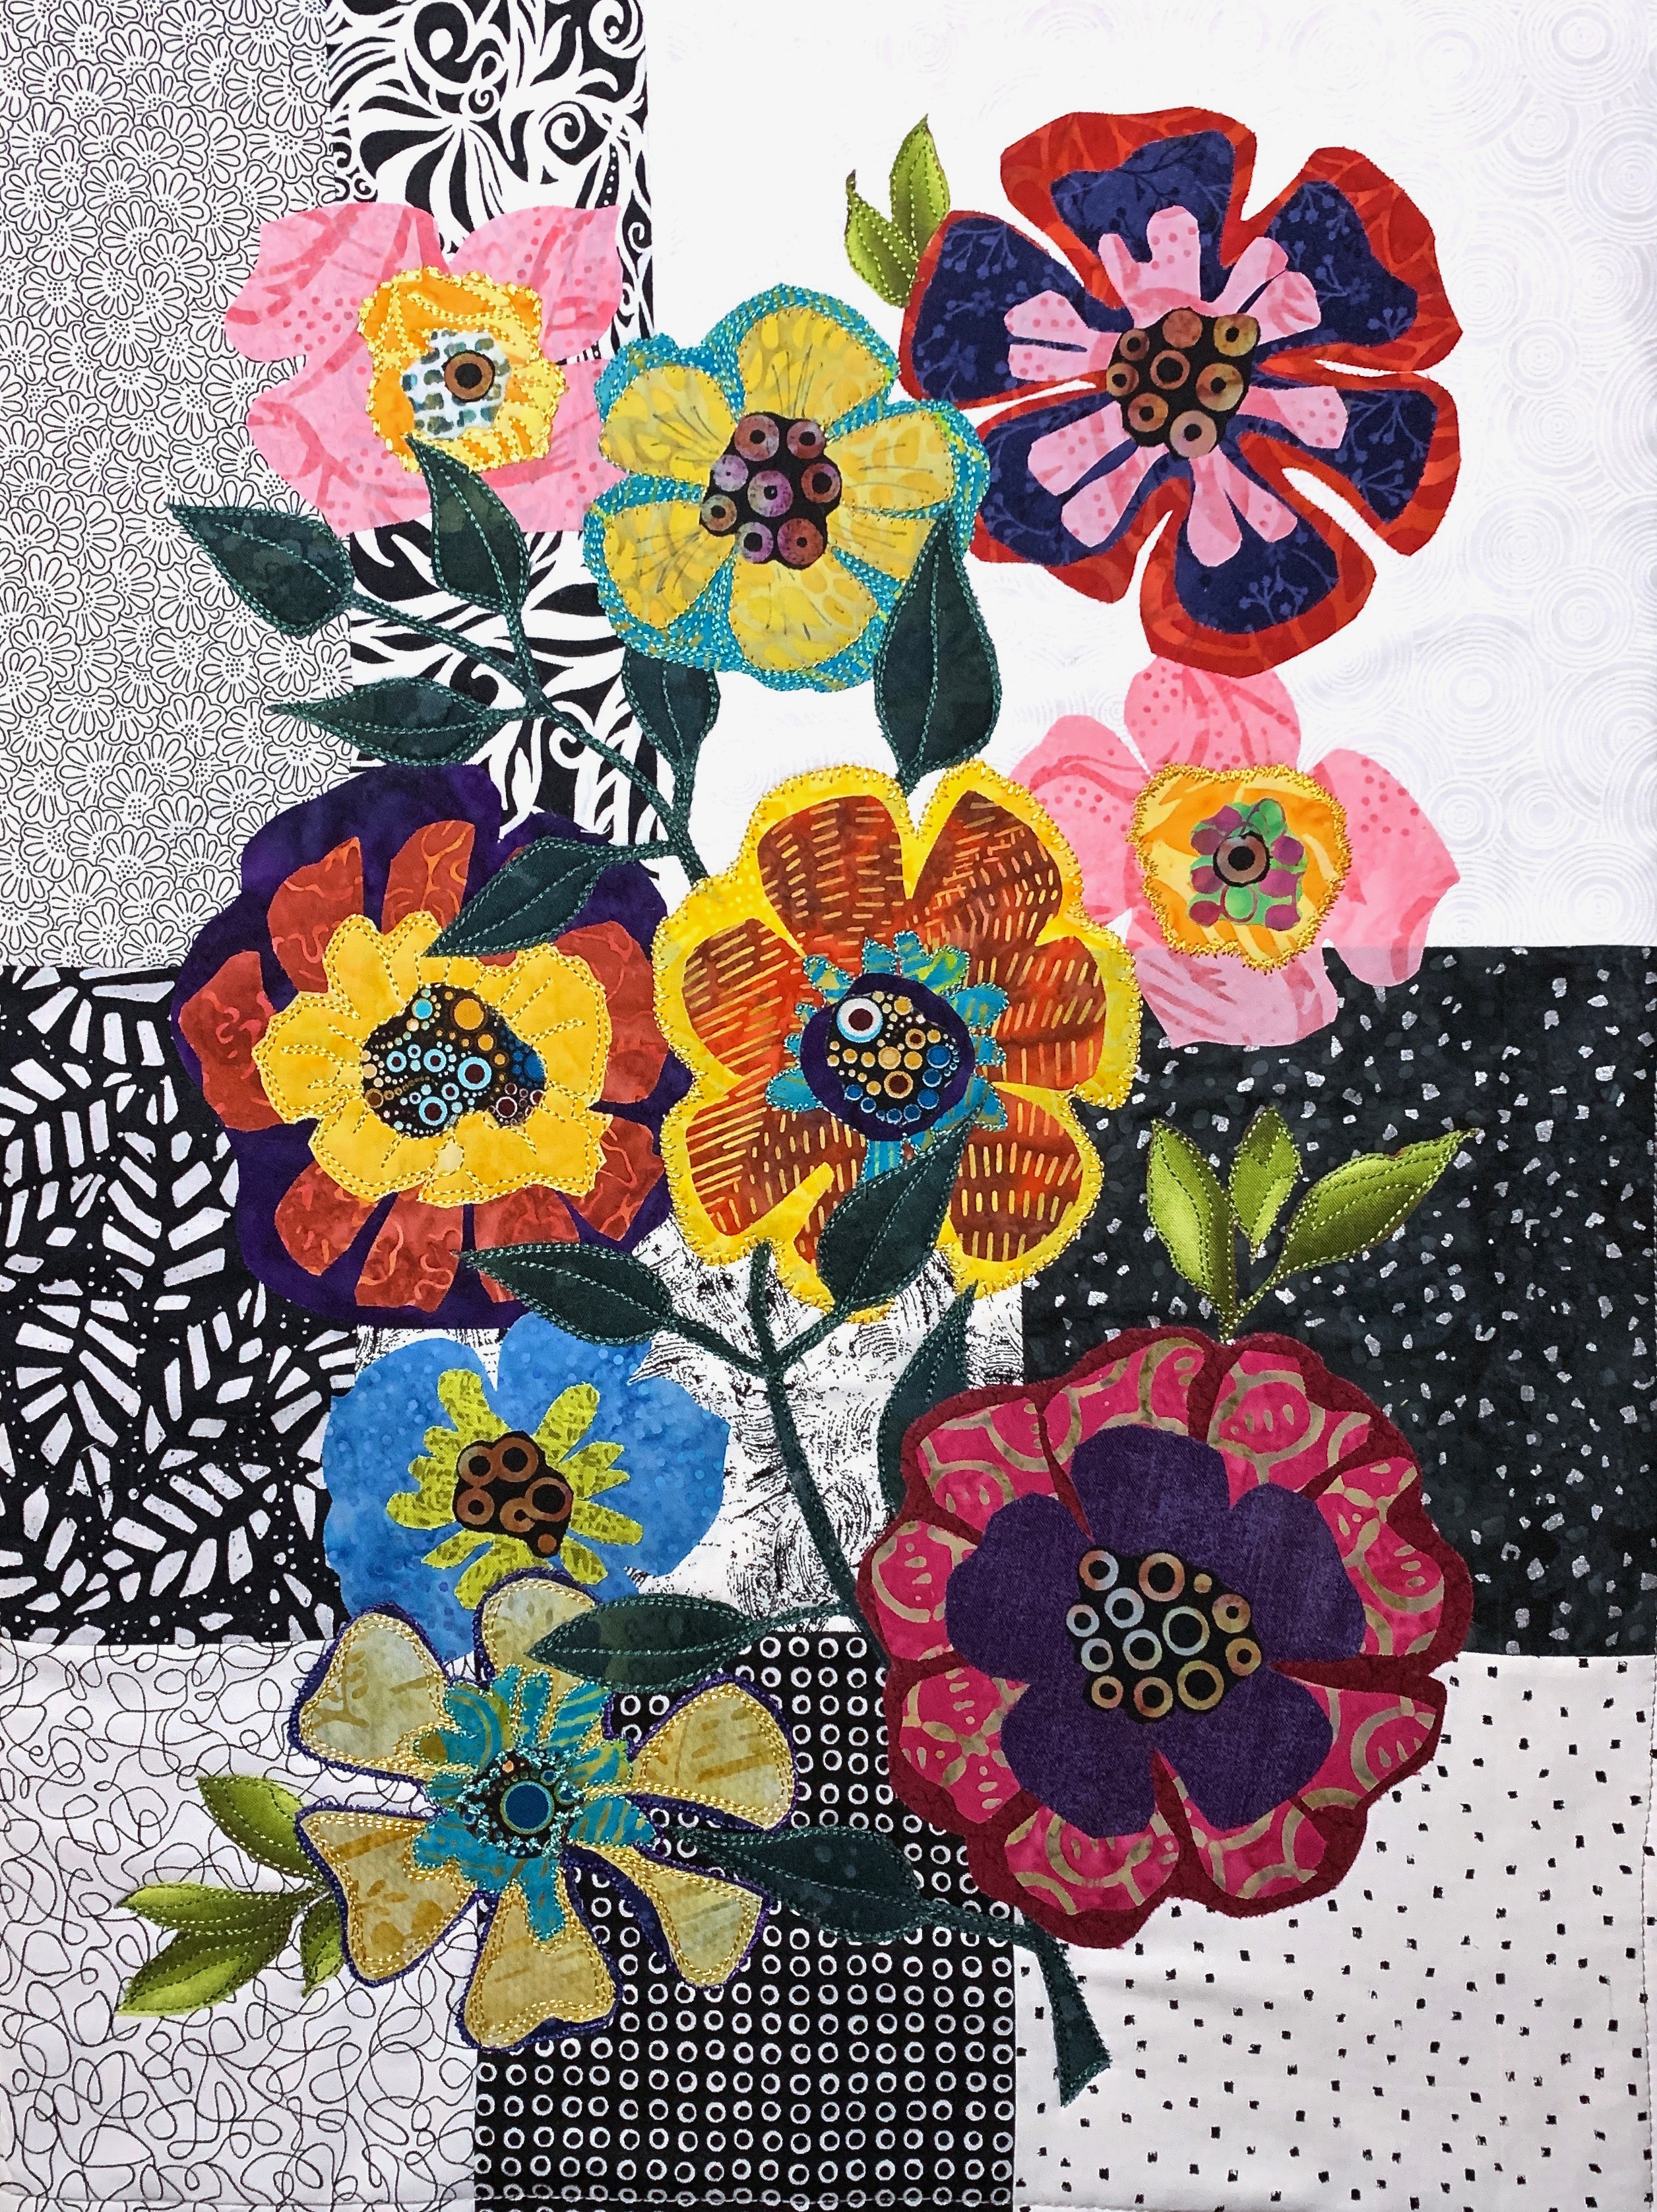
Found Art

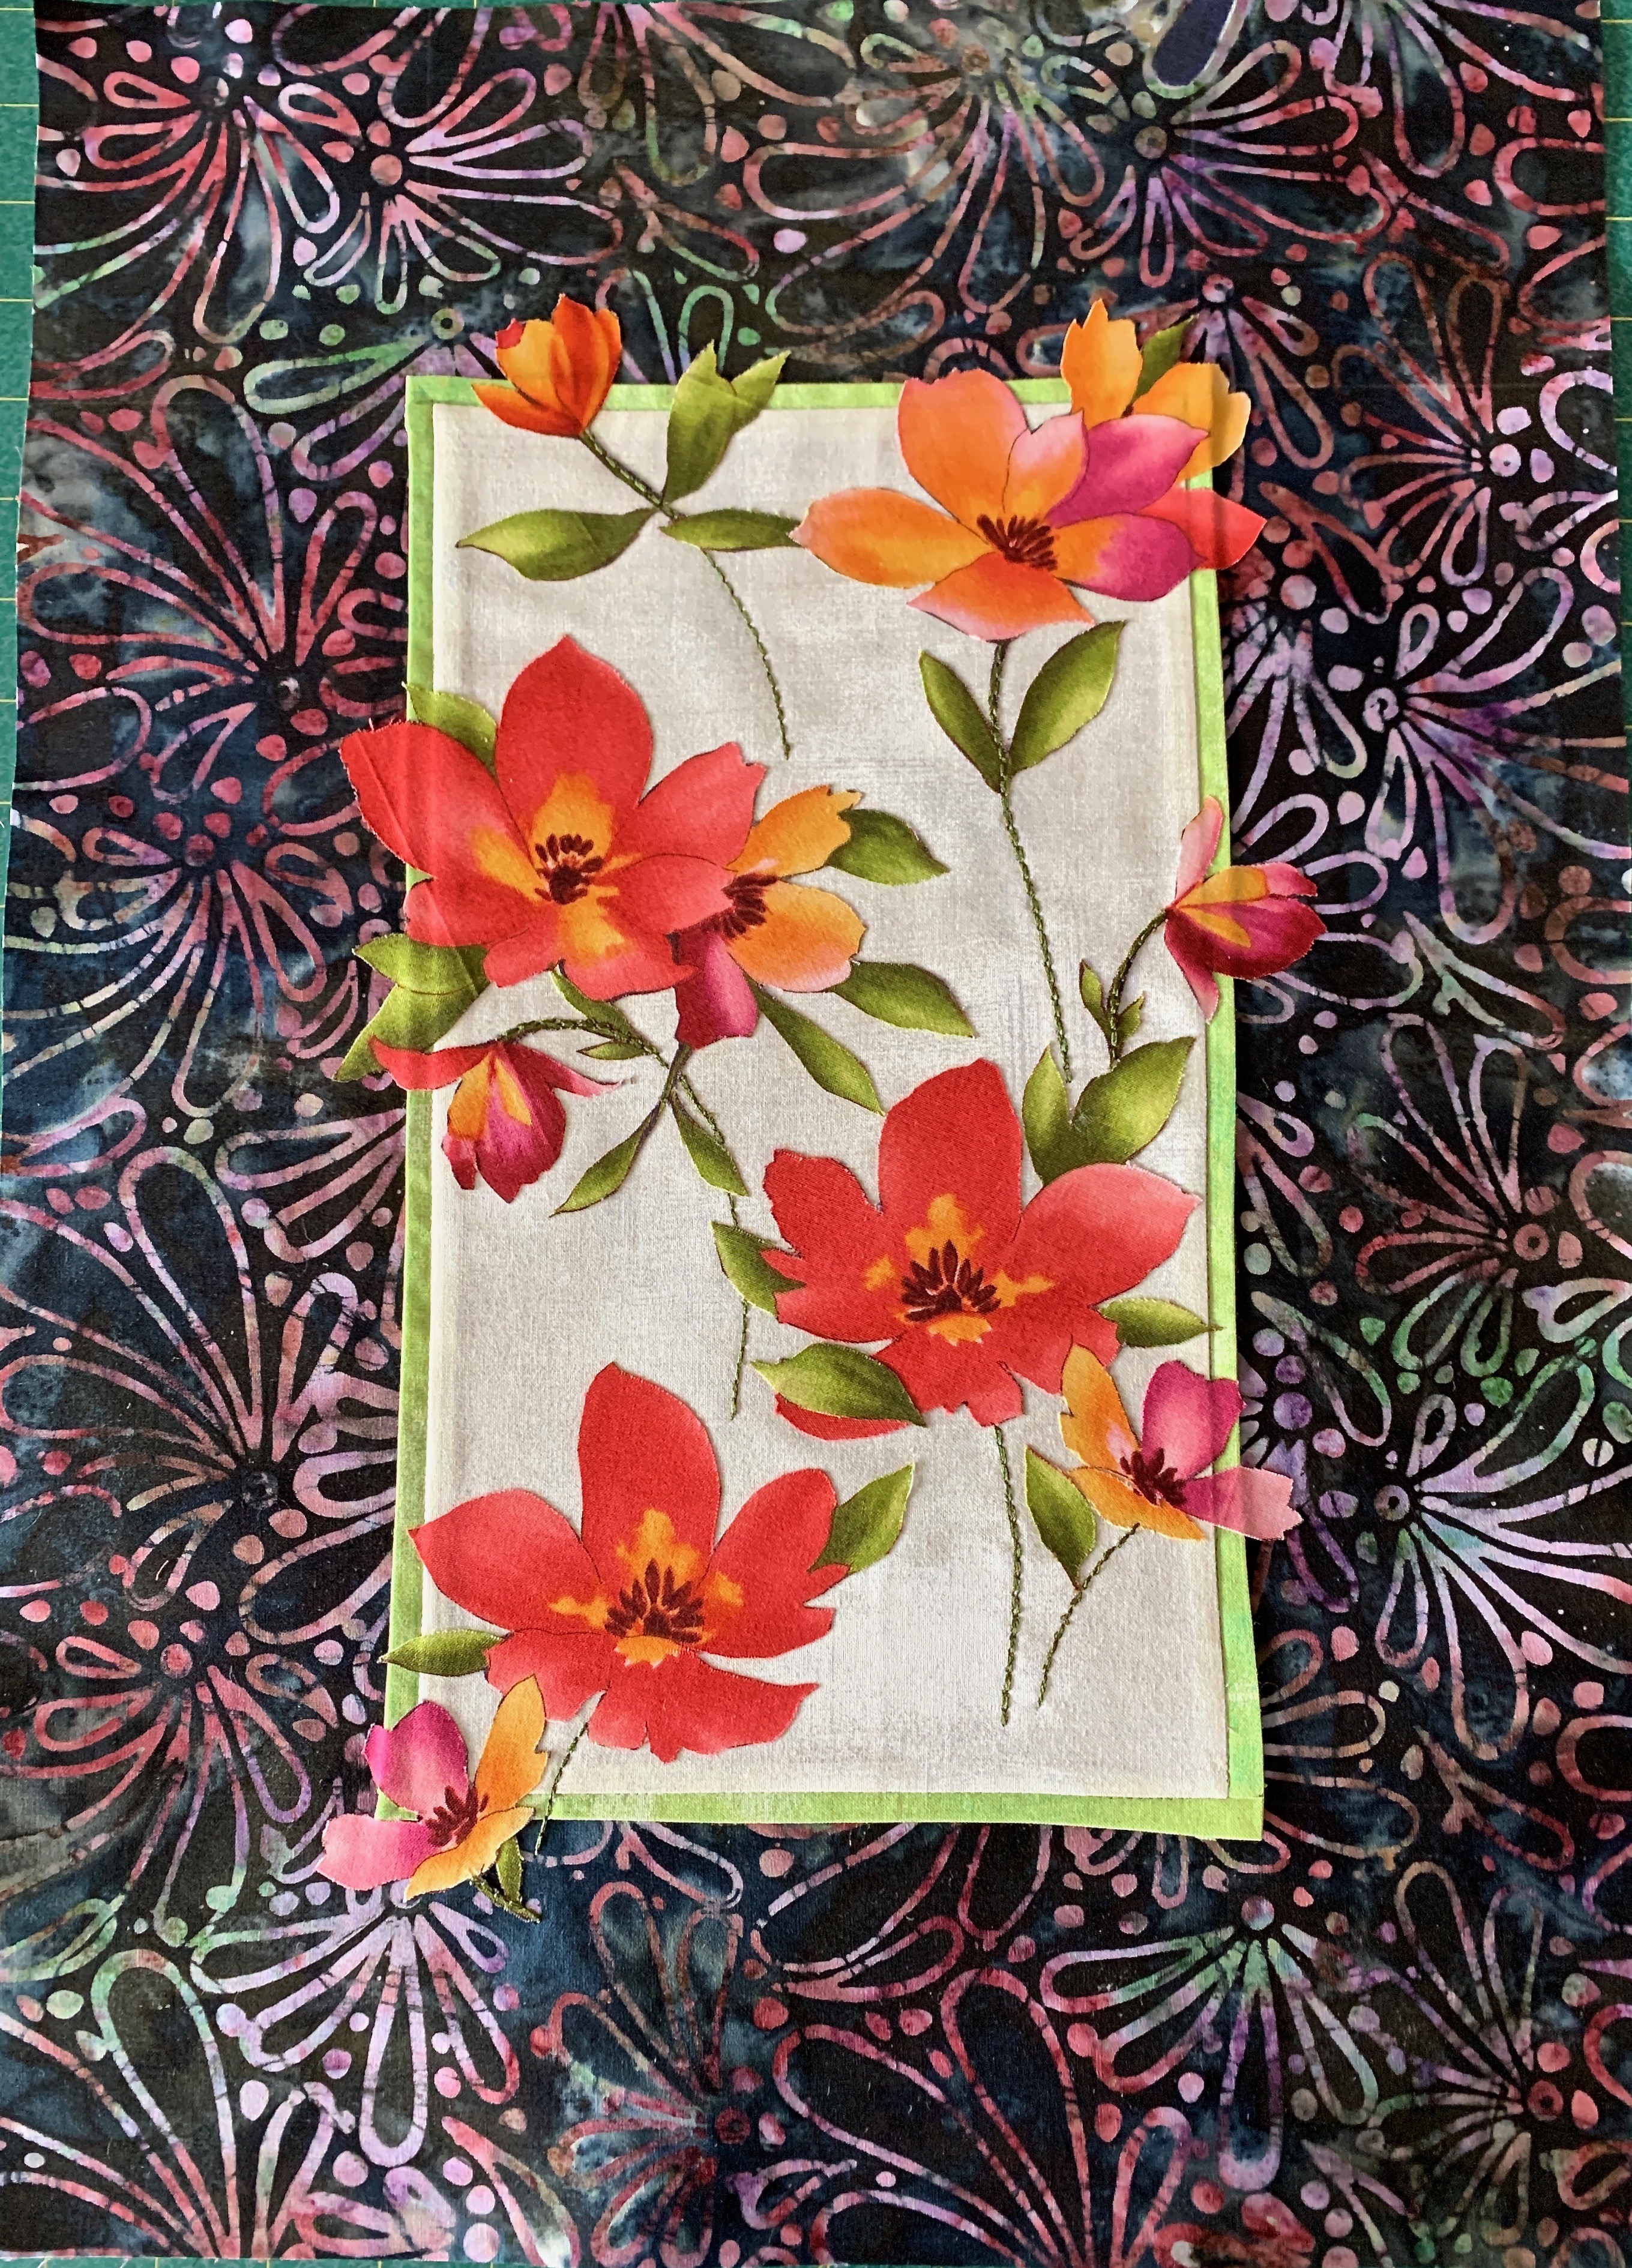
The previous collage was contained within the framed area. I decided to try a piece that extended the flowers beyond the inner border.

For some reason, the large floral batik seems to complement the colours and after auditioning several pieces for the inner border I finally selected the lime which ties the piece and the wide outer border together. I’ll bind this work with a hidden binding.

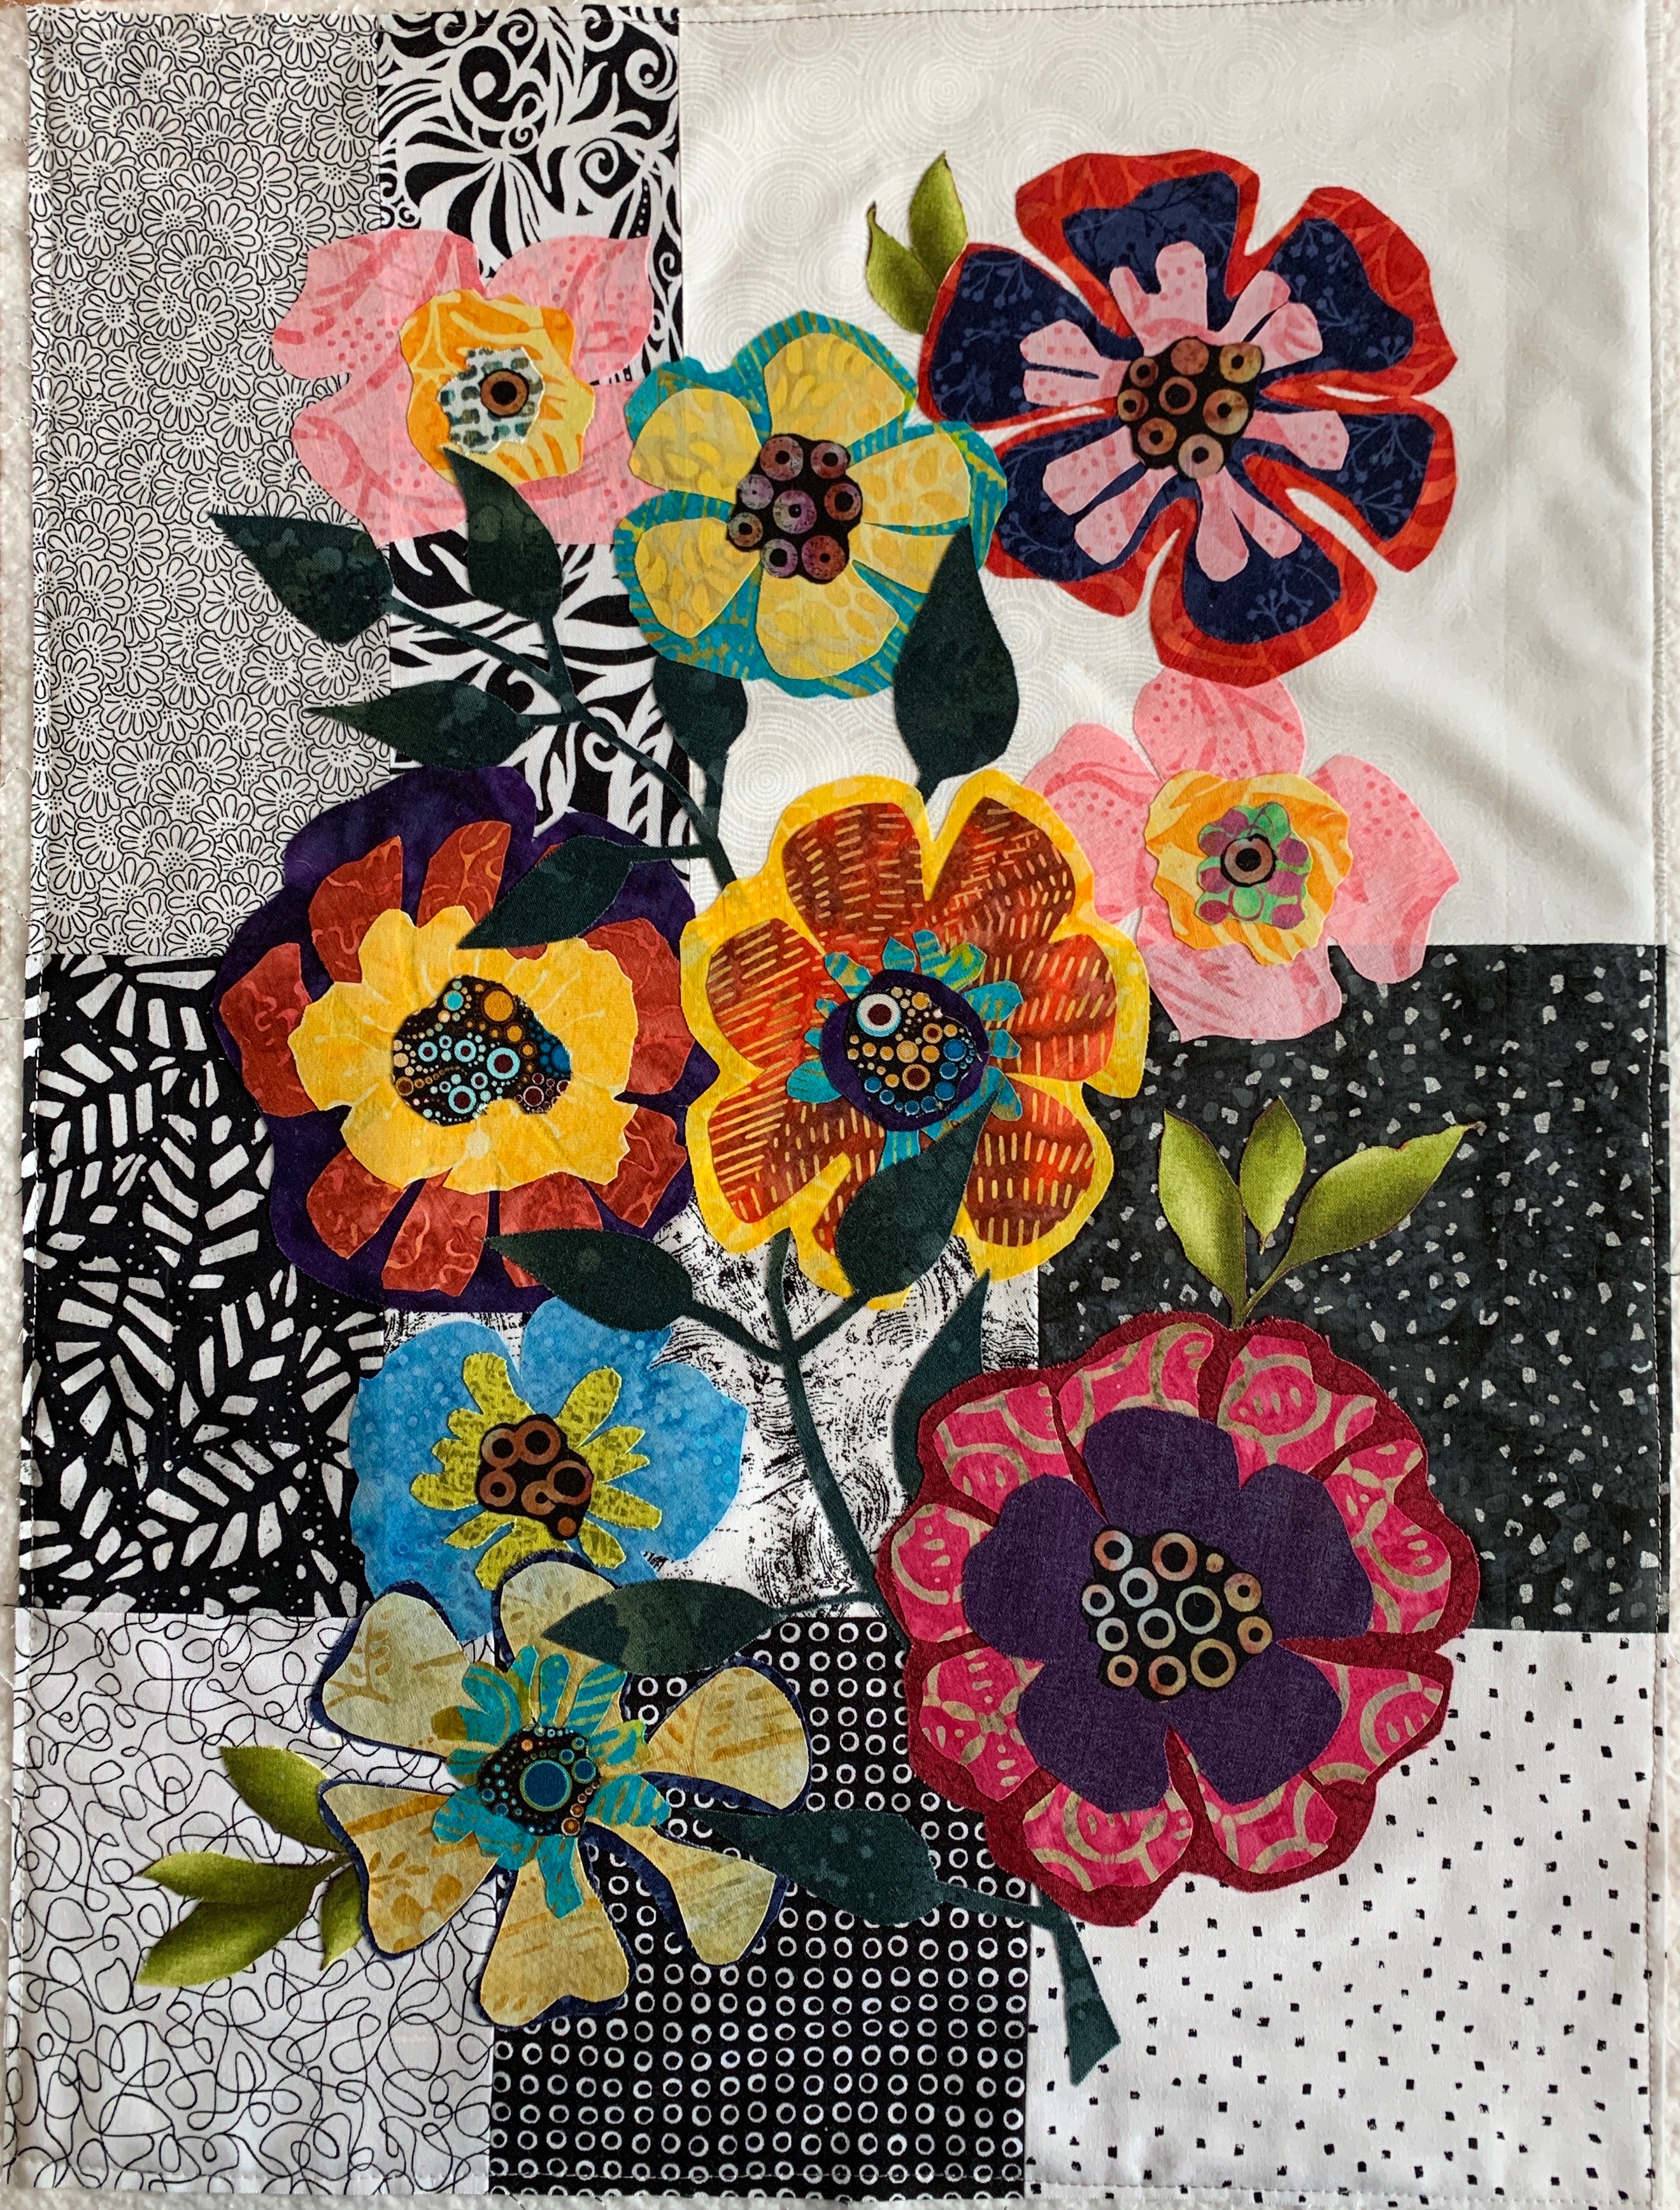
So far I’ve stitched in stems to give the collage a bit of flow. Next I’ll do something with the leaves, then finally the flowers. Not sure where a signature will go – I’d intended it to be in the bottom right but I’ve brought the stems too far down leaving me w little short. There are a couple of options – I Have to keep thinking about it.

Flowers III

It’s done – completed this afternoon. Binding the piece was more difficult than I expected. First I bound it as I would a quilt – but do you think I could get the corners to look alike? There’s often a bit of variation when I do a quilt, but because the project is rather large nobody notices the corners aren’t “perfect”. But on a small piece like this – a rounded corner, or a too pointy one is like a poke in the eye!

Flowers – Finished

So I removed my first binding (fortunately I didn’t have to trim the edges of the piece to any extent), then did a second one by binding the sides, then the top and bottom edges, turning in the ends to form the mitres. Definitely much better, if not completely “perfect”!

The challenging bit on this piece was creating embroideries of small circles which would fill the flower centres mimicking the fabrics I’d used which had small circles. I’m reasonably happy with how that stitching work turned out.

I do want to attempt a second piece like this – but I’ve got two others ready to work on before I get there.

Finished size: 16″ x 21 1/4″

Socks From Leftovers #5

I thought this combination turned out particularly well. It was interesting to work on and I had more than enough yarn for the pair of socks.

Leftovers #6

What I particularly liked was how the navy/brown/rusts worked well together. The pattern changed often and with some narrow contrasting stripes.

This pair I’m keeping. In fact I’m going to wear them today!

And I’ve already selected two more leftover balls for the next pair.

Navy/Rust Socks

Shades of Orange

Next project: Black Rocks

A composite photo – three photos actually. the first is the top photo taken this past August on a grey day visit to Point Pleasant Park walking past the Black Rocks beach – you see the dark rocks which form one side of the beach. I was standing on the board walk which heads out to the end of the container pier – I’m cutting out the boardwalk and the birds standing there. The image also needs brightening.

Black Rocks

The second photo was taken the same day but standing at the beach itself looking across to Dartmouth – when I combine the two I’ll blend the colour of the water and bring the shade/tone of the rocks closer to the colour of the beach gravel.

The third photo – David Lacey –  was taken at Burntcoat on the Fundy shore end of October 2008. Another dull day. The image size and tones will work perfectly in the Blue Rocks setting! I may even include the young gull standing on the beach, positioned a wee bit further right.

Now to find fabrics with which to construct the scene!

Flowers II

I started today by stitching the leaves first, not straight sailing because there are breaks – a few of them come from beneath a flower. With all the leaves done, I moved onto stitching with turquoise – first the blue yellow flower at the top, next the turquoise centres.

Thread Painting Underway

Then on to working the bottom left flower. I’ve done most of the yellow stitching, although I intend embellishing that further tomorrow.

Thread Painting – Detail

I spent quite a bit of time creating embroideries of small circles for the flower centres  – I’ll use my metal hoop so I can do the embroidery work easily. I want to position embroidered circles on top of the fabric circles at the centres. I suspect that isn’t going to be easy to execute. In any case, I won’t get to that until I have all the other thread painting done. Then I have to decide if I want to do any kind of stitching on the background! I may leave it alone…. I’ve discovered I can’t plan any of this out in advance – it’s all about one step at a time. It’s about improvisation.

Flowers

I’ve been looking at pictures of quilts by Freddy Moran – large bold background with appliqué collage in strong bright colours. I decided to try something like that.

I set up a black/white fabric background, then began cutting out flower-like shapes in layers and bright colours. Nine large flowers later I thought I needed to connect them in some way so I included a long flowing branch of leaves. Then added a few lighter green leaves (from a floral print fabric) to just finish off the appliqué.

Flowers

Now to start thread painting – here’s where I can use contrasting colours, particularly on the leaves and stem to make them brighter. No time to even start that today – tomorrow, for sure.

Dessert For Easter Dinner

I got assigned dessert for today’s Easter Sunday Dinner. I thought about it for a bit and decided the Hazelnut Torte recipe from my friend Marlene is an easy but tasty cake. Takes no time to whip up.

(click on the recipe and you’ll get a clear readable, printable single page copy)

Torte in the oven I decided to use the egg yokes (with a couple more eggs) to make a half (more or less) recipe of this delicious lemon curd:

Positively yummy! Tart, yet sweet (next time I’d go light on the sugar – I used 1 cup for a half recipe 3/4 c is more than enough)

Next I made a batch of no-churn vanilla ice cream to put on top of the torte:

Then to top it all off my sister Donna’s “Best Chocolate Sauce” (it really is!)

It’s overkill, I realize but each of these dessert elements is so decadent I couldn’t help but go overboard!

Amazing Quilled Paper Rug by Lisa Nilssen

Have you ever tried doing quilled paper work – I have done a wee bit and it’s not easy. You need good paper and a ton of patience. Which is why I wanted to share this detail of a much larger “rug” done by Lisa Nilssen.

Quilled Paper Rug by Lisa Nilssen

Take a look at the complete rug and the other detail images on this website: https://www.thisiscolossal.com/2016/04/lisa-nilsson-quilled-paper-artwork/

Here’s what the article I came across had to say:

Working with compact rolls of Japanese mulberry paper in a myriad of colors, artist Lisa Nilsson painstakingly creates anatomical figures and textile patterns using a centuries-old technique called quilling. In her latest artworks Jardine and Gospel, Nilsson was inspired by the patterns of an Islamic carpet and an 8th century gospel cover. The carpet piece alone was nearly 8 months in the making as she created ornate figures of flowers, stars, and other patterns to fill a 27″ by 34″ inch frame, much of which was improvised as she worked outward from the center.

The rug is really amazing.

PS – April 27 2019

If paper art interests you, check out the exquisite paper craft imitation flowers of Mary Delany (1772). At the age of 72 she began working with paper and her work is displayed in the British Museum. Worth having a look. Here’s one example of her accurate flower renditions:

“Sunflower” from the British Museum Collection

First Real Sign Of Spring


Harbinger Of Spring

First Coltsfoot of 2019

Saw these coltsfoot peeking through last fall’s leaves two days ago – a definite harbinger if spring arriving in NS. These were in a friend’s yard; no sign of any in their spot under the trees near my building. Next sign – forsythia in bloom – likely not for another 10 days.

Fall Day 2007 II

Finished this morning (well, I still have to hand stitch the invisible binding on the back but other than that, the work is completed). The burgundy batik used in the border/frame brings out the figure – I tried other contrasting fabrics but the burgundy worked best, I think.

Fall Day 2007 – Finished

After I’d stitched the trunks and branches of the trees/bushes, the fused appliqué was easy to apply. Once in place, I decided to edge stitch the small pieces in autumn shades that blended with the leaf colour. I had to think through carefully stitching the shading boundaries on the figure (it’s actually a photo of me, used with David Lacey’s permission) because mistakes would be undoable. So I opted for just the minimum of stitching.

I achieved quite a bit of texture with the fused appliqué and overall the finished thread painted work is more lively than the original photos printed on fabric.

Fall Day 2007 – photo collage

The whole work took much less time than I thought it would in spite of the large amount of thread painting I ended up doing. I started playing with the images on or around the first of April, printed the images on fabric and began the piece in earnest on April 7 – so I finished it in just over a week; not bad.

I’m pleased with the finished art work.