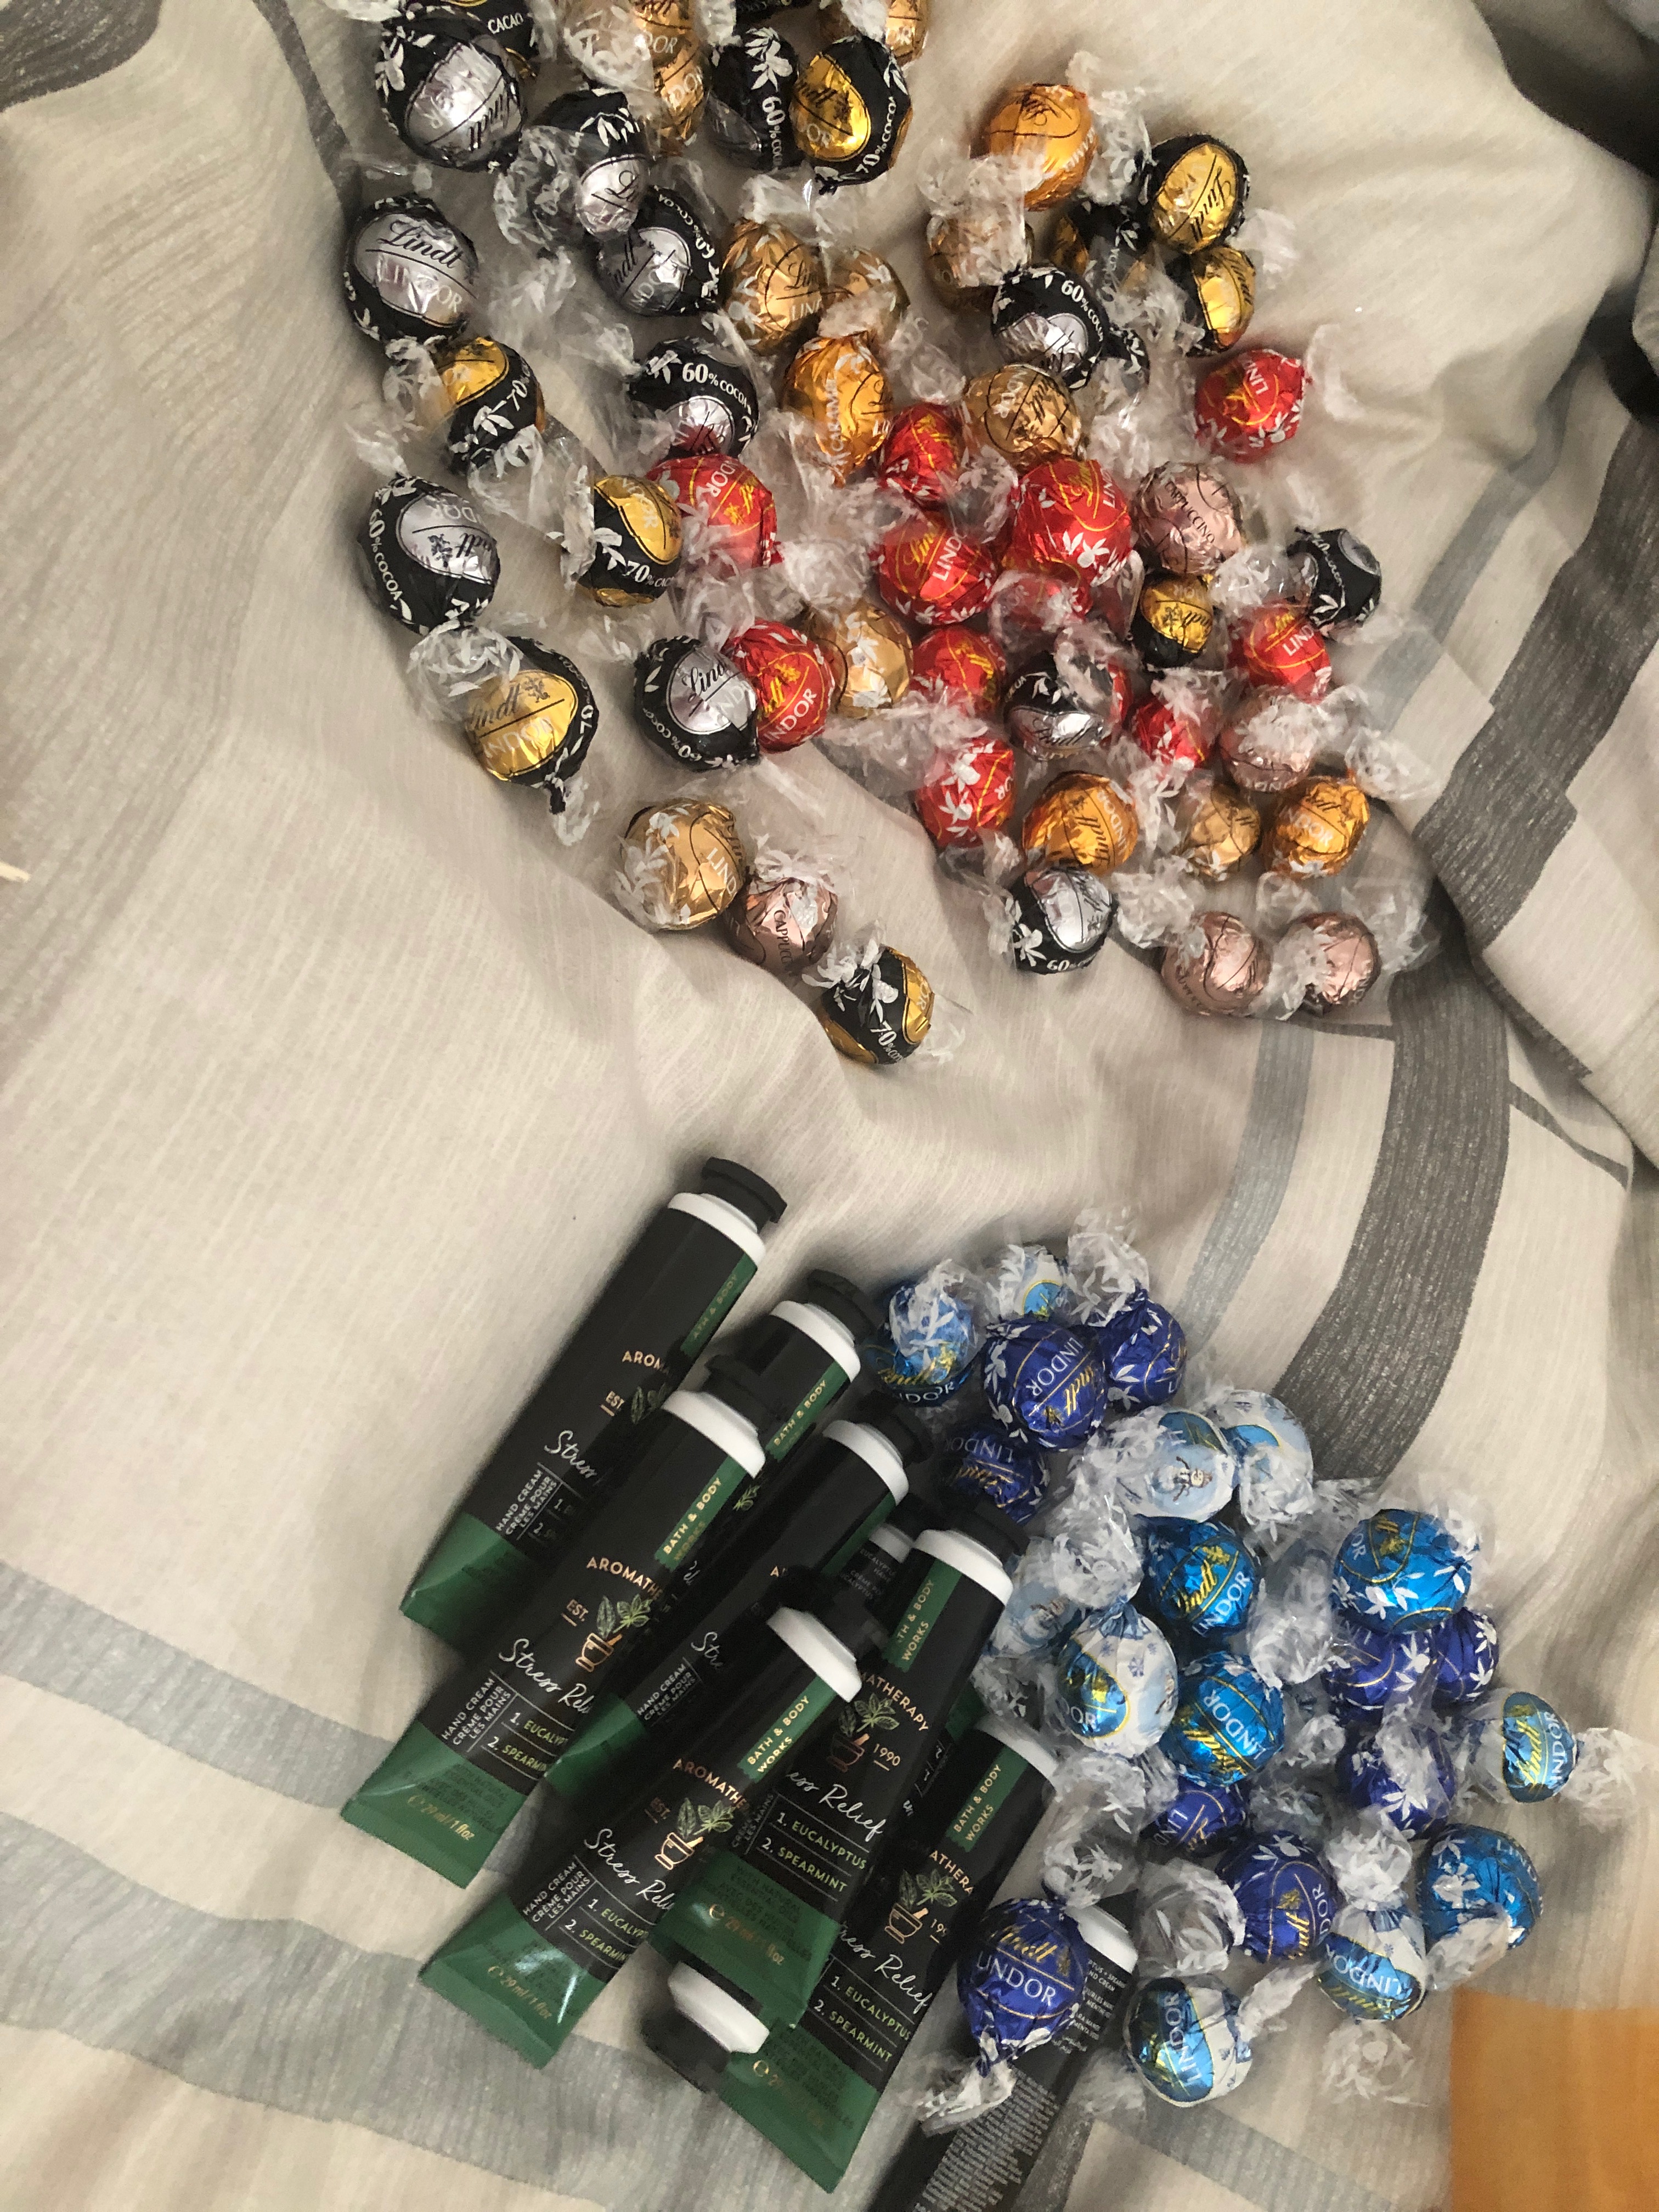
Yesterday I was packing small gifts for people like the gal who cuts my hair, the one who does my nails, my pedicurist. I had made small fruit cakes just after Thanksgiving; during the summer I’d bought a half dozen small tubes of my favourite hand cream (which I actually use as hair cream!); I added a Danish star to each bag but I needed something more.
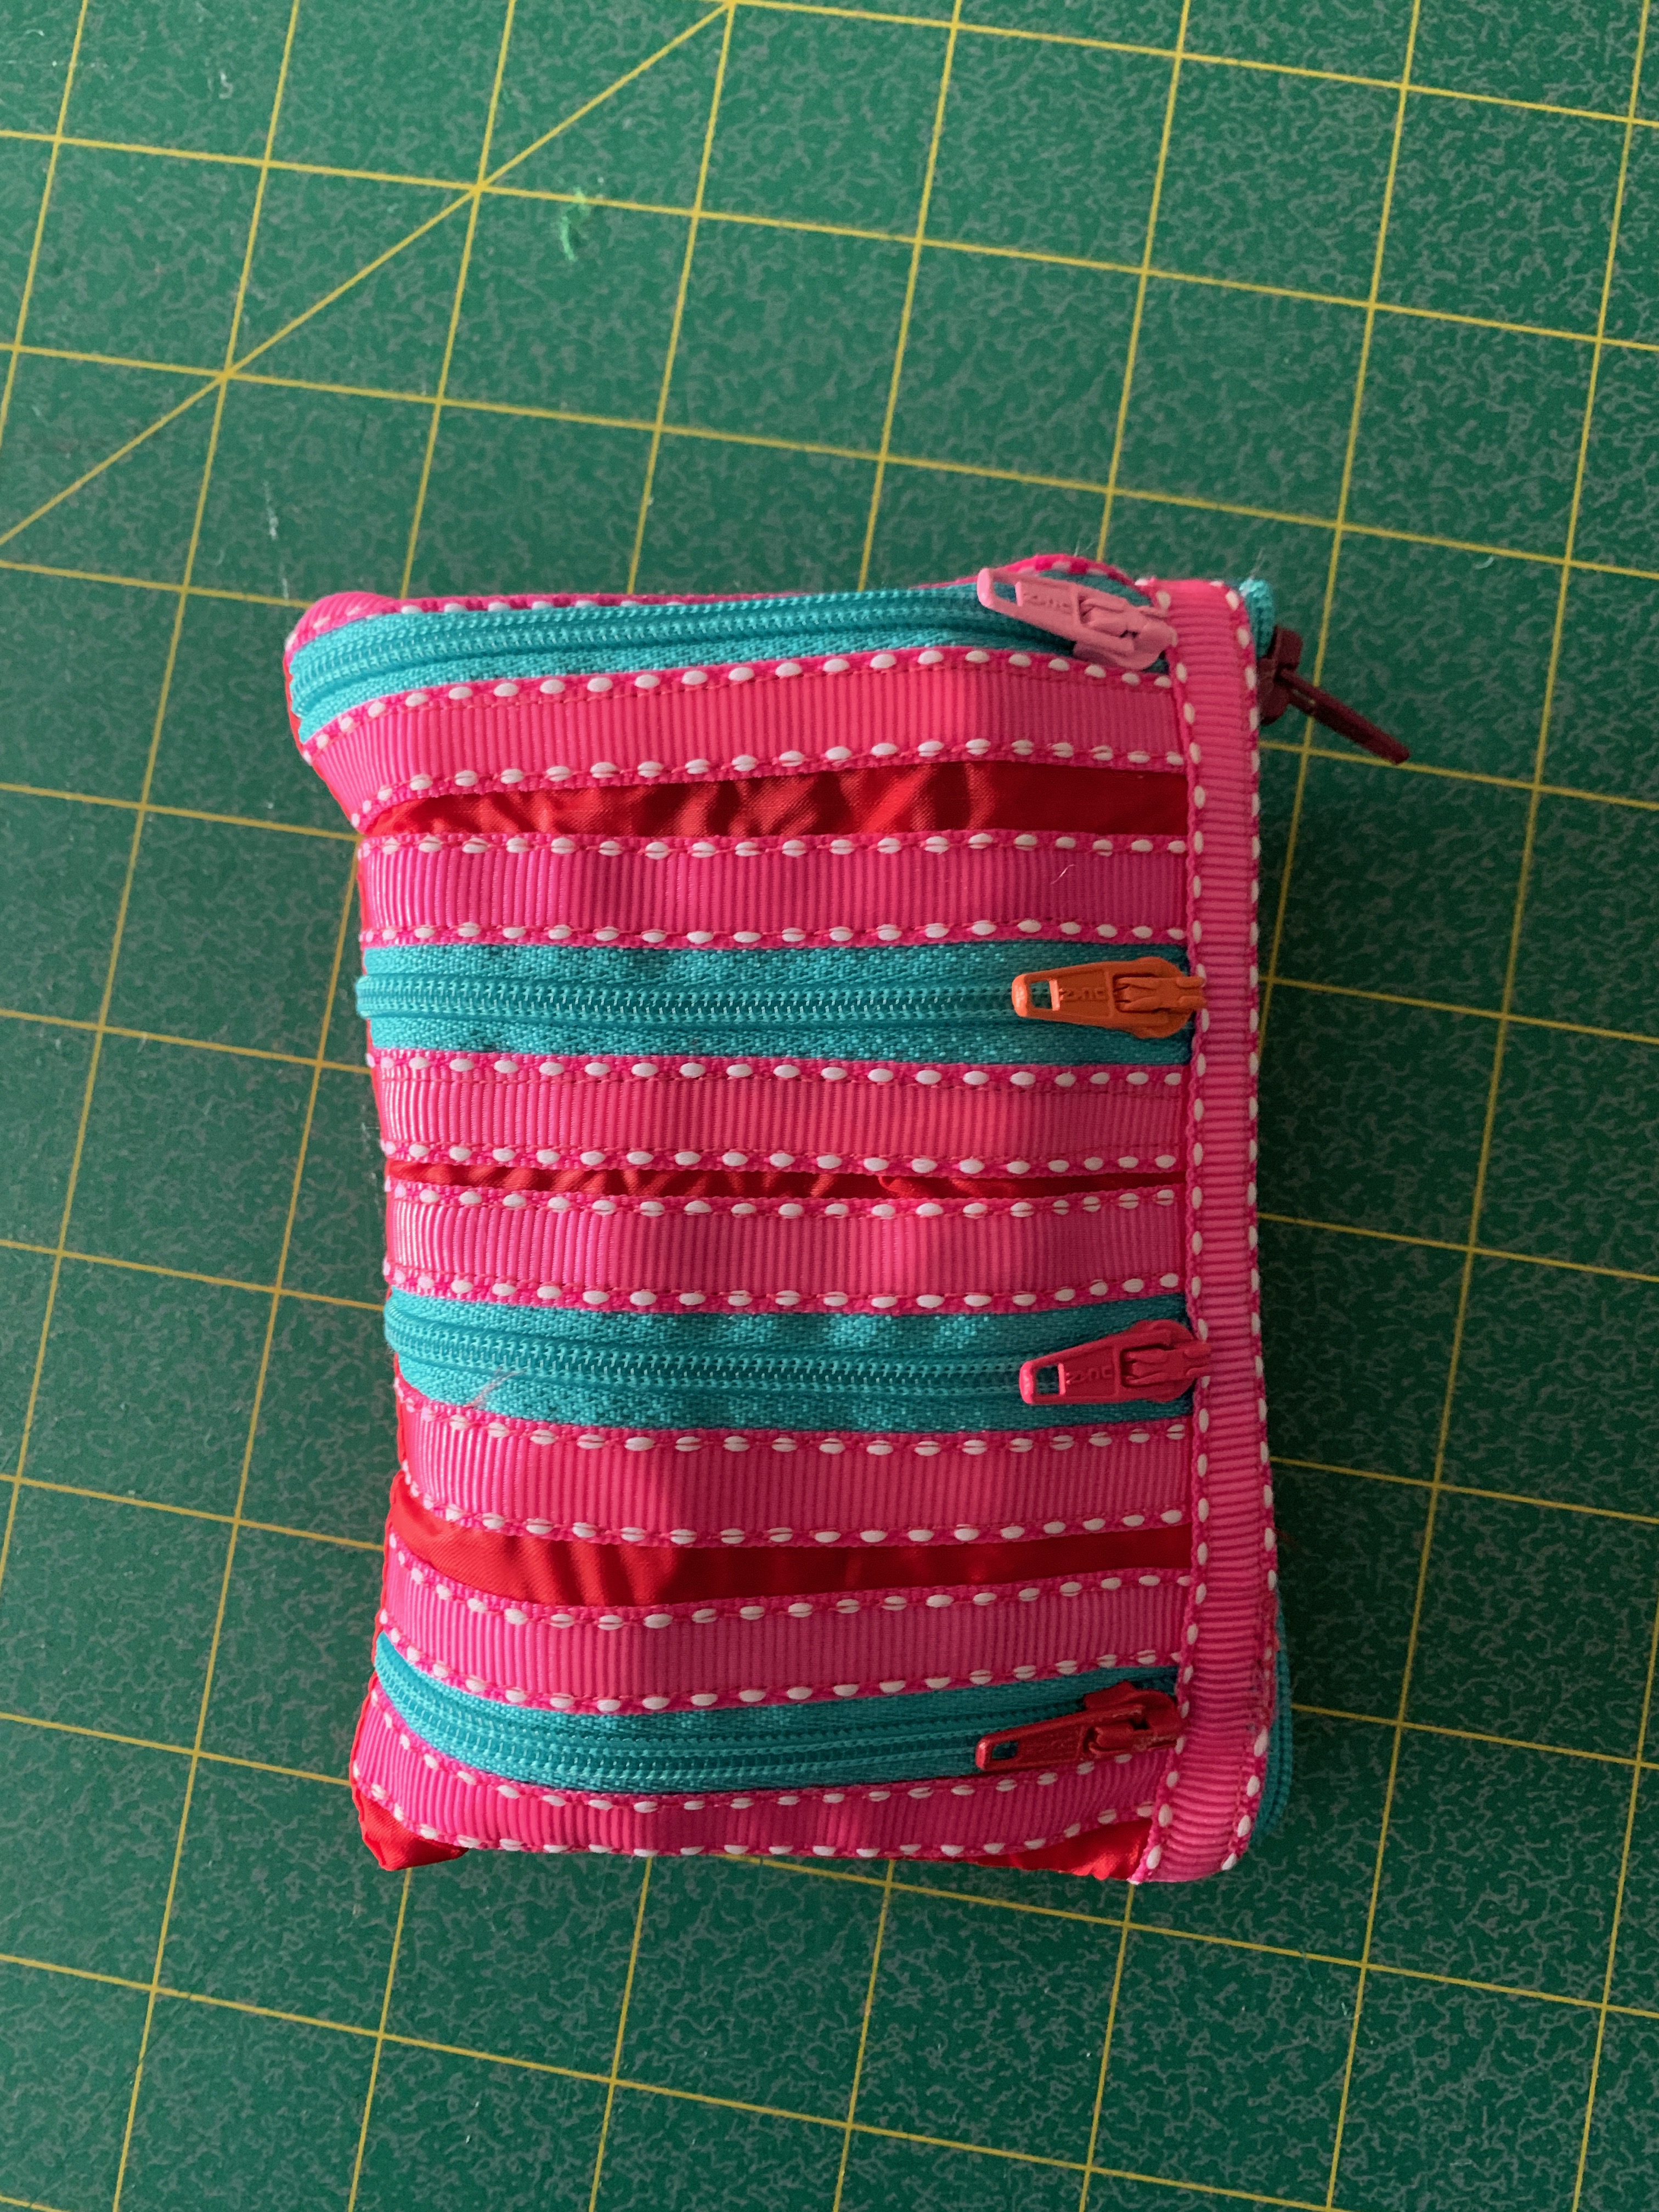
I have no zippered bags left in my stash – I have to make a couple of dozen soon. There was, however, a small prototype of this diagonal zippered bag. I hunted through my sewing files and found instructions (click on instructions to read & print them):
Instructions
I quickly chose some fabric for the outside and lining, cut out three 10 1/2″ squares, cut the squares along the diagonal. I rummaged through my zipper tape stock and cut out 3 lengths of zipper then separated them (each bag uses one half of the zipper tape). I chose contrasting pulls. Then I followed the instructions.
Three Zippered Bags
I added one to each bag.
I still had three bags cut out with zipper tape selected ready to sew. This afternoon I made those bags up along with another half dozen.
Small Stash of Zippered Bags
I now have a small stash of diagonal zippered bags. They’re perfect for that bit of jewelry you’re taking with you on a trip!
You know about writer’s block – well, I’m experiencing “quilter’s block”.
I finished my last quilt about a month ago. I would normally start a new quilt right away – with a surfeit of fabric in my stash it usually isn’t hard to pull out a stack and begin something new.
This time there were a couple of subtle pressures interfering with my moving ahead: my reserve of small zippered bags was just about empty, I still have that Kantha jacket to remake for Marlene (that’s been hanging around for months, not quite making it to the top of my list, despite taking some seams apart, basting them together and trying the adjustment for fit – not quite right yet again), two aprons for a friend, and the microwave potato bags I was originally planning as gifts for the Friday knitting gals! (Oh yes, and an heirloom nightgown as a demonstration piece although that weekend workshop didn’t happen.)
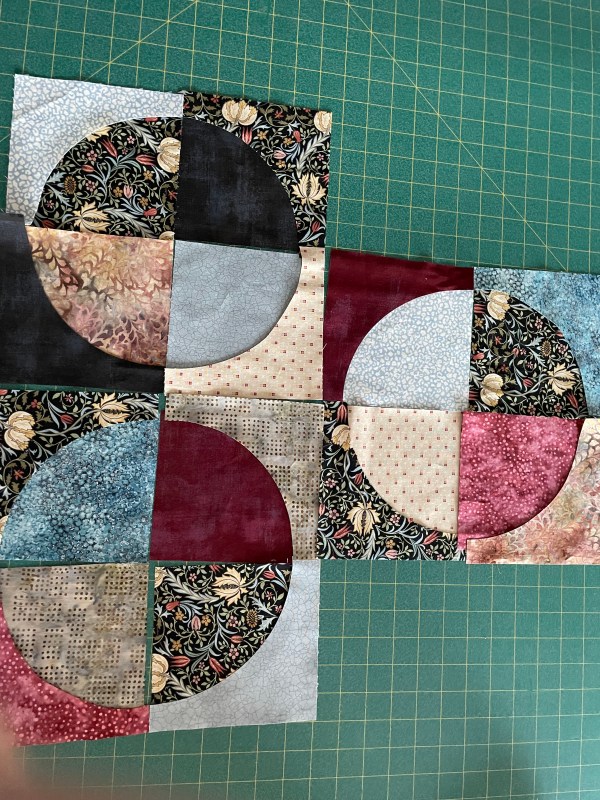
In fact, three weeks ago, I bought a collection of new fabric – only because it was on sale at half price – not because I needed more fabric! I chose the central fabric, a William Morris inspired print, then built a collection around it. I felt inspired to work with a “Drunkard’s Path” block again. I cut 6″ strips from each of the new fabrics plus several more that complemented the others, I cut one set of 6″ blocks (two from each fabric), then cut the paired shapes which make up a Drunkard’s Path block.
I laid out contrasting pairs using some William Morris fabric in each block. I moved the elements around but the fabrics didn’t speak to me at all. I turned the photo into a black and white – there lurked a surprise:
Drunkard’s PathIn Black & White
The majority of my fabrics read as “medium” with the wrong ones reading “dark” and few “light”. The William Morris fabric was actually one of the “medium” fabrics – not a dark. I tried again with fewer colour elements.
Second LayoutIn Black & White
By removing four fabrics the colour values balanced better but I still wasn’t inspired. I realized my problem was with the original focal fabric! While I like the William Morris fabric, it pulled me into a set of rather dull colours. No “pop”. These fabrics would make a nice quilt but not one I was going to enjoy working on.
I walked away from even sewing these Drunkard’s Path blocks – I gathered up the pieces and put them away in one of my scrap boxes.
The “cure” for writer’s block is to write. Write gibberish, free write, keep writing anything whether it comes together or not. Just write.
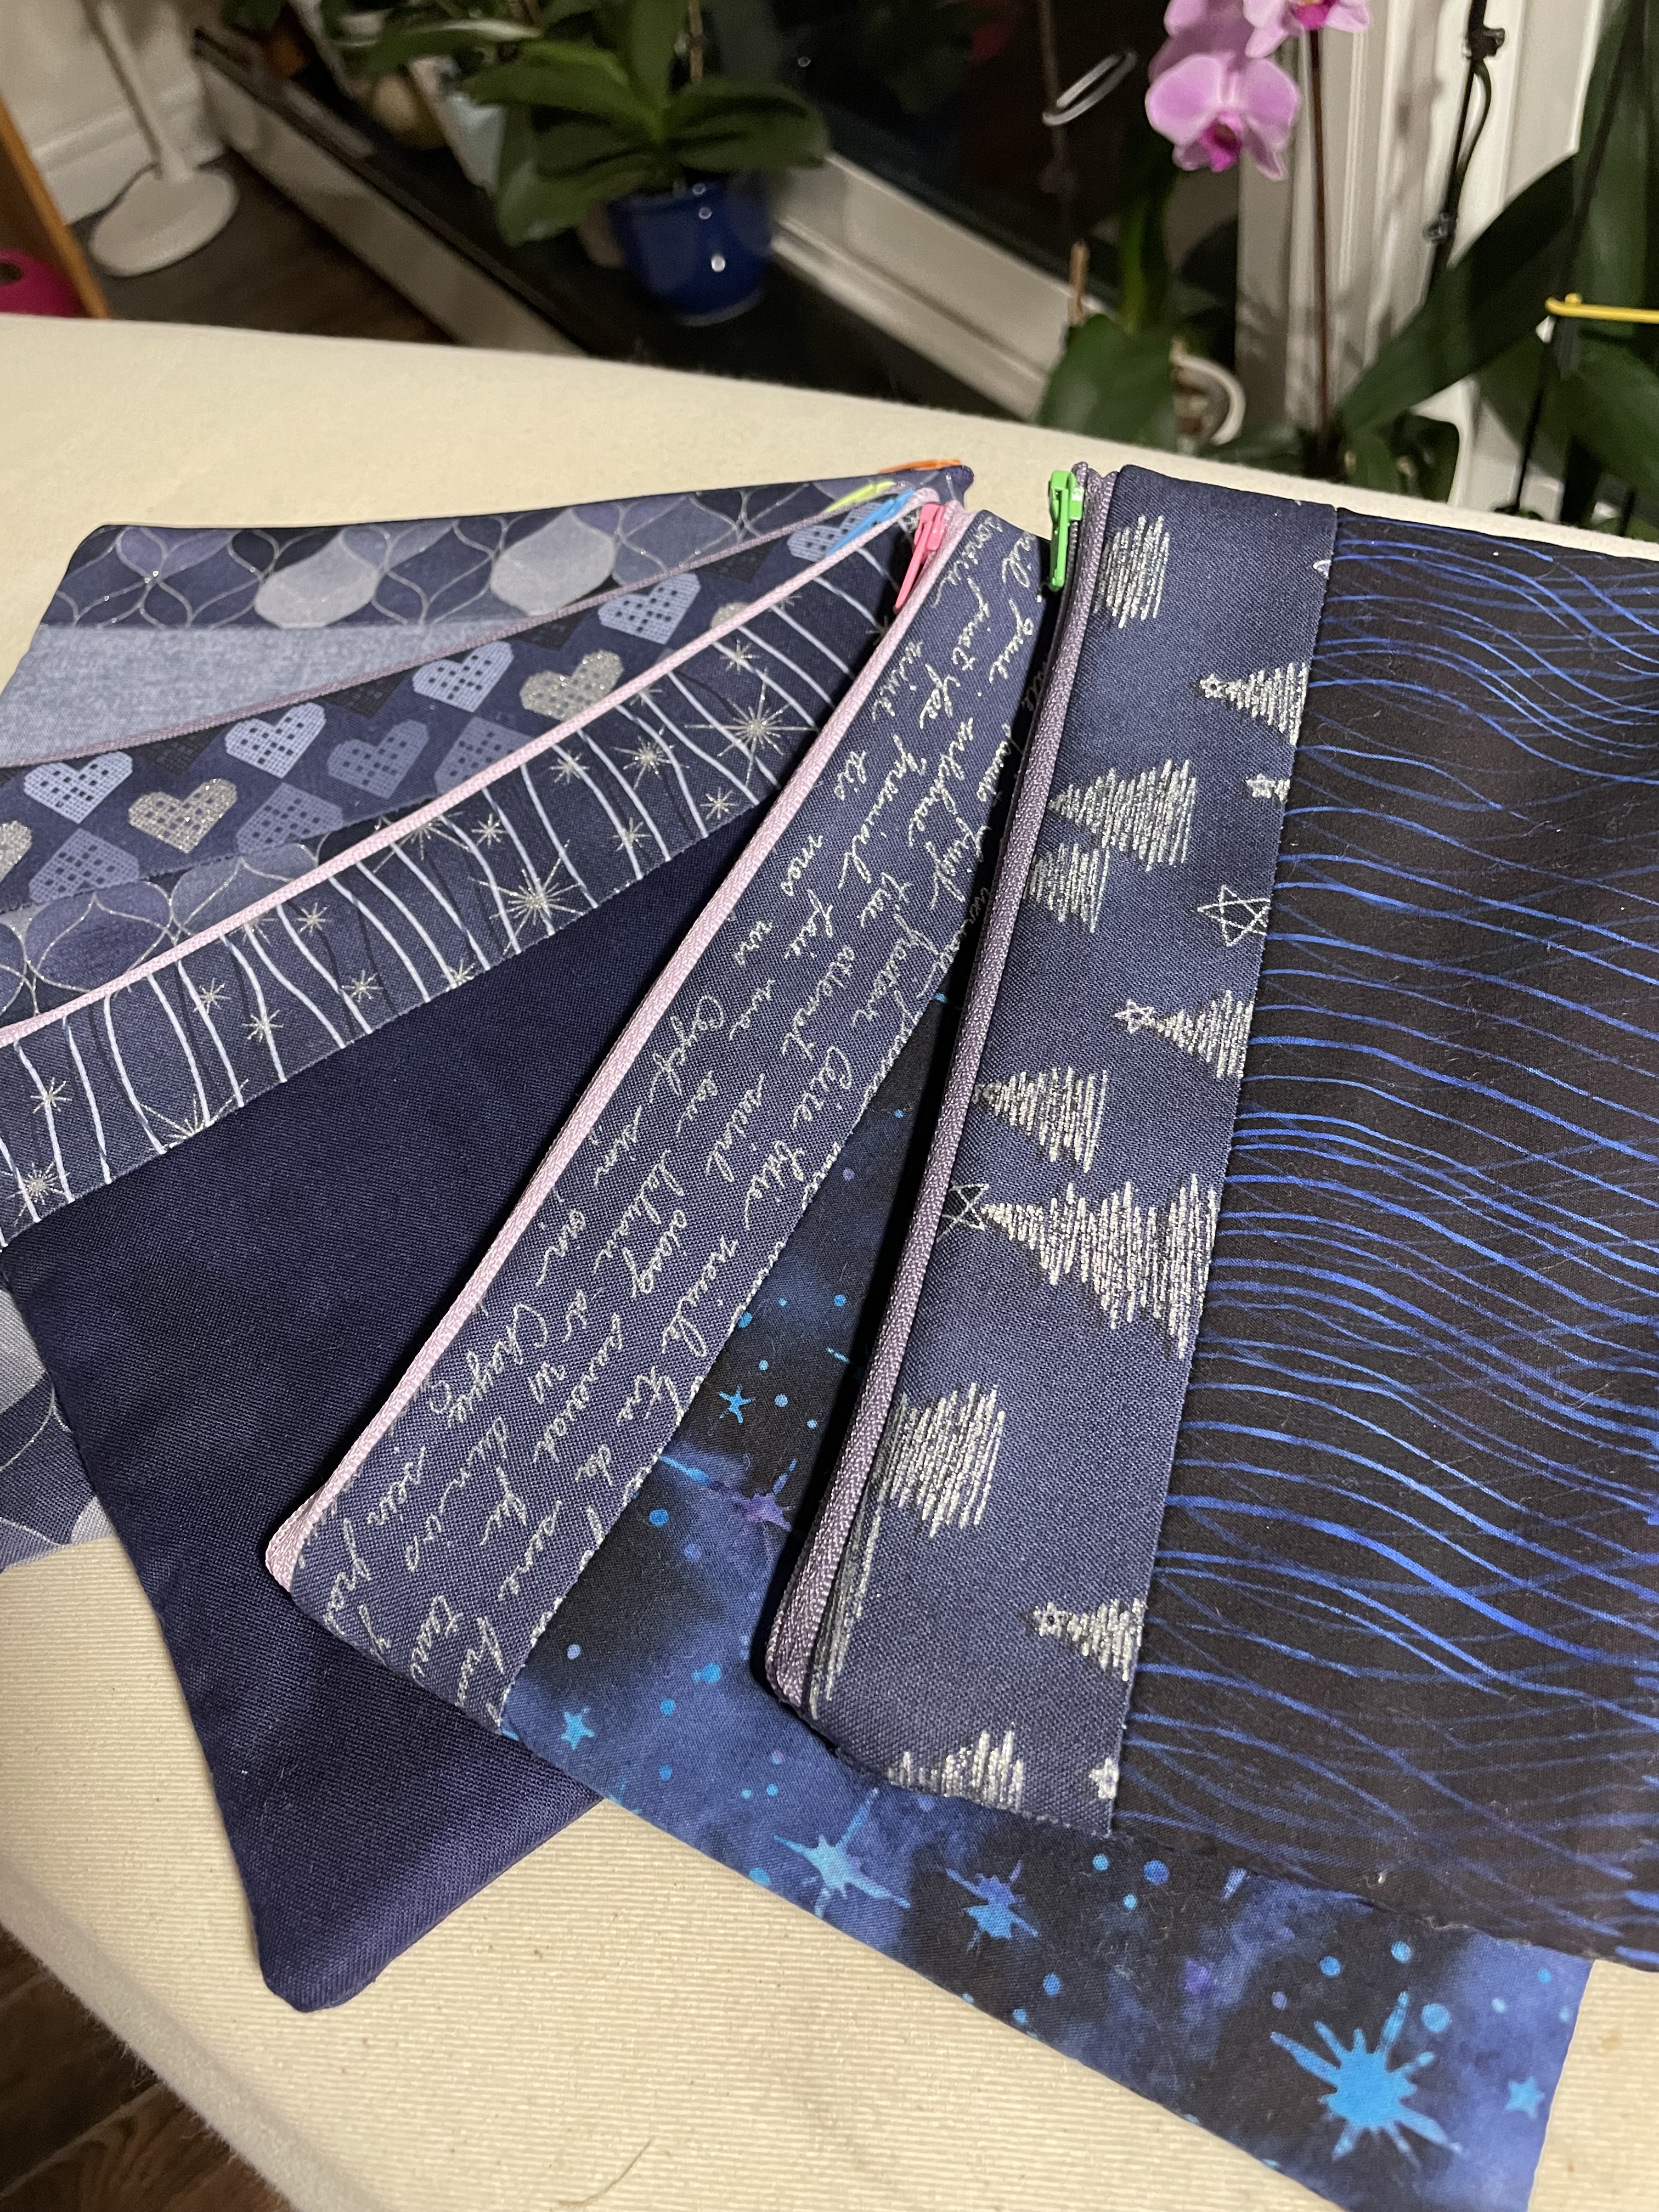
That’s what I did. I cut the remainder of the 6″ strips of these fabrics into zippered bag rectangles, found a suitable fabric for lining and got to work making zippered bags!
First BatchSecond BatchThird Batch
The first batch used the quilt fabrics with a strong accent fabric and contrasting zipper and pull. For the second batch I dug through scraps for bright complementary fabrics. The third batch used up pieces from a sample set of blue.
In two days I made 34 zippered bags.
My Current Stash Of Zippered Bags
With “small zippered bags” off my list, two days ago I turned to microwave potato bags. A microwave potato bag is used to bake potatoes in the microwave – the potatoes come out fluffy rather than gluey. You use two pieces of fabric and some microwaveable batting. Takes 20 minutes to make one.
Wanting to be economical with my fabric, I cut 10″ x 22″ rectangles from two of the duller fabrics I’d originally intended to use with the William Morris fabric. (That’s the equivalent of 4 bags/meter of fabric.) Added some microwaveable “Wrap ‘n Zap” batting (which comes in a 22″ width very convenient – that, as well, gives you 4 bags/metre).
I layered the fabrics right sides together, placed the batting on top, stitched around the outer edges leaving a 4″ opening on one side, pressed the panel, stitched the opening closed. Then I folded the fabric to make a pouch, stitched down the open sides, and there was my finished microwave potato pouch.
Microwave Potato Bag
It took three tries before I streamlined the process – 1. Leave the opening to turn the bag right side out on one of the short sides rather than along one of the long sides; 2. Make the stitch around gap at least 4″ – widen enough to get your hand in so you can turn the pouch right side out easily; 3. Don’t bother stitching around the outside of the finished rectangle, just edge stitch across the end with the opening; 4. Stitch the two side seams 1/4″ from the edge going more slowly where the two ends overlap – it’s thick there, you need to allow the machine time to pierce the overlapped layers.
I’ve got three microwave potato bags done, five more are cut out ready to sew.
When those are finished, I’ll work on the two aprons – I bought a canvas fabric yesterday that should be a good weight for an apron.
Finally, I will take that Kantha jacket completely apart and recut the fronts, back and sleeves so the jacket will hang better. It’s not a humungous job, but it’s one I find myself resisting. But with the other stuff done I will tackle it.
As for a new quilt. I’m looking for something modern and bright to work on. I’ve taken the pressure off myself to be creative, just be productive.
Finally finished the face masks two days ago. Those last 20 were difficult to do – I’d reached my boredom threshold and could barely force myself to work on them. However, I got them all done and washed, and I delivered them yesterday.
The Final 30 Face Masks – Delivered
Now on to some other sewing.
I’ve been wanting to make a small carrying bag for my iPhone. I find the version of the phone (XR) I have now is just a bit too large to carry comfortably in a pants pocket. So I’ve taken to using an embroidered glasses case (that has a side pocket with a zipper in it). I was given my first one by a friend. I added a cord to the open end and turned it into an iPhone case.
Cross Stitched iPhone Case
I have a second one – also a repurposed glasses case to which I’d added both a cord and a zippered side pocket.
Remodeled Glasses Case
But that one, too, is beginning to get a bit worn. Time to make a new one. The challenge was figuring out how to assemble the double pocket case. A small zippered bag is no big deal. An opening ended case is also no big deal. But doing them together in a single carrying case took a bit of trial and error.
I made one yesterday which didn’t work out but in the process I figured out how to construct the iPhone case.
First put the zipper in the side of the case (complete with lining) as if I were making a zippered bag, but leaving one side and end open. Then tack the zippered bag lining to the outer bag and now (with the zipper partly open to facilitate turning the bag right side out out later) attach a second lining to the open end (remember to place cord between bag and lining with ends included in this seam). Top stitch the bag/lining seam. Then sew the side seam of lining/bag. Turn bag/lining right side out, finish by folding in the open “bottom” end of the lining, stitching closed. Push the lining inside the bag between zippered bag lining and bag outer layer.
Trial Carrying Case With Zipper
Once I had figured out I had to partially make the zippered bag, then the open-ended bag, the process went quickly. I used a scrap of quilted batik fabric I had on hand as a test piece. Worked fine. Phone fits.
Now, I’m in the process of embroidering a cross stitch design on a piece of linen so I can make a fancier case.
New Case – In Progress
Here is the iPhone case finished (Click here for instructions):
Finished iPhone Case
[Click here for a more detailed set of instructions.]
I thought I was finished with the Christmas bag making – wrong! Yesterday afternoon I distributed the zippered bags to the women in the knitting group (they all loved them) – however instead of the dozen I’d planned for, by last evening I had given away 20!
I reconstructed a list of other people I’d already given bags to – that was another 15, and I still have a further 16 on my list. In spite of the ten small bags I made the other day I was going to be a few bags short and I still want to have some around for ready gifts through the year.
So this morning I got up and started prepping for another twelve bags (finished size 6″ x 8″).
Even More Bags
I cut the outside fabric, lining fabric, batting, zipper tape, grosgrain ribbon – that took about an hour. I sat down to production sew the bags which took just over 90 minutes (that’s less than 10 minutes/bag). By 11:30 I had another dozen bags.
And that wasn’t the end. I visited my friend Joan during the afternoon. She’s 88 and not as active as she used to be. I didn’t think she’d find a use for a bag so I didn’t take one. However we discussed them and turns out she could use a small bag to carry a credit card, a bit of cash and a key. When I came home I made her one. I’ll take it over to her tomorrow!
20 to the knitting group
15 given to other friends
14 more to give away
10 sent to my niece (for her to use as gifts)
24 in my stash
That makes 83 bags I’ve done in the last month and a bit. No more!
Not much to say about these – I can practically make them with my eye’s closed. The size of these bags was determined by the fabric pieces I had – a sample collection of colour ways in graduated sizes I was given at the sewing retreat last month. I was limited by the size of the smallest sample piece. That was when I decided to add a top strip using leftovers from the larger pieces.
Last 10 Bags For 2019!
I have now sewn close to 50 this season – that’s it, no more. Ten went to my niece for her to use as gifts.
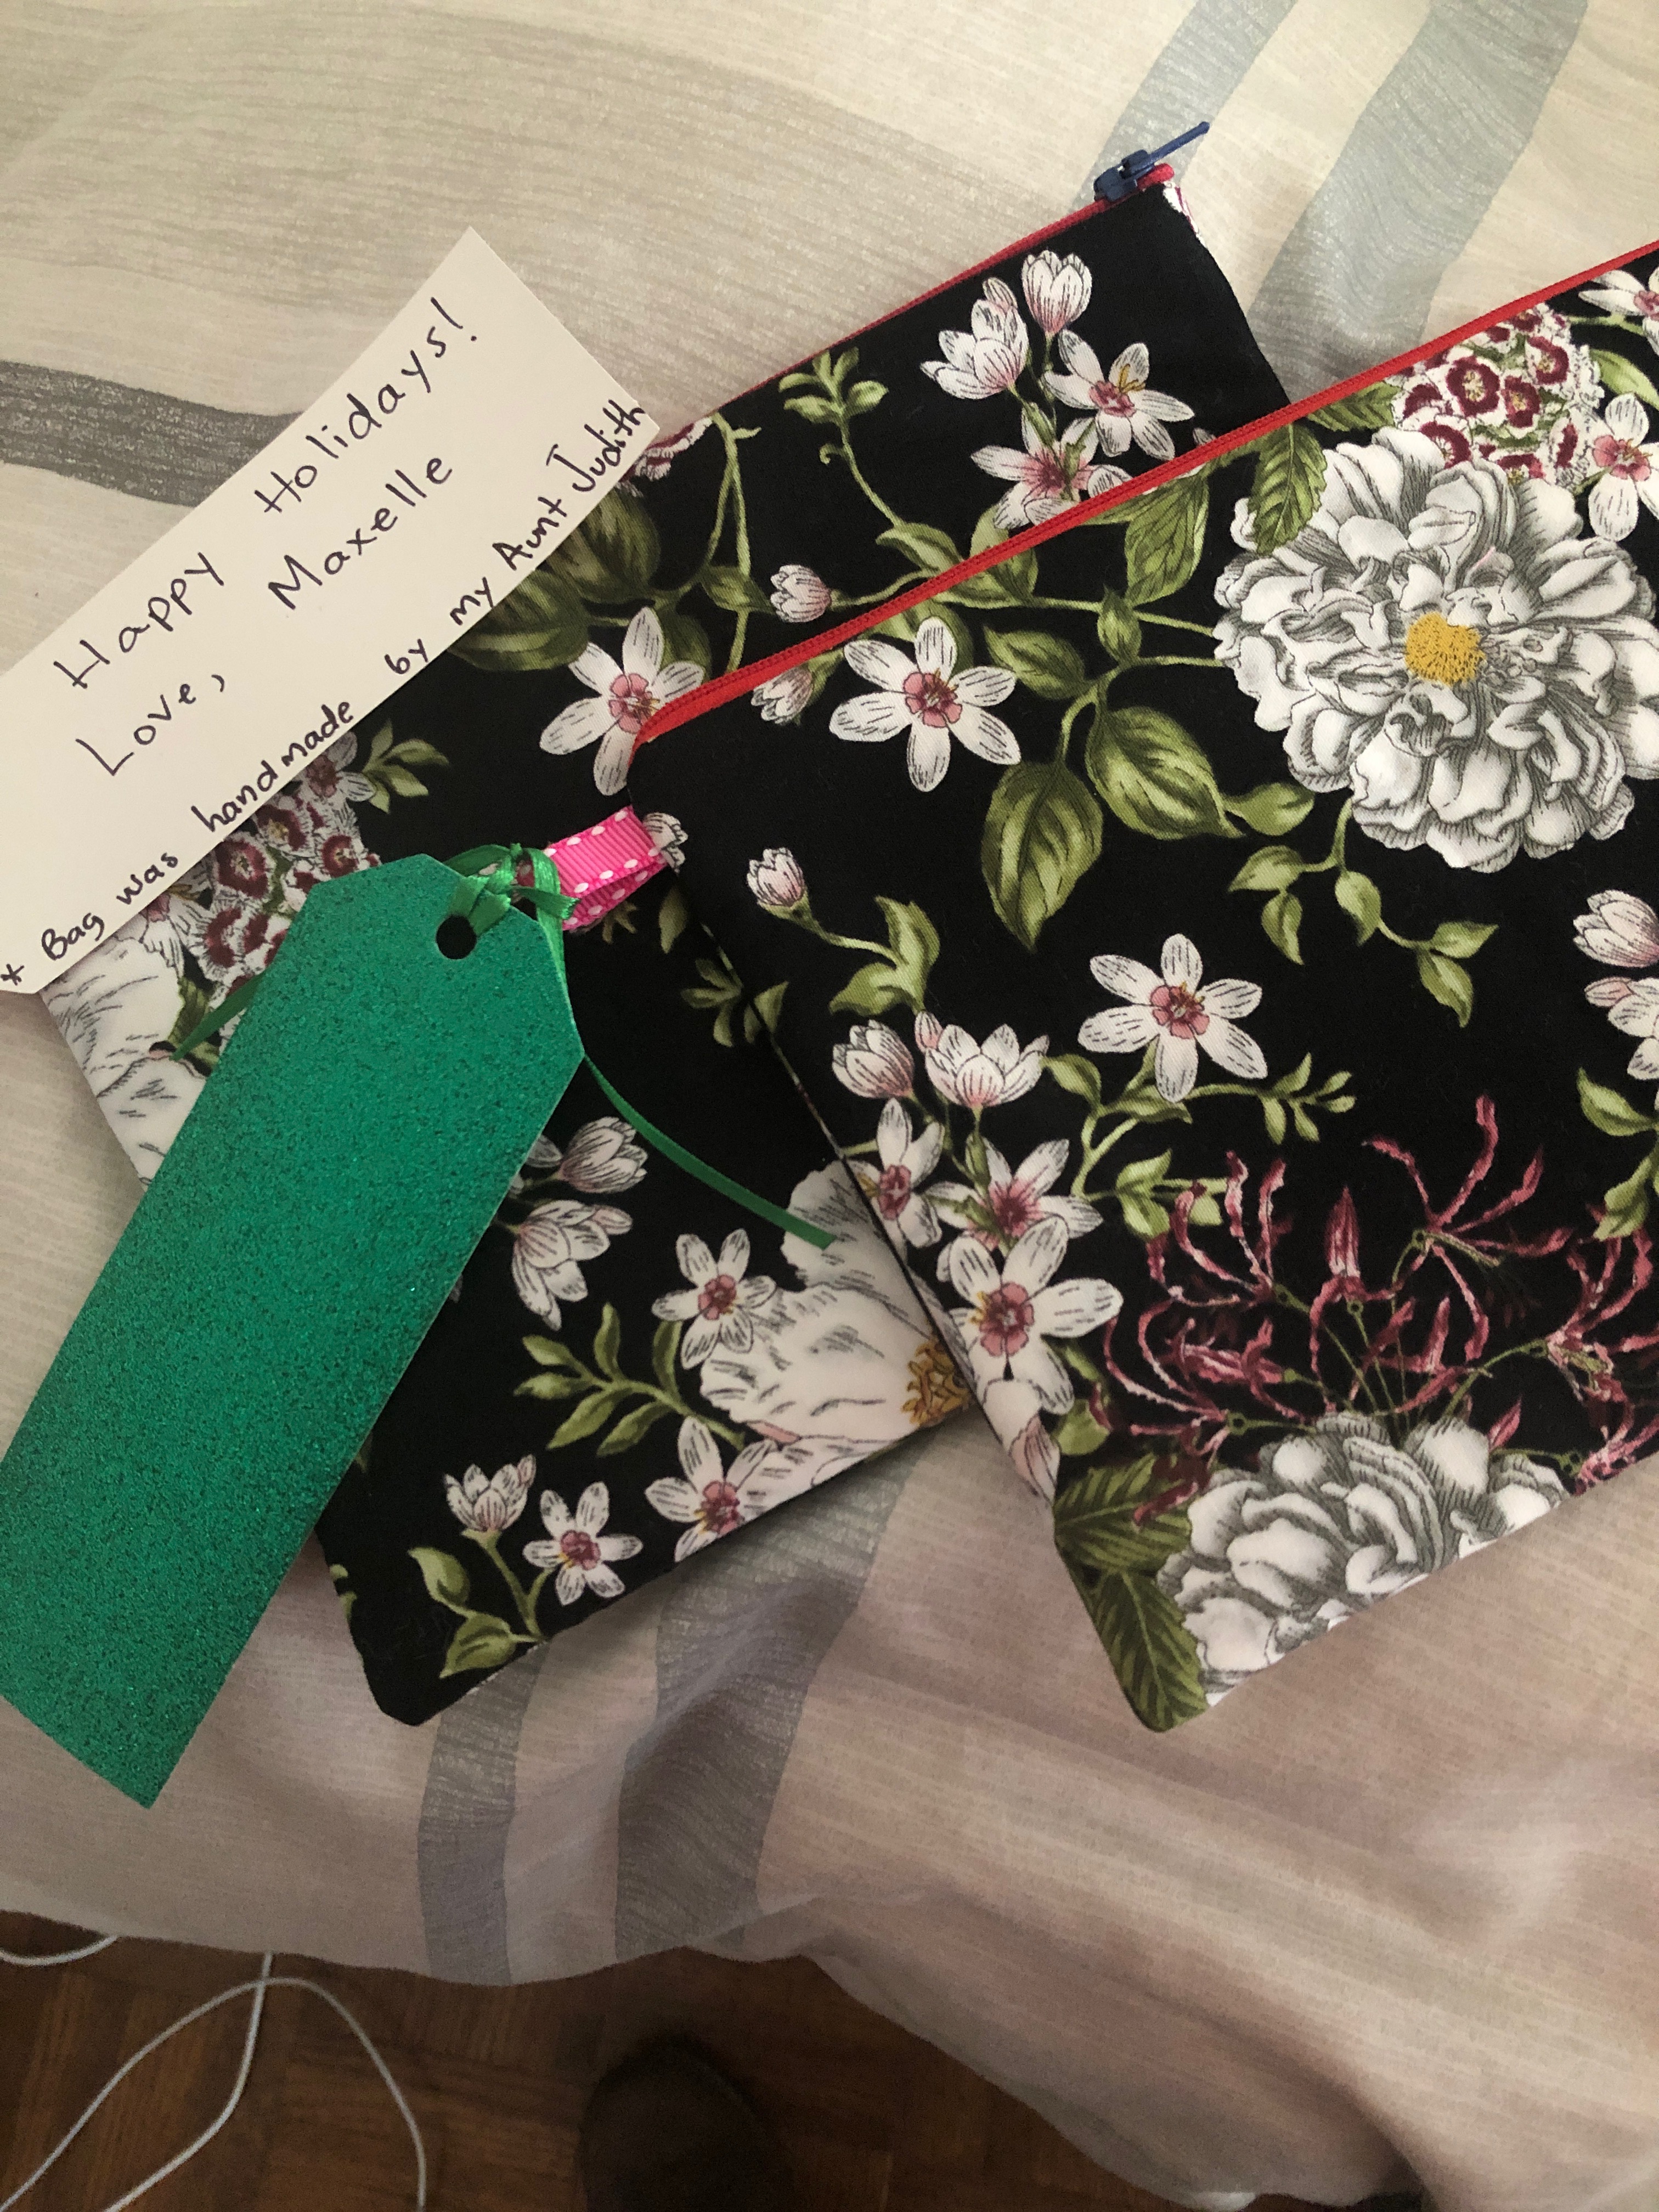
Maxelle’s Gift Bags “Hand-made by Aunt Judith”
The Gifts
Twelve are for the women in my knitting group – they get their’s tomorrow. The others have been disappearing quickly from the stash – which is why I decided to make ten final ones.
I should now have enough zippered bags for this season with a few left over to give away during the year. The bags don’t need to be wrapped – they are the wrapping and useful besides.
When I got home from my sewing weekend I showed my niece my stash of small zippered bags. Offered her one, she took two. She was going out that evening for dinner with a friend whose daughter was having a birthday – she took one for Fiona and another for her sister Dana. I took another and put a birthday gift in it for a friend of mine. Now I was down five bags from the collection intended to be for Christmas gifts.
My niece sees me put the gift in a bag and asks if I would make ten bags for her to use as gifts – she’ll pay me, she offers.
Can’t say no to a request like that, so after she left for Toronto the next day, I dug out what fabric I had left over from the original batch, prepared 10 more bags, sat down and stitched them up over the next two days.
Zippered Bags For Maxelle
Past Thursday, I packaged them up and sent them off to Toronto – as a gift for my niece. What am I going to charge her? $5 is too little and $10 is too much to ask her (although were I selling the bags at a craft fair I’d charge $10 for the smaller size, $12 for the larger ones). I was using leftover bits of fabric and batting, I buy zipper tape by the yard, so while I have an idea as to what my materials might cost there’s still nothing much to reimburse me for my time. Better a gift to my niece than try figuring out what to charge her.
She should get them next week. I told her to make sure she tells her friends where she got the bags! I’m sure whoever gets one will enjoy having it. You can’t have too many small zippered bags for carrying stuff, right?
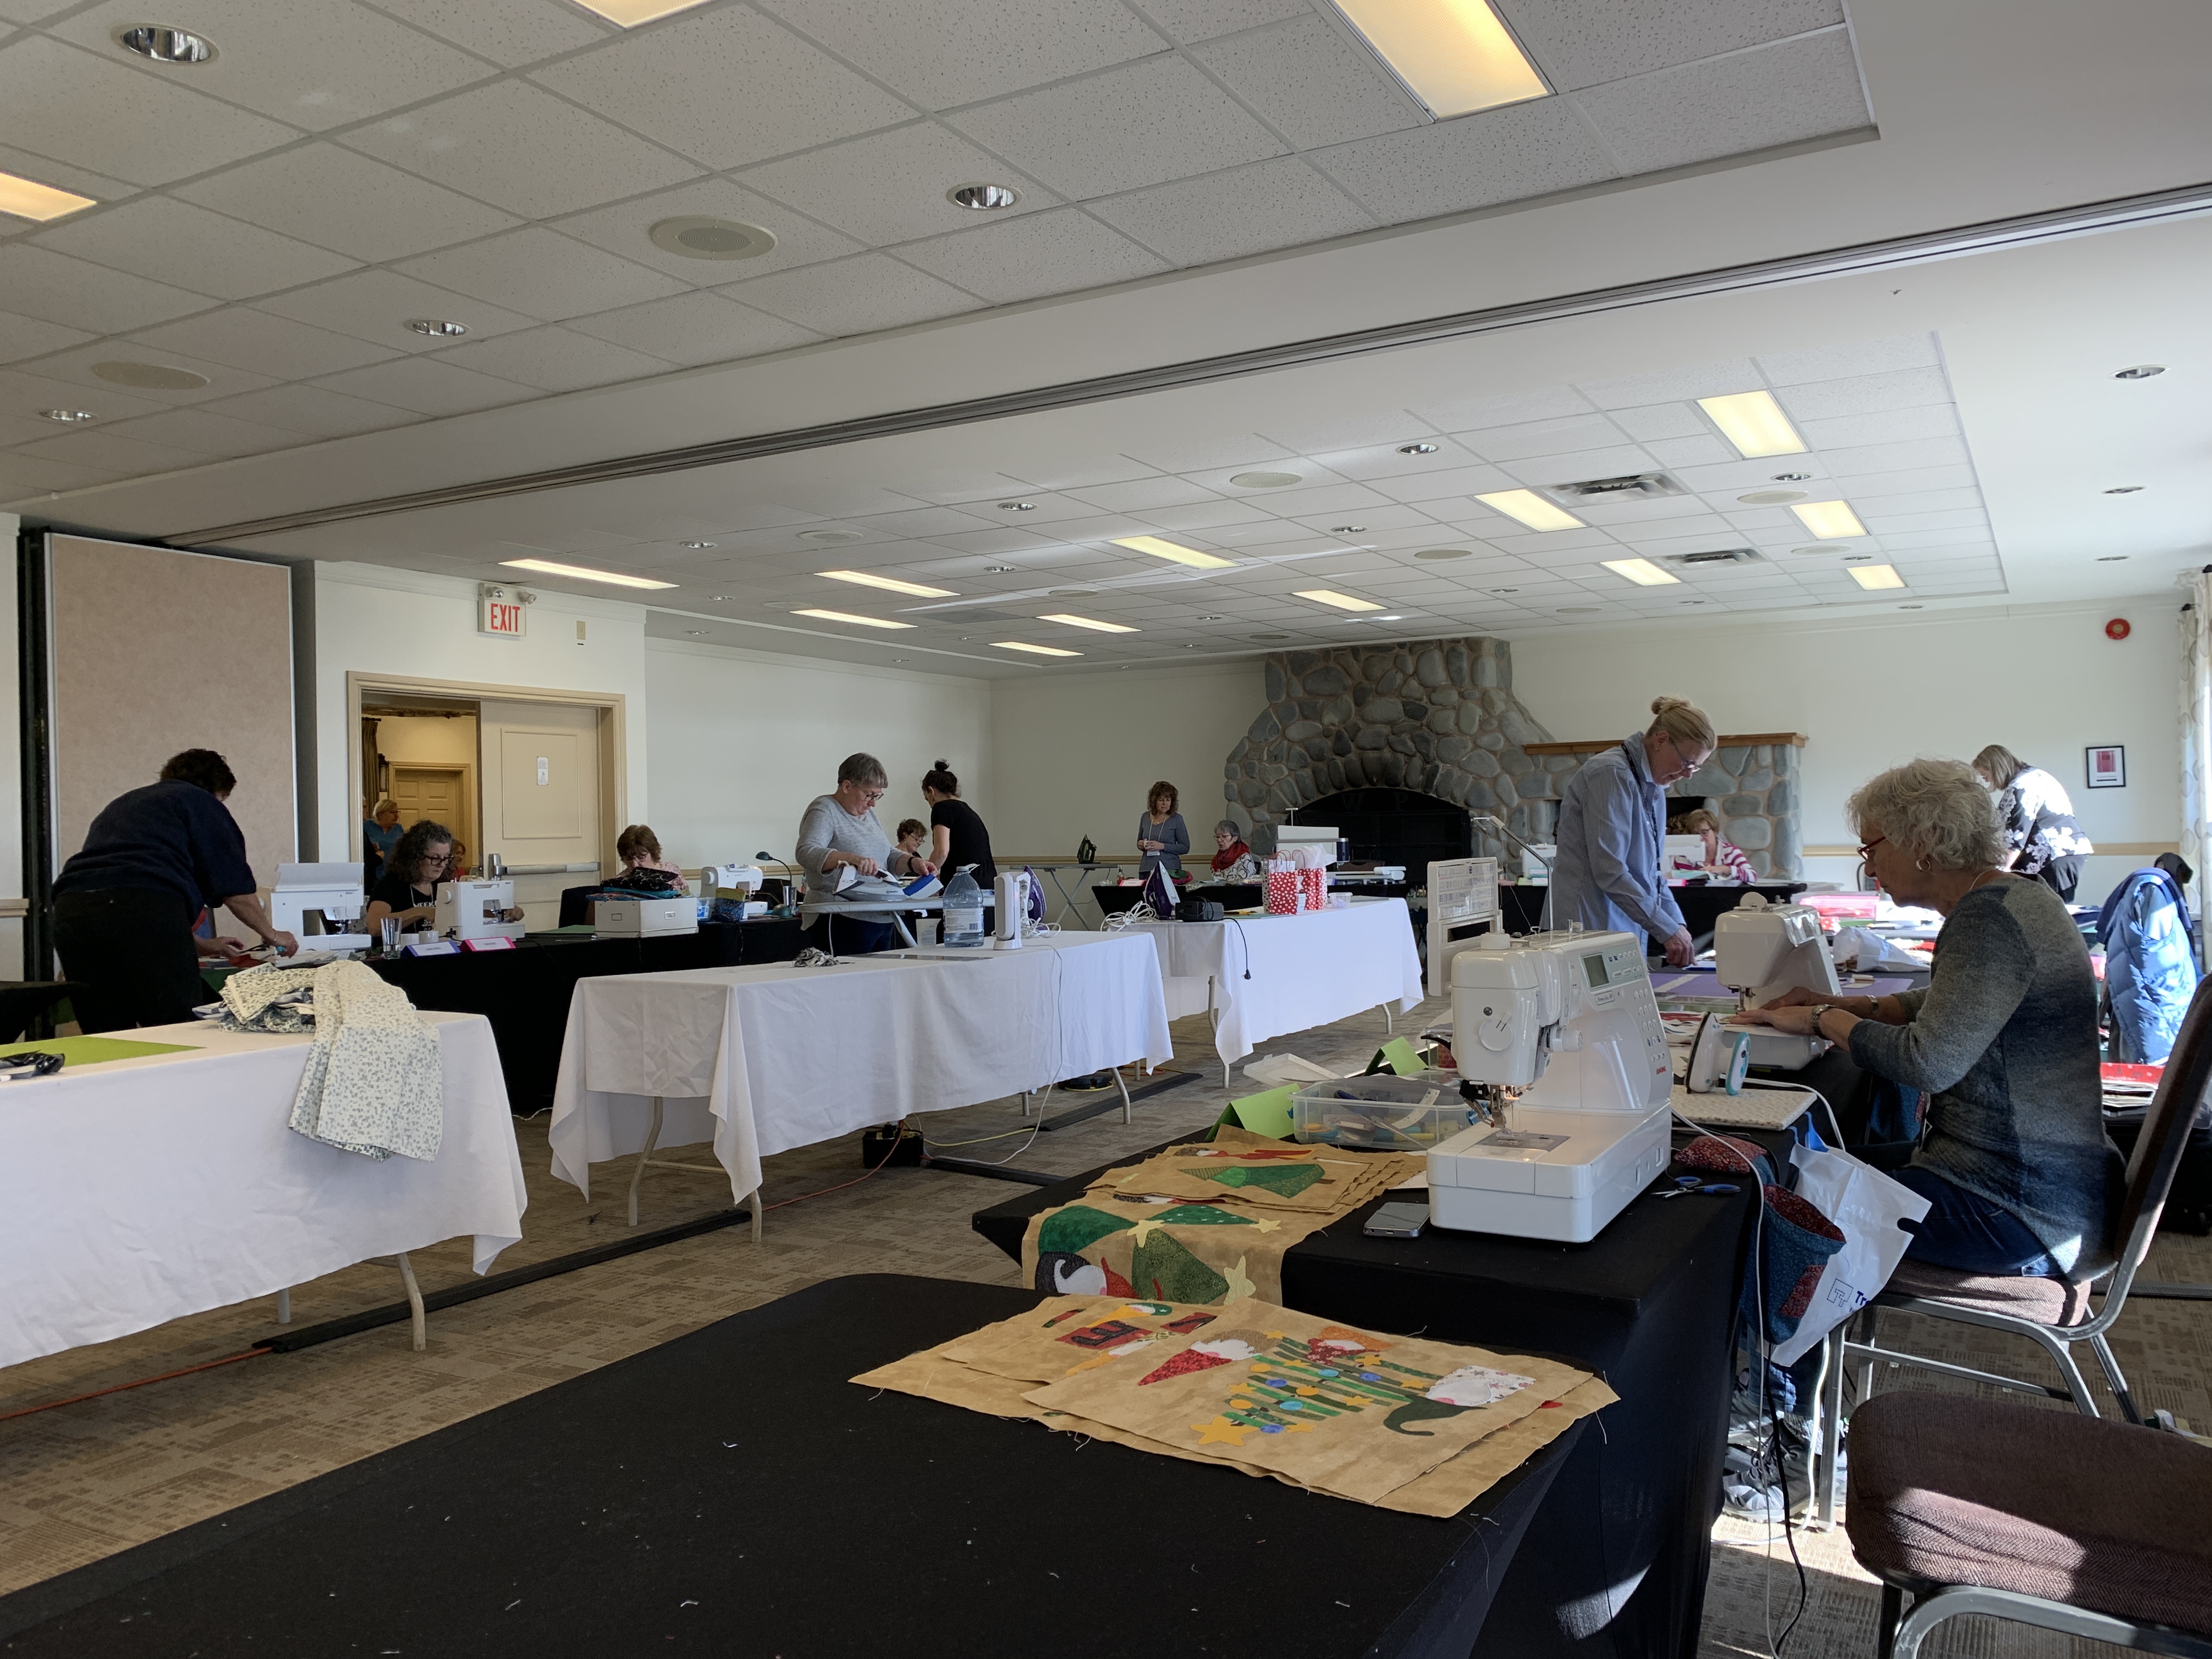
This weekend I’m at scenic White Point Resort two hours from home sewing with 27 other women all busy at work.
White Point Beach
Yesterday was a stormy day with lots of surf. Today just a calm ripple. Too cold to be sitting watching incoming waves.
Busy At Work
Can you imagine – we’ve just lost power! Disaster! Sewing machines dead, iron cooling. Thank goodness it’s a bright sunny day (if cold) so there’s lots of light to keep cutting and placing and pinning, all important prep work.
Zippered Bags For Christmas Gifts
I managed to complete 30 zippered bags for Christmas gifts yesterday. I’d had them all cut out – outer fabric, batting, lining, zipper tape, grosgrain tape for the tabs – all I needed was to assemble the bags. Done before supper time.
I’d prepped two quilts before coming – I started working on them last evening. When power returns, I’ll carry on. Blocks for one are constructed and ready to be sewn together. I’m more or less half way through the blocks for the second quilt.
I leave around noon tomorrow. I will have accomplished quite a bit.
I haven’t posted a lot this past month but that doesn’t mean I haven’t been sewing. I began in earnest as soon as my cast came off on July 31.
In August I made:
Four pair of pants for myself – two in linen, one in a summer weight wool/poly blend, the fourth in a stretch twill. (Now I have to take four pairs of pants out of my closet!)
Wool/poly Pants
I remade a pair of jeans I bought at Costco (I had to lift the back pockets and create a teardrop dart down the centre back of each leg; resew the pockets).
In the end I made 30 sets of seat belt covers! (For the folks who chauffeured me while I couldn’t drive)
I improvised a set of zippered pockets which I attached to a blanket for a friend in a wheel chair. (I forgot to take a photo of the completed project)
I also made a new five-pocket zippered wallet for myself out of ripstop
Five Pocket Wallet
I sewed almost every day. I didn’t get any quilting or wall art started but I’m thinking about it.
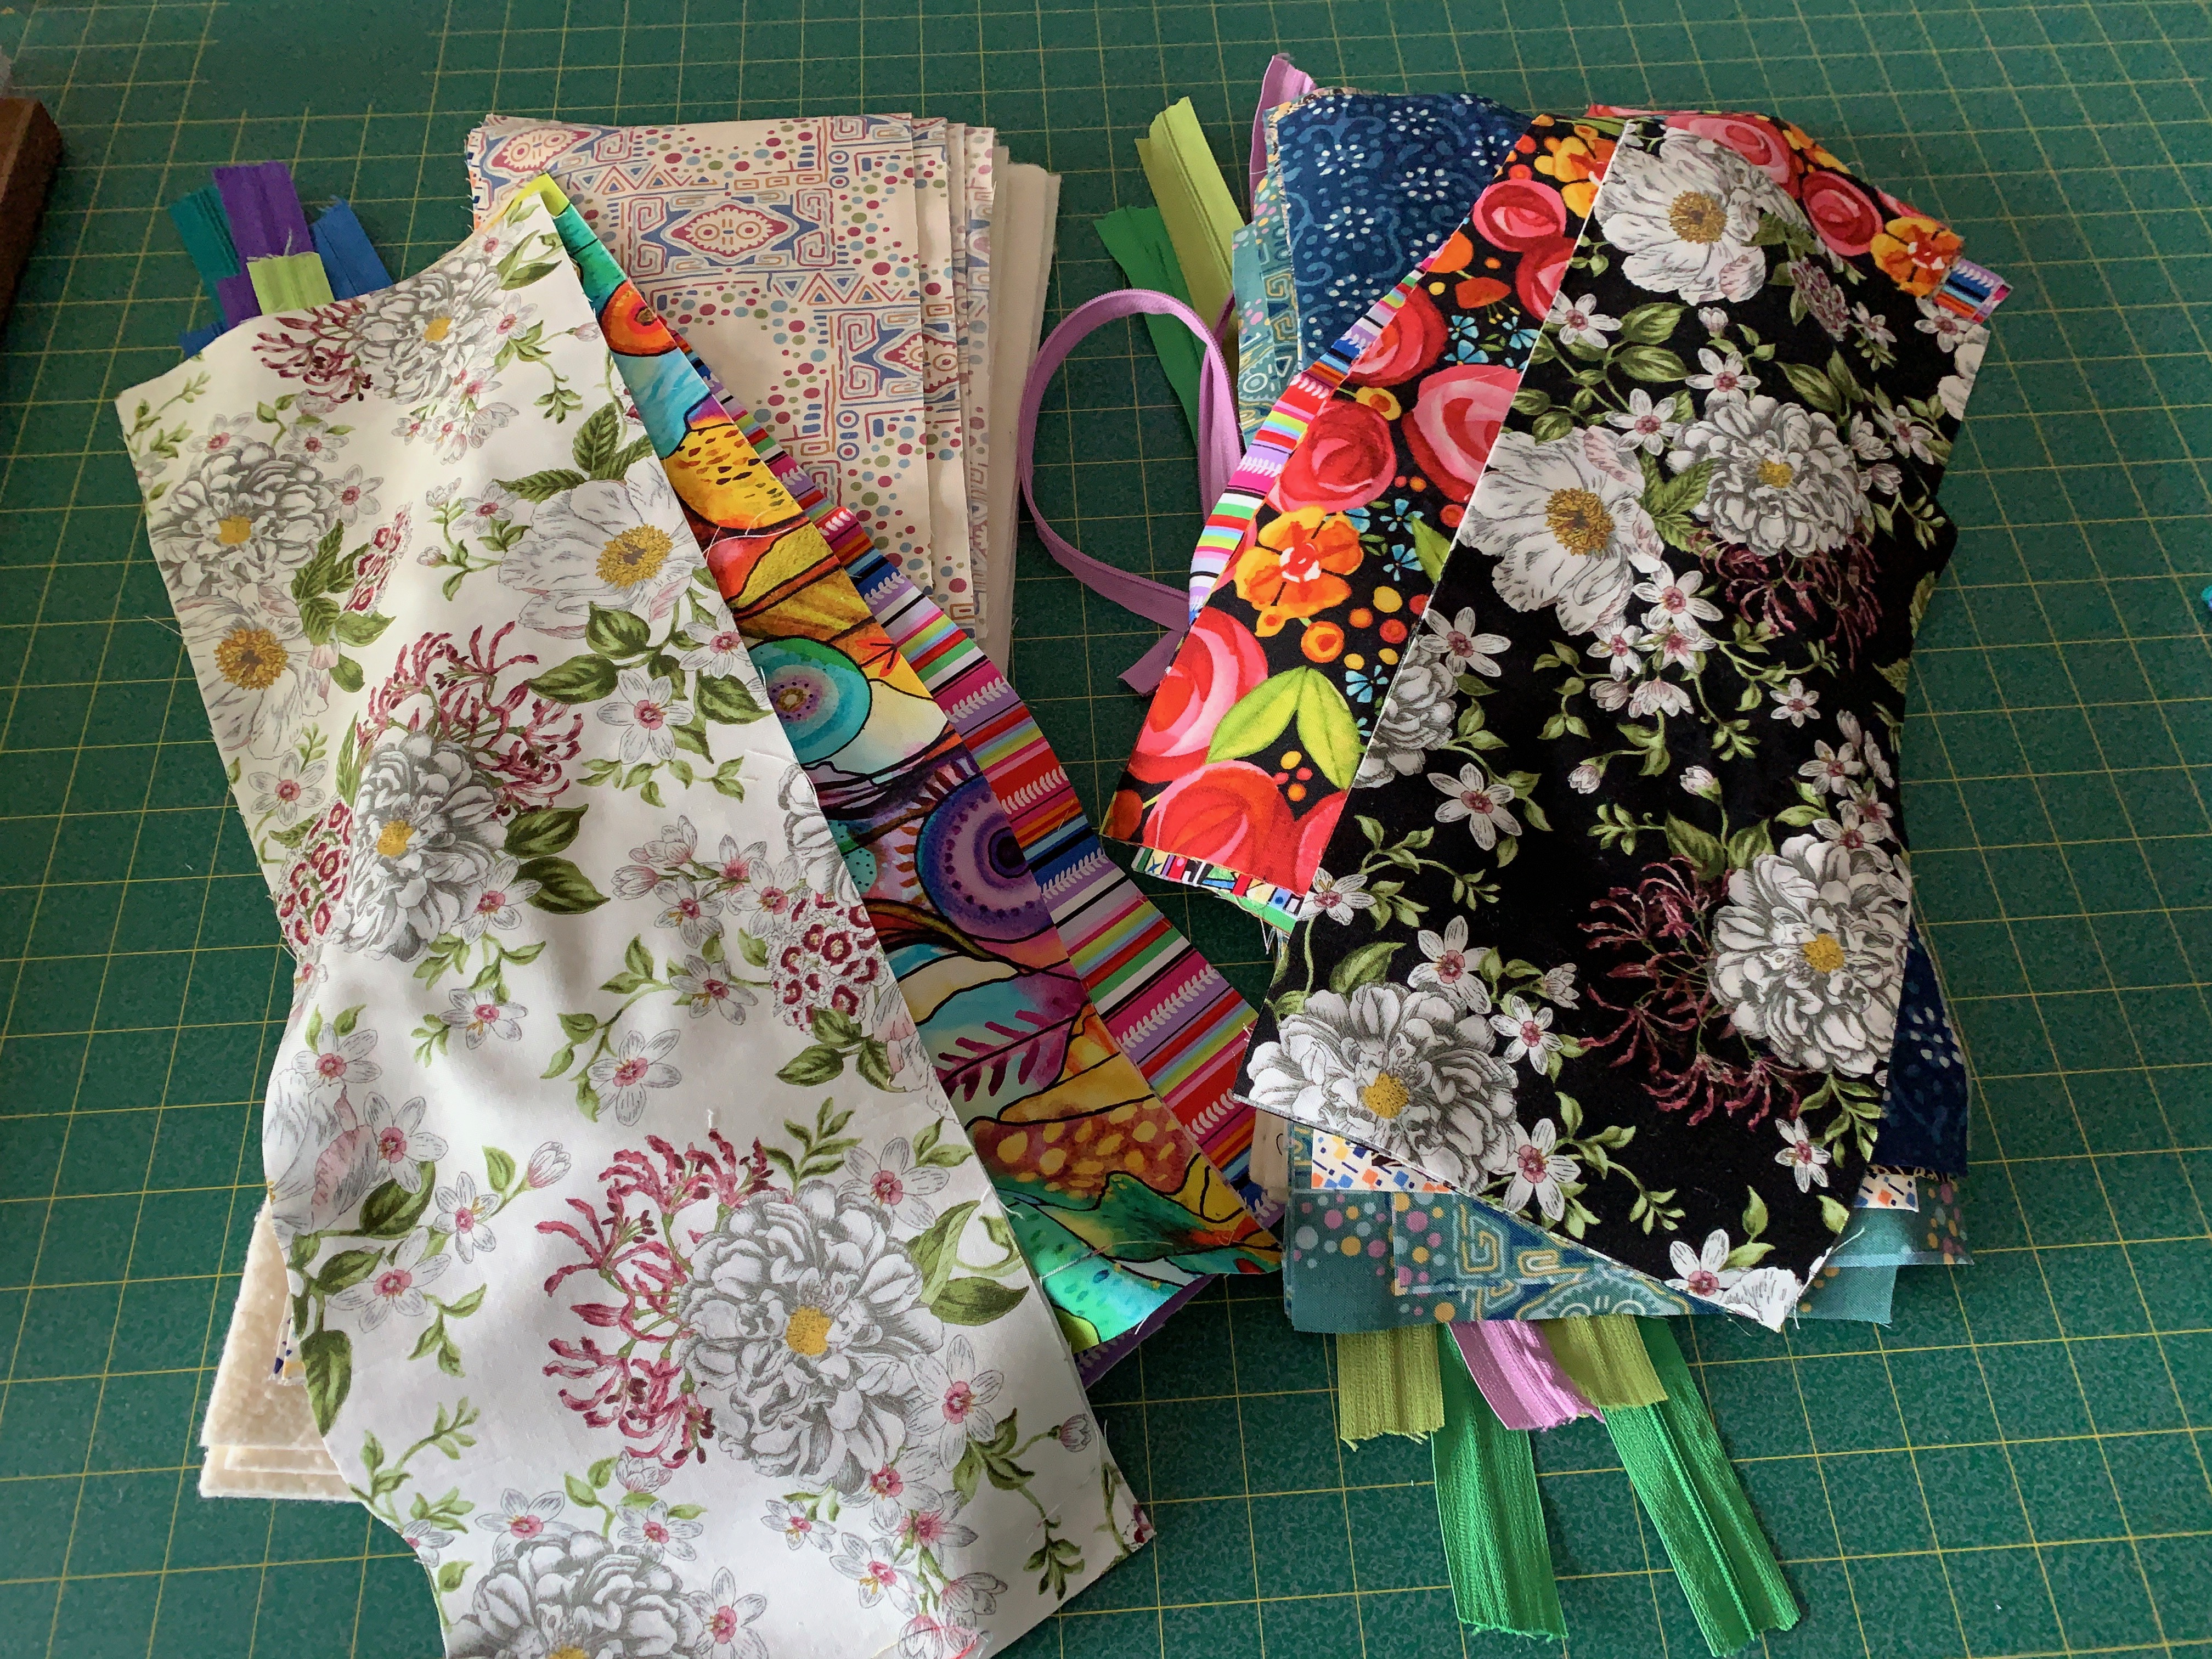
I also managed to cut out fabric to make 30 zippered bags – in two sizes. Two weeks ago at our knitting group I noticed the bags I had made a couple of years ago are being well used. I asked the gals whether anyone was interested in having another bag – silly question – you can’t have too many small zippered bags, for heaven’s sake. So I decided to get that organized.
I dug out the bright fabrics I had set aside to make bags and cut it into appropriate sizes (17″ x 6.25; 21″ x 7″). I cut batting scraps into similar sizes as well. Found suitable (dull) fabric in my stash to be lining for the bags. I went through my zipper tape and cut enough lengths to the correct size.
Fabric Prepared for Zippered Bags
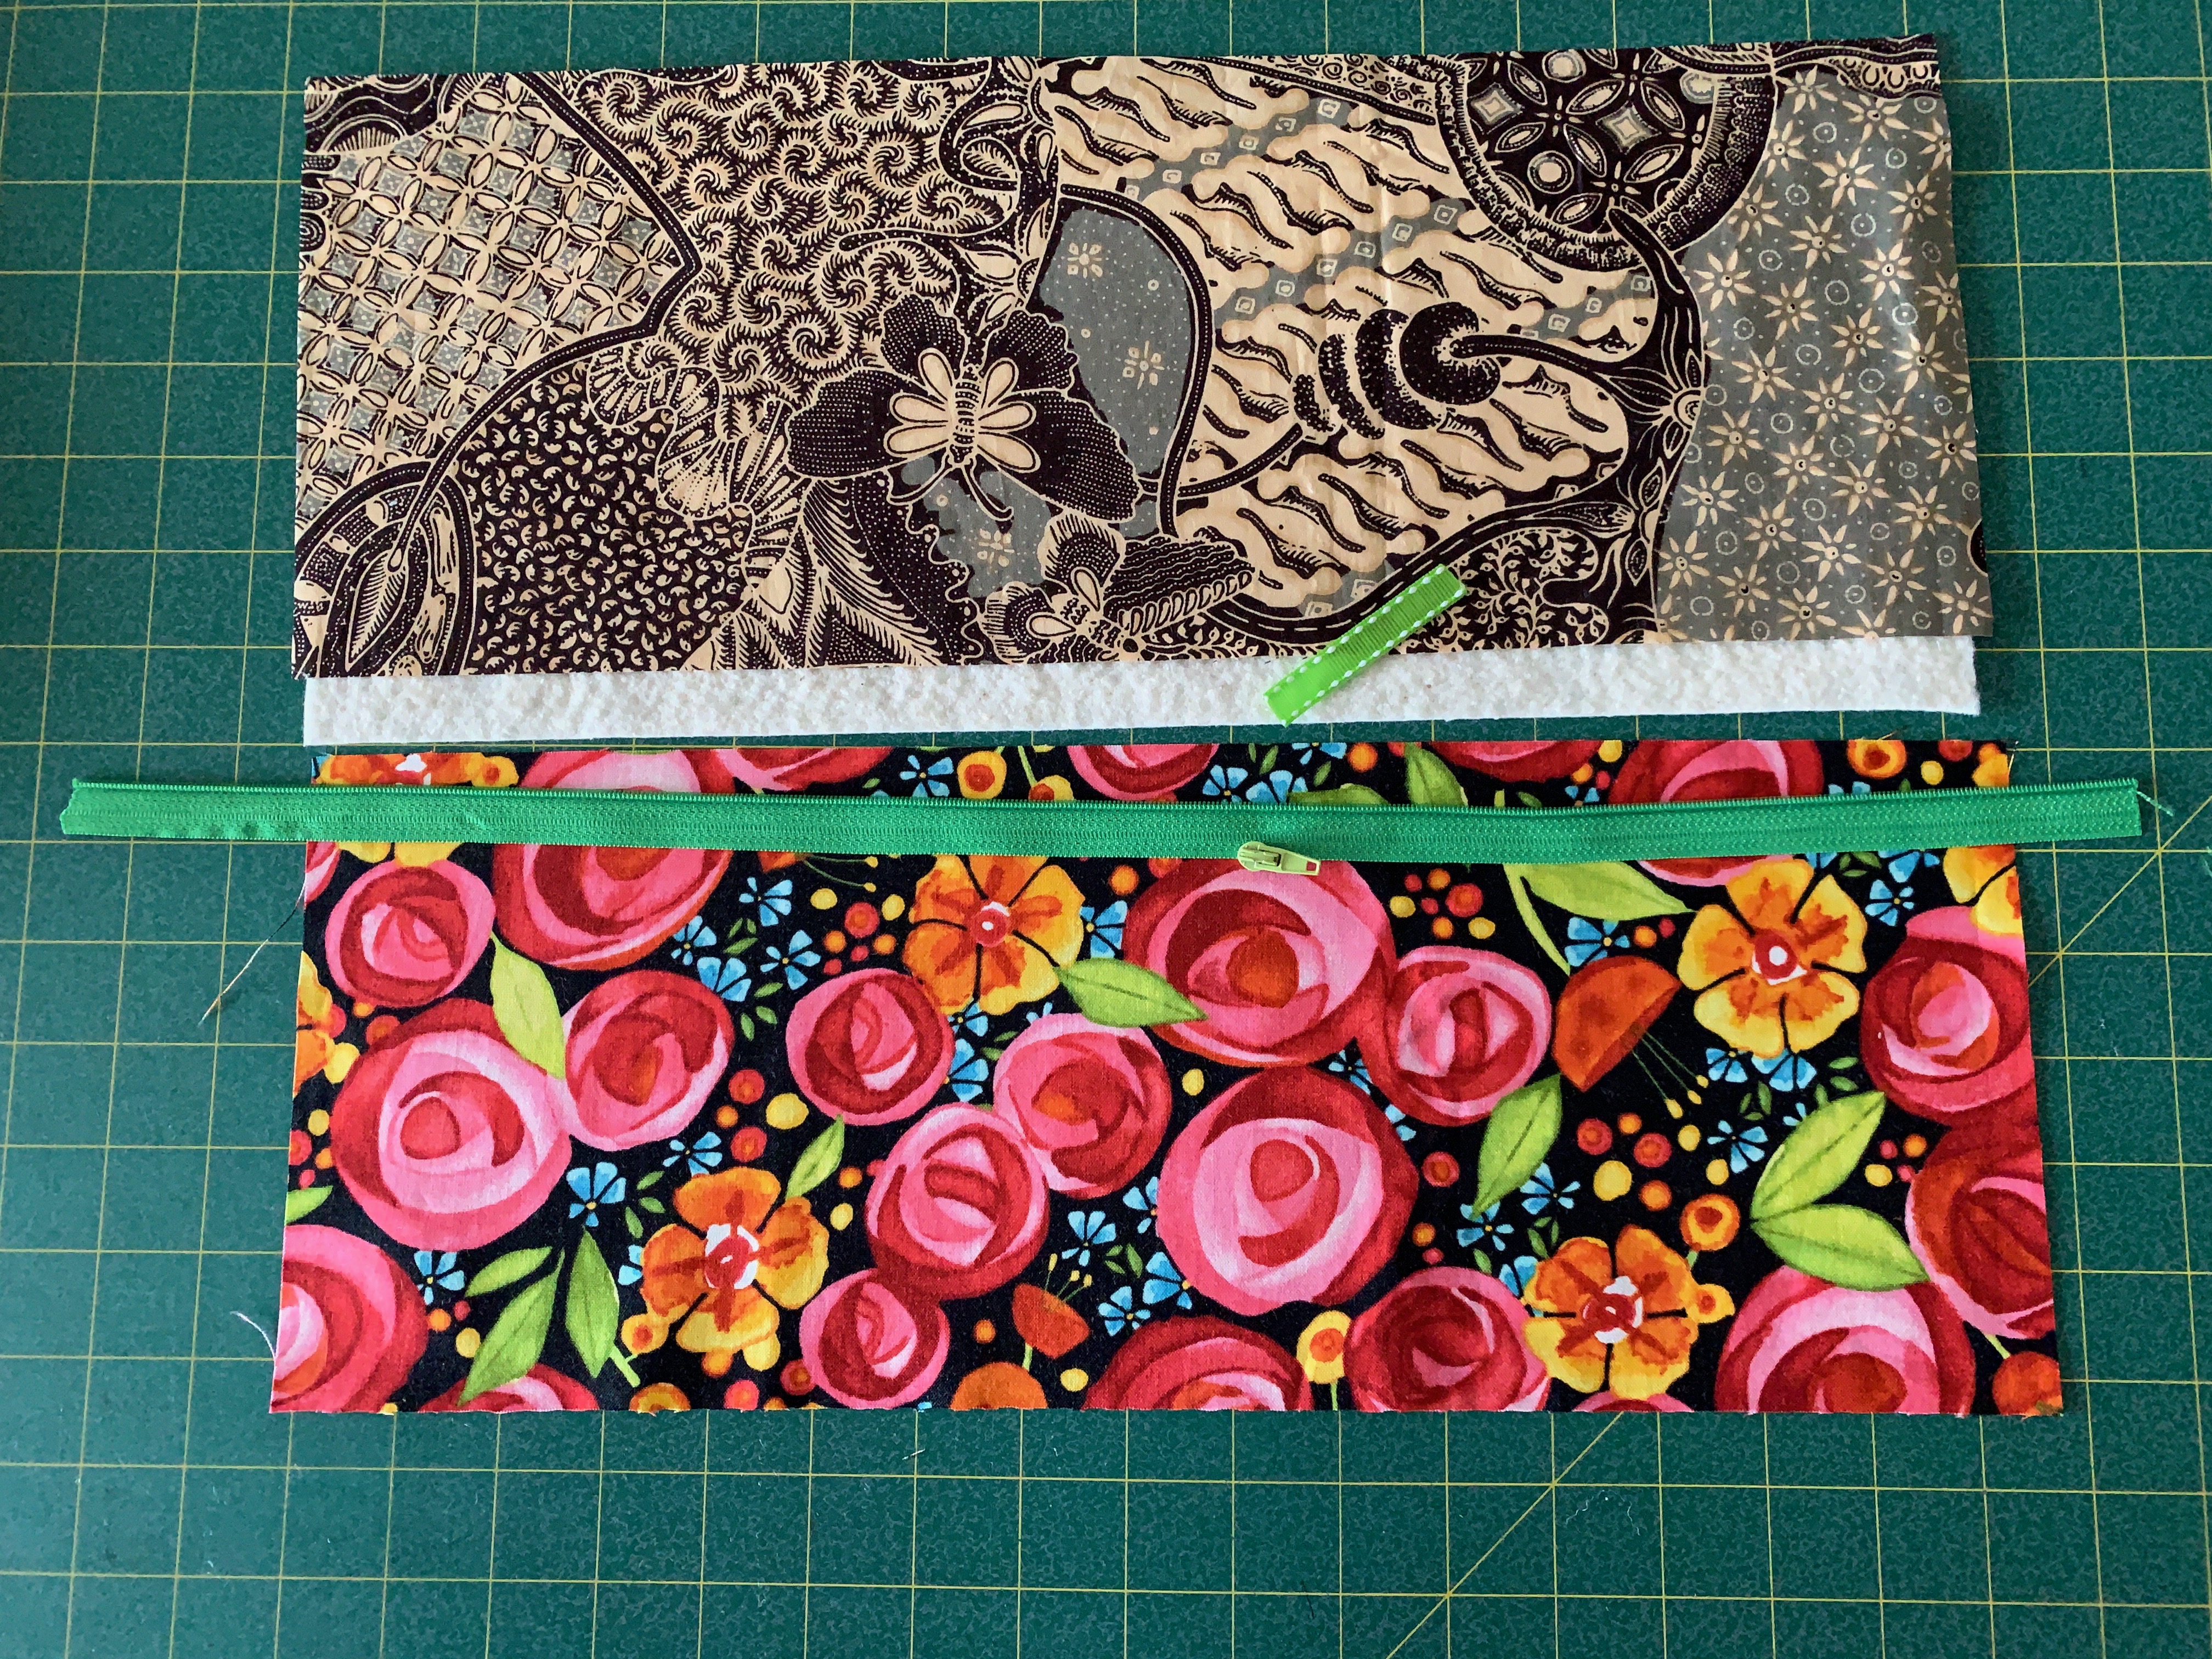
To make a bag I need one outer piece (twice the width of the finished bag), one lining piece, a piece of similar size batting, one half of a zipper tape cut to length, a zipper slide, and a short piece of grosgrain ribbon.
Setting Up For A Bag
I make the bags this way because it allows me to create a zipper loop at the closed end which is much neater than trying to stitch over cut zipper ends.
Using Zipper Tape
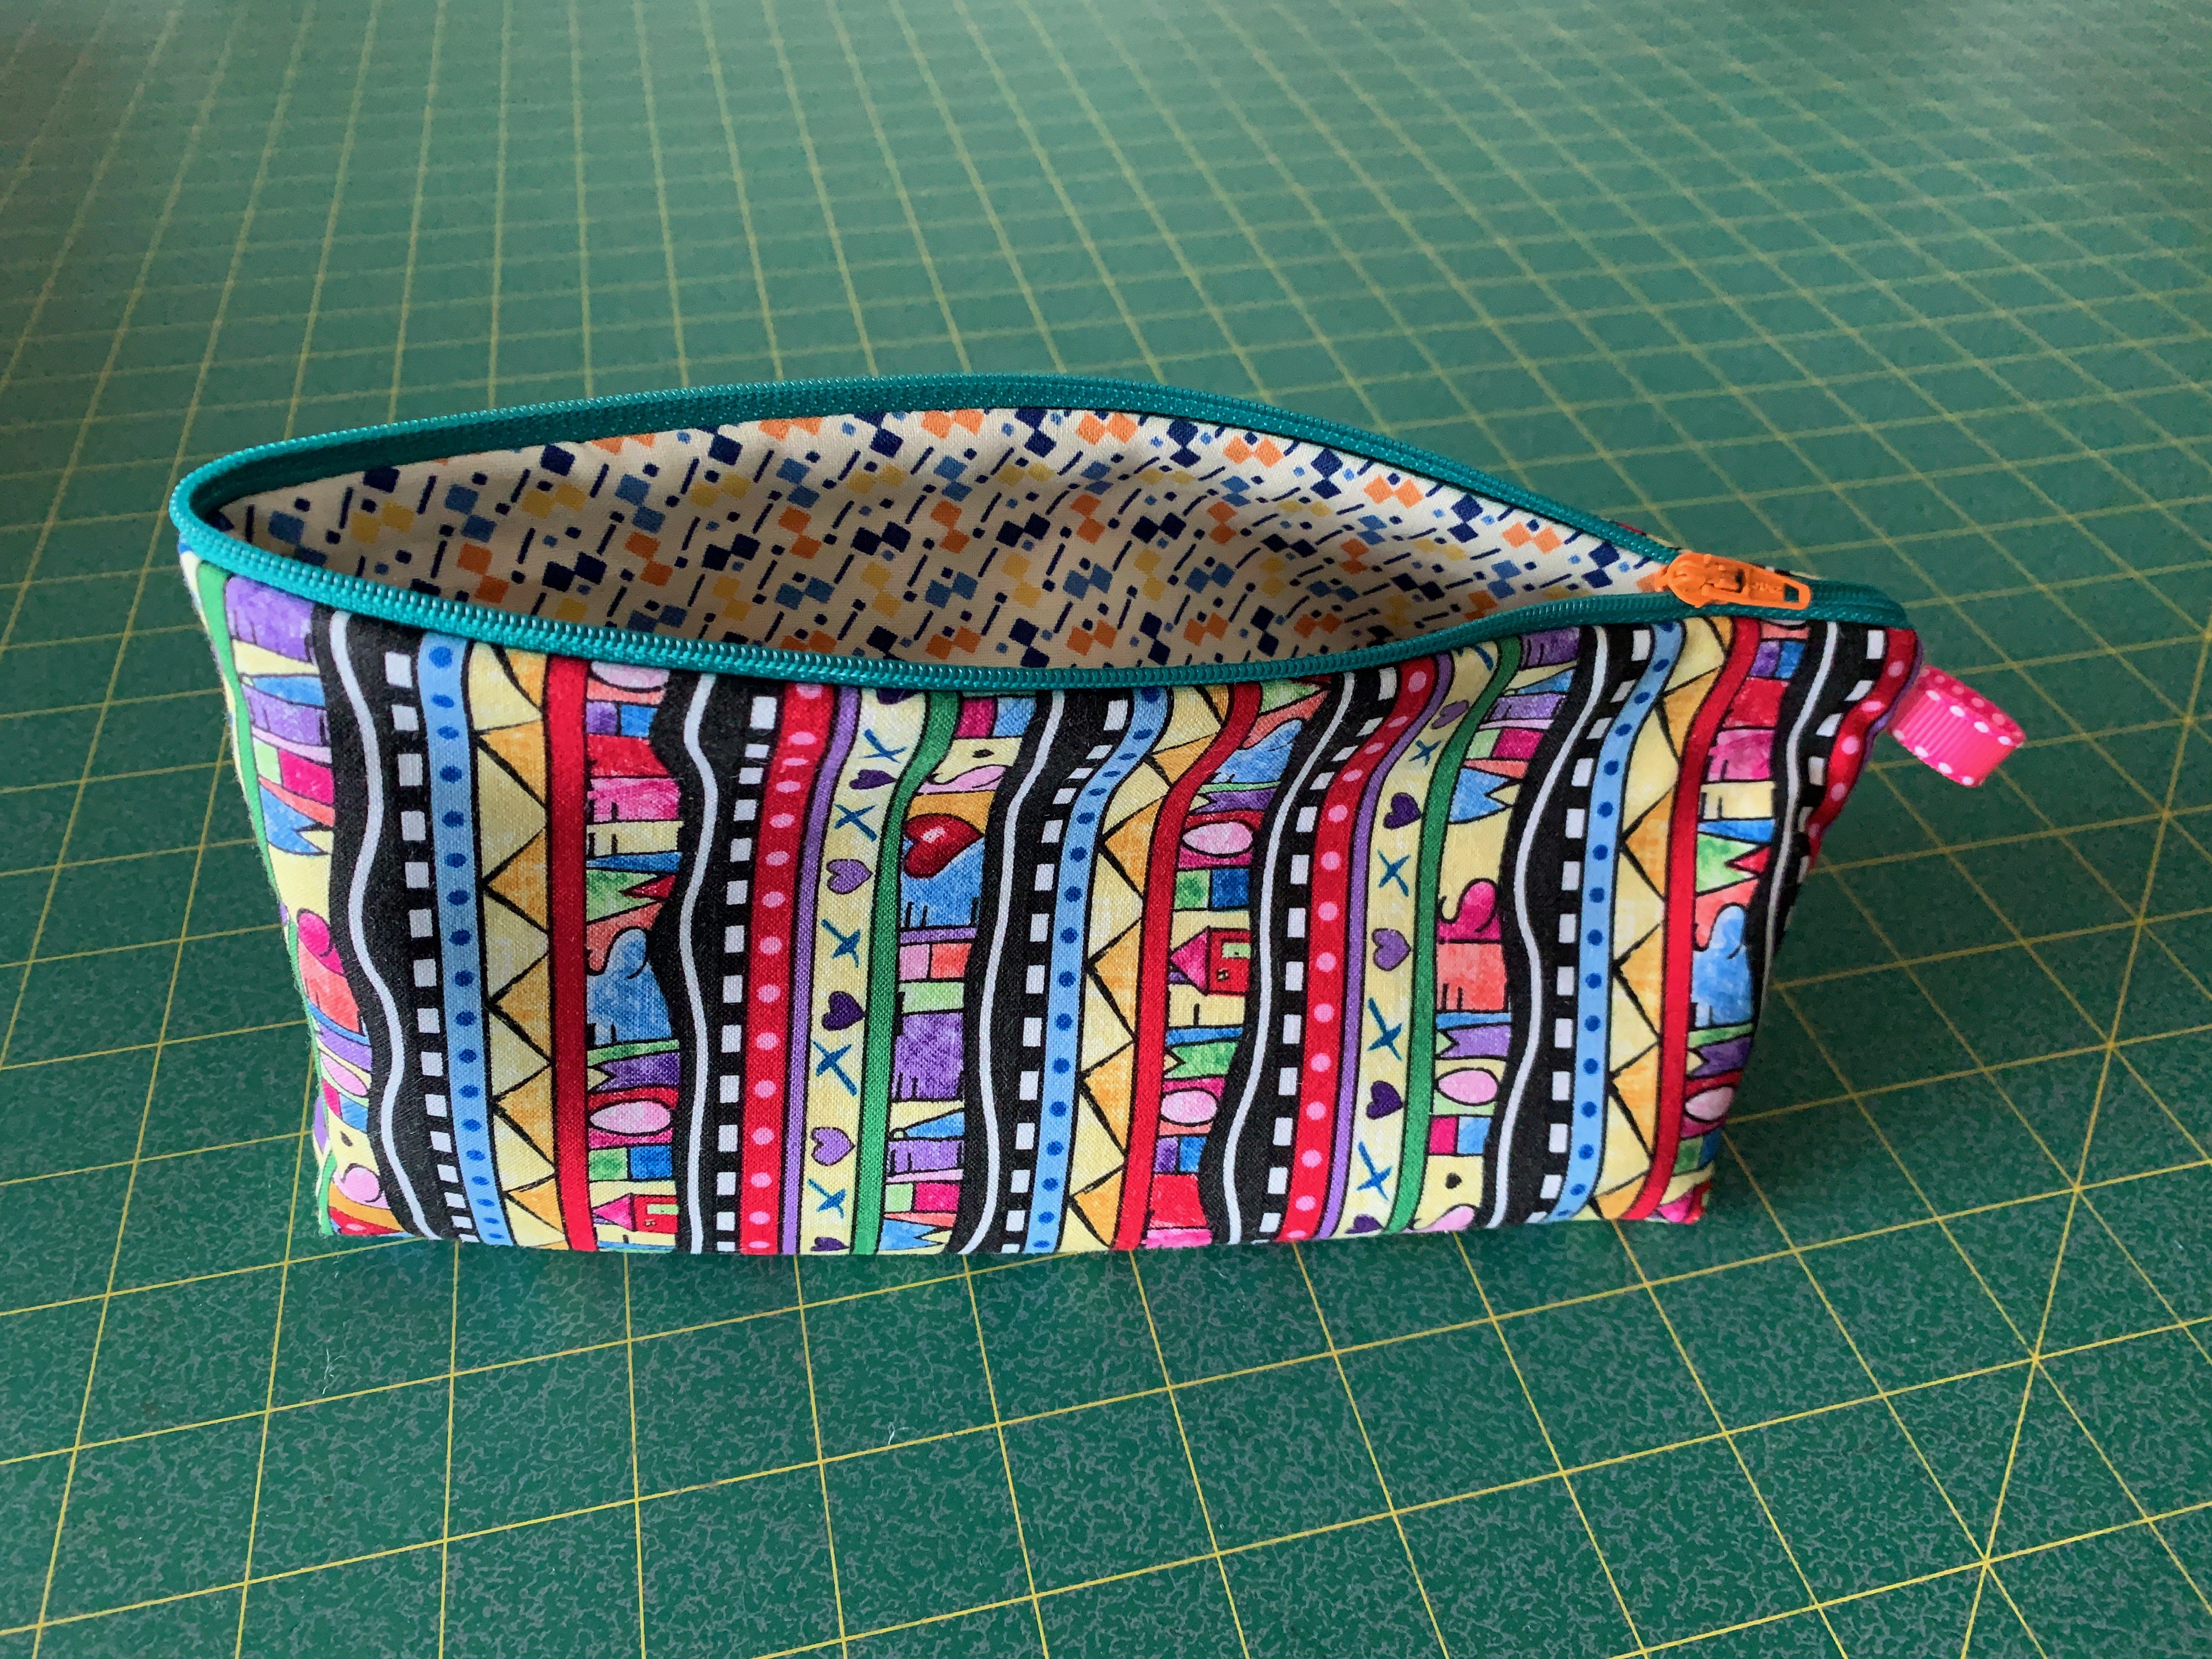
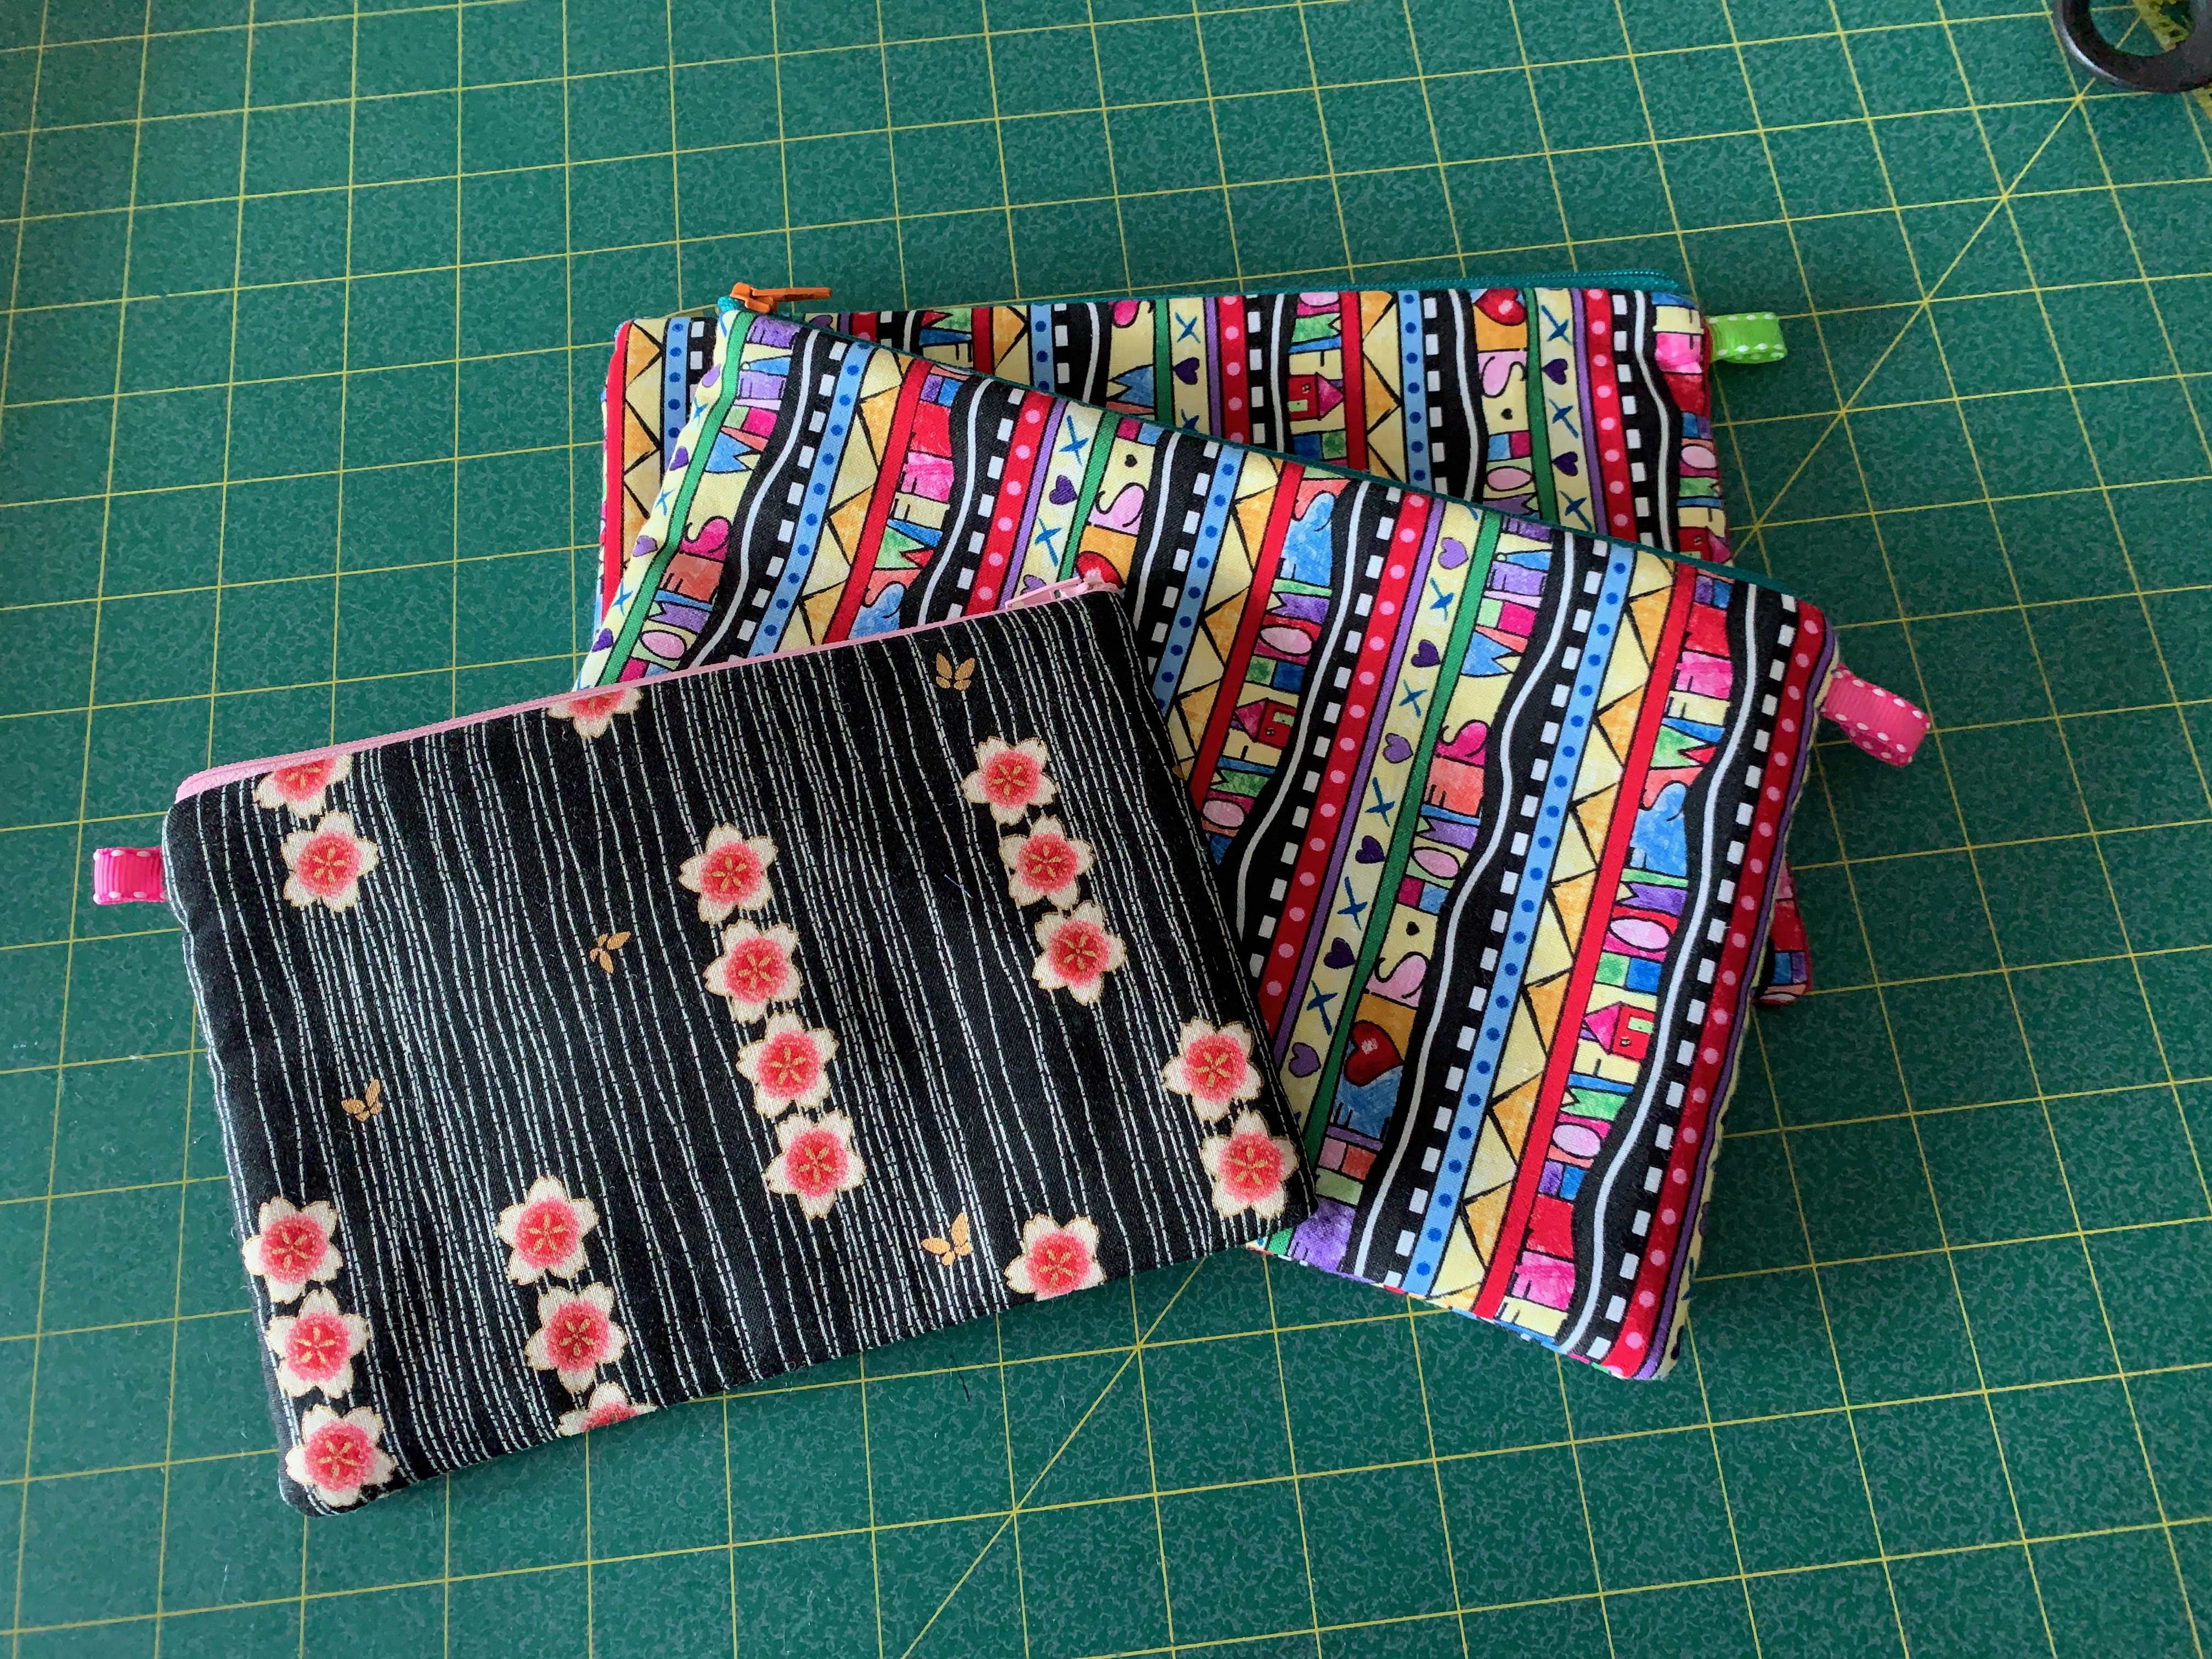
I’ve made three bags so far – two larger (9.5″ x 6.25″), one smaller (7.5″ x 5.25″).
The First Bags – 2 sizes
Now I need to sew the remaining 27 bags! Each bag doesn’t take long – maybe 15 minutes were I to do each one completely, but I’ll do this factory style – I’ll add zipper tape to the outer fabric and batting, add lining and stitch to zipper on the second side, for all of the bags. Press. Next turn right sides outside and add the zipper pulls. Then turn right sides together with lining and outer fabric/batting separated to stitch the open side (remembering to insert the folded twill tape into the seam close to the zipper on the outer fabric side – fold toward the centre of the bag). The bottom of the outer fabric/batting is sewn next. Now the important thing to remember: open the zipper! If the bottom of the lining is sewn before the zipper is open, you can’t open the bag. Turn the bag right side out, sew the bottom of the lining (wrong sides together) then push it inside the bag.
It sounds complicated – I probably should take photos of each step along the way (I will try to remember to do that when I get started on production). But the process is fast and the finished bags are neat.
You can’t have too many zippered bags! I use them for so many different purposes: for jewelry, to store elastic bands, spare change, specialty threads, sewing machine attachments, flash drives for my embroidery machine…. It looks like it’s going to be bags this Christmas.
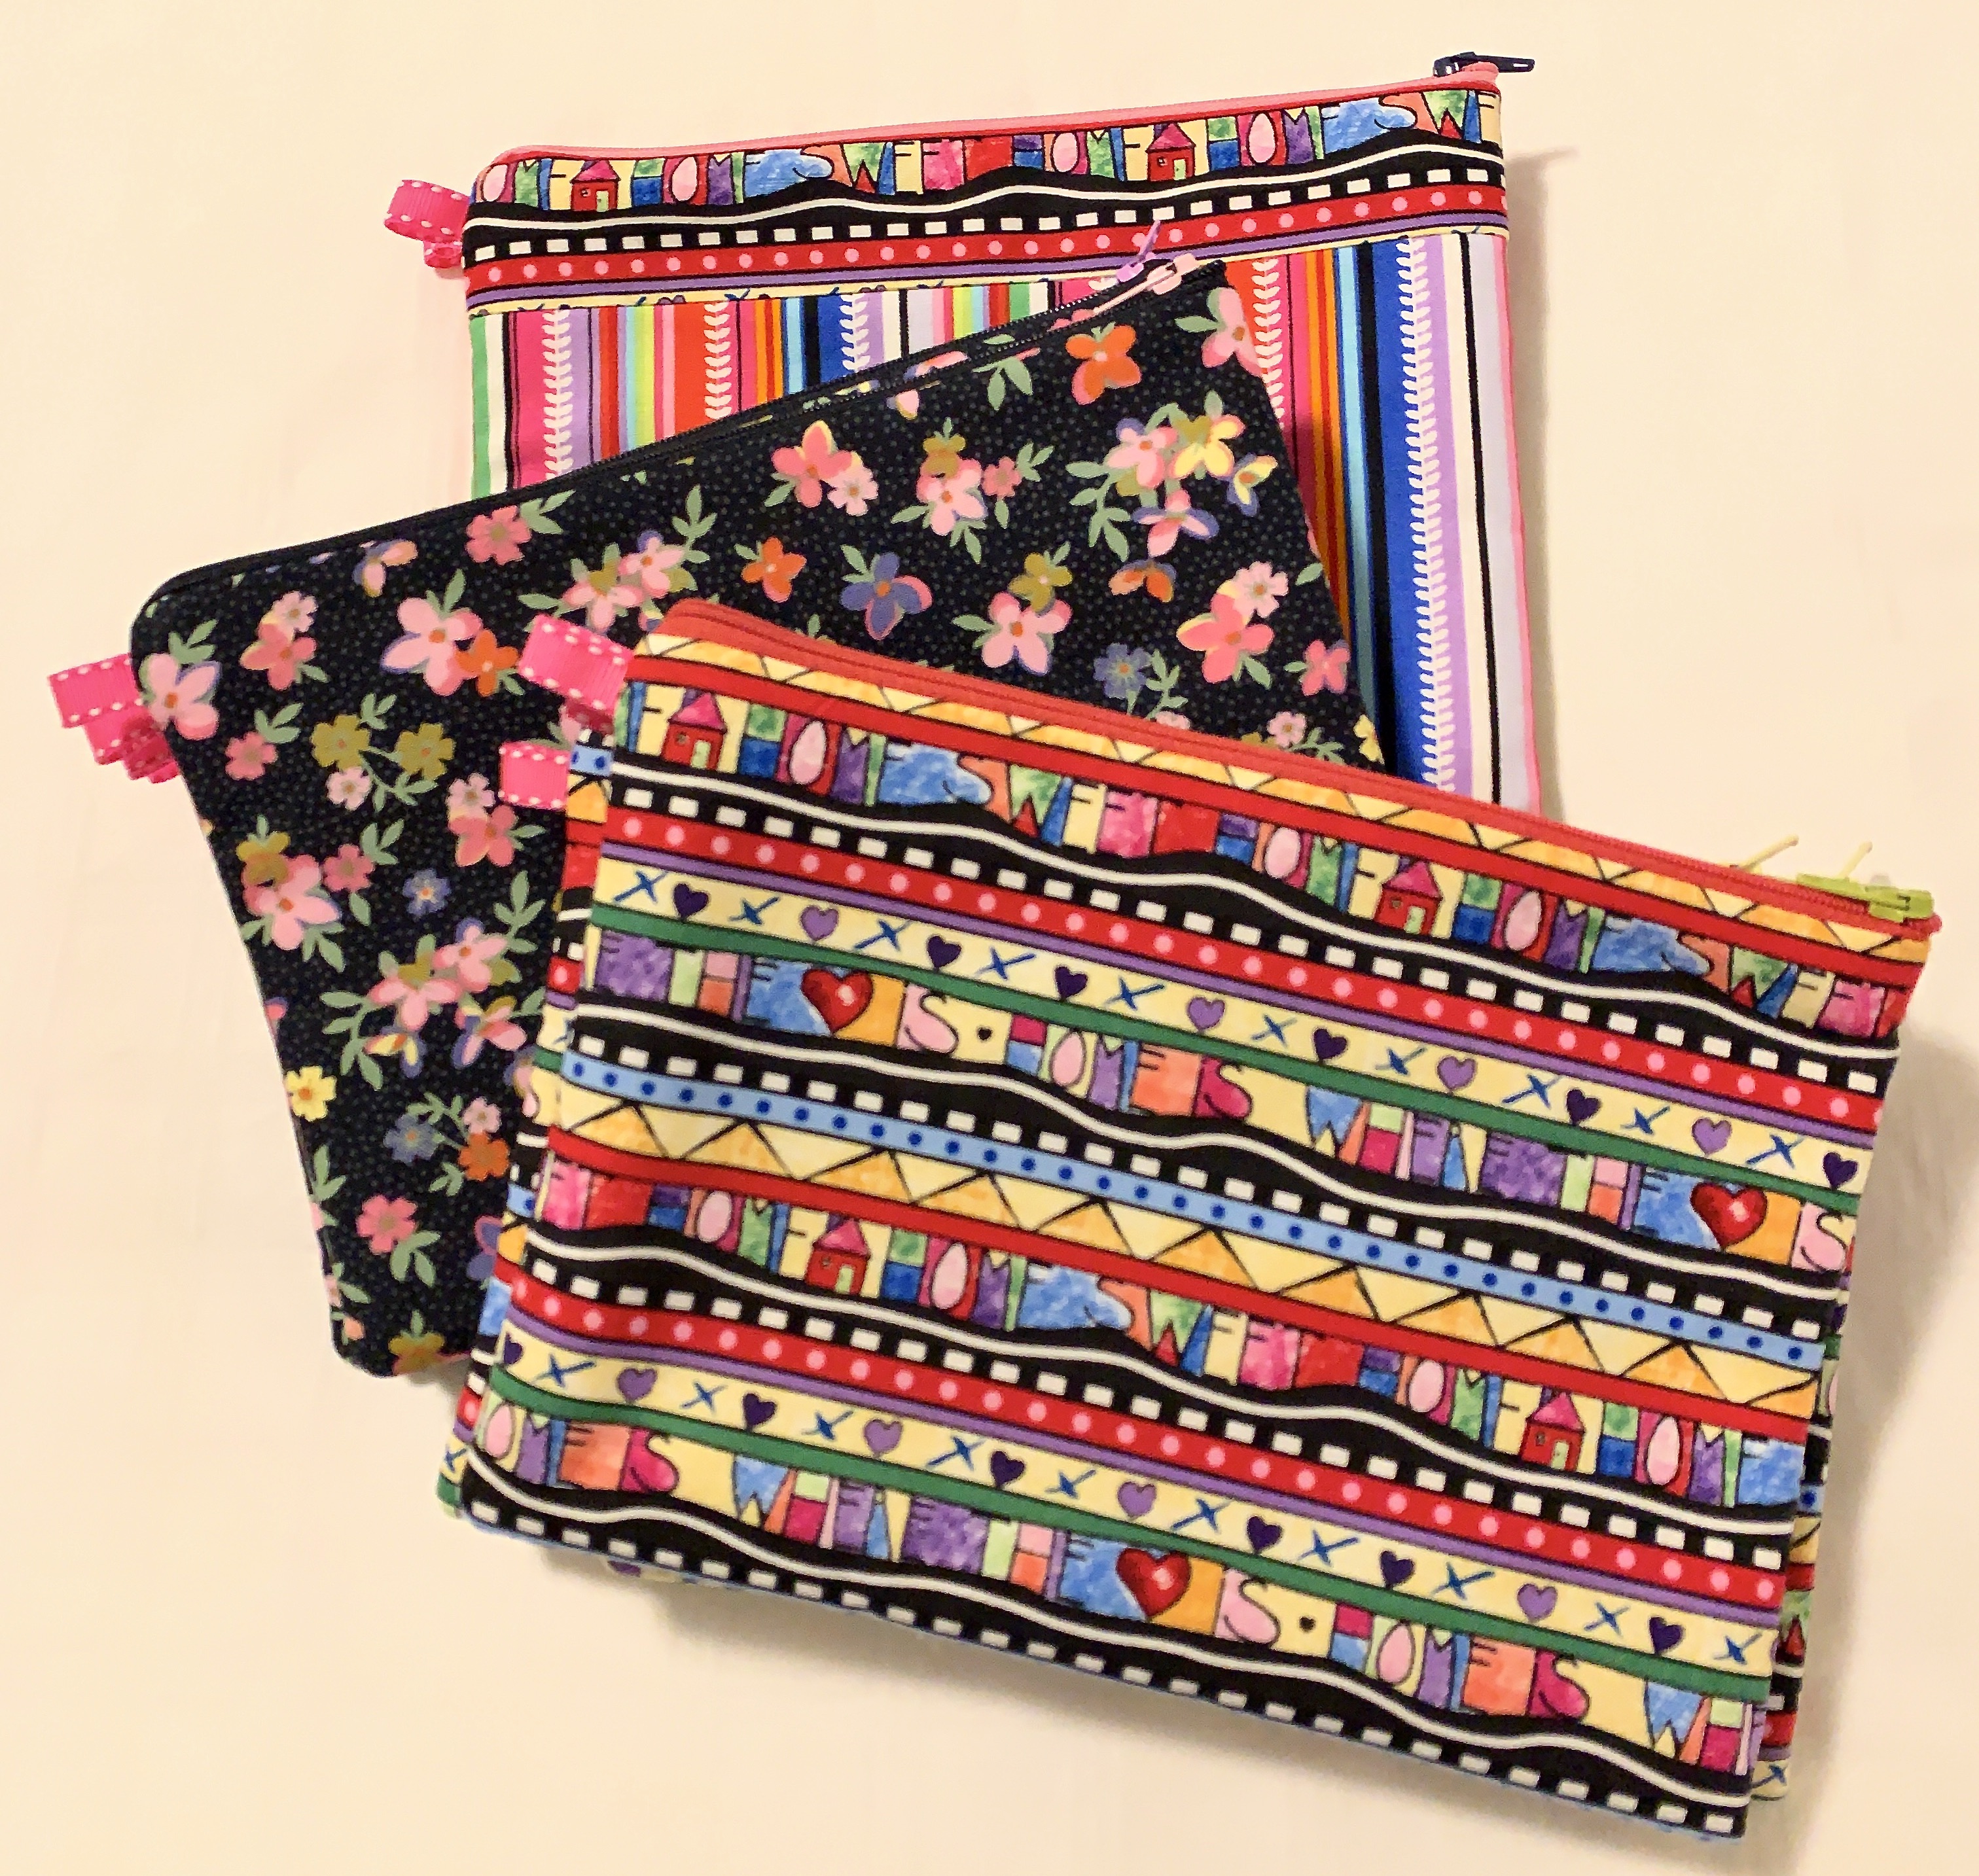
I made 40 small zippered bags before Christmas. During the holiday season I gave most of them away. Two days ago I went to my bag stash to pick out one to give a friend and realized I was down to just four bags. Time to make more!
Yesterday, I bought three half-meter pieces of bright fabric, raided my quilting fabric for a length I didn’t like any more to use as lining, cut batting from a large piece left over from a recent quilt, cut lengths of zipper tape, and 2 1/2″ pieces of grosgrain ribbon for a small tab on the side. An hour later I was set to go into business.
This morning I went into production – three hours later I had eighteen 6″ x 8″ bright zippered bags.
I’m getting organized at this mass production thing – I resisted the temptation to do all the steps on individual bags; I completed each production step on all eighteen bags before moving on to the next. The whole job went quickly.
However most of my sewing/quilting is focused on unique constructions so what I’ve learned from bag production line isn’t much help for the other sewing I do.