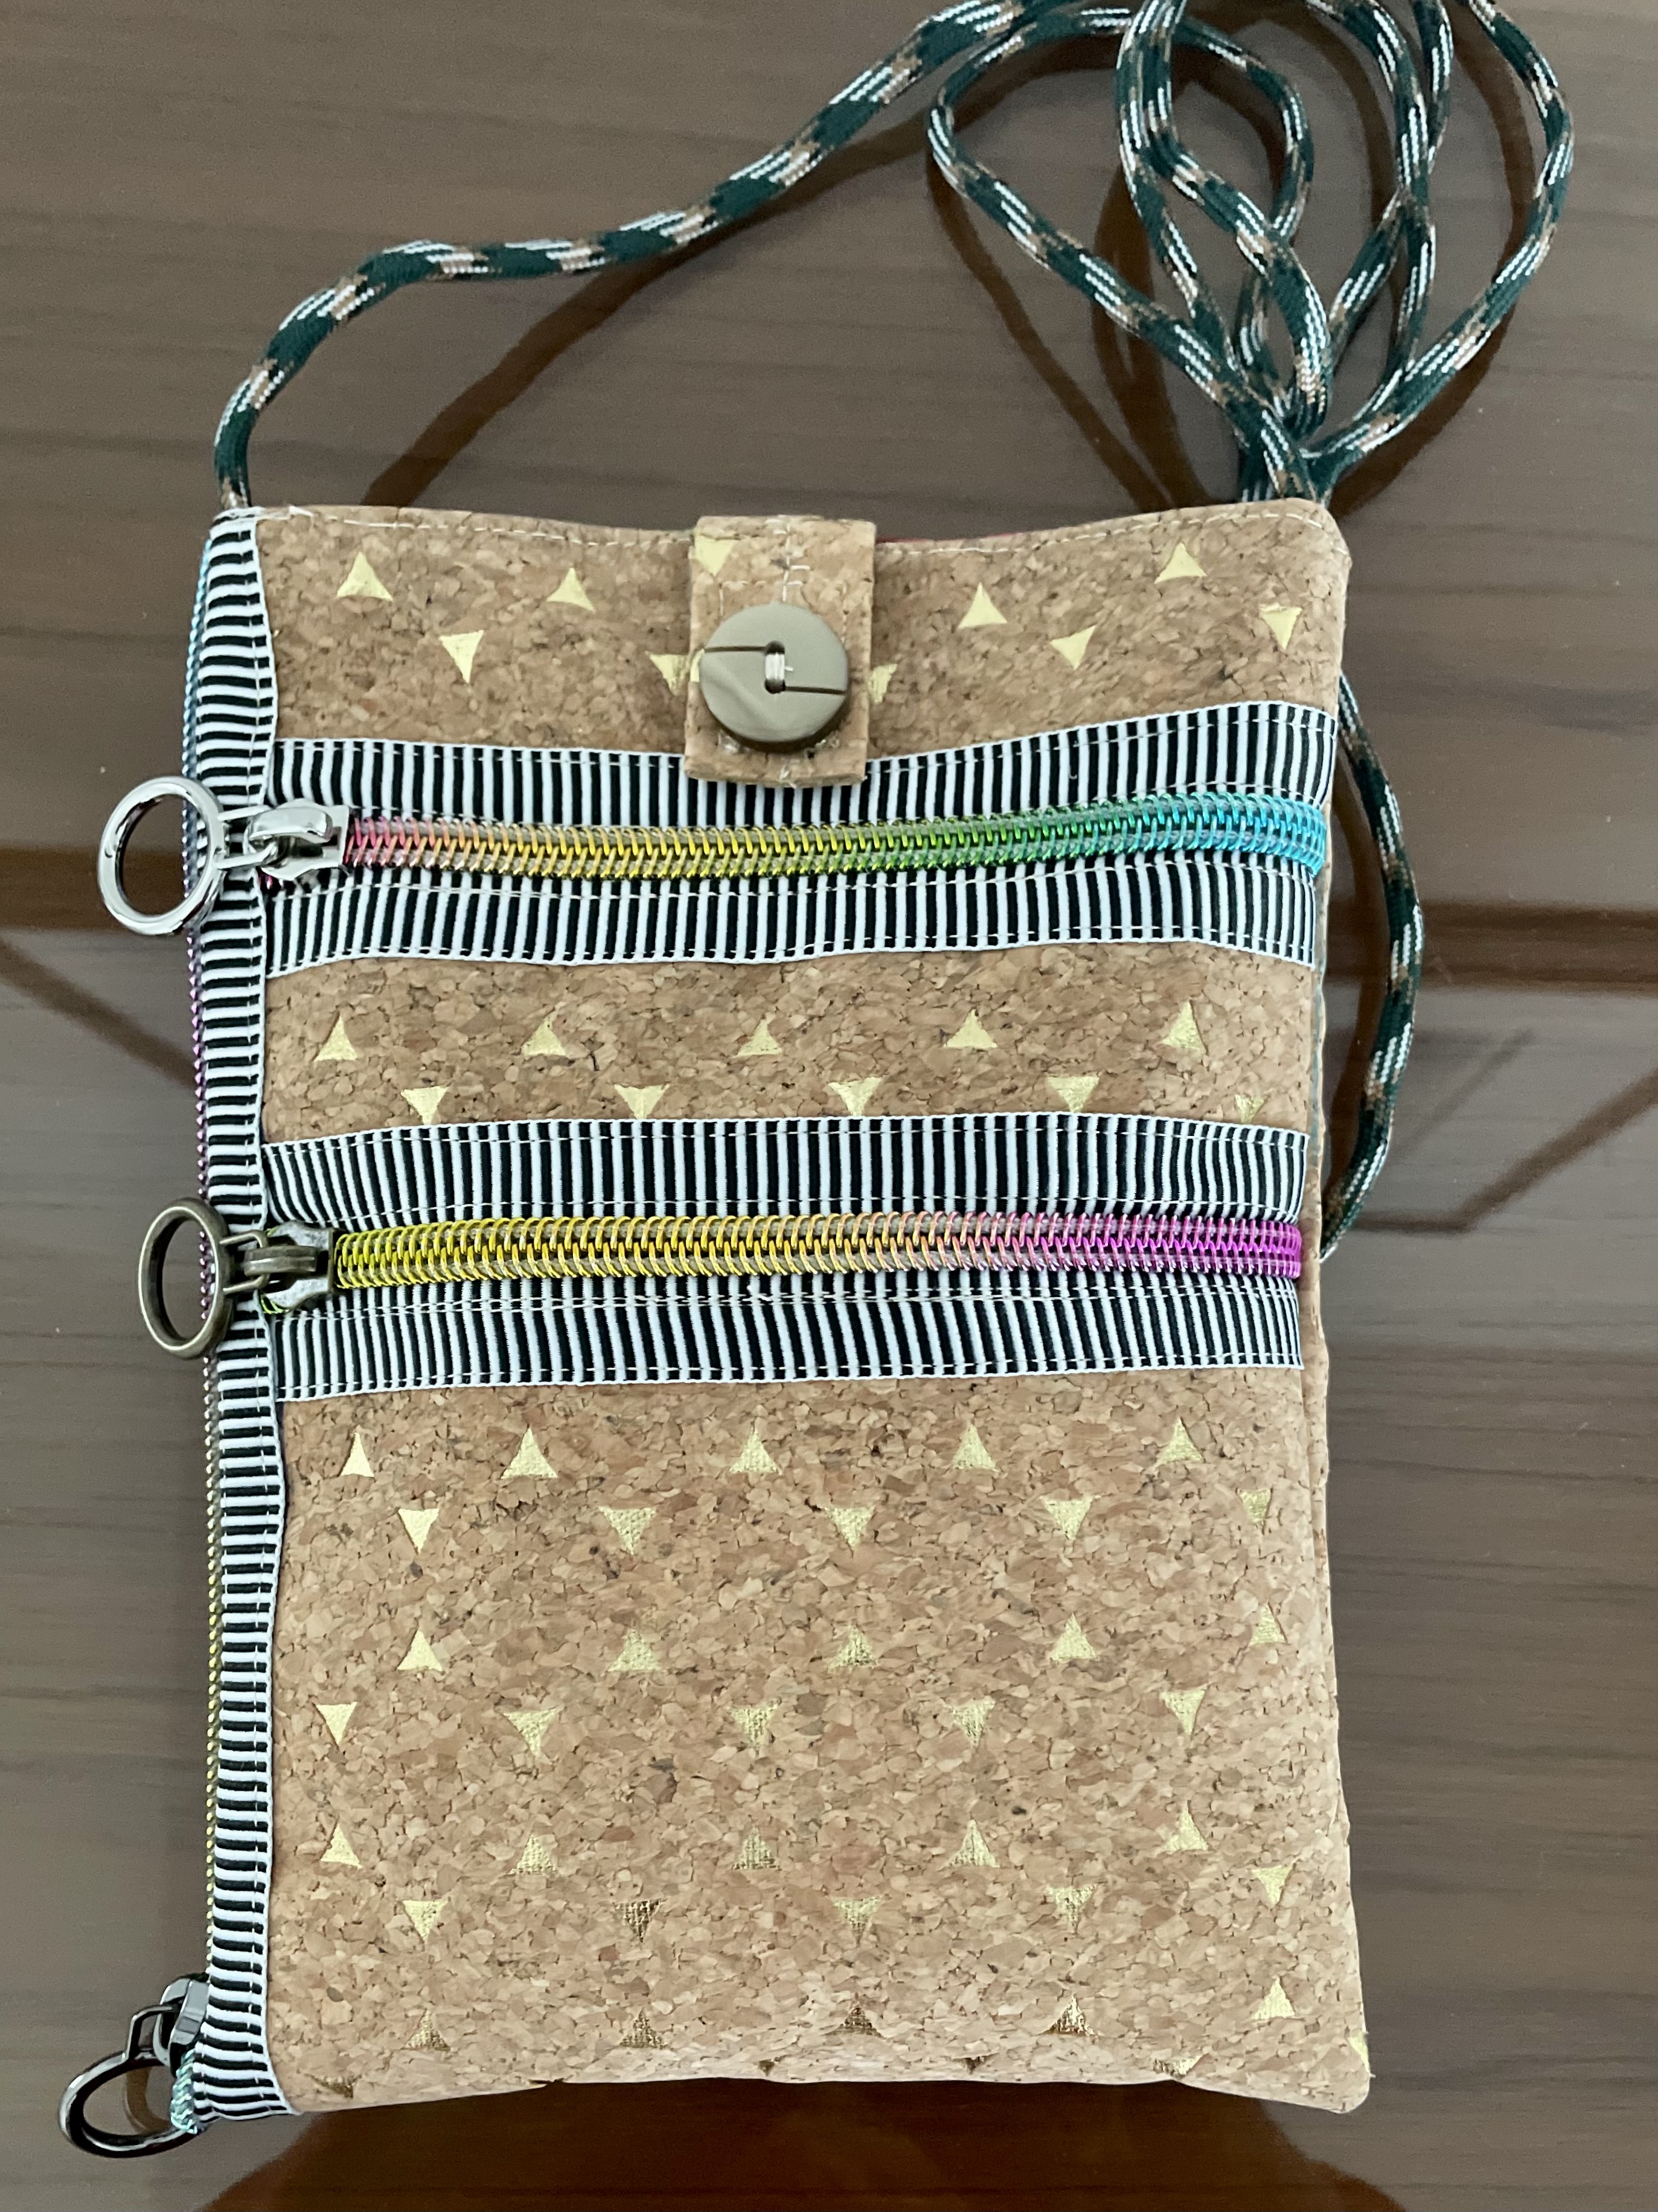
Normally, when you apply a zipper, the zipper tape is hidden within the garment or bag or whatever. But lately I’ve been using a decorative zipper which has interesting tape I want to showcase. How do you apply a zipper in that situation?
Here’s my cork iPhone case which I finished a couple of days ago using the zipper tape as a focal detail:
Now, that I have finally figured out how to apply decorative zipper tape, I’m about to make another bag – I will take photos at each step so I can prepare instructions.
Step one – prepare all the elements:
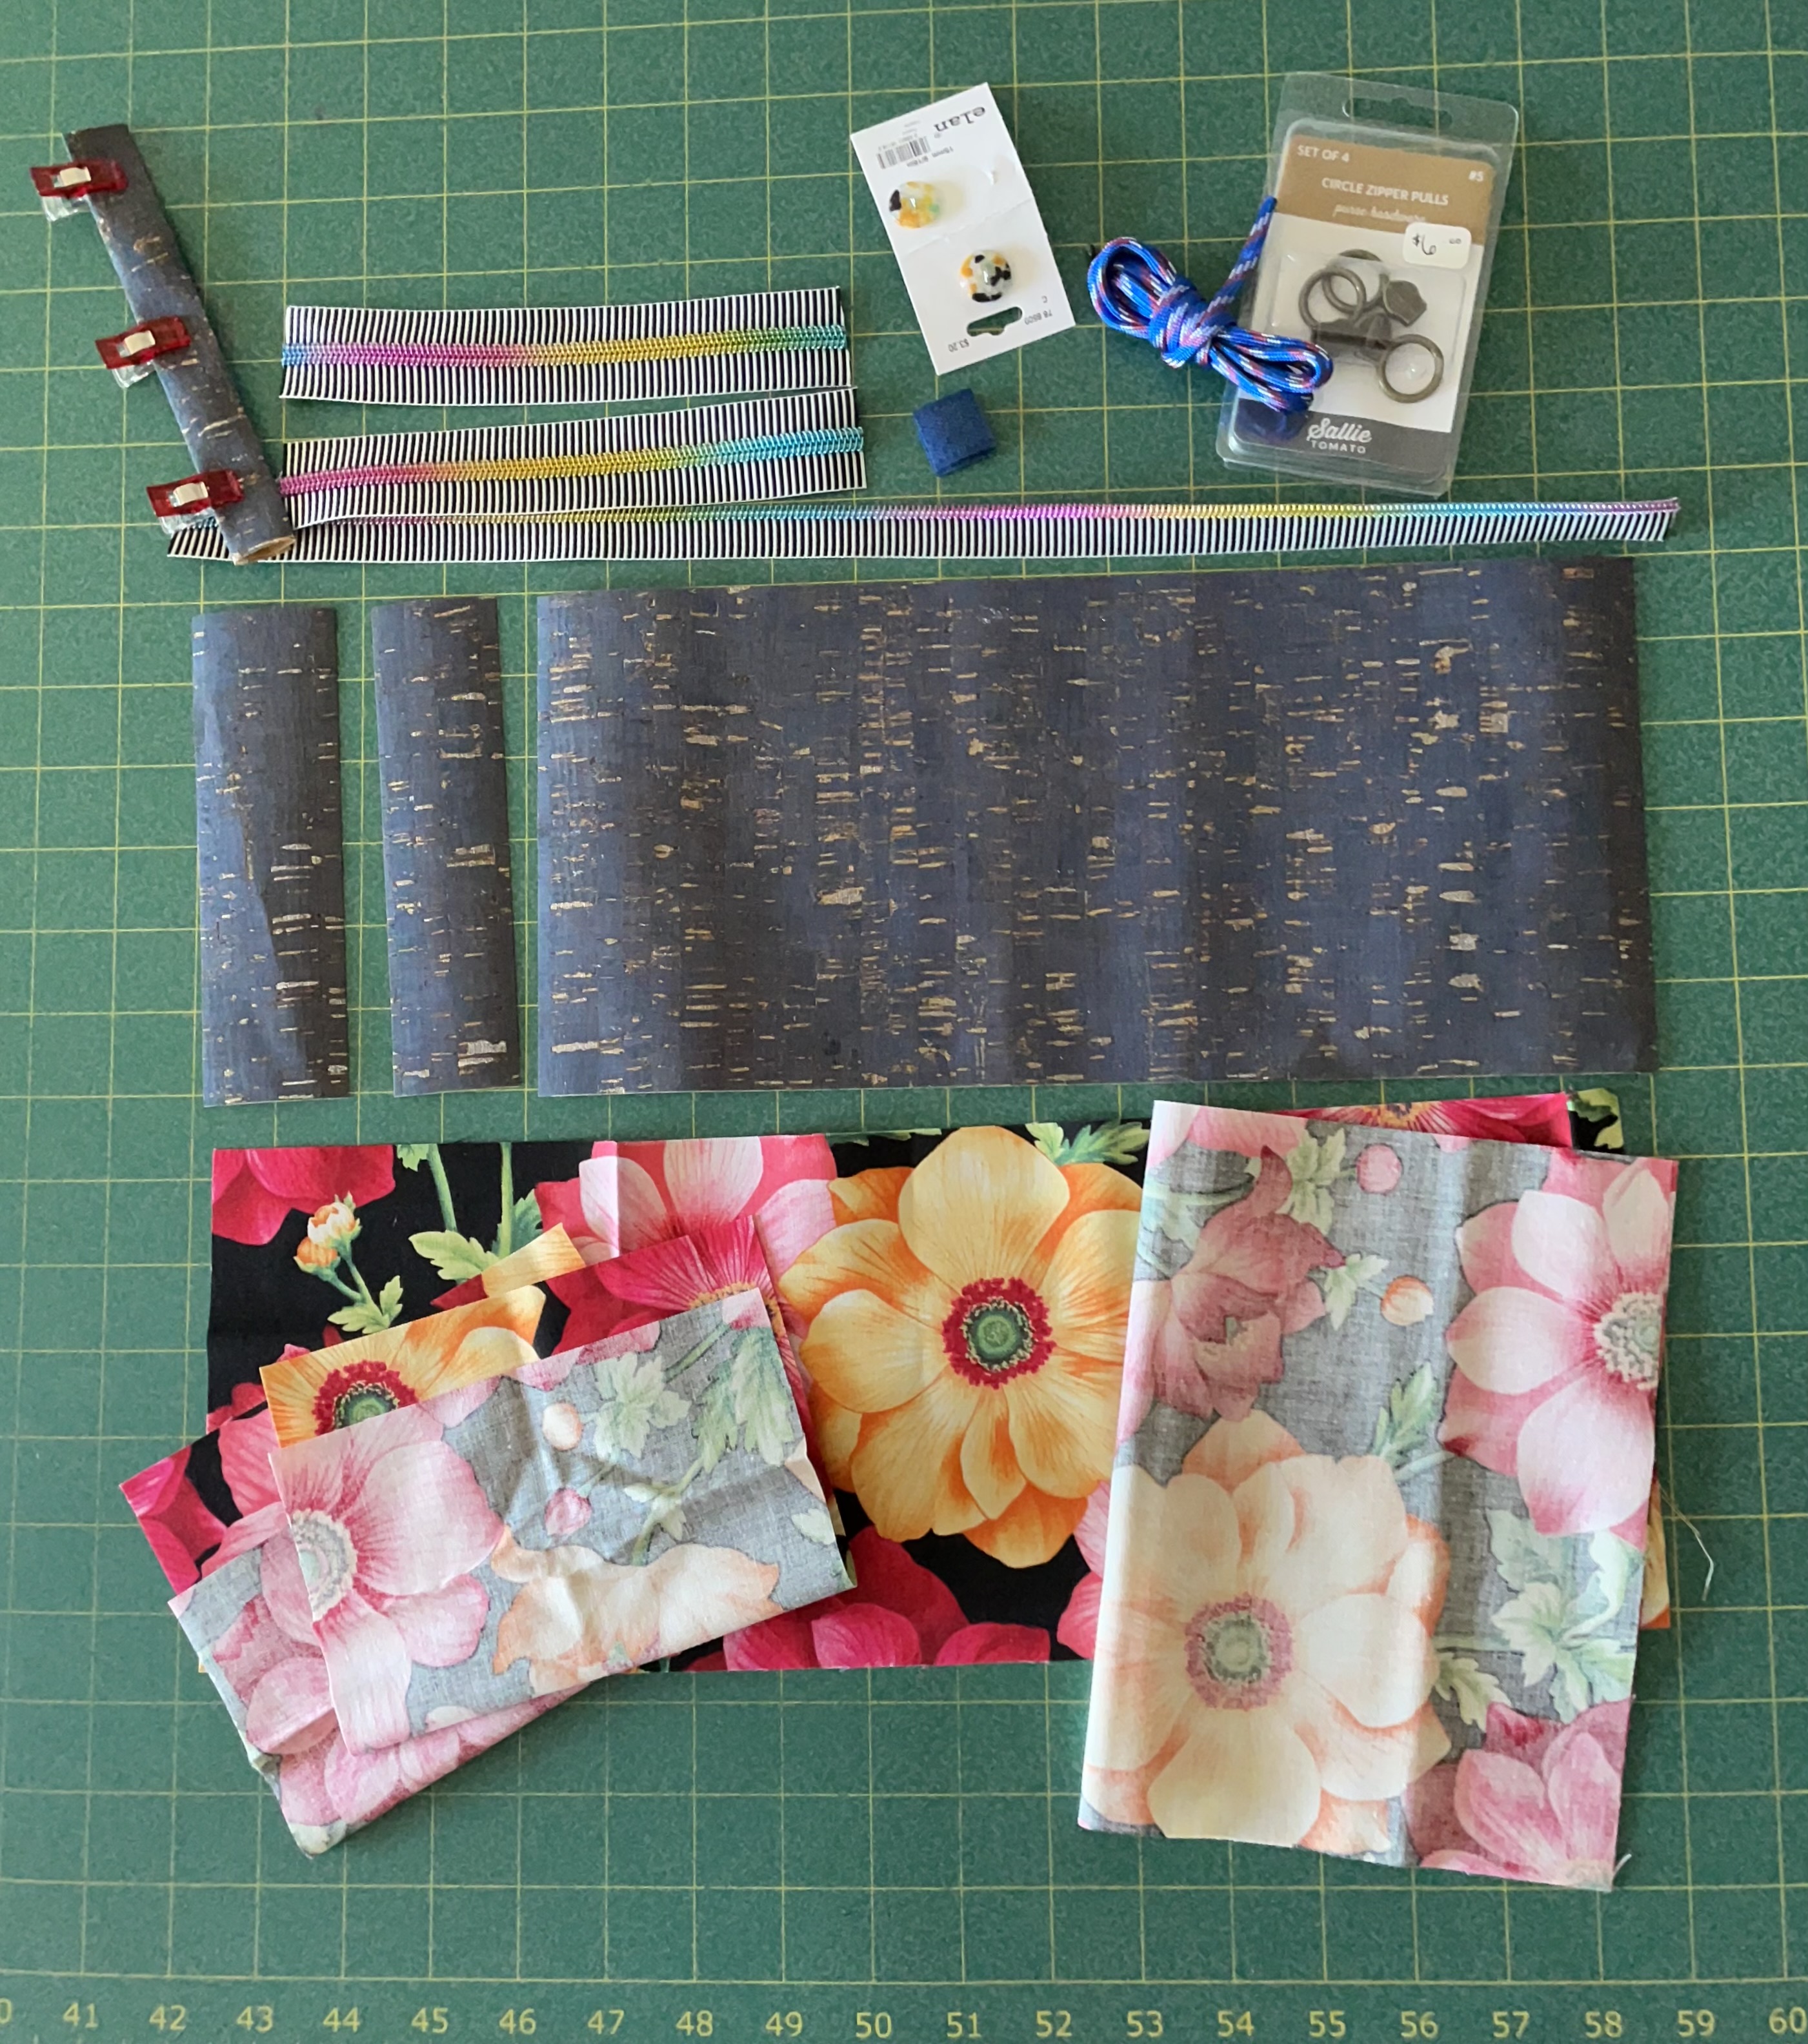
What do I have?
I’ve cut a 6″ x 16″ wide strip from some denim cork fabric;
I cut 1 3/4″ and then 1 1/2″ pieces from one end;
I had a leftover 2″ x 6″ piece which I’ve folded in thirds for the tab (upper left with clips).
I had one 17″ length of zipper tape (the other half of the tape I had used on the completed bag above), I cut two more 7″ pieces of zipper tape (longer than the width of the bag so I have some wiggle room to add the slides); I have three slides.
I cut four pieces of lining fabric:
one piece of 6″ x 16″,
one piece – 8″ x 12 1/2″,
two pieces 6″ x 8 1/4″ (to accommodate the size of a credit card)
A piece of velcro
An interesting button
48″ of parachute cord
With everything prepared, I’m ready to sew.
I will start by constructing the tab – the cork strip is folded in thirds, I’ll use a decorative stitch to hold it together; next, I’ll add the “hooks” part of the velcro to one end; last, I’ll stitch the button to one end (as a decoration).
Step two – the body.
I’ll start by applying zipper tape between the small strips, then along one side….
Now – on to actually making the case. I hope to have the photos by later this afternoon. I’ll write instructions tomorrow and add them here when they’re done.
May 3 2025
I made the second bag two days ago, taking pictures as I worked, only to discover when I went to document the process that I’d created the pockets “top-down” (which works but is too difficult to describe and follow because you’ve got to keep your pocket linings out of the way as you work your way down!).
I should have worked from the “bottom-up” – adding zipper and pocket lining to the “bottom” pocket first, then the upper pocket second. So now I have to make another bag, take pictures as I work, so I can describe what I do.
I’ll get to that when I can. (Here’s where I’d put a “sad” emoji).
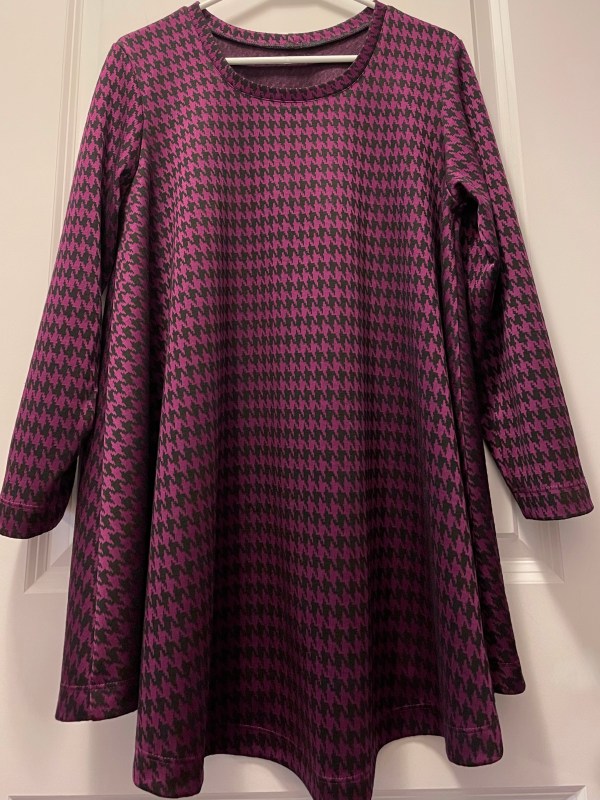
Here’s the finished bag:

You can’t tell how I constructed it once it’s done. However, it would have been much easier to describe the process had I installed the bottom pocket first.
Oh, well.
I haven’t completed the instructions for making the cork bag with decorative zipper tape – but the photos are all there!
One of these days I’ll get around to completing the written instructions….