I’m Bored On An Assembly Line…

I’ve got the mask making process down pretty well, now. I continue to improvise as I figure out more efficient ways of doing each step but I’m now bored out of my mind. I’ve figured out what to do and doing it over and over and over is driving me batty – however, I’m keeping at the face mask making.

There are still a number of bottle necks:

  1. Cut the rope elastic – but each mask needs two pieces and each piece needs a knot in both ends – 50 masks – 100 knots and that takes more time than you realize!
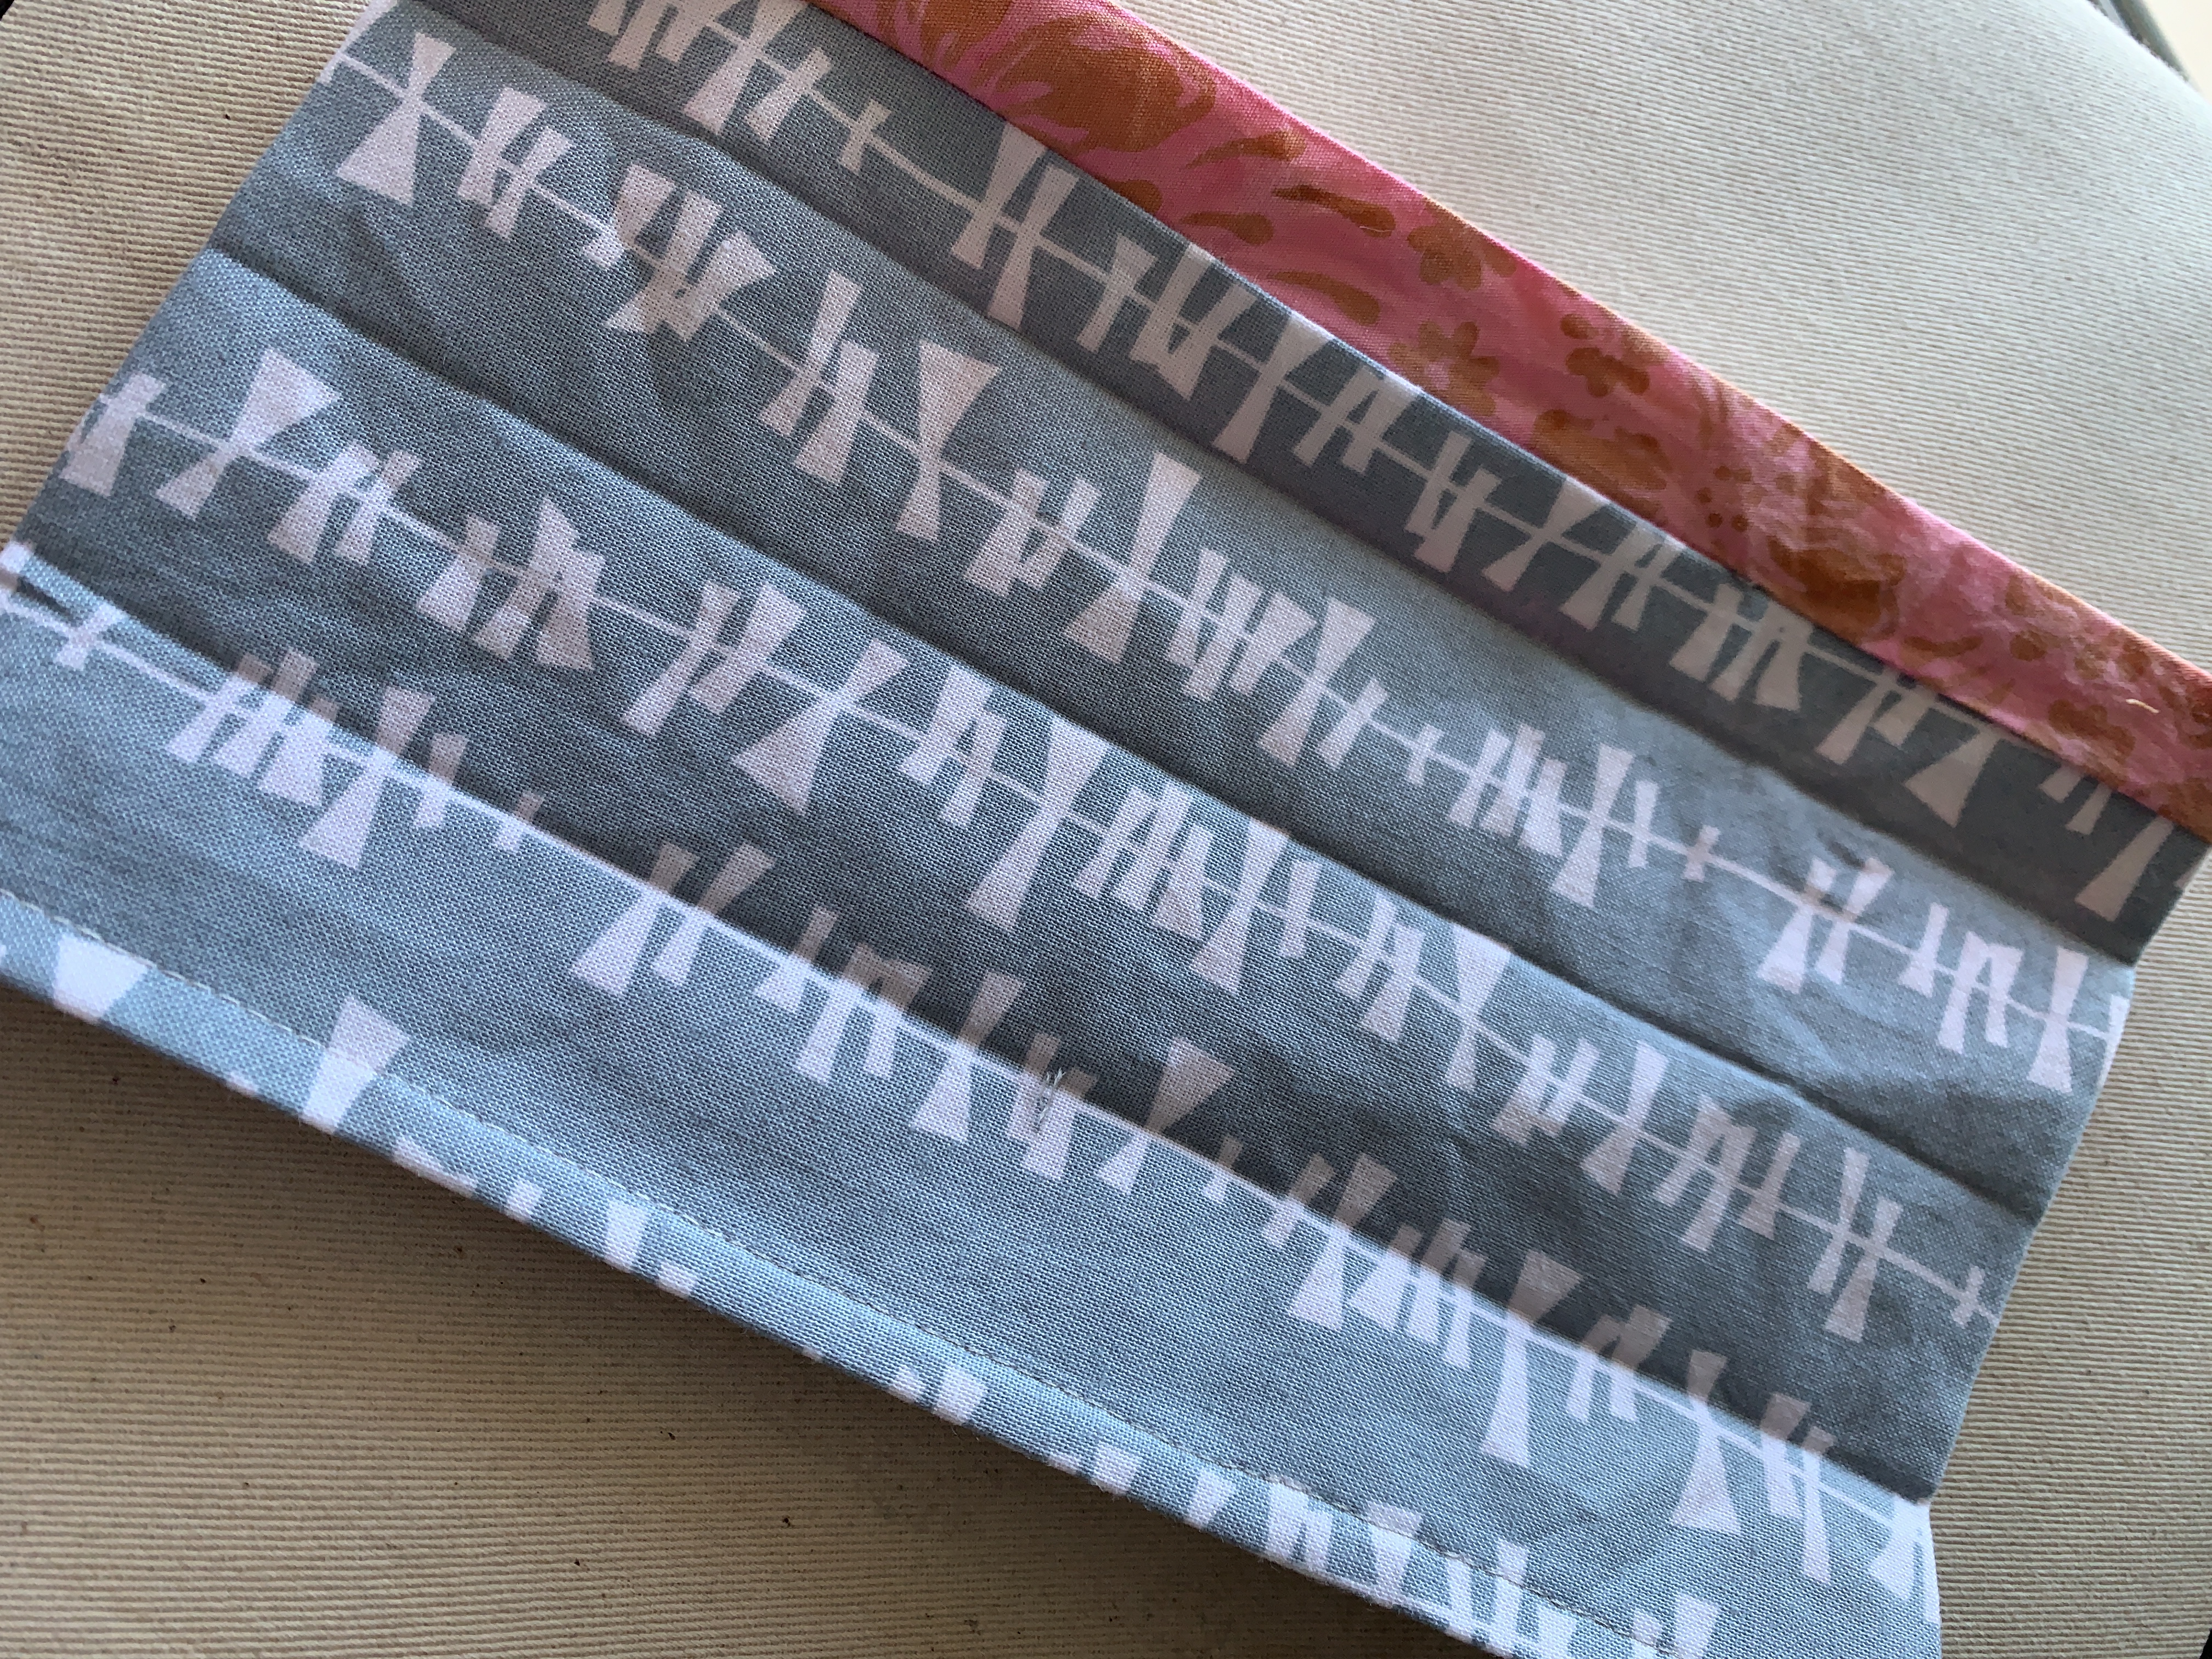
  2. Either pinning (as in the photo below) or clipping the knotted elastic in position in the corners of the sides takes WAAAY more time than I want it to; and I haven’t yet sewn the side seams!

Bottleneck

I got all 25 masks in today’s batch pinned and side seams sewn:

Stack ready to turn right side out

However, each mask needs to be turned right side out – that takes a lot longer than sewing the side seams which went quickly.

Straight Stitch Needle Plate

Along the way, I realized I didn’t need to measure each mask for the first seam with the opening in the middle – I positioned a piece of green masking tape at the start point where I could align one edge, and the marks on the blue masking tape mark the positioning on the second edge. Sewing the seam with the opening went quickly after that.

Another problem arose: sewing in the rope elastic was difficult – the start of the seam kept getting caught in the wide opening in the zigzag needle plate. I finally switched to the straight stitch needle plate with a small hole for the needle – much better.

I’ve also figured out which foot is best for each operation and I make sure I keep changing feet to do the job. That keeps the process running smoothly.

At the moment my tally is 37 + 25 masks. I still have to stitch in the pleats on the 25 – I’ll get that done tomorrow. The bulk of those masks are for family in Toronto. They’ll get shipped as soon as they’re washed and dried.

This afternoon I called a nearby seniors’ residence offering to make masks for them if they can use them. Haven’t heard back as of this writing.

I’m not planning on making this effort a life-long project. I’m now finding the mask making boring; but I’m willing to work away at another 50-100 to help out should they be needed.


Production Underway

I don’t want to bother writing instructions for sewing fabric face masks – Leah Day’s instructions are the most comprehensive I’ve come across, although I made modifications as I went along.

Sewing Side Seams – Elastic in Place

First of all, I had already cut a pile of fabric 6″ x 9″ (Leah cut hers 15″ x 9″ – I found that a bit too long from nose to chin) so instead of putting the cut pieces aside I sewed two together and treated them as a single piece (although shorter than 15″).

The part that may be hard to follow in Leah’s instructions is her step #5 – it’s a bit easier to see where the 1/2″ seam goes with what I’ve done – the seam is a bit more than 1/2″ above the fold (which is in the second fabric). In the picture above you can see that. You can also see as I sewed the 1/4″ side seams that the elastic is held in the corner with a quilting clip (I don’t use mine very often be they’re perfect for this project! Leah’s suggestion.)

Pipe Cleaner Clipped In Place

With the side seams sewn, turn the mask right side out, press flat. Next, I slipped a piece of pipe cleaner (I’ve also used twist ties) into the fold opposite from the opening (Leah put the pipe cleaner on the near side – I think the opening lays flatter with my adaptation leaving the opening at the bottom rather than the top of the mask). I used a clip to hold the pipe cleaner in place.

Stitching Pipe Cleaner In Place

With a 1/4″ quilting foot with centre guide, I stitched a 1/4″ seam across the entire top edge using the guide to hold the pipe cleaner against the fold – worked nicely.

Pipe Cleaner In Place

You can see the 1/4″ seam holding the pipe cleaner in place in the bottom of the picture.

Now, I had done the next step before inserting the pipe cleaner. Leah carefully measures where to pleat the mask – that’s fine if you’re doing one or two. I’m planning on 100 – too time consuming. I’d seen another video where the gal folded the mask in half, pressed, folded it into quarters, pressed. I’d recommend doing the folding/pressing AFTER inserting the pipe cleaner/twist tie/floral wire – whatever you’re using.

Pleats folded

Next it’s time to fold the pleats. I put the mask open side down, opening at the bottom, and began folding from the bottom toward the top, clipping the folds as I went along to hold them.

Sewing Pleats Down

I found it easier to sew the pleats with them facing me, the presser foot (I used the universal foot for this operation) flowed over the fold better, but that meant sewing one side of the mask with the bulk of the mask within the harp (usually the bulk of the sewing is to the left, outside the harp). The other side of the mask gets sewn in the usual way, since the pleats are going in the right direction. Also, I used a 2mm stitch to sew the pleats – just a bit more secure.

I didn’t bother edge stitching the whole face mask. Didn’t think it was required.

16 Completed Face Masks

One other thing – I cut my elastic 6 3/4″ in length which I found was long enough for my face. I recommend doing a test run to check the finished length from nose to chin, and width including elastic before going into any kind of production mode.

Why the opening in the bottom of the mask? Well, first of all, you need it to be able to turn the  mask right side out after you’ve sewn the first seams. Leah left it open so that a surgical mask, (or some other breathable but less permeable material like a piece of vacuum cleaner bag) could be inserted inside, making the cotton face mask a cover rather than the mask itself.

I have 10 more masks set up to work on tomorrow (using my 6″ x 9″ pieces). When those are done, I plan on doing another couple of batches following Leah’s instructions – a single folded piece probably 13 1/2″ in length and follow on from there.

I’ve Almost Got It…

I made a single mask yesterday – way too fiddly with flannel as the inner layer! Seams were too thick and it was very awkward to pleat. I stopped at one! I decided to sleep on the problem. If my goal was to make just a few masks I could have carried on, but I want to make 100 – I need to be able to streamline the process.

This morning I decided to match up fabric pieces with fused non-woven interfacing with fabric pieces without – less bulk in the seams.

I made a single mask – first sewed elastic onto the ends of the front piece; then zigzagged two twist ties to the wrong side of the back piece. Then sewed the two pieces together leaving an opening on the bottom so I can turn the mask right side out.

Folded in half and pressed, then in quarters and pressed. Turned pressings into folds. Stitched the folds down as I edge stitched the whole thing.

Five Masks Done

After the first was completed I did four more production style – doing each step on the elements of four masks, next I put the four masks together.

Then I watched videos by Jenny Doan (Missouri Star Quilt Company) and Leah Day (a widely followed quilter). Jenny’s version (Instructions) of the mask is simpler; Leah’s is closer to what I’m aiming for (with an opening to add further protection (Leah’s instructions)).

Leah had a couple of innovations I hadn’t thought about – she used pipe cleaners for the wire support at the top (a really good idea), her way of creating the pocket is simple, and she used clips to hold the pleats in place.

I’m still going ahead with the fabric I cut two days ago, more or less following Leah’s instructions, which is going to make a stripe of fabric on the fronts – to create the pocket opening I will have to offset the top/bottom seams by 1/2″. (I’ll post a picture when I’ve done one).

Right now the masks I’ve made are in the washing machine; next into the dryer, then they’ll be good to hand out.

More pictures will come as I rework my production process. The idea is to refine production to be as simple as possible.

Fabric Face Masks – Production Begins

With table runners and other stuff completed, time to turn to fabric face mask production.

I started by pulling fabric from my stash. I have quite a number of “scrap bags” from Keepsake Quilting which just happen to contain 9″ (1/4 yd) coordinated fabric strips – fancy that – I need rectangles that are 9″ x 6″. I cut several strips into 6″ rectangles.

Next, I cut what non-woven fusible interfacing I had on hand into 8.5″ x 5.5″ rectangles and fused them to the back of the fabric. The 1/4″ seam allowances will be less bulky without the interfacing included and because the interfacing is fused to the fabric, it’s going nowhere. I was able to prep 56 pieces of cut fabric. Now I have to go looking for more non-woven fusible interfacing.

Fabric with non-woven fusible interfacing (as a third layer for added filtering)

A friend brought me a metre of unbleached flannel the other evening. I washed it, dried it, and cut it into 9″ x 6″ rectangles. Today I briefly stopped by her place to pick up 4 more metres (the rest of her supply). It’s been washed and is now drying. I also picked up a bunch of twist ties from her.

Flannel rectangles for inside of mask

I have been collecting twist ties from all my friends in the building and have ended up with, would you believe it, almost 140 to use at the top edge so the mask can be pinched to fit the nose.

All that’s left to do is cut the 1/8″ elastic. I need 13″ for each mask, I have nowhere enough at the moment. I ordered a roll via Amazon the other day but it’s not going to arrive quickly enough for this assembly line. I’m going to have to scrounge around the building and touch up some other sewing friends to see if I can come up with more. If all else fails I have the better part of a 100m roll of 3/8″ elastic I can use.

Elastic (as yet uncut), twist ties for fitting over nose, more cut fabric

I’m now ready to start production tomorrow and get as far as my materials will let me. I am aiming for 100 masks. That’s not going to be enough – I have requests for 20+ for family in Toronto; I have 25 friends in the building to outfit; other friends in the city. I haven’t yet contacted the hospital community to find out whether they have a shortage of face masks and could use some. If that turns out to be the case, then I will have to enlist a bunch of other sewing people to pitch in. However, I’m hoping I won’t have to turn this project into a large enterprise.

Tomorrow, I will have to set up a batch of 10 and see how I can organize production so I can arrive at a finished product with the fewest steps. I’ll report on my process.

Sunflower Table Runner – Finished

Finished quilting and binding the table runner last evening. Hand stitched the binding on the back (definitely not my most favourite thing to do!).

I’m happy with how the dark narrow binding pulls attention away from the outer border which doesn’t completely match up. I just didn’t have enough sunflower fabric (with its very large flowers) to find precise repeats for the border strips. I realize nobody but me will even notice. I was making this table runner as an example for a class I was planning on offering – not going to happen in the near future so I’ve hung it in the closet with the rest of my finished projects until such time as I might need it.

Sunflower Kaleidoscope – Top

I dug through my stash to find something for the back – found a 9″ golden/orange WOF piece which worked as a starting point, added a scrap of the sunflower fabric and a piece from the previous runner at the ends (the two ends are intentionally different – it wasn’t a mistake!). I had enough of the orange dotted fabric for narrow inner borders and then hunted until I found the dark outer border fabric given me by a friend.

Sunflower Kaleidoscope – Back

This project is now done. Today, it’s back to face masks. I have to think about how to streamline the process so I can turn them out in batches quickly. It’s gotta be like the zippered bags at Christmas – a production line.

Kaleidoscope #3

Just finished assembling the sunflower kaleidoscope table runner top.

Kaleidoscope #3

This time I managed to get sets of eight triangles for the octagons so the full kaleidoscope effect is present. Because of how the repeats in the fabric were set up I was able to get away with less fabric but that also meant I had fewer stacks to choose from. The variation turned out reasonably well and I was able to get some colour flow with the octagons.

I had to buy another 1/3 metre of fabric for the outer border but because the flowers are very large it wasn’t possible to match up the border pieces. I think a dark, narrow binding in some shade of brown should tie the piece together. Now I just have to find something in my stash that will work – not a lot of brown fabric there; it’s not a colour I’ve used much.

It’s noon. Time to get out into the sunshine even though it’s a cold day – temperature -4°.

Bargello Table Runner #2 – Finished

After yesterday’s experiments with fabric face masks, today I went back to completing the bargello table runner. I had more than half to stitch in the ditch and because I was matching thread colour to the blocks it wasn’t straightforward sewing – lots of stitching a short distance, changing direction, a bit more stitching, then another turn…. Nevertheless, I was able to finish the quilting reasonably quickly (I looked at the clock – it was close to 1pm).

Then binding. I was planning to use a black “crackle” from my stash but I wasn’t totally happy with it. All fabric stores in the region are now closed so I was limited to what I had in the apartment. I was putting away the leftover fabrics from the bundle of strips I used to create the bargello to find two perfect bronze strips left. Each 5″ wide – I decided to cut one strip into three 1 5/8″, I cut one 1 5/8″ strip from the second. Joined the binding strips and attached them to the front of the runner.

Finished Table Runner

Again, I wanted a very narrow binding (a smidge more than 1/4″) which left me with a 3/4″ binding on the back side – it had to be sewn by hand.

I realized once I’d put the binding on that I didn’t have a signature/date on the piece – on the previous table runners I was smart enough to embroider my name and year BEFORE I added the backing and quilted them. This time I forgot and had to embroider my name and year through all layers. (I hope having made this mistake here, I won’t make it again.)

Table Runner On My Glass Table

I auditioned the runner on my glass table – it’s either a bit long or a bit too short depending on how you look at it. It isn’t “just right”. Also (I can’t believe I’m actually saying this) it is too bright and strong for the room decor. Perhaps I’ve just become used to the more toned down runner I’ve been using on the table.

This piece is now stored away in my quilt closet along with the other wall art, table runners, quilts living there. I’m anticipating all the showing I was lined up to do this spring and summer will now not happen. If I’m lucky, some of those venues will come available when this period of quarantine comes to an end (whenever that might be).

Fabric Face Masks

Last evening, Rachael Maddow had an item on the surgical face mask crisis in the US and talked about Deaconess Health Centre’s call for crafters in the community to help build a supply of masks.

I’ve been looking for a way I could do more than self-isolate as a way of pitching in during this pandemic. I can’t do much because I’m “over 65”, with a preexisting cough that makes it difficult for me to be out in public at this particular time, but this was something I could do.

I found the link: https://www.deaconess.com/How-to-make-a-Face-Mask and this morning I printed out the instructions from the Turban Project Face Mask and gave it a try.

First, the instructions recommend using flannel for the inside layer. I have a relatively large fabric stash but no flannel – I did, however, have some densely woven muslin which I thought would work reasonably well. I also wanted to improve the impermeability so I added a layer of thin fusible batting to one sample, and a non-woven fusible interfacing to the second. The instructions also called for either “rope” elastic or 1/8″ elastic – neither of which I had on hand – remember I can’t go shopping and local fabric stores are closed anyway – so I improvised using some metallic-wrapped Christmas elastic I had in a drawer which was fine for a sample.


Then I sat down to sew. I quickly sewed the two layers together (elastic included in the side seams), turned the mask right side out. The rest should have been easy but trying to position the pleats and stitch them in place was a bit awkward. In my first attempt I made the pleats too narrow so the side of the mask was too long and the whole thing wouldn’t sit well over my face. I need to make a template marking the pleat position if I’m going to make a batch.

I then decided I needed a small bit of wire over the nose (like one of the commercial masks I found in a drawer in my bathroom – heaven knows where I got it). I dug around the apartment and came up with a set of twist ties in a box of garbage bags – I took two and stitched them to the top edge of the mask. This allowed me to pinch the mask to my nose! But the mask still gaped on the sides so I took the pleats apart and made them a bit bigger – turns out a good fit needs to reduce the side measurement by about a half. To finish off,  I added two small pleats to the bottom edge which made the mask fit snugly beneath my chin.

Inside of mask showing wire at top edge

I still don’t have the elastic length right – the pattern calls for 7″. Because they recommended tying a knot in the end (to prevent pulling it out from the seam) I cut the elastic a bit longer – turns out on the first (mauve) mask the ties are a bit too long.

With the second mask I cut the elastic to 6″ – too short!  6 3/4″ would be about right to allow me to tie knots and stitch the pieces into the side seam.

So my masks are actually three layers, not two – a firmly woven print (a batik would be even better), a fusible non-woven interfacing, and a closely woven muslin with a slightly brushed side for softness. The point of the mask isn’t to stop virus particles from coming in to me but to stop my coughing and sneezing droplets from getting out – in other words to protect other people.

I plan on making one for each of the gals in the Friday afternoon knitting group here in the building – the recommendation from health professionals is not to wear a mask if you’re not coughing/sneezing but it can’t hurt to have one one hand, in case. And for the ears I will cut lengths from my roll of 1/4″ elastic (of which I have quite a lot!).

The caveat, of course, is this face mask is not meant to replace a surgical face mask; it is a contingency plan for those who haven’t been able to find any surgical masks in the stores. And it’s washable – it can be cleaned repeatedly after every use.

Bargello Table Runner #2

I’ve been working on a second bargello table runner for a class I held last week (we’re supposed to meet again in a week and a half – not sure if the gals will come or not – not sure if the shop will even be open!) The government directives to “stay at home” may prevail and even this small group may not take place. If that should happen I may try a Google “Hang-Out” with the gals – (that’s if I can get it to work and write them some instructions for connecting) so we might talk about assembling their table runners. [PS: Everything has closed down here in NS – shop closed; classes cancelled… (Mar 19 2020)]

My fabric for this runner came from a 5″ wide 20 strip jelly roll with a lovely range of contrasting colours. I selected 10, deciding to use the bronze as the contrast fabric and situated it between two of the black/bronze strips. 5″ allowed me to cut 2 x 2 1/2″ set – precisely what I needed for 4 bargello blocks.

Bargello Table Runner II – Under Construction

Notice I said 2 1/2″ strips. The previous bargello table runner used 2″ strips. Using 2 1/2″ strips makes each block quite a bit taller – so much so that placed together end to end (as above) my table runner would turn out to be somewhere around 75″ long; too long for my table; too long to hang on my front door.

So, I’ve decided to join the blocks on the sides using a 1 1/2″ strip which allows me to generate a flowing wave pattern. The other thing I did was to use several narrower strips at the centre of the block which produced a more bargello-like curve to the layout (more obvious in the top image).

Three blocks laid out as a “wave”

I haven’t sewn all three blocks together yet – I want to be able to show the gals different ways of thinking about layout. So tomorrow I’ll assemble the 4th block (which is cut and laid out) and ready to go.

I should end by saying to anyone reading this “Stay safe.” Stay well!” I am staying at home for the most part – I went to pick up a prescription this afternoon. I tried to see my dentist (I just lost a small filling while eating lunch) but the office is only taking emergencies. My small filling doesn’t count – so heaven knows when I might be able to get it repaired. Months maybe?

I’m so grateful to have the sewing and knitting to keep my mind and hands busy. I’ve a lot of projects, including a spring jacket, I want to work on during the next while.