I completed the purple placemats yesterday. I’d set them up with batting and backing when I finished the bright ones, but I didn’t get around to sewing them together, turning them right side out, and stitching in the ditch along the seam lines. It’s not like I have use for them – I do so little entertaining these days where I might use new placements on my glass table. These have gone in the drawer along with the other two sets of “Stack ‘n Whack” placemats I now have on hand. I’ve made them to display in Sew With Vision to advertise a class in the fall. Once that’s done, they will likely be given as gifts.
I don’t need another set of placemats, but yesterday I took several quilts and other projects to Sew With Vision to show the new owner, Sally, so we could talk about classes for the summer and fall. The set of placemats I took with me I made several years ago and they wouldn’t catch anybody’s attention. They’re pretty dull.
Original Placemat Tops
These stack ‘n whack fat quarter placemats are a novice quilter project. I decided to make a new set to display in the shop to entice some novice quilters to take a class to learn some basic quilting technique – precise cutting (with rotary cutter), sewing precise 1/4″ seams, chain piecing, pressing seams to nest joins and sewing the nested seams.
I picked four batik fat quarters from my stash (who knows, maybe these are also dull!). I started by pressing each fat quarter then I stacked all four, cut the pieces all at the same time, last evening. It probably took me an hour to press, stack and cut the fat quarters.
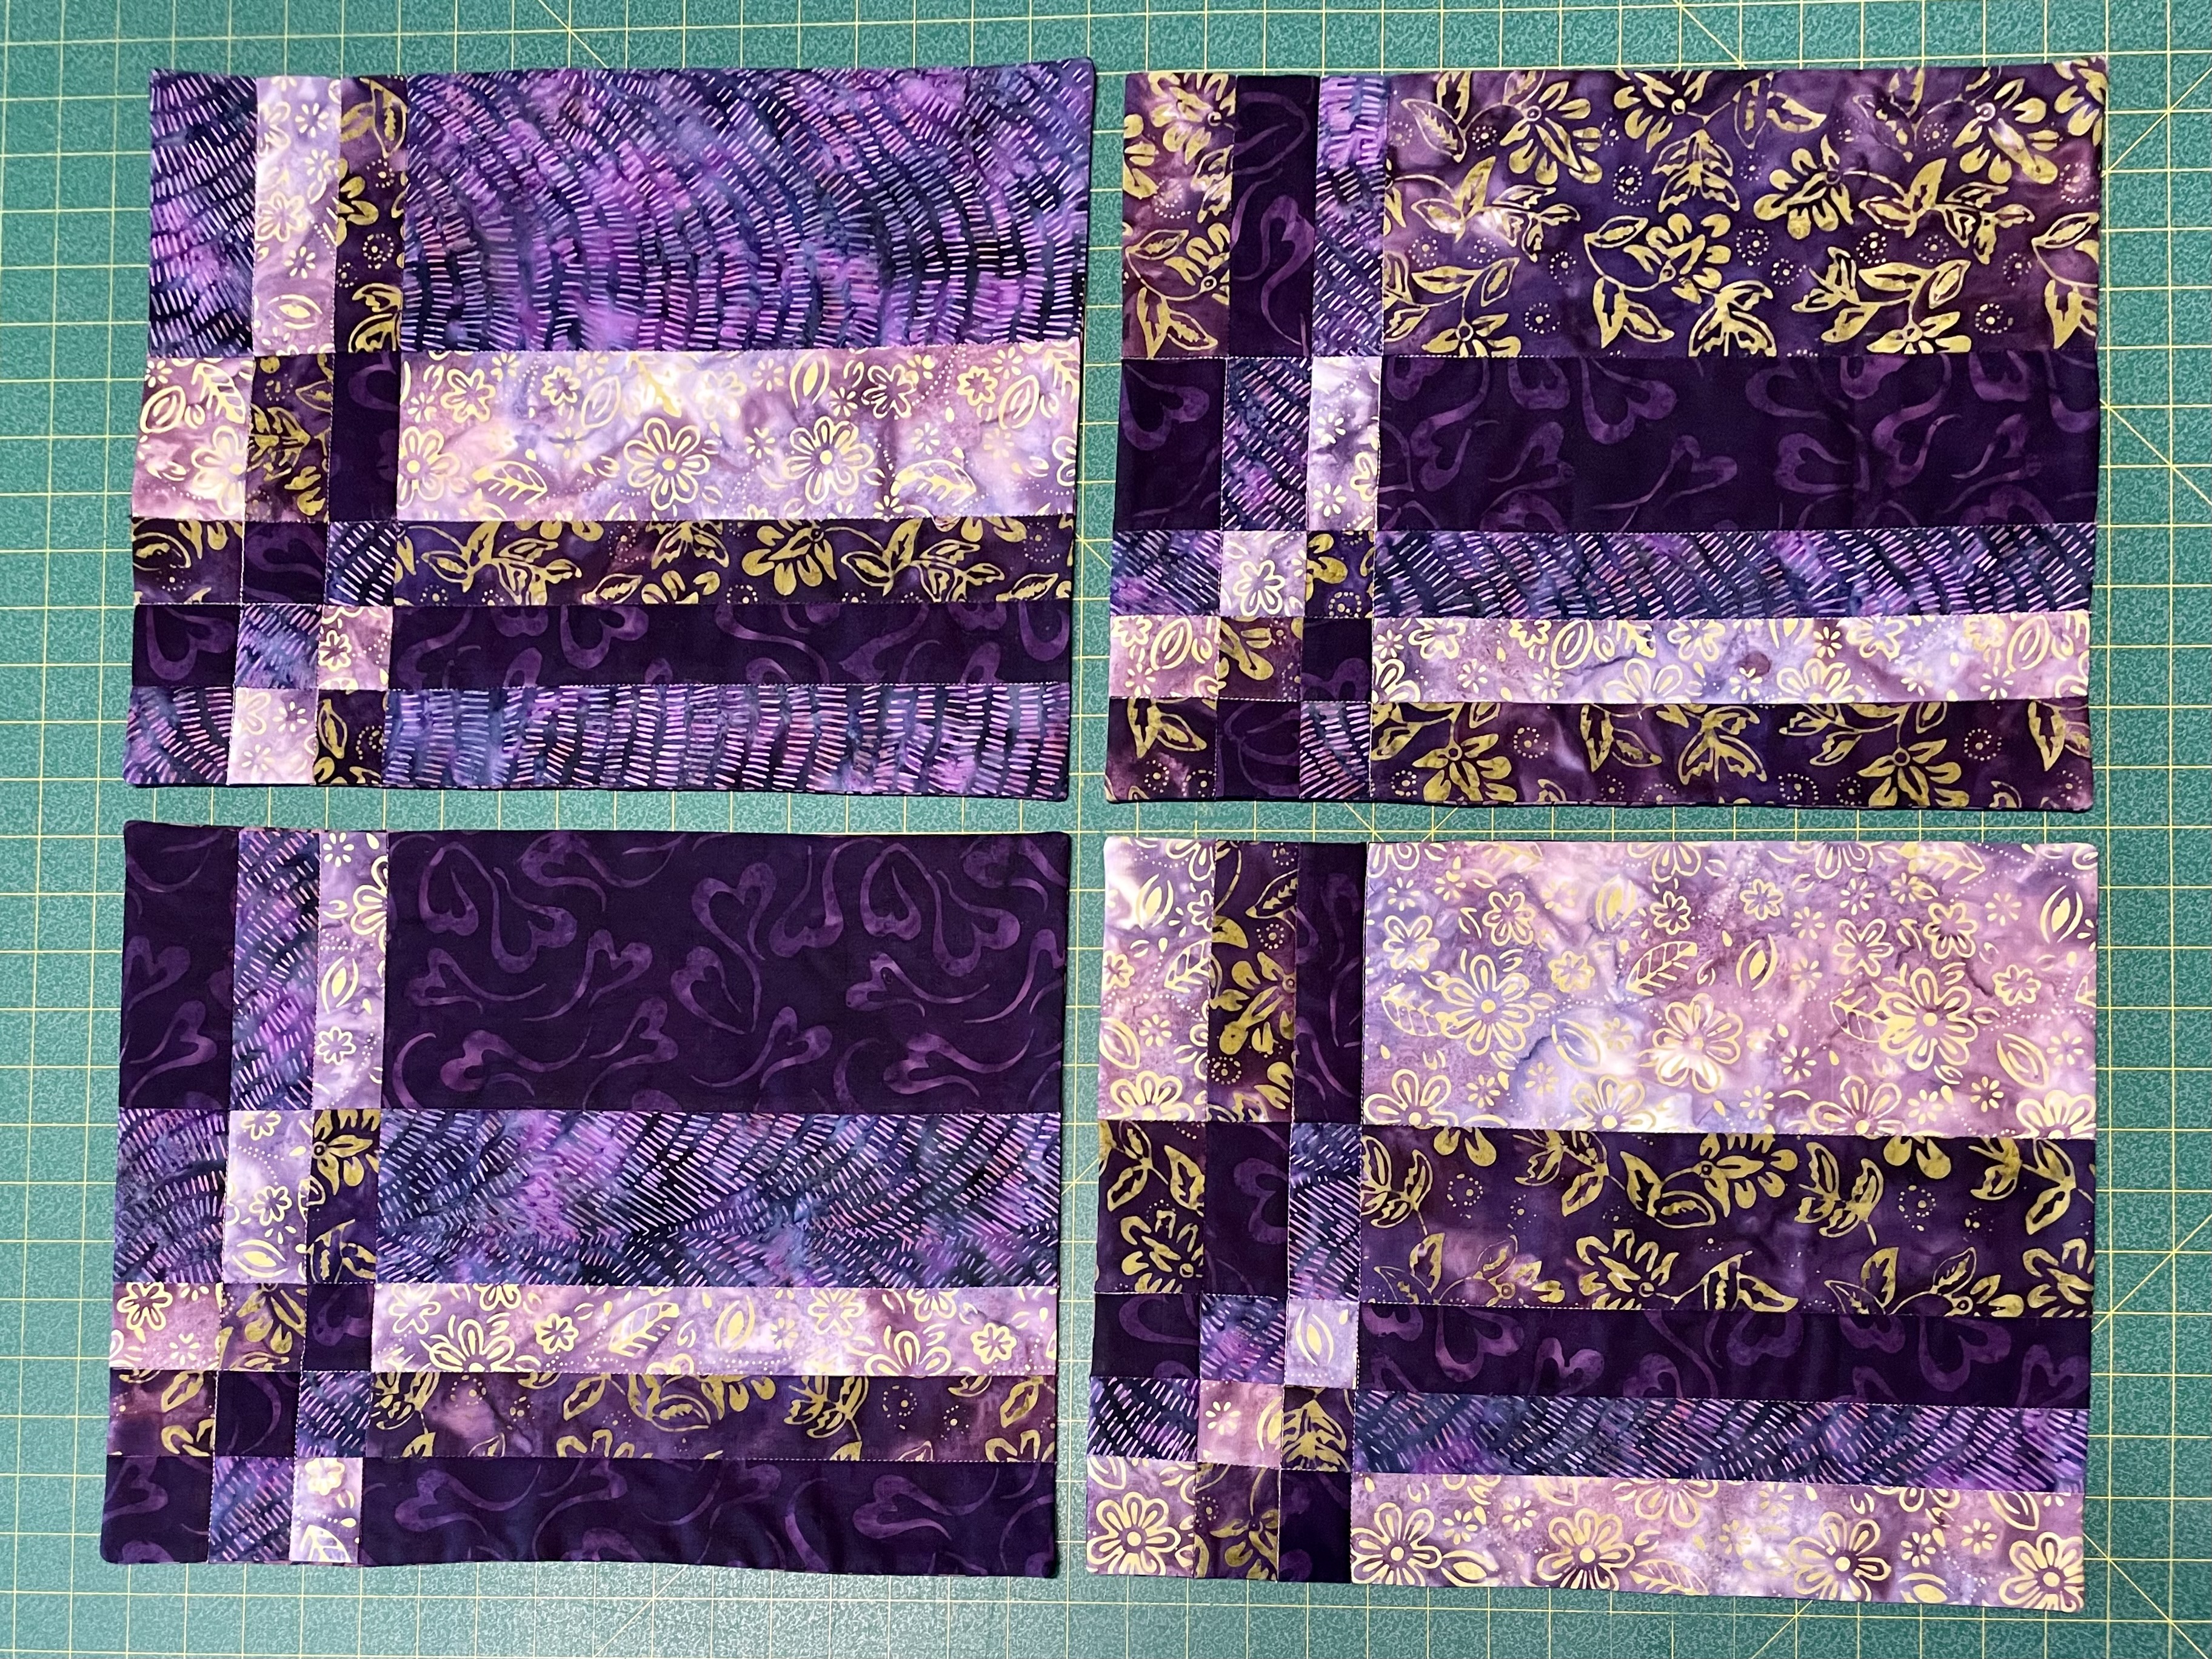
Fat Quarter Placemats
This afternoon, I laid out the pieces for each placemat, making sure my layout was the same for each one. Next, I laid adjacent pieces together and pinned them, then I piled the pinned pieces on top of one another. To sew, I used a “production” technique. I chain pieced as much as I could in the first pass – I stitched the adjacent pairs of pieces in the “rows”, pressed the seams to one side, then sewed the two parts for each row.
When I finished sewing and pressing all the rows, I laid out the placemats. I picked up the rows for one placemat, making sure the seams in adjacent rows were pressed in opposite directions so I could nest seams as I joined the rows. As I stitched, I made sure the joins did nest as I sewed them.
I pressed each placemat when the sewing was finished.
Now I need batting and backing to complete the placemats. I’m still deciding whether to quilt them just by stitching-in-the-ditch along the seam lines, or whether to quilt them in the hoop with a simple design.
These placemats could be sewn together to make a table runner. Or you could use the idea to make a quilt top. The placemats are simply an excuse to hone technique. As I explained to Sally, I don’t teach a project, I teach technique – I use projects as a vehicle for becoming a more experienced sewer or quilter.
Before the pandemic arrived I was scheduled to teach a class on constructing a Kaleidoscope Table Runner (to demonstrate how the Stack ‘n Whack technique actually works). Do a table runner and you know how to turn the technique into a quilt or wall hanging, even a garment if you wished.
The class was cancelled. As businesses and life are slowly resuming here in Nova Scotia (we’ve effectively been without any new cases for close to a month – well one at the end of last week – someone who’d travelled from the US and then didn’t bother to quarantine for two weeks and managed to spread the virus to three young folks in PEI!) we’re beginning to think about resuming some aspects of our previous life.
So the class was rescheduled. One woman signed up, another was interested but not during the summer, so it’s been moved back till the end of September.
However, I’d started yet another kaleidoscope table runner as a demonstration piece and of course I kept working away at it.
Finished it this morning:
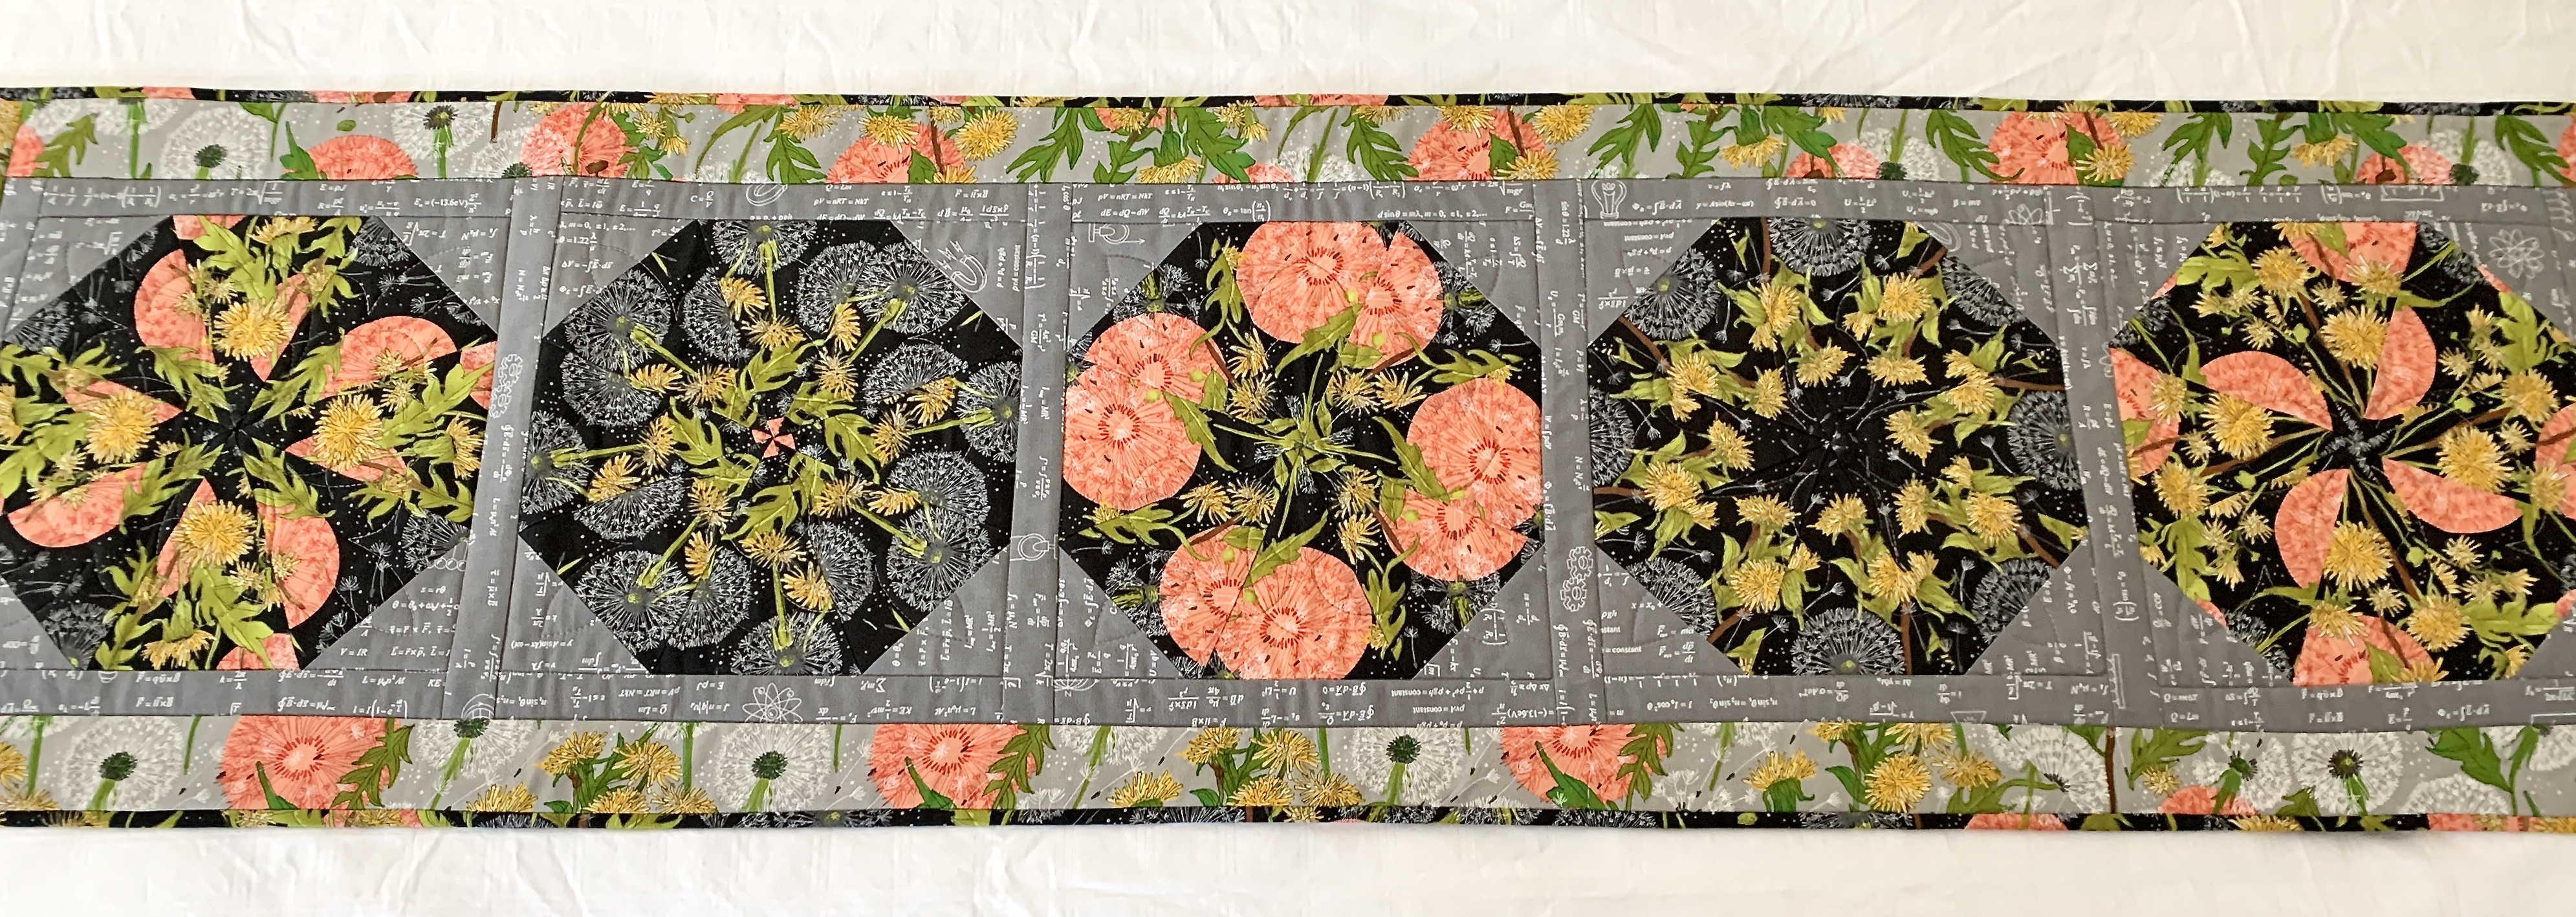
Kaleidoscope Table Runner IV
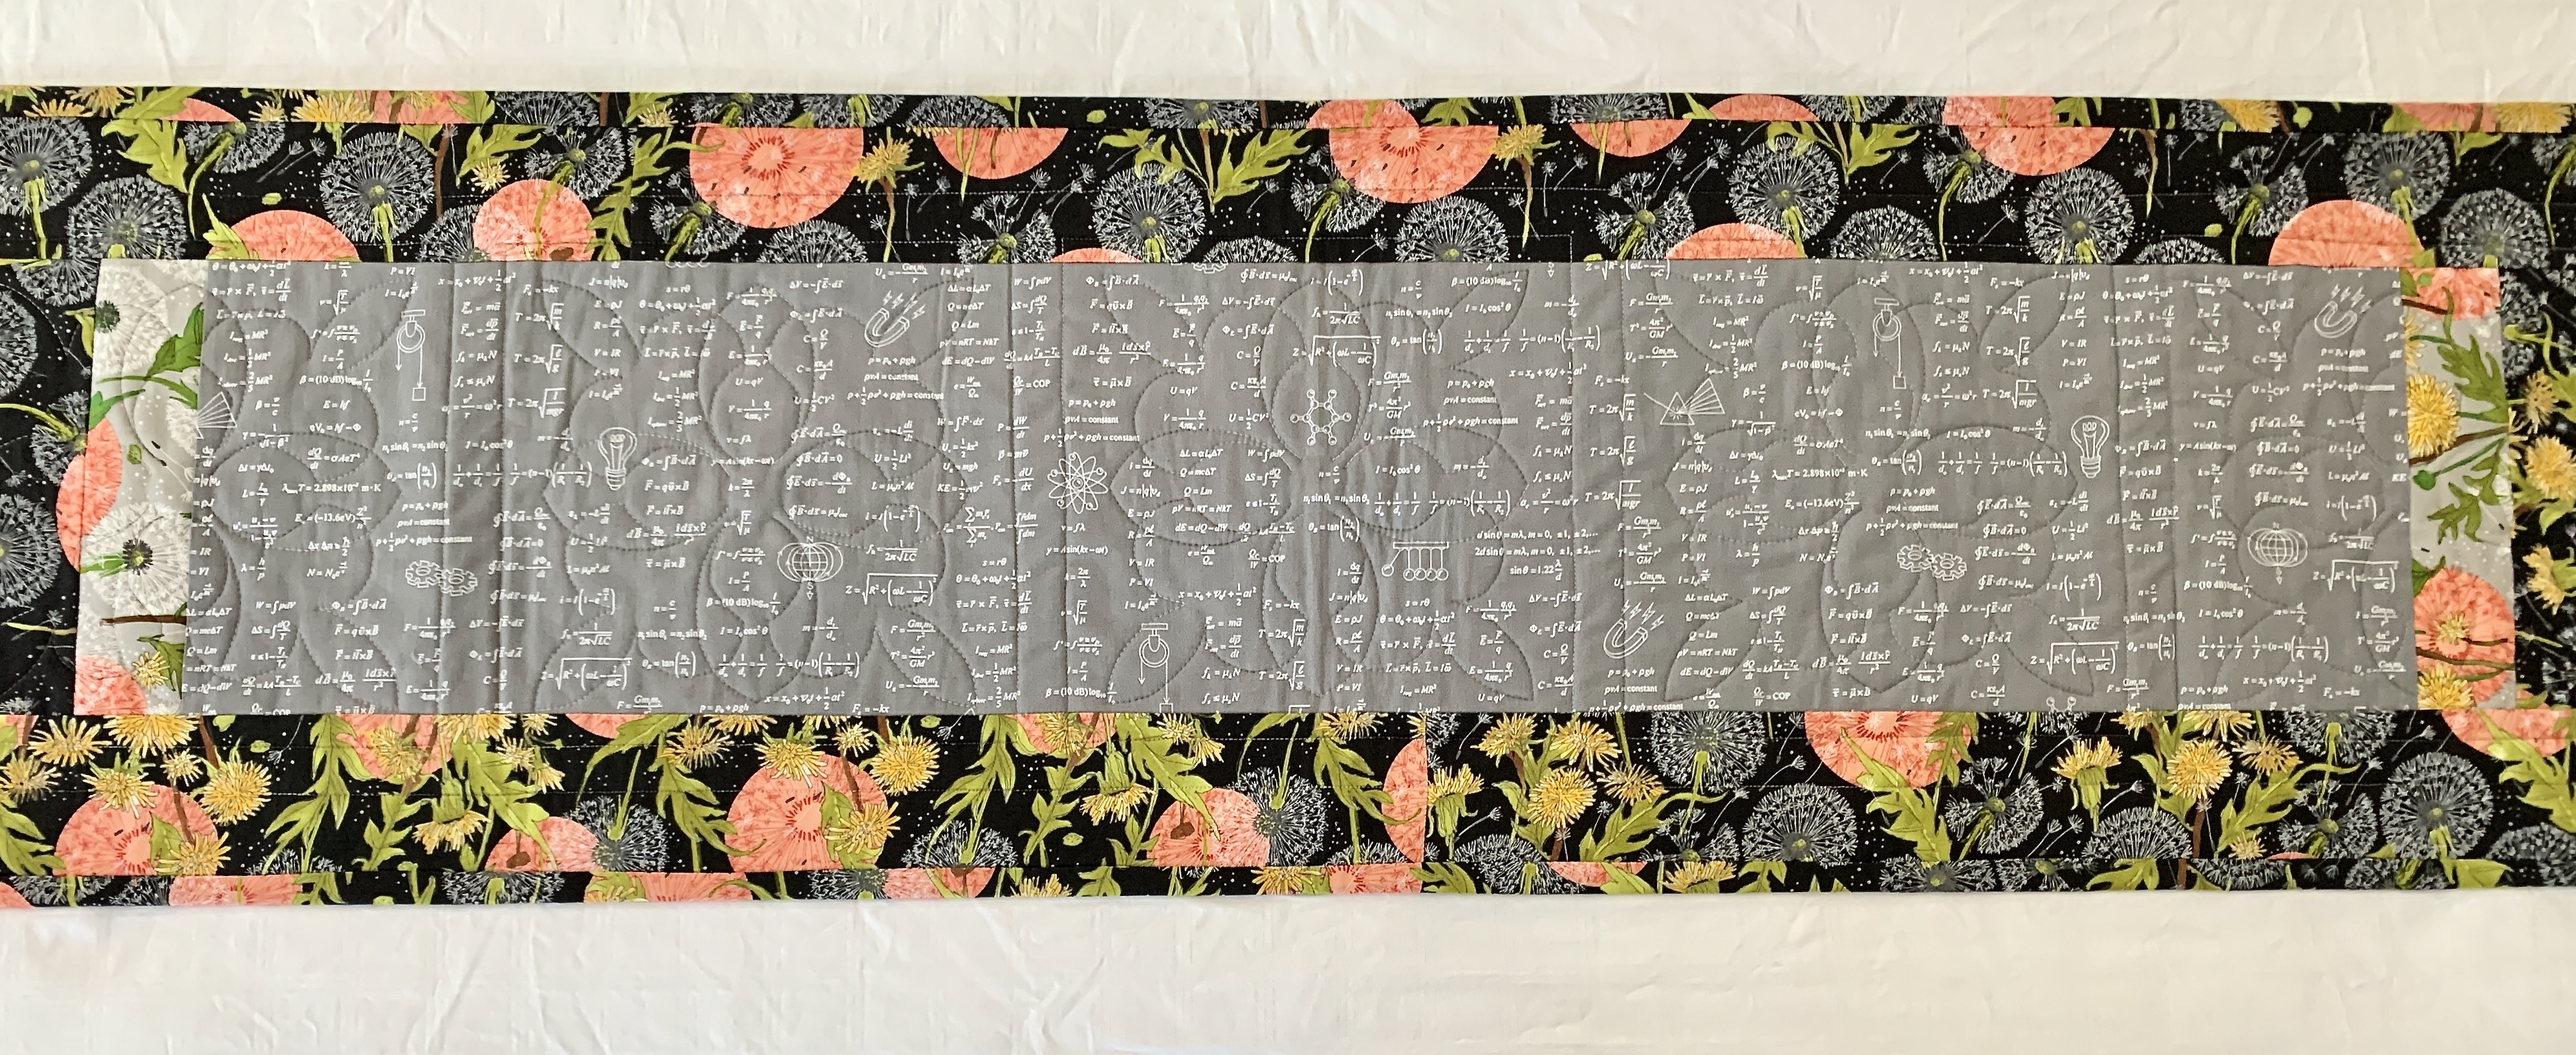
And here is the back:
Kaleidoscope Table Runner – Back
I did have to buy the yellow bordering fabric but the rest was constructed from fabric I had in my stash. Not many scraps left over!
I’ve finally written instructions for how to make this table runner – took a while because I kept forgetting to take photos as I went along. I was able to use images from several different runners in order to show how the various parts of the project are constructed.
Finished quilting and binding the table runner last evening. Hand stitched the binding on the back (definitely not my most favourite thing to do!).
I’m happy with how the dark narrow binding pulls attention away from the outer border which doesn’t completely match up. I just didn’t have enough sunflower fabric (with its very large flowers) to find precise repeats for the border strips. I realize nobody but me will even notice. I was making this table runner as an example for a class I was planning on offering – not going to happen in the near future so I’ve hung it in the closet with the rest of my finished projects until such time as I might need it.
Sunflower Kaleidoscope – Top
I dug through my stash to find something for the back – found a 9″ golden/orange WOF piece which worked as a starting point, added a scrap of the sunflower fabric and a piece from the previous runner at the ends (the two ends are intentionally different – it wasn’t a mistake!). I had enough of the orange dotted fabric for narrow inner borders and then hunted until I found the dark outer border fabric given me by a friend.
Sunflower Kaleidoscope – Back
This project is now done. Today, it’s back to face masks. I have to think about how to streamline the process so I can turn them out in batches quickly. It’s gotta be like the zippered bags at Christmas – a production line.
Just finished assembling the sunflower kaleidoscope table runner top.
Kaleidoscope #3
This time I managed to get sets of eight triangles for the octagons so the full kaleidoscope effect is present. Because of how the repeats in the fabric were set up I was able to get away with less fabric but that also meant I had fewer stacks to choose from. The variation turned out reasonably well and I was able to get some colour flow with the octagons.
I had to buy another 1/3 metre of fabric for the outer border but because the flowers are very large it wasn’t possible to match up the border pieces. I think a dark, narrow binding in some shade of brown should tie the piece together. Now I just have to find something in my stash that will work – not a lot of brown fabric there; it’s not a colour I’ve used much.
It’s noon. Time to get out into the sunshine even though it’s a cold day – temperature -4°.
Finished the table runner last evening – hand stitching the binding to the back. I don’t enjoy hand sewing but in this case I used a 1/4″ binding on the top with a 3/4″ binding on the back and the only way to attach it was to hand sew it in place since I didn’t want a line of machine stitching through the border on the front.
Completed Runner – Top
I constructed the back from leftovers – I hadn’t bought very much of either the grey for the sashing or the grey version of the printed fabric. Not much in the way of scraps left, I can tell you.
Completed Runner – Back
This idea would also make a decent bed runner probably with seven octagons to make it long enough so it drapes over the sides. Might even want to add another narrow light inner border as well. My runner is just a bit narrower than the width of my queen bed. I have no intention of using either is as a bed or a table runner; quite likely it’ll end up as a wall hanging and included in one of the showings I’m scheduled for this summer.
BTW:
“A bed runner is a small, long piece of decorated cloth used to enhance the appearance of an otherwise plain bed. While some prefer the look solely for aesthetic reasons and would choose it even if it were more expensive than traditional decorative bedding, the primary reason to use one in the hospitality industry is to reduce costs while keeping the room attractive.“
I’ve been looking for projects to try out that I can share with some of the other sewing gals. I’ve almost completed the Bargello Table Runner – it’ll get done over the weekend. The other day I came across another idea: a Kaleidoscope/Stack ‘n Whack octagon block for a quilt or table runner described on the Jordan Fabrics You Tube Channel. I decided to try it out.
Yesterday I picked up some large print fabric to see what’s involved. The tricky part of the whole project isn’t the piecing – it’s the cutting. I hadn’t bought enough fabric to end up with eight identical triangles (except in two cases) so I had to make do with 4 and 4 somewhat complementary triangles for three of the octagons; but it’s the construction of the block I was interested in trying out.
I laid out my dark fabric, found the pattern repeat, cut what I had into two repeats (I bought .7m – I should have bought 1.4m to get the eight repeats for cutting the triangles but with a bit of improvising I ended up with 4 layers instead of 8 which yielded enough triangles for the project), halved the width-of-fabric, then carefully aligned the printed pattern through the four layers as was demonstrated in Video #1 below.
Kaleidoscope Table Runner
Once I had my layers of fabric carefully aligned, I cut out 5.5″ strips, then cut out 45° angled triangles – in the blocks with the peach elements I had two sets of four triangles to sew together, in the predominantly dark blocks I was able to get eight matching triangles.
Next I stitched the octagons together. Today I added the corner triangles (cut from 3.75″ squares) and the sashing and added both to each of my five octagons. Finally, I added a 2.5″ outer border of a lighter grey version of the original fabric from which I cut the triangles.
All in all the project went together relatively easily – once I’d figured out the necessary size for the corner triangles! That took a bit of experimenting.
I’ve also figured out how I will piece the backing so I don’t have to buy any more fabric for this project. I’ll get that done tomorrow, then I’ll set up the quilt sandwich and get the table runner assembled.
It’s definitely do-able as a class project – I completed the runner in less than 6 hours.
I didn’t stop to take photos as I went along. The whole process is explained very clearly in the videos below. So if you’re interested in making a table or bed runner, or a full quilt using this kaleidoscope block watch Donna Jordan from Jordan Fabrics in Oregon as she explains the process.
The biggest hitch in the whole project is actually finding a suitable fabric for constructing the stack ‘n whack blocks – you really need a large print fabric with an open design and quite a bit of colour variation. I would say what I chose in the end wasn’t a colour combination I would normally choose but the selection was very limited at my local shop. I will look at a couple of other shops nearby to see what else I might find.