A Winter Walk

A friend and I took a winter walk in Shubie Park this afternoon. It snowed this morning but began clearing around 2:00 so we decided to brave the weather and did the canal walk for a short distance.

The Canal

Cold enough for the snow to remain on the branches; the walking not too slippery underfoot with just enough snow on the paths for decent traction. Lots of people and pets were out enjoying the not quite sunny afternoon.

The ducks are used to being fed by visitors so groups of them paddle quickly to wherever they see people stopping to enjoy the view ever hopeful some food will show up. Unfortunately we hadn’t brought anything to feed them.

(BTW these are colour photos, the shadows lightened a tiny bit.)


Socks Done, Too.

Finished this pair of socks late last evening.

Mauve Socks (Size Large-ish)

I have a few people who have larger feet than my usual socks will fit so from time to time I make a pair longer in the foot. For now, they’re in the stash waiting for just the right person to come along!

Charm Pack Quilt – Finished

It’s done. Quilted and bound with a label. A vanishing 9-patch quilt with borders built from ~80 charm squares.

Charm Squares Quilt – Top

I’m pleased with the scattering of the small yellow blocks – they appeared when the assembled 9-patch block was recut into four – the yellow central block became four small corner squares. The distribution of colour also has worked out well. The pale inner border ties the central pieced panel nicely, the narrow yellow border provides accent and the dark wide outer border balances out the quilt.

Charms Squares Quilt – Back

For the back I selected a few squares from the second charm pack I’d bought (in case) and cut an equal number of batik squares to set up the bordered strips. The backing fabric is the same fabric I used for the borders on the front – didn’t have quite enough to cover the top so had to create a horizontal stripe as well. I reversed position of the two pieces when I added in the vertical strips to add further interest to the back.

The quilt is now in the growing collection of quilts to be shown in Parrsboro in July/August. It won’t be for sale since it already has a home with my physiotherapist. I think it fits the bill for her – she didn’t want it so fancy that she felt she couldn’t just throw it on her sofa.

Help!

In the late summer I offered to finish off, back, and bind a queen-size hand embroidered crazy quilt my friend Ruth has been working on for the past many years. She almost finished, then lost interest and put the quilt away. I know she intended going back to it, but I also knew she probably wouldn’t get there. So I offered to complete it for her – with my sewing machine using decorative quilting stitches where she’s done hand work, but it would work.

Yesterday I dug out the quilt from the closet, this morning I opened it up and started by trimming the quilt edges to make them straight, machine basting flapping bits of fabric – there’s quite a bit of beading near the edges – broke a needle on one. My next task will be to remove beads near edges so I can properly machine sew where I need to.

I also need to add fabric to three corners, and figure out a way to decorate a seam that joins a panel across the quilt near one end – lace, silk, bits of crochet, whatever bits and pieces I can find in my collection of stuff that kind of goes with what Ruth has used.

Hand Embroidered Crazy Quilt

Here’s my problem – the quilt needs a backing. I can set up a backing using a light cotton (the quilt is VERY heavy already and doesn’t need anything weighty on the back). But how am I going to stabilize the top to the back? I can’t stitch over existing embroidered edges because it would look awful and there are beads on lots of those edges. Do I tie top to back with bits of yarn? I have to do something.

If anybody has any idea how to attach a back to something like this, I’d love to hear your suggestions because I’m stumped, I must say. The underside of the quilt does need to be concealed because there are thread ends and raw edges throughout that will ravel and come out if left exposed.

Charm Pack Quilt – 2

Just finished piecing the charm pack quilt. Three borders – two narrow and one wide. The overall finished size will be 47″ x 60″ – a good lap quilt size.

Quilt Top Pieced With Borders

Now my problem is the back. I have 53″ of potential backing fabric (the same fabric I used for the dark wide border). To make that work I have to extend the length by 12″ in order to have enough hang-over to be able to quilt the project. I have enough leftover blocks to create a strip and with borders I can make the insertion strip the required width to give me the length I need for the backing.

The width also has to be extended – I have a workable 42″ in the width-of-fabric – I need a finished width of  51″. I will have to extend the width another 11″ – 12″. That will mean using almost a third of the blocks in the unused pack for an insertion strip.

The easiest way of doing this is just to extend one side of the length and of the width but that  will end up being trimmed and I want the entire inserted strips to be included in the back with the trimming coming from the major background fabric. Those extension strips will need to be inserted approximately 8″-9″ from one edge of both length and width.

That’s for tomorrow. Done enough for today. Got further than I expected.

Charm Pack Quilt – 1

A couple of weeks ago my physiotherapist handed me a Northcott charm pack with blue/turquoise fabrics – forty-two 5″ squares in 10 different coordinating colours. Not enough to make a quilt on it’s own. I went through my stash pulling out blues and turquoise fat quarters, half-yards, and scraps to cut another forty 5″ squares which would get me closer to what I’d need for a good-sized lap quilt. This quilt isn’t for me – she wants it to use in her new house.

Charm Pack with Quilt Backing Fabric

I thought about a lot of possibilities – finally decided to do a disappearing 9-patch. I didn’t want to invest a huge amount of time executing fine detail – setting up a 9-patch didn’t take long, cutting the blocks into quarters went quickly, arranging the resulting blocks is now my challenge. Because I didn’t think the blues/turquoises had enough life, I decided to use a golden yellow (with hints of blue) as an accent colour. I placed the yellow blocks at the centre of the 9-patch so they were all cut into quarters when I spliced the 9-patch blocks. Here is my current layout:

Disappearing 9-Patch using Charm Pack

Not big enough for a good size lap quilt – so far just a 5×7 array. The question I’m deliberating right now is whether to extend the quilt with a narrow border in light blue along with a wide dark border (I actually bought a second charm pack, in case I didn’t have enough for the quilt center – I could use the charm pack squares to piece an intermediate 2.5″ border then finish with a wider dark border). Or, I could add sashing between blocks/rows and space out these elements – but what colour to use for sashing?

I have to keep thinking about this – not sure what to do,  yet.

Oh, and I came across some appropriate backing fabric for half-price so I picked it up.

As I was leaving the physiotherapist’s office Tuesday, I noticed the additions to the tree in her yard. I think there’s a pottery studio in the garage – used by the previous owner – these faces bits of the potter’s work (top face missing it’s left eye).

Faces

Amaryllis 2 2018

I got a second amaryllis for Christmas – so far the first stalk has completely bloomed. There’s a second stalk well on the way and I think I’m seeing a possible third stalk peeking out….

Amaryllis 2 2018

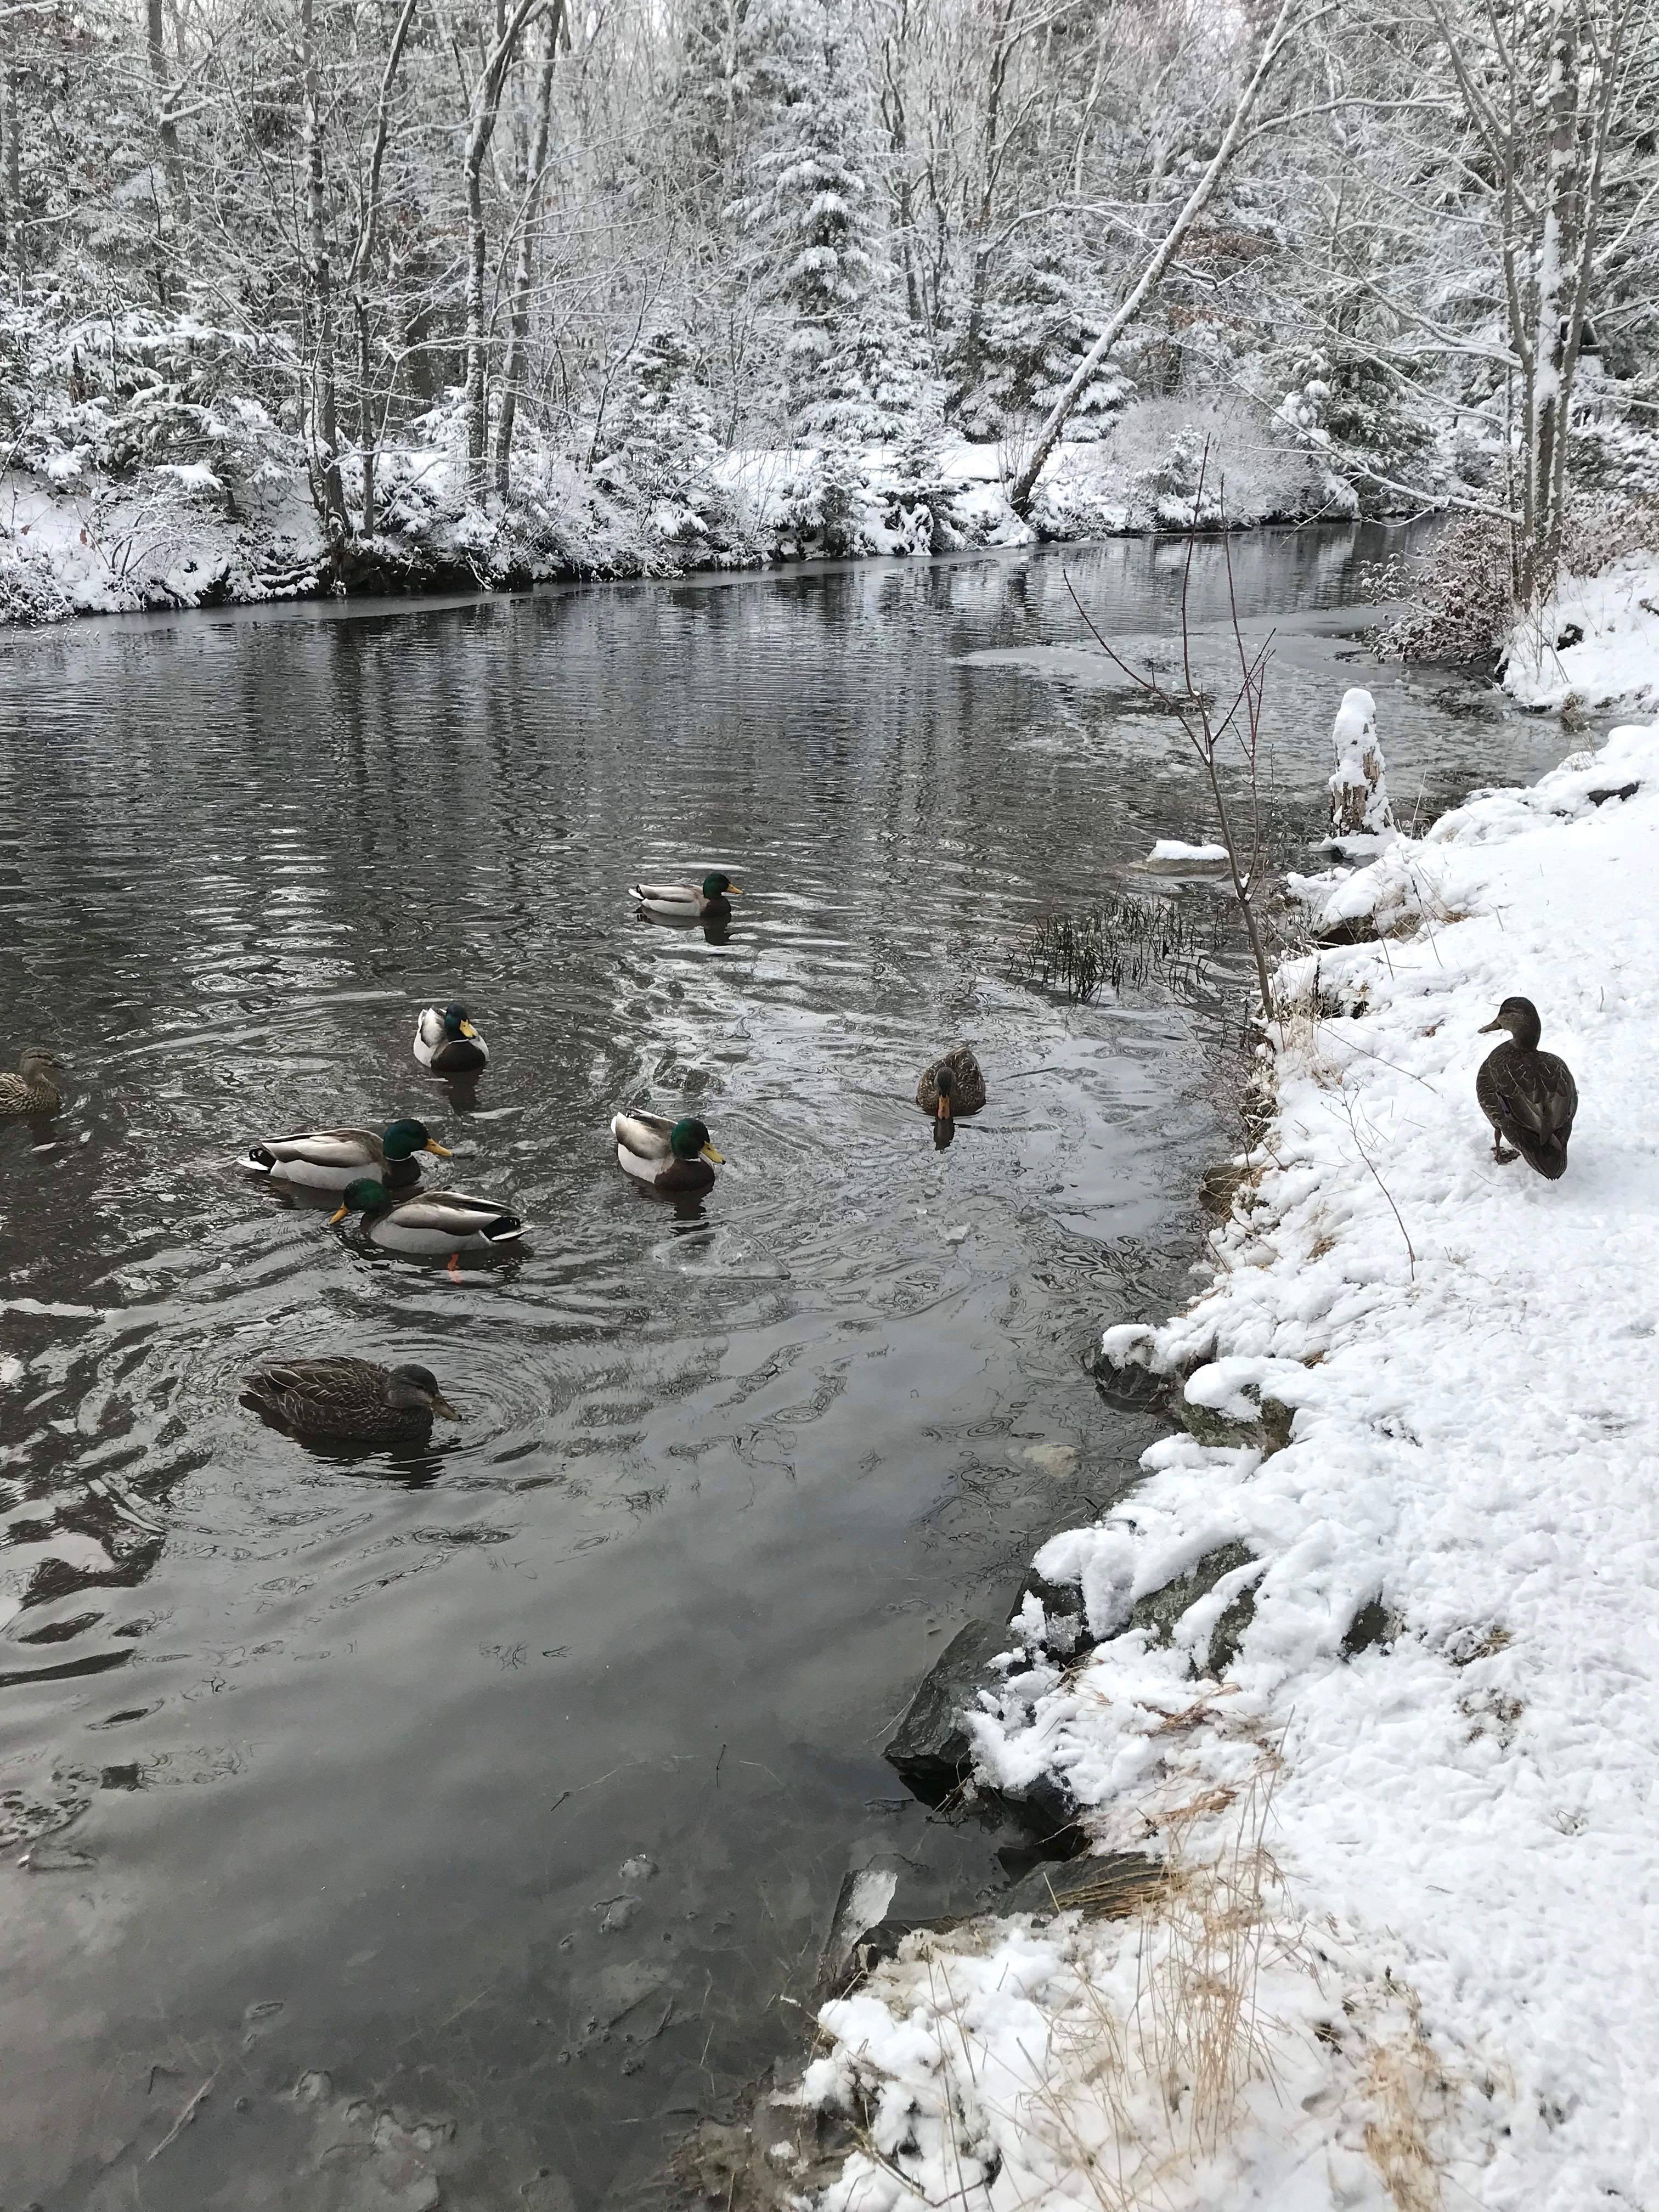
Crazy weather – it snowed last night, then turned to rain, then the temperature dropped well below freezing leaving black ice patches. I haven’t been out yet today, but just about to venture forth.