“July 22, 2026
We finally figured out — after eighteen months of letters posted to Truth Social at midnight, blown deadlines, “suspended” talks that un-suspend themselves 72 hours later, and a trade agreement Trump personally negotiated, personally bragged about, and personally let die — that there is no deal to get. You cannot negotiate with a man who treats every signed agreement as the opening bid for the next shakedown. Carney knows it. The premiers know it. And this week, the entire country started acting like it.
“The Nuclear Option Is “On The Table”
Look at Monday’s tariff list. Not what’s on it. What’s off it.
Oil and gas. Potash. Critical minerals.
The man who tariffed hockey sticks and honey — who threatened to bill us for smoke — tiptoed around the three things his economy cannot live without. That exemption list is not mercy. It’s a confession. It’s Trump telling you, in writing, exactly where Canada’s kill switch is. He didn’t spare our energy out of kindness. He spared it because he knows what happens if we ever tax it on the way out the door”
“…somewhere around August 19, the country that supplies two-thirds of his oil, the world’s potash, a quarter of his uranium, and $400 billion of his debt stops absorbing punches for the first time in this entire fight — with 75% of its population cheering it on.
The loud phase was 2025. This is the quiet phase. Cancel the party. Sign the pact. Two words and a thin smile.
All options.
It’s about time. And I am VERY here for it.
We all are.”
(Quoted from: https://open.substack.com/pub/deanblundell/p/breaking-canadian-politicians-are?r=cgren&utm_campaign=post-expanded-share&utm_medium=web)
If you still think there’s a CUSMA deal to be had – give it up!
Carney’s known for a long time there’s no deal. The premiers have made it clear this week they know there is no CUSMA on the table.
trump’s motivation isn’t a “better” deal – it’s annihilation! Get it through your thick skull he’s out to subjugate Canada – 51st state crap and all. Doesn’t matter that he’s doing untold damage to the US economy and to US citizens. He doesn’t give a s**t.
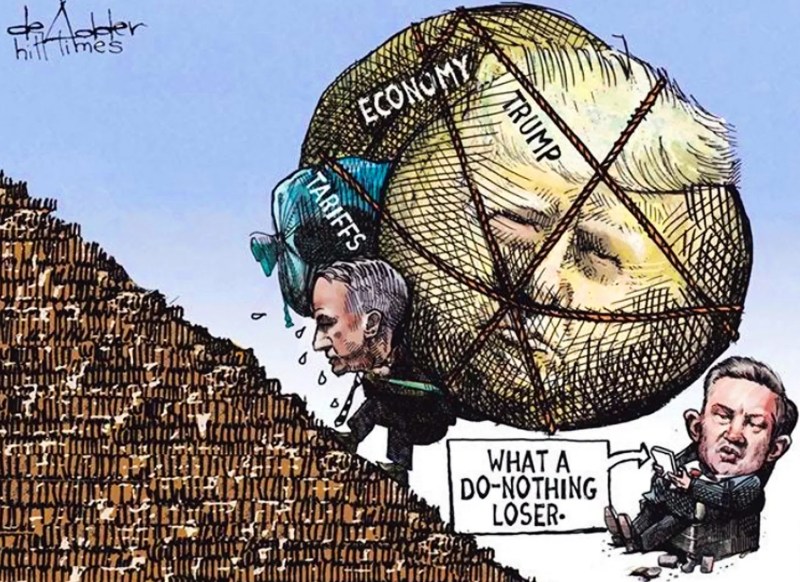
Tariffs on hockey sticks? Really?
Tariffs because forest fire smoke is making it murky in the US north east?
If this is trump’s idea of negotiating – we’re done with it.
Come August 19 – time for our nuclear option.
Our national media will moan about how vulnerable Canada is. US media will make it sound like we’ll all be starving and wearing rags if we make a stand. The media (in Canada it’s mostly US owned, remember) does NOT understand the leverage Canada actually holds. If trump doesn’t TACO – they’re going to find out!
And then there’s this Blundell piece about the opening of the Gordie Hull Bridge: https://deanblundell.substack.com/p/breaking-canada-kicks-us-officials?utm_source=post-email-title&publication_id=4163578&post_id=208050361&utm_campaign=email-post-title&isFreemail=true&r=cgren&triedRedirect=true&utm_medium=email
Looks like the “playing nice” is coming to an end!
Read the timeline – this nonsense has been going on for quite a while. I offer it in case you haven’t been following this bit of chaos.