This Crazy World

Last week was a crazy week in Washington. I got up this morning and checked my email (stupid thing to do) and immediately came across an item in “Medium” Trial Balloon for a Coup? that has left me depressed and fuming all at the same time!

It wasn’t the only article raising these concerns – there were two more in succession (What “Things Going Wrong” Can Look Like; The Immigration Ban Is A HeadFake, And We’re Falling For It) from people who are not “nut cases”. It looks like some Americans, responsible people, are beginning to realize Trump is doing exactly what he said he would and they’re trying to understand the pattern of edicts and figure out what they might mean. I don’t subscribe to “conspiracy” theories – as a former scientist I believe in data and facts. But these analyses today, as tentative as they are, are chilling. And if they’re true?

1zepgmli8j9wmapuz95jxgg

Then there was David Brooks’ opinion piece in today’s New York Times – he’s always an interesting read (a right of center columnist with the New York Times).

“Many Republican members of Congress have made a Faustian bargain with Donald Trump. They don’t particularly admire him as a man, they don’t trust him as an administrator, they don’t agree with him on major issues, but they respect the grip he has on their voters, they hope he’ll sign their legislation and they certainly don’t want to be seen siding with the inflamed progressives or the hyperventilating media.”

He’s concerned with how the Republican congress and senate will step up or (likely) not when dealing with what Trump is doing.

There were several significant pieces in The New Yorker today as well:

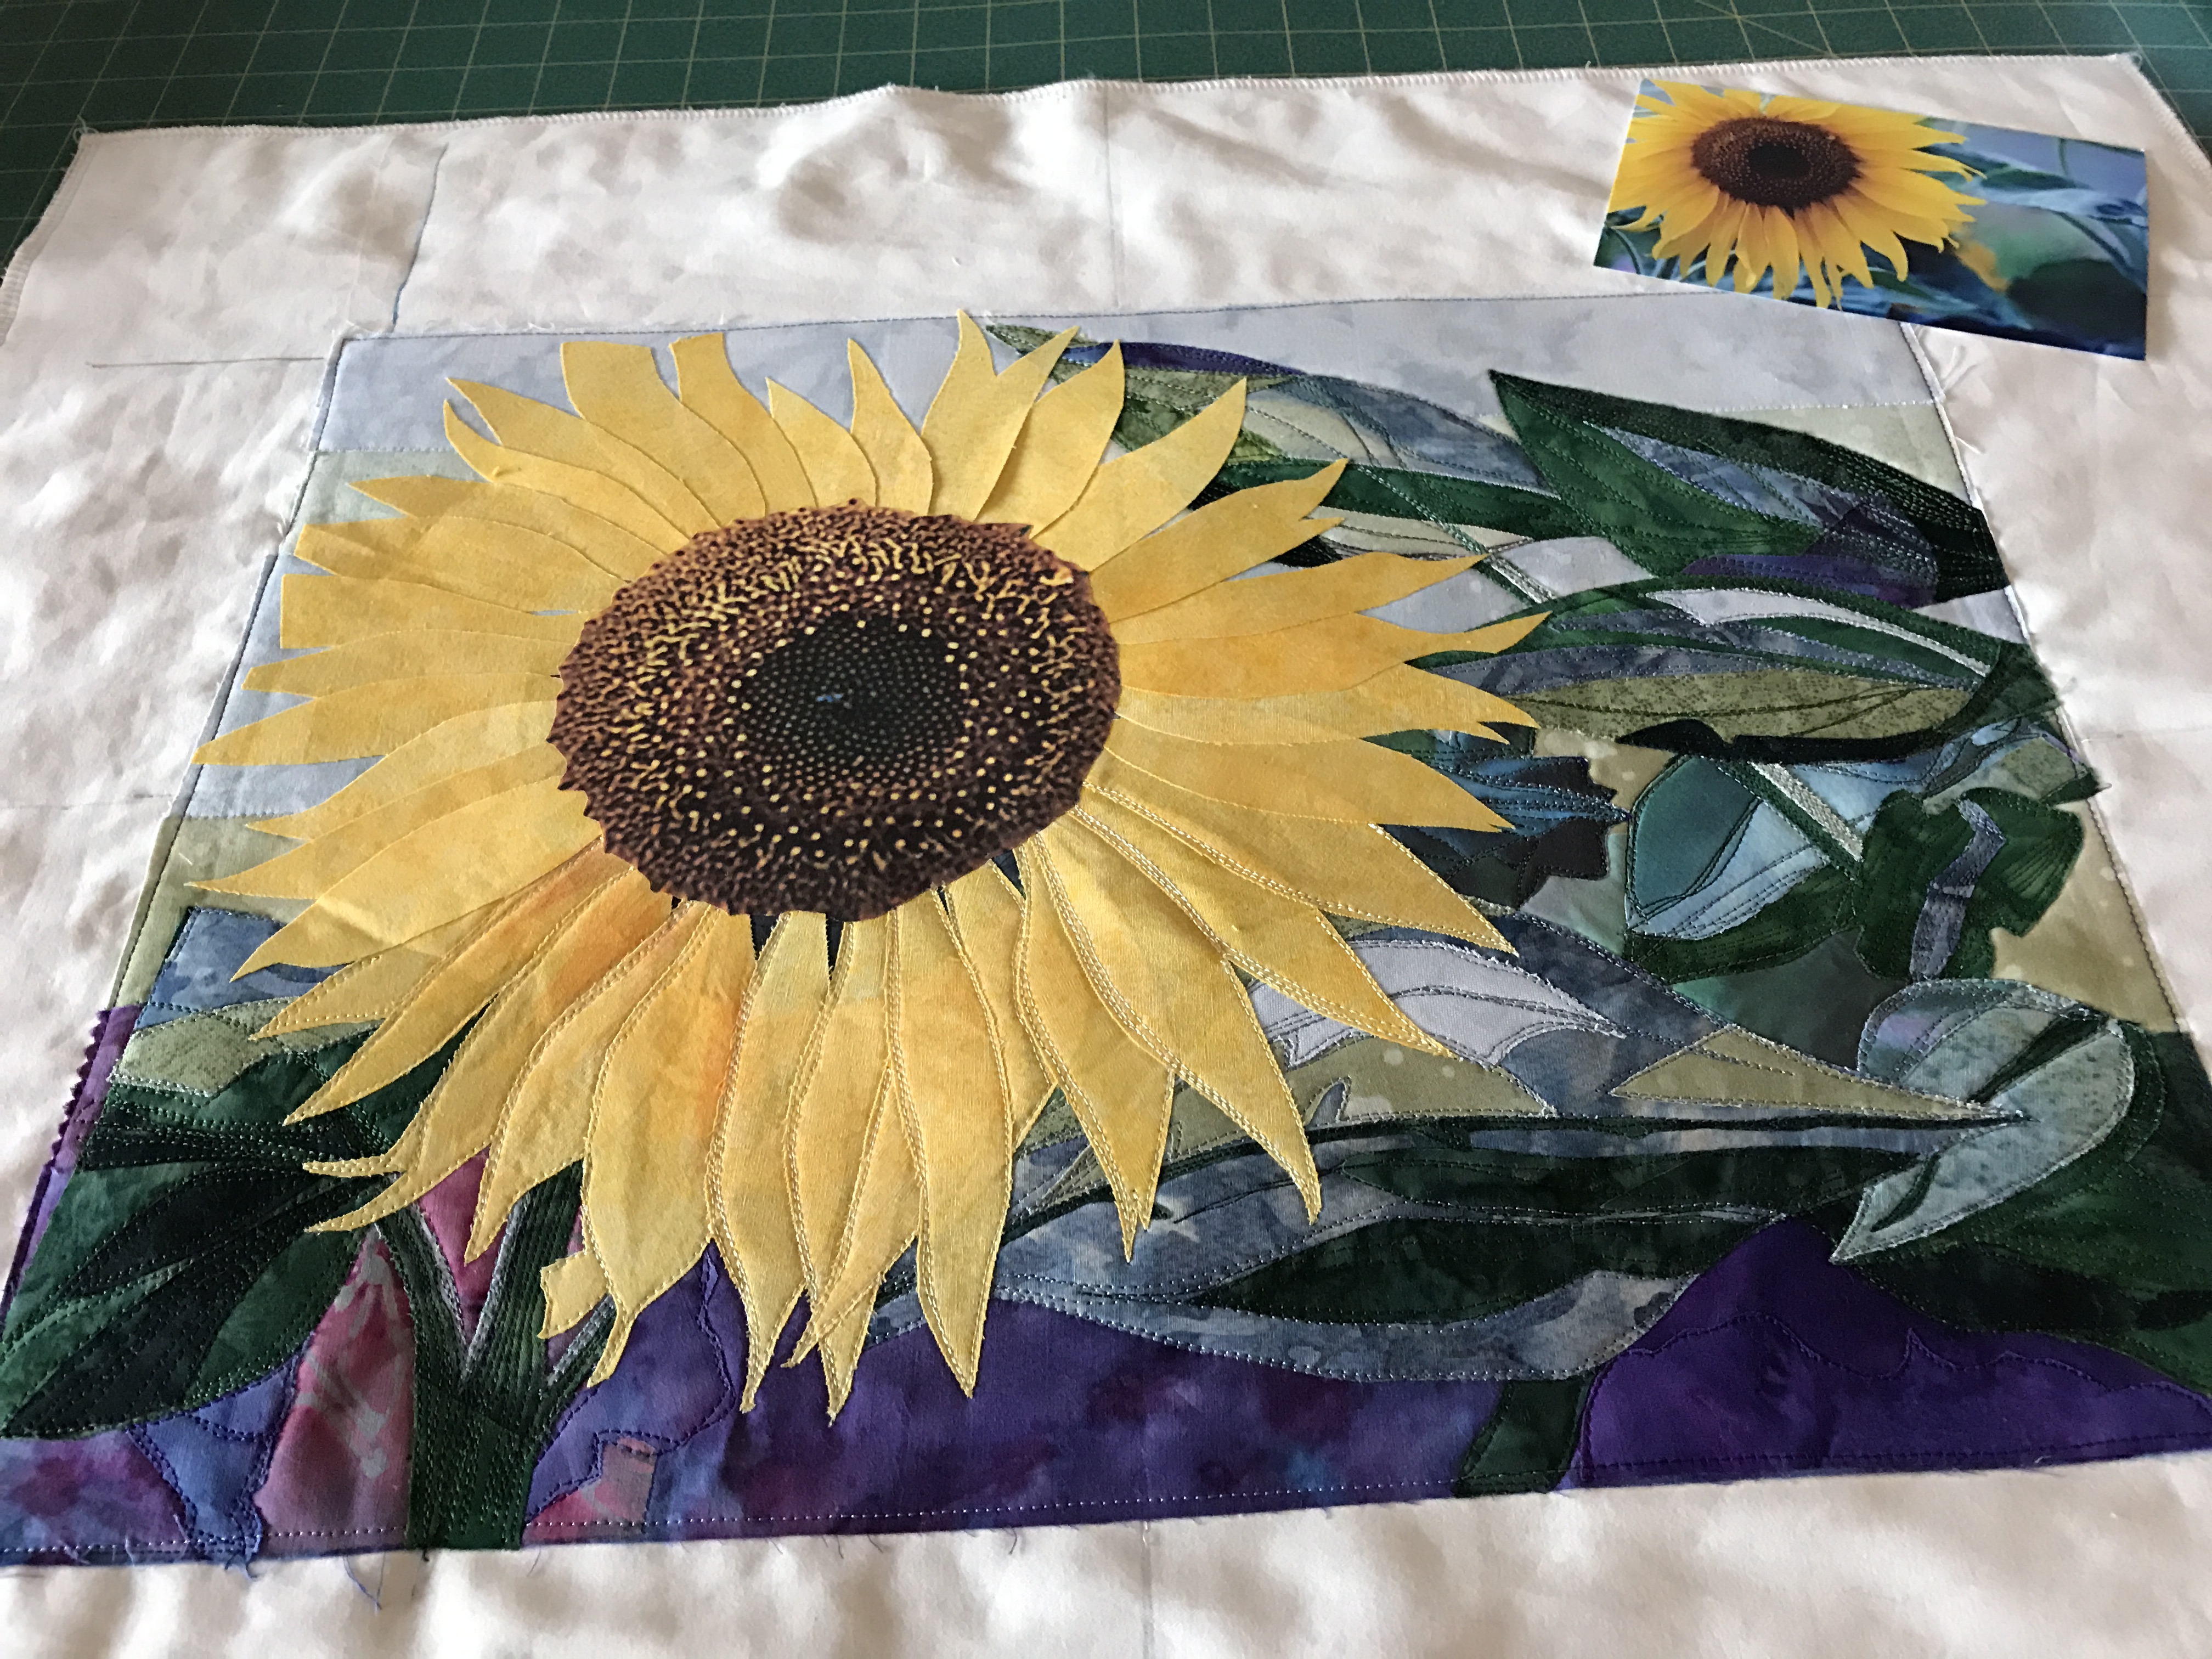
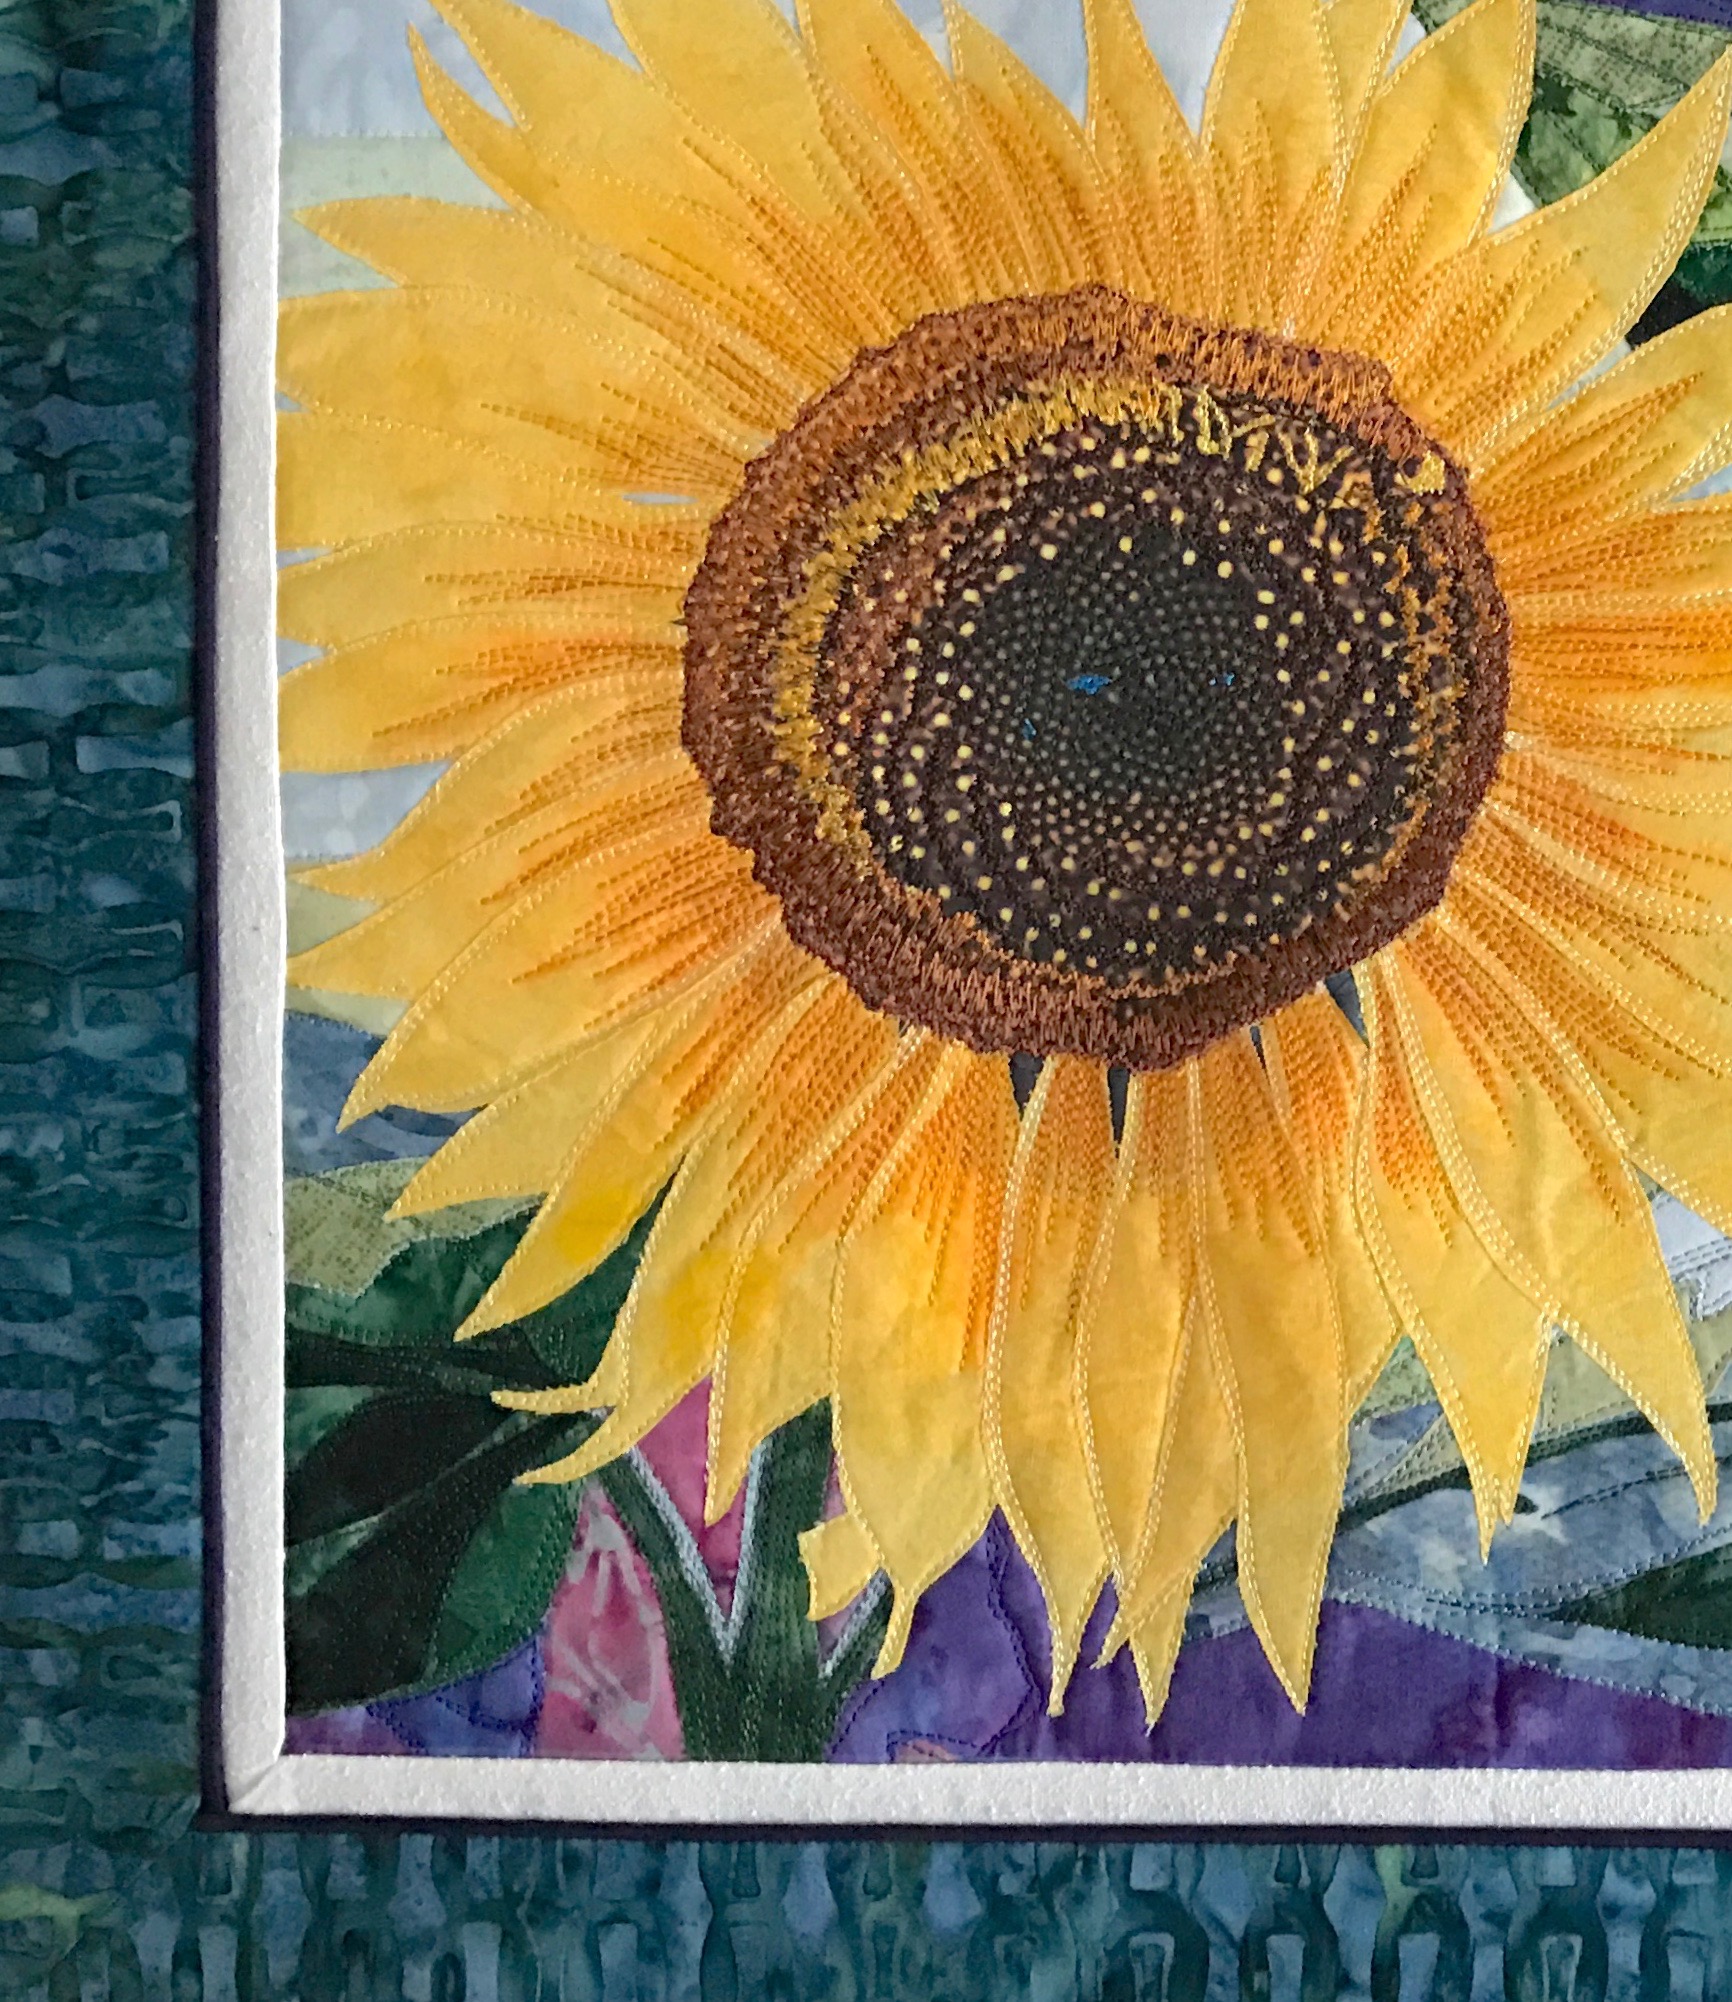
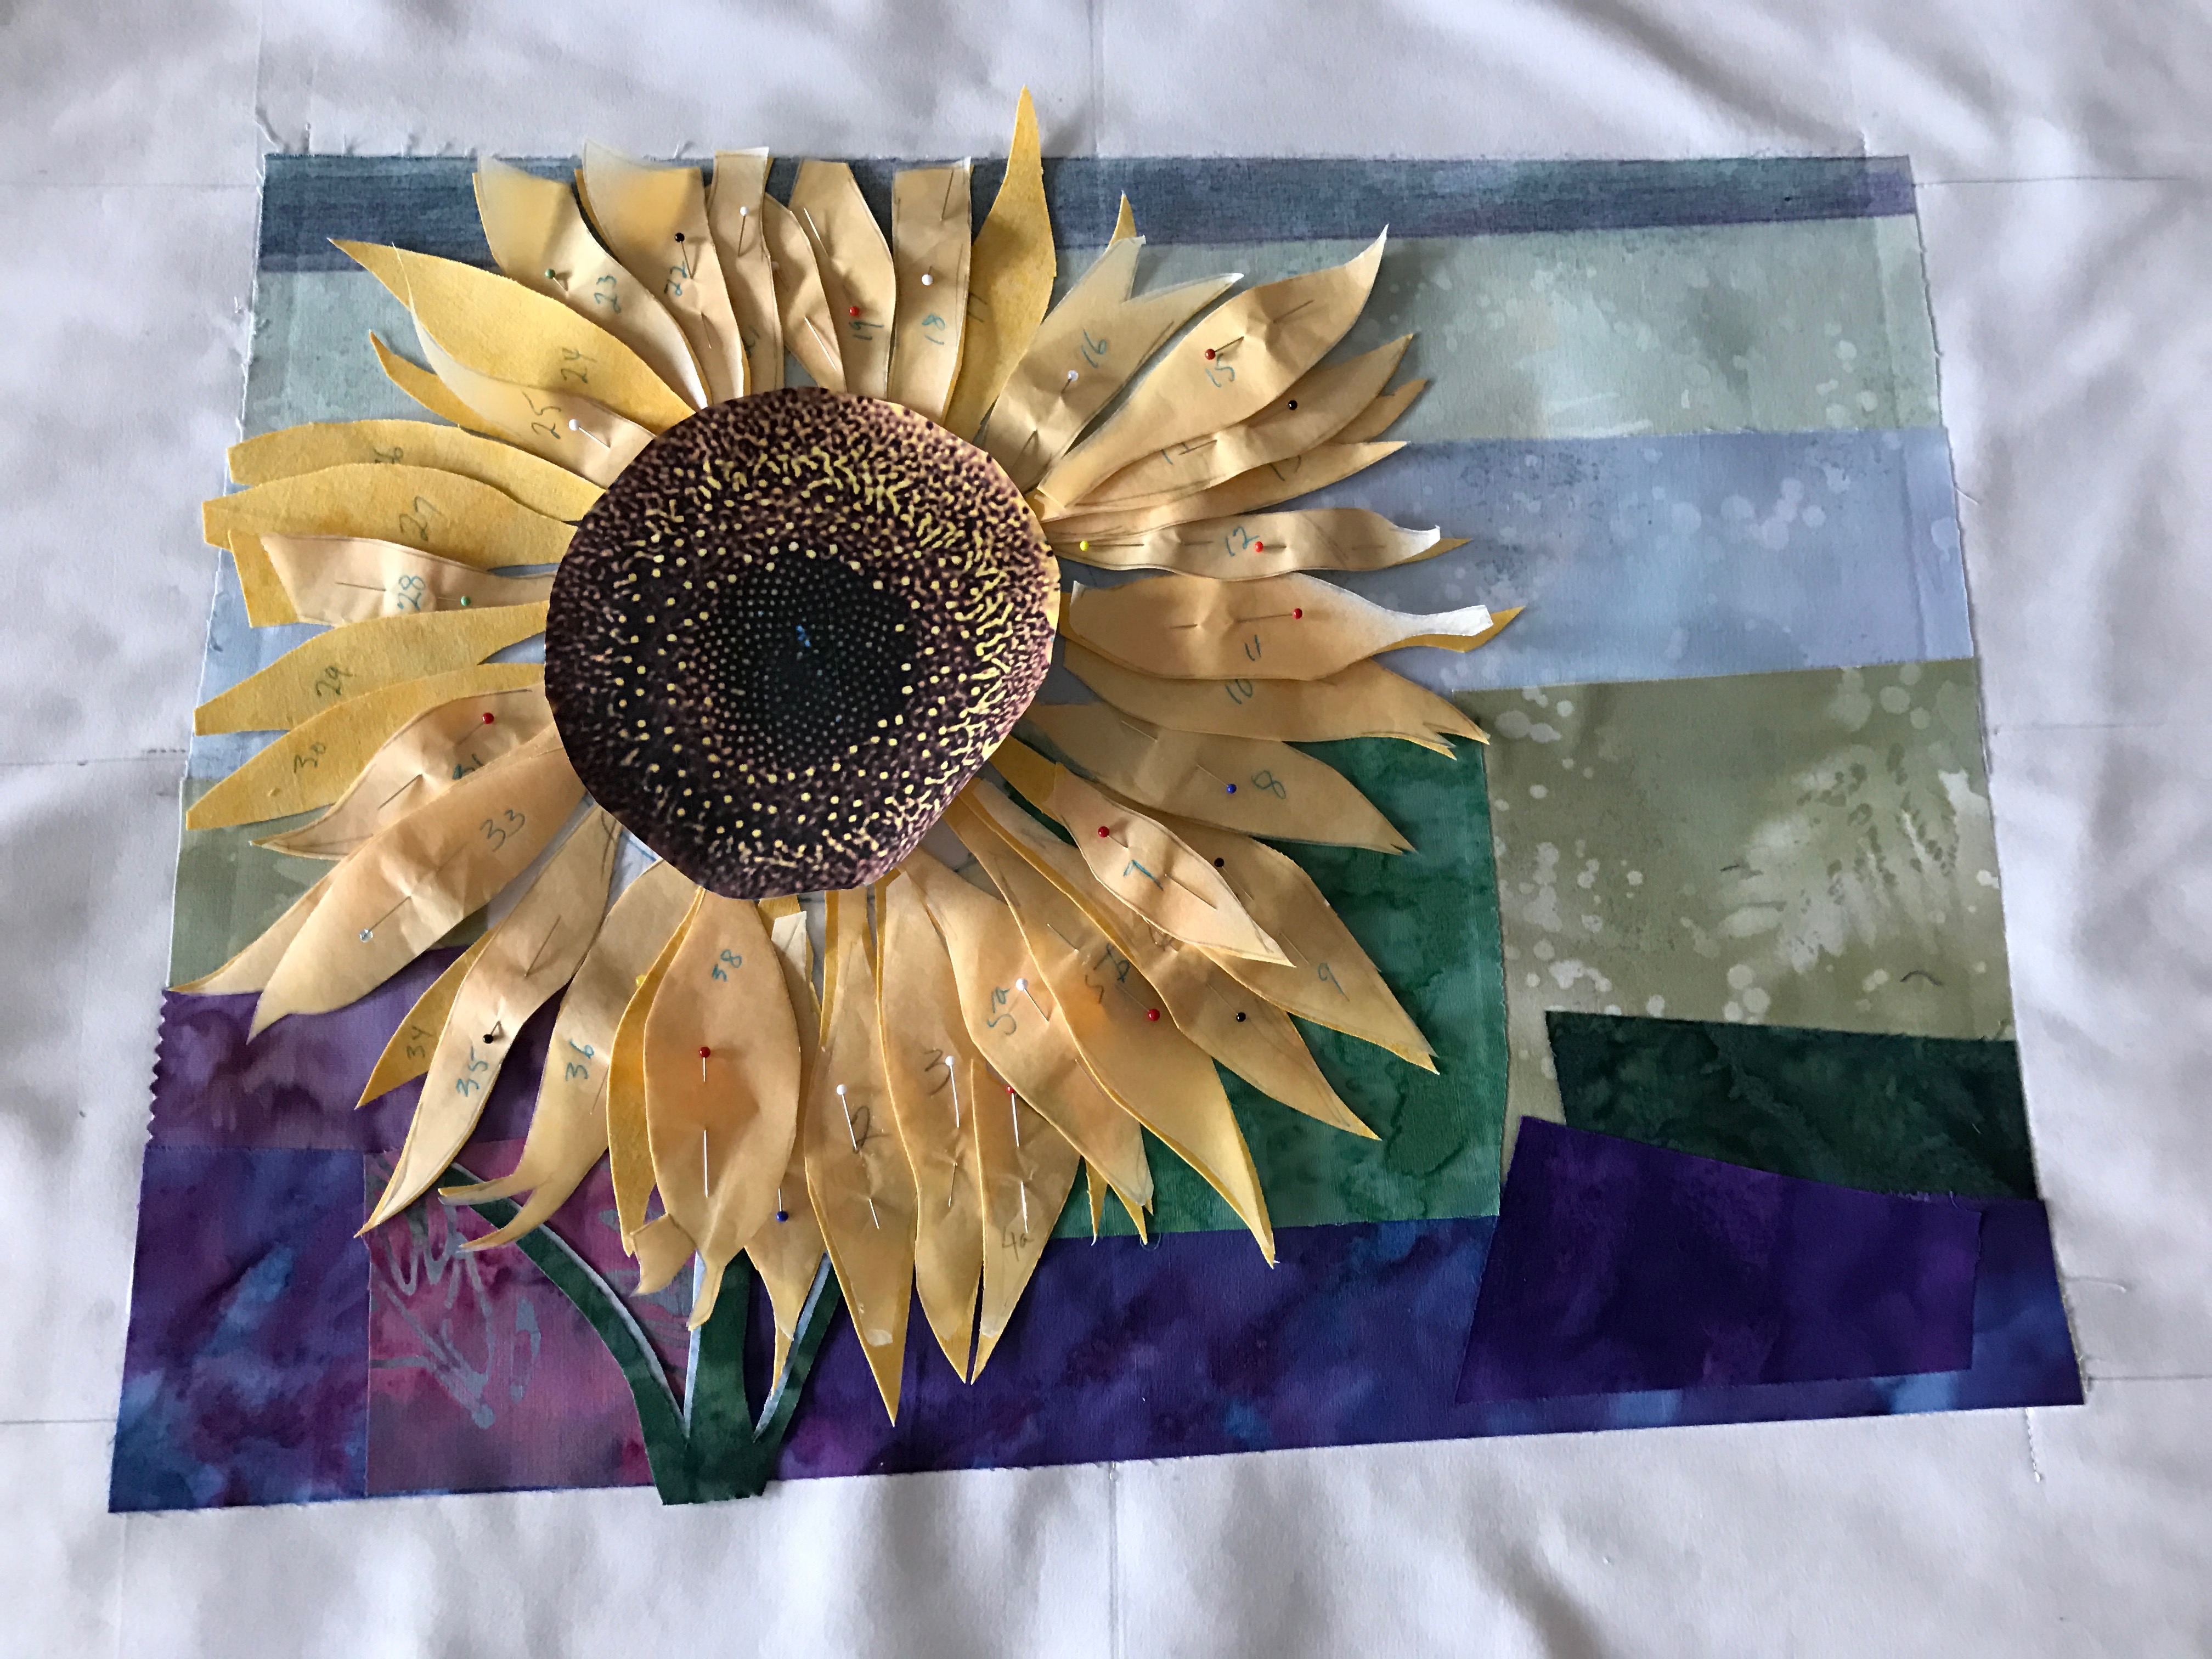
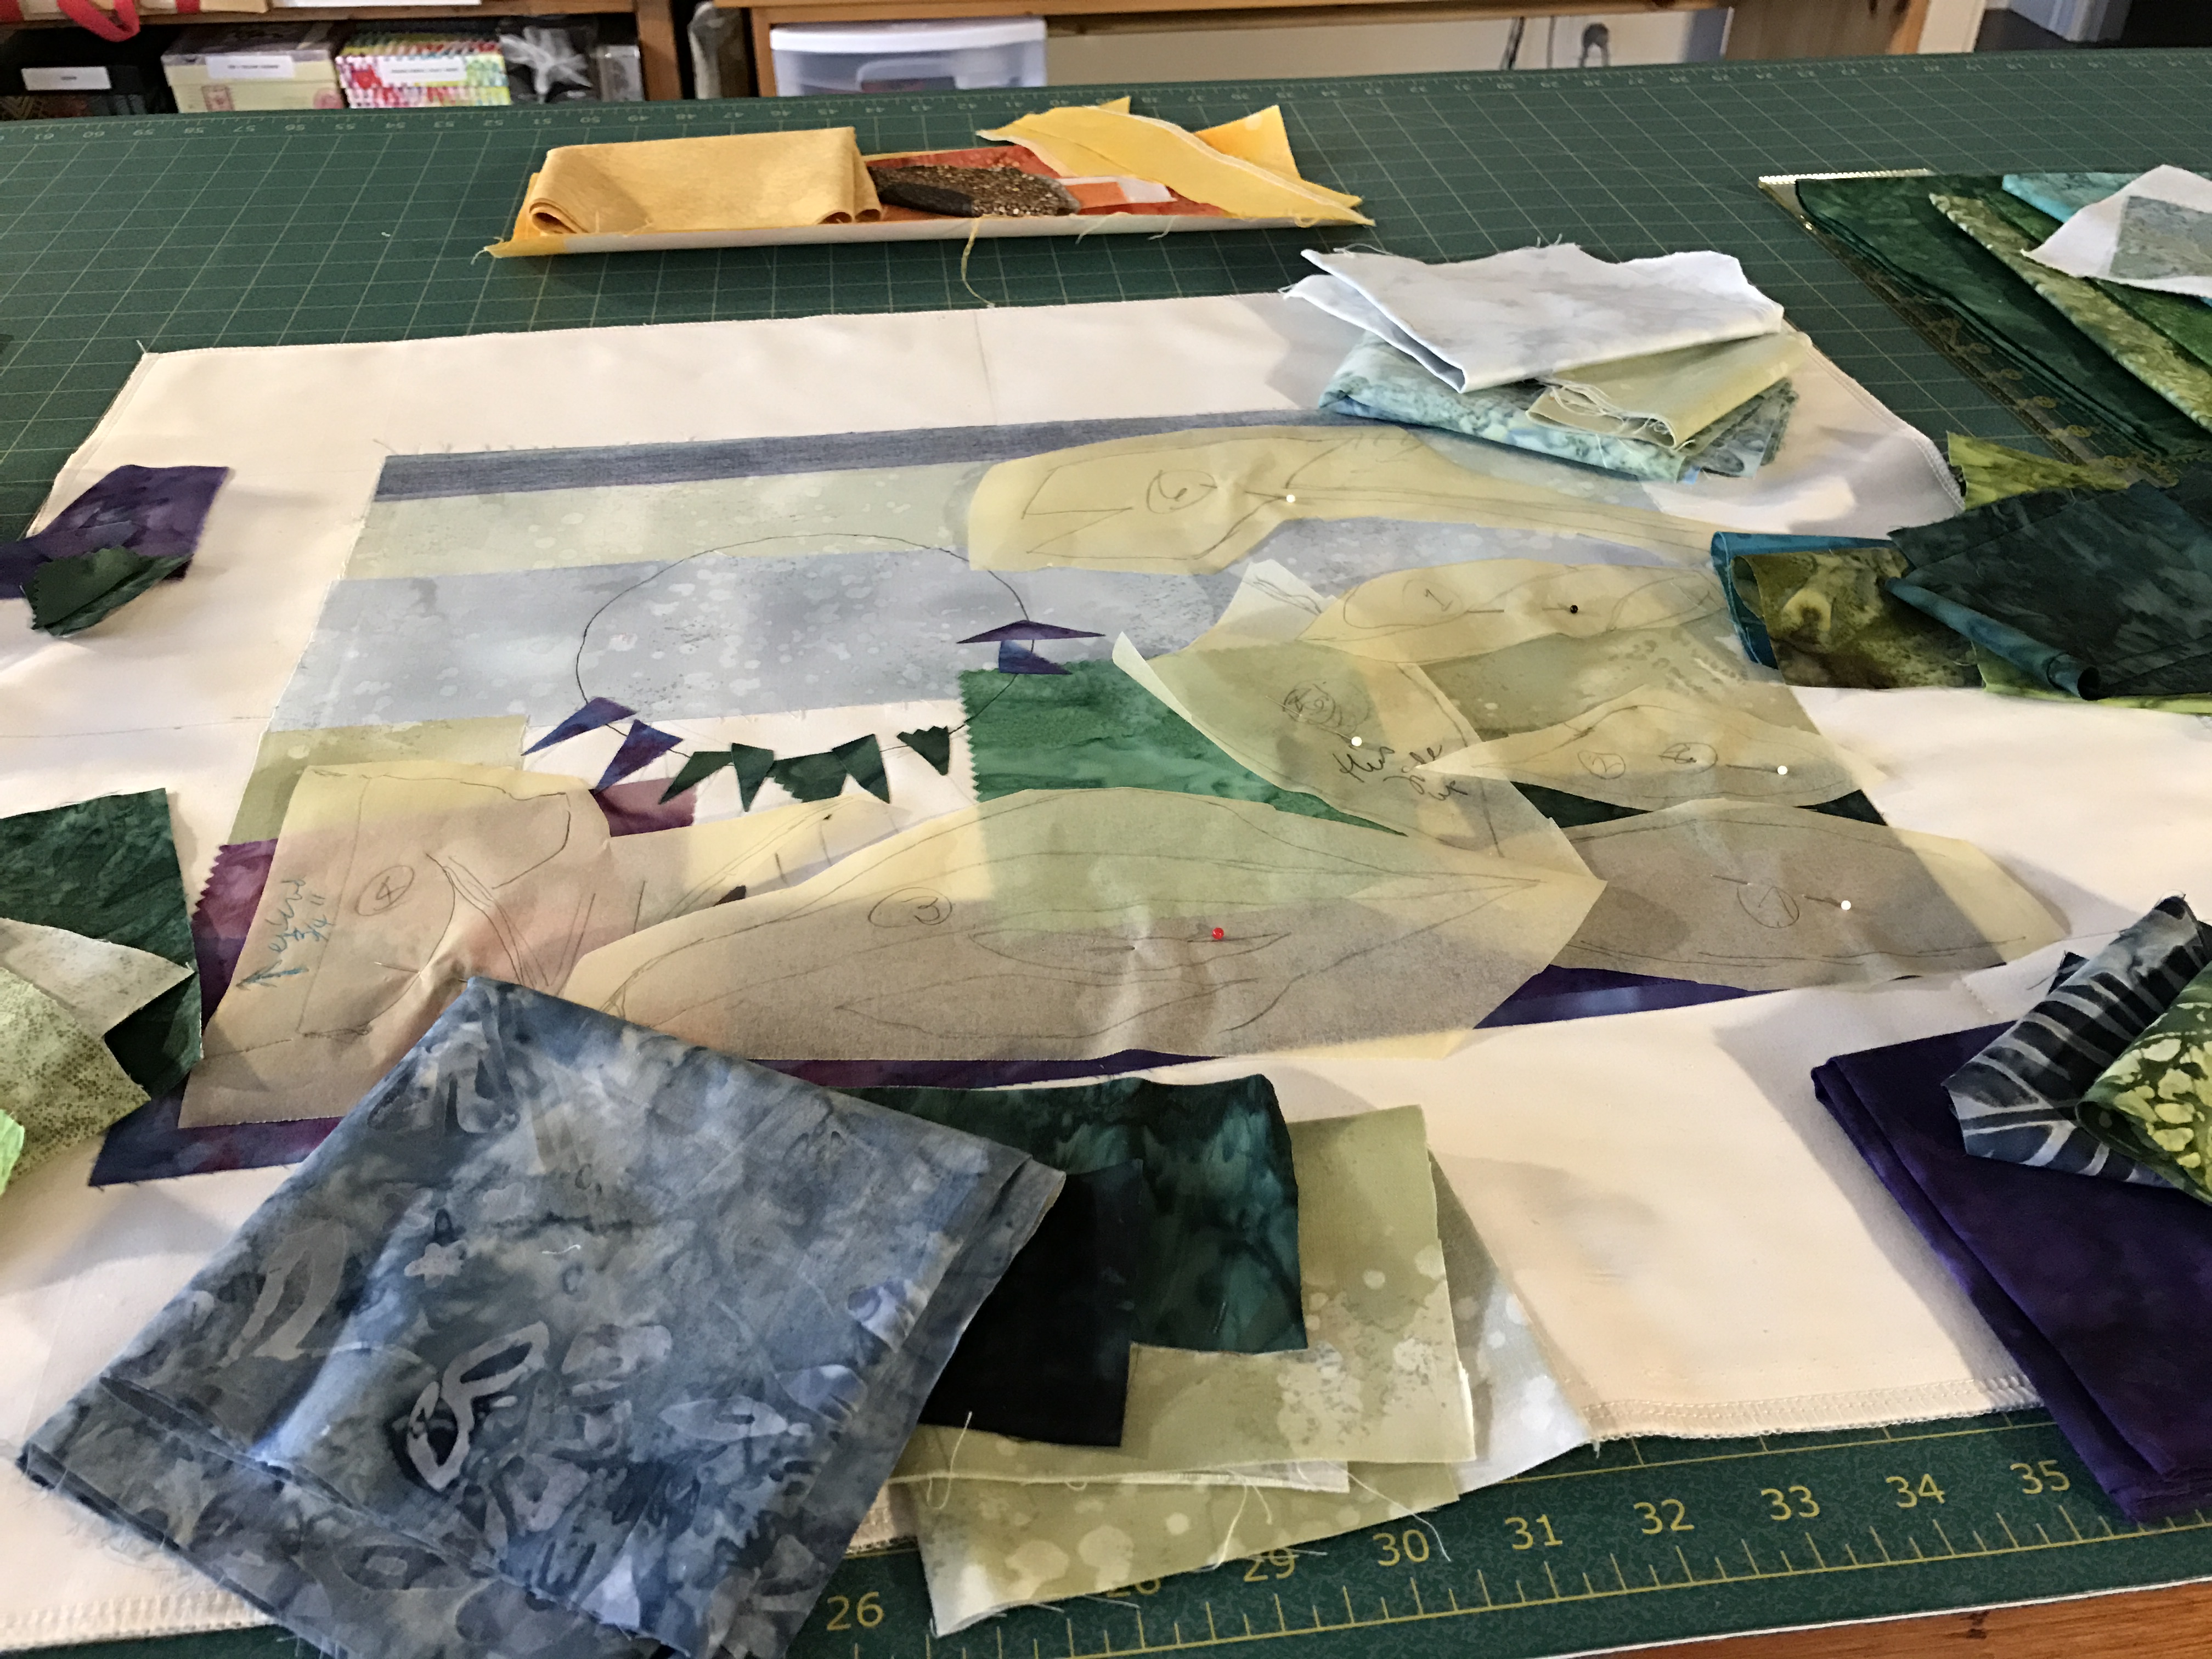
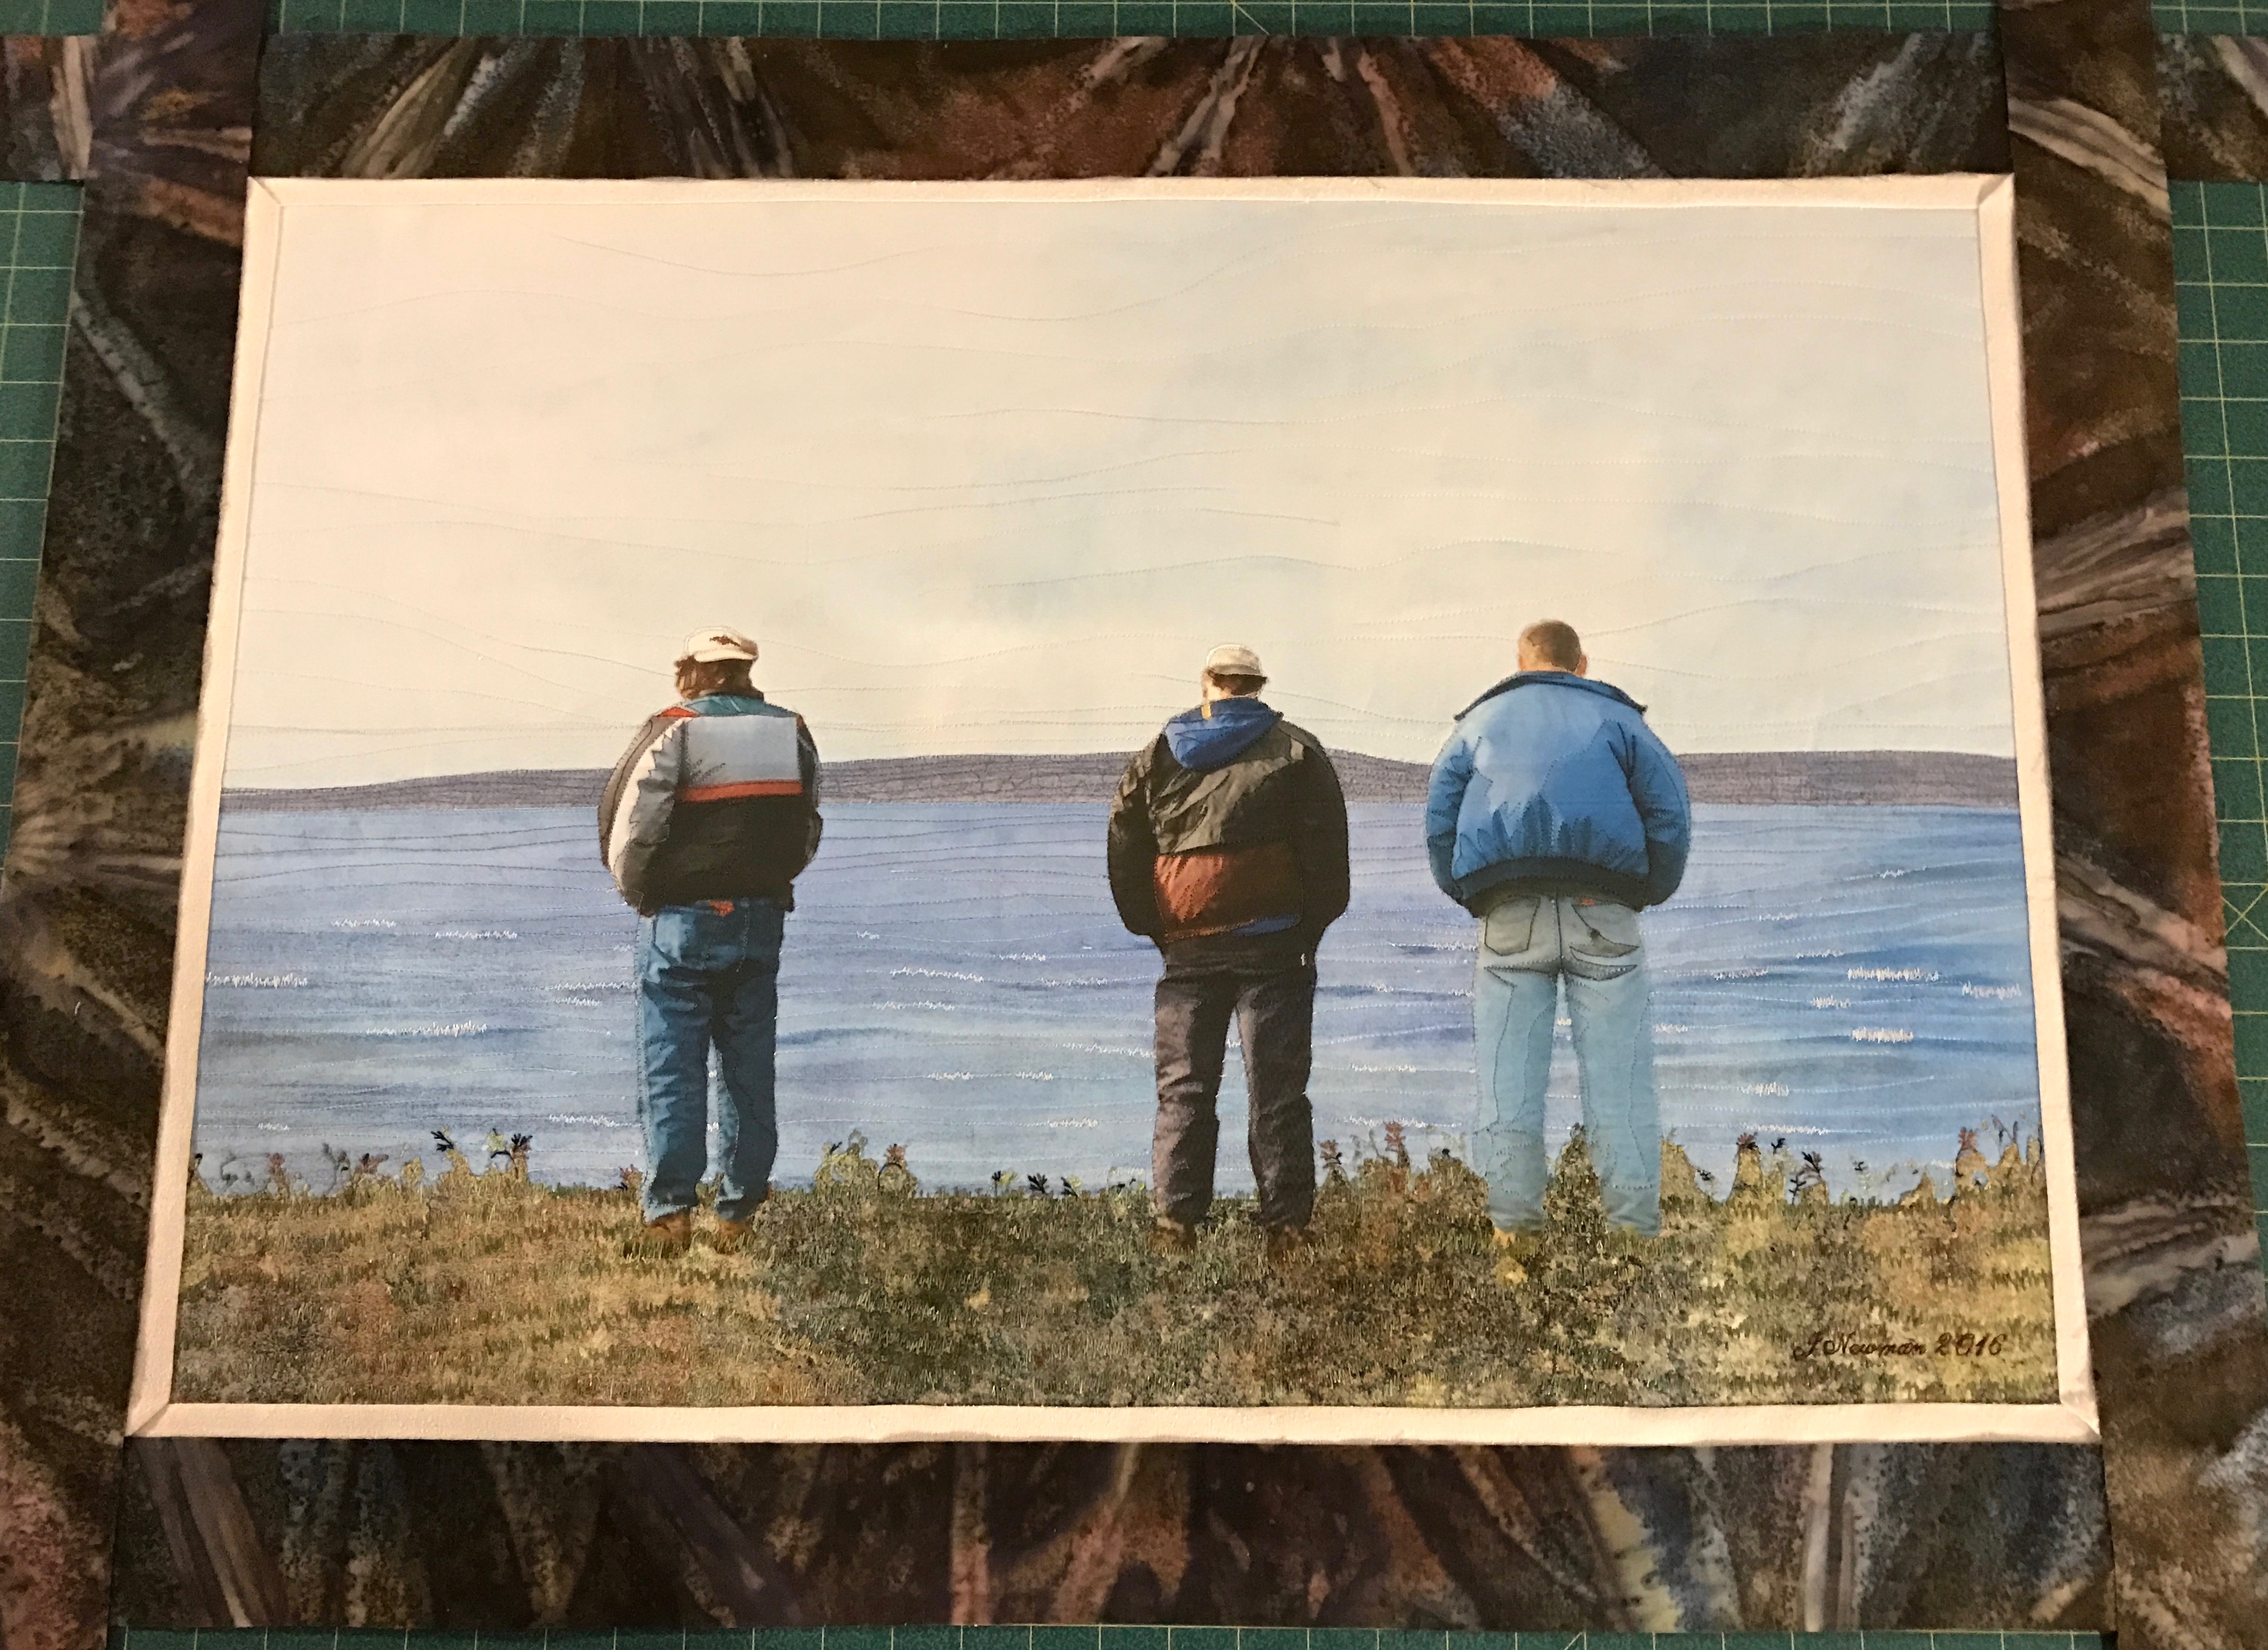
I try limiting the amount of time I spend reading the news – I turn to sewing and bury myself in some creative work. But today, I feel such a sense of disquiet I can’t get down to the quilt in progress. Were I an American, I’d have already become an active volunteer with the American Civil Liberties Union, Planned Parenthood, a local group of the Climate Network – I’d have joined a protest group of some kind.

While I know the need to organize and resist is coming to Canada there isn’t the same intensity at the moment to make such a move. But the same issues are alive and well (if not yet flourishing) here at home. Haroon Siddiqui yesterday carefully describes his experience of being Muslim in Canada since 9/11. It’s not a pretty picture. The bigotry that justifies a lethal attack on a Quebec mosque over the weekend is simmering and we have Conservative leadership candidates doing their best to stir that pot!

I know it’s just a matter of time before I will have to find an outlet for expressing my dissent with Canada’s version of Trumpism and the kind of xenophobic, climate damaging, women bashing policies that will follow. I know I won’t be able to sit on the sidelines.


Grey & Yellow II

Here’s where I left off yesterday – with the darker, busier yellows in the center – too heavy, not enough gradation from center outward.

Where I left off Saturday

Where I left off Saturday

So I began playing some more. The first thing I did was add two more rows to the bottom. It just so happened I cut twice as many blocks (the size of charms – 5″ squares) of both the greys and the yellows than I needed so I had lots of squares to work with.

Next, I dug out an even lighter grey from the stash to use in the centre. I matched it up with some of the stronger yellows. Then worked my way through the other blocks swapping out those with the most detail in the pattern for more clearly yellow fabrics.

So here’s where I am today:

img_8335

Grey & Yellow – v. IV

The yellow is more uniform – I suppose I could have done this with just 7 shades of yellow fabric from a strong yellow to pale – just didn’t think of it! (The yellow gradient likely would have worked better – oh well, this will also be interesting once it’s completely sewn and quilted.)

I also think the inner very light grey “square/diamond” could use something as an accent – I tried a circle using the darkest grey fabric (neah…), next I found a flower on a dark grey background, fussy cut it and auditioned it (neah…), for the moment I’m placeholding with the golden circle with dots – but looking at the photo I think “circle” is probably the wrong shape – I still have one square left of that fabric – I think I’ll give that a try as soon as I have the top completely sewn together.

So far today I’ve managed to assemble the bottom border and five rows – hope to do the rest tomorrow.

Grey & Yellow


I’m playing with three ideas in this new quilt I began during the week. First, I felt like I wanted to work with yellow and grey. I went through my stash pulling out everything I had in those two shades (quite a lot, actually). Then went shopping for more yellow and one more grey.

Next, I decided to work with half-square triangles. I’d seen a picture of a quilt with the point elements offset into the border. An otherwise simple quilt suddenly became more interesting.
hst-1

Then, I’d seen another quilt where the colour of the blocks was graduated giving an ombre effect – in this quilt only the greys shift from light to dark, the yellows are of constant value.

ombre-quilt

I wanted to shift both colours from light to dark:

img_8326

First Layout

The border here will be the dark grey embedding the yellow solidly against a dark background. I can also see from the photo I have to reposition (perhaps even swap out) some of the darker blocks with dots because they pull the eye from the overall movement in the quilt. Another thing I’m wondering is whether I shouldn’t pop a tiny bit of another colour (say a very strong orange) into some location or other – but perhaps if I’m careful repositioning the dots I might get the effect I’m after. I’ll have to play with the layout some more.

img_8328

Layout #2

Repositioning the darkest blocks with the dots has done it I think… although maybe I should gather the paler oranges together into the second or third ring – that will probably require I make new blocks – anyway, it’s time to get on with other things today. I’ll keep looking at this before stitching the blocks together…

Boring Socks IV

img_8318

Boring Sock IV

Thank goodness, this is the last of that lovely, but boring, yarn I bought last summer. The yarn had a great feel was nice to work with, but Oh! it was dull to knit with. Not much change in colour – the socks seemed to take forever.

As I was finishing this pair, I went shopping for some new brighter yarn – picked up five balls in one of my usual stops in town. Then last Friday one of the gals in the knitting group mentioned a yarn shop near the airport I hadn’t heard about so Monday afternoon I took a trip to have a look – knitter who decided to go into the yarn selling business – what a wonderful selection of sock yarns. Difficult to decide what to bring home.

img_8319

Assortment of New Bright Yarns

I bought another six balls…and immediately started on a new pair of socks – bright ones this time. They’ll seem to go much faster (probably takes about the same amount of time as the dull ones, but it feels like the socks grow more quickly because they’re continually changing).

img_8320

At Last A Bright Pair of Socks

Here is the new bright pair I’ve just started.

Sunflower – Completed

img_8309

“Sunflower”

Just finished!

I started working on this piece two weeks ago. I began with the original photo – cropped it, enlarged it, then printed out sections, taped them together, traced individual petals using tissue paper, planned out the background and traced the shapes…

img_8310

“Sunflower” – paper template to enlarged size

Next I collected fabrics from my stash, bought some new pieces, started building the background, cut out the petals and arranged them in place,

img_8298

“Sunflower” – the elements cut out and positioned

then started stitching: I laid down four horizontal strips of fabric from top to bottom, stitched them in place. Then added the leaf elements, edged stitched them – I didn’t “free motion” because I wanted more precision so, instead, I slowly freely stitched with my feed dogs in place – that allowed me to stitch very close to the edge of the appliquéd pieces. Next, I added a bit of detail and fill.

img_8300

“Sunflower” – background stitched

Once the background was completed, I laid out the flower petals, fused them in position, then began carefully stitching them, first using a light thread at the edges, then more golden/orange threads for the centre of each petal. Finally I stitched the centre of the flower – my goal was to bring out the spiral pattern of the florets (the centre of the flower was printed on fabric to retain the natural detail of the floret arrangement, as well as the few small bursts of blue – too small to add using cut bits of fabric).

To finish the piece, I added a 3/8″ inner border of raw silk, mitred at the corners, then a purple piping, and finally a 3″ batik frame also mitred at the corners.

Version 2

“Sunflower” – stitching detail

The whole piece I backed with muslin, including a sleeve for hanging at the top.

Now I’m walking around the apartment trying to find a place to hang it – there doesn’t seem to be one, without taking something else down! I’m really going to have to think about where to display it.

"Sunflower" without frame

“Sunflower” without frame

Sunflower I

I’ve been working on the “Sunflower” art quilt for the past few days. I pencilled in the layout on the prepared muslin backed with batting, traced the flower petals from a photo enlargement on to tissue paper then placed tracing paper beneath to retrace onto the muslin, fused some Heat ‘n Bond to the back of a piece of subtly printed bright yellow fabric, cut out all 38 petals and have so far put them aside because before I can fuse them in place I need to do all the work on the background! For the moment, I’m placeholding the centre of the flower with a paper printout to scale.

img_8291

Petals Pinned In Place

I decided to create the background working from the original photo because the detail was sharper and showed the elements in the background more clearly. I fused a pale green printed fabric to the top of the image area on the muslin (having darkened the top edge using fabric pastels – very little of that band will show when the piece is finished). Below that a soft blue. I laid in a purple/blue/pinkish batik strip as background at the bottom of the piece – leaves will be overlaid on that fabric and very little of it will be visible. I filled in most of the remaining background with pieces of greens and purples. These, too, will be mostly covered. Again, I’m using tissue paper for my templates so I can see through it to the photo enlargement, and when cut out I can see the fabric pieces beneath. I want to cover all the raw edges of the background with the foliage so that only a sense of colour peeps through.

sunflower3

Original Sunflower photo taken in 2002

Once I sorted out what fabrics I wanted to use for the foliage, I returned to working from the cropped enlargement to help me retain proportions.

Version 2

Enlarged, Cropped Image

I traced the leaves and have pinned the tracings in place on the piece. I’ve selected mostly batiks here because the colour variation in it will help with the subtlety of shading I’m trying to create. In the photo, the leaves are predominantly a very light colour reflecting the sunlight. The challenge will be achieving a realistic look to the piecing of the foliage. If, in the end I don’t like what I’ve got, I may print the foliage on fabric, fussy cut the leaves and stems, fuse that printed fabric in place and thread paint it.

Planning Out Leaves and Stems

Planning Out Leaves and Stems

I’m calling it quits for today – tomorrow I’ll begin crafting the leaves and stems hoping they will turn out as I imagine them.

Art Quilts: Flowers

Danny Amazonas is a Taiwanese textile artist who makes amazing art works (many of them quite large!) by sketching an image on blank fabric then using bits of fabric (with fusible interfacing on the back) as if it were brush and paint. I can see how the work is constructed from the background up. What I can’t tell is whether he top stitches any of the elements (although I’ve seen photos of him sewing on a large piece so perhaps he does some stitching). Here’s a recent video interview of Amazonas in Tokyo where he’s describing his art quilts.

The reason for my interest in Amazonas’ work is I’d like to try it on a piece of my own. I’ve been scouring my photo collection for images of flowers that a might make a strong visual image when constructed from many bits of fabric.

Version 2

Sunflower

I took this photo of a sunflower it’s gotta be 15 years ago – I have a copy of the photo hanging in my apartment. But I’d love to enlarge it somewhat and have a go at piecing the image. I love the detail of the flower, but I also love the soft green/mauve background which sets off the yellow of the flower.

Other artists piece their work but also clearly top stitch/thread paint their creations:

black-eyed-susan

Kate Themel – Rudbeckia

zinnia950

Barbara Olson – Zinnias

zinniadetail1

Zinnias Detail

I have a couple of other images that would work as floral panels as well – I guess I could always do a series of hangings:

phael3

Phaelanopsis

img_2072

Strelitzia reginae

both of which would make spectacular images. I’d crop both to make the bloom more prominent. If I were to try panels 14″ x 10,” a series of three would be interesting.

In any case, my next step is to cut a piece of muslin about 20″ x 20″ (to give me lots of area to work with), sketch out elements of the sunflower, go through my stash pulling every bit of yellow/orange/brown I have (small scraps are going to be useful), collect some blues/greens/pale mauves/ for the background. I will need to add fusible interfacing to pieces of fabric then start cutting, placing and pressing…

It’s like facing a blank canvas with some paint on my palette, taking a deep breath and just starting.

Wind Waiting – Done!

img_8272

Wind Waiting, 2017

Just finished! (Click on photo to see the enlarged photo – the panel is laying on my bed which accounts for the receding top)

This morning, I trimmed some threads, added a bit more stitching to the guys. Then off to the fabric store to see what I might find in the way of fabric for the border. Neither fabric store near me had anything better than the three possibilities I’d pulled from my stash. In the end, after consulting with the gals at Sew With Vision, I decided on the “mid” colour intensity option. One of the gals had a good suggestion – what about adding piping between the inner and outer borders?

Great idea! Sew With Vision didn’t have any solid fabrics that worked, so I went down the street to Atlantic Fabrics. They had a dark grey/brown Kona cotton which matched the browns in the border fabric perfectly. I auditioned various shades of blue, some greens. I even tried a black, but the best choice was definitely the brown.

img_8273

Piping detail

I knew before I started I’d have to make the piping – actually it’s not a difficult job when you’re using a piping foot – I turned out four strips of piping very quickly. The secret to applying the piping is to do it in two steps – attach piping first, then border fabric on top of that. I measured 1/2″ from the inner edge of the inner border, marked it with a heat erasable pen, lined the inner edge of the piping against my line and stitched it in place. I trimmed the excess piping as close to each corner as I dared, then marked 1/4″ on the piping fabric, aligned an edge of the border fabric (2 1/2″ strips) and stitched a second time. I ended with a very neat, narrow piping with the border fabric abutted directly against it.

Then I added a muslin backing. I trimmed my muslin to the same dimensions as the panel, pinned it, and stitched the layers with the muslin on the bottom so it would not shift position. I added a sleeve for a dowel/curtain rod at the top, incorporating it into the top seam. Finally, I turned the panel right side out, pushed out the corners, pressed it flat, hand stitched the opening in the panel bottom as well as the bottom edge of the rod sleeve at the top. When the wall hanging was turned right side out, the muslin backing was a wee bit larger than than the panel, so using a zipper foot, I carefully pulled back the piping from the inner border and stitched all layers as close to the piping as I could so it wouldn’t show. That seam was successful – the muslin doesn’t peep out along the bottom edge of the panel.

Now to find a place to hang it!

img_8276

On the wall

Wind Waiting – Almost Finished

I spent the entire day working on the pilots wall hanging. It took a good part of the morning strengthening the white caps on the Bay of Fundy which is always windy. More difficult than doing this embroidery work without the pilots in place – I had to work up to the edge of a figure, end the thread, start again on the other side. When done in the right order it’s clear sailing.

Then I took a deep breath and started stitching around the colour areas. Here they’re shown on the black and white prints on paper. My plan was to stitch around the outlines of all the coloured areas using coloured thread to blend with the fabric in the clothing.

pilots-detail

Somewhat more difficult to do on the machine than with a pen! Click on the photo below and you’ll see the stitching – I didn’t quite capture as much detail as I did on paper, but the stitching does bring out the boundaries between the differently shaded areas. You don’t notice the stitching when you  stand back but it’s evident when you’re close up.

Version 2

Stitching Detail

I added an inner “mat” using 2 1/2″ raw silk strips, carefully positioning them and stitching them in place (with mitred corners folded and pressed).

Now the piece needs a border/outer mat. I have several sets of 4 of various fabrics the question is whether any of them actually enhance the piece or do all of them detract and I should go shopping for something better.

This is a dark border:

img_8266

Dark Border

Here is a lighter border:

img_8267

Light Border

This is a medium border that brings out the blues and greys – what I can’t decide is whether it’s too busy or not.

img_8269

Medium Border

This is one to sleep on. I need to see all three in daylight – then it will be easier to assess the colours and degree of busyness of the batik pattern.

Maybe I should bring out some solid Kona cotton and give that a try – I find “storm” a very useful colour – I’ll do that tomorrow.

Boring Socks III

img_8263

Finished last evening. To liven this variegated yarn I introduced single row stripes in different colours at random intervals – gotta try something because the yarn itself is boring!

The stripes liven up the socks a bit. It’s a ice wool yarn to work with, but none of the colour bands are bright; it’s more interesting working on a more dramatically coloured yarn.

I’ve started the final ball of this boring yarn – this ball consists of shades of mauves/purples/greys. So far just working on the cuff in a contrasting colour. Not sure yet what other colours to bring in and how to do it.