This is the cause of my problem! I finally figured it out yesterday.
My circles aren’t quite circular! I thought it was because I’d cut my quarter circles out a bit large then trimmed them smaller. I wondered whether my sewing was accurate enough. Neither of those.
My problem stemmed from the template I was using to cut the quarter circles! You can see the radius at the edge is 6 1/2″ from the corner to the circumference. But look at the centre radius – from corner to circumference is something like 3/16″ too short! So every quarter circle I cut, was flattened at the mid-point from the seams, and making the “pointy” bits happen at the seams.
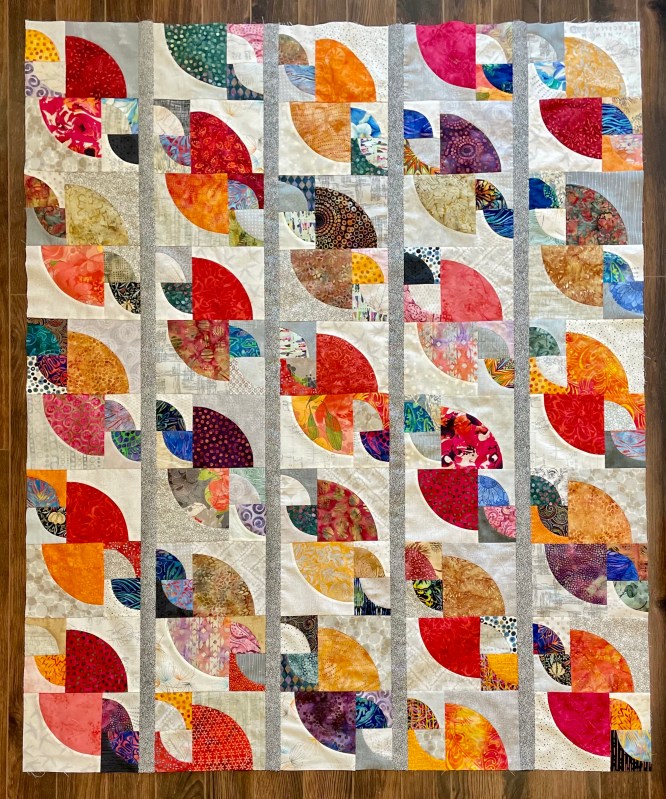
I partially solved the problem by trimming the end points 1/1 6″ which helped round out the shape, but if you look closely at the finished quilt top you can still see the irregularity.
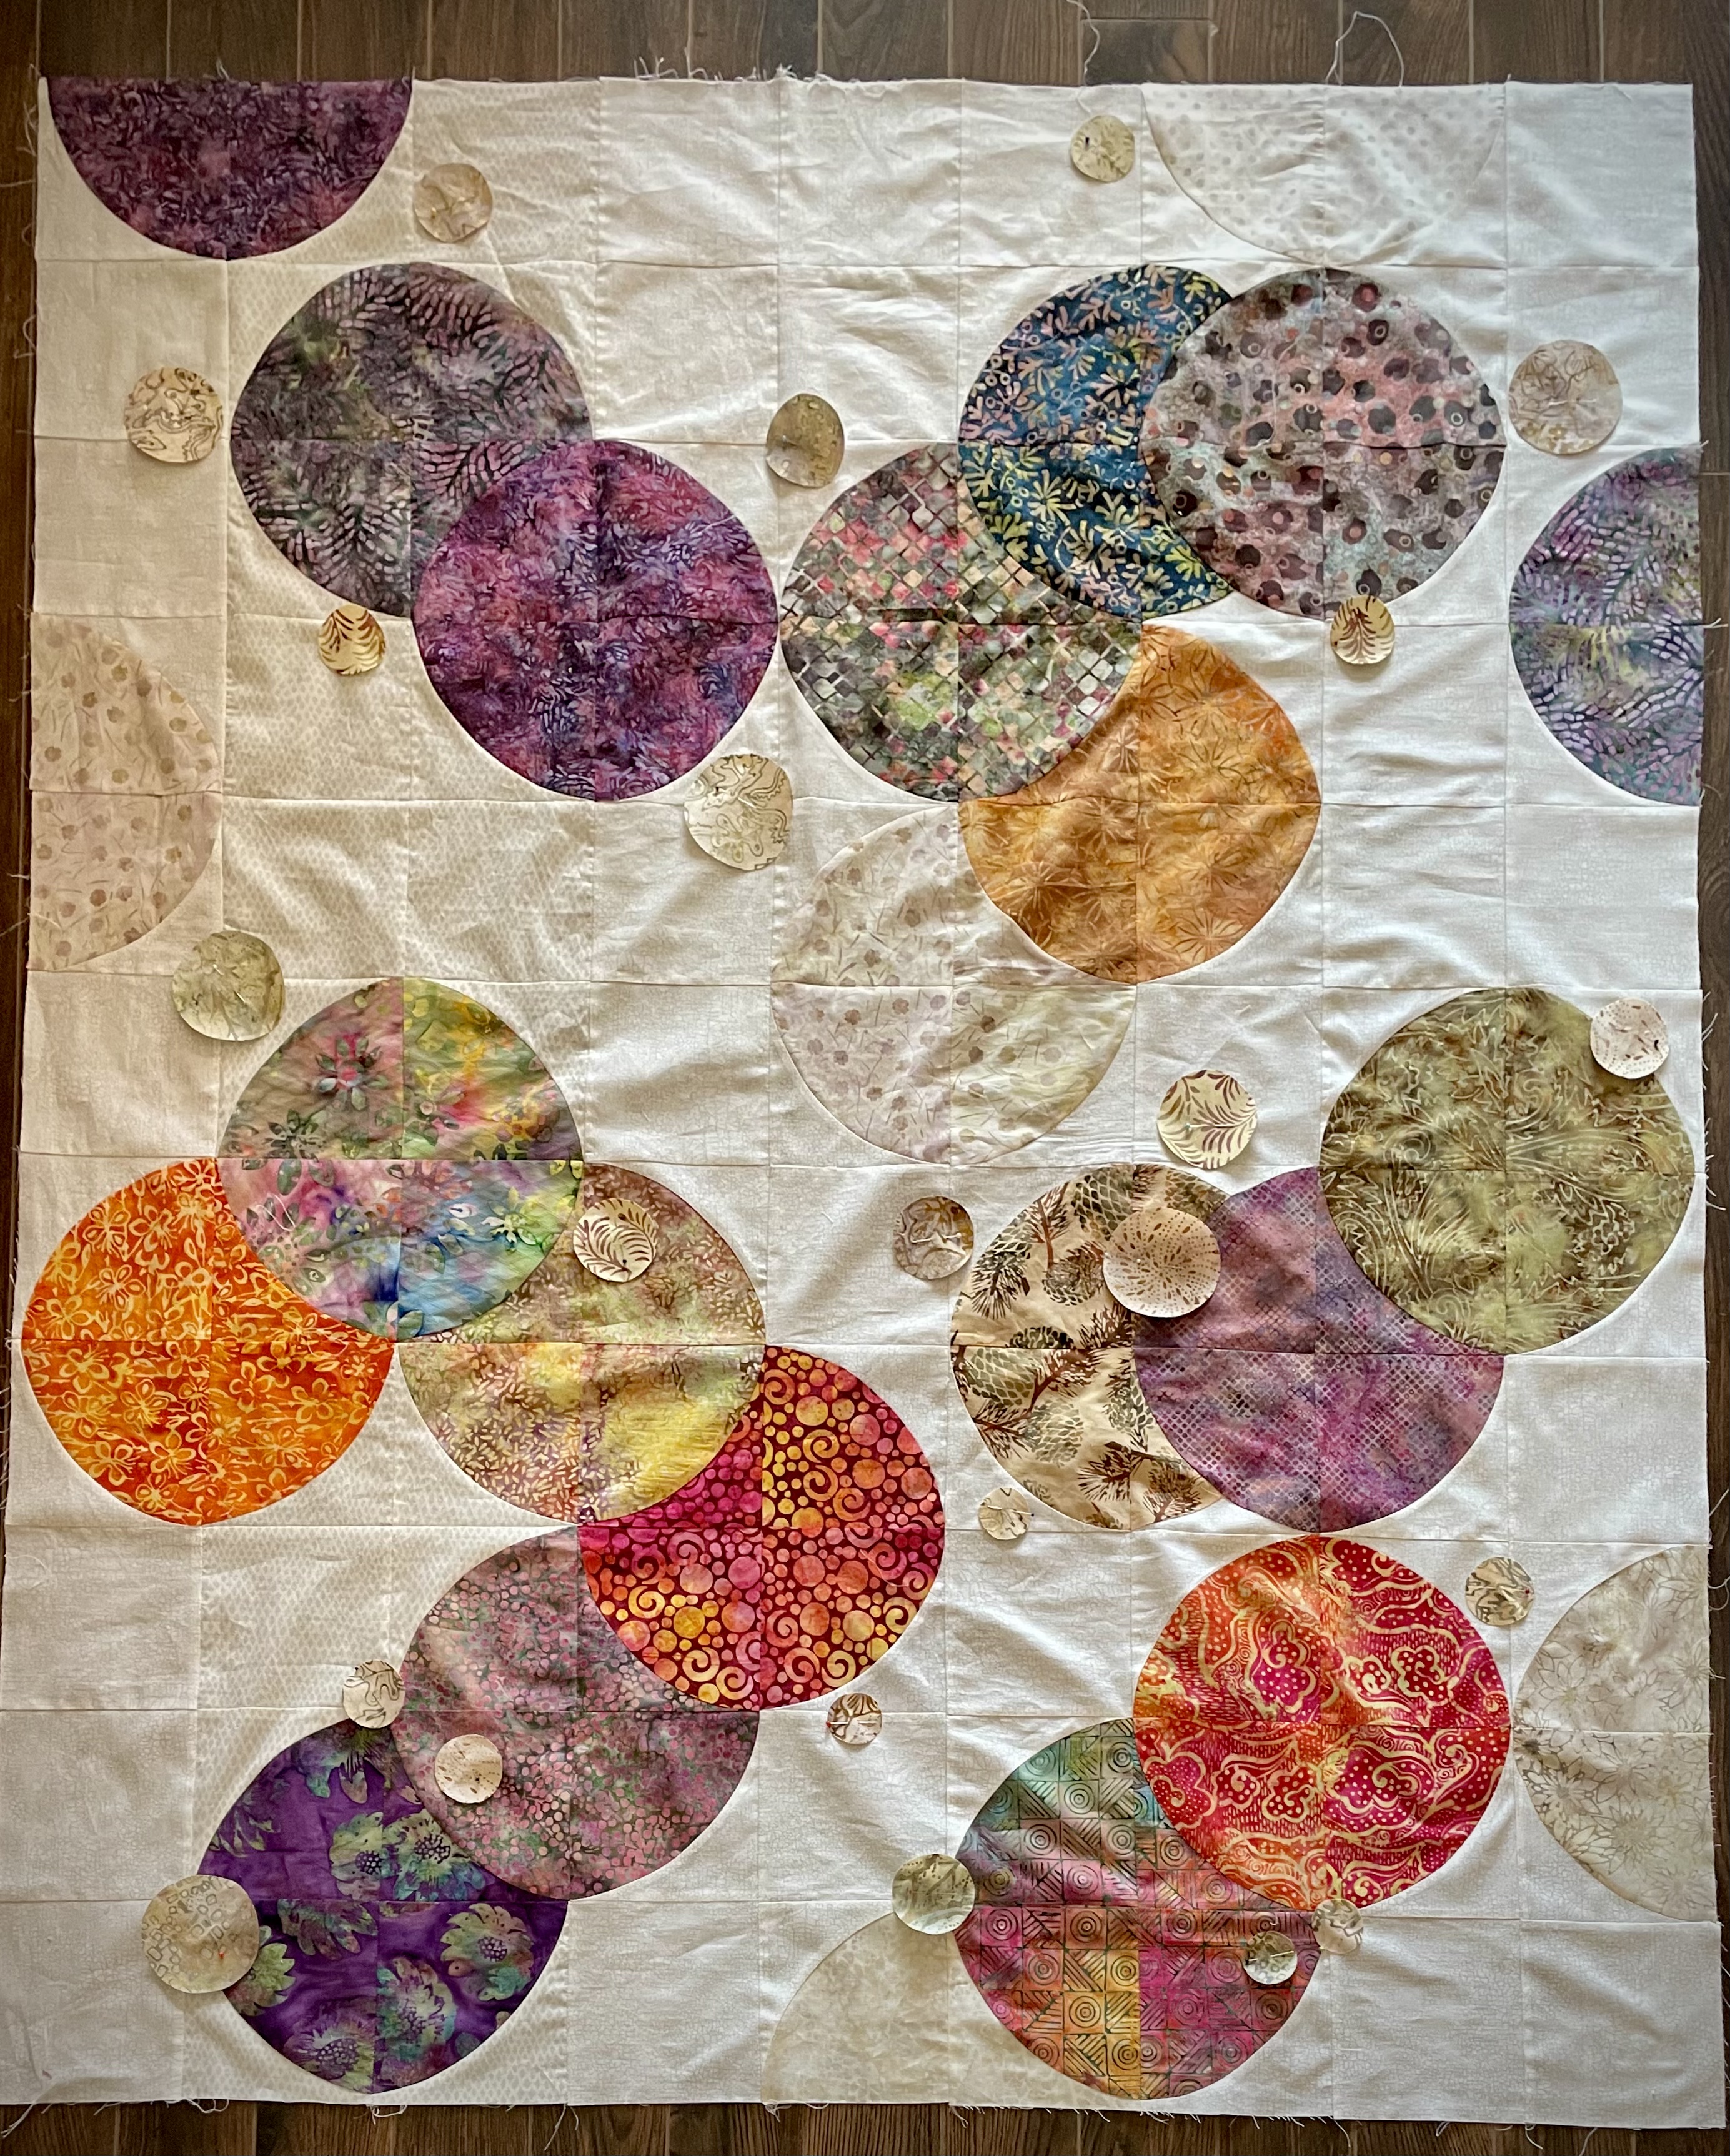
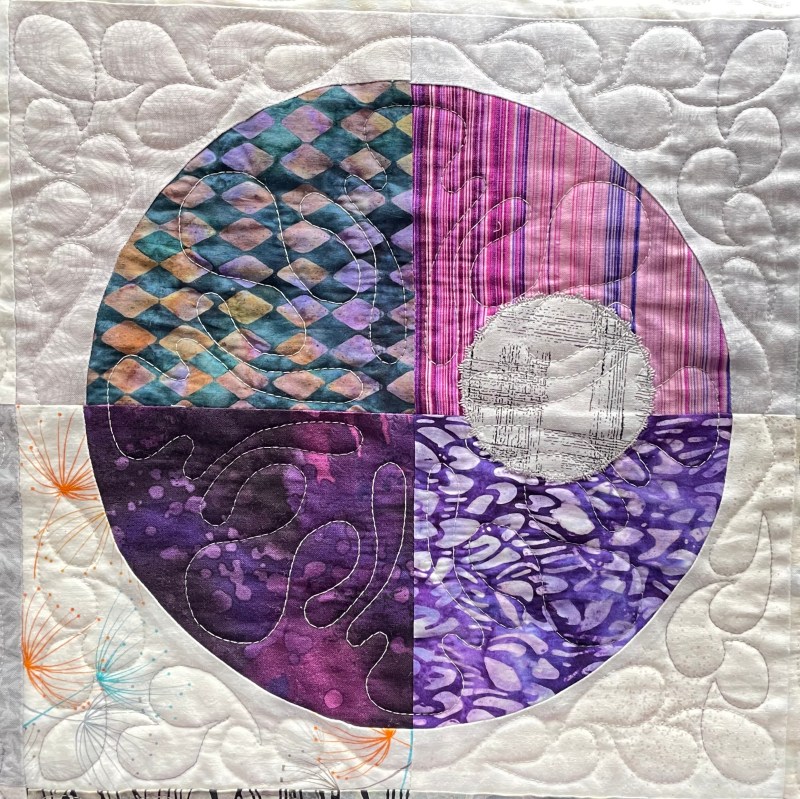
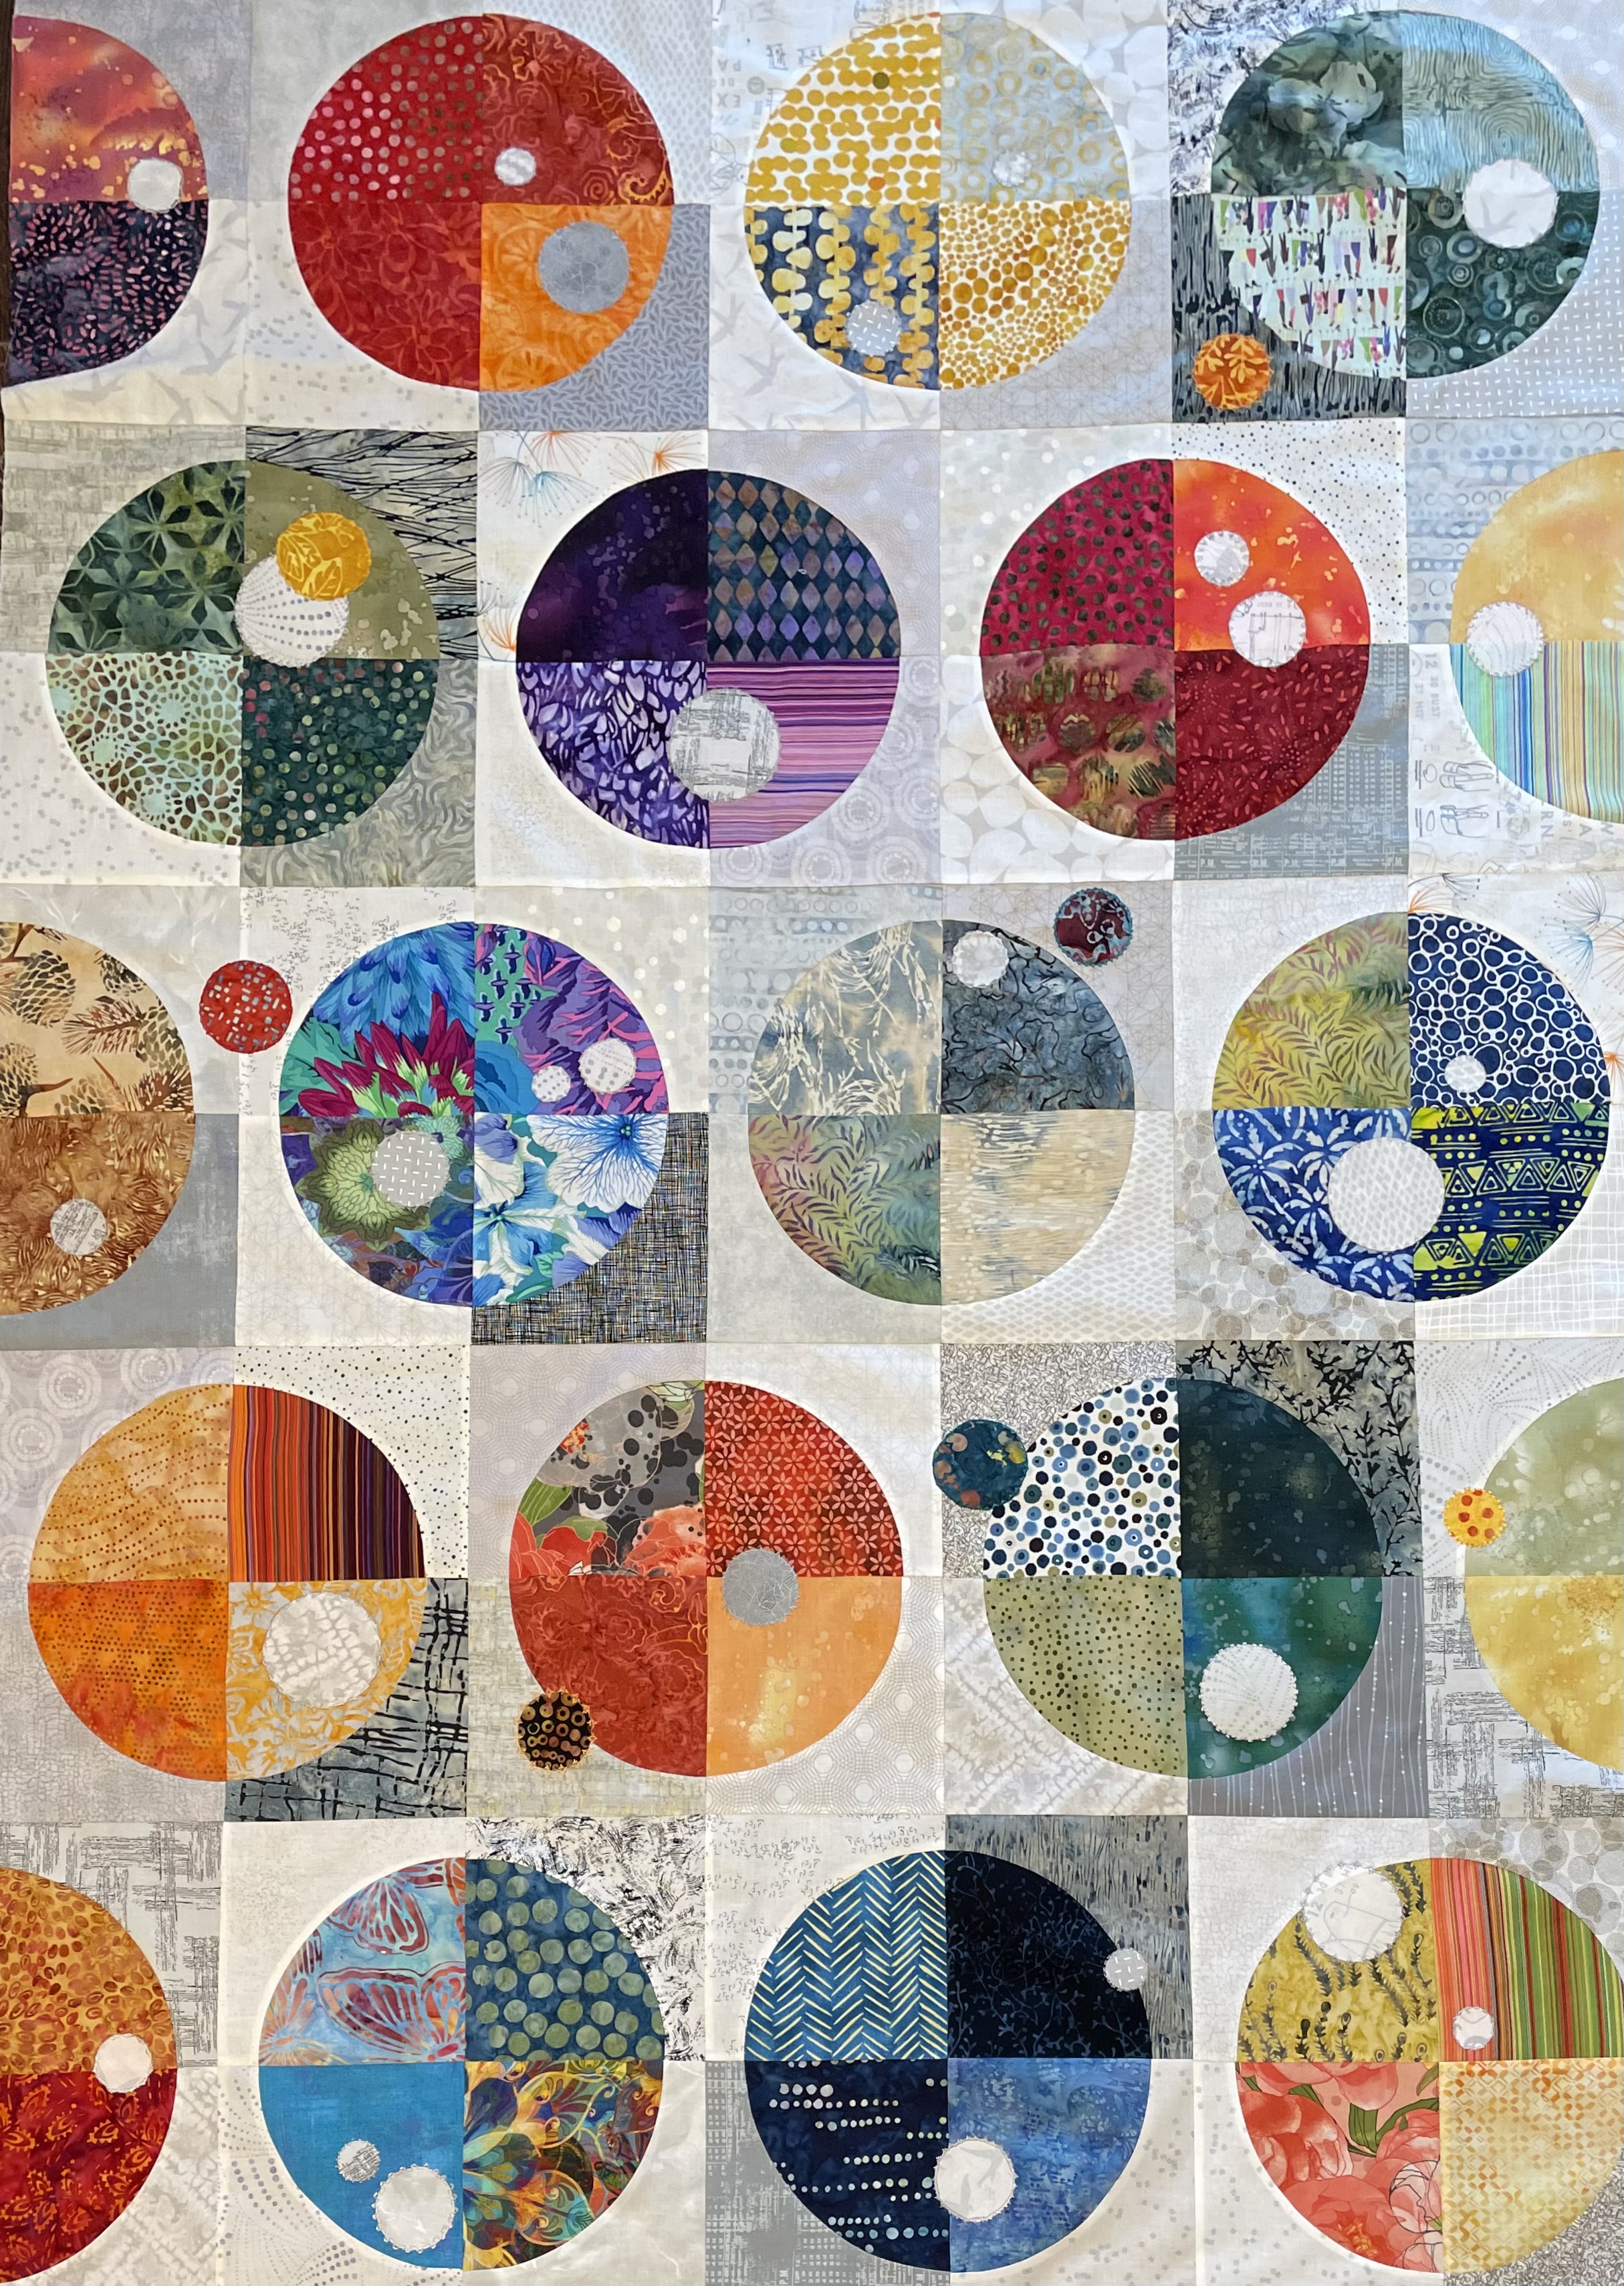
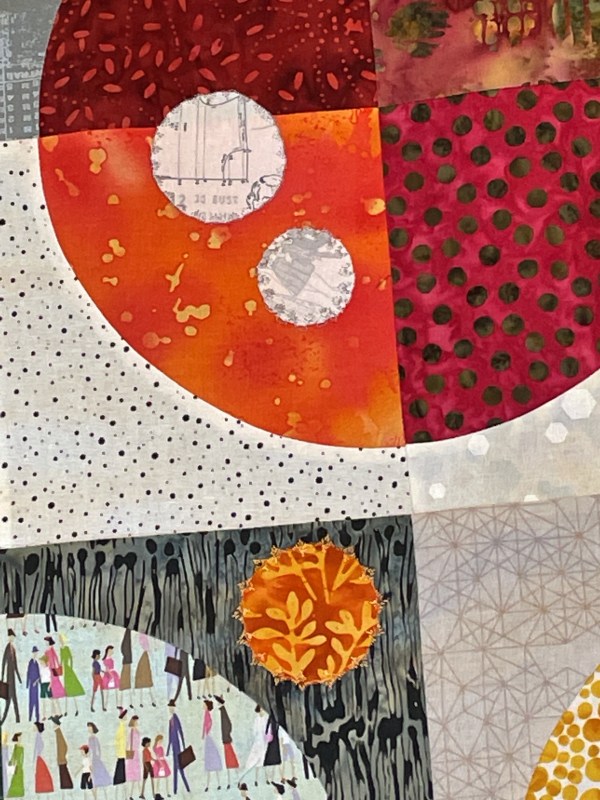
To compensate for my not-quite-round circles, I decided to appliqué smaller circles at strategic points – some are placed to eliminate the “pointy” bit at the seams, others to pull your eye from the flattened circumference.
I collected batik bits from a couple of scrap boxes, a range of light beige with a bit of contrast. These smaller circles are obvious but not blatant. I think this will rescue the quilt top. These small circles are pinned in place for now while I think about placement for the next couple of days. I will fuse them in place when I’m satisfied with the placement. I will also edge stitch them with decorative stitches and rayon thread.
If I didn’t mention the lack of circularity, you might not have noticed it, but I think you’d still feel a niggling something about those circles. This way, there’s more to look at and the eye isn’t drawn to that abnormality quite so much.
Because I’d cut all the pieces before I began sewing, the only real solution would have been to discard these pieces in a scrap box to reshape for a different quilt, and start from scratch with a more accurate quarter circle template. I had used all I had of some of these fabrics, I’d have had to redevelop the colour scheme; I’d have needed to order more crackle for background, come up with another stripe background fabric.
Not happening.
I am going to reshape the quarter circles on the back. I can get away with that, because I haven’t cut any “L” shaped pieces yet. So whatever template I find in my collection (or one I will make from template plastic) I will use to reshape the “pie” pieces and cut the “L” pieces. The sewing will be much easier than it was making these blocks!