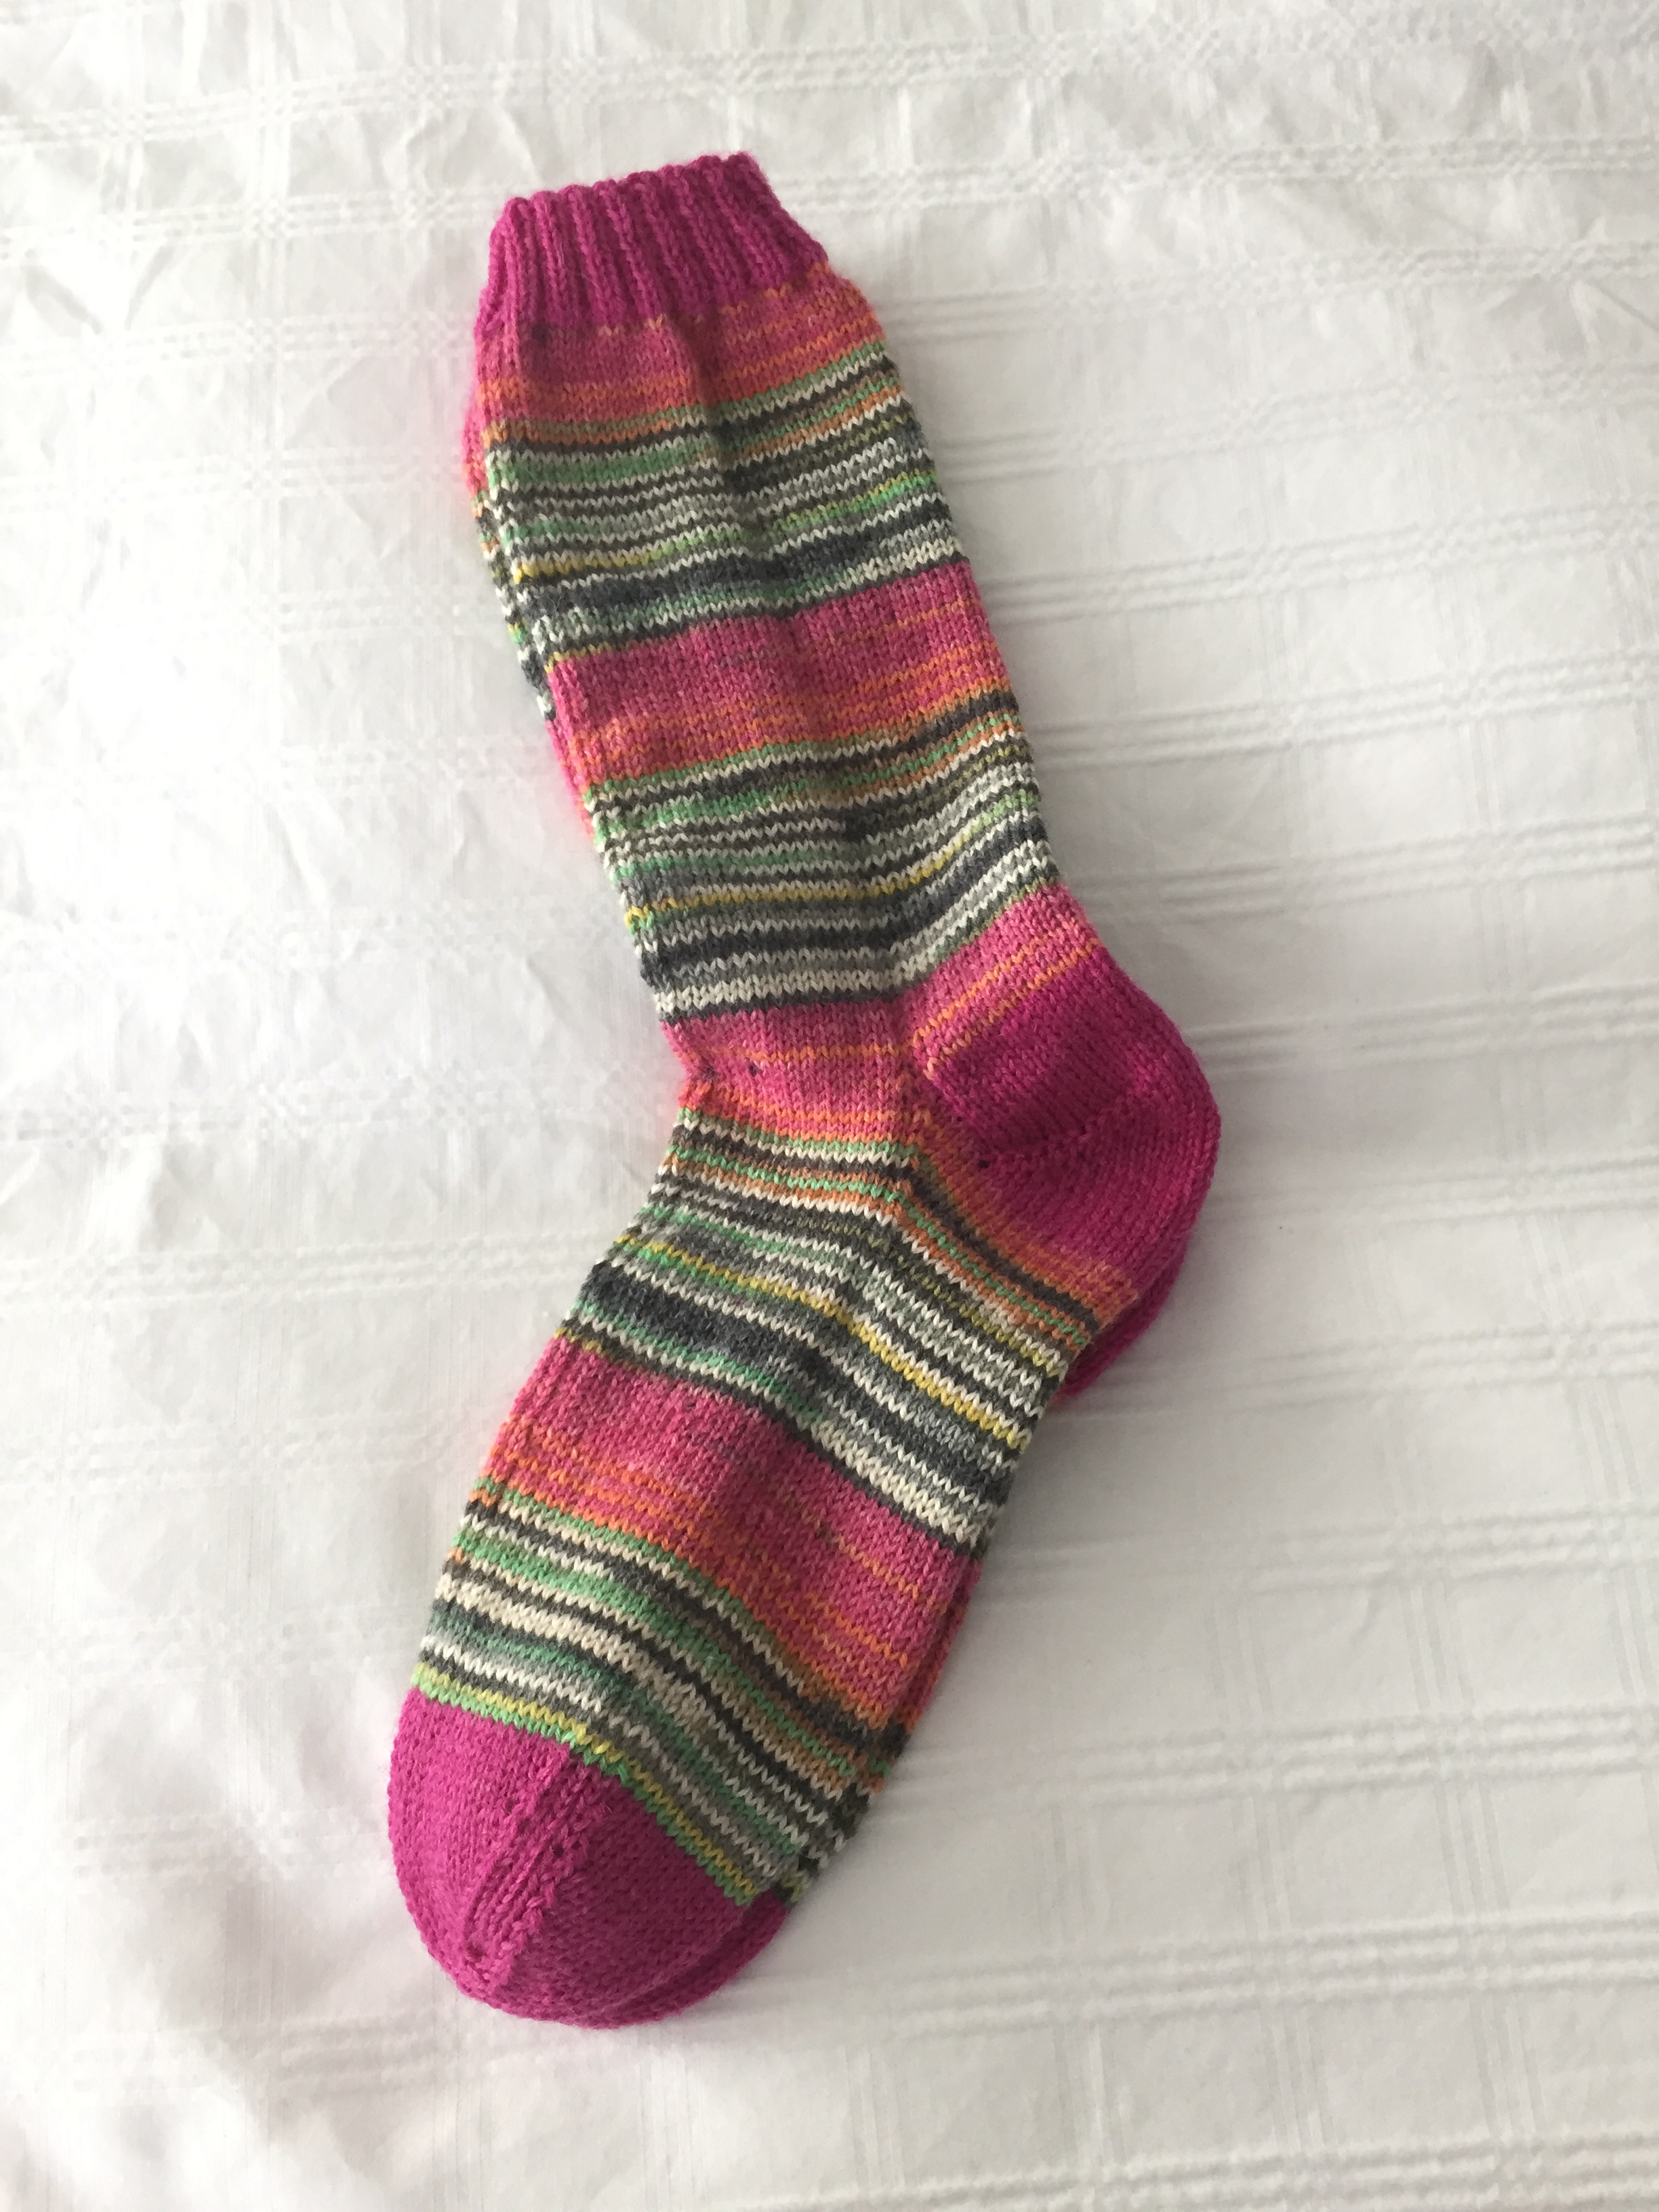
I’ve been working away at stuff – got another pair of socks finished:

My sister Barb was visiting from Toronto on Sunday and she went home with one of the pairs of socks in my stash. This pair will take their place. The others will be Christmas gifts, quite likely.
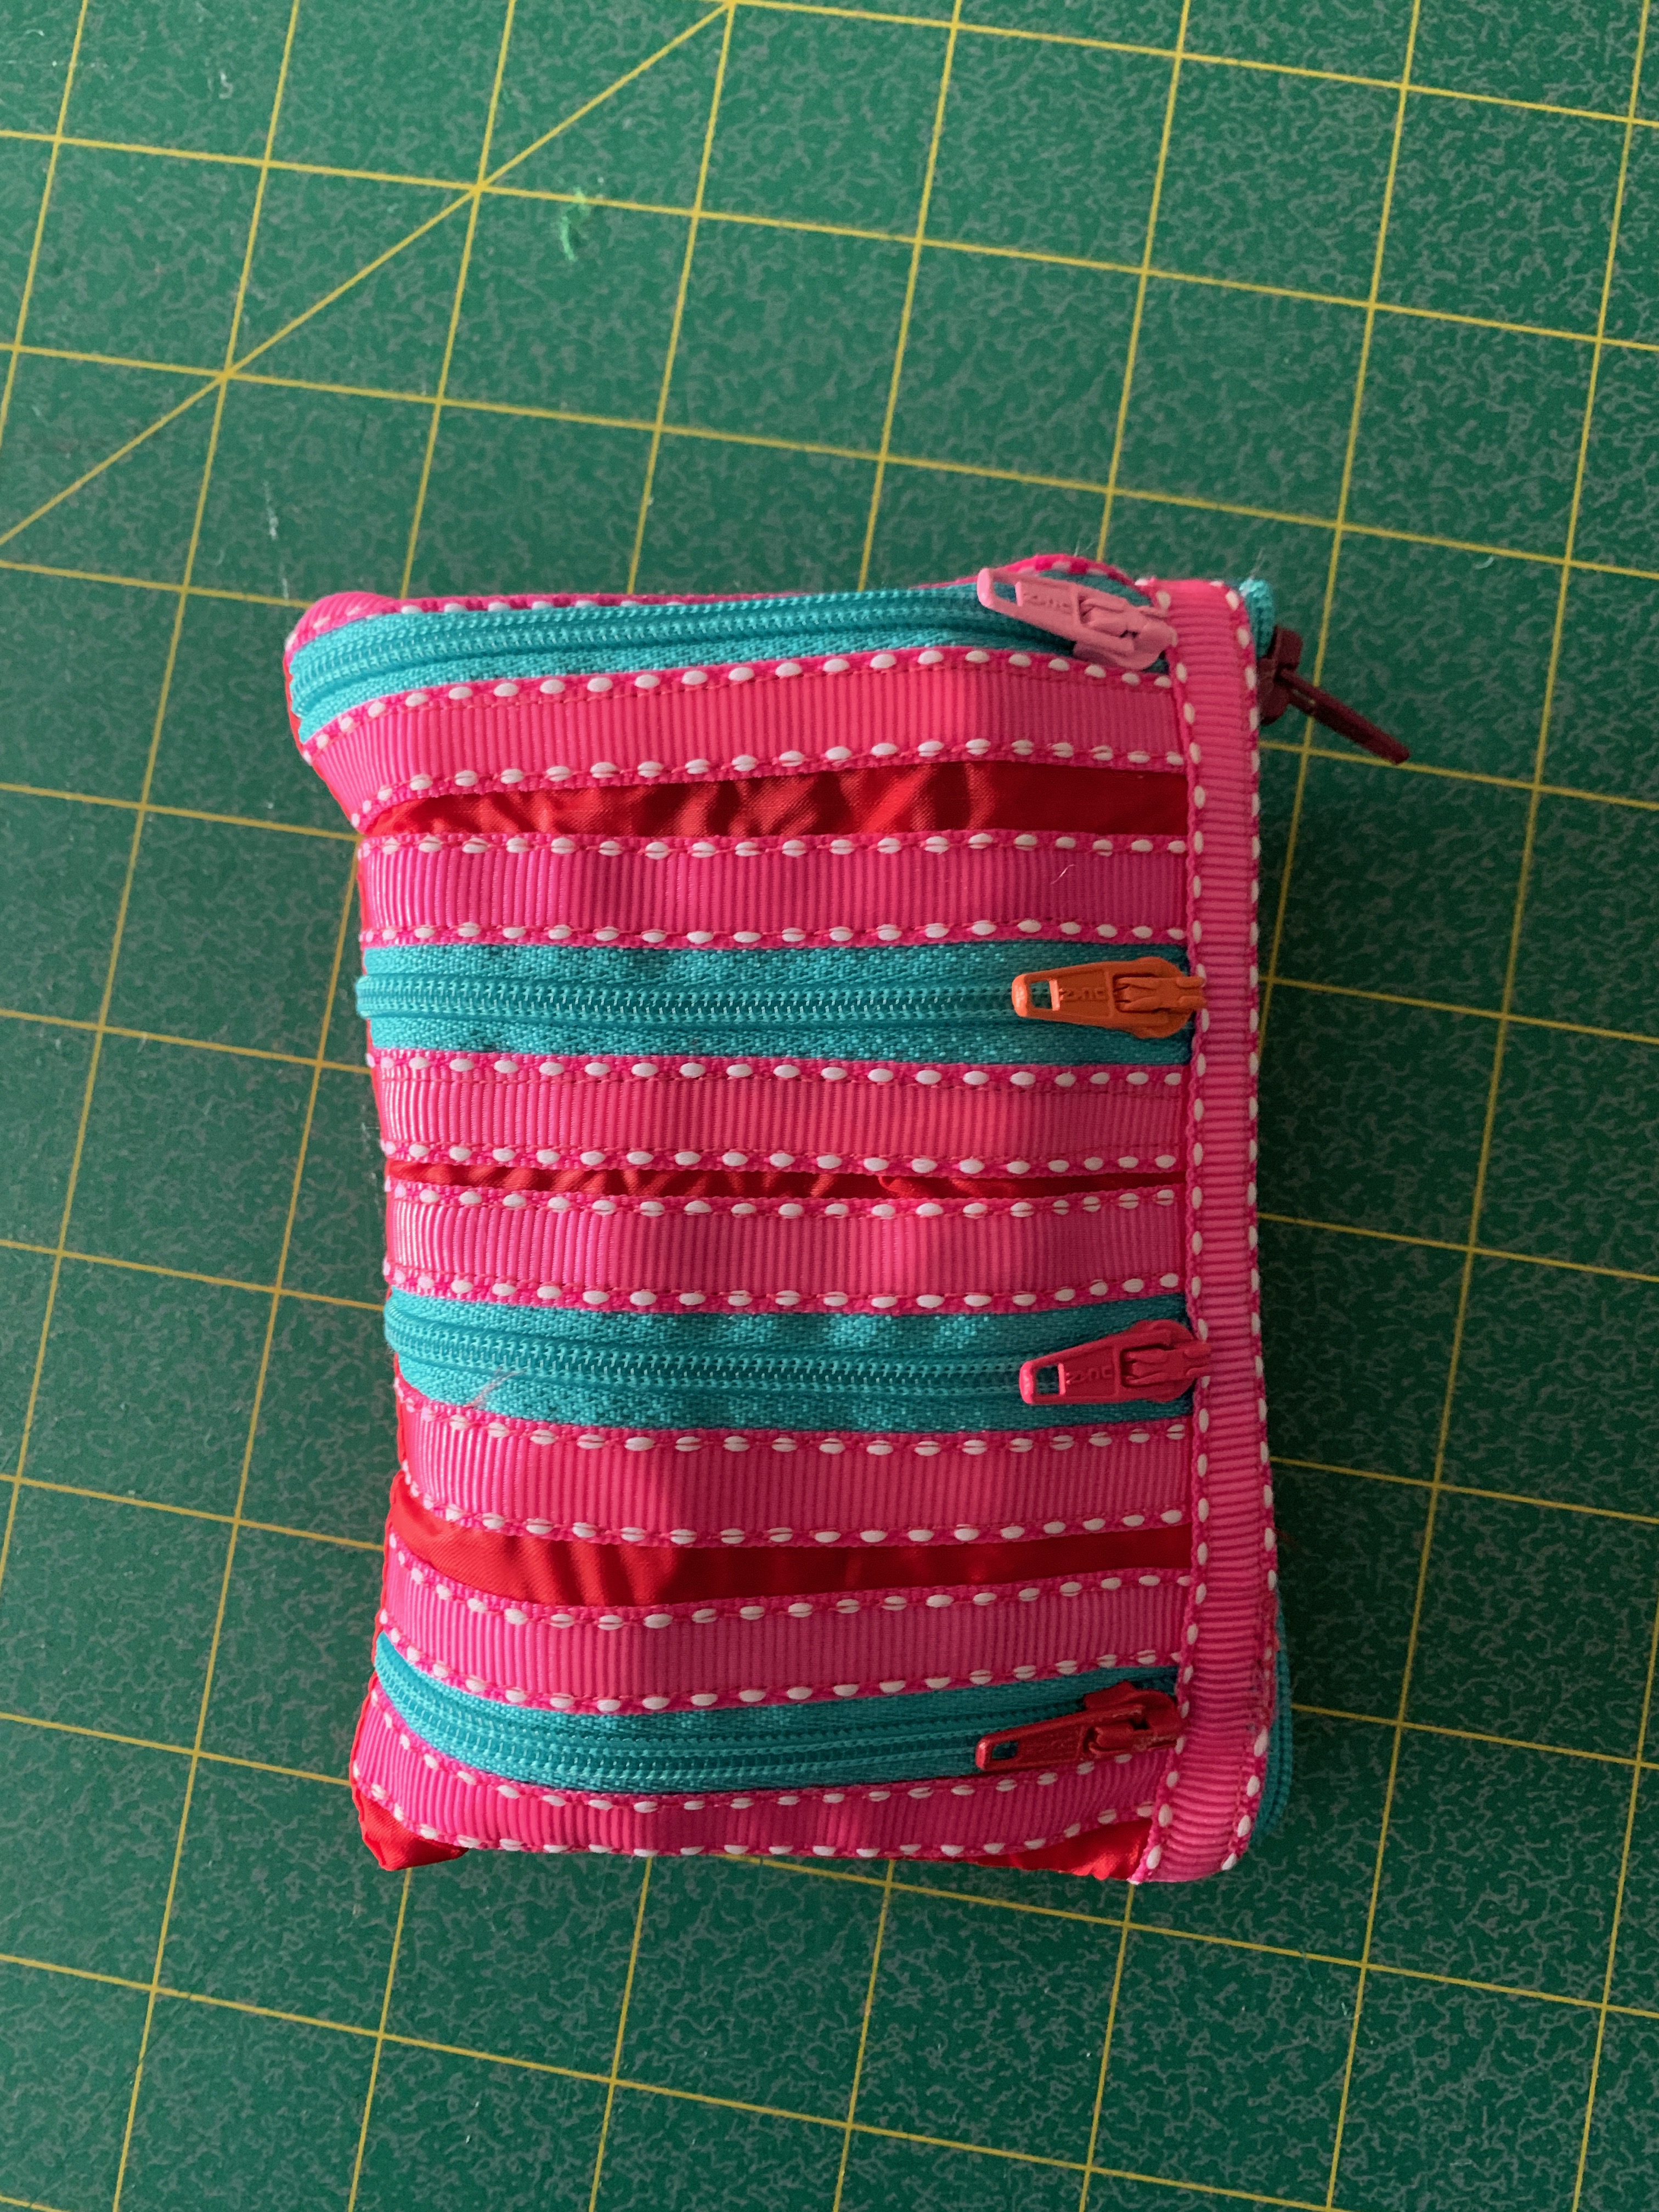
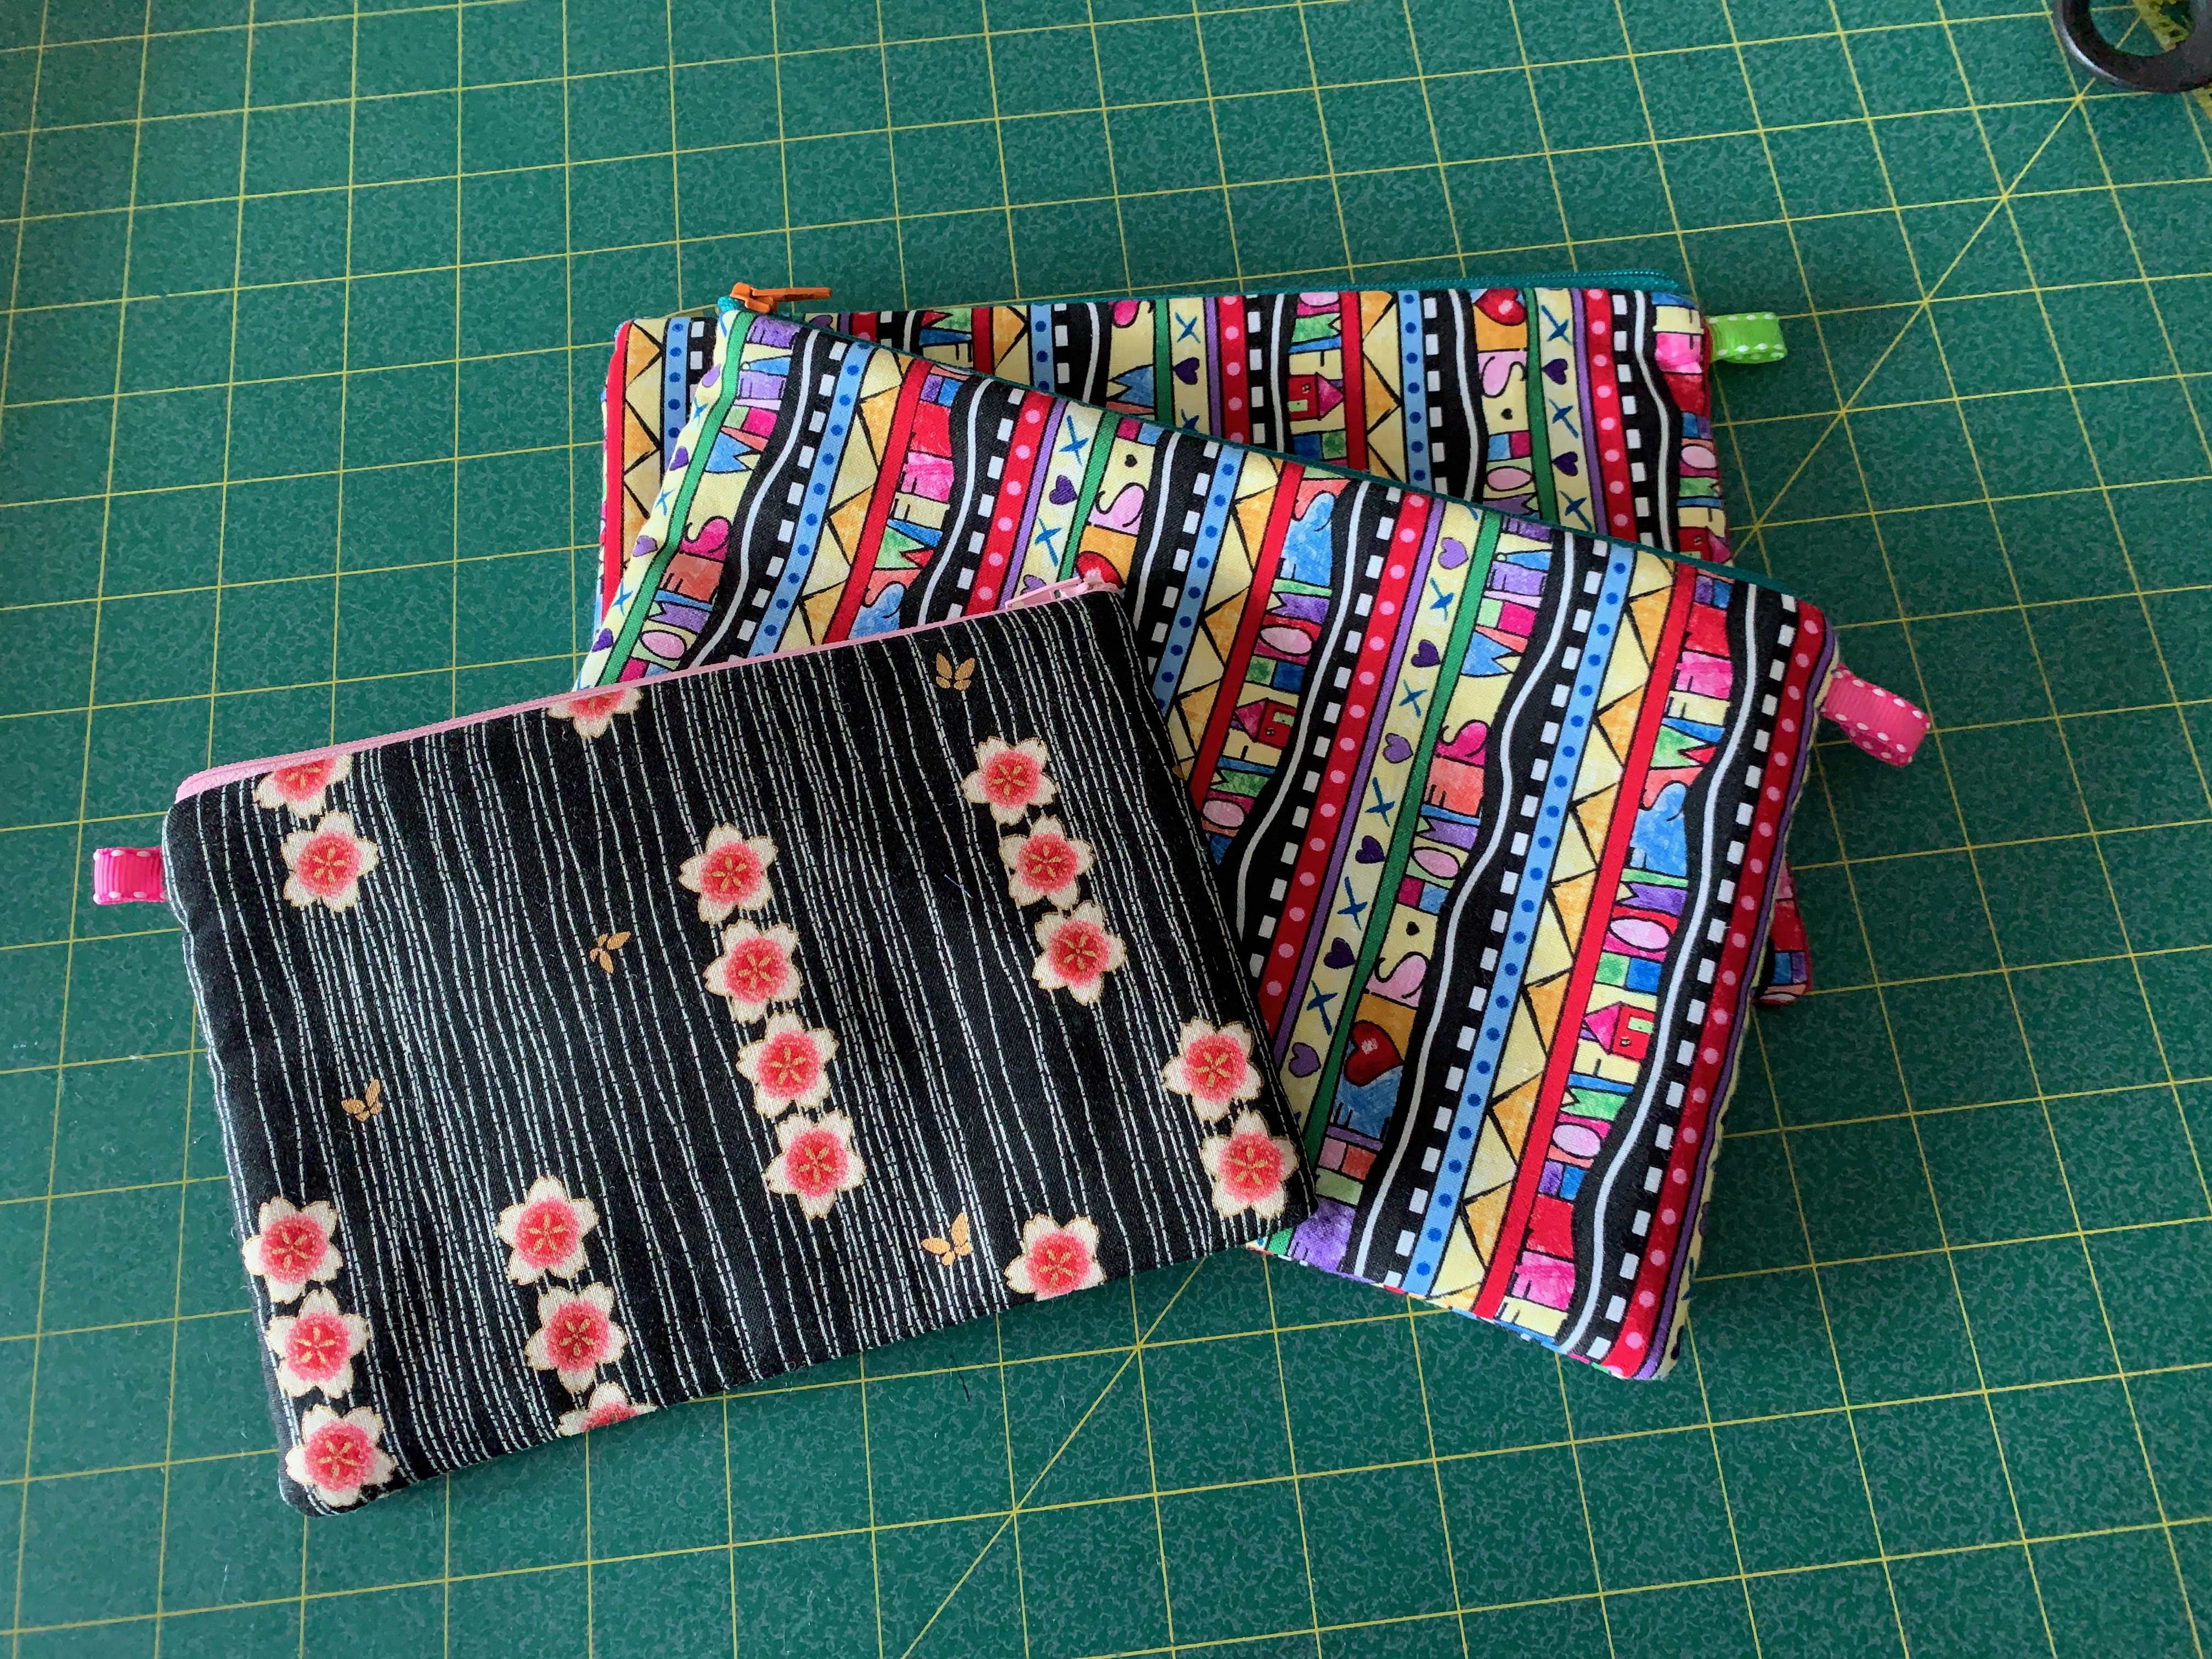
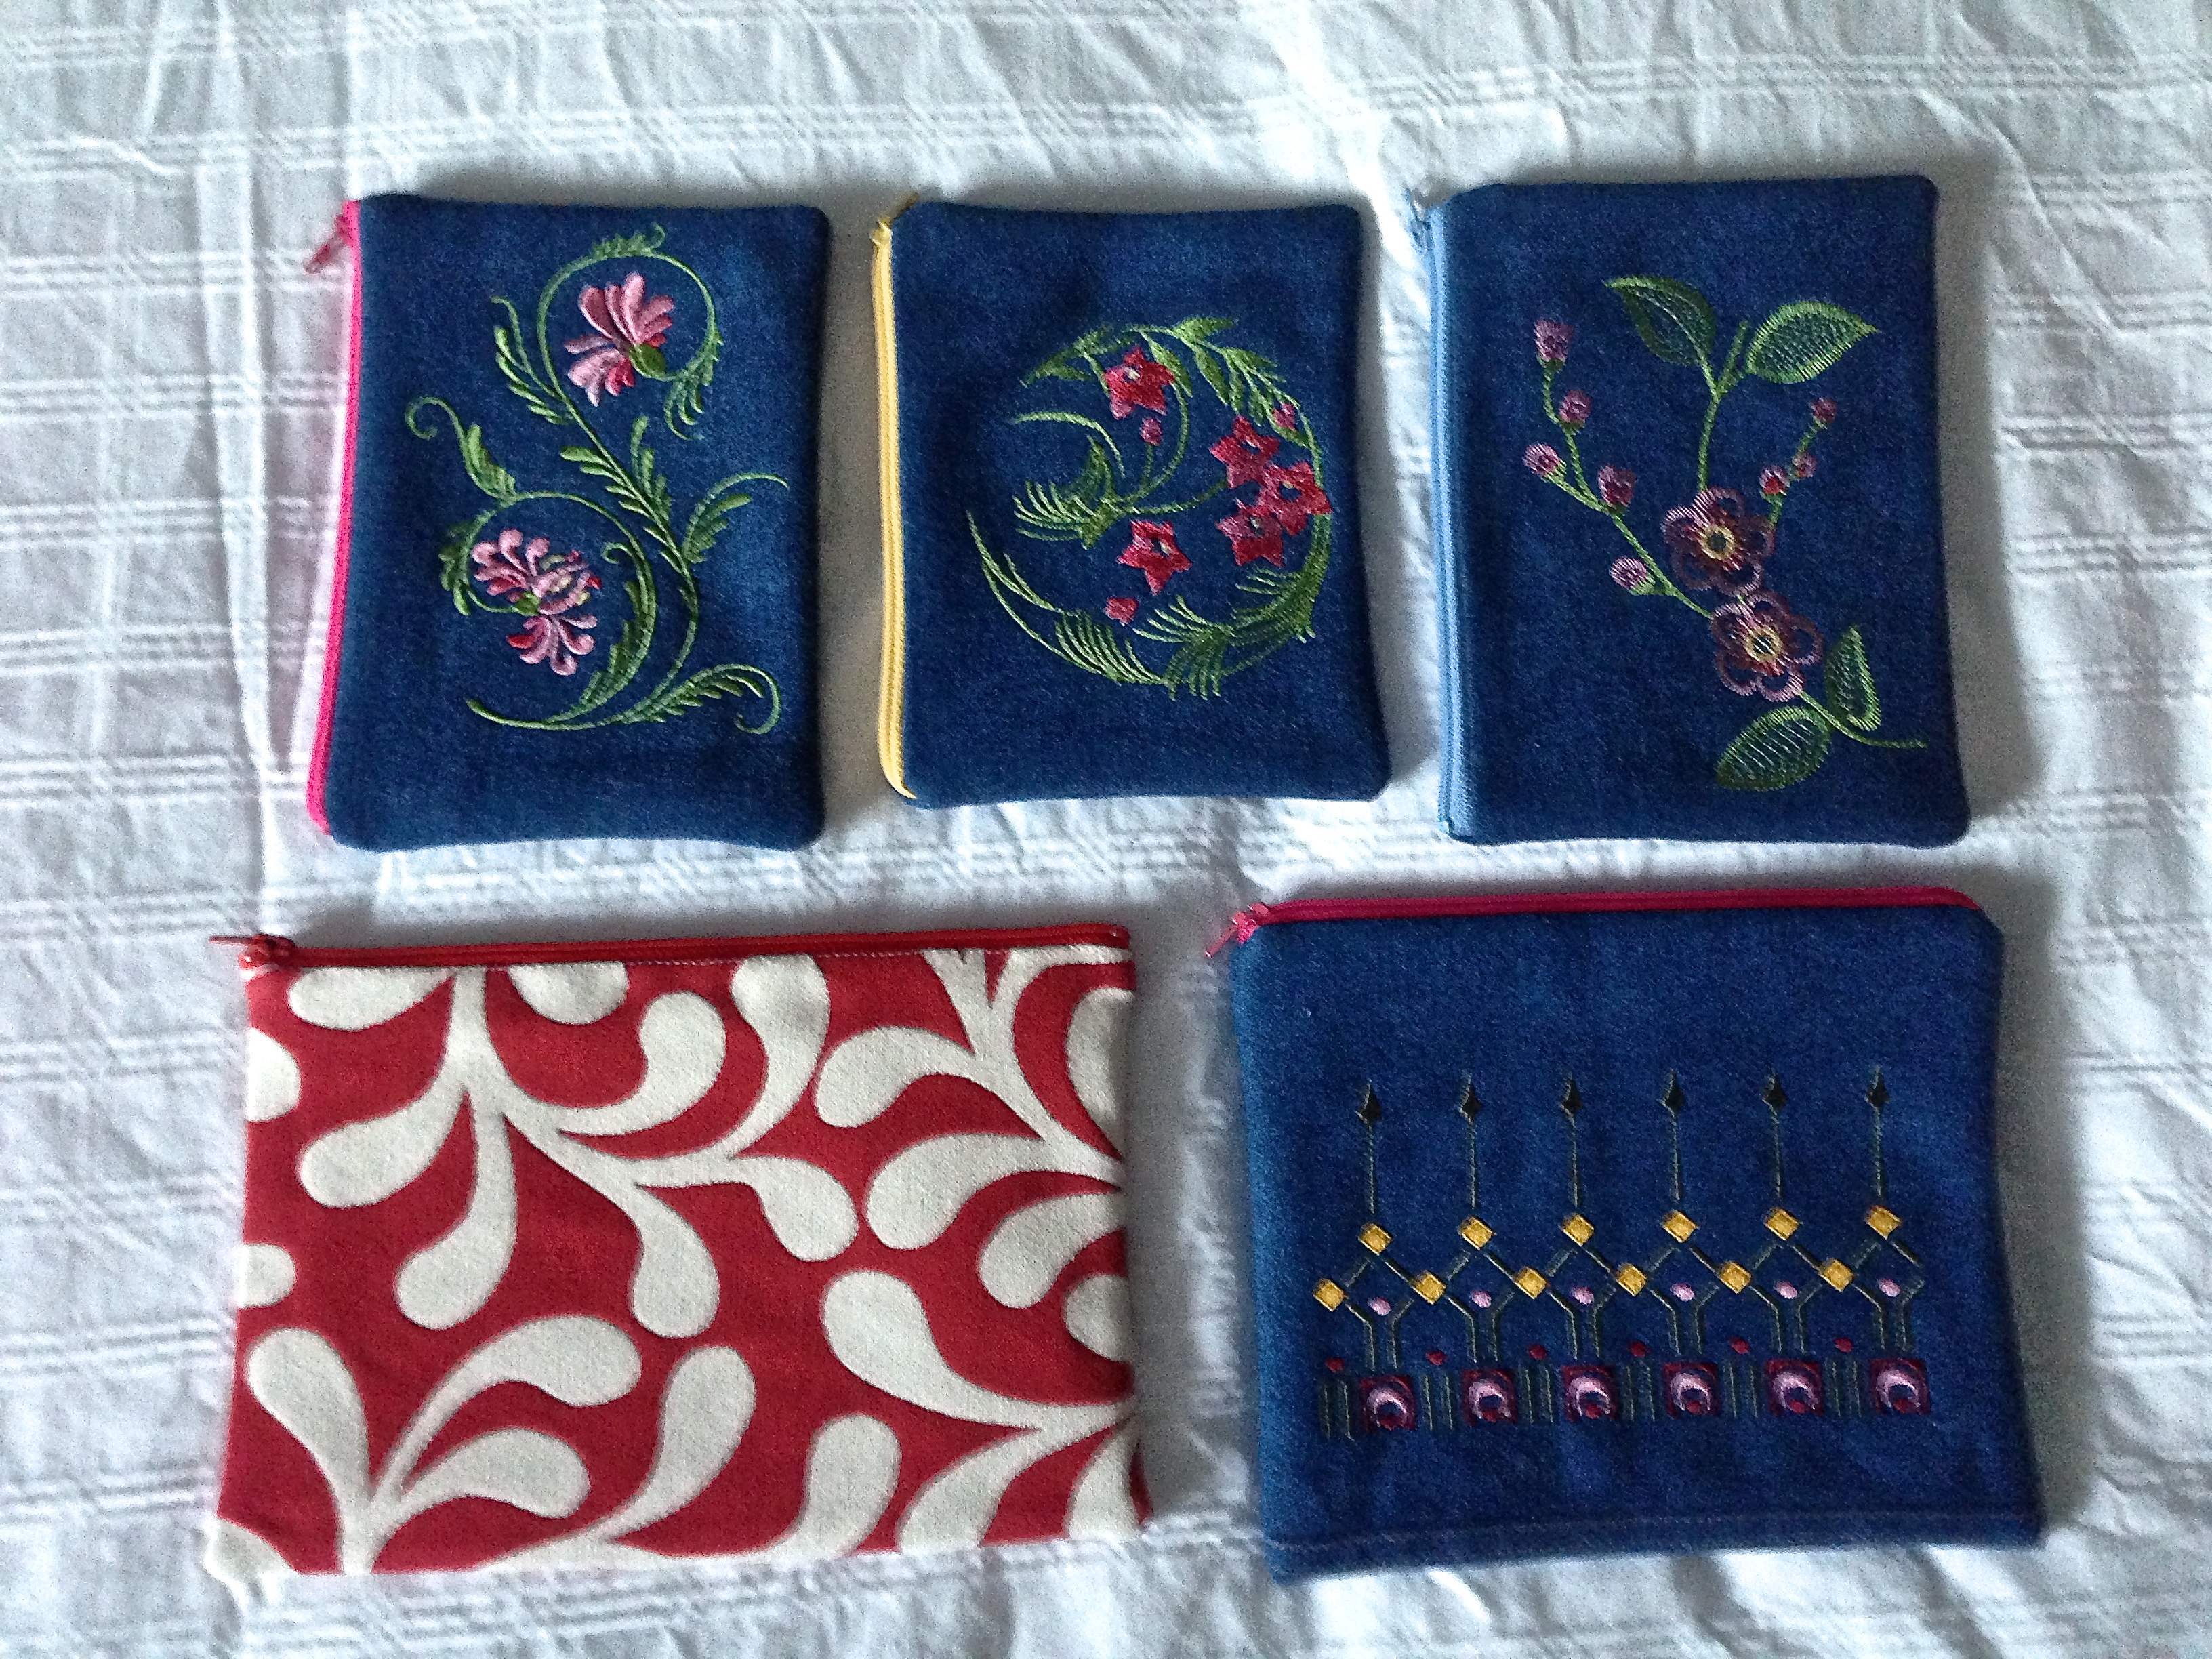
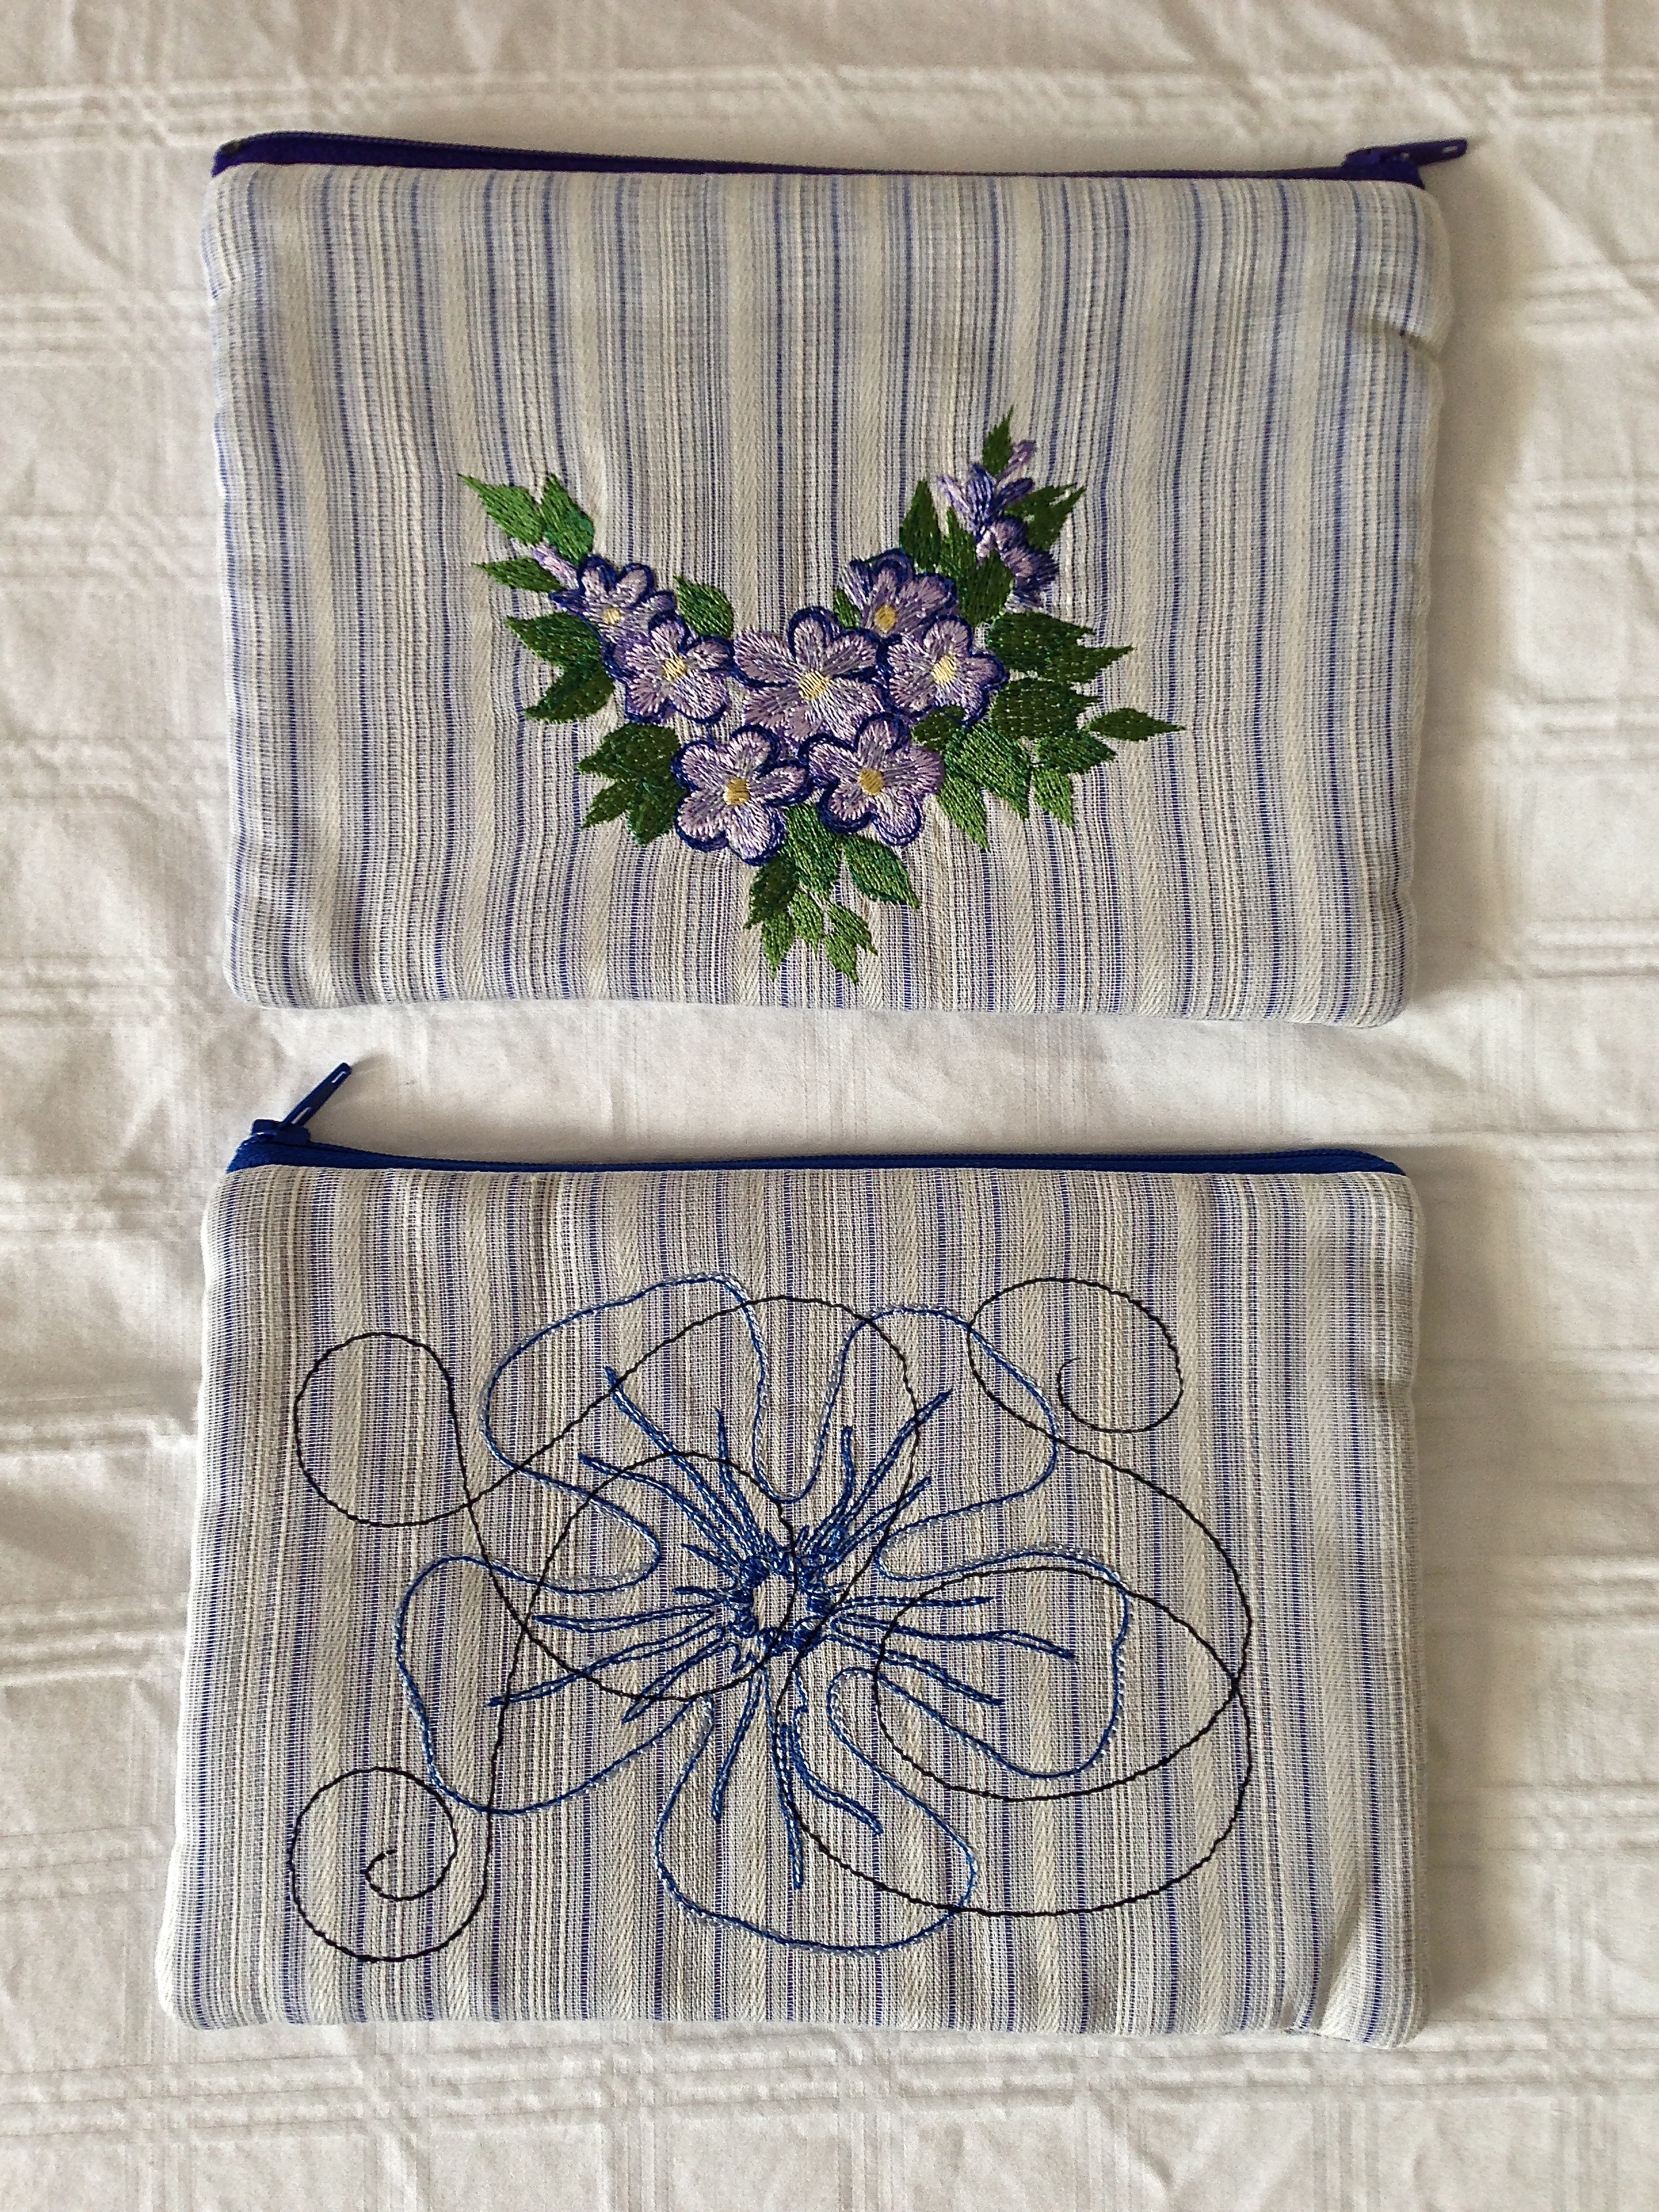
Yesterday, the zipper on my small “wallet” separated at the back end. It’s a small zippered pouch I made maybe four-five years ago – small enough to fit in a jacket pocket but large enough (with enough zippered pockets) to hold just about everything I want to carry with me: a few credit cards, a couple of loyalty cards, a bit of cash, some change, and a spare key (along with a pocket screwdriver). Here’s a second one I made at that time – discovered when I’d finished sewing that it was for a left-handed person!

The zippers open the wrong way and if you hold the pouch to open them with your right hand, then all the pockets are upside down! I use it to hold my driver licence and car permit in the large compartment but not much else. I needed a pouch that was right-handed.
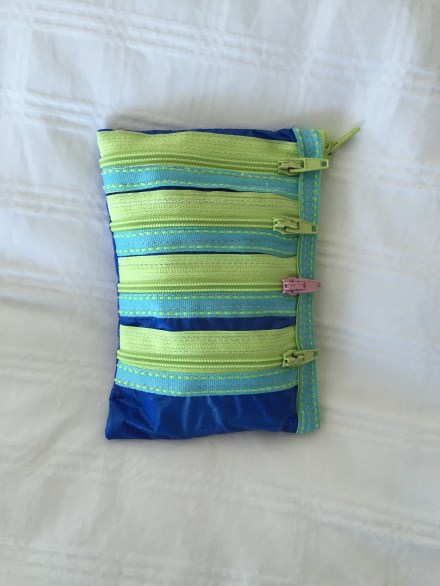
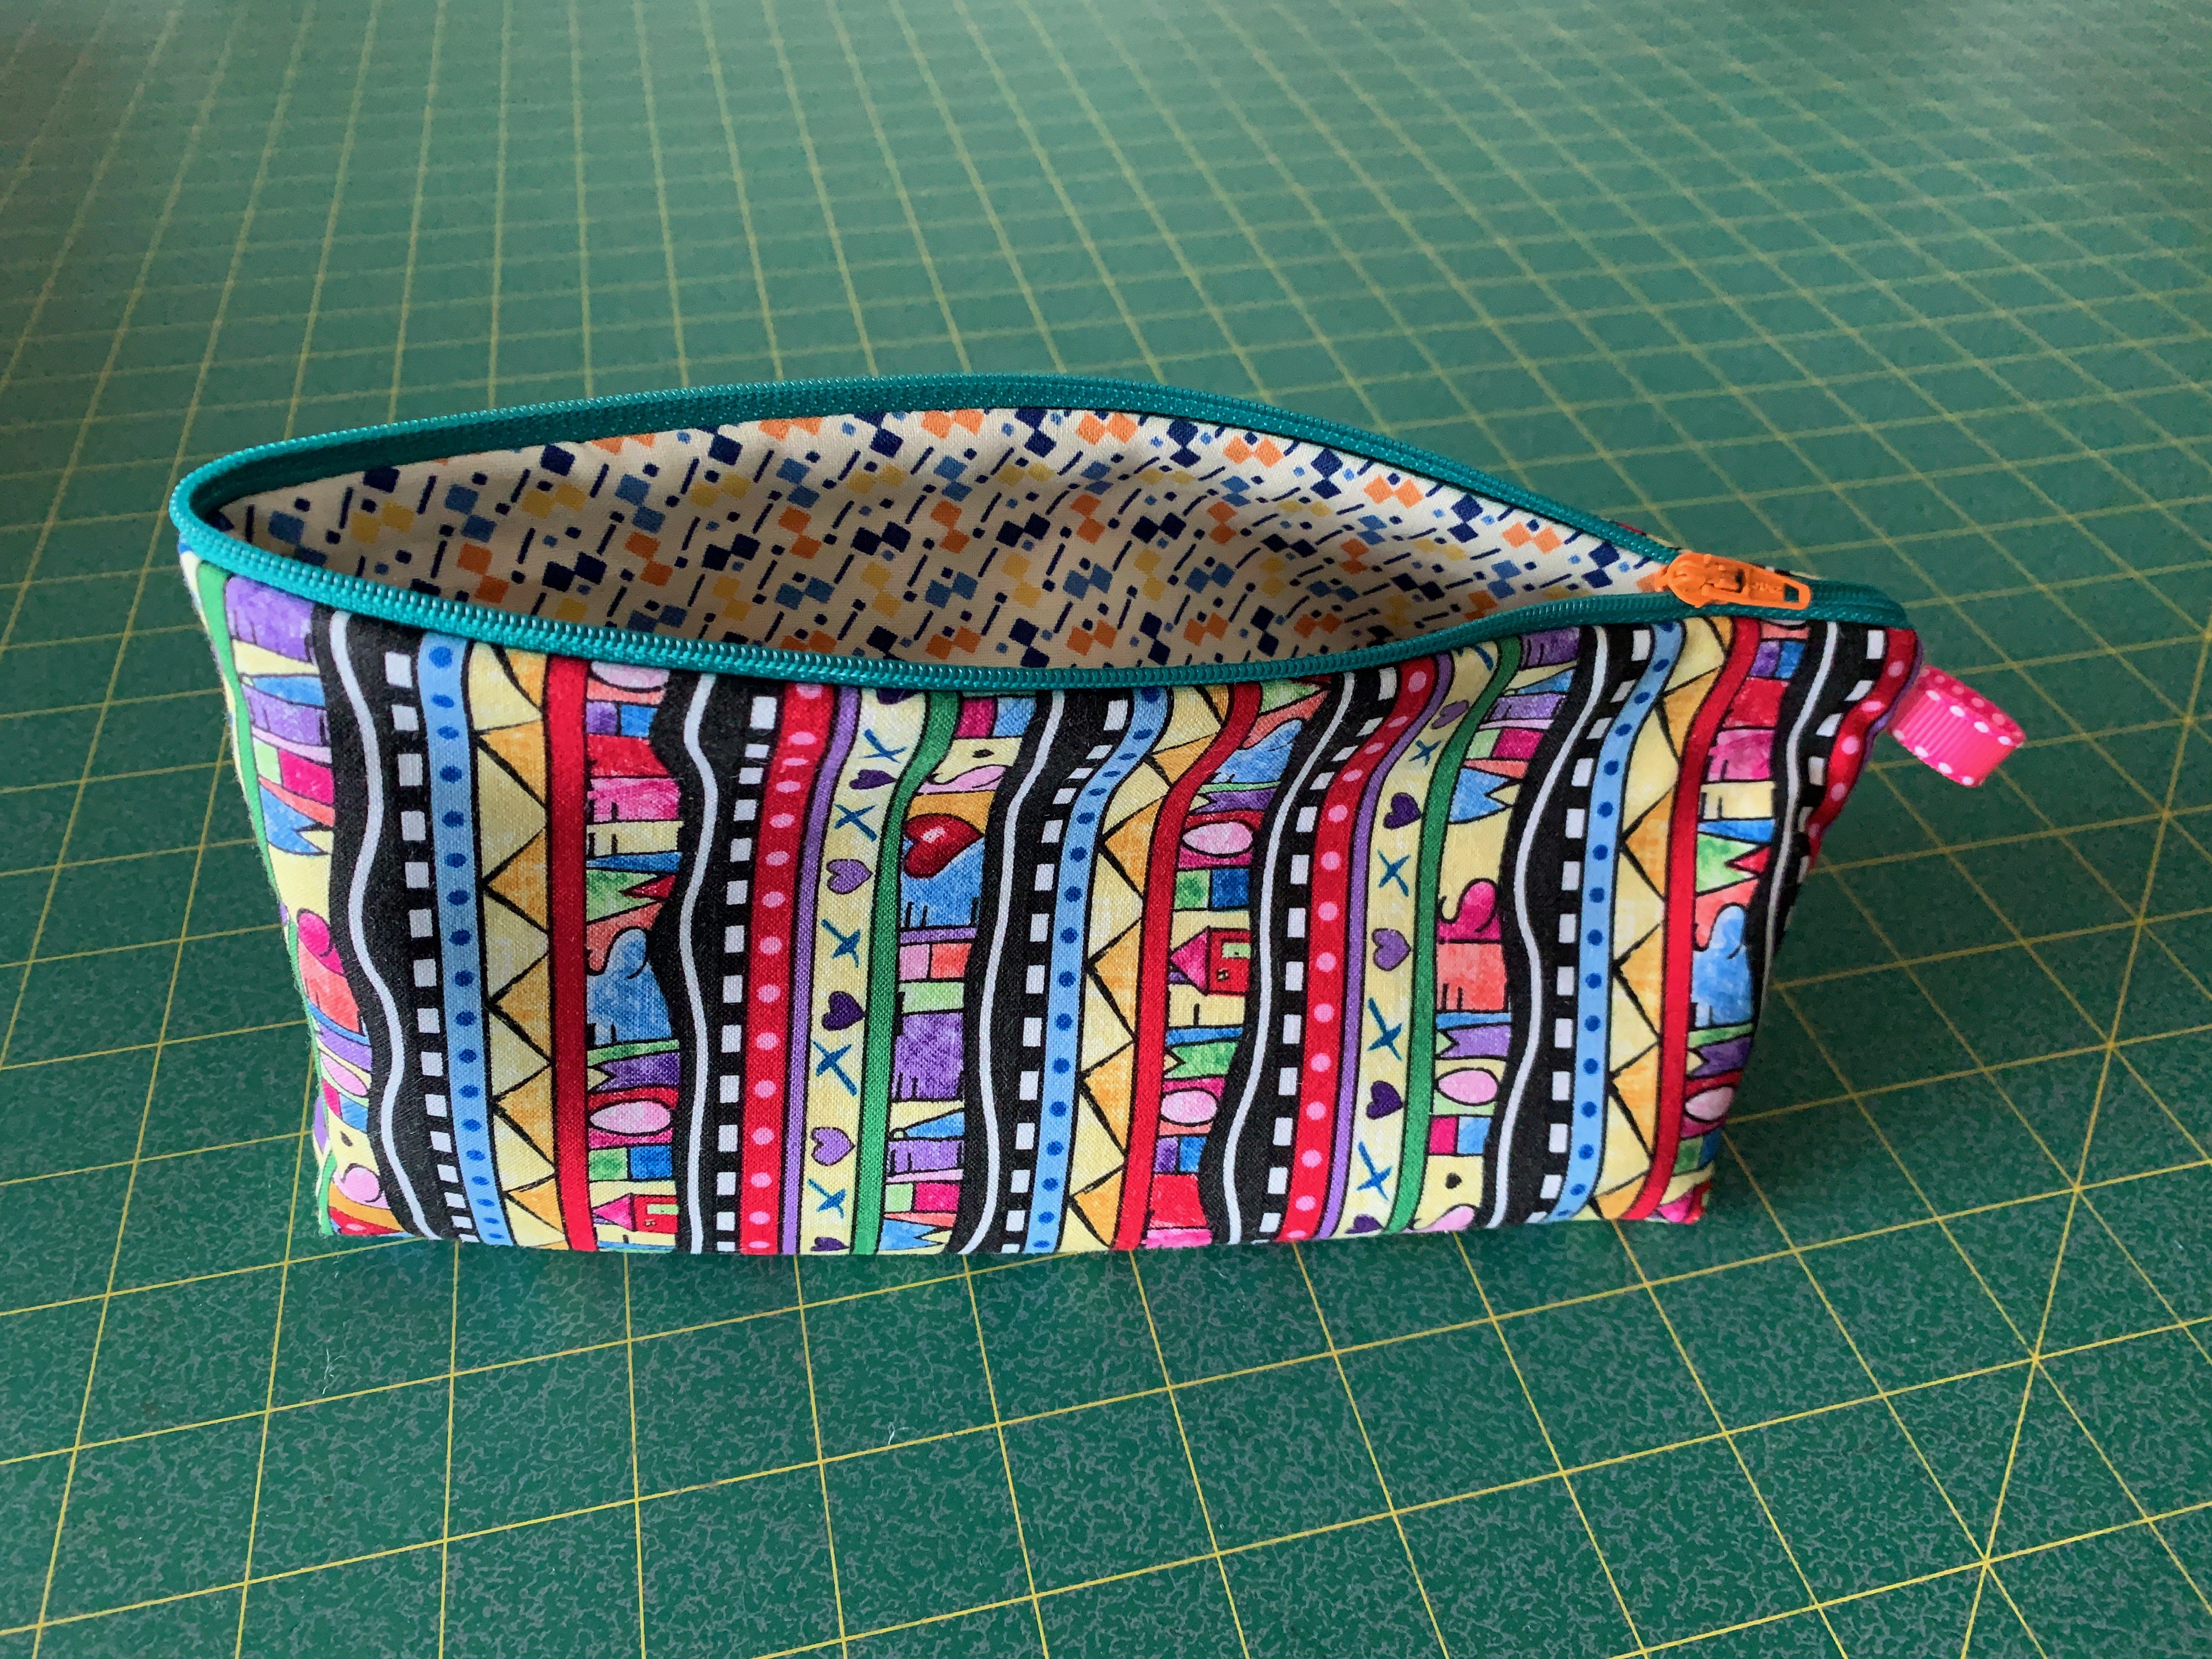
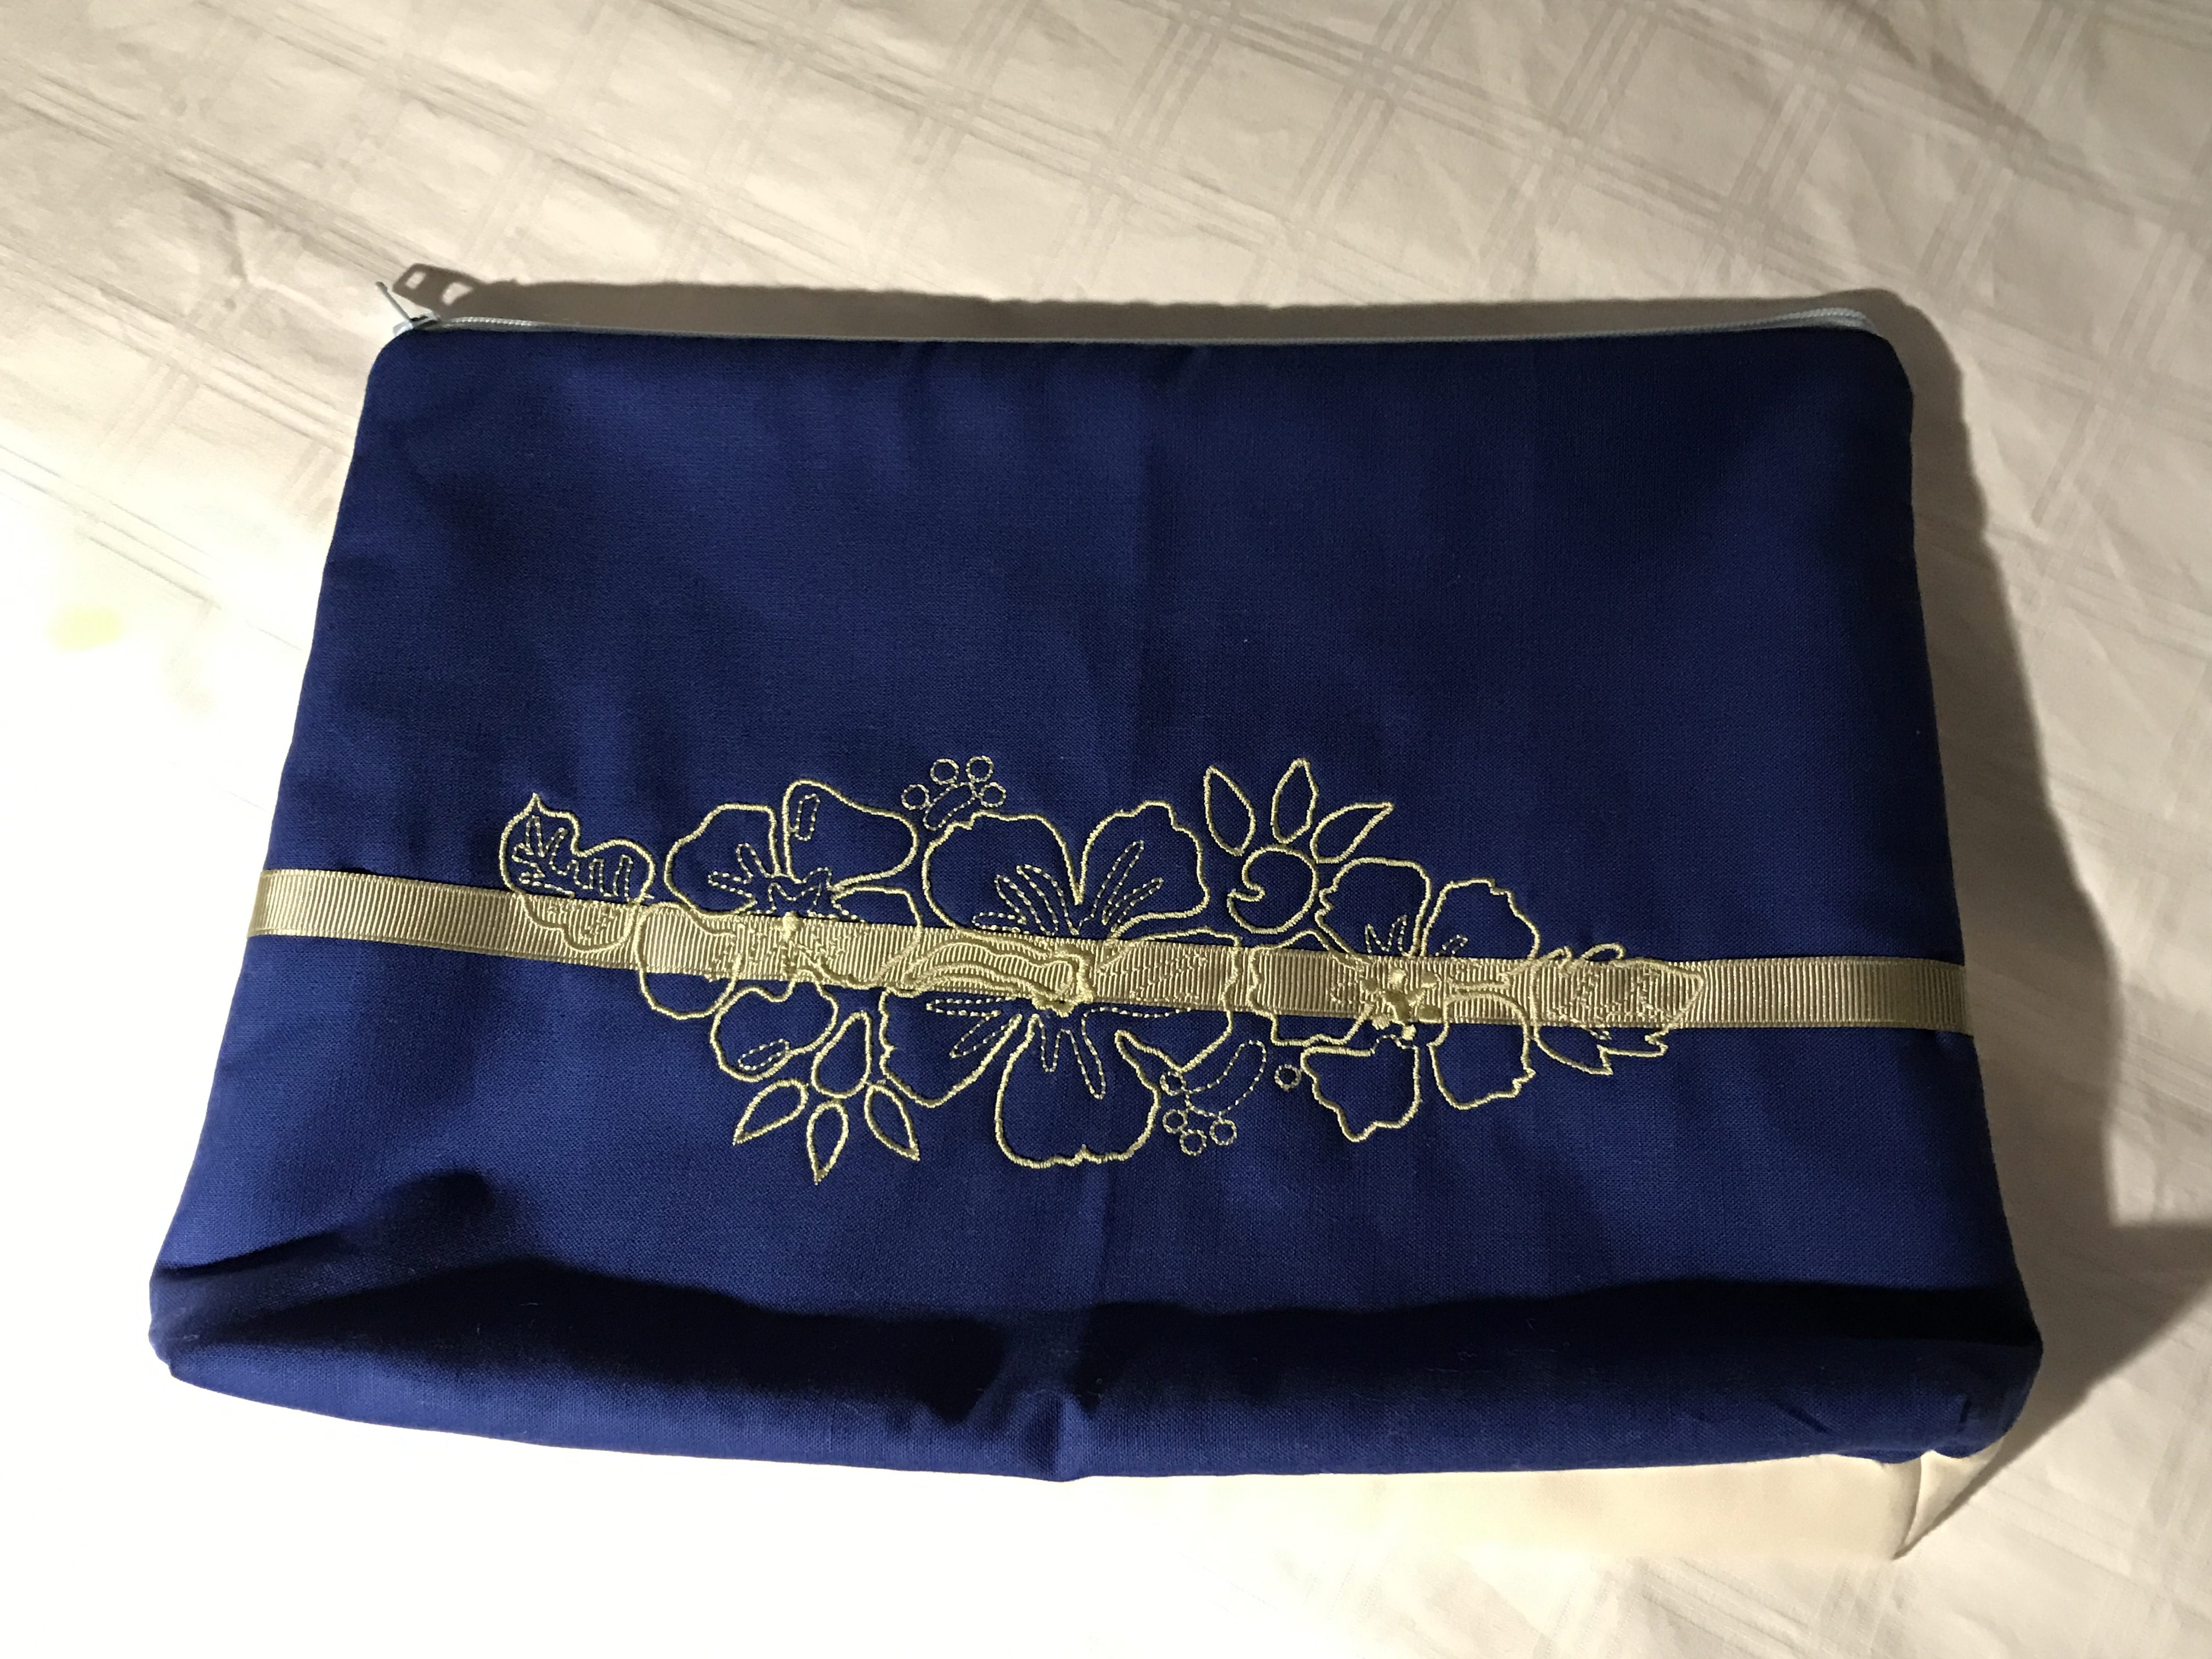
The one I made today is a tiny bit wider and longer but the zippers open on the right side and the pockets are right way up when you open them.
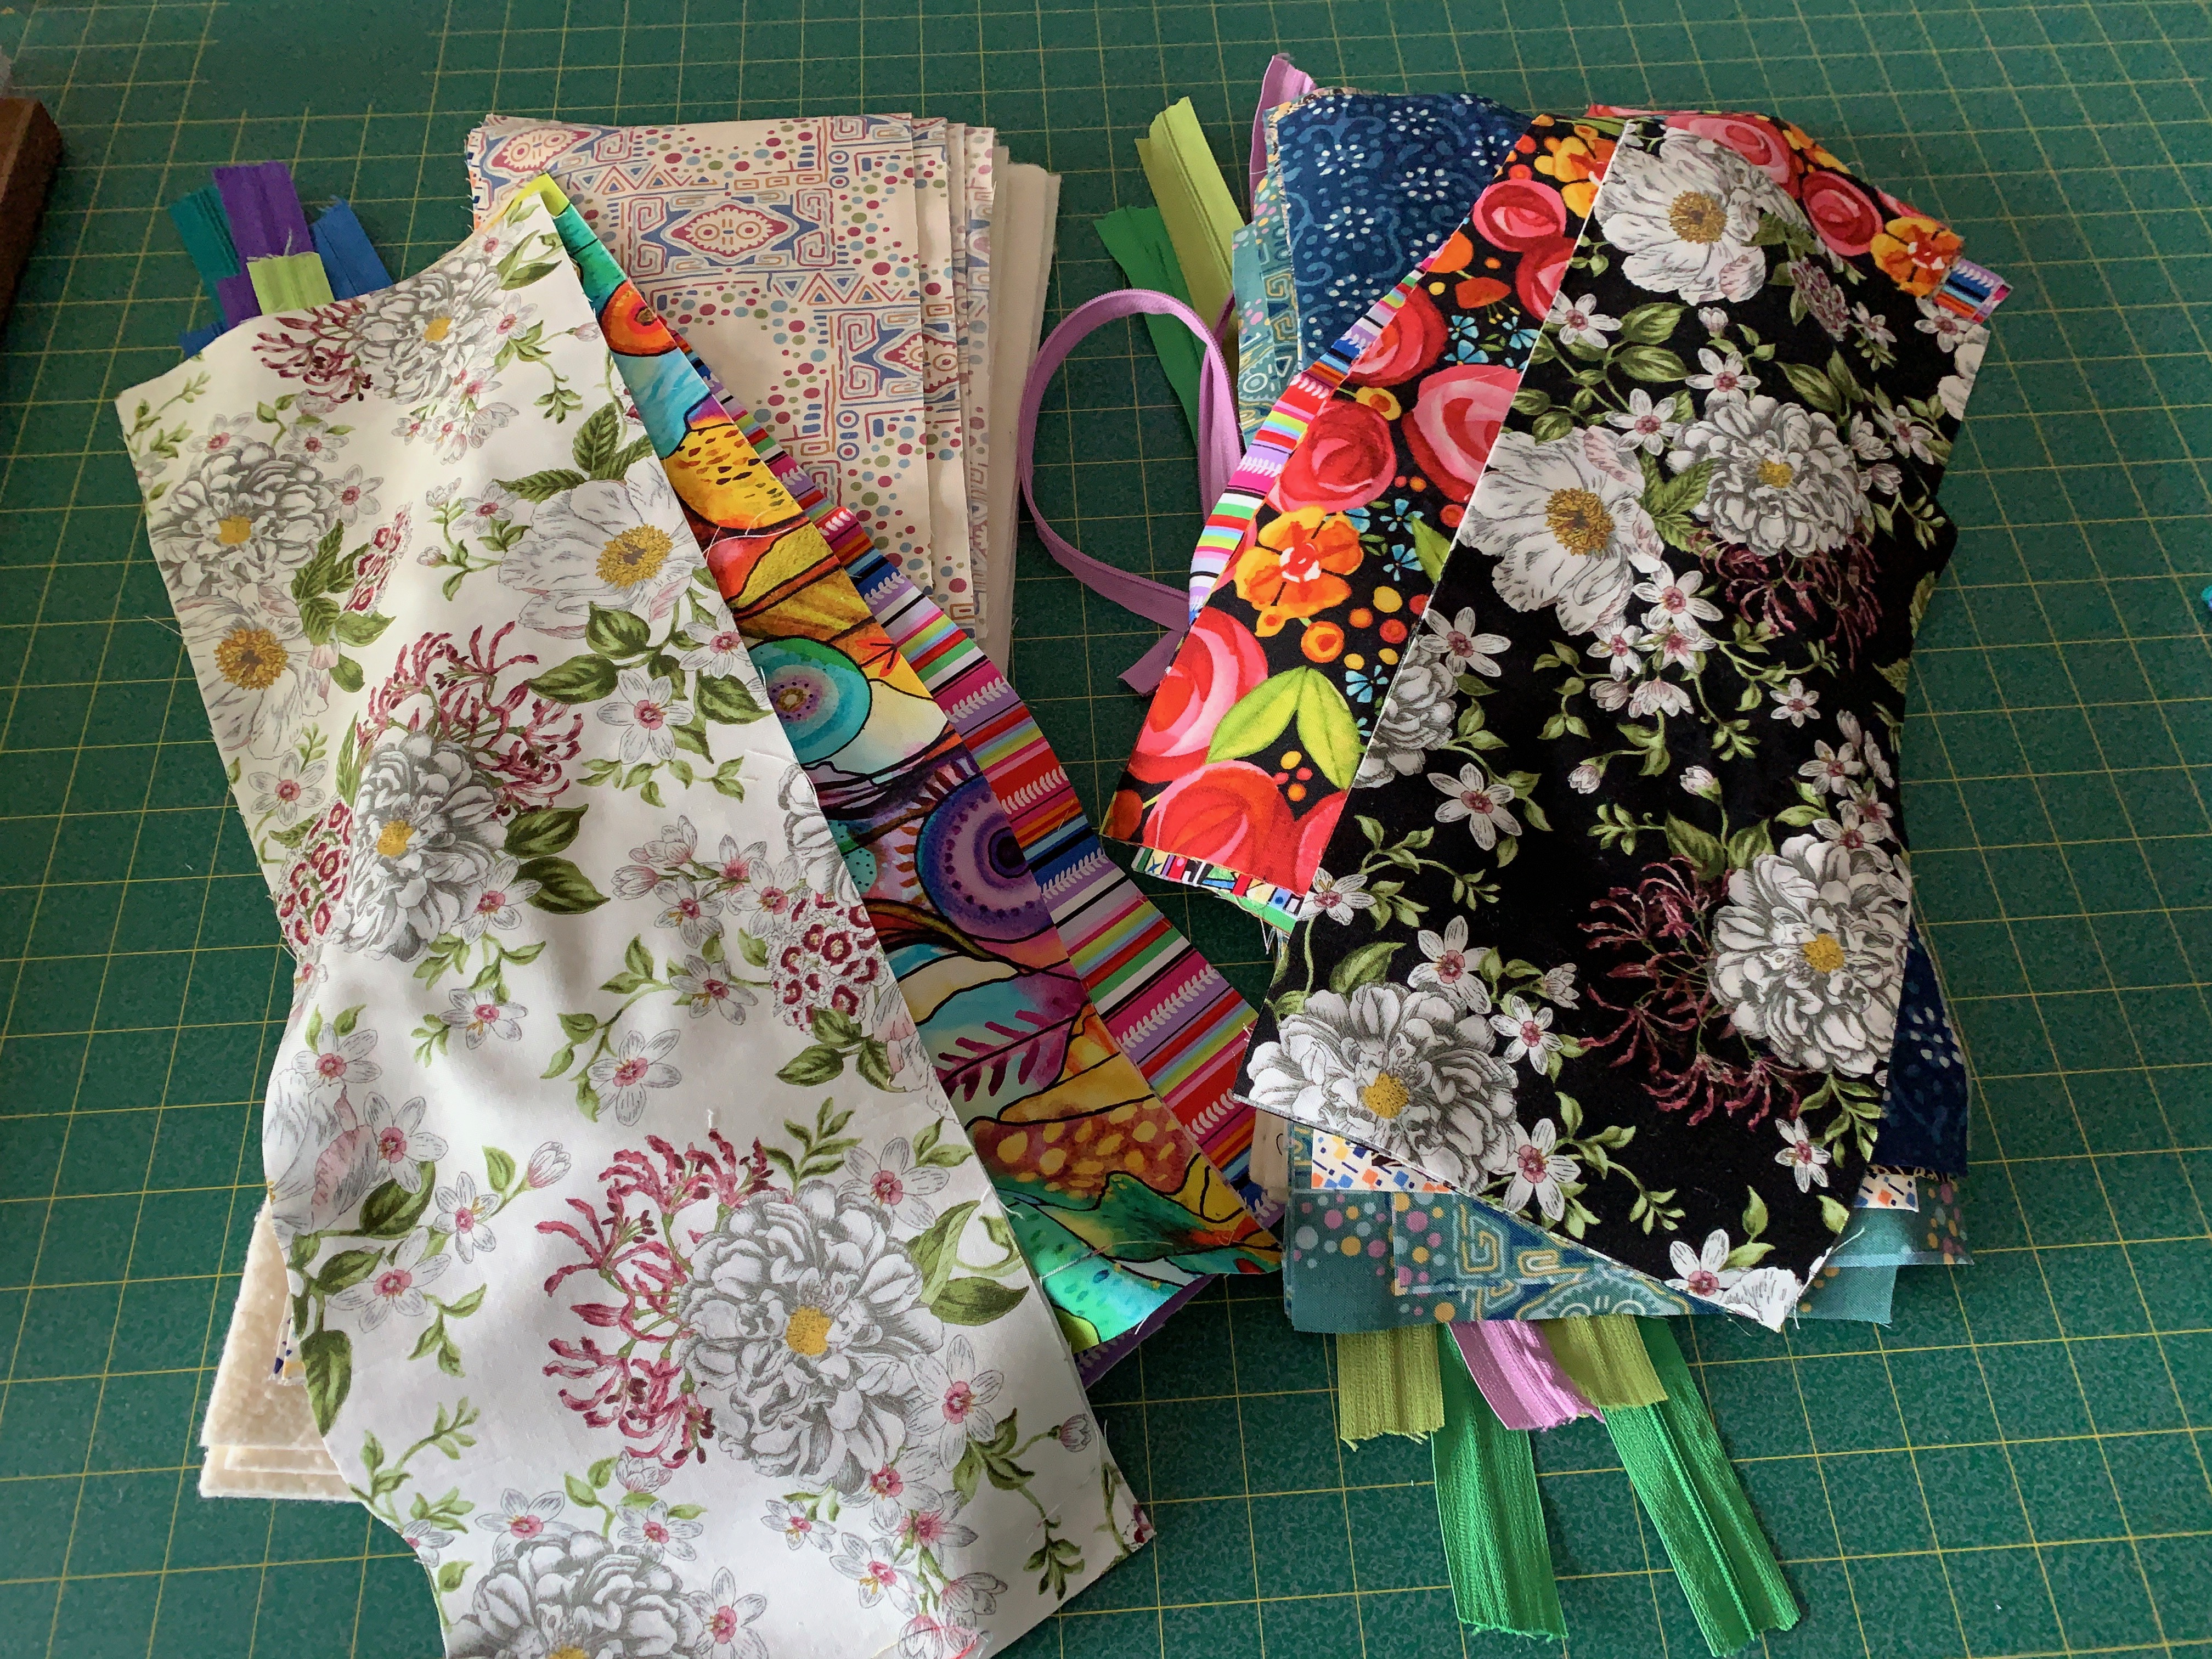
I used some royal blue rip-stop scraps I had kicking around from my days of kite making. I had a some turquoise/lime green grosgrain tape, and some lime green zipper tape (without pulls) left over from a roll of make-a-zipper tape I’d bought from Nancy’s Notions years ago:

I’d used all the pulls that come with the tape – so I removed the pulls from the zippers on the original pouch – with some tugging, managed to install them on the green tape (which is why one pull is pink!).
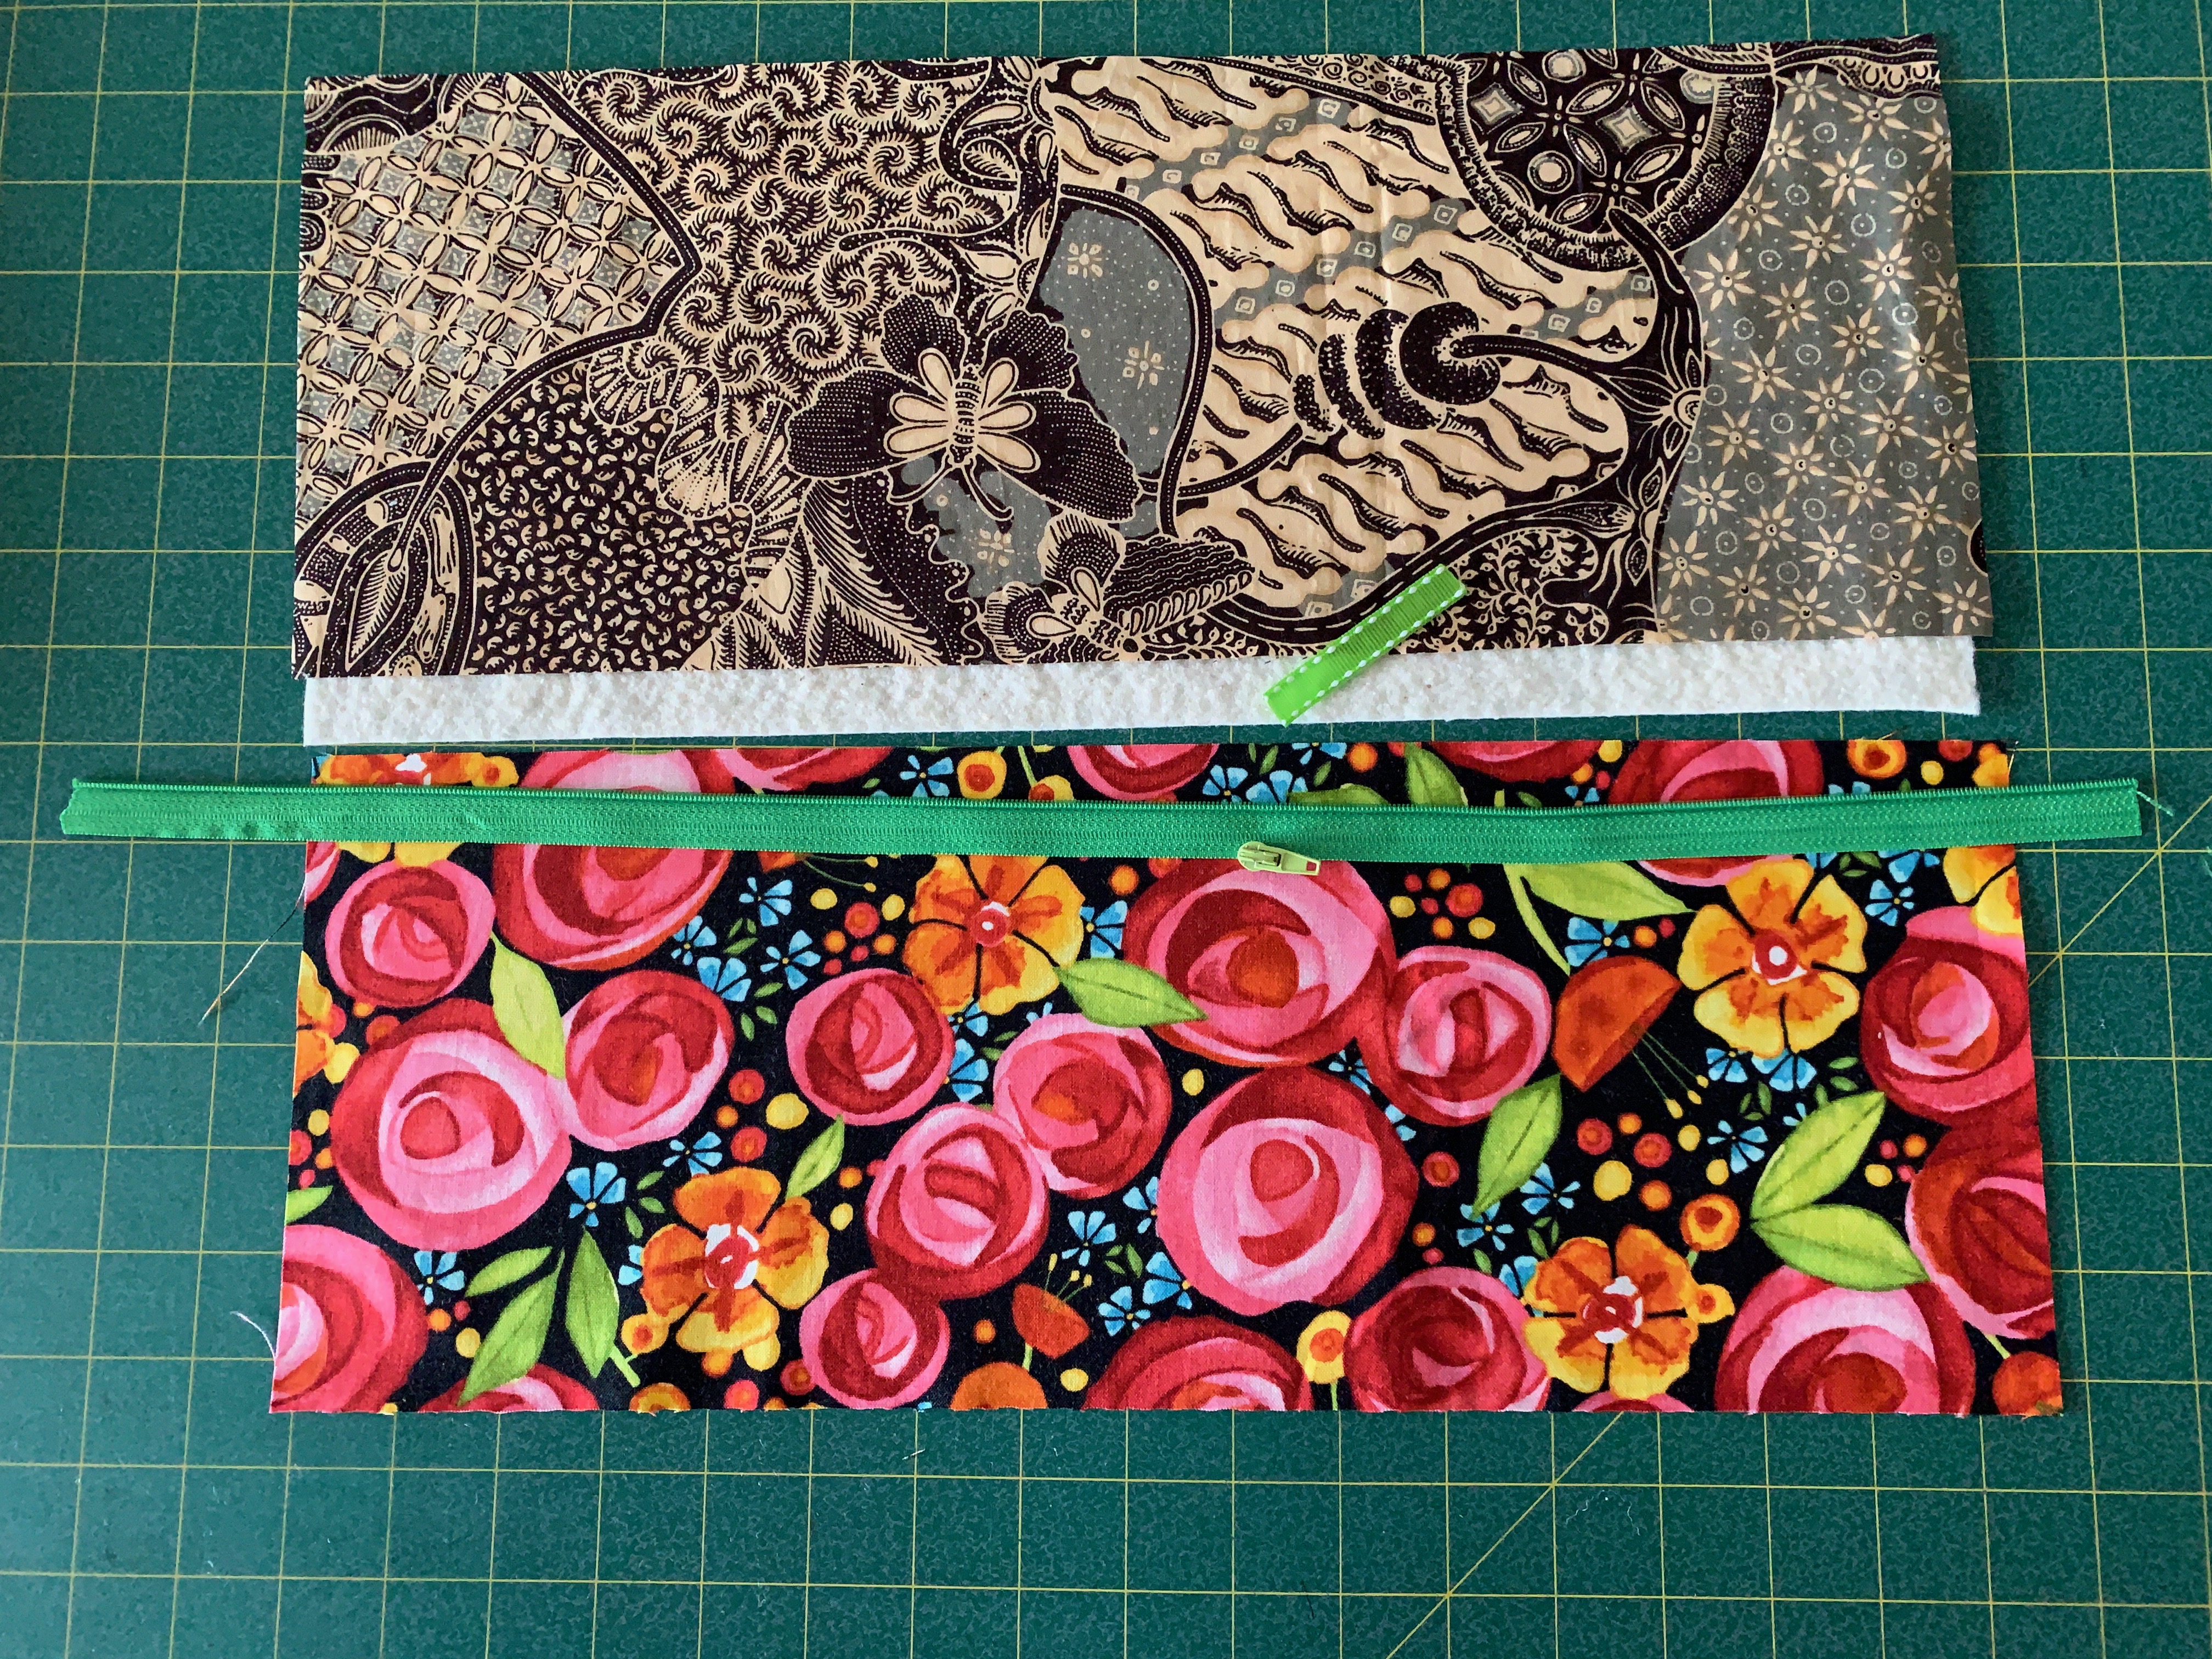
Project took a couple of hours – the rip-stop is slippery and I had to pin as I went along to be sure the sections of the pouch would be aligned – slowed the sewing process down. I should actually make a pattern for this project – I’m sure other people would be interested.
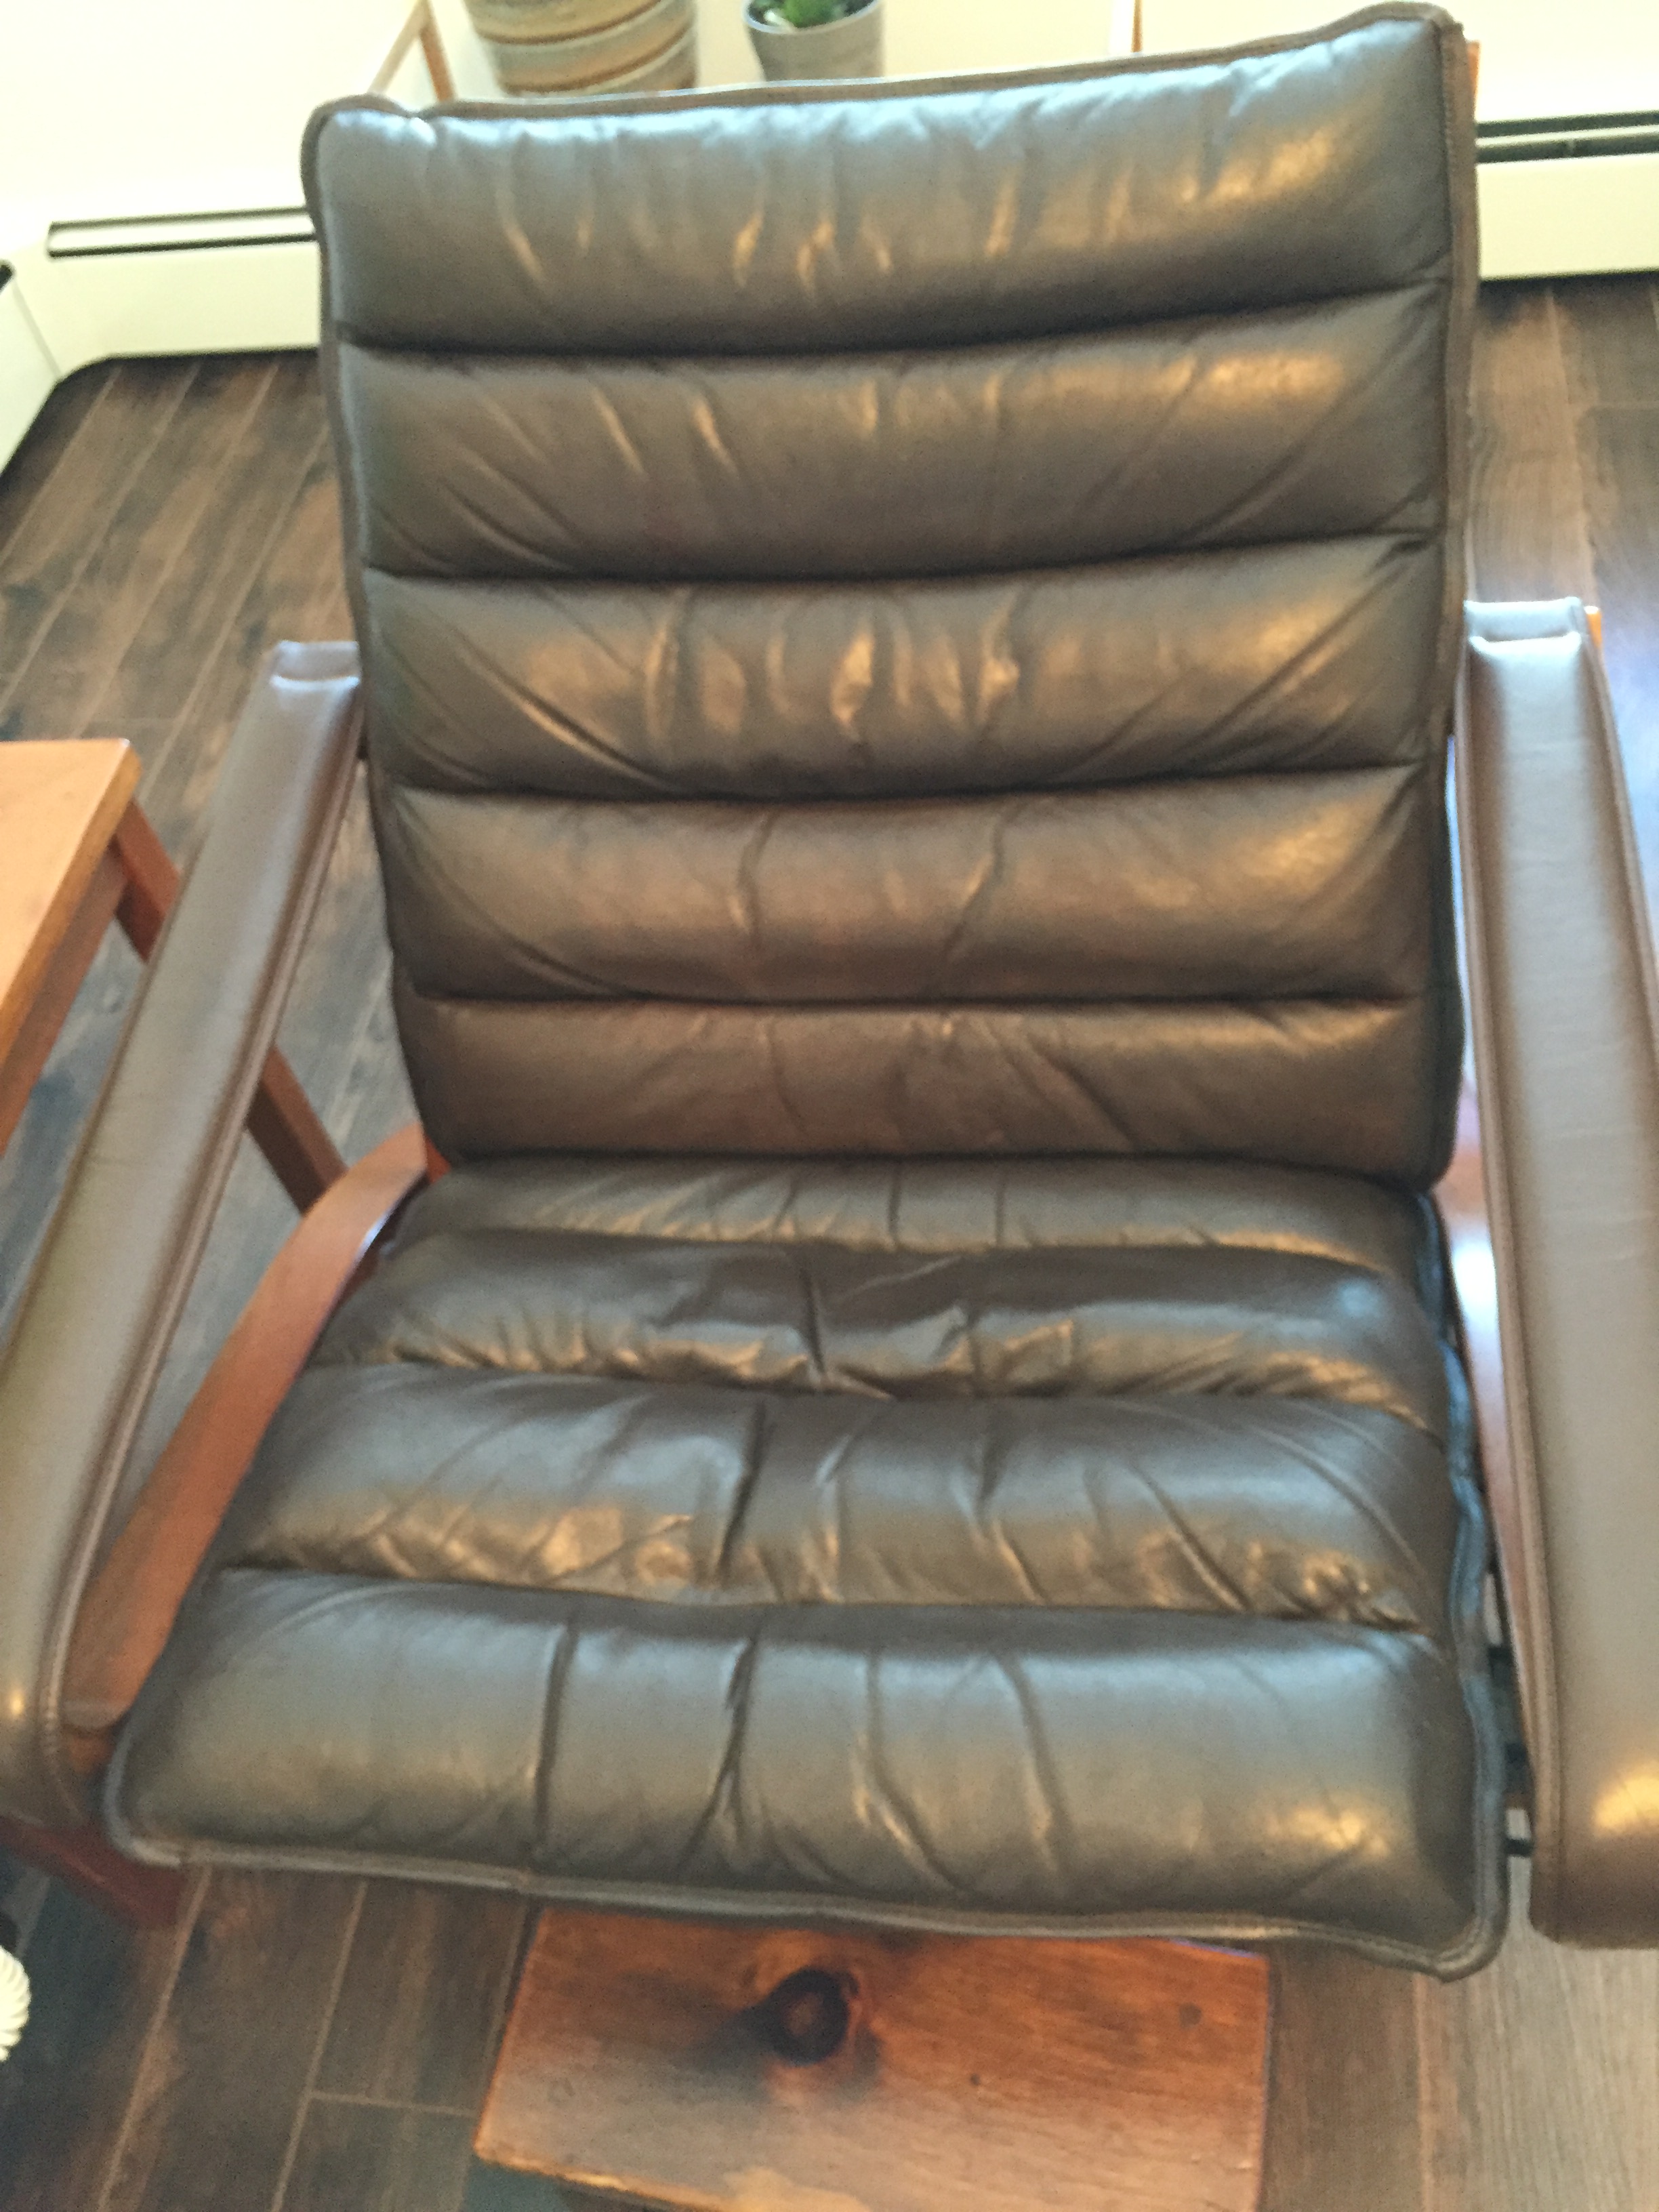
This morning a jar of Rustins Leather Re-Colouring Balm arrived in the mail from England. I’ve had a dark brown leather chair for over 40 years. About 20 years ago I had the cushions restuffed but I was never able to find a product to refinish the leather itself. With this move I decided to see if I could find something to renew the leather on the cushions. I came across this Rustins Recolouring Leather Balm:

I ordered a jar in dark brown. I’ve just used it and it’s wonderful! I thought to myself as I started applying it to the chair cushions I should take a “before” picture – I didn’t. But here’s an “after”:

All the white wear marks are gone. The balm soaked in quickly – there wasn’t much excess to wipe off. The best part is it’s not going to come off on clothing when someone sits in the chair! It didn’t take long to apply, wait for 5 minutes, then wipe off (the wipe off cloth didn’t pick up much colour at all). I’ll apply a second coat tomorrow just to catch the few uncoloured spots that I’m noticing now. I can’t believe how much better this chair looks.
So now to get organized to quilt that latest quilt. The sandwich is pinned together. I’ve set up an embroidery design to quilt it edge-to-edge. Gotta try out the embroidery on some scrap fabric to make sure of the dimensions so my edge-to-edge quilting will align properly.