I was heading out to do a bit of shopping yesterday when I noticed the wall of ice beside the road. I didn’t stop then to take any photos but I did on my way back home. Quite striking, really, to see the frozen groundwater. The colour of the ice is what caught my eye in the first place.
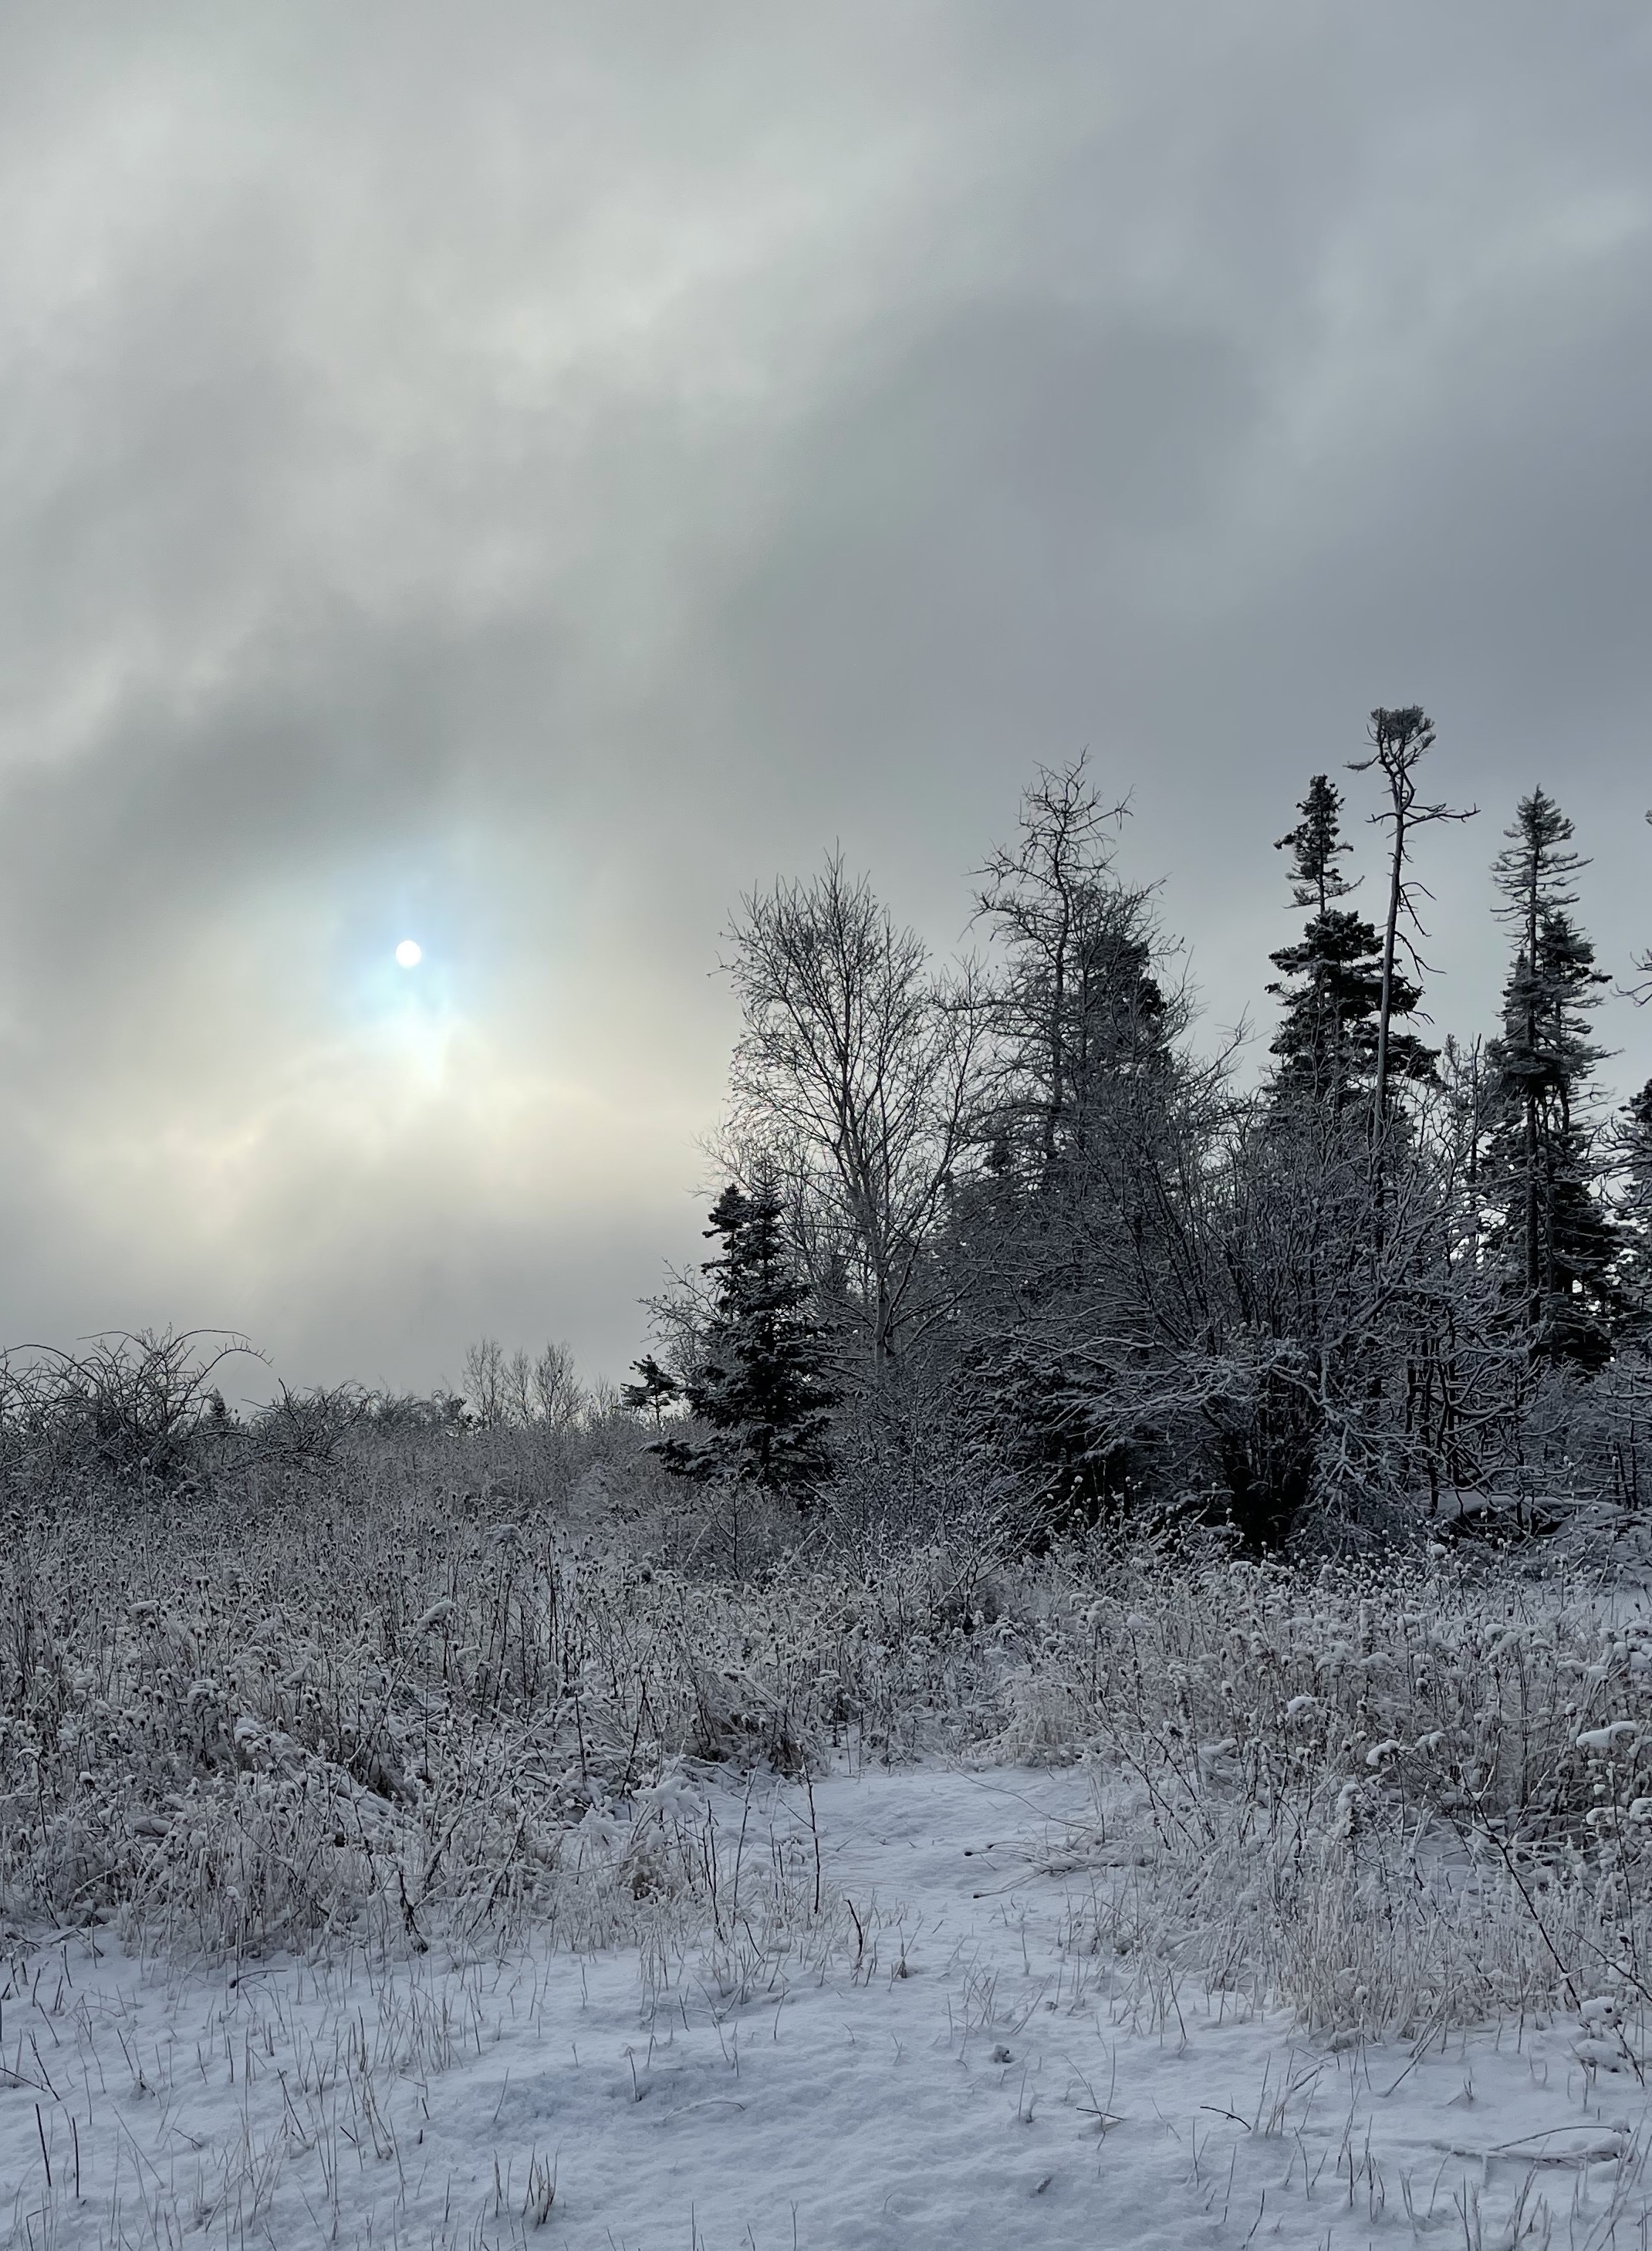
Then today on my way back from the pool I saw the sun peeping from the clouds so I pulled into a nearby empty parking lot to take some photos.
Winter Day
There is actually a communications tower which looms over the hillside – I removed it from the image using an editing tool – Retouch – I didn’t think it added to the feel of the cloudy day with the sun peeping through the clouds.
Then sun came out more as I reached my driveway:
Winter Day II
I liked the snow hat on the rock and the shadow of the building bringing out the sunshine.
I get late afternoon sun in my apartment – but something you need to understand: my windows face NE! Not west. The sun shines in strongly – bouncing from west-facing windows in the building up on the hill across from my apartment. Depending on the season the bright afternoon sunlight can last for a few minutes to more than half an hour. It has no warmth but it brightens the rooms noticeably.
Today, as I was walking by, the shadows of the orchids on my studio/livingroom window ledge caught my attention. Difficult to photograph because the large Pfaff embroidery machine on the desk blocked me. Nevertheless, the photo is about shadows and those stand out – even their reflection in the plexiglas surface of the desk.
Another day, I might move the machine to try getting a better shot. Today, I was wanted to capture what I could before the reflection disappeared.
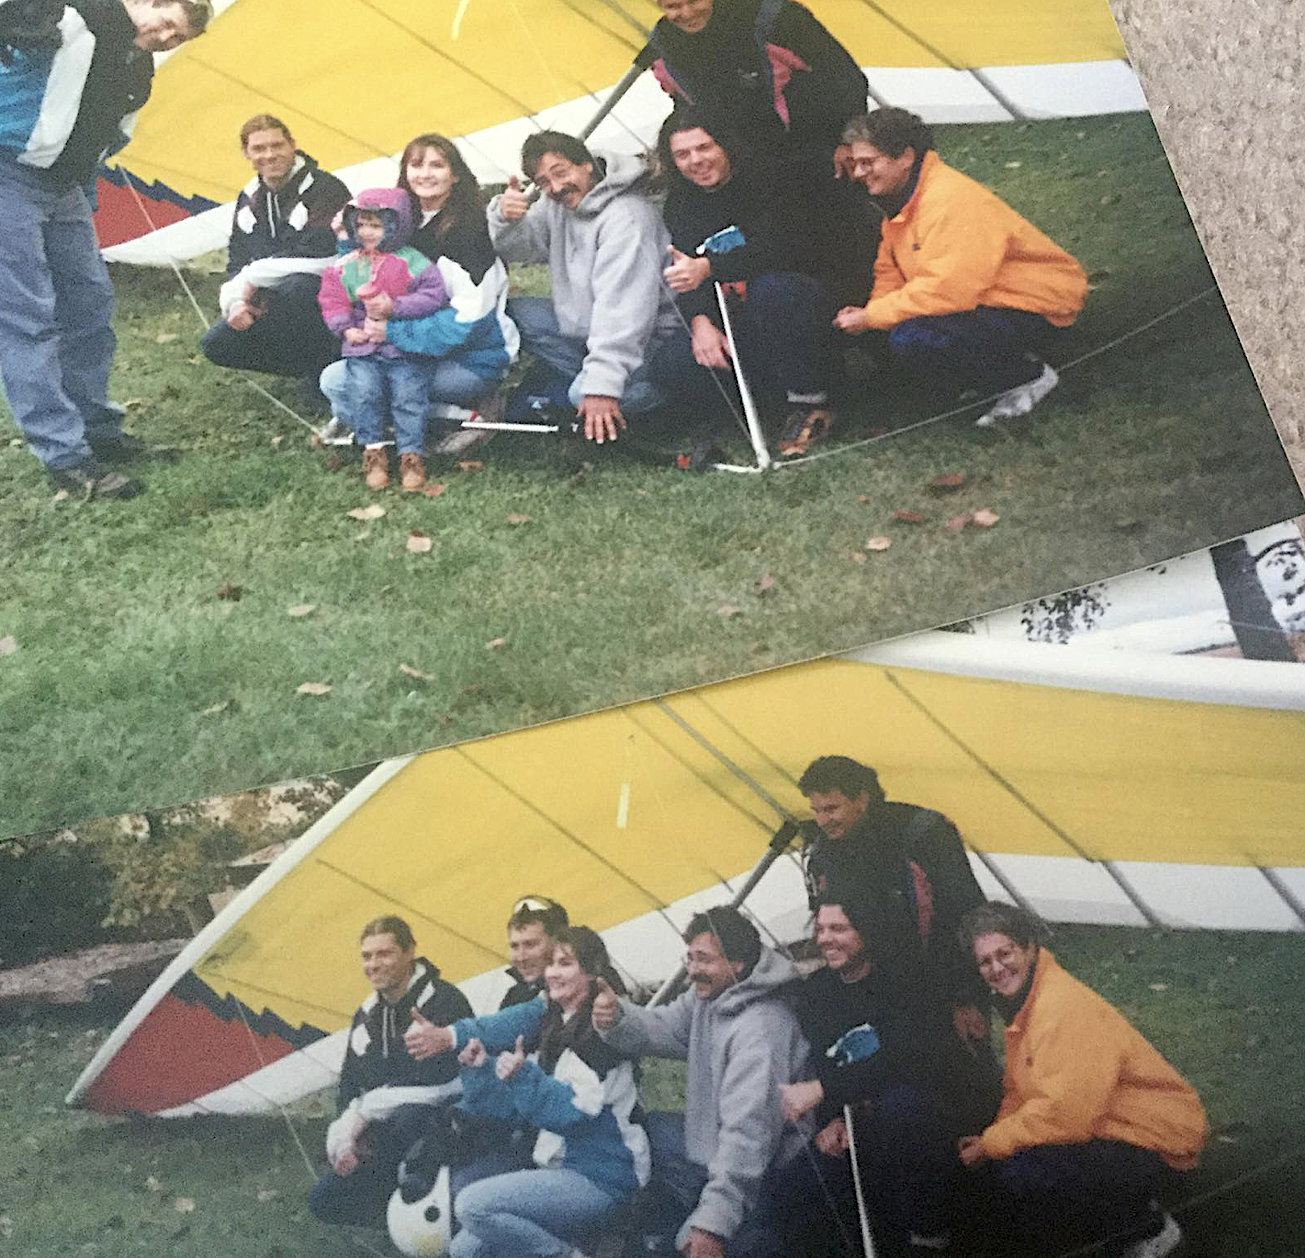
I received this pair of photos from a Manitoba friend I’ve kept in contact with. That’s me in the yellow fleece on the right side.
Those were my hang gliding days – I wouldn’t be surprised if that photo was actually taken on a late fall weekend fly-in in Dauphin Manitoba. I don’t recognize the glider but I recognize, and can name, all but one of the people in the pictures.
I did love flying. I didn’t get to do a lot of solo flying – my technique never got good enough that I felt safe in the air on my own but I did a lot of flying at the control bar with a number of different instructors. What a wonderful feeling to be high in the air with just the wind whistling past, the fields below, and the wide panorama in front of us.
High Over Makapu’u Point ~1993
I even got to fly, after launching, high over Makapu’u Point on a couple of occasions, from the California hills somewhere near Santa Barbara, even outside Bendigo Australia with the chill Antarctic wind reaching us.
This all took place when I was living in Manitoba.
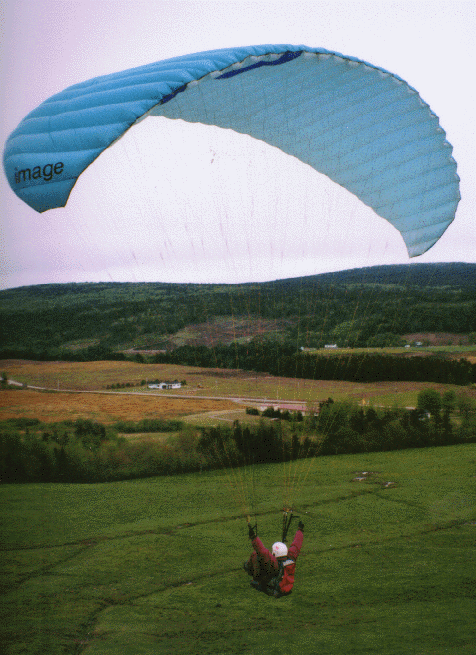
When I returned to Nova Scotia, in 1997, I switched to paragliding – trying to get a hang glider to the various rustic launch sites available to us was just physically beyond me and I wasn’t about to ask a fellow pilot to carry my glider to the top of the hill for me! I could manage the paragliding gear (glider, harness, helmet, arm pads, gloves) myself, though.
All Geared UpAbove The Blueberry Fields
It took quite a bit of training before I felt confident enough to actually push myself off launch after inflating the glider. I remember clearly my first real parading flight on the hill at Fox River. I’d inflated the glider (I’d got good at that), but was reluctant to start the run – Brian Wheaton gave me a big push and I was in the air, aiming for the landing site beyond the trees at the far edge of the blueberry fields. The flight lasted less than 2 minutes but I landed successfully on my feet!
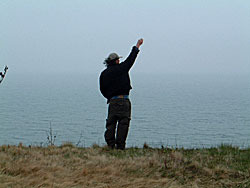
That was it. I made the trip to Parrsboro regularly over the next many years hoping to find good flying conditions when I arrived but often the wind was too light or too strong. However, once in a while I managed to get into the air.
Wind WaitingChecking The Wind
I’d have kept at the sport except I discovered I had osteoporosis and suddenly a hard landing on my bum wasn’t such a good idea. My flying career was over.
I hung out with the pilots for another couple of seasons – I loved being at the top of the hills watching the gliders weave back and forth along the shore edge.
At Port GravilleAt Second Beach
Eventually I stopped attending the Annual Flying Festival. Life moves on.
The other day, Deb and I again this year made the Sweet Kugel – 4 of them to be exact. One for me, one for her, one for MaryAnn, and one for Marlene.
This time we had Deb’s 6 year-old grandson Huxley as an extra pair of hands – he made short work of peeling/slicing the apples using Deb’s handy dandy Apple Peeler & Corer! (This is a very kid-friendly recipe and project, it turns out).
While Huxley was prepping the apples, I made the dough, cut it into four portions, rolled out the first.
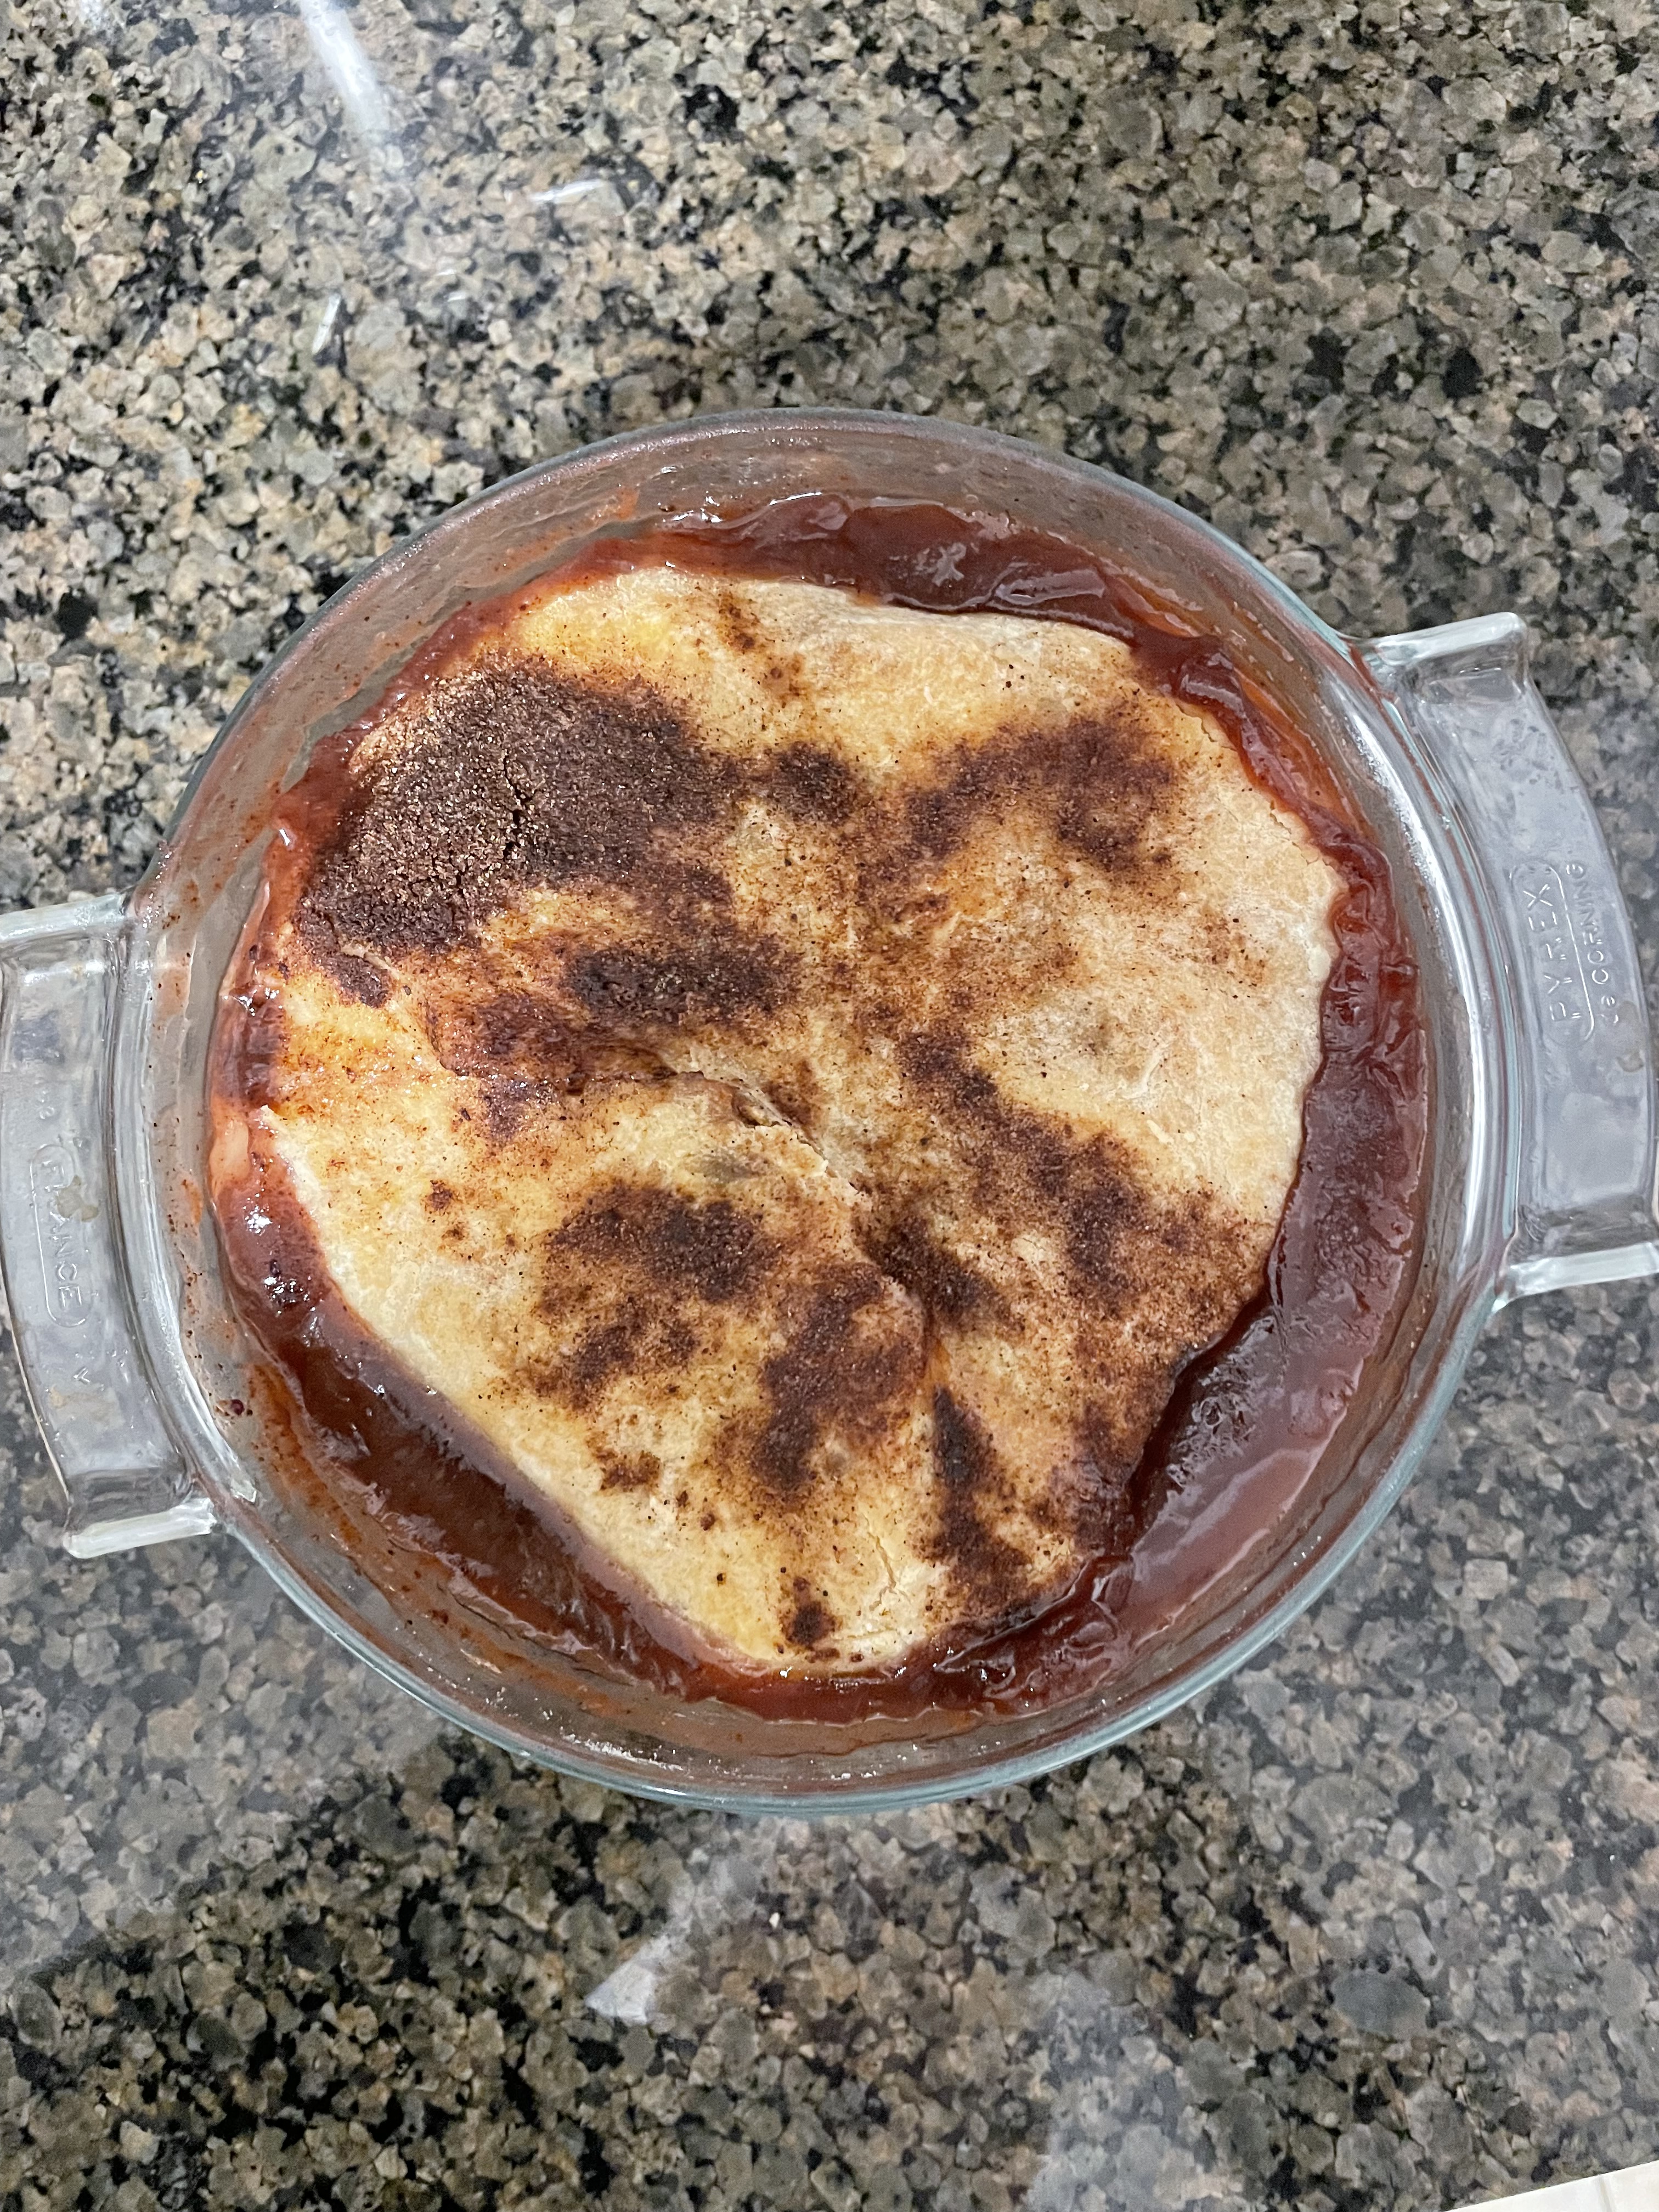
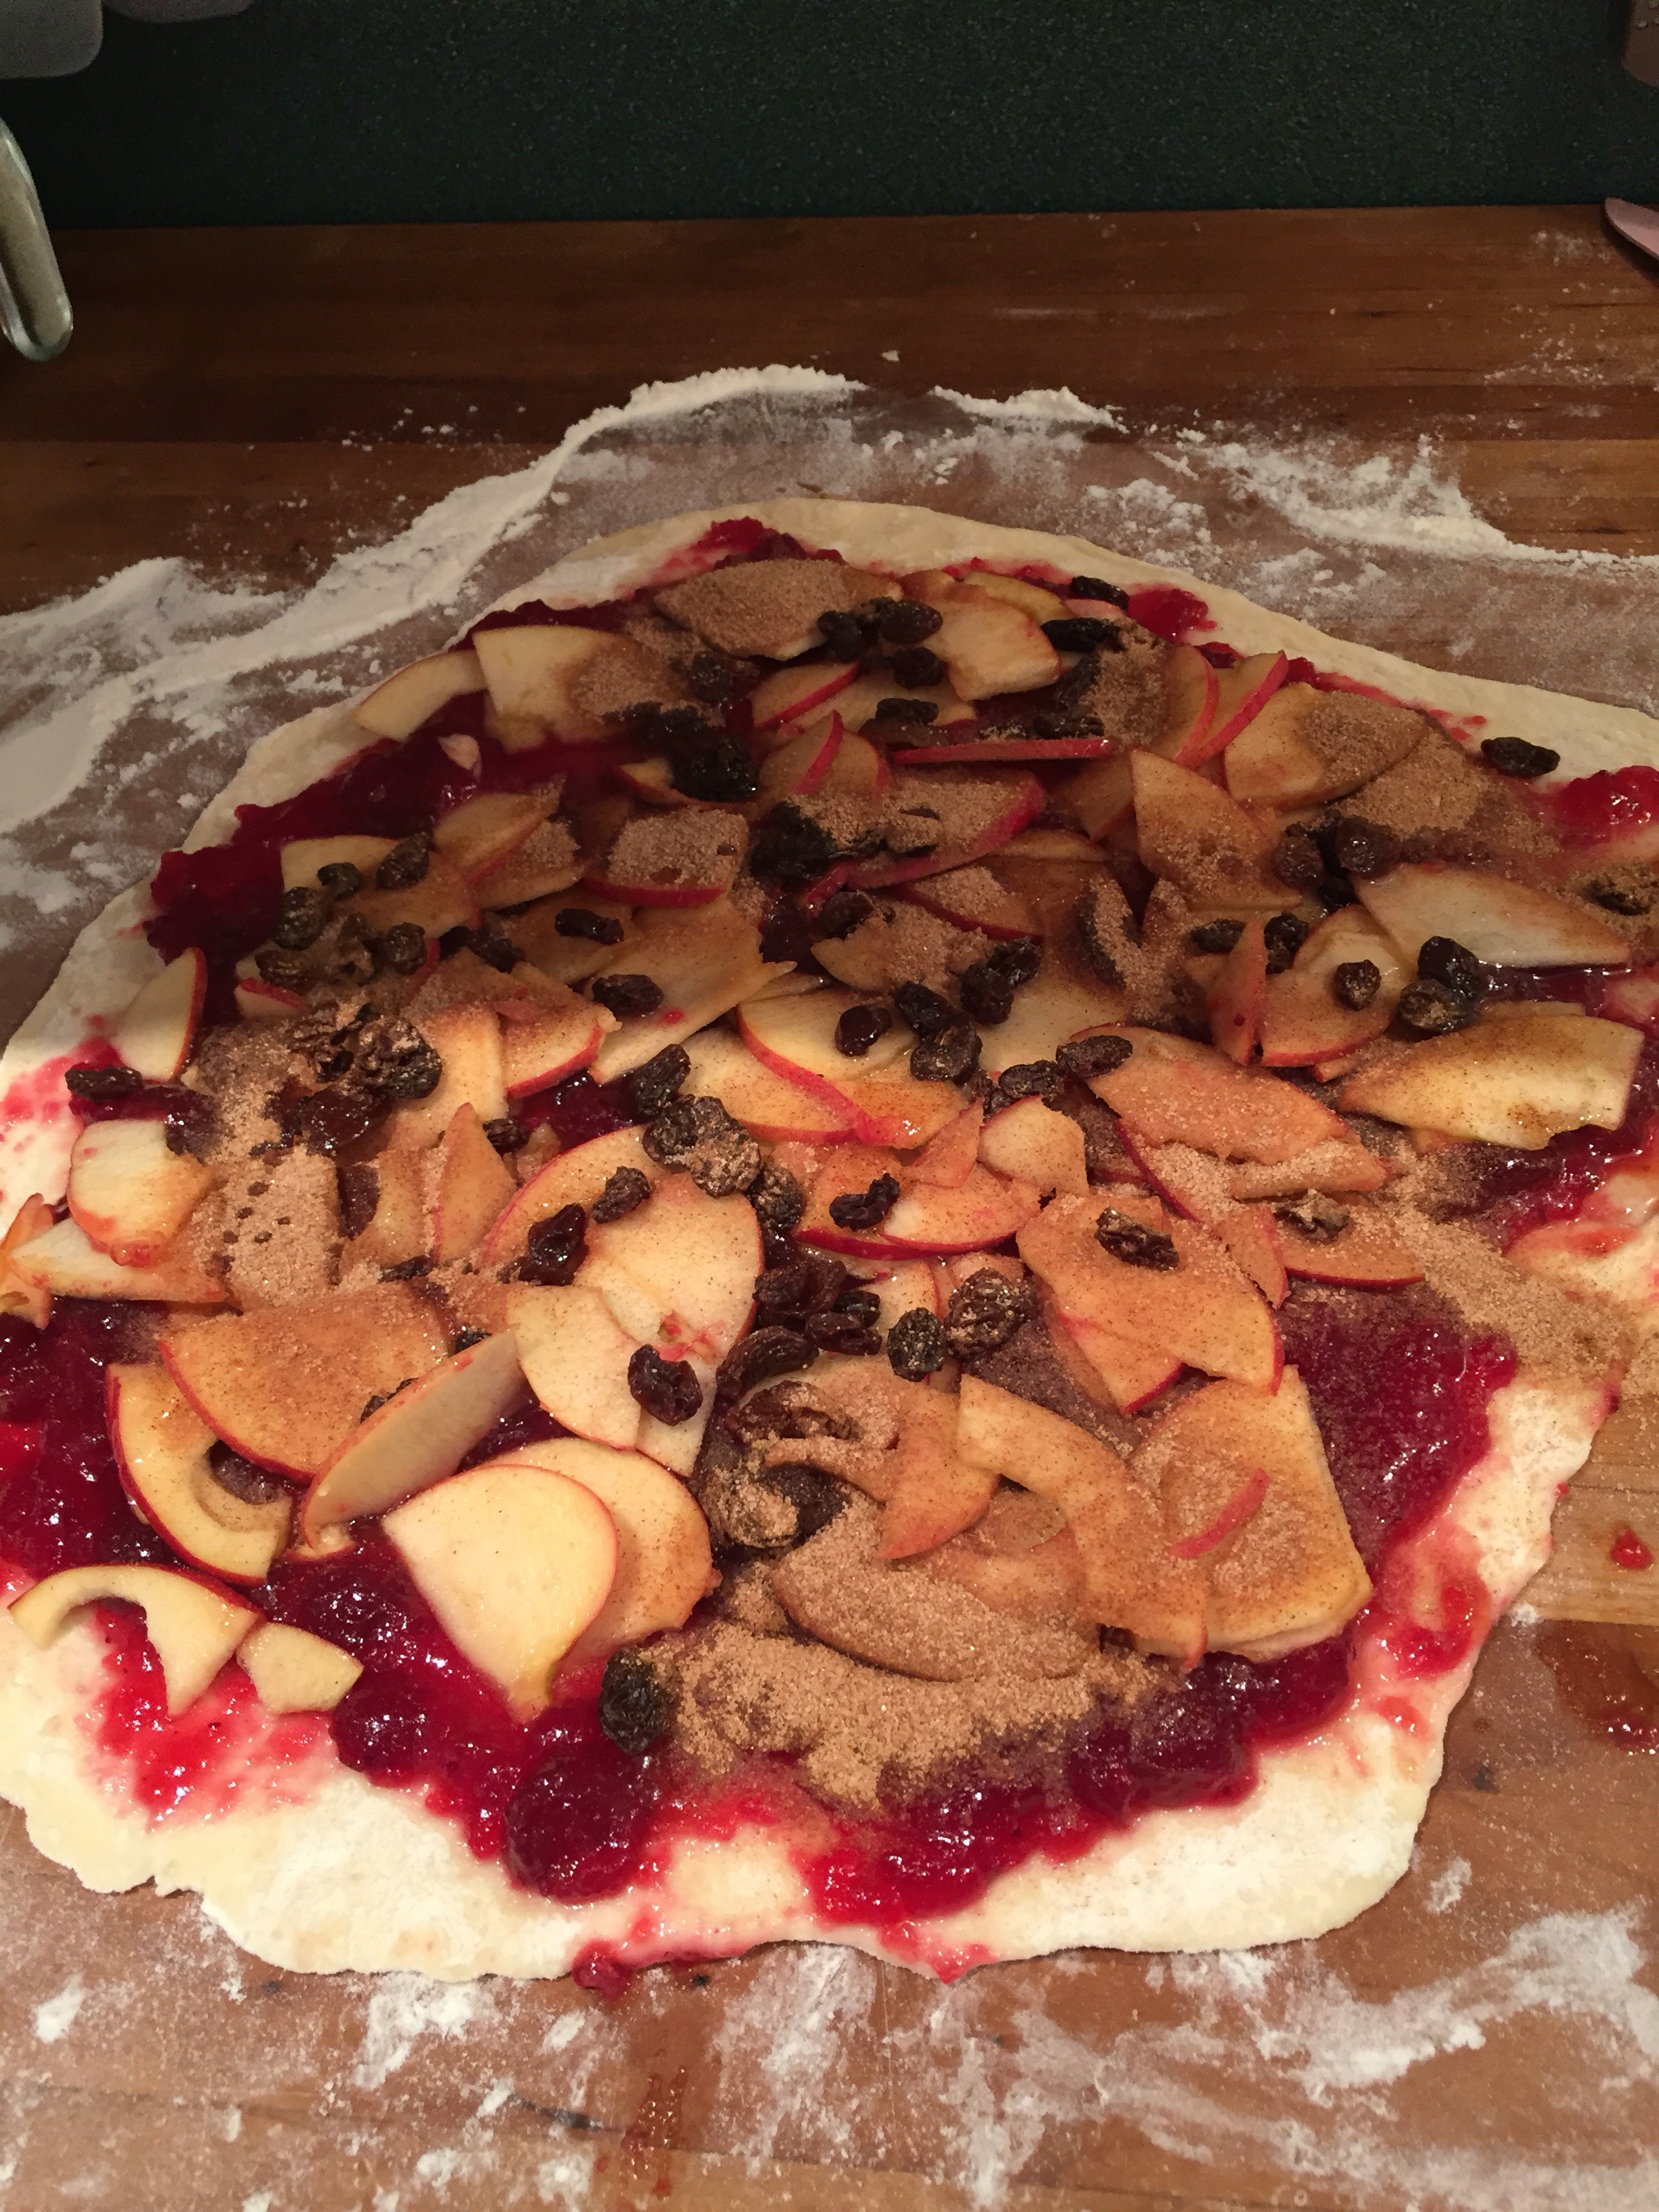
Making The Kugel
Huxley topped the dough with strawberry jam and whole berry cranberry sauce, then he added a quarter of the apples, sprinkled raisins on top, I sprinkled the cinnamon and sugar on top of that, then flopped the dough around the topping and tipped it into the baking dish.
Huxley helped with all four kugels, making sure the one with the most apples was in his grandma’s dish.
The whole process didn’t take us long. We were done, washing up and all, in about an hour.
The kugels were left to bake for an hour and a half at 352°. I took them out and cooled them, then wrapped the one for me and put it in the freezer. The other three are in my fridge, each waiting to be sent to its proper home.
I bought some sock yarn from Knit Picks a few weeks back. A superwash fingering weight self-patterning yarn that has a lovely feel to it, and an interesting pattern, to boot.
I bought four skeins of yarn in a range of colours. This one is called “Cameo”. It turned out a very nice pair of socks!
I know, we’re supposed to give up fabric masks in favour of single use surgical or N95 masks but I hate the waste associated with those and besides my masks are made using a high grade quilting cotton with non-woven interfacing stitched into the middle; mine are three-layer masks.
More important those awful disposable blue surgical masks don’t fit me very well (I have to flip the elastic to fit over my ears to suppress my glasses fogging which makes the sides stand open), whereas my homemade masks do! And fit is more important than the materials used in construction, according to the experts I’ve read.
New Face Masks
With Omicron being rapidly transmitted throughout the community I decided everybody could use a new well-fitting face mask as a gift. I started making a batch ten days ago. I made a dozen which I gave away yesterday to the knitting ladies. I have another dozen cut out and ready to assemble – have to work on those today and get them made and washed so I can distribute them, too.
The pattern I’m using this time is the one from SeeKateSew. She provides a template for cutting out the masks. This mask is close fitting but because of the origami folds top and bottom it provides breathing space and I find it comfortable.
I don’t do the folded side in the instructions to enclose the elastic. Instead I insert the elastic into the seam as I construct the facemark which makes the sides a bit longer. I use 6″ – 7″ lengths of elastic depending on the face size of the person I’m making the mask for. When I use a longer elastic I add a silicon slide near the bottom of the mask so people can shorten the elastic if the mask fit is too loose.
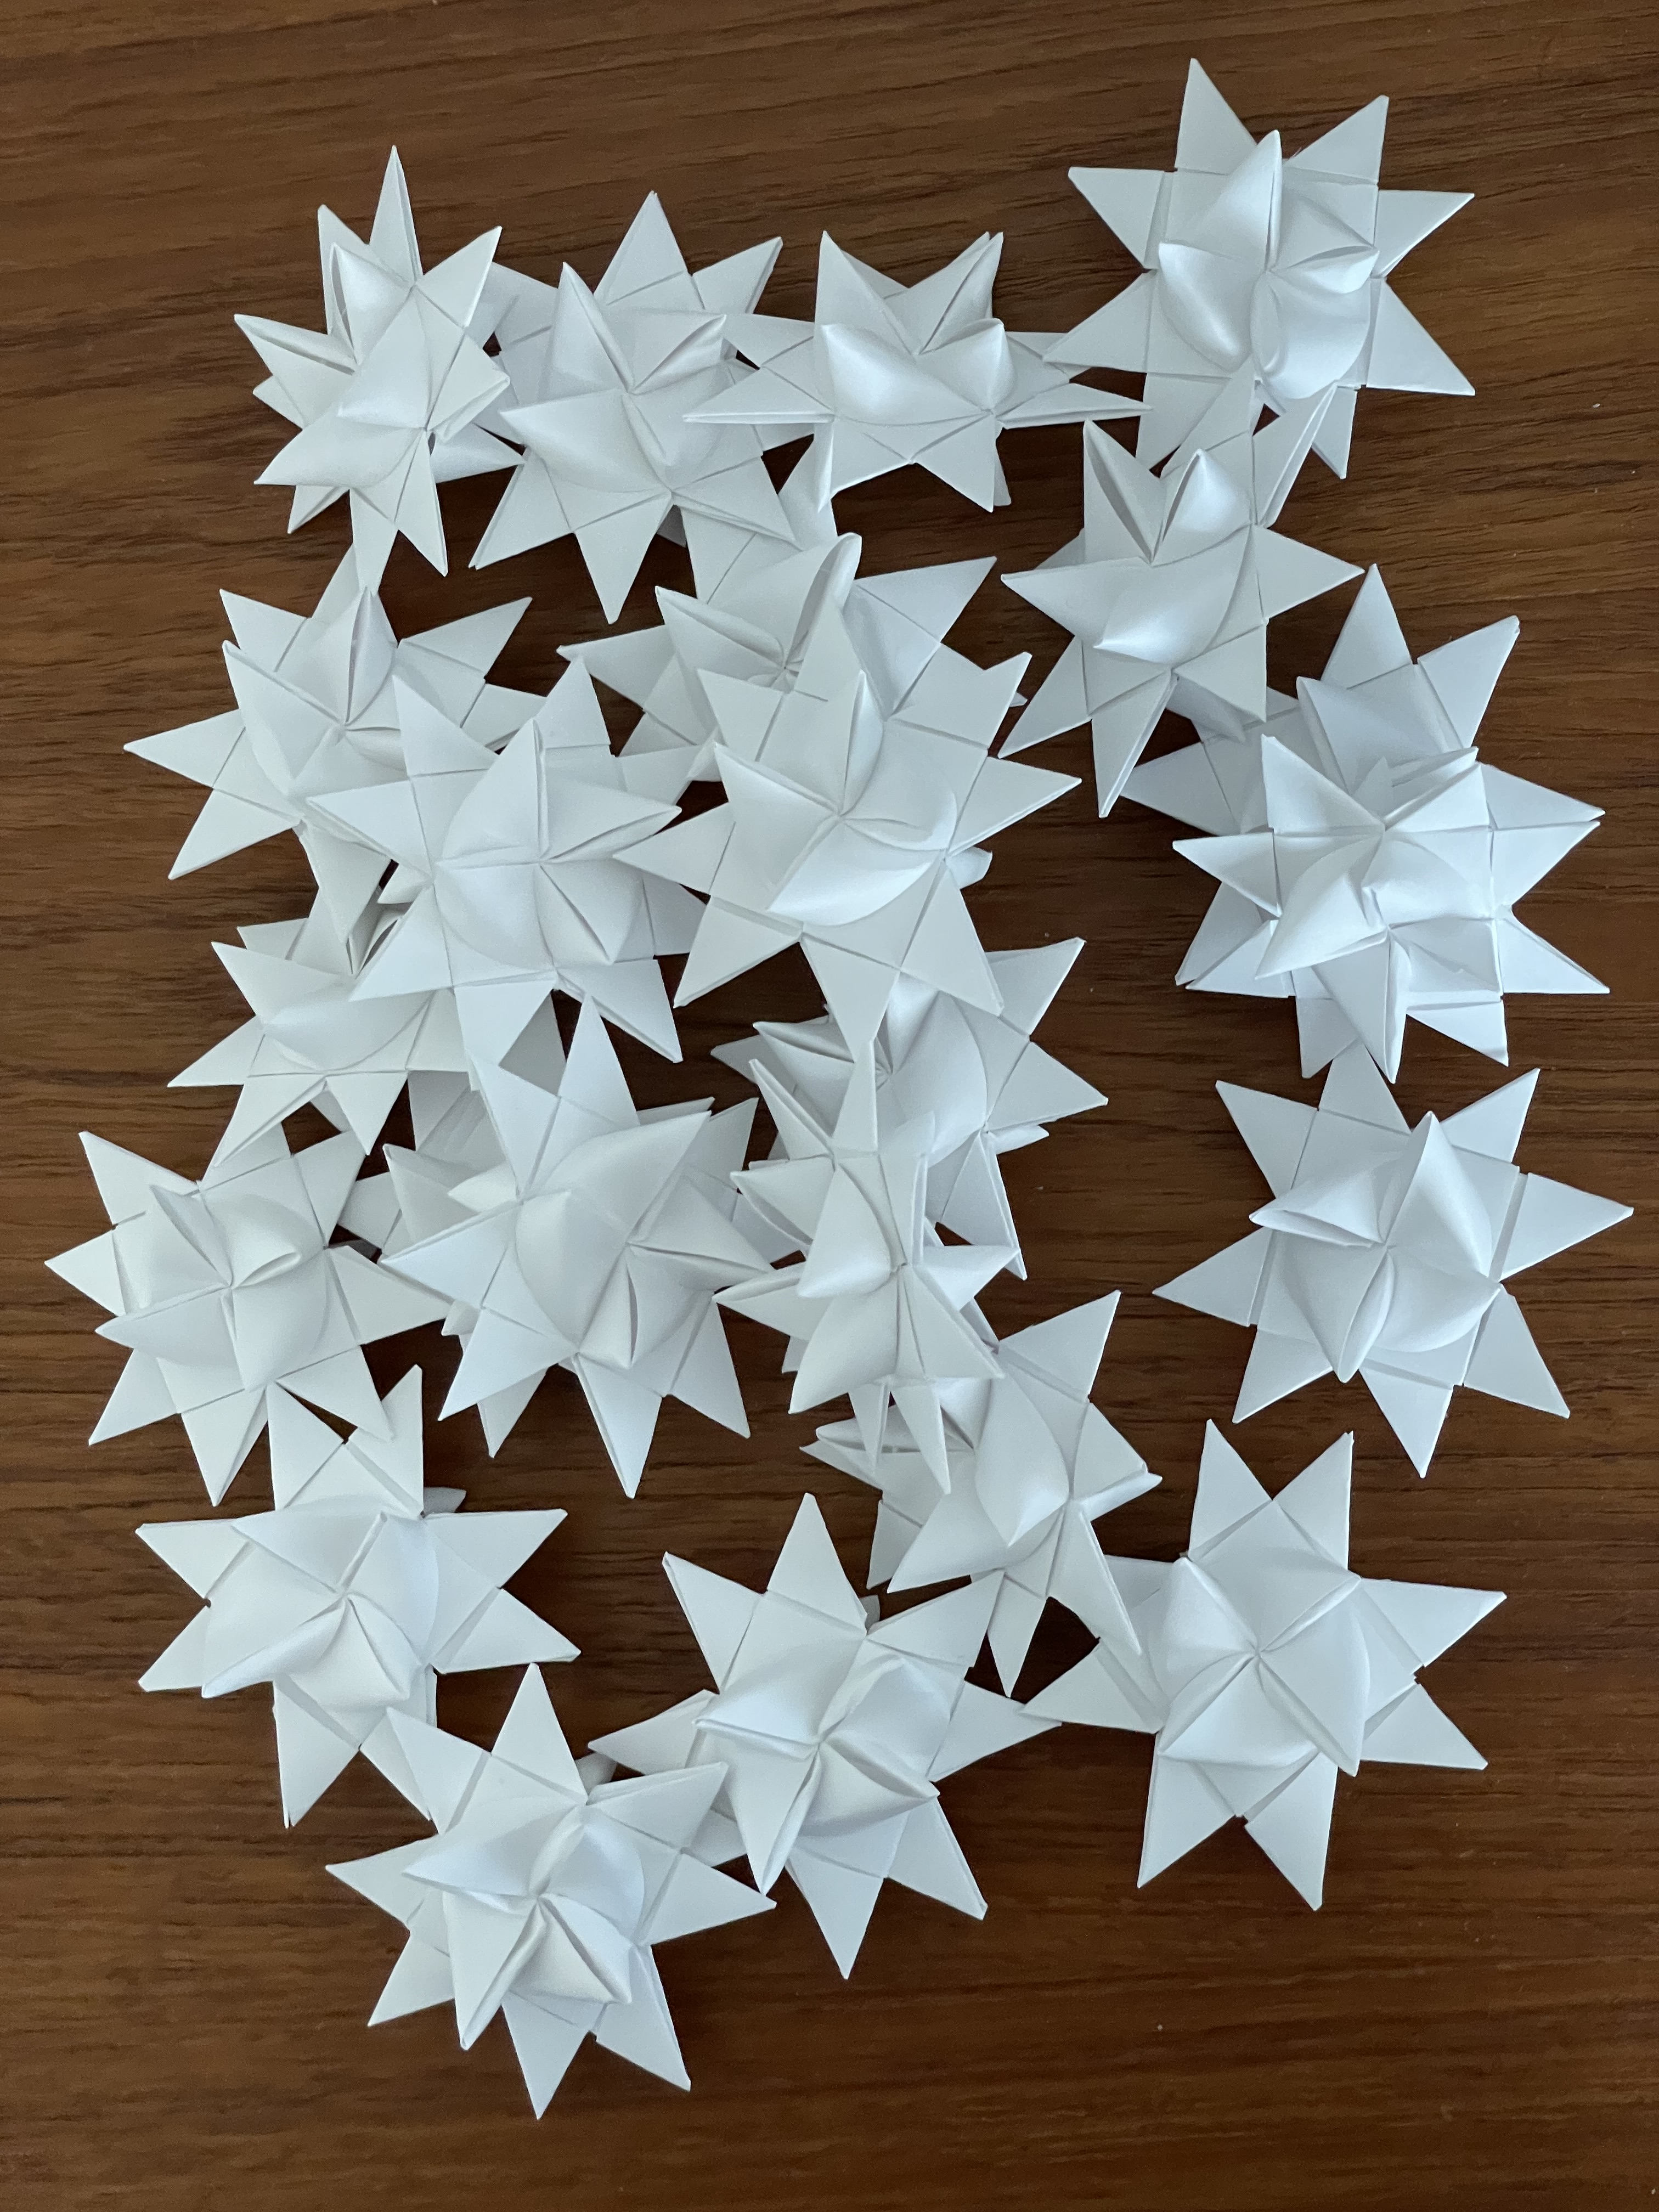
It’s become another recent Christmas tradition – I make a few Danish paper stars to hand out to my neighbours and friends in the apartment building. I finished the two dozen I was planning to make last evening. All they need now is string so they can be hung on a tree or wreath. I’ll pass them around as soon as I get that done, later today.
If you’re interested in trying your hand at making these I found, after a lot of searching, some instructions online: Danish Paper Stars. Let me know how you get on.
It took a star or two before I wove the initial paper strips in the right counterclockwise direction (short arm on top). Once I got the initial steps right, my hands remember the twisting movements and the rest of the folding and twisting are there.
I learned to make these stars at least 40 years ago. Didn’t make them for many years. Started again four years ago. Another few years and people will have enough stars to decorate an entire tree!
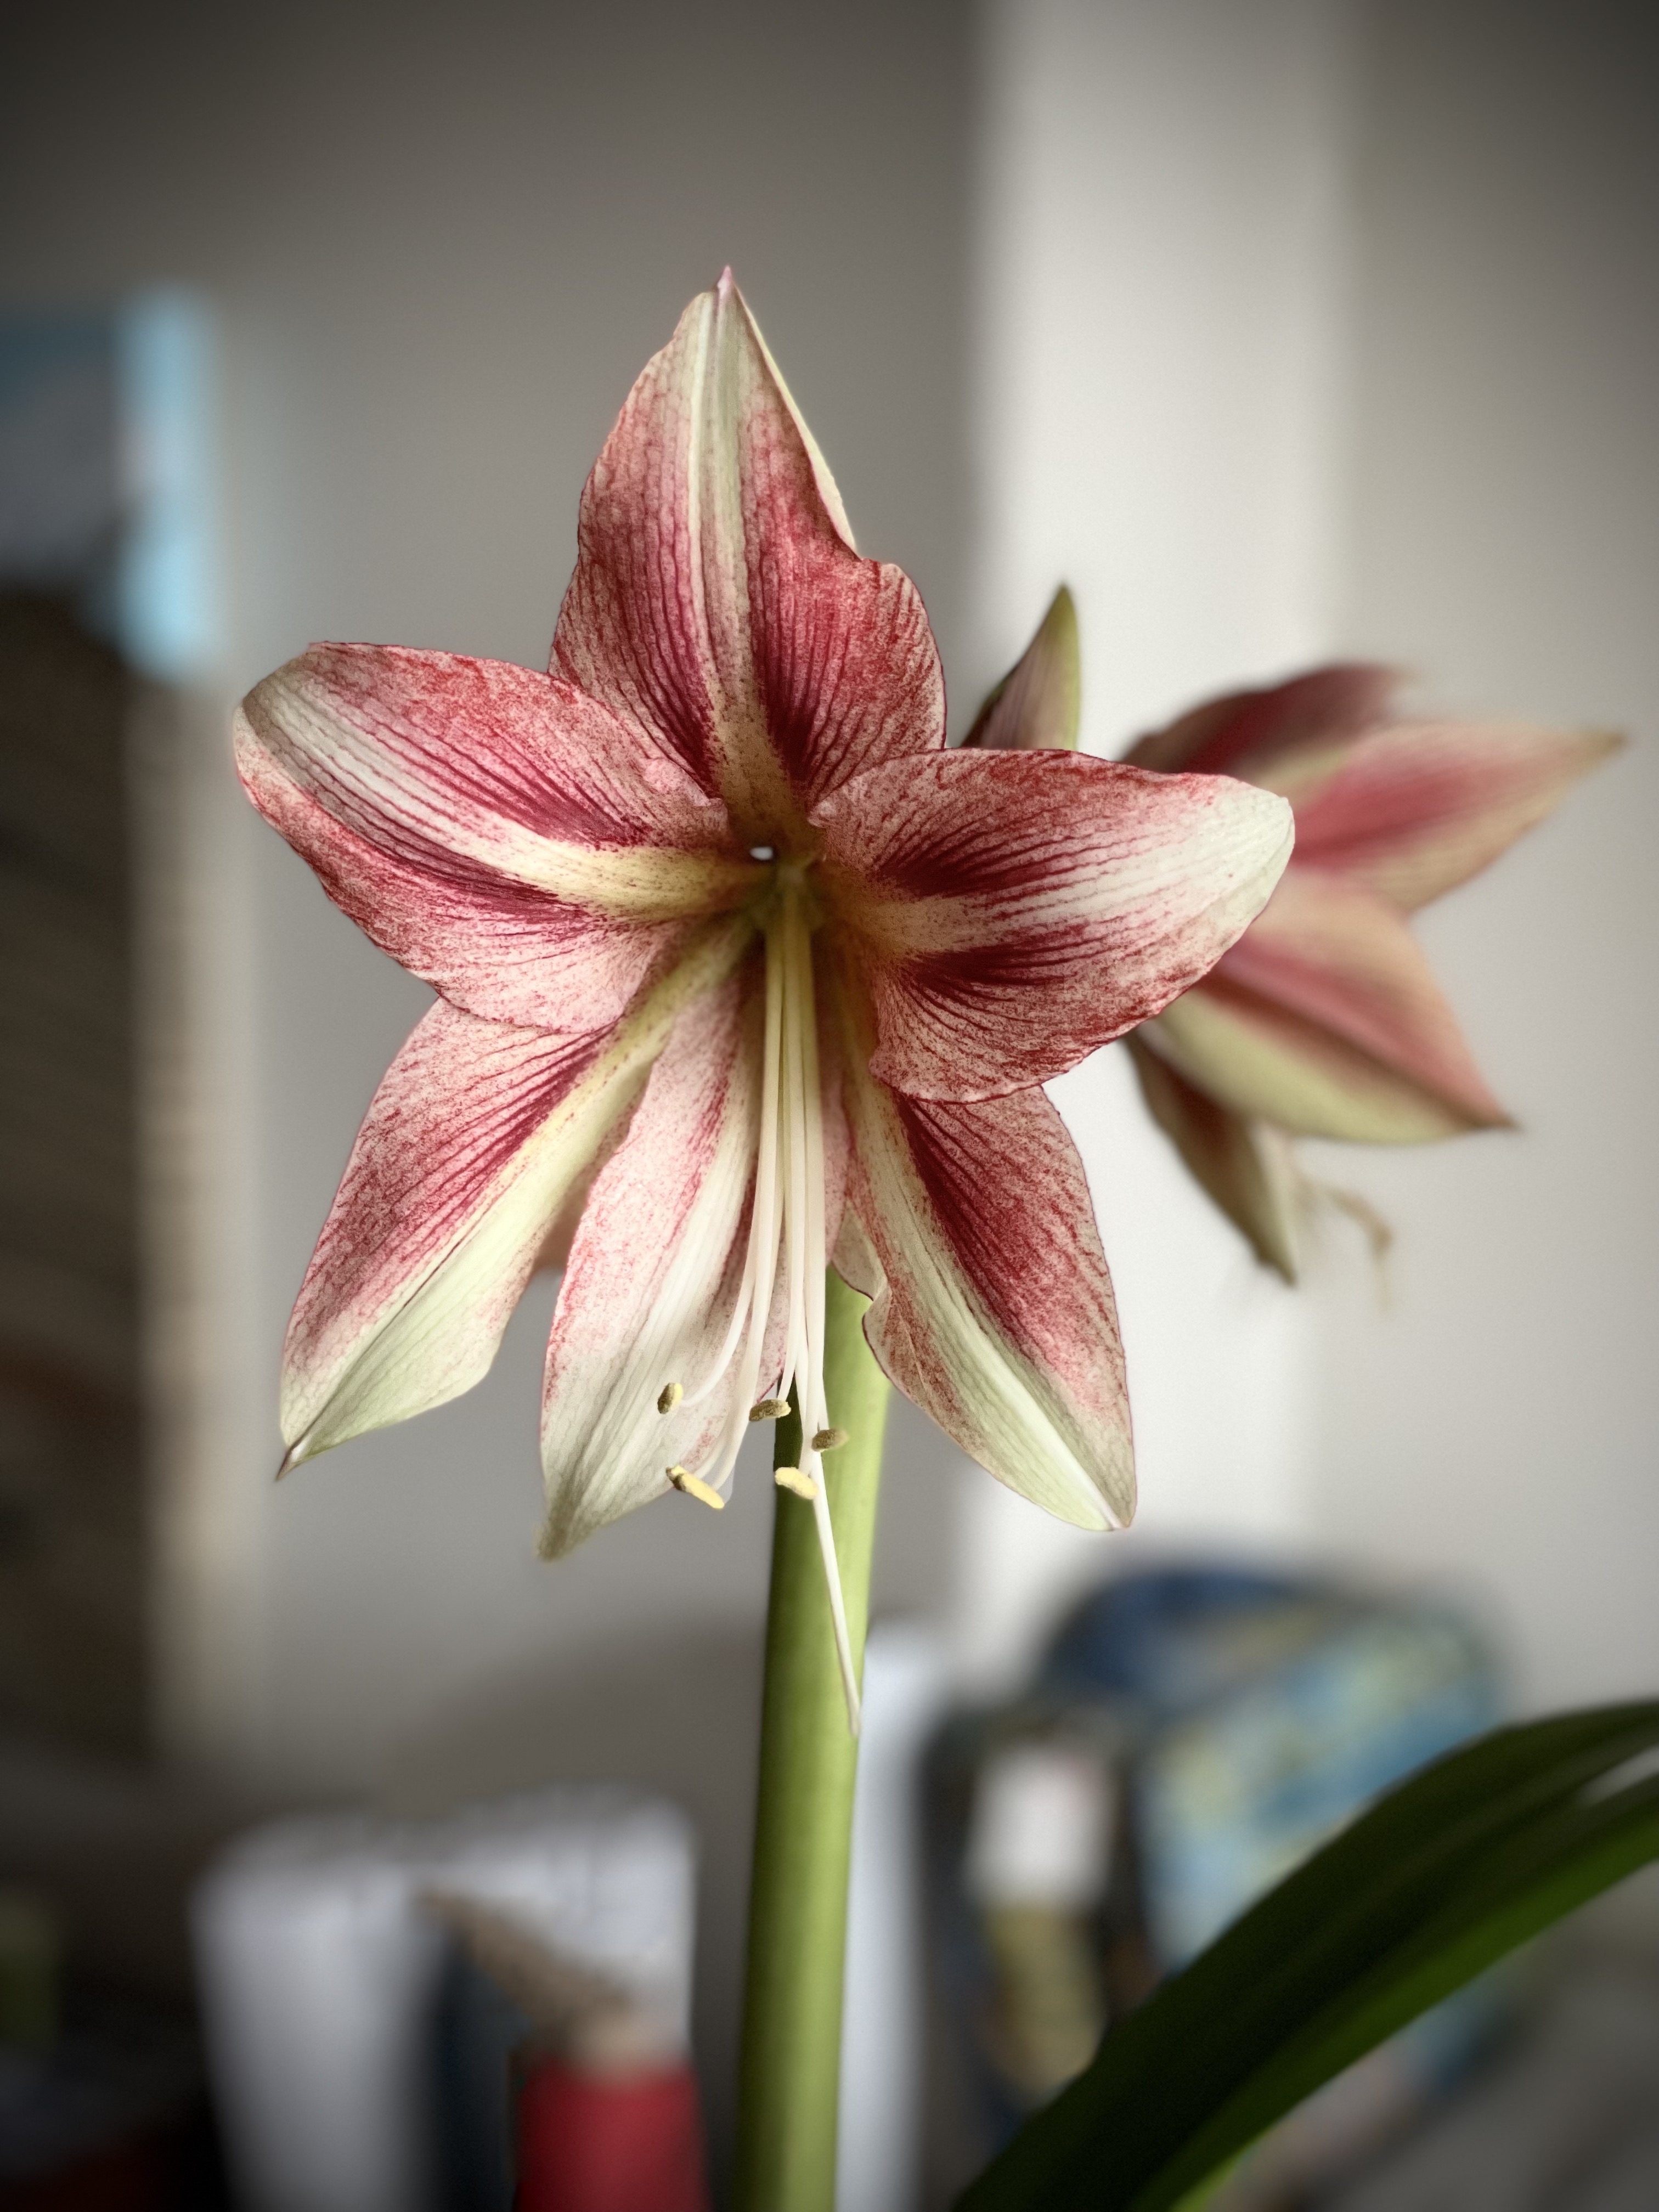
This season I bought my usual Amaryllis but there were Calla Lily kits available, too. So I picked up one just to see what it would turn out like.
Long and gangly. Looks like I will have just three blooms on the plant. The first flower has already lasted at least three weeks – the Amaryllis has come and gone but these three Calla Lily flowers are still going strong.
Amaryllis
I was surprised by the green hue of the Amaryllis – I did get four flowers on a single stock but they weren’t the vibrant colour I expect from this bulb.
I don’t do a lot of Christmas baking – the fruitcakes and one other pastry – a large cookie sheet of shortbread topped with candied fruit, chocolate chips, shredded coconut, raisins, dried cranberries, chopped pecans all mixed together using Eagle Brand condensed milk! What could be bad about that, right?
The original idea came from a package of shortbread mix from Robin Hood Flour but they stopped making the kit a gazillion years ago. I have a great simple traditional shortbread recipe I use and add the topping and then I do my best to give this pastry away as fast as I can!
Christmas Shortbread Bars
Here is the recipe:
Mrs. Cooke’s Shortbread
(I double this recipe when I make my shortbread bars because I need enough shortbread to cover a large cookie sheet) Preheat oven 350° F
1/2 lb butter (at room temperature so you can cream it easily)
1/2 c white sugar (this year I will use coconut palm sugar which I’m sure will work as well since I’m avoiding white sugar entirely in my diet)
1 tsp vanilla extract (that’s real vanilla, please)
2 c. white all purpose flour
Cream butter, add sugar, vanilla, and last the flour; Mix well until you have a crumbly texture Dump onto a large non-stick (or parchment lined or Silpat covered) cookie sheet Press firmly, particularly at the edges Pierce with a fork to allow the shortbread to expand uniformly Bake for 15 minutes, then rotate cookie sheet 180° so the shortbread bakes evenly, then bake for another 15 minutes. The shortbread won’t be quite fully baked but that’s how you want it because you’re going to continue baking after you add the candied fruit topping. Let the shortbread cool for 10-15 minutes before proceeding
Candied Fruit Topping
1 – 11/2 c shredded coconut (unsweetened if you have it)
1 c of mixed candied fruit (with some chopped cherries and citron)
1 c Thompson raisins (you can certainly use sultanas if you prefer them, or even currents)
1 c chopped pecans (you could use walnuts, almonds, hazelnuts chopped)
1/2 c dried cranberries
1 c bitter-sweet chocolate chips (can also use semi-sweet – the point is dark rather than milk chocolate)
1 can (room temperature) Eagle Brand Condensed Milk
Put all the topping ingredients into a large bowl, add the condensed milk and mix as well as you can – it’s a sticky mess but is it ever going to be good.
Spoon the fruit/condensed milk mixture onto the shortbread making sure you spread it evenly to cover the entire surface of the shortbread (try getting as close to the edges as you can – don’t want to waste any of this Christmas bar).
Bake 25-30 minutes at 350° – until the coconut begins to turn golden.
Cool on a rack, then cut into bars. I cut the entire concoction into 8 portions – which in turn can be cut into 12-16 bite-sized bars. This stuff is SOOO rich you don’t want to serve more (although you’ll want to eat more).
I make these Christmas bars about three-four weeks before Christmas. Slip each of the 8 portions into its own small ziploc plastic bag, store them in the fridge until I give them away.
Let me know how it goes if you decide to try them – they’ll be an instant favourite – trust me!