I took what I’d done apart – I had to because the panel was not laying flat! I didn’t have to take every seam out, but I did have to take quite a few apart. Now it will lay flat on the batting and cling smoothly enough to permit me to quilt the whole.
Skyline #2 – Top Pieced
I still don’t know how this quilt will turn out. I’m happy with the overall flow of colour. The next challenge is quilting the project. The quilting will pull the piece together (or, frankly, it could kill it).
I’m intending to echo-stitch the wedge elements, including the sashing. I expect the quilting will need to be quite close but not evenly spaced. I plan on using the same threads I used for Skyline #1 – a mix of variegated purple / turquoise / red to blend with the print (instead of contrasting with it).
In the meantime, I need to square the piece – tricky, actually, because although the top is relatively flat now, laying it on my cutting table and keeping it in place while I trim edges will need weights to prevent slipping.
The top is still a bit wide and I think 3-4″ longer than I finally want it to be so I do have a bit of wiggle room as I square it up.
The backing will include an offset uncut strip of the original fabric with sashing to border it as I did with Skyline #1.
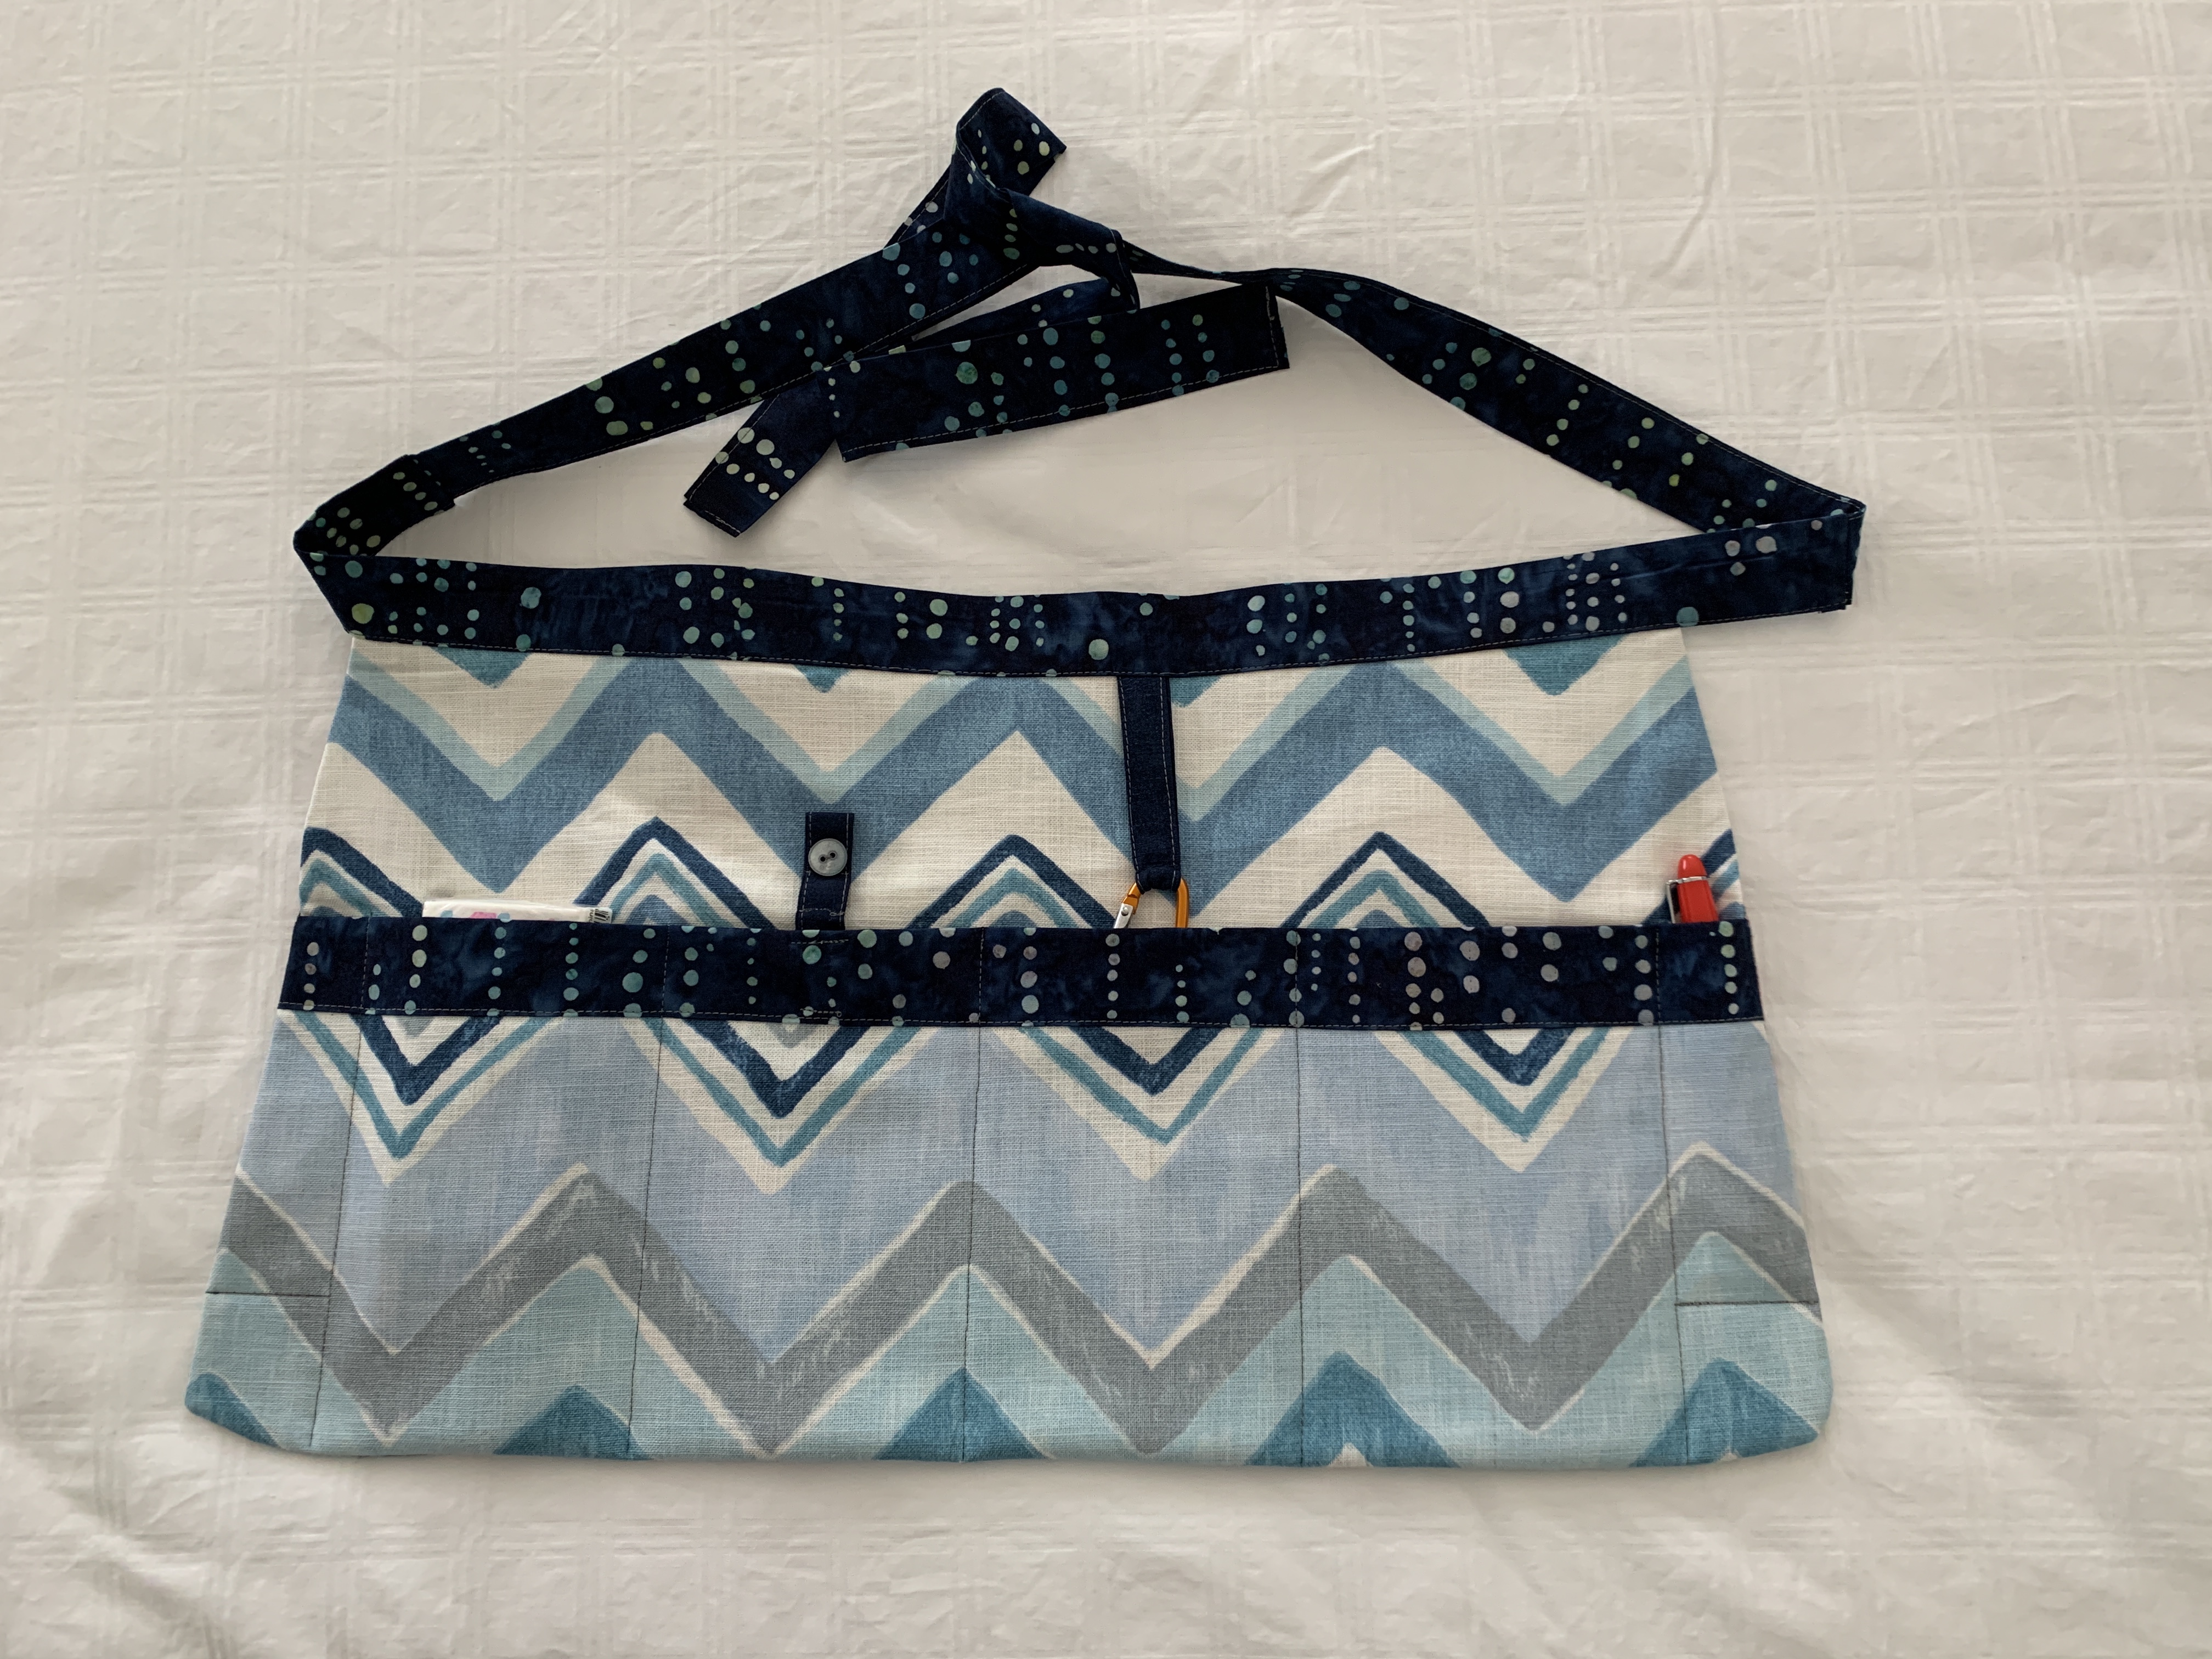
I got a request the other day to make a tool belt for a young friend of mine. Suzanne’s a vice-principal, constantly on the move during her work day. She needs her phone, her keys, some hand sanitizer, a pen,… with her – AND she needs her hands free.
Teacher’s Tool Belt – Completed
I checked out some possible ideas online and came up with one I thought would do the trick. Suzanne initially requested three pockets but I’ve given her four: one for her phone (with the tab to keep it from falling out), another for her keys (with a small carabiner that slips into the pocket), a slightly wider pocket for a small spray bottle of sanitizer, and one for a package of Kleenex or a small notebook, and two narrow end pockets for pens.
I was discussing the project with one of my sewing buddies who mentioned she had just the fabric weight I was after – a heavy cotton you’d use to cover outdoor cushions. I picked it up.
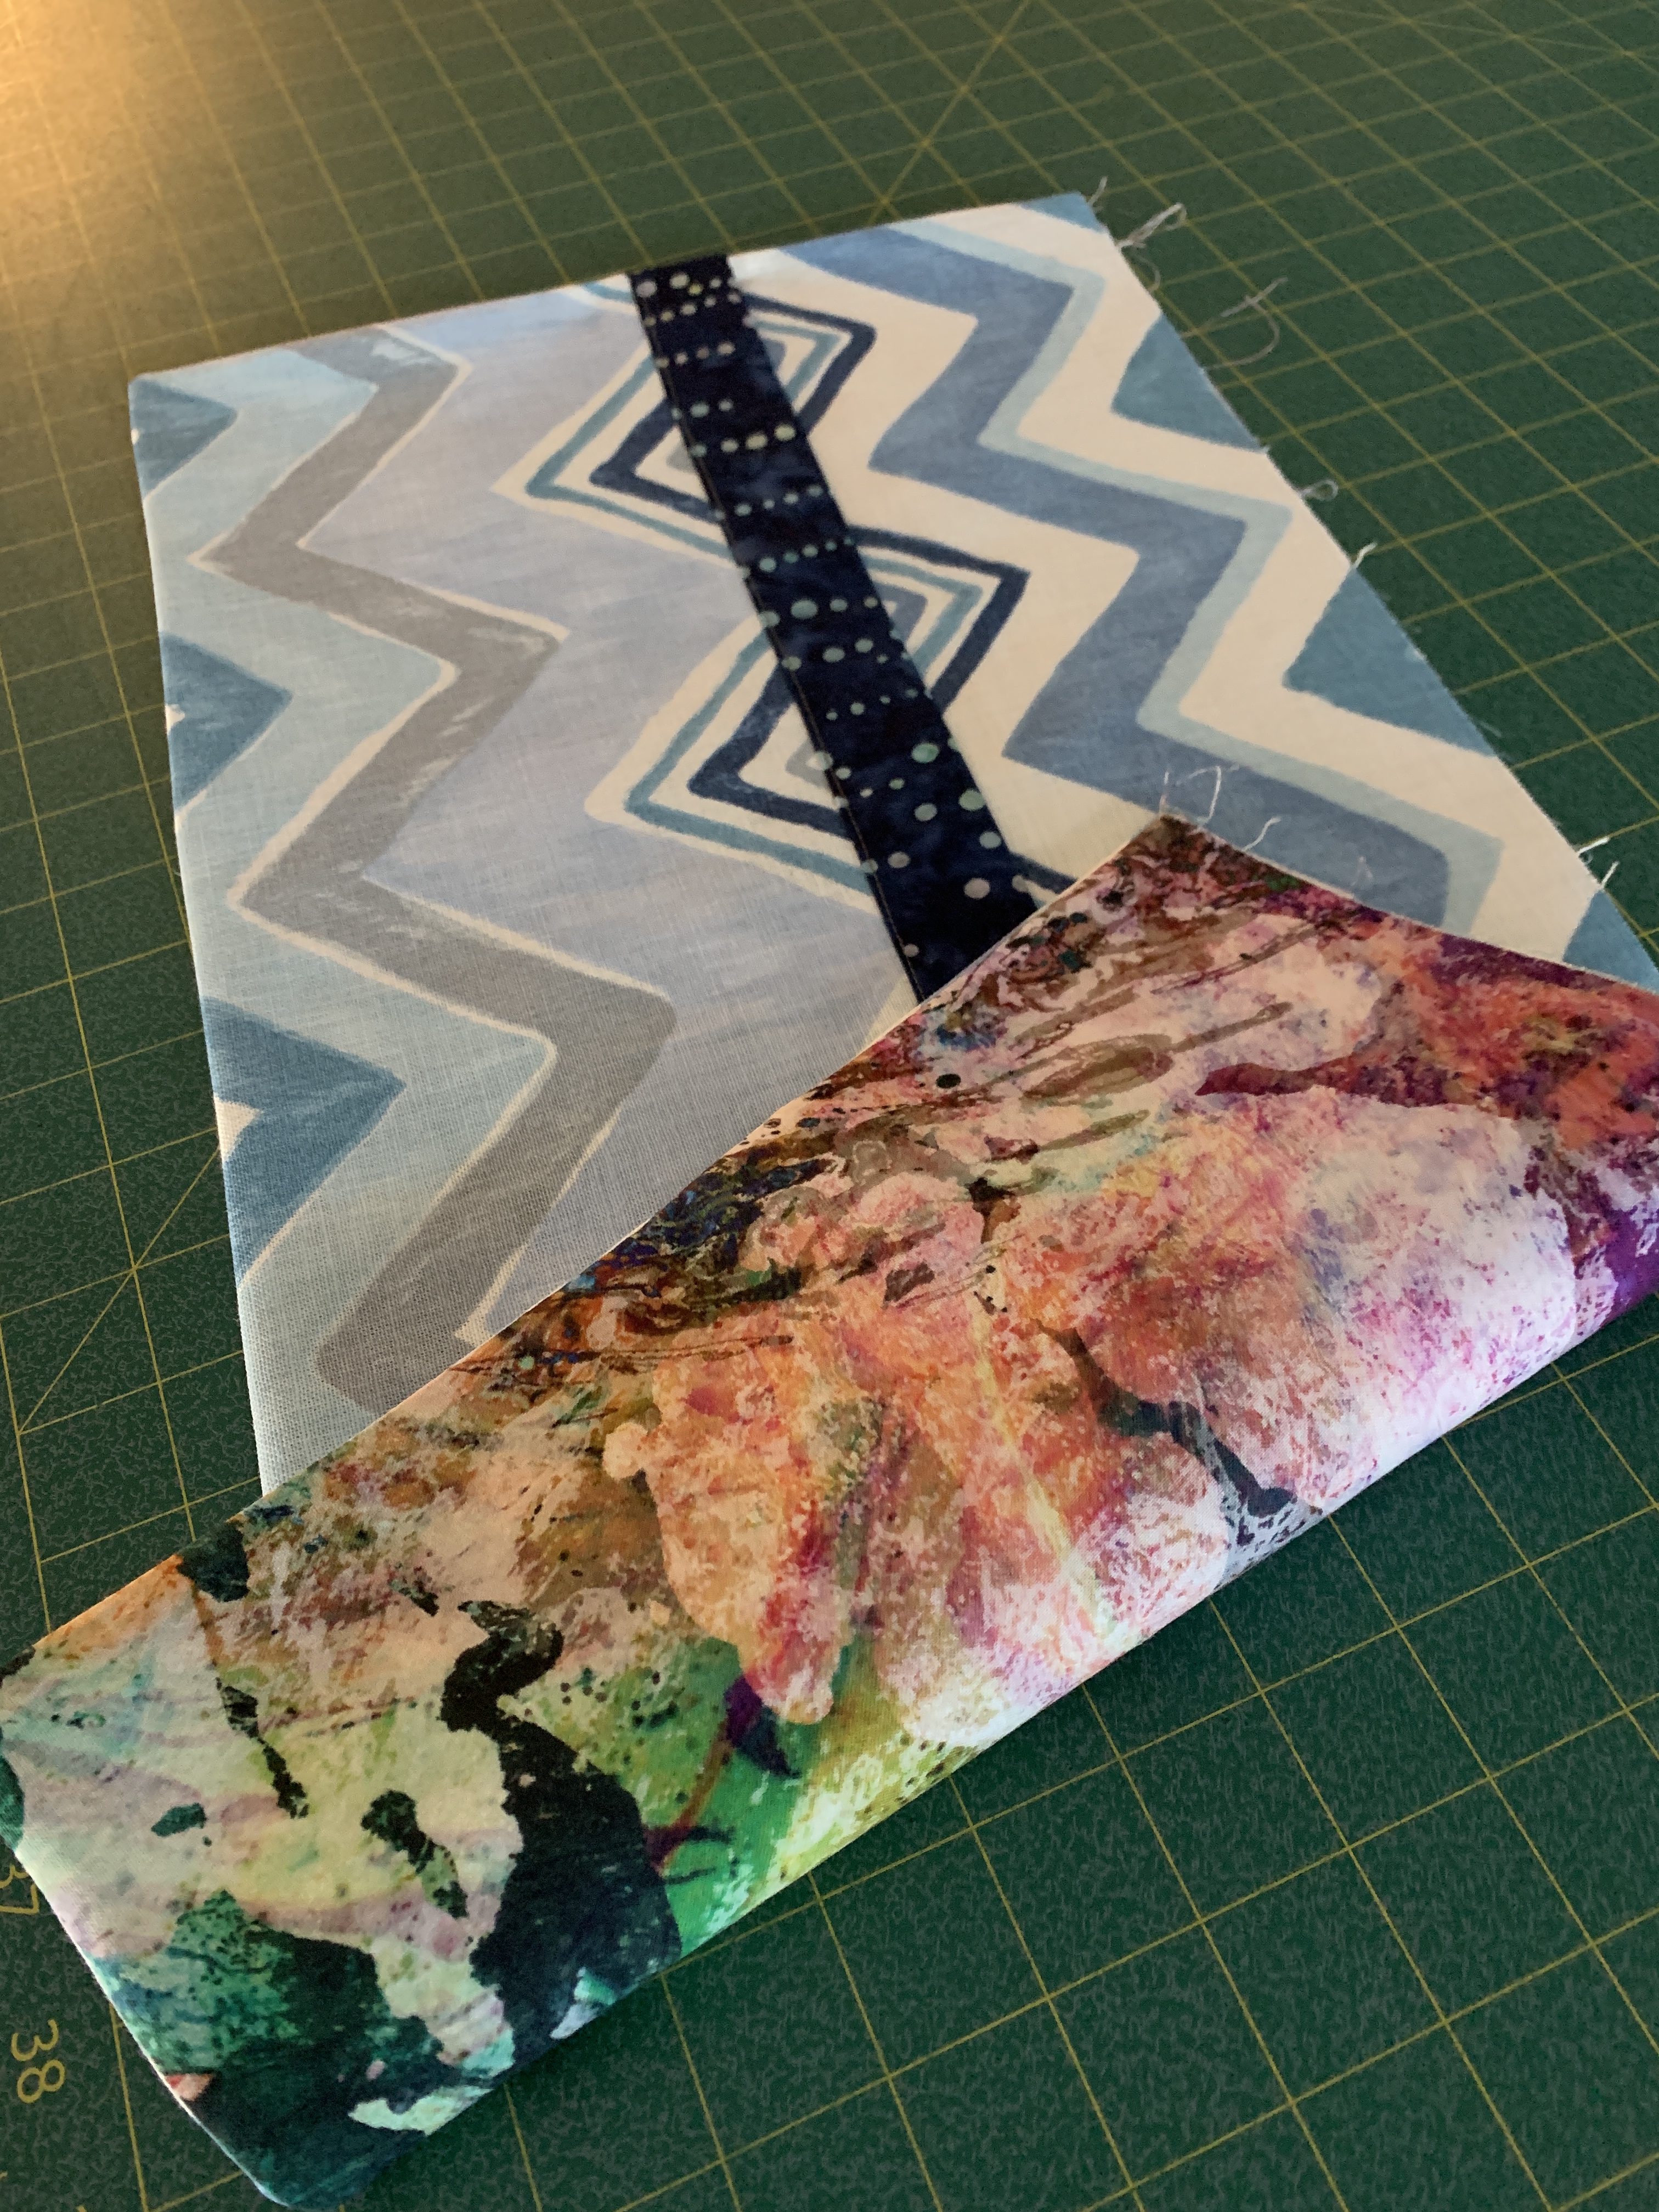
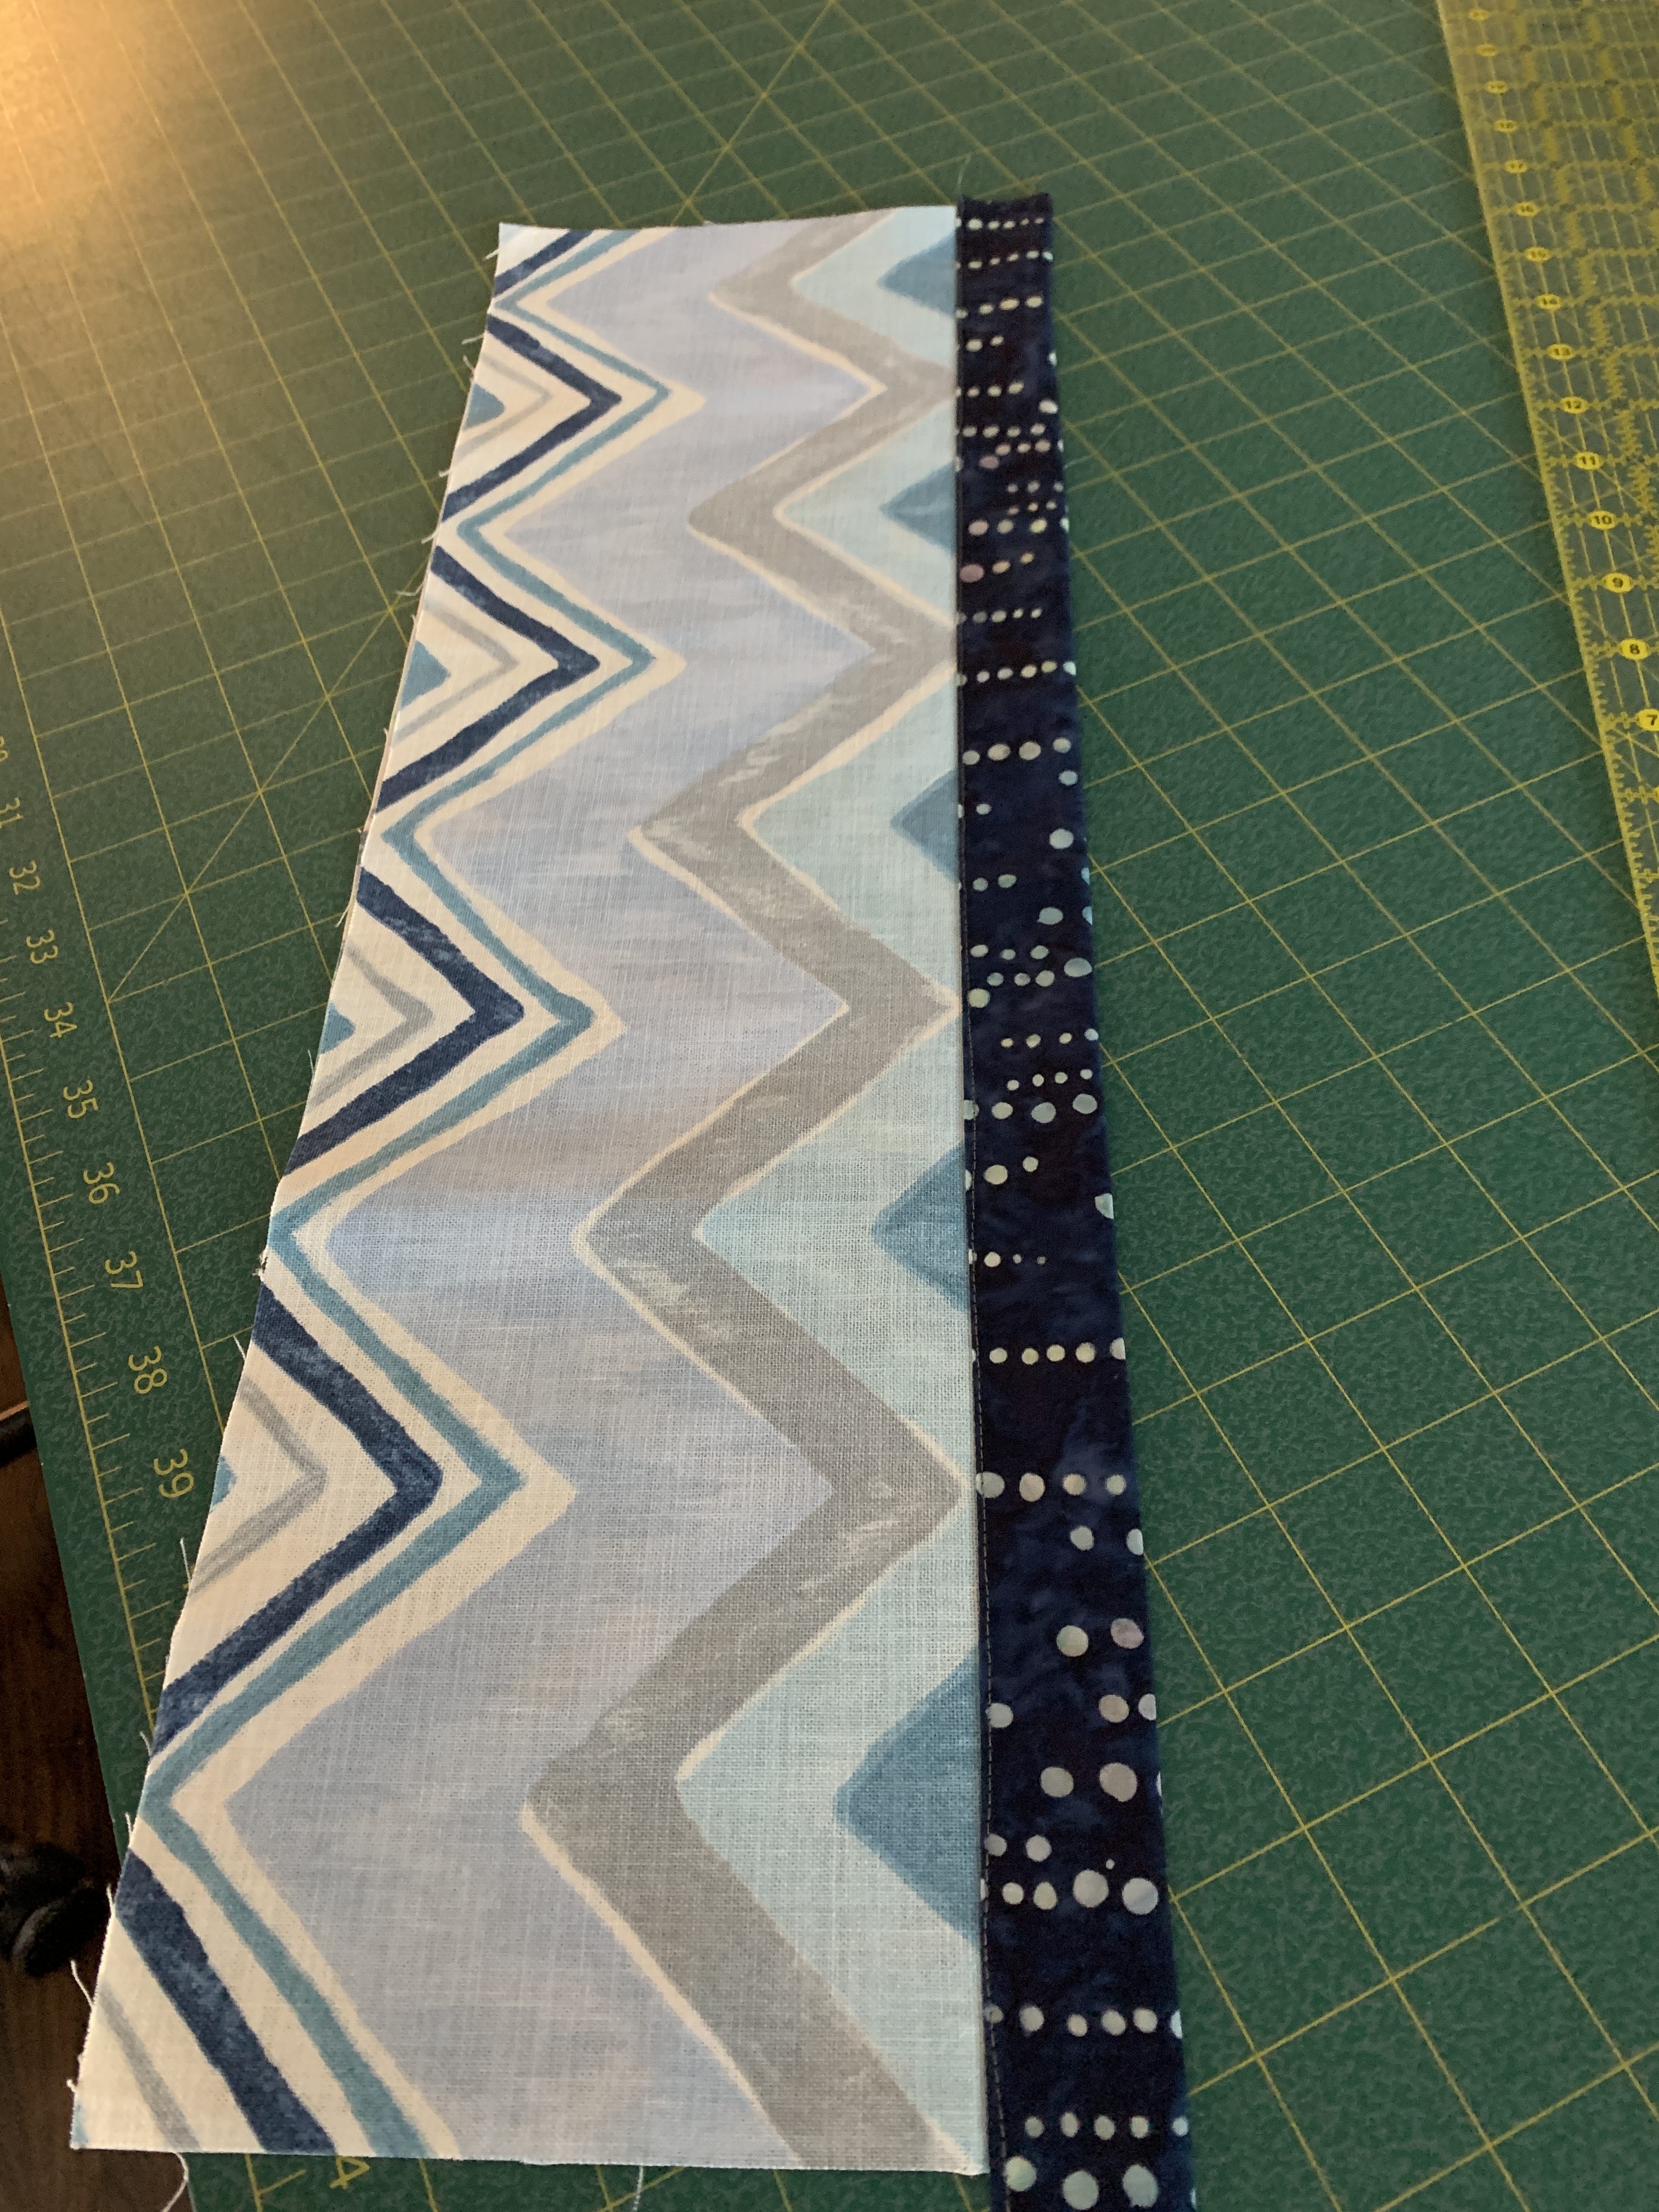
Next, I selected a complementary fabric from my stash, put the two fabrics together, cut a 10″ strip from the width of fabric for the body of the tool kit, and a second 6 1/2″ strip, also from the width of fabric for the pockets. I cut each width of fabric in half – each piece 22″ wide. (That gives me enough cut fabric for two tool belts – one for my niece as well!)
Teacher’s Tool Belt – Dimensions
I cut two 3 1/2″ strips from another contrasting fabric (width of fabric again) for a pocket facing and waistband and ties.
Layers of Fabric Before Shaping
I trimmed the 22″ x 10″ fabric to 20″ with slightly rounded bottom corners (see “pattern” above). I tapered the sides a bit leaving the top edge 18″ wide. I also ever-so-slightly curved the top edge to accommodate the belly. I placed the pocket fabric on top of the the apron body – aligning the bottoms and trimmed to match the body.
With the fabric shaped, on to facing the pocket.
I cut one of the 3 1/2″ waistband pieces in half lengthwise giving me a 22″ facing strip (the other half becomes one of the ties). With the two pocket panel pieces (outside and lining wrong sides together) I aligned the facing fabric along one 20″ edge on the lining side (right sides together), stitched a 1/4″ seam.
Apply Binding To Pocket on Lining Side – 1/4″ allowance
Folded the facing over the seam allowance toward the front,
Facing Completed on Lining Side Of Pocket Panel
folded under the bottom edge of the facing, pressed and top stitched to the front of the pocket panel.
Pocket Panel Facing Top Stitched
With the pocket panel faced, I laid it on the body fabric (back of pocket to right side of the outside body panel),
Pocket Laid On Top Of Body Panel
covered the pocket with the body lining fabric (in other words, I had a sandwich: lining fabric face down on top, pocket panel, outside body fabric face up on the bottom).
Tool Belt “Sandwich” – with Lining On Top
I sewed down one side across the bottom and up the other side – turned the apron body right side out, pressed – making sure the open top edges matched (I pinned the top edges so they’d stay together when I pinned the waistband in place).
Next, the waistband. I interfaced the remaining piece of facing fabric to make the waistband more stable, laid it (right side down, interfacing side up) across the top open edge of the WRONG side of the belt, stitched a 1/4″ seam, pressed seam open, folded waistband in half, turned in the raw edge 1/4″, pressed.
Before stitching the open edge to the front of the tool belt, I cut the second 3 1/2″ facing/waistband piece in half lengthwise and attached each half to the ends of the waistband, folded in half lengthwise, turned in the edges, pressed. I folded in the ends of the ties and pinned them.
Then starting at the end of one of the ties, I edge-stitched the end, than the open edge of the first tie, across the waistband, folded edge aligned to just cover the seam, and continuing to the end of the second tie and across the end.
I press the ties and waistband. DONE!
Teacher’s Tool Belt
It all sounds a lot more complicated than the actual assembly is. The second tool belt (to be constructed from the leftovers from the first) will go much more quickly because I’ve already figured out the order of construction.
Cut out and shape outer fabric and lining; cut fabric for pocket facing/waistband and ties
Face Pocket
Make tool belt sandwich) body fabric on bottom / pocket / lining fabric face down on top
Stitch around sides leaving waist edge open – turn right side out, press
Stitch pockets
Add waistband, ties
BTW, I’m not going into production for those other teachers who will want one themselves when they’ve seen the tool belts I’ve made for Suzanne and Maxelle!
I don’t remember how I learned about the Danish Hobbii yarn company. I placed my first online order shortly after the pandemic arrived. The yarn didn’t appear for more than two months. In the intervening time, I placed a second order (figuring the first was just lost) which arrived reasonably promptly (a couple of days later the original order arrived, as well – now I had two sets of the same balls of yarn!).
The yarn is superwash (75% marino/25% polyamide), nicely twisted, a good sock weight, and the patterns I ordered seem to be interesting. This is the first pair I made from that yarn.
The “dots” made the knitting go reasonably quickly. I had a sense I was making progress and while the ombre changed regularly it was less obvious that was occurring.
The socks turned out nicely. Now on to another pair.
I’m an advocate of purchasing locally. I support two local yarn shops for most of my yarn purchases. But because both were closed at the beginning of the pandemic I was looking further abroad. This sock yarn from Hobbii is definitely very nice. Cost? Well, you’re paying in US$$ and there’s shipping to consider. The yarn cost me close to what a 100g ball of yarn would cost me were I to buy it locally.
In the meantime, I now must have twenty 100gm balls of sock yarn sitting in my basket. That will do me until well into spring, I’m guessing.
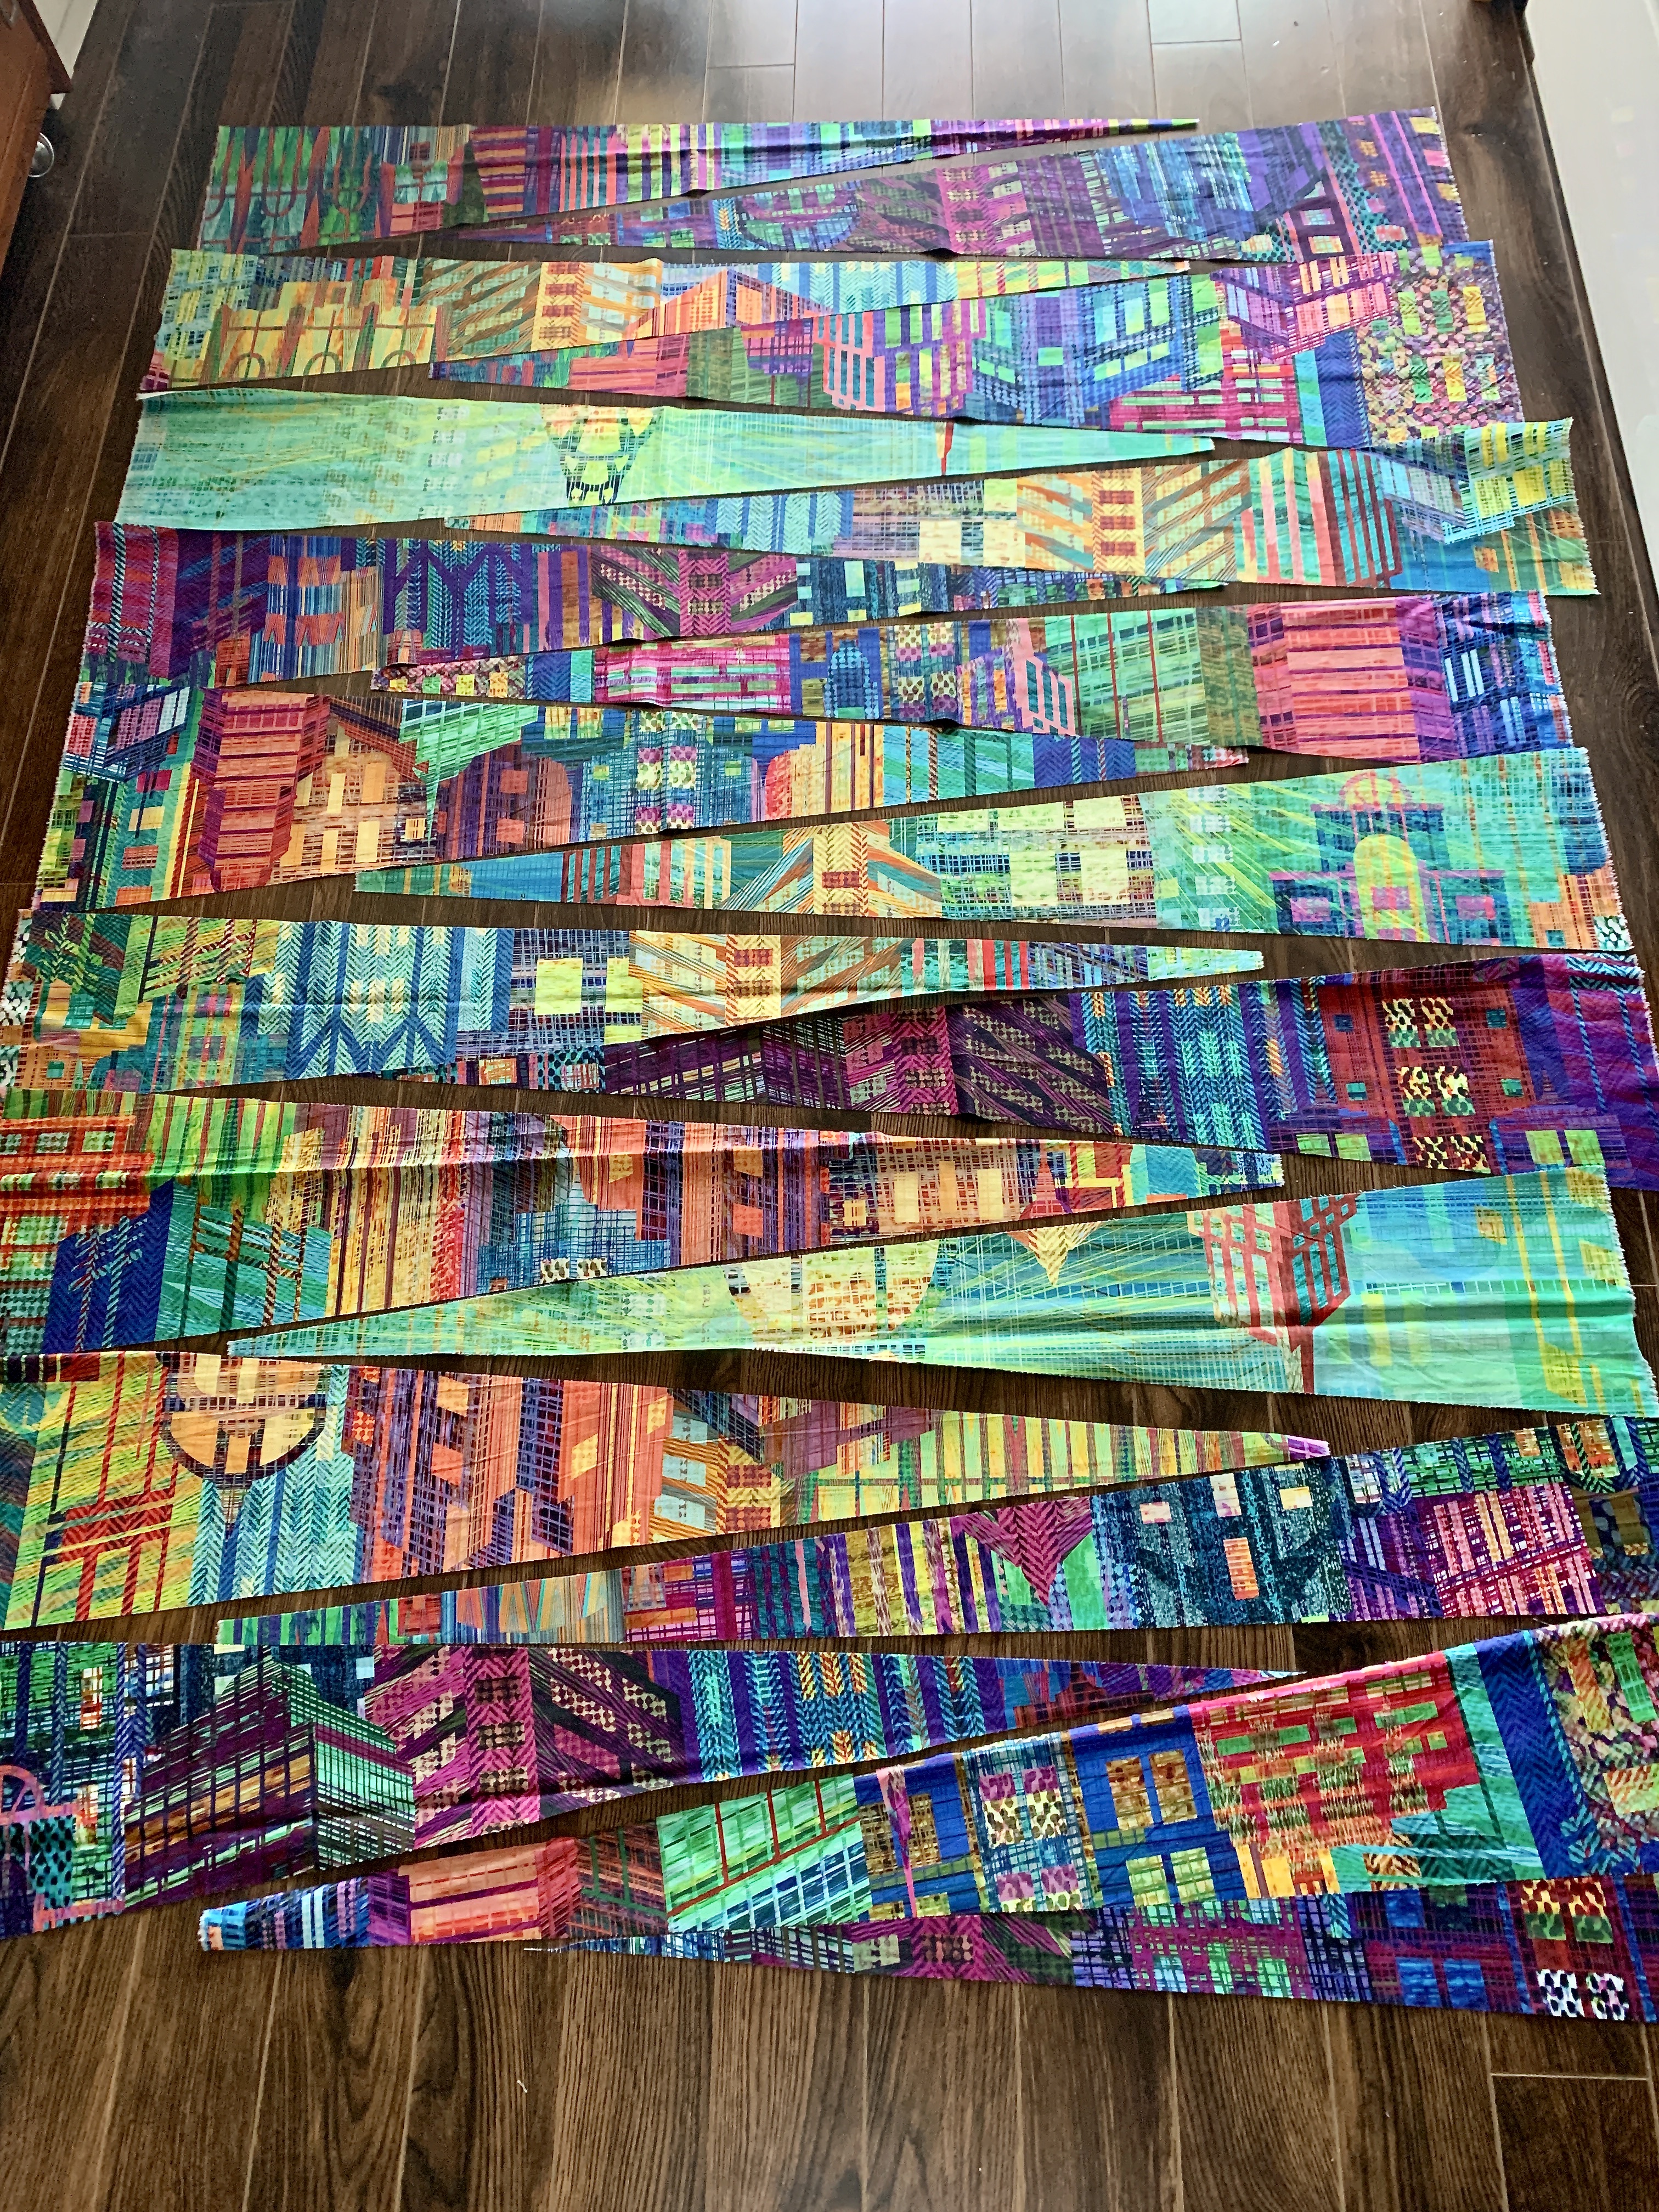
A quick update. Got a bit further this morning – I added 6 wedges with sashing.
Skyline #2 – In Progress
Not easy to do and keep the panel flat. The angle at the apex of each wedge causes a wobble in the developing edge – you can see it at the bottom of the image. I had to figure out a way to overlap each new wedge with the previous ones in order to keep the panel flat.
I think I’ve figured out I have to lay out the sashing strip, trim the panel so the sashing is applied straight, then trim any excess from the panel edge so I can sew a straight seam. When applying the next wedge, I can play with the width of the sashing so it narrows either at the point or at the outer side of the panel whichever seems right at that spot.
I’m about half done at this point. I have another 9 wedge pieces to add. I’ve squared the top and sides – the width is still around 52″ – I will trim it to 48 1/2″ (maybe 49″) when I’ve completed the whole panel.
I’m still not sure whether I want to use the piece with this horizontal layout, or whether I will rotate the panel 90° – that would necessitate adding something to either end because the panel at 52″ is not long enough – I’d need another 12″ or so.
I want to finish at close to 64″ in length whether the wedges are horizontal or vertical….
I spent some time this morning beginning to assemble the panel – some interesting problems to solve here. I don’t want all the points at the same level so I have to figure out ways of staggering them in both directions!
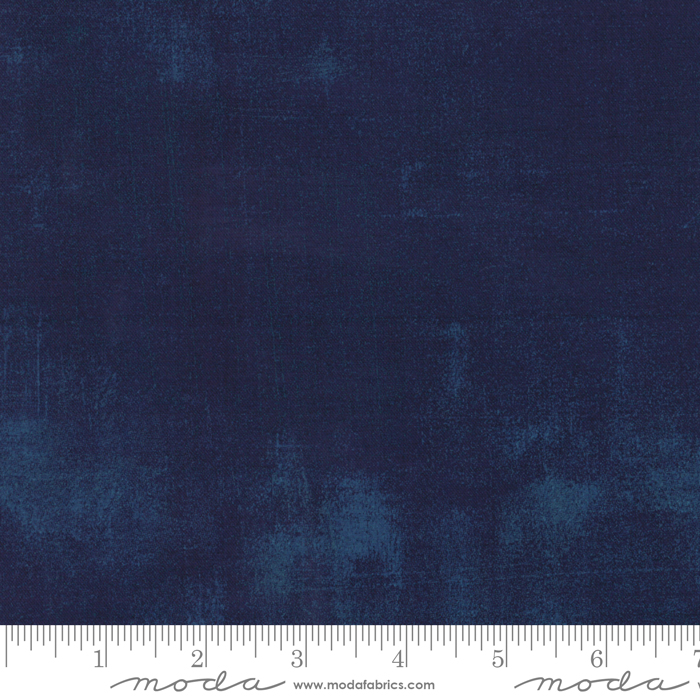
Also the width of the navy grunge “sashing” is something I’m going to have to work out piece by piece. I’ve cut sets of 1″, 1 1/4″, 1 1/2″, 1 3/4″. I think the easiest solution is to apply a strip to the ongoing edge as it is, but graduate it when I apply the next wedge so the dark blue is also present as a wedge – sometimes wide/narrow other times narrow/wide.
Skyline #2 – assembly beginning
It’s going to take time to assemble this panel because each adjacent wedge has to be attached in a way that doesn’t distort the panel – I need to keep it flat. I may have to add small wedge inserts as I go along to even out the joins between sections.
Anyway, I’ve got the panel started. I’ll try getting further tomorrow.
I took my second panel of the Hoffman “Skyline” fabric and cut it into wedges – some narrower than others.
I laid them out on my floor in alternating directions, spreading the array a bit wider than 50″ – close to the width I’d like to end up with (allowing me room to trim after I’ve assembled the panel).
Skyline #2
I didn’t cut the lightest end of the fabric and I see now I may want to include at least one very light wedge in the array. I’ll leave this fabric on the floor and move wedges around over the next couple of days trying to decide on colour flow.
My next step is to cut my dark navy grunge fabric into strips (slightly wedge shaped, maybe) and attach those pieces to one edge of the coloured wedges. That will set up a stronger colour contrast and make the print colours brighter.
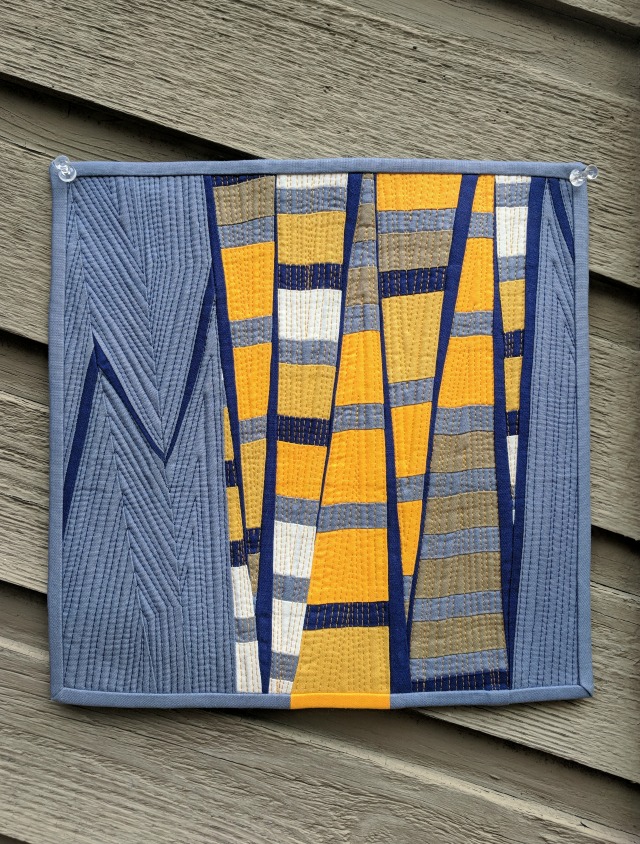
The inspiration for this project comes from Debbie Jeske’s 10″ block “Loosely Connected”
Loosely Connected by Debbie Jeske
I’d come across the image on Pinterest after I’d bought the Skyline fabric and thought it was an interesting idea – I wouldn’t need to piece the wedges – just use the colour flow within the print. I’m not planning on solid end pieces, but who knows – once I have a panel assembled I might decide to include a grunge contrast at the ends, even along the sides.
I’m aiming for a finished panel about this same size as “Skylines #1” – 48″ x 64″.
So now to cut the dark blue grunge strips and begin adding them to the wedges….
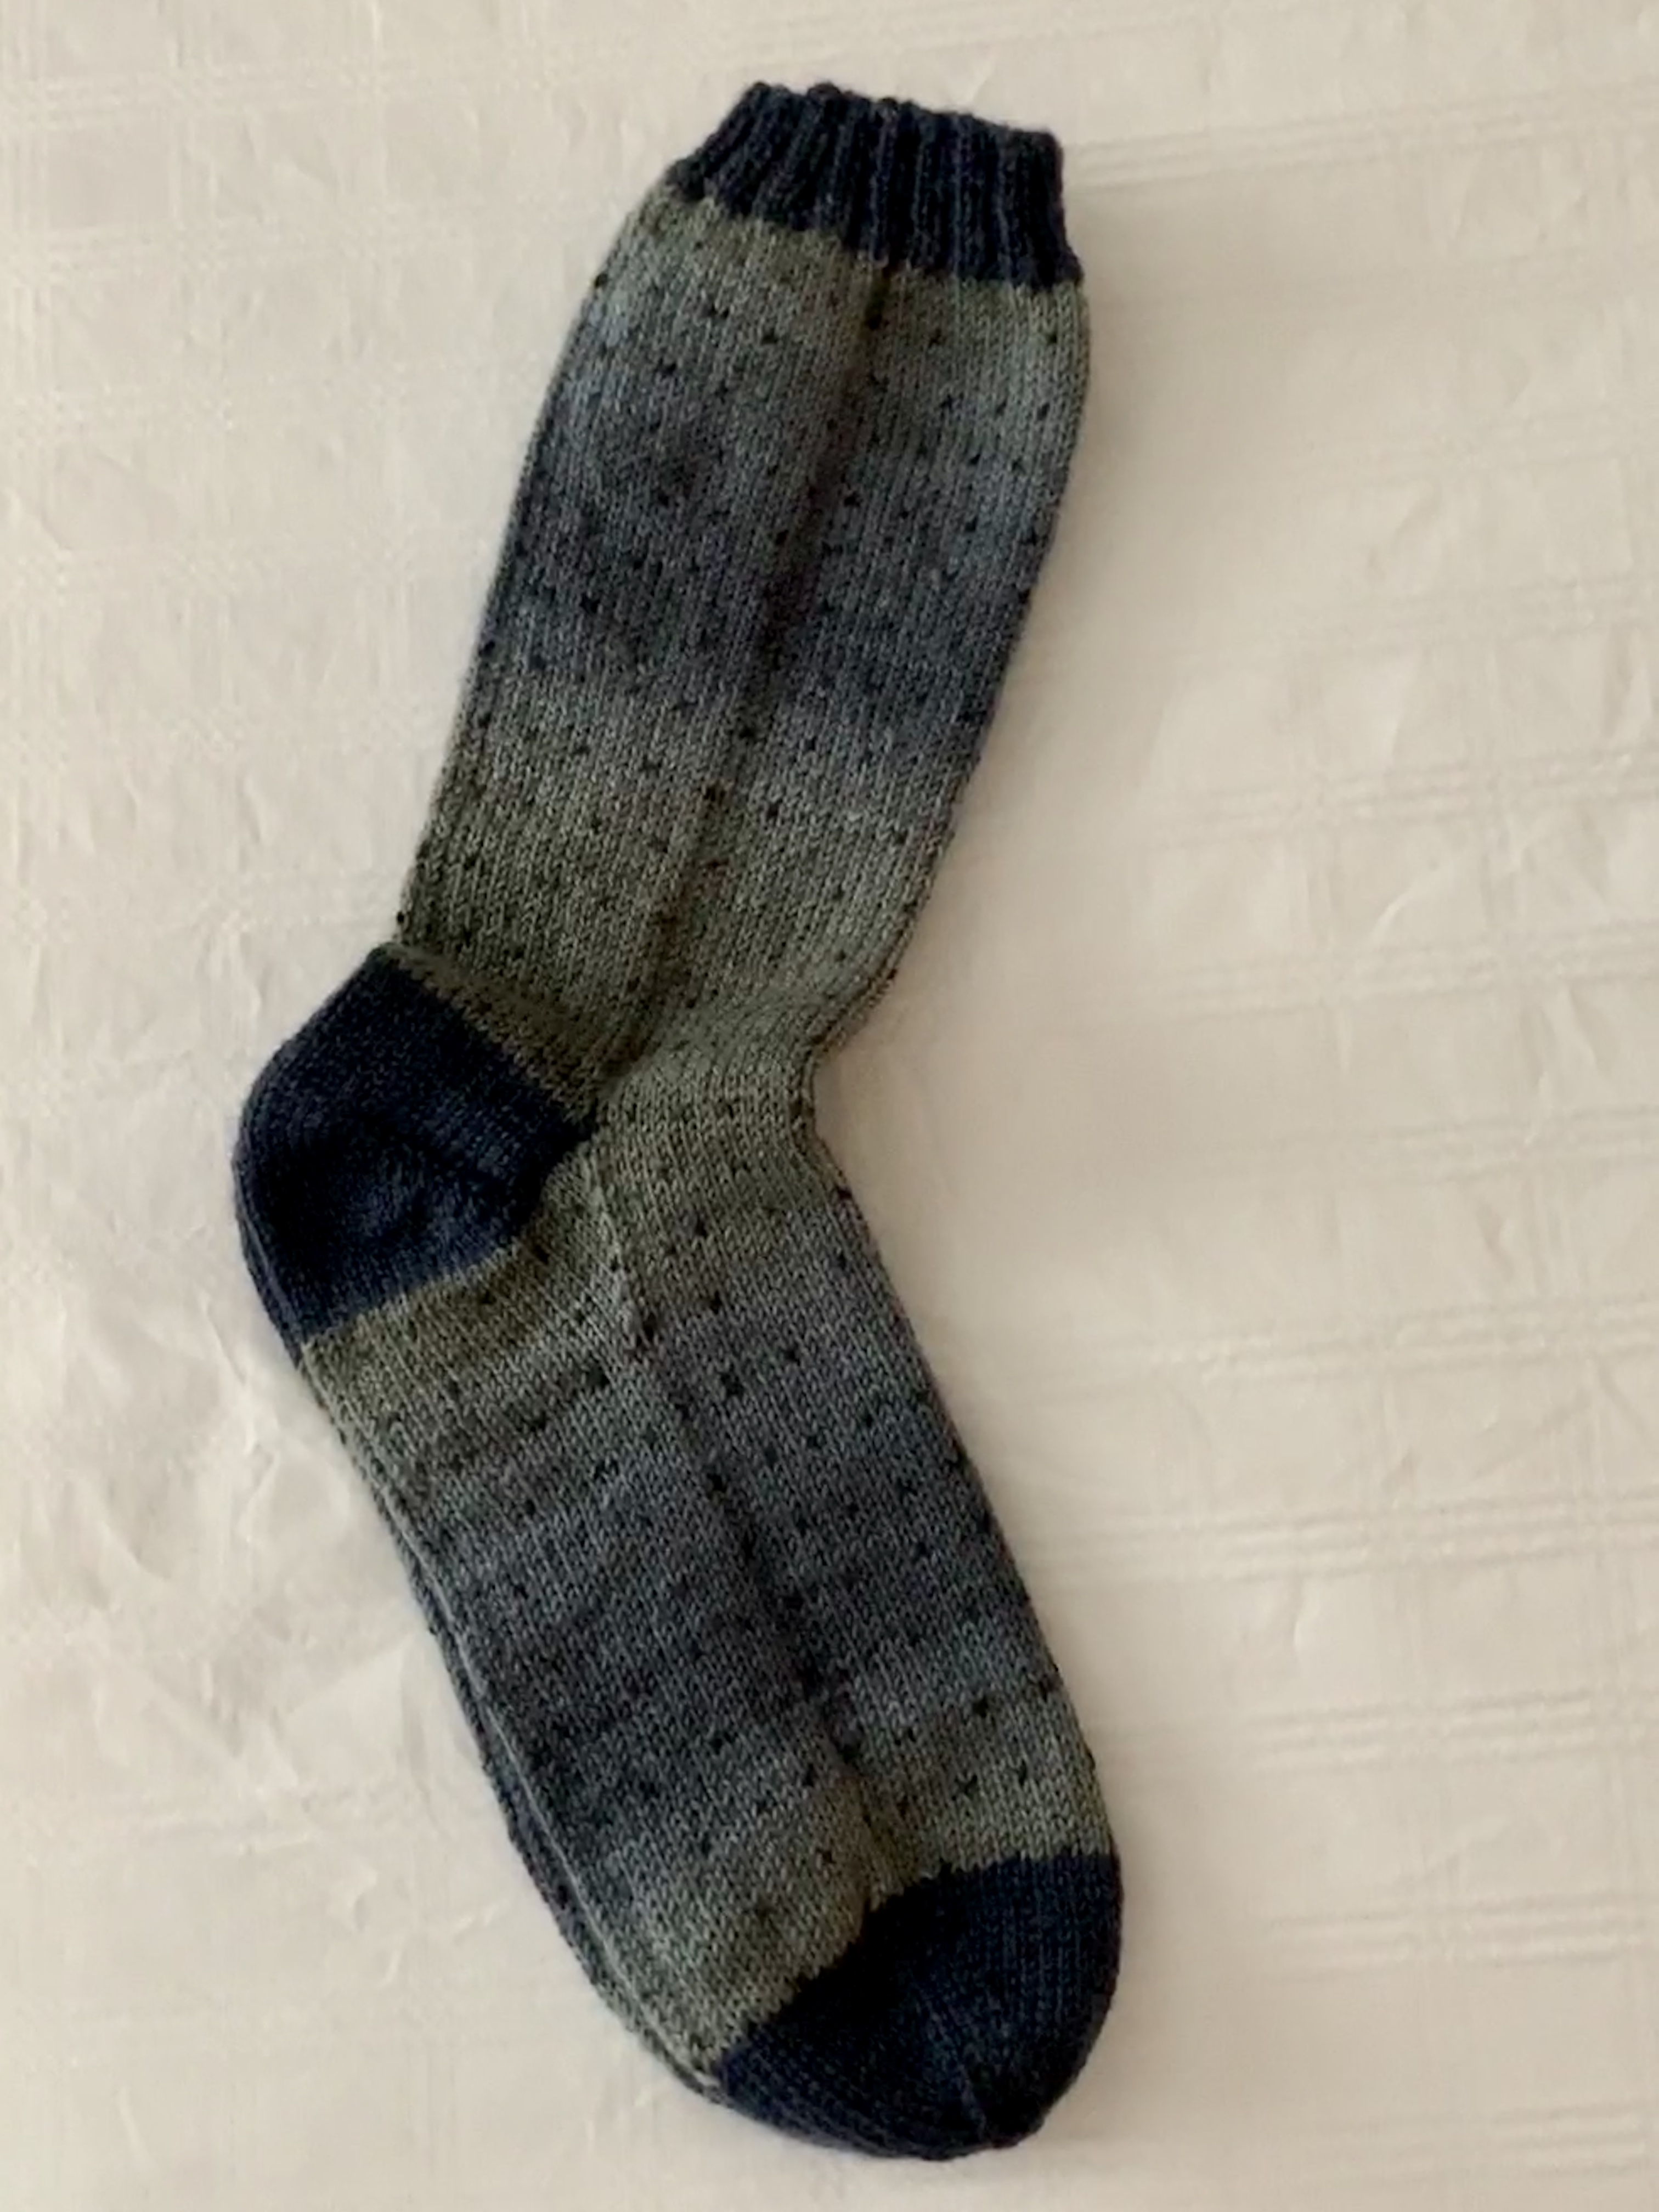
It’s a longish story. A couple of weeks ago my niece (and husband) were having dinner with her brother (and wife) and another couple, friends of my nephew. I don’t recall how the conversation turned to knitting but out came photos of my socks.
Paula fell in love with them and really wanted a pair.
My niece call me to ask how she might go about getting a pair – I said two things: my generic sock (those in my stash) fit someone who wears a size 7 1/2 to 8 shoe; and they cost $50.
Paula’s Socks
My niece paused, said she’d relay the information to Paula.
The next day I get a call from my nephew – Paula is visiting and he wants me to talk to her about socks.
So I tell Paula the same thing – she wears a size 7 1/2 shoe – good. I tell her they’re expensive and I explain why – the yarn costs $25 a ball (before I’ve knit a stitch), it takes me 25 hours to knit a pair, and I won’t work for less than $1/hour. “Fine,” she says; she knits hats and appreciates the effort that goes into the socks.
We look at the socks in my stash (using the camera on my phone) and she chooses a pair she thinks are wonderful.
She sends me a money transfer. In turn I put the pair of socks in the mail. Oh, and I asked her to send me picture of her wearing the socks.
They arrived yesterday. She’s thrilled. This is the picture she sent me.
Good thing I’m not relying on sock sales to keep me going. People find the price prohibitive – don’t know why – were they able to make them themselves the yarn would still cost $25 and it likely would take them a lot longer than 25 hours to knit a pair. I figure it’s a deal.
So I keep knitting and sell the odd pair and give them as gifts on birthdays and at Christmas. What else am I going to do with the 26 pairs of socks I manage to knit in a year?
[I knit only in the evening with the TV on – so although I knit reasonably quickly it takes me about two weeks to turn out a pair of socks. 52 weeks a year divided by 2 weeks is 26 pairs of socks – that’s pretty close to what I actually complete along with some sock repairs I do during the year.]
Here it is. Finished. I just hand-stitched the hidden binding and the label in place.
Skyline #1
I’m quite pleased with how this piece turned out. Final dimensions: 48″ x 64″ – not a bad size for a throw quilt and still reasonable to be hung on a wall should anyone be interested.
I used three different colours of variegated Aurifil (50wt) to quilt the project – on top a darkish purple (with mauve) in the purple corner, a medium turquoise (with light turquoise) in the lighter sections, and a red blend in the peach sections. You really have to look hard to see the differences but it was necessary – a occasional dark purple segment in the turquoise or peach sections would have stuck out; same with a turquoise or red in the dark purple on the bottom right. I used a green variegated thread for the back throughout. That worked well.
I was fortunate, that when I trimmed the backing/batting off, I had enough backing fabric from the four sides that I was able to use the offcuts to bind the quilt. So the hidden binding matches the quilt back!
Skyline #1 – Back
This is the third quilt I’ve used a hidden binding on. I elected to do that here because I felt a regular binding would “frame” the quilt top and I wanted it to be open, without limits. Same with the back, the hidden binding brings the elements to the quilt edge nicely.