Skyline #2 – Starting The Panel

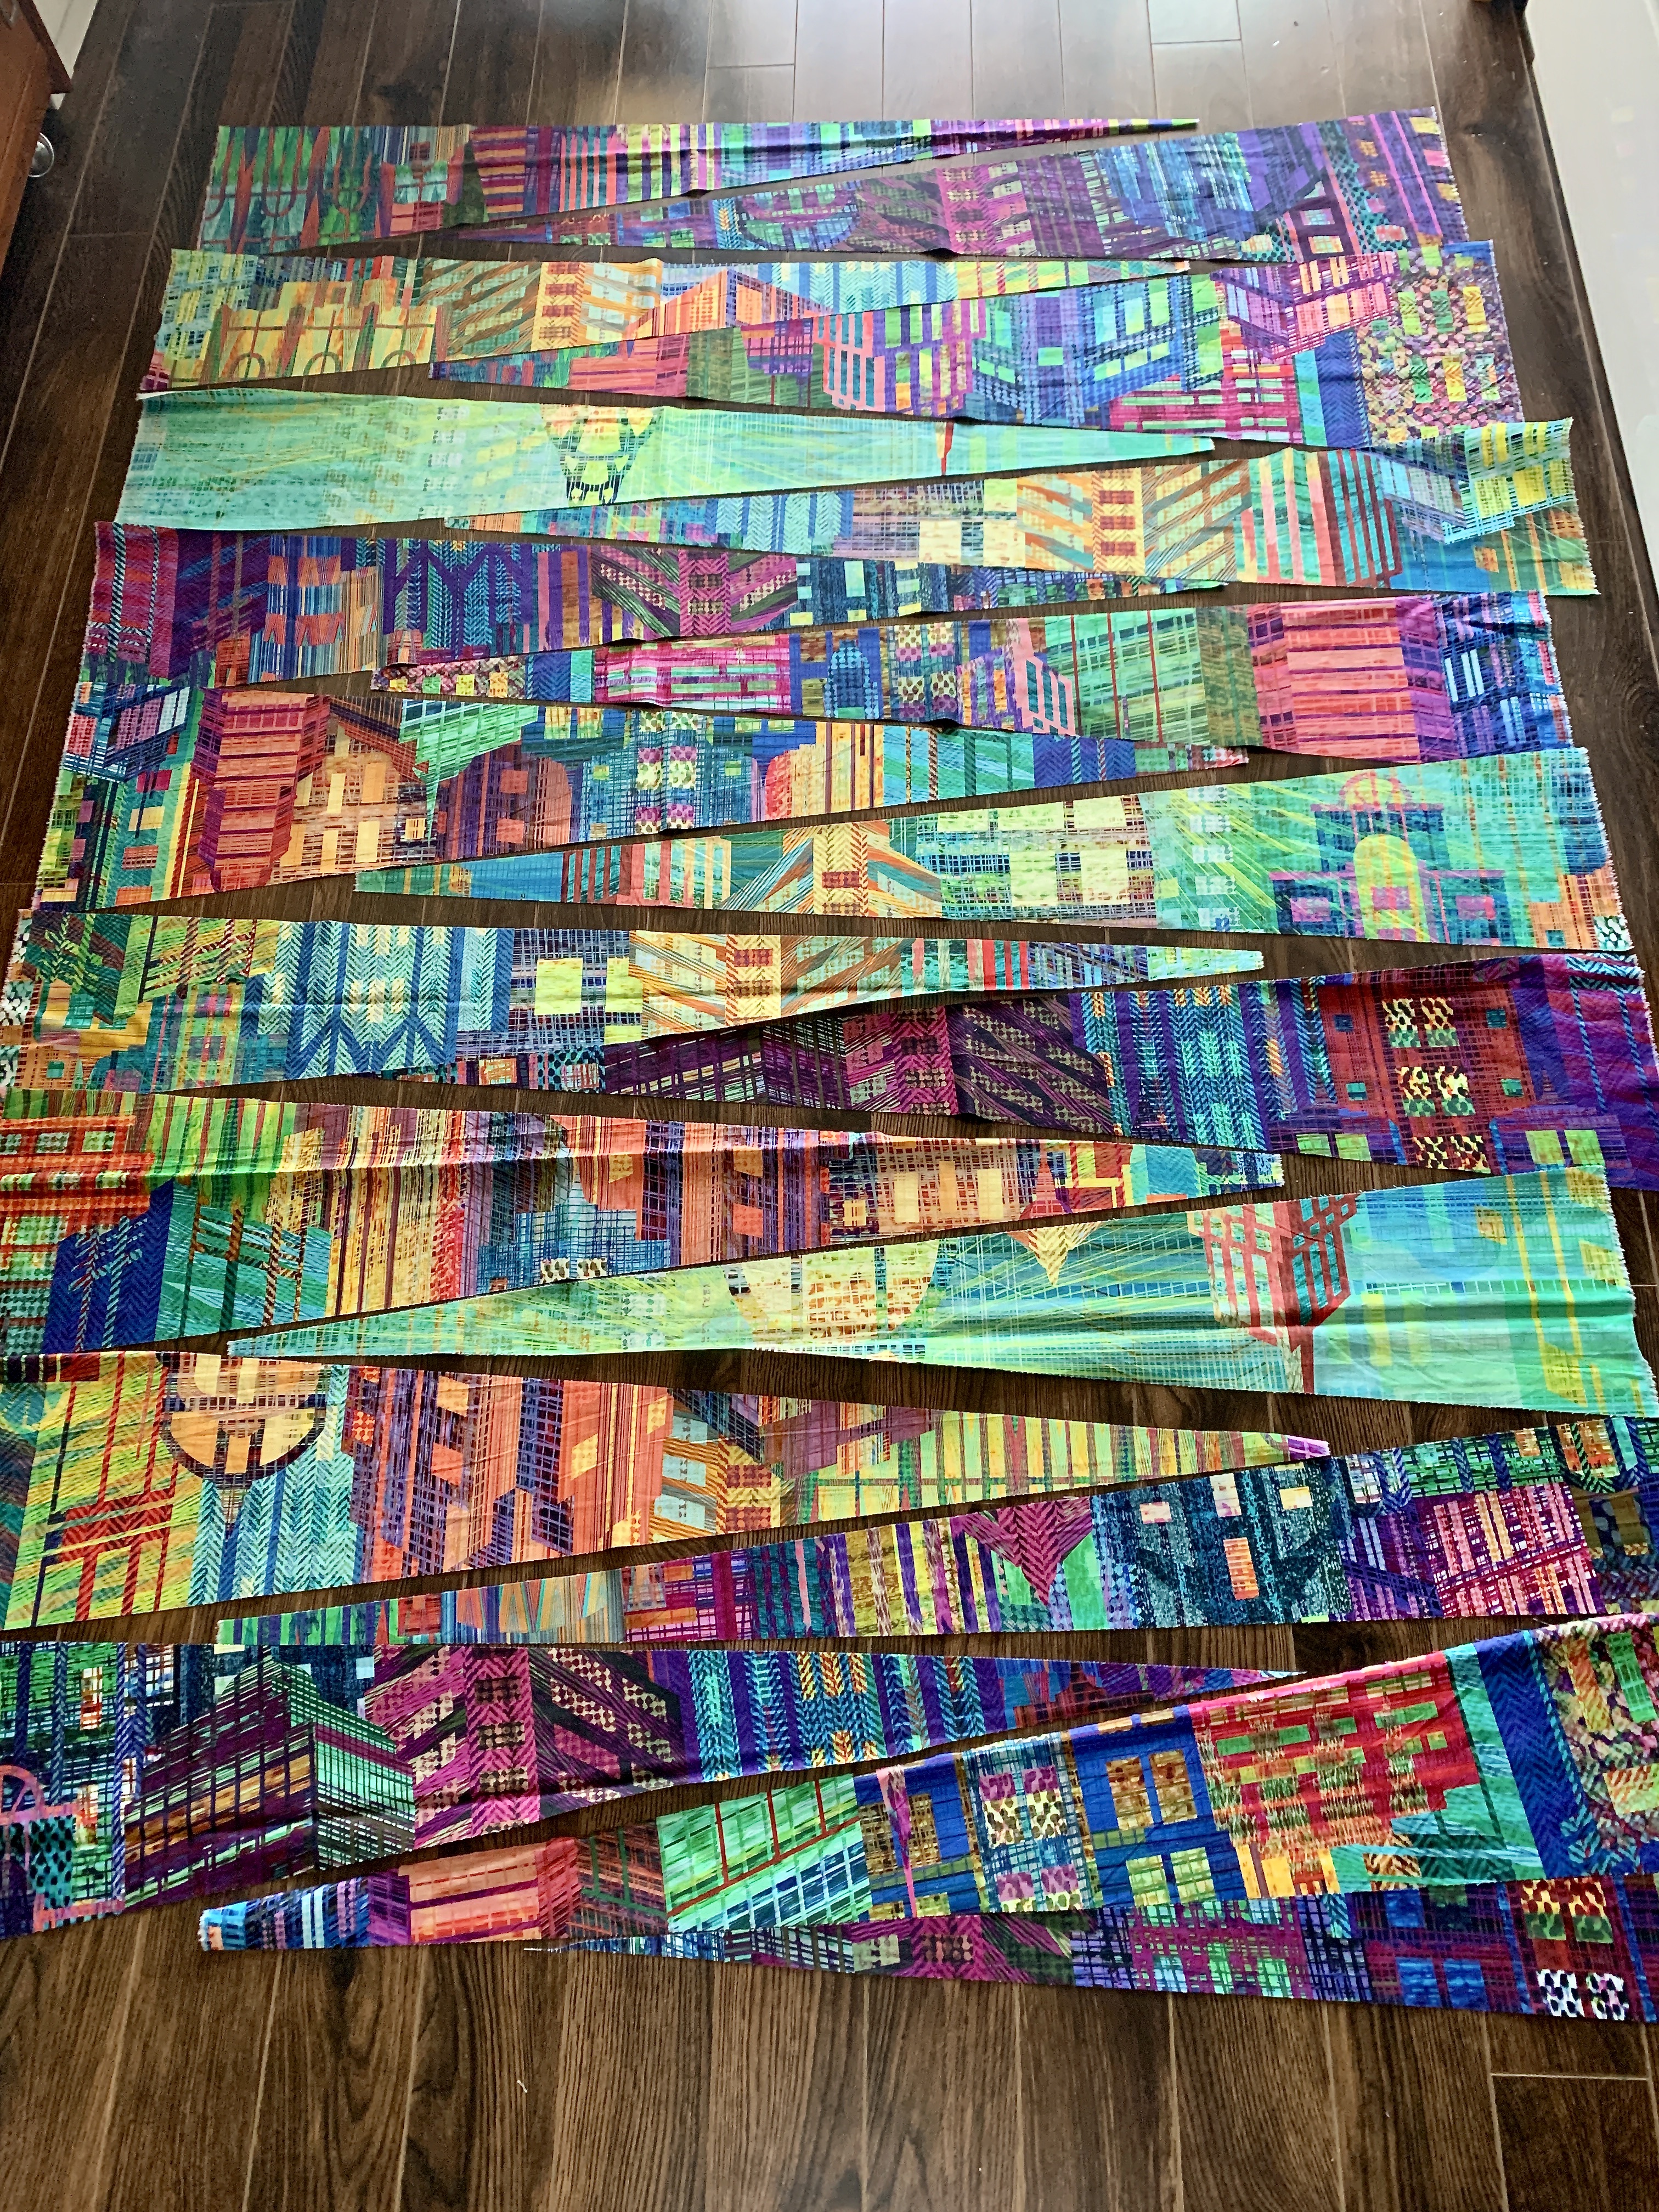
I spent some time this morning beginning to assemble the panel – some interesting problems to solve here. I don’t want all the points at the same level so I have to figure out ways of staggering them in both directions!

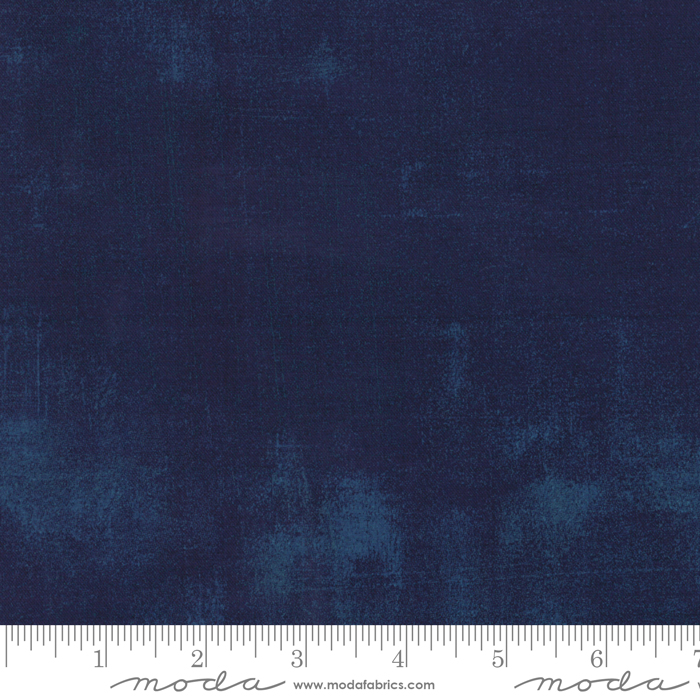
Also the width of the navy grunge “sashing” is something I’m going to have to work out piece by piece. I’ve cut sets of 1″, 1 1/4″, 1 1/2″, 1 3/4″. I think the easiest solution is to apply a strip to the ongoing edge as it is, but graduate it when I apply the next wedge so the dark blue is also present as a wedge – sometimes wide/narrow other times narrow/wide.

Skyline #2 – assembly beginning

It’s going to take time to assemble this panel because each adjacent wedge has to be attached in a way that doesn’t distort the panel – I need to keep it flat. I may have to add small wedge inserts as I go along to even out the joins between sections.

Anyway, I’ve got the panel started. I’ll try getting further tomorrow.

Skyline #2

So here goes…

I took my second panel of the Hoffman “Skyline” fabric and cut it into wedges – some narrower than others.

I laid them out on my floor in alternating directions, spreading the array a bit wider than 50″ – close to the width I’d like to end up with (allowing me room to trim after I’ve assembled the panel).

Skyline #2

I didn’t cut the lightest end of the fabric and I see now I may want to include at least one very light wedge in the array. I’ll leave this fabric on the floor and move wedges around over the next couple of days trying to decide on colour flow.

My next step is to cut my dark navy grunge fabric into strips (slightly wedge shaped, maybe) and attach those pieces to one edge of the coloured wedges. That will set up a stronger colour contrast and make the print colours brighter.

The inspiration for this project comes from Debbie Jeske’s 10″ block “Loosely Connected

Loosely Connected by Debbie Jeske

I’d come across the image on Pinterest after I’d bought the Skyline fabric and thought it was an interesting idea – I wouldn’t need to piece the wedges – just use the colour flow within the print. I’m not planning on solid end pieces, but who knows – once I have a panel assembled I might decide to include a grunge contrast at the ends, even along the sides.

I’m aiming for a finished panel about this same size as “Skylines #1” – 48″ x 64″.

So now to cut the dark blue grunge strips and begin adding them to the wedges….