On July 9, I mentioned the Hoffman’s “Skyline” panel I’d bought – I was thinking about how I might play again with “Let The Trumpet’s Sound” drunkard’s path motif using this multi-coloured fabric.

Hoffman Skylines – Multi
I finally got going on on Aug 10, when I cut my 1m wide panel into 10 different 21″ squares. Then I walked around the fabric for another week!
I took a deep breath on Aug 17 and cut the 21″ blocks into smaller sizes:
- 3 x 16.6″ – a dark, a medium, a light
- 14 x 8.5″
- 36 x 4.5″ and
- 120 x 2.5″ blocks.
I also cut 32 x 2.5″ blocks from several complementary shades of “Grunge” fabric from my fat quarter stash. I more or less sorted everything by colour, I stitched many of the 2.5″ blocks into 4-patch elements, then I began laying out blocks on my cutting table:

Skylines #1 – First Corner
The large pale block, two 8.5″ blocks, then filled in with a combination of 4-patch and 4.5″ blocks….
Skylines #1 – Medium Tones
Next, I grouped more blocks into medium-toned groupings until I had no more space available on my cutting table, at which point I very carefully moved everything to the floor.

Skylines #1 – Incomplete Layout
I laid out all the blocks I had cut – I still needed the equivalent of approximately 15 x 4.5″ spaces – the few remaining scraps I had left of the “Skylines” were too small so I turned again to my collection of “Grunge” fat quarters, selected a dozen I thought would coordinate well with my layout.
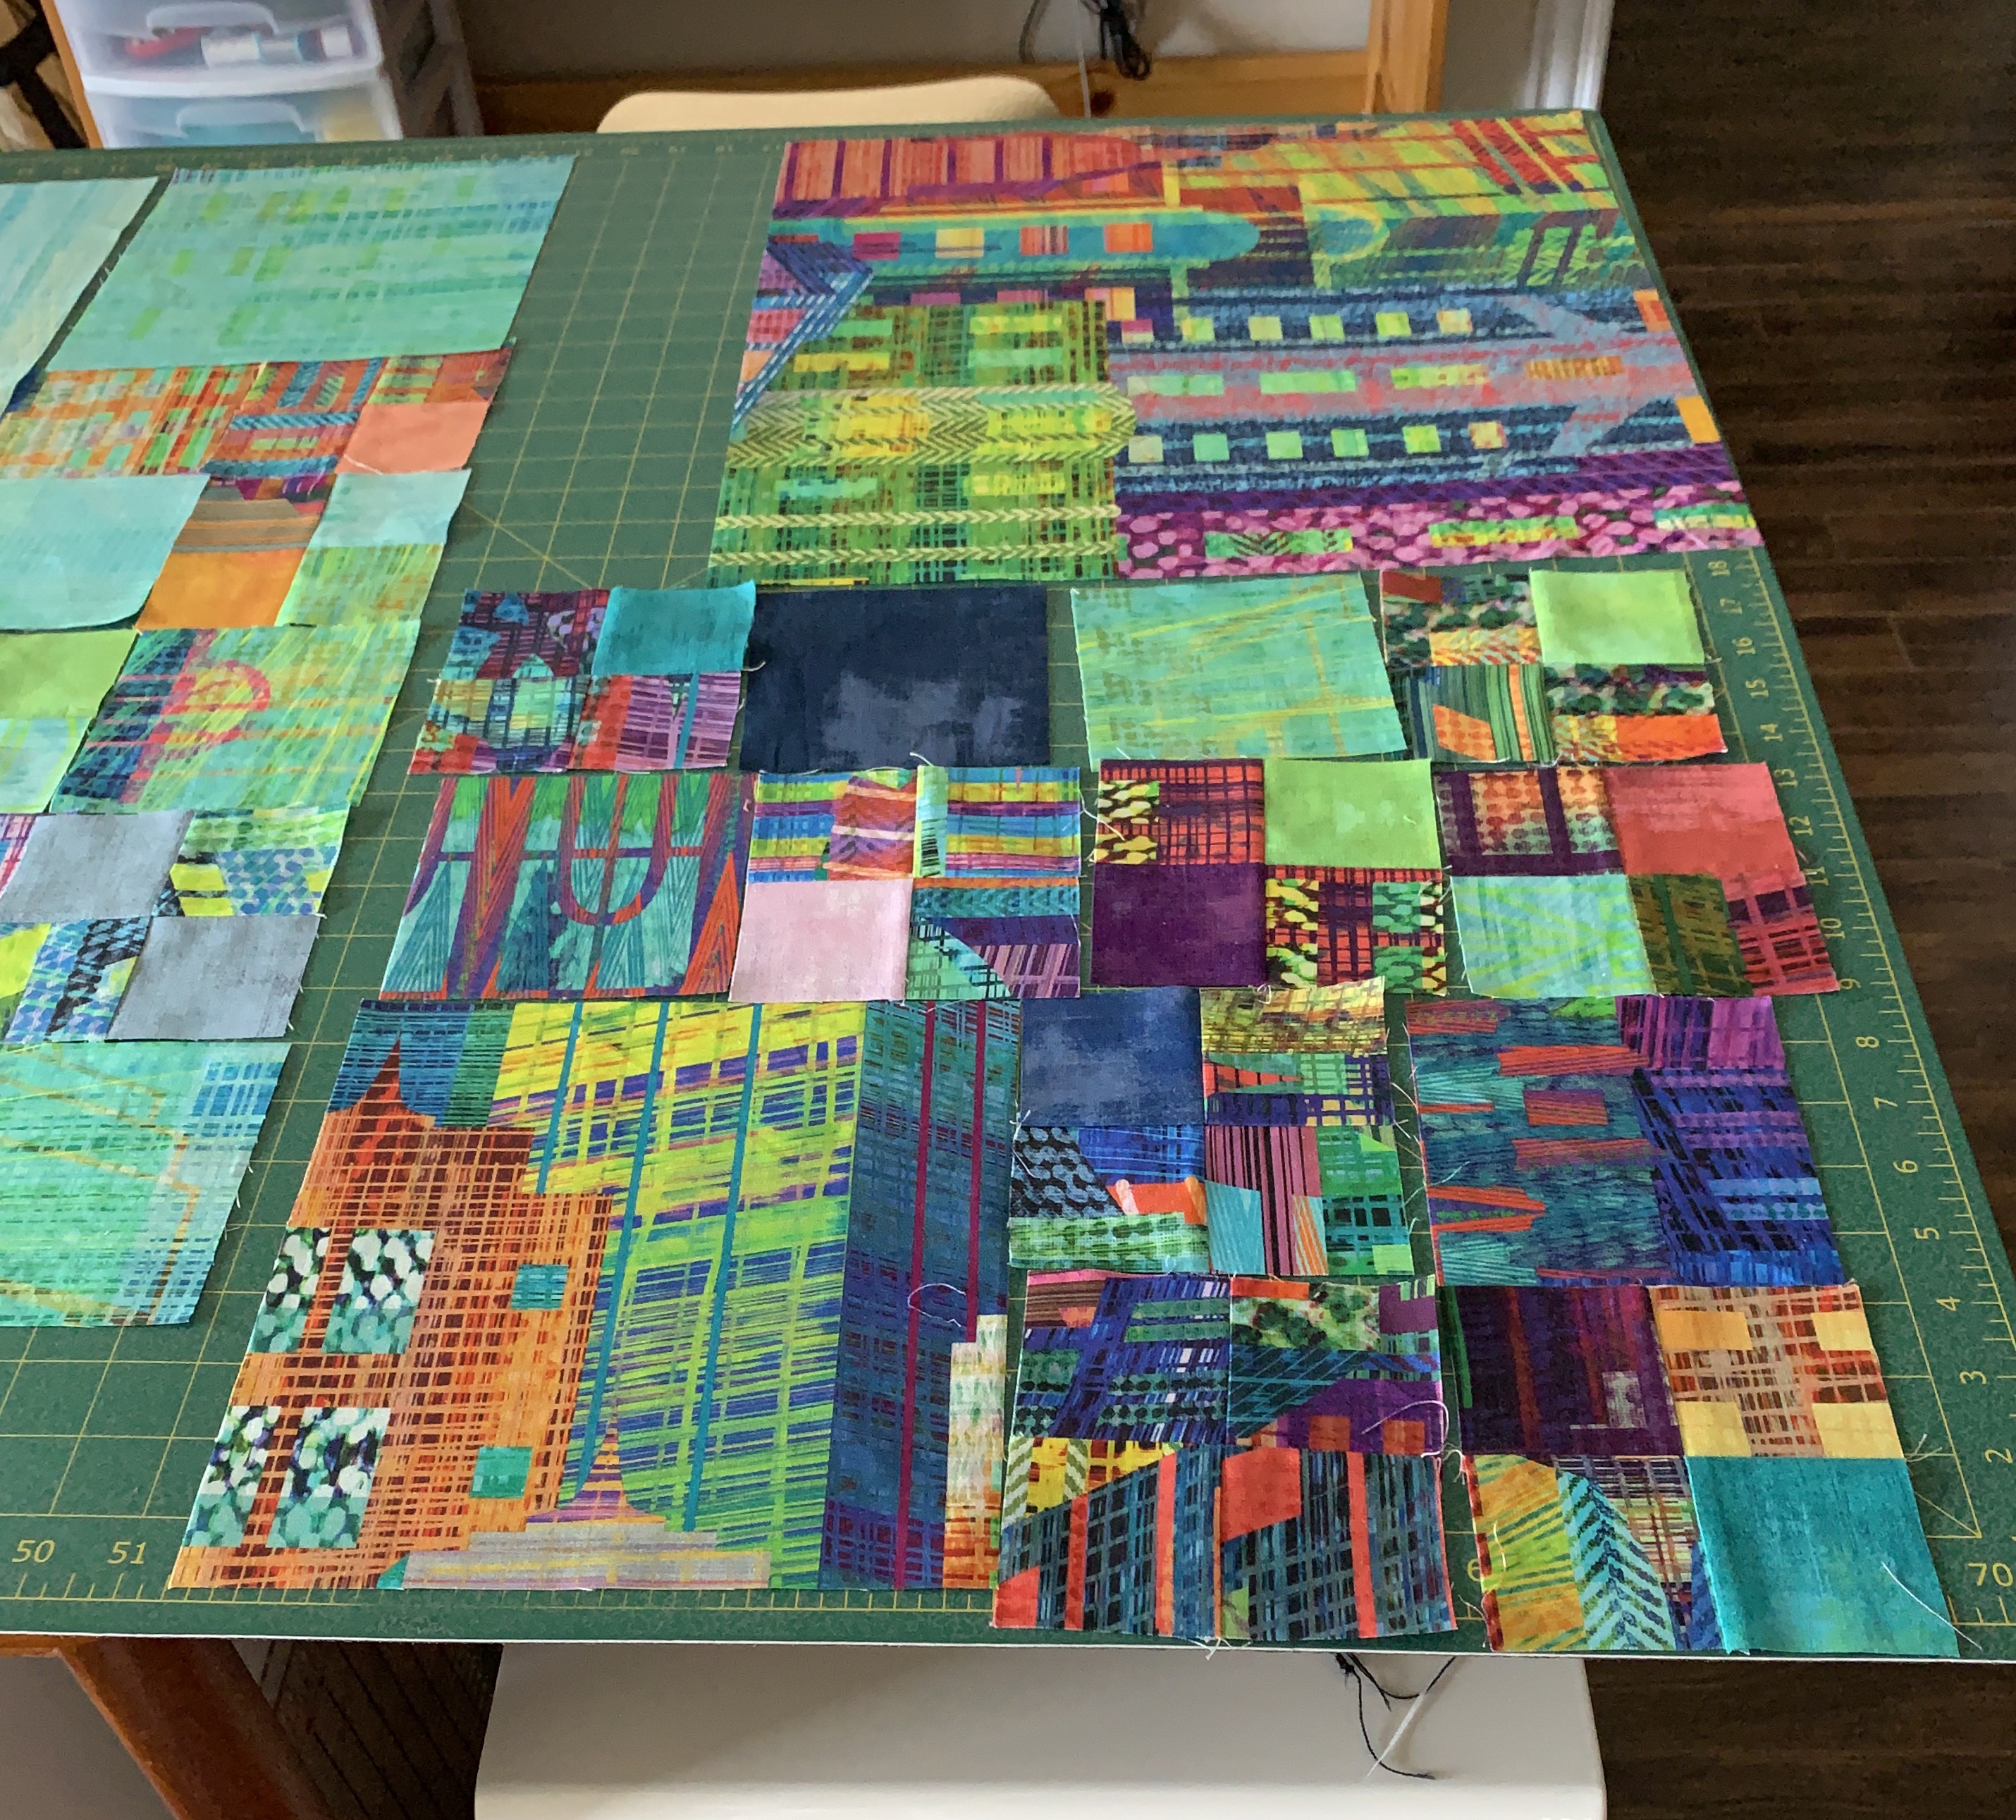
As I was filling in spaces, I moved blocks around until I had a more coordinated colour flow:

Skylines #1 – Completed Layout
Now I had a clear alignment of lights, darks, and medium colours – with a grouping of peach tones in the lower left corner.
Looking at the layout with a friend that evening, the small pale mauve “Grunge” blocks were stand-outs – they had to go; I replaced them with other colours which blended better. And then I began assembling the quilt top into 12 x 16.5″ blocks:

Skylines #1 – Partially Assembled
The top row, the second row, and the bottom row are now sewn together. The layout in the middle two rows used a couple of the 8.5″ blocks staggered across two rows – hence the jog in the second row. The third row is laid out on my cutting board ready to be assembled:

Skylines #1 – Third Row Ready to Assemble
That’s this morning’s work. Once I have all four rows done I’ll put them together. Leaving them separate at this point lets me lay them out, check for colour flow, and replace any “eye-sore” spots more easily – taking apart the smaller strips is much less complicated then replacing blocks in the middle of a large panel!
Oh, and I picked up another metre of the “Skylines” fabric – bringing my total, now, to four panels. I’ve decided to insert an 8″ – 10″ strip in the back of each of the “Skylines” quilts. Did I say I have plans for doing THREE quilts using this fabric? I intend to call the series “Skylines Triptych.”

Pingback: Escher Quilt – Finished | jmn
Pingback: Skyline #2 | jmn
What a beautiful update – SO many creative accomplishments!!!
Good luck with the show — it looks magnificent.
Well done!!!
Love,
Karen