
Just finished filling my humidifier when I turned and looked at it – yup, another face. A smiling one at that!
Just finished filling my humidifier when I turned and looked at it – yup, another face. A smiling one at that!

Saw this Anthurium in the grocery store last week, beside the Phalaenopsis display. Decided it had my name on it. I particularly liked the green on the flowers. I’ve visited Anthurium growers in Hawaii where you see huge greenhouses filled with plants in bloom – the expanse of read flowers is quite lovely. Thought this one would look good among my other indoor plants.
Two days ago I also picked up a Cyclamen.

Again, the flowers of this plant are a bit unusual with the white edges to the deep pink colour. No scent, thankfully. Sometimes Cyclamen will have a rather strong perfume, but this one doesn’t. Lots of small buds still to develop on this plant so it will be showy for a number of weeks. Look forward to enjoying it.
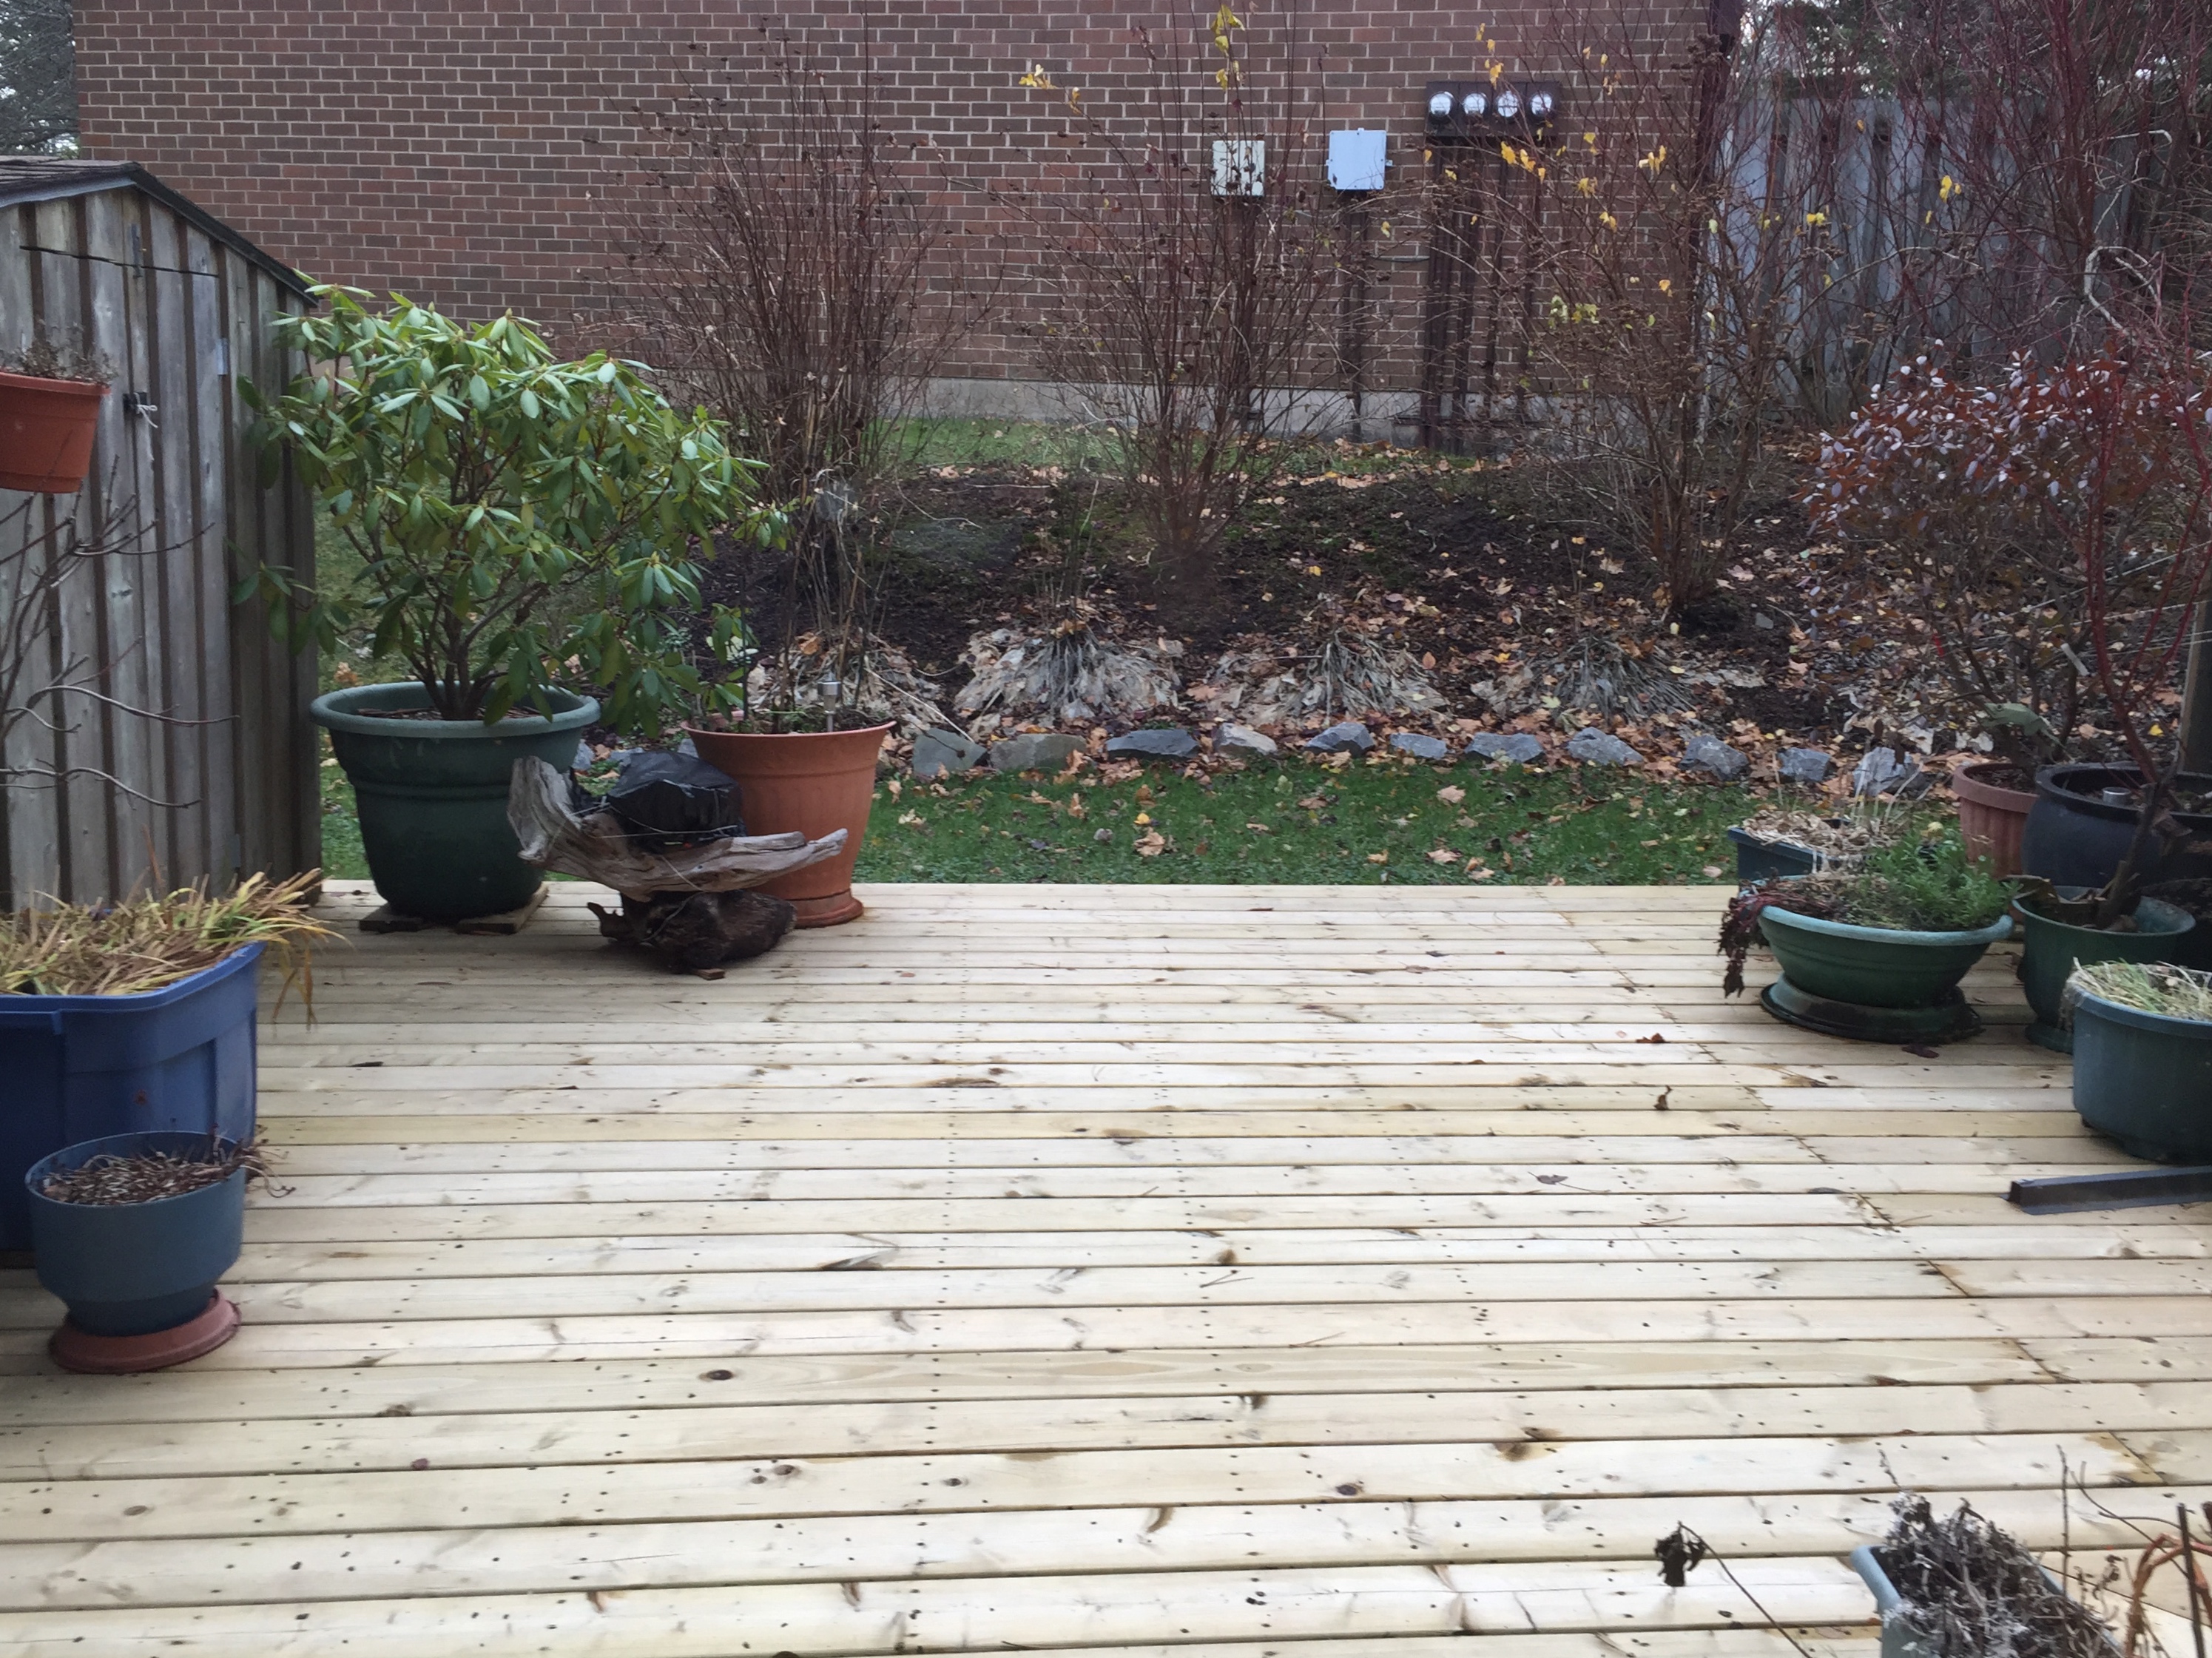
This new plant acquiring is to offset the bleak look of my back deck: the birdbath covered to protect it from the snow, the umbrella stored in the shed, the perennial plants with their leaves gone and the annuals withered and drooping.
Below are pieces created by Jon Anderson – Fimo (Polymer Clay) Artist in Bali. He did a workshop for us in Ubud, showing us how he assembled a “cane” then cut it and reassembled it many times to create very complex sculptures.
I bought one oval shaped piece (fimo embedded in acrylic) with the intention of turning it into a pendant.

Today I finally got around to drilling a hole in one end of the piece, adding a bail and hanging it on a chain to make the pendant.
I also bought four round ones which I always intended to be buttons. I wasn’t enamoured by the “horses” (although beautifully executed, I must say) — I thought if I drilled holes in the middle of the horse the pieces would downplay the horses. When I saw them I knew they were the perfect colours for my batik quilted jacket — just too large.
I drilled two holes in each of the round ones to make my buttons:

Here is one on the quilted batik – when it’s placed against the garment you can see how the shades of bronze, mauve and teal blend beautifully with the fabric.

I drilled all four buttons which I’ve stashed in my button box — sometime I will create a garment to showcase them. Don’t know what yet but one day something will jump out at me and I’ll have four perfect buttons to put on whatever it is.
I also bought one of Jon’s small animal pieces — iguana. At this point in my life I’m divesting but I couldn’t resist this iguana. Click through the images on Jon’s site and you’ll be amazed at the beauty and complexity of his work.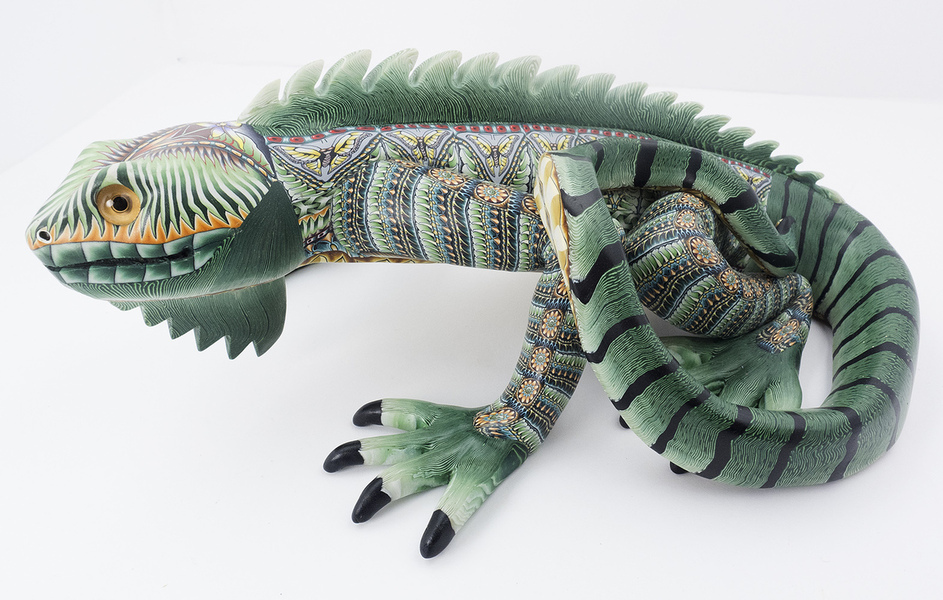
They come from everywhere!
How many of us have plated a meal but never noticed the composition?

You’ve just gotta keep your eyes open and noticing the world around you!
My friend Karen did… And I got an email with this photo.
Anybody else able to contribute?

This pair of socks went surprisingly quickly. In part because they’re for a gal who wears a size five shoe but also I seemed to find a bit more knitting time in the evening.
I’ve gone through the leftover yarn bag and pulled out balls large enough to be useful – there are several that will make a pair of legs – have to find complementary yarn to work with them.
In this pair a pale grey blended perfectly with the lighter dyed section of the variegated yarn.
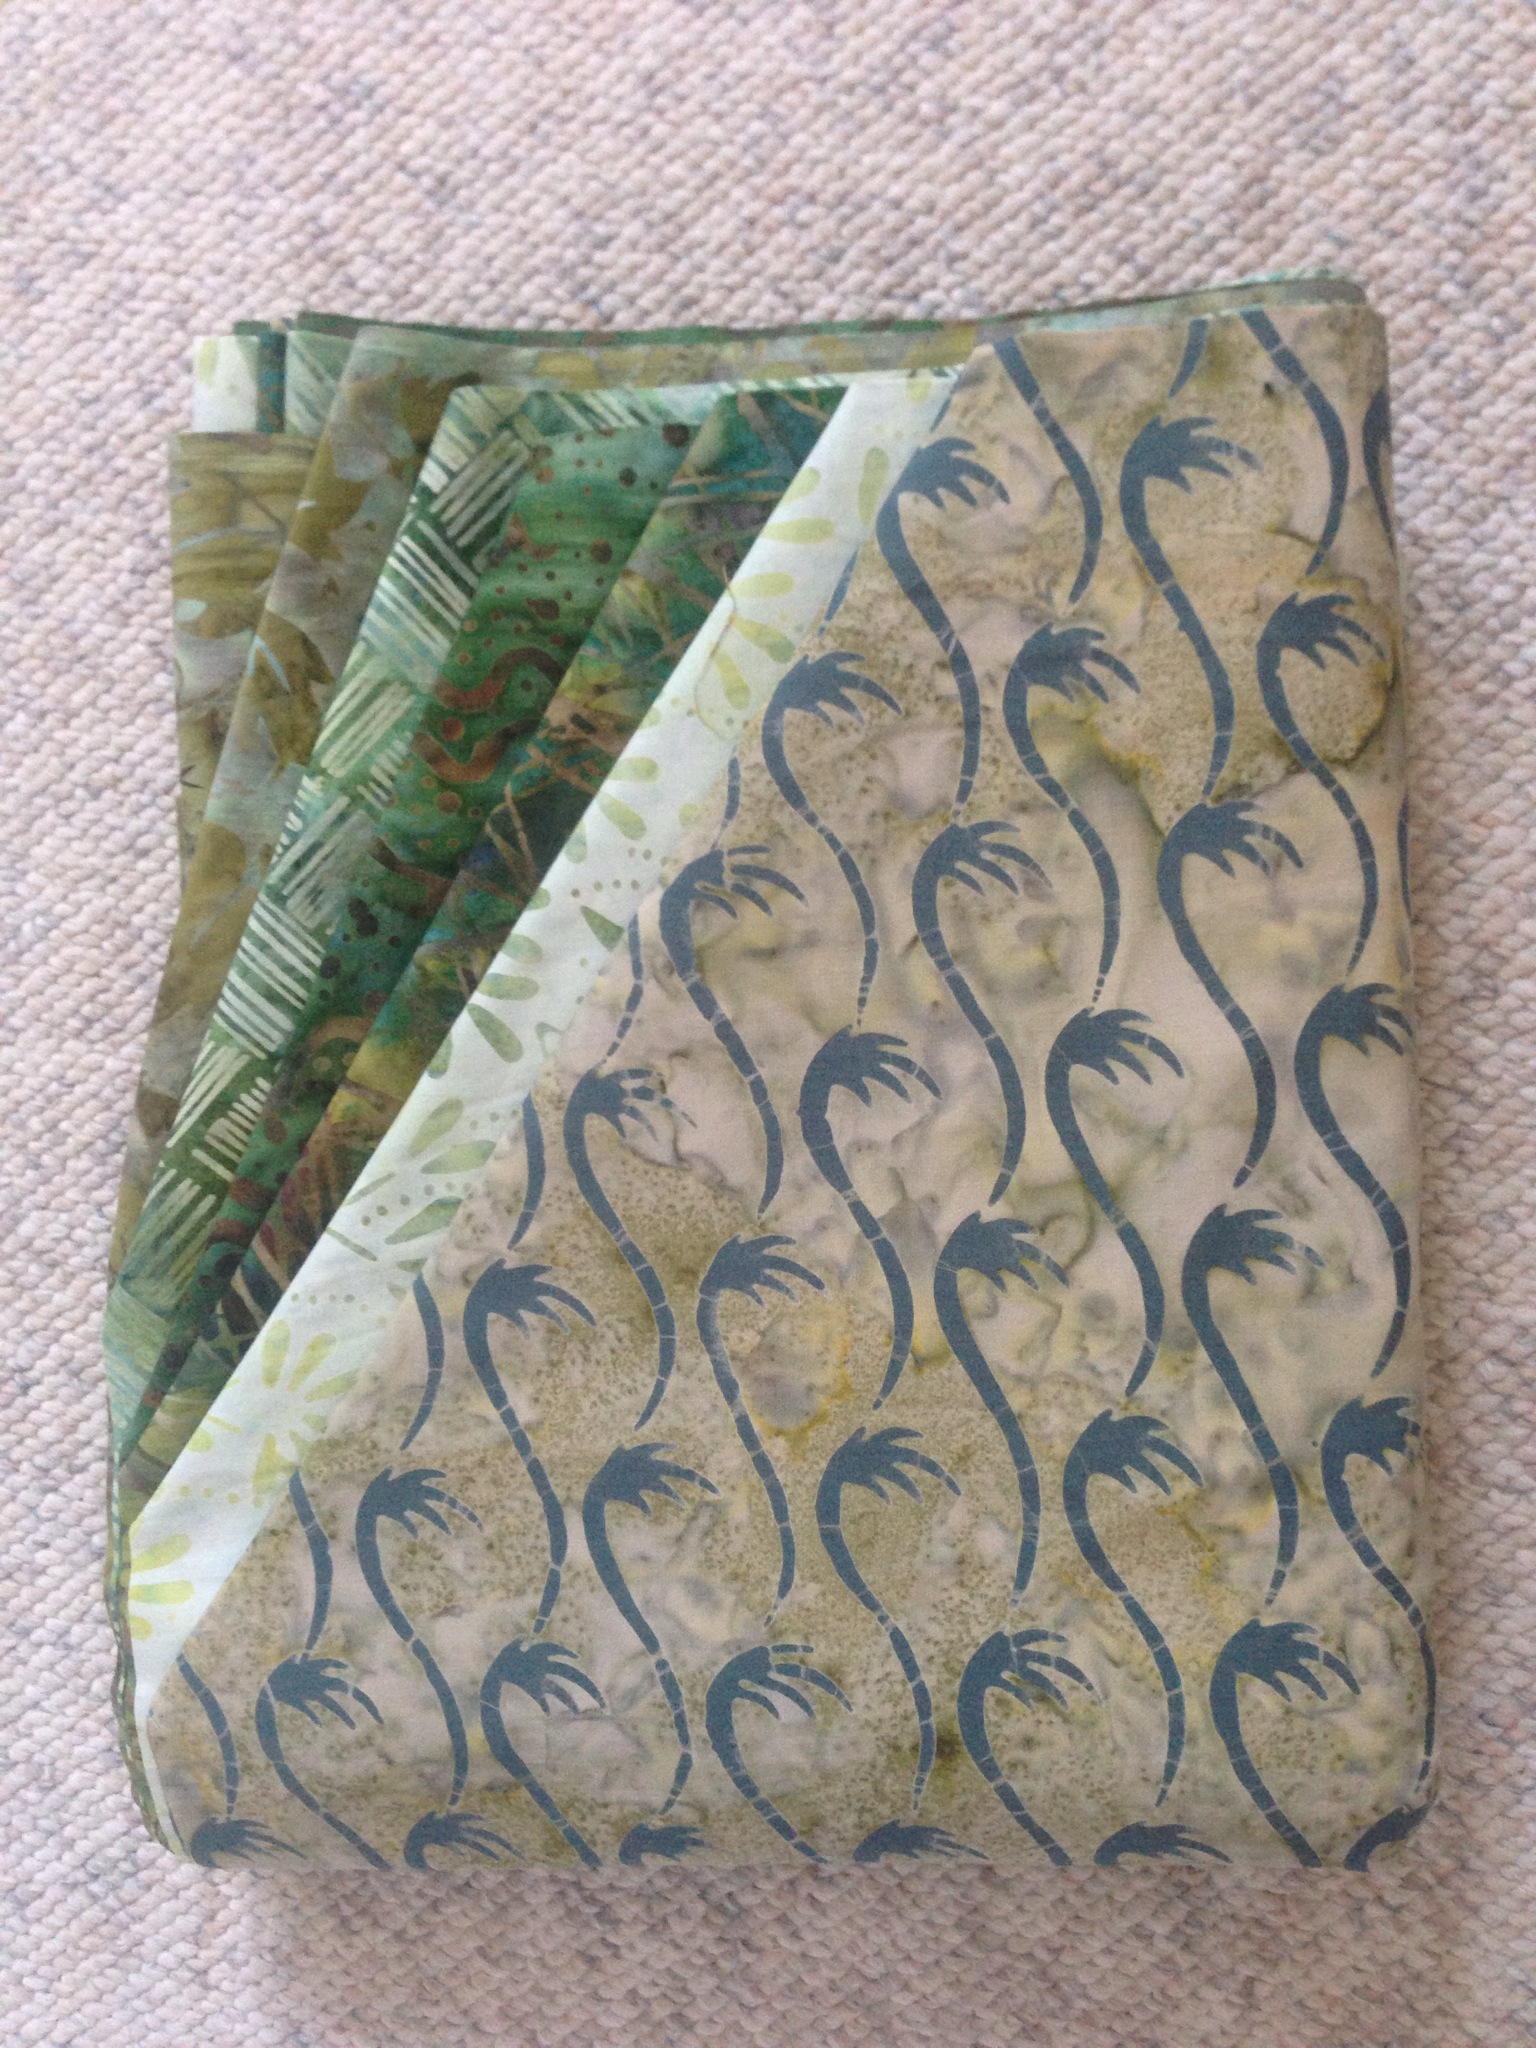
I bought the fabrics for the quilt for Noah at Keepsake Quilting in New Hampshire on my way back from the trip to Toronto late August. Six fabrics in shades of green/teal that worked with the photos I’d taken of the paint in his bedroom.
Next, I looked through my Pinterest collection of quilts but nothing stood out. In fact it seemed that given this was to be for a boy’s bed it ought to be simple without a lot of piecing. So I decided to base the quilt on the lap quilt I’d made for myself: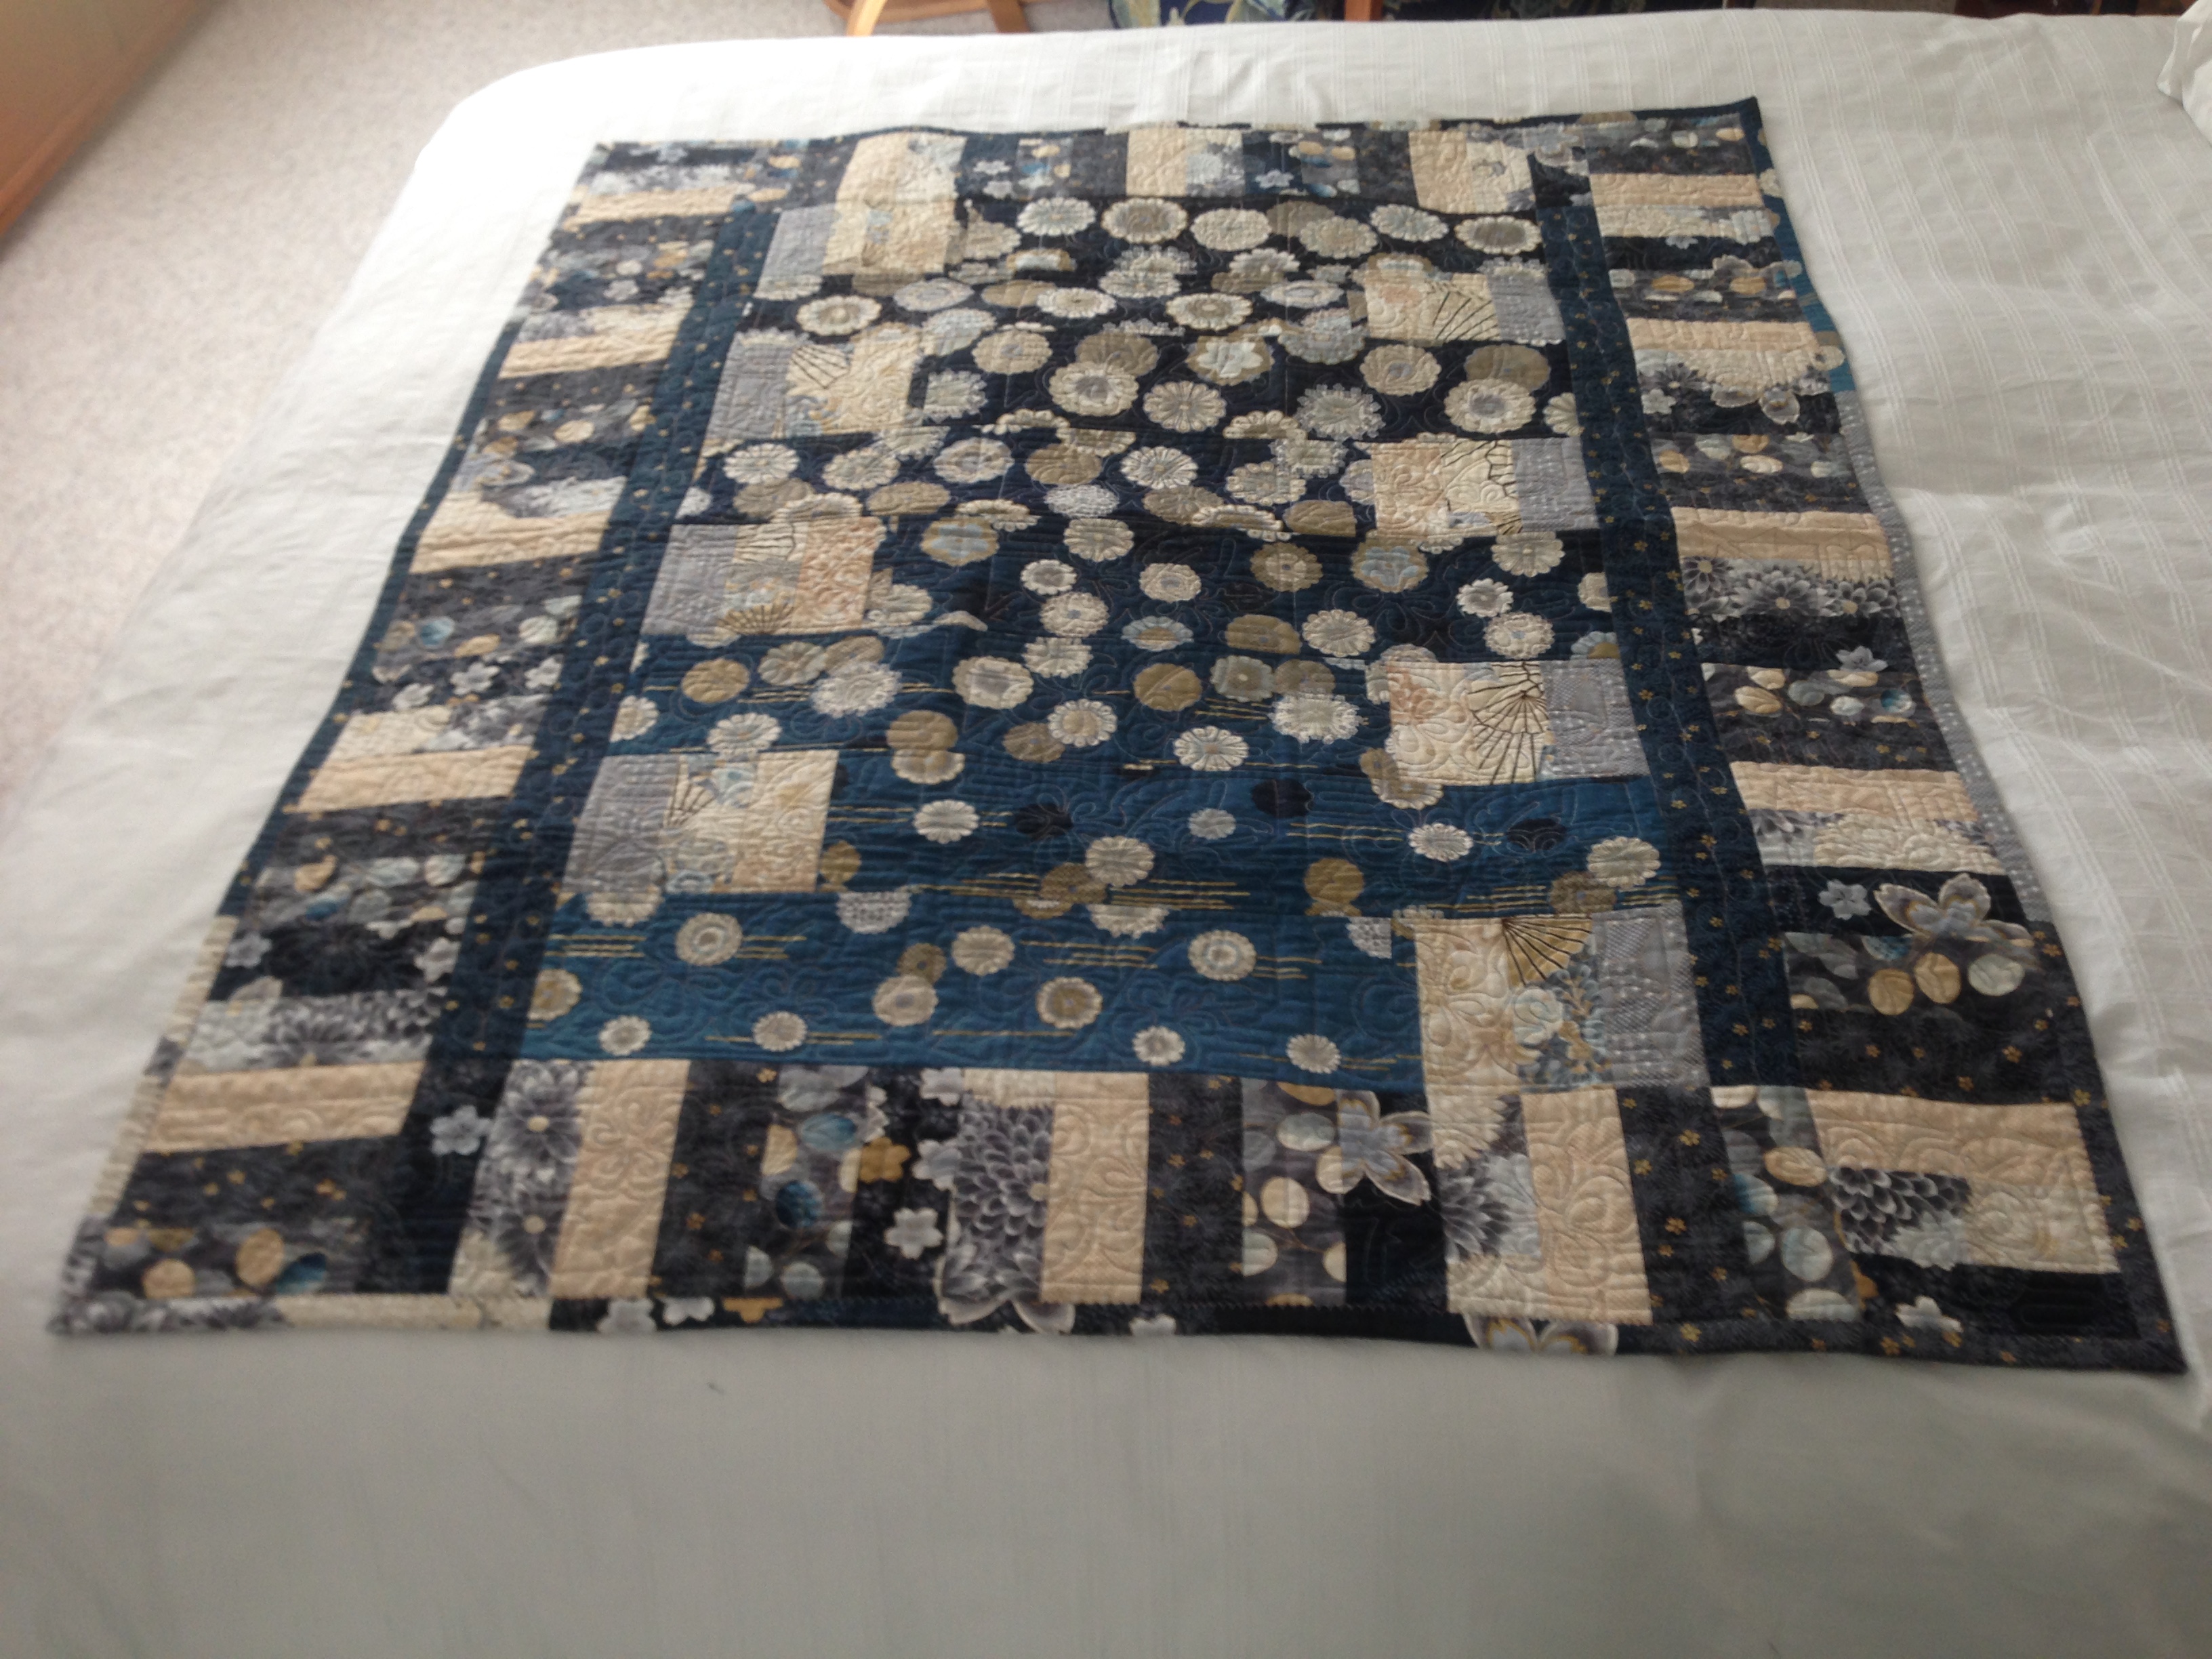
Noah’s is a double bed – I’d bought the fabrics planning to work with the width so I didn’t have enough length in each fabric to make strips the full width of the large quilt without some piecing.

So I inserted strips mid way, and at each end to expand the centre area. I wanted the middle to be almost the width of the bed, so the two dark lengthwise strips would frame the edge of the bed. Then I added more wide strips matching the fabrics from the middle, finishing off with narrow strips around the entire edge. The finished top measures 86″ x 86″.
Now to set up the back – I have enough fabric for two pieces of fabric which will give me 86″ in width but in order to quilt the quilt, I need between 92″-94″ in both width and length in the back to mount it on the long arm quilter, so I’ve set up a 5 1/4″ wide strip pieced from 2 1/2″ pieces (made of leftovers from the edge of the front)- those I will insert to one side of the centre of the back – joining the centre back seam using a 1 1/2″ strip of dark green on on either side of the pieced strip.
I plan to finish the ensemble with two pillow shams, the fronts of which will also be pieced. I’ll do those after I take the quilt to be quilted – I have no room to do this myself – I don’t have floor space to lay out the back and build the quilt sandwich, and even if I did, I don’t have a work space large enough to either free-motion or embroider the quilt! So this time I will have it done for me.
If I’d been planning better, I might have set up the quilt with blocks – then I’d have been able to quilt-as-I-go; but that wasn’t the case here. Perhaps on another quilt.
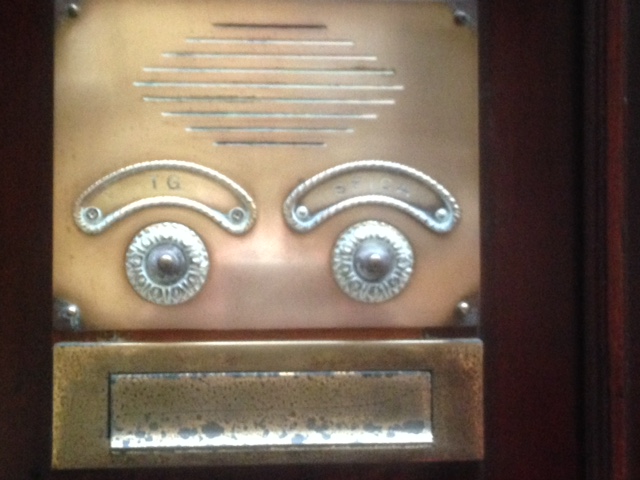 I have to say this one is a great face! I’ve now got a team of four people vacationing in Italy all noticing faces and sending me photos. I feel rather guilty having got them started – it’s hard to stop once you begin.

I make a wicked dark fruitcake. I always make them around Canadian Thanksgiving — that gives the rum in the fruit time to suffuse into the cake. This year I was a week late but the cakes (I made 9 this year) are done and now aging in the fridge.
The two essential ingredients are the melted semi-sweet chocolate and the molasses. Don’t leave these out.
I don’t use nuts because they have a tendency to go stale. These cakes last well for more than a year.
I gave one I had leftover from last year to friends today — it was better than it was last Christmas!
Here’s the recipe [it’s a forgiving recipe – the amounts of fruit are approximate – I don’t measure, just guess]:
Depending on the amount of fruit you use, this recipe makes between 4 – 6 two pound cakes. [Since I double the recipe, I generally get 6 2-lb cakes and 10 small (~1/2-lb) cakes]
These cakes make terrific gifts—that’s what I do with the abundance I make.
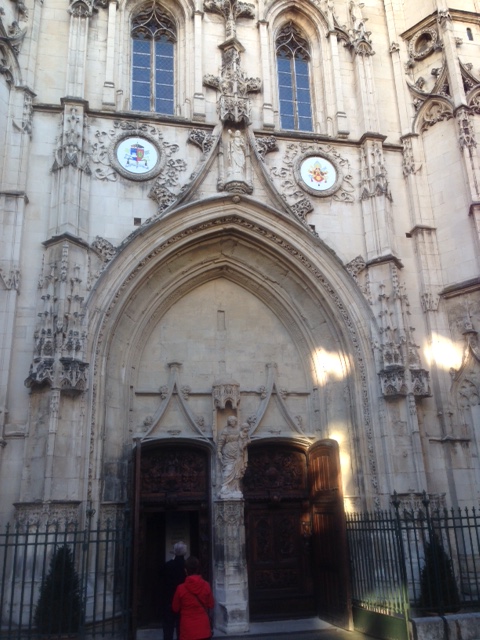
My friend Andrea, who is traveling in France (near Avignon) knows of my penchant for seeing faces everywhere. She just sent me this one she saw on her travels yesterday.
Two weekends ago while we were in Ottawa at meetings on a very dark, rainy evening we walked past the Parliament buildings and we encountered this face on one of the towers:

I keep noticing…

I haven’t been sewing much since getting back from Bali because my two machines have been in the hospital! I took both for servicing just before I left Halifax expecting them to be ready for me when I got back. Both were working well but I did have some small complaints with each: on the Brother quilting machine the thread cutter wasn’t raising the needle high enough to be in line with the presser foot; the buttonholes weren’t working well on the Pfaff CS embroidery machine. When I got back I picked up both machines – the “problems” were a bit more serious – the Brother is back in being fixed; I started piecing a new quilt on the Pfaff only to find it making noises (and the thread cutter wasn’t cutting the bobbin thread) – so it’s back in the shop.
That left me with my serger (which I don’t use for quilting), and my mother’s old Singer Featherweight. This machine is an heirloom. This one was manufactured in 1956. I had to replace the foot pedal and motor belt, but otherwise it’s the original machine and does it ever still sew nicely! I hauled it out yesterday so I could continue working on the quilt – I put a strip of blue masking tape on the bed to mark 1/4″ and I was set to go.
I haven’t used this machine myself since I got it – my mother gave it to my niece about a year before she died. I’d had it serviced at that point. My sister found it frustrating to use, couldn’t get the threading correct, so I bought her a mechanical low-end Brother machine (with a needle threader, top loading bobbin, and free arm) and I took the Singer.
I’m glad I just stashed it below one of my sewing tables – I will certainly use it more frequently because it sews a perfect straight seam. At one point I thought of putting it on Kijiji, but this machine is a keeper!
