I’ve enjoyed working on the sock fingerling yarn I bought from Denmark in the spring. This is one more pair from that batch of yarns.
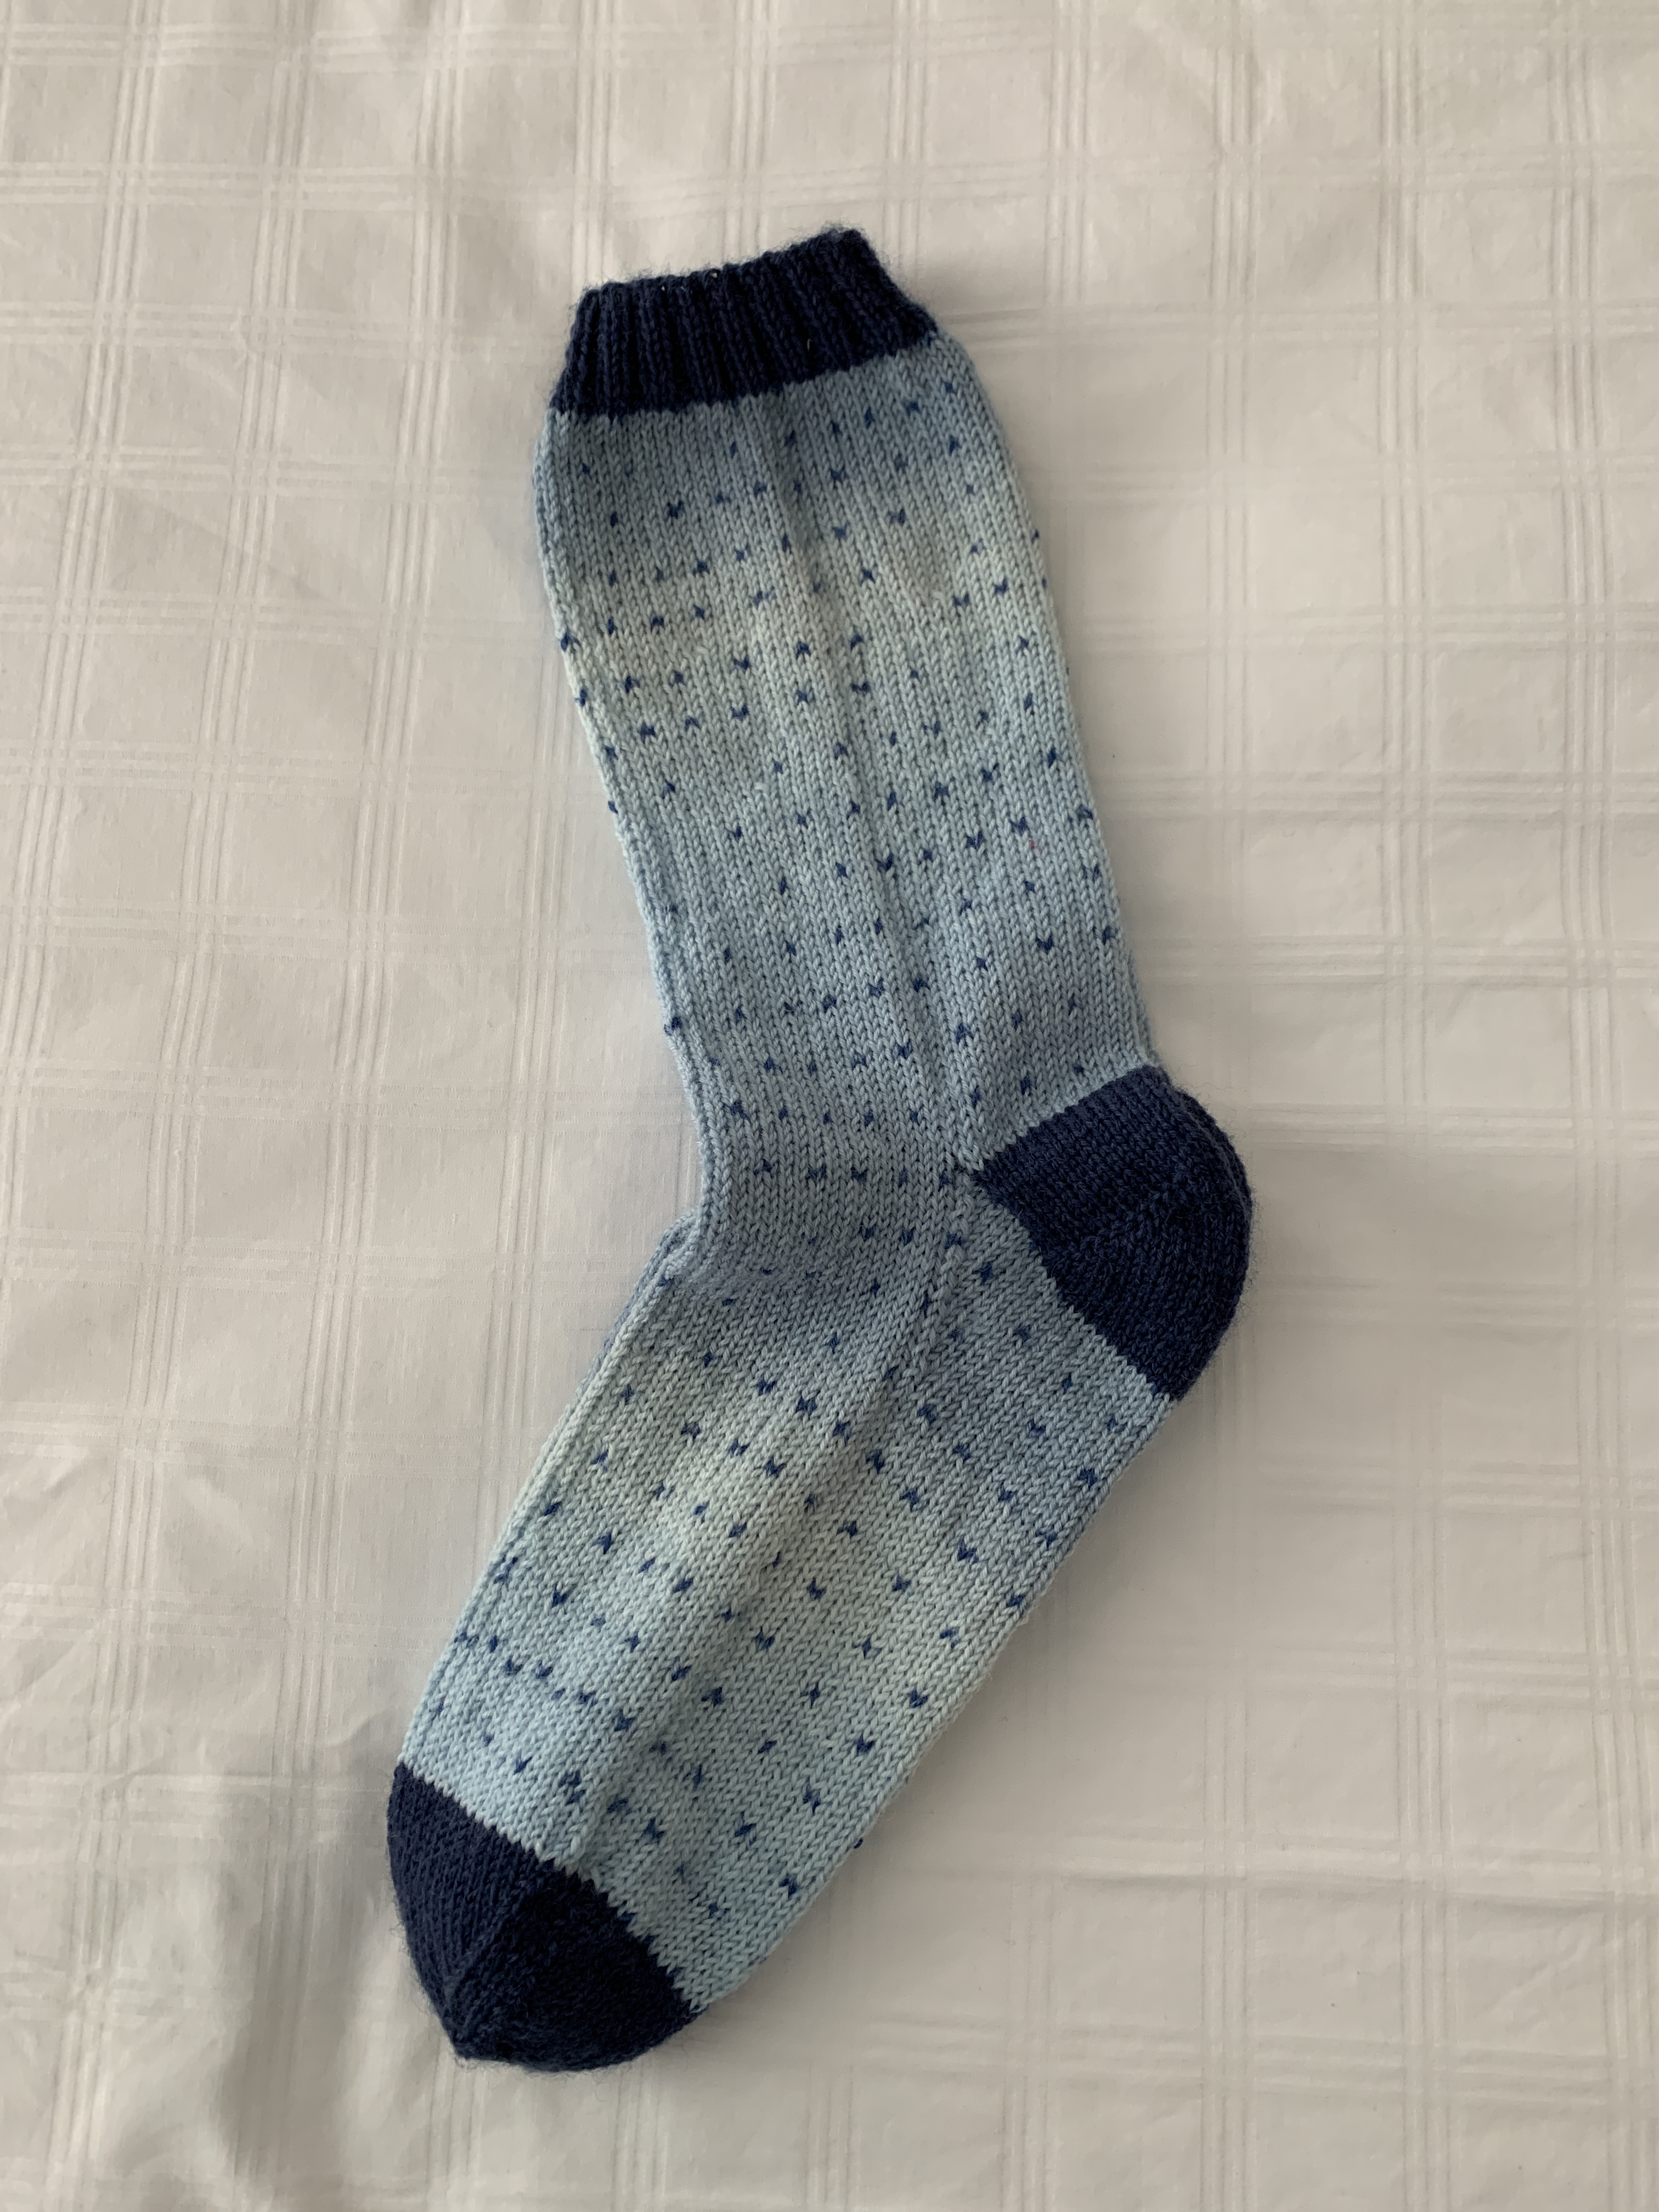
Light Blue Socks With Dots
It’s a fine, well twisted, yet soft yarn that’s a pleasure to knit with. Two things are happening in this yarn – the ombre effect which you can see in the ball but is very subtle in the socks; and the darker dots which appear every six or so rows. The overall effect is pleasing.
Finally finished. Yesterday I attached the hidden binding (mitring the corners) and hand stitched it to the back.
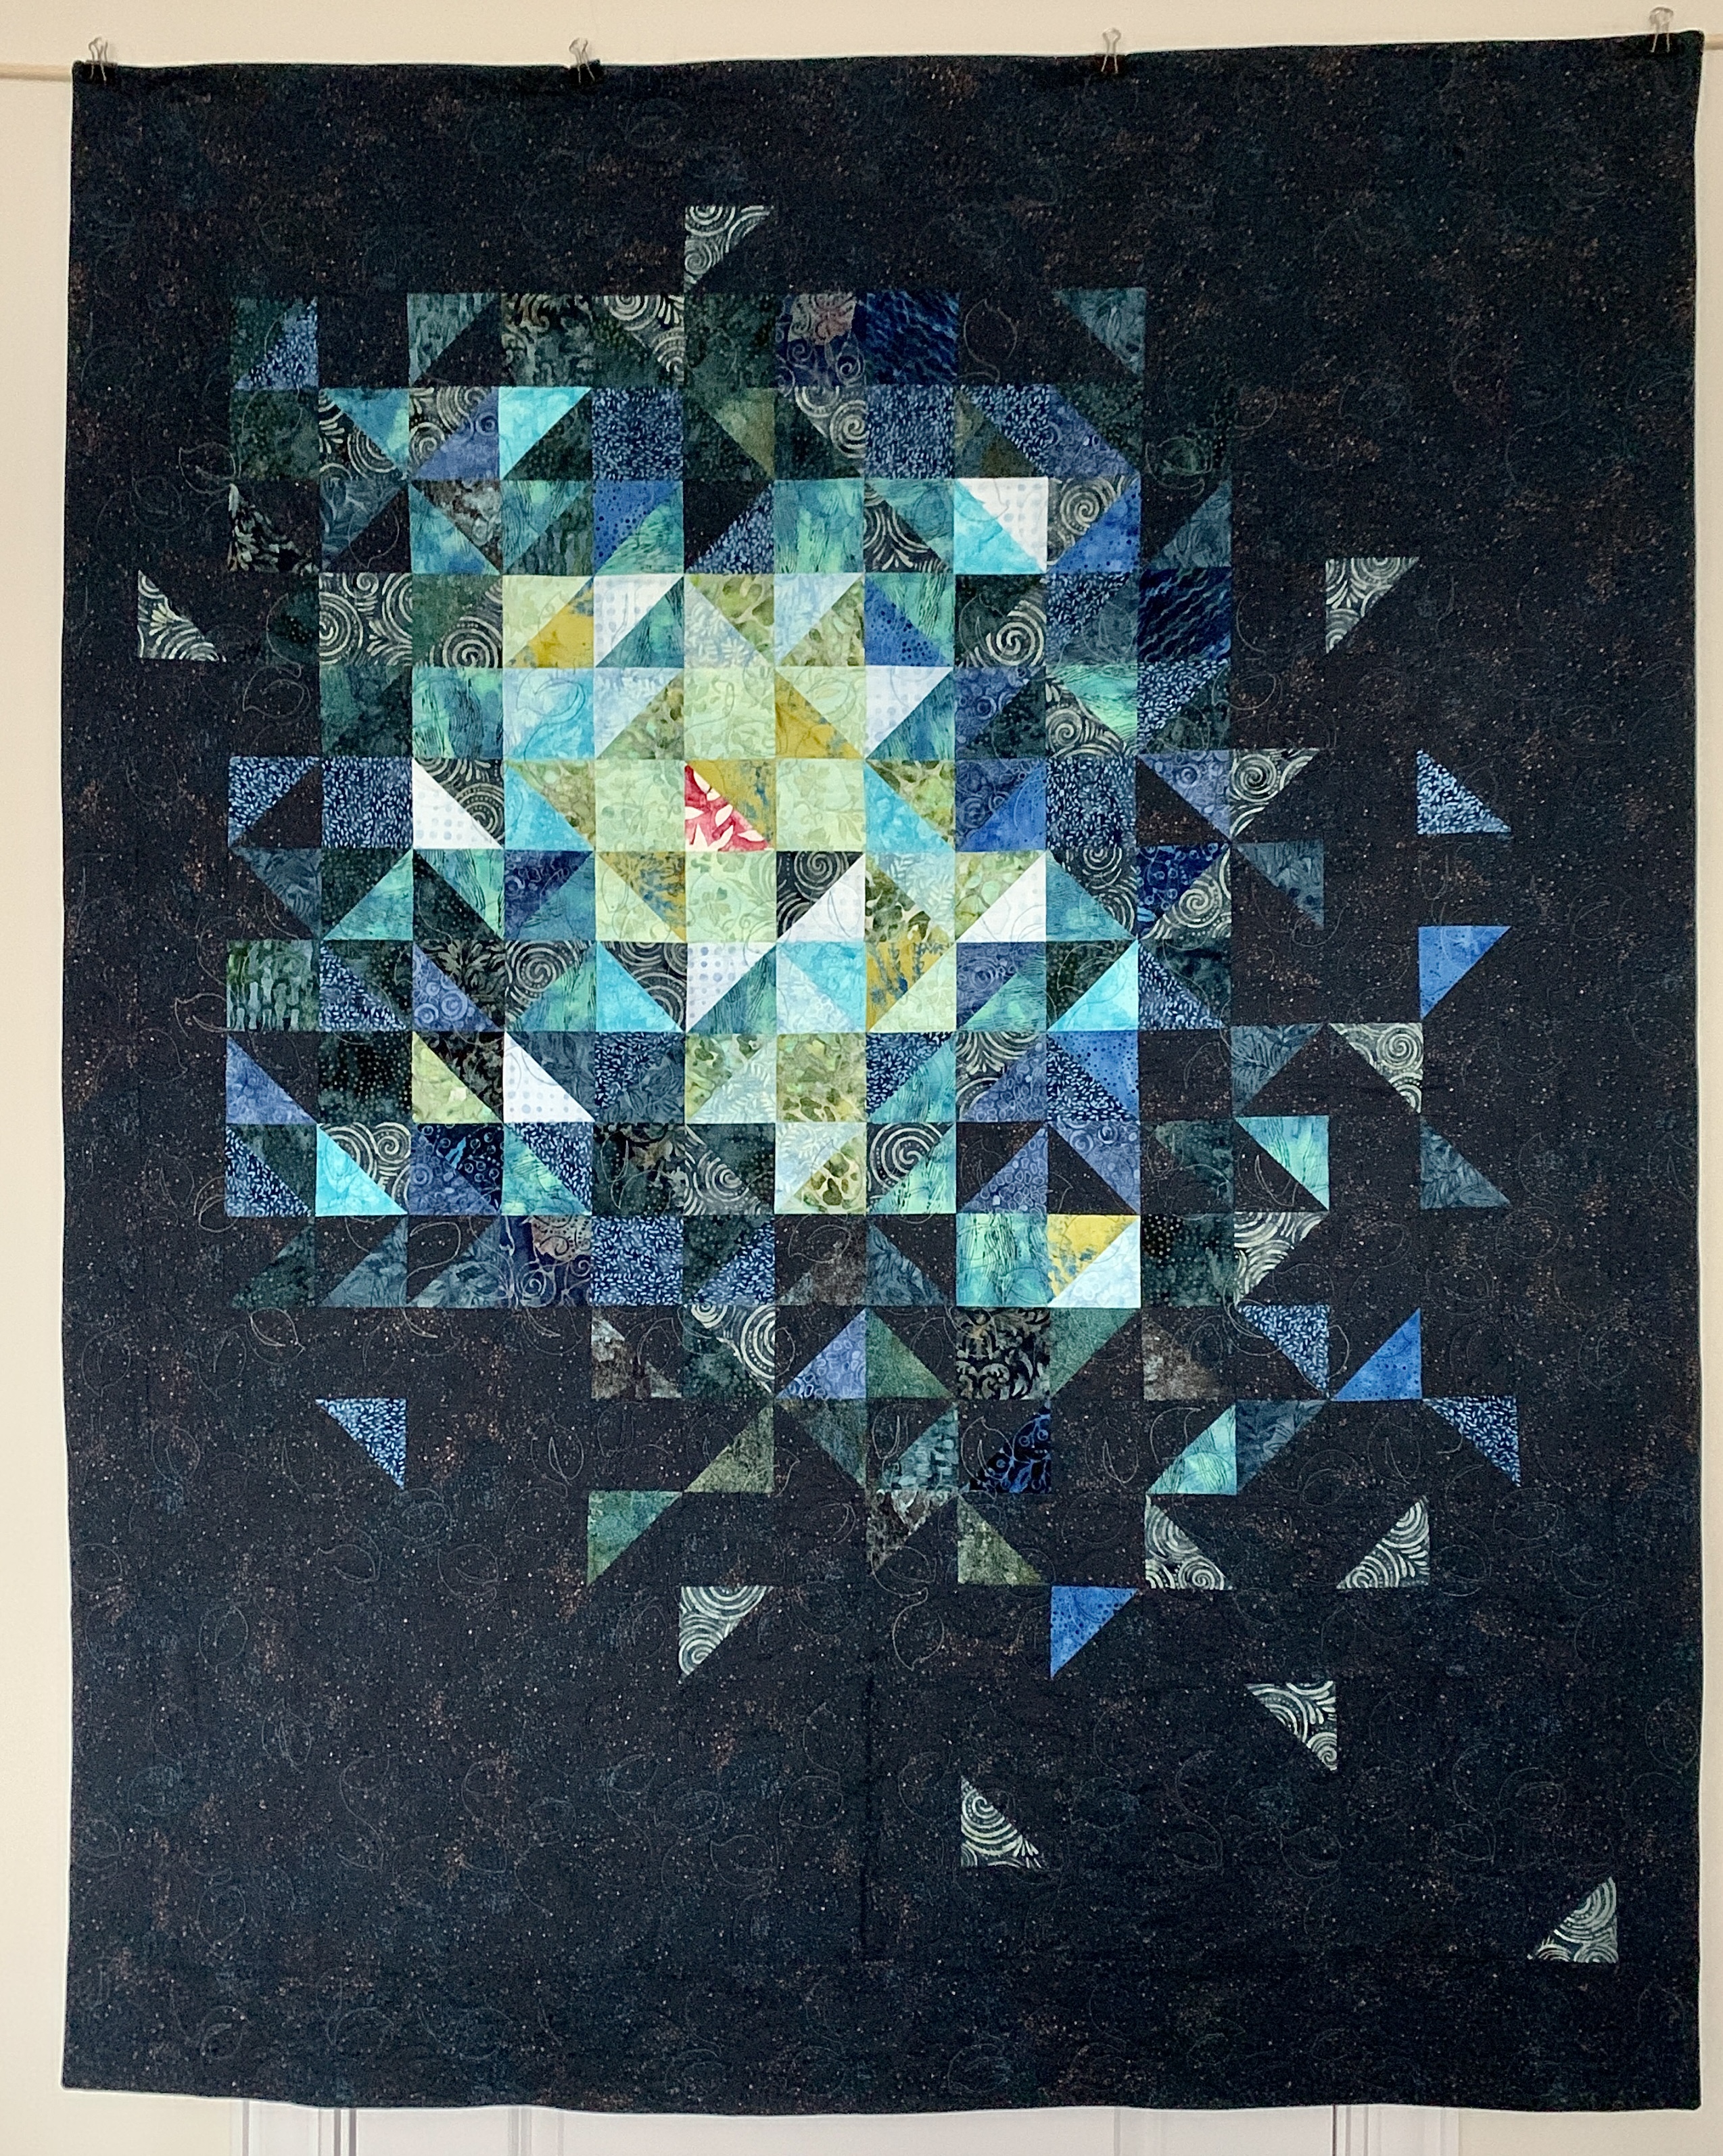
Comet Quilt – Top
I’m happy with the colour flow from top left to bottom right. The bronze “sparkle” in the background fabric shows nicely, as well – I didn’t see that as a possibility when I ordered the fabric. There’s also a blue speckle which is brought out by the medium blue shades in the brighter blocks.
The back turned out nicely, as well. I was able to incorporate the single pink triangle there. In the photo, the blocks look darker than they are – that’s because in a brighter light (it’s a dark cloudy day today – a large snowstorm is forecast to start around noon) the bronze sparkle in the blocks from the background fabric do show.
Just about every scrap of fabric I had leftover from the front got used in that strip. I was lucky to be able to complete the 125 blocks I needed for the stripe.
When I was making the quilt back made sure I’d have enough fabric from the offcuts to be able to make the hidden binding. I like how the elements of the back come to the edge of the quilt that way rather than being interrupted by a conventional binding.
Comet Quilt – Back
This morning I pulled out two complementary jellyroll packages from the stash. Now I have to figure out some way to use them in a quilt. That’s my next project.
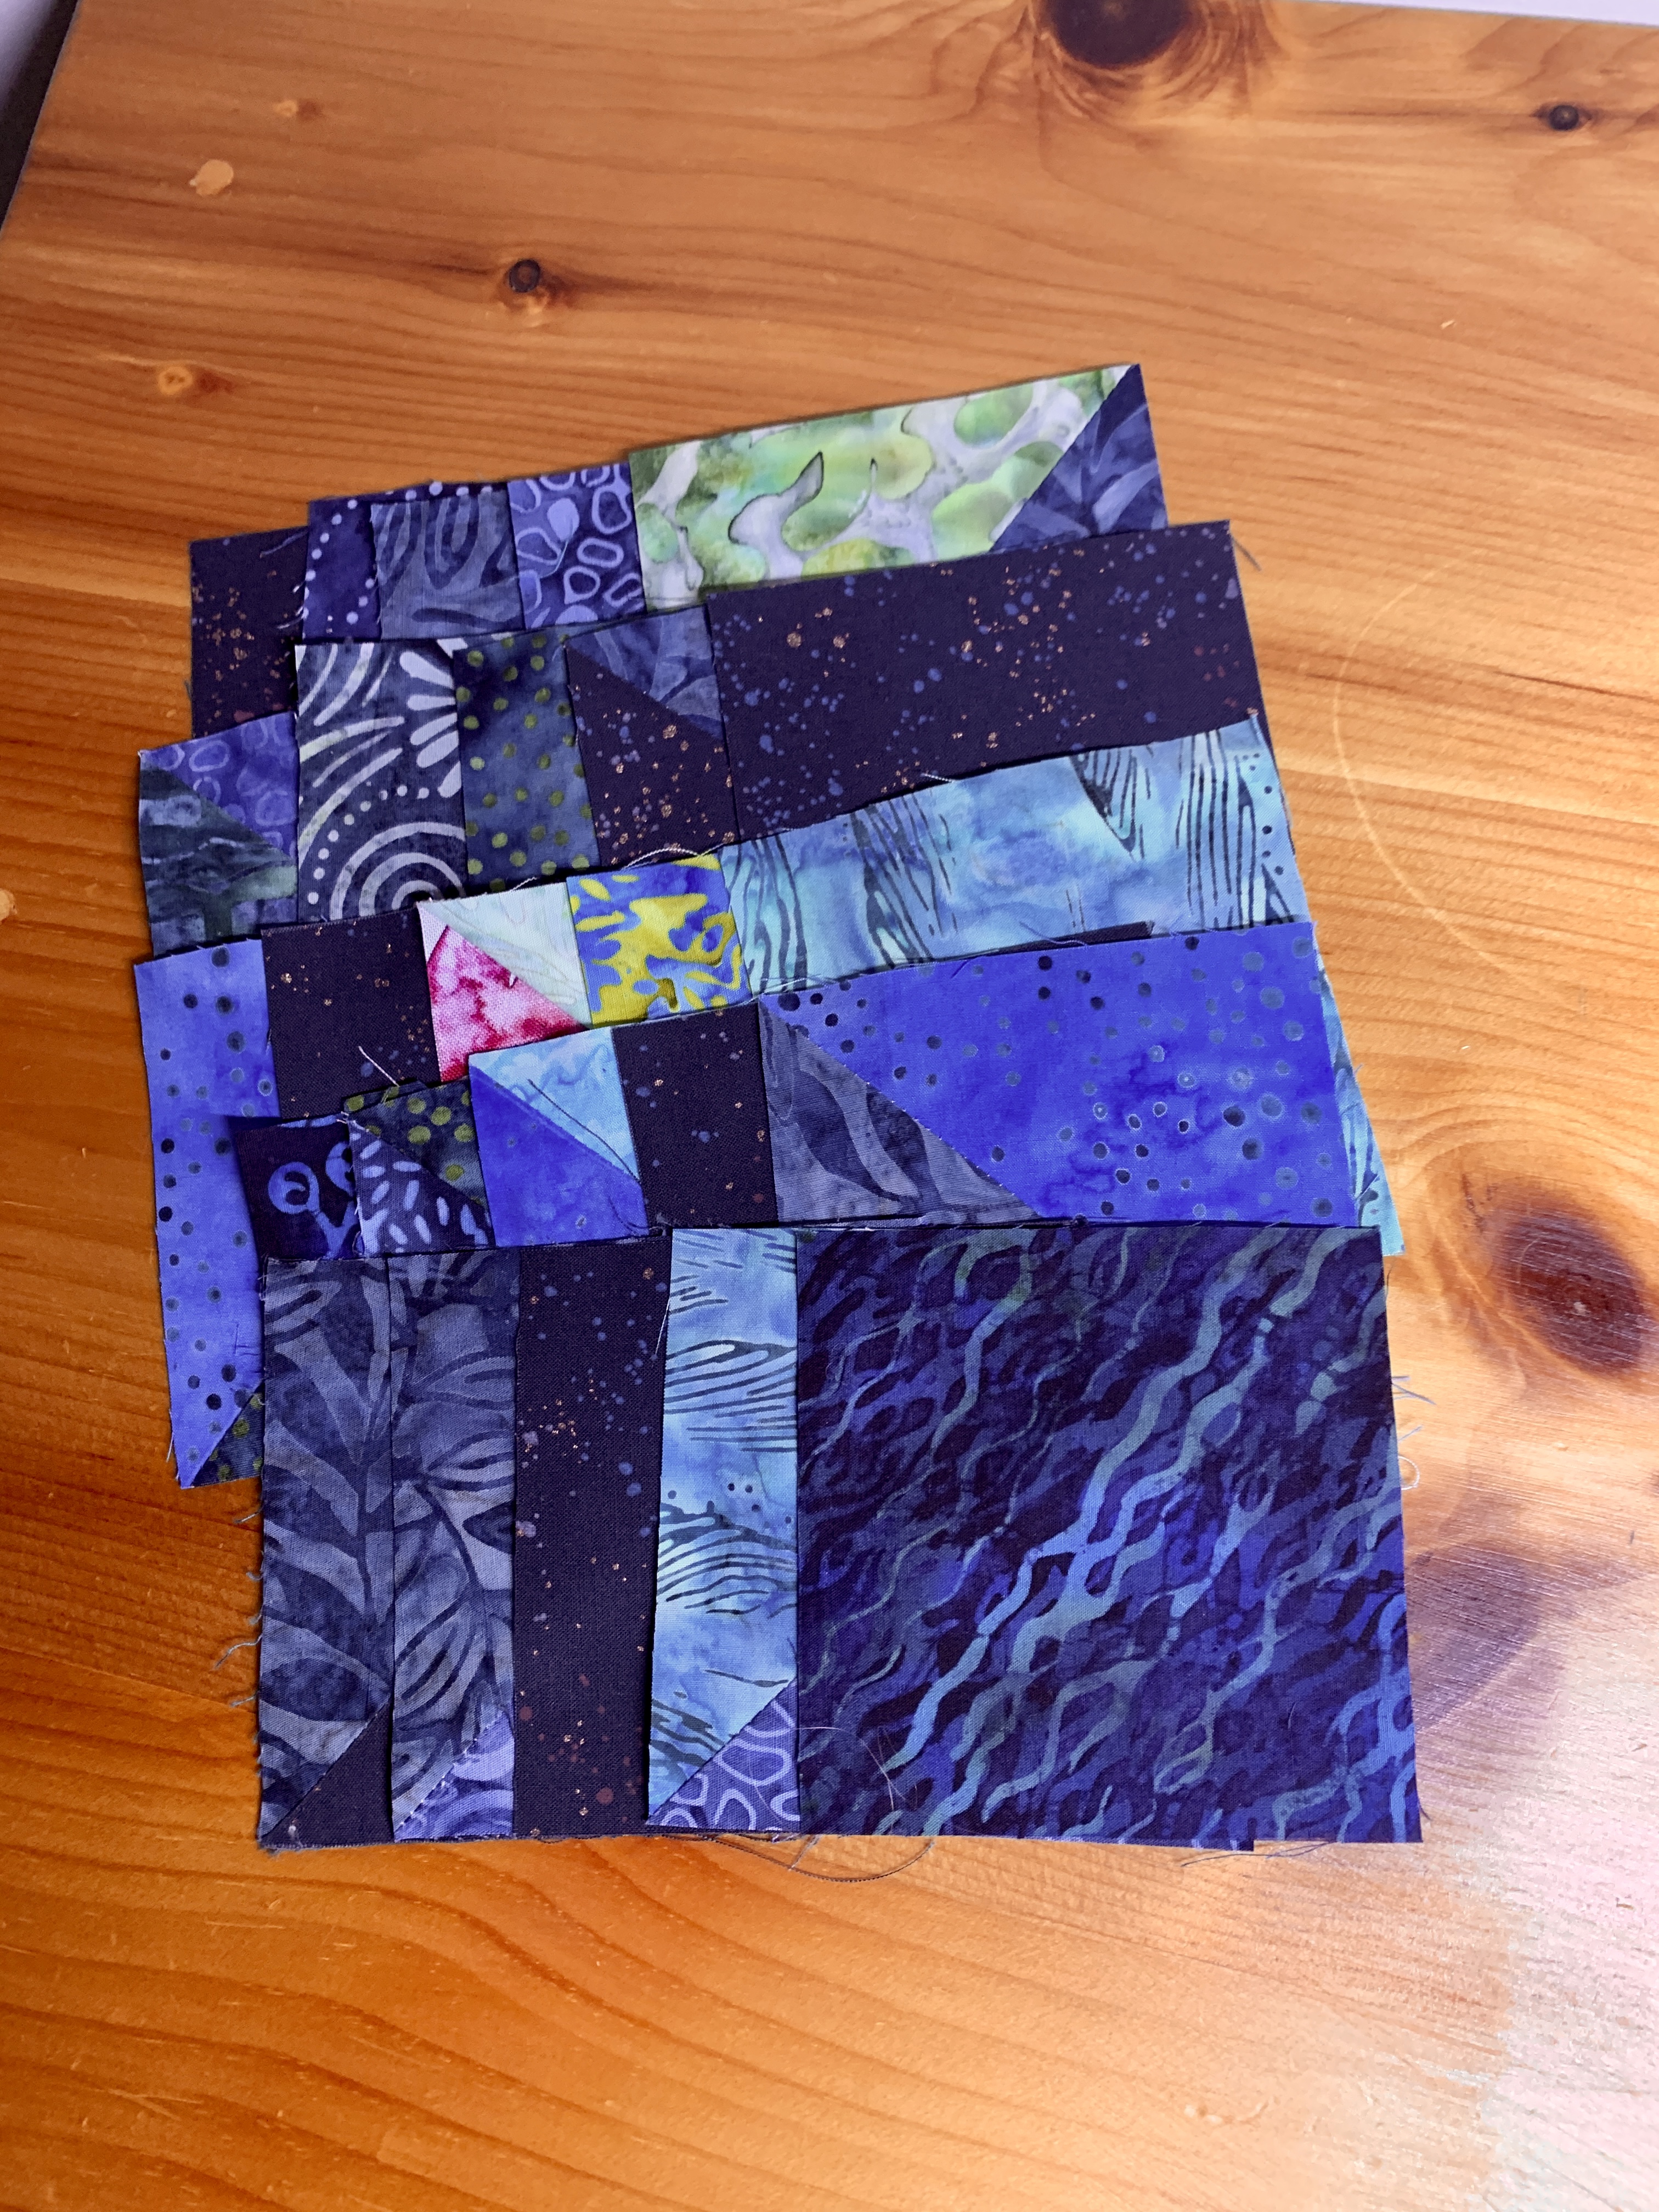
All those bright blue triangles I had leftover when I remade so many of those HST blocks? I used them to make more HST blocks for the insert on the back of the quilt!
25 of 125 blocks
The quilt top is 54″ x 68″. I need to make the back 4″ larger in both length and width: 58″ x 72″ or thereabouts (I’ll be using the off-cuts to do a hidden binding after the quilt is quilted). My HST blocks finish at 3″ so I needed 25 of them for the length (one extra row just in case), and 5 blocks for the width (15″ to make the back panel wide enough: 42″ + 16 1/2″) will do it.
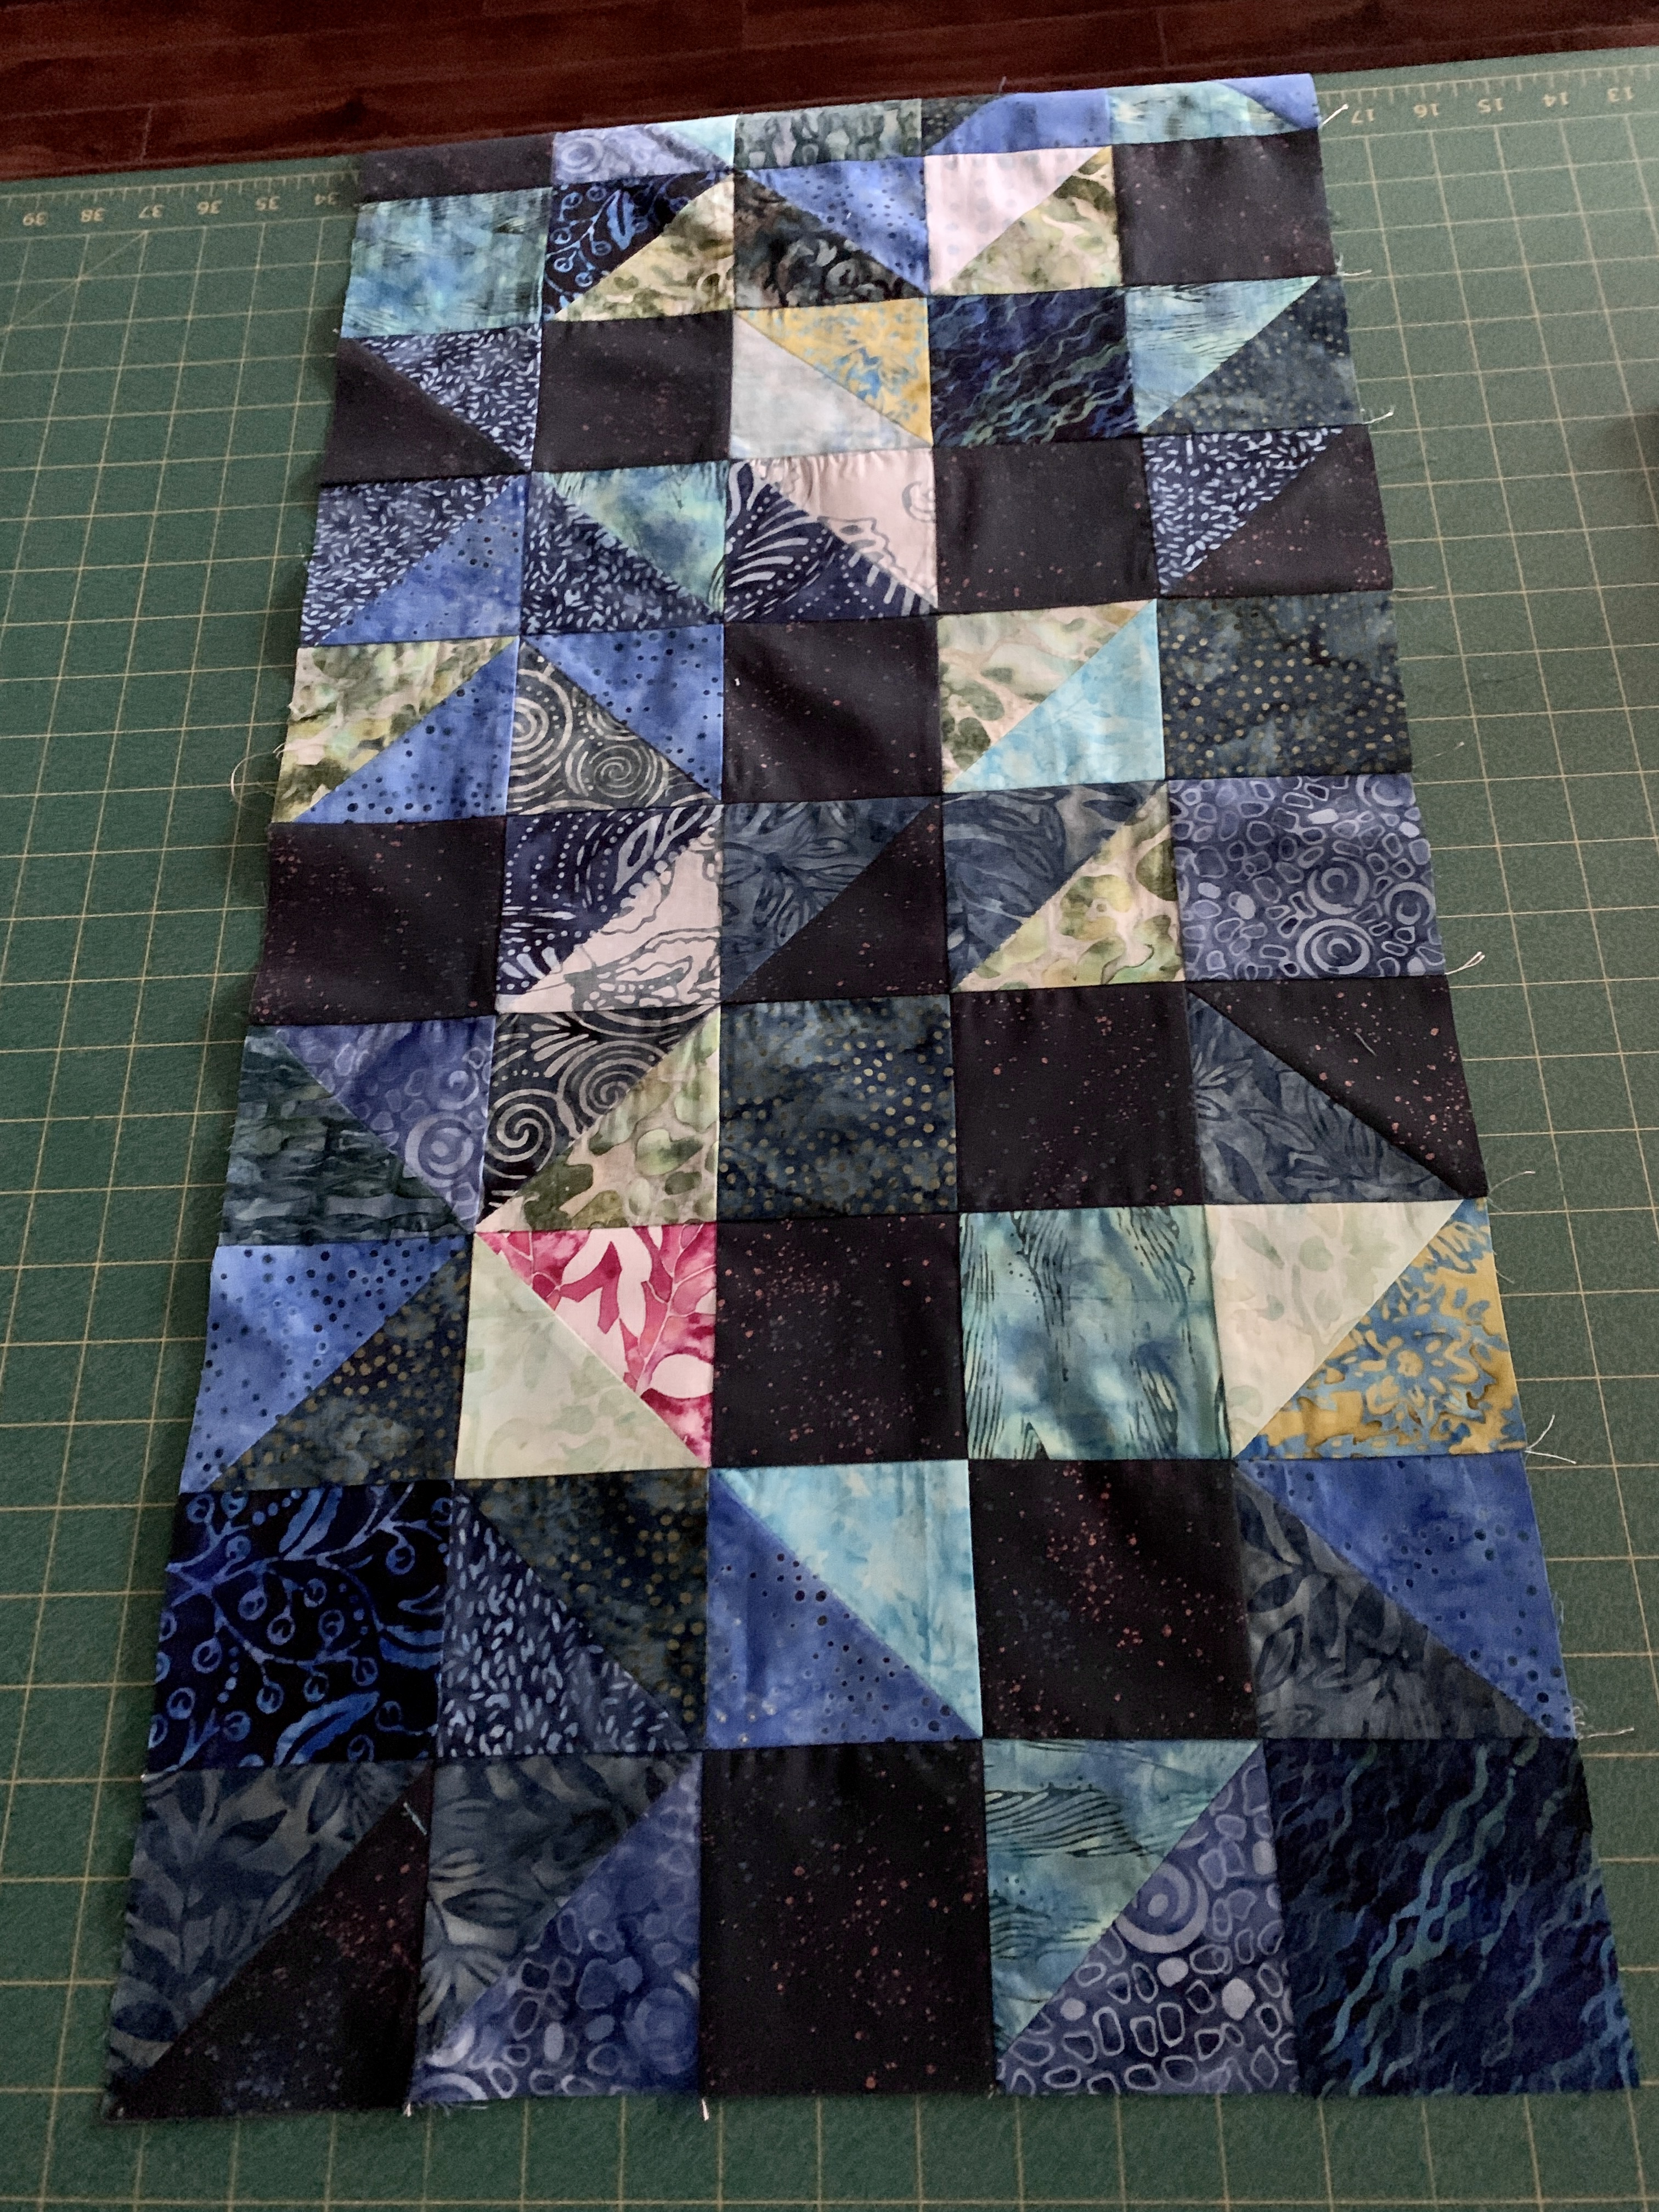
I needed 125 blocks to construct the insert strip. The strip will be bordered with two dark strips – a finished 1″ strip using the last small scraps I had of the Sparkle fabric (not a single bit left), and one other (finished width 1/2″) yet to be determined!
Back strip under construction
I have assembled two of the 25 blocks elements – 3 to go. I should get those done today. Tomorrow I’ll put the quilt back together, set up the sandwich and then think about what kind of quilting design would complement the Comet Quilt top – no idea about that yet.
I got a phone call two days ago – did I happen to have three pairs of socks for sale (one for a man who wears size 9 shoes)? My answer was “Yes” and “No”.
A month ago I went through my stash of socks and put names on all but one pair – my Christmas gifts: one to the woman who cuts my hair, one pair for my massage therapist, one for the gal who does my nails… and a few pair as gifts for friends. So “Yes” I had socks in the stash but they were already allocated. And “No” I didn’t have any to fit a man’s size 9 foot.
So what do you do? These are for sale – same price as last year $50/pair. So I took the undesignated pair, removed the toes, added 10 rows to the foot, then reknit the toes – an evening’s work for each sock. That solved the problem of a pair large enough for a man.
Lengthened socks
I went through the designated socks – decided I probably had enough time to actually knit another one and a half pair of socks between now and Christmas – so she can have two of those; three pair of socks in all.
I’m set to deliver them today. The payment is a “payment forward” – she will send it directly to an endowment fund at our local children’s hospital to support their Child Life program. I’ve been building that endowment for almost 25 years with my annual contributions plus donations like this one. It’s not a huge endowment (although it keeps growing) but it does provide books and supplies for the children who participate in the program while they’re in hospital.
Here is the quilt top – finished – borders in place. Final size ~ 50″ x 70″ (I’ll measure it when it’s finished).
Quilt Top – Completed
It has taken a lot of fiddling, and looking at the photograph I can see spots where I could make more block swaps – but this is it. No more replacing blocks – I’ve done enough. I’m prepared to live with this outcome. Besides, the quilting will integrate the blocks; I will use some kind of variegated thread that both blends but contrasts with the fabrics.
Leftovers from remade blocks
I realized quite early on the bright blue blocks were going to be too bright so I remade almost all of them, substituting darker fabrics, particularly in the upper right quadrant. I haven’t counted them – I don’t want to know how much extra work I actually did. I’m happy with the reconstructed blocks, I was able to make enough to distribute throughout the panels surrounding the central panel.
I was keeping one eye on the Moda quilt pattern as I worked and that was a mistake – I thought it would make the process simpler (give me an idea about how many blocks to make, what pairings to set up) – it made it more difficult. Because I wasn’t using the suggested fabrics I had to reconsider and rework selections/pairings I’d made even after large sections were stitched. The quilt pattern uses large blocks in the outer regions – those elements turned out to be difficult to incorporate and keep the whole flat – I would have been better off to have constructed the quilt from 3 1/2″ blocks throughout. Next time I attempt something freeform like this, I will put the stimulus photo away and work from scratch basing decisions on the fabrics and the colour movement I want to achieve.
Now onto the back – I have absolutely no idea what to do with that. I think I’ll take the top to the fabric shop to see what I can find. I know, without looking, I have nothing in my stash that will suit the quilt top.
It’s a dull day today, hard to get a good photo without more daylight, but this image does give a sense of how this quilt is building out.
I added a row at the top and along the left side, a panel across the bottom and another (built from two smaller panels) to the right. Along the way, I found myself taking bits apart and changing out blocks to better the colour movement down and to the right.
The next section is a panel, constructed from segments of the background with just a few HST dotted here and there. This panel will extend the length of the whole by about a foot giving a good throw quilt size.
The final borders are constructed from background fabric – and I’m pretty sure I don’t have enough. With a bit of luck the yard I bought online the other day will arrive soon.
There it is. I’ve just finished assembling the central panel.
It took a careful, precise pairing of blocks in rows, making sure I pressed the seams in an appropriate direction so I could juxtapose the blocks when stitching the rows. Not a task for the disorganized. Fortunately I’d taken lots of photos of the arrangement on the floor so I could refer to them as I was painstakingly sewing these blocks together.
I’m happy with this layout – I got rid of a lot of the “squareness” in the pattern and what’s left will be dulled when I add the darker bordering elements which are all much darker.
I also managed to align the points pretty well (not perfectly – I can see a few small irregularities) – even another quilter would have to have an eagle eye to spot them.
So, tomorrow – since there is no aquafit (the pool is closed for the next 10 days – probably longer – COVID-19 precautions, right? We’re all working hard here in NS to keep the lid on the virus – we’re getting spread but so far it’s not escalating exponentially…). I have NOTHING else on my calendar. I’ll be able to get up and get to work on the next set of bordering panels.
[BTW: The pink bit in the lower right corner is a post-it note saying “Bottom Right” so I had a reference point to keep me oriented as I was assembling the panel (I built up the panel starting at the bottom rows simply because I could reach them more easily without having to worry about inadvertently shifting blocks).]
[BTW 2: Yesterday I bought some of the striped fabrics specified in the original quilt pattern – I’m thinking it might be interesting to try this quilt again as a “postage stamp” quilt ending up with 1 1/2″ blocks. That’ll be a challenge because the HST will be very small – same number of blocks, however. I think those striped fabrics were an interesting aspect of the original design and I want to see if I can make them work without following the pattern!]