I got a request the other day to make a tool belt for a young friend of mine. Suzanne’s a vice-principal, constantly on the move during her work day. She needs her phone, her keys, some hand sanitizer, a pen,… with her – AND she needs her hands free.
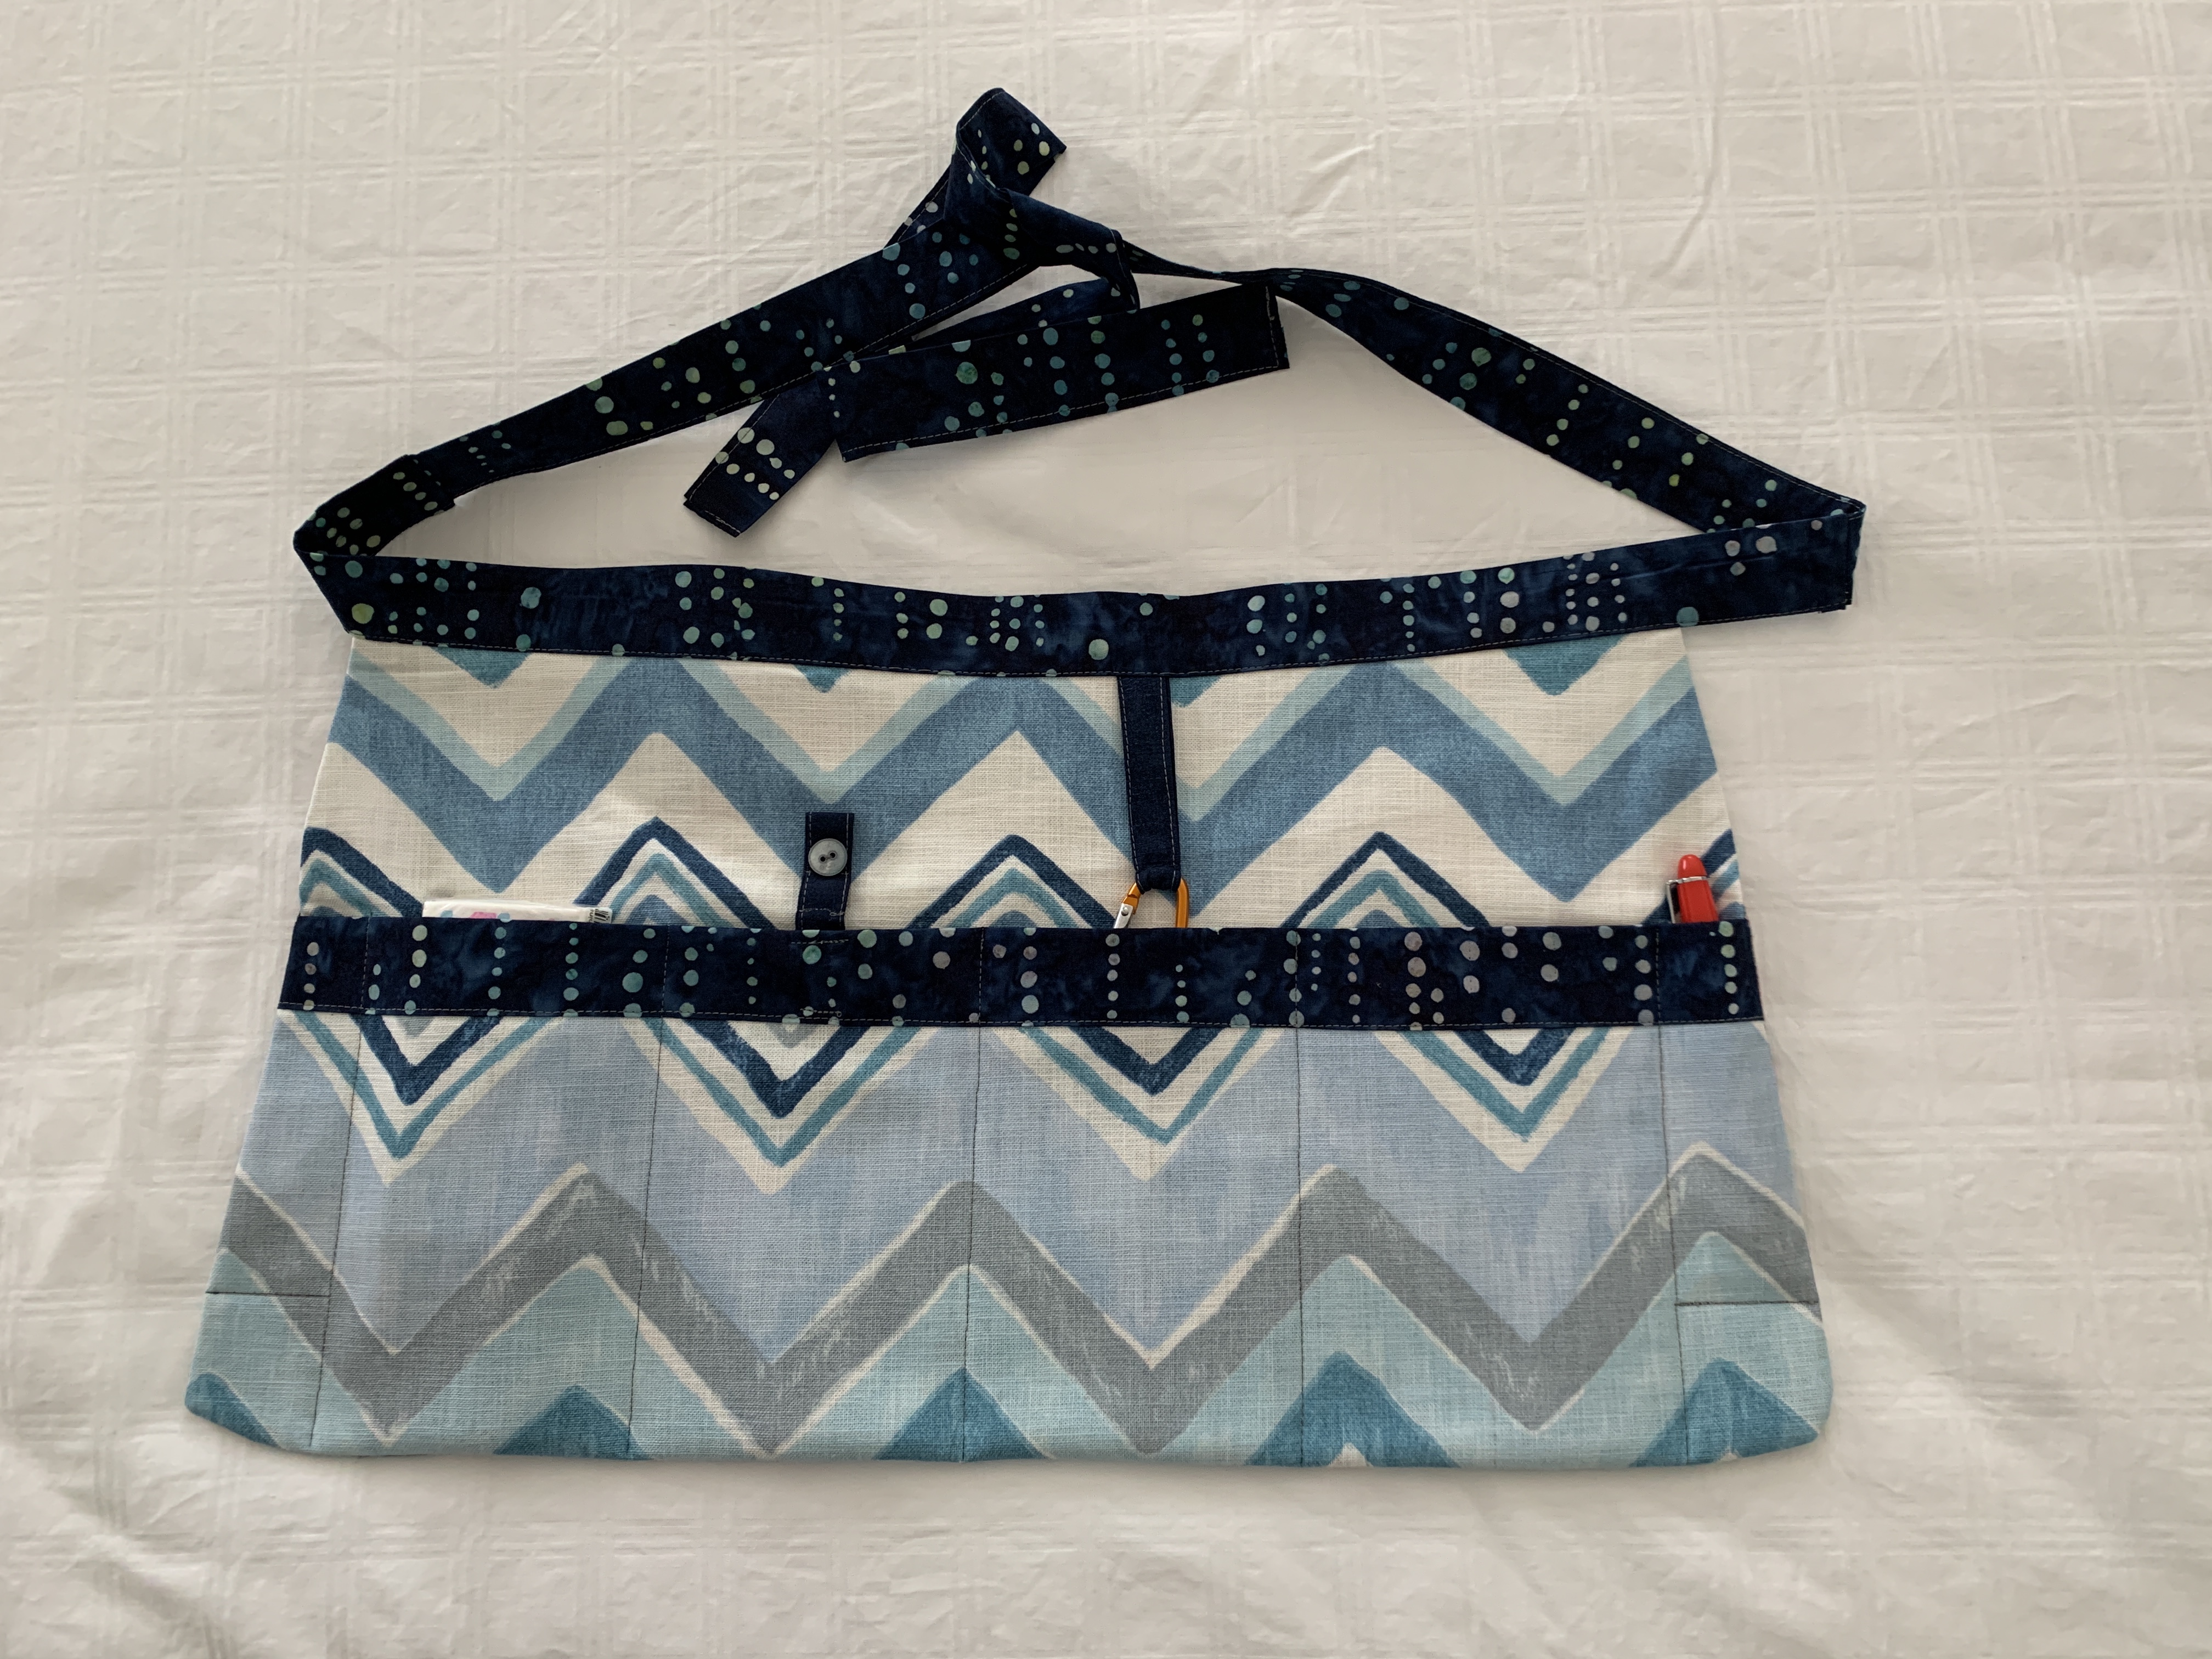 Teacher’s Tool Belt – Completed
I checked out some possible ideas online and came up with one I thought would do the trick. Suzanne initially requested three pockets but I’ve given her four: one for her phone (with the tab to keep it from falling out), another for her keys (with a small carabiner that slips into the pocket), a slightly wider pocket for a small spray bottle of sanitizer, and one for a package of Kleenex or a small notebook, and two narrow end pockets for pens.
I was discussing the project with one of my sewing buddies who mentioned she had just the fabric weight I was after – a heavy cotton you’d use to cover outdoor cushions. I picked it up.
Next, I selected a complementary fabric from my stash, put the two fabrics together, cut a 10″ strip from the width of fabric for the body of the tool kit, and a second 6 1/2″ strip, also from the width of fabric for the pockets. I cut each width of fabric in half – each piece 22″ wide. (That gives me enough cut fabric for two tool belts – one for my niece as well!)
 Teacher’s Tool Belt – Dimensions
I cut two 3 1/2″ strips from another contrasting fabric (width of fabric again) for a pocket facing and waistband and ties.
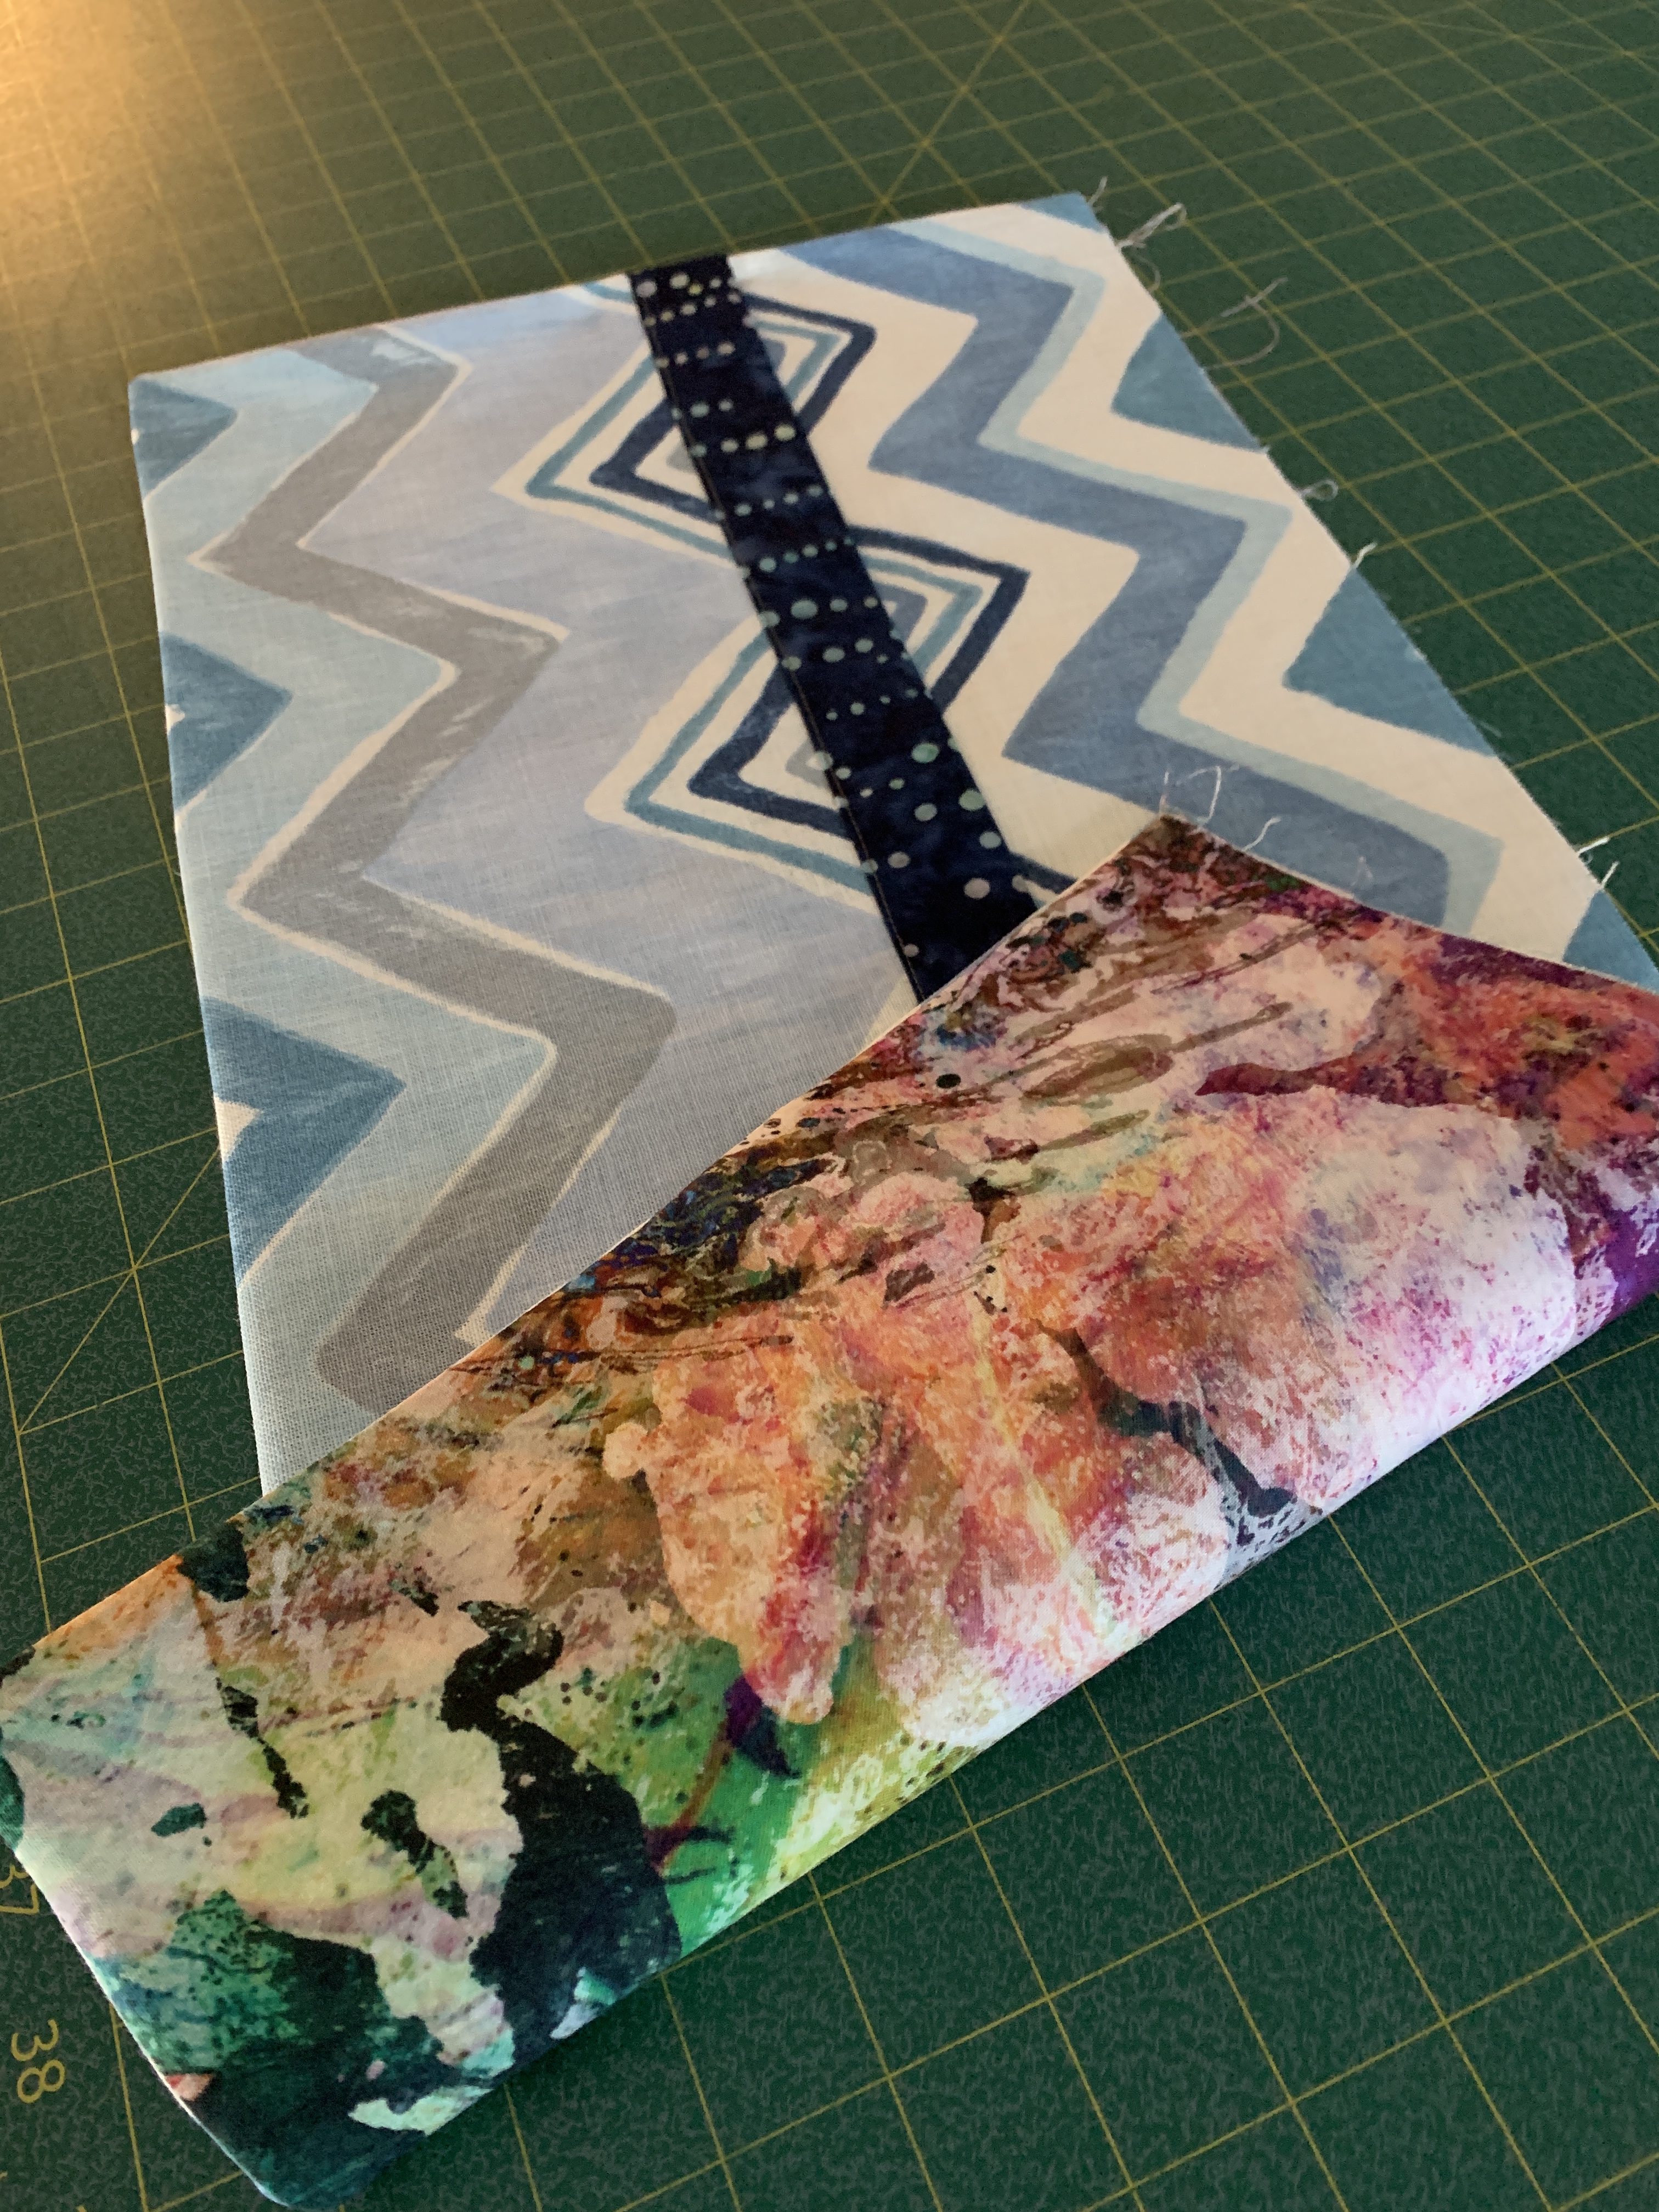 Layers of Fabric Before Shaping
I trimmed the 22″ x 10″ fabric to 20″ with slightly rounded bottom corners (see “pattern” above). I tapered the sides a bit leaving the top edge 18″ wide. I also ever-so-slightly curved the top edge to accommodate the belly. I placed the pocket fabric on top of the the apron body – aligning the bottoms and trimmed to match the body.
With the fabric shaped, on to facing the pocket.
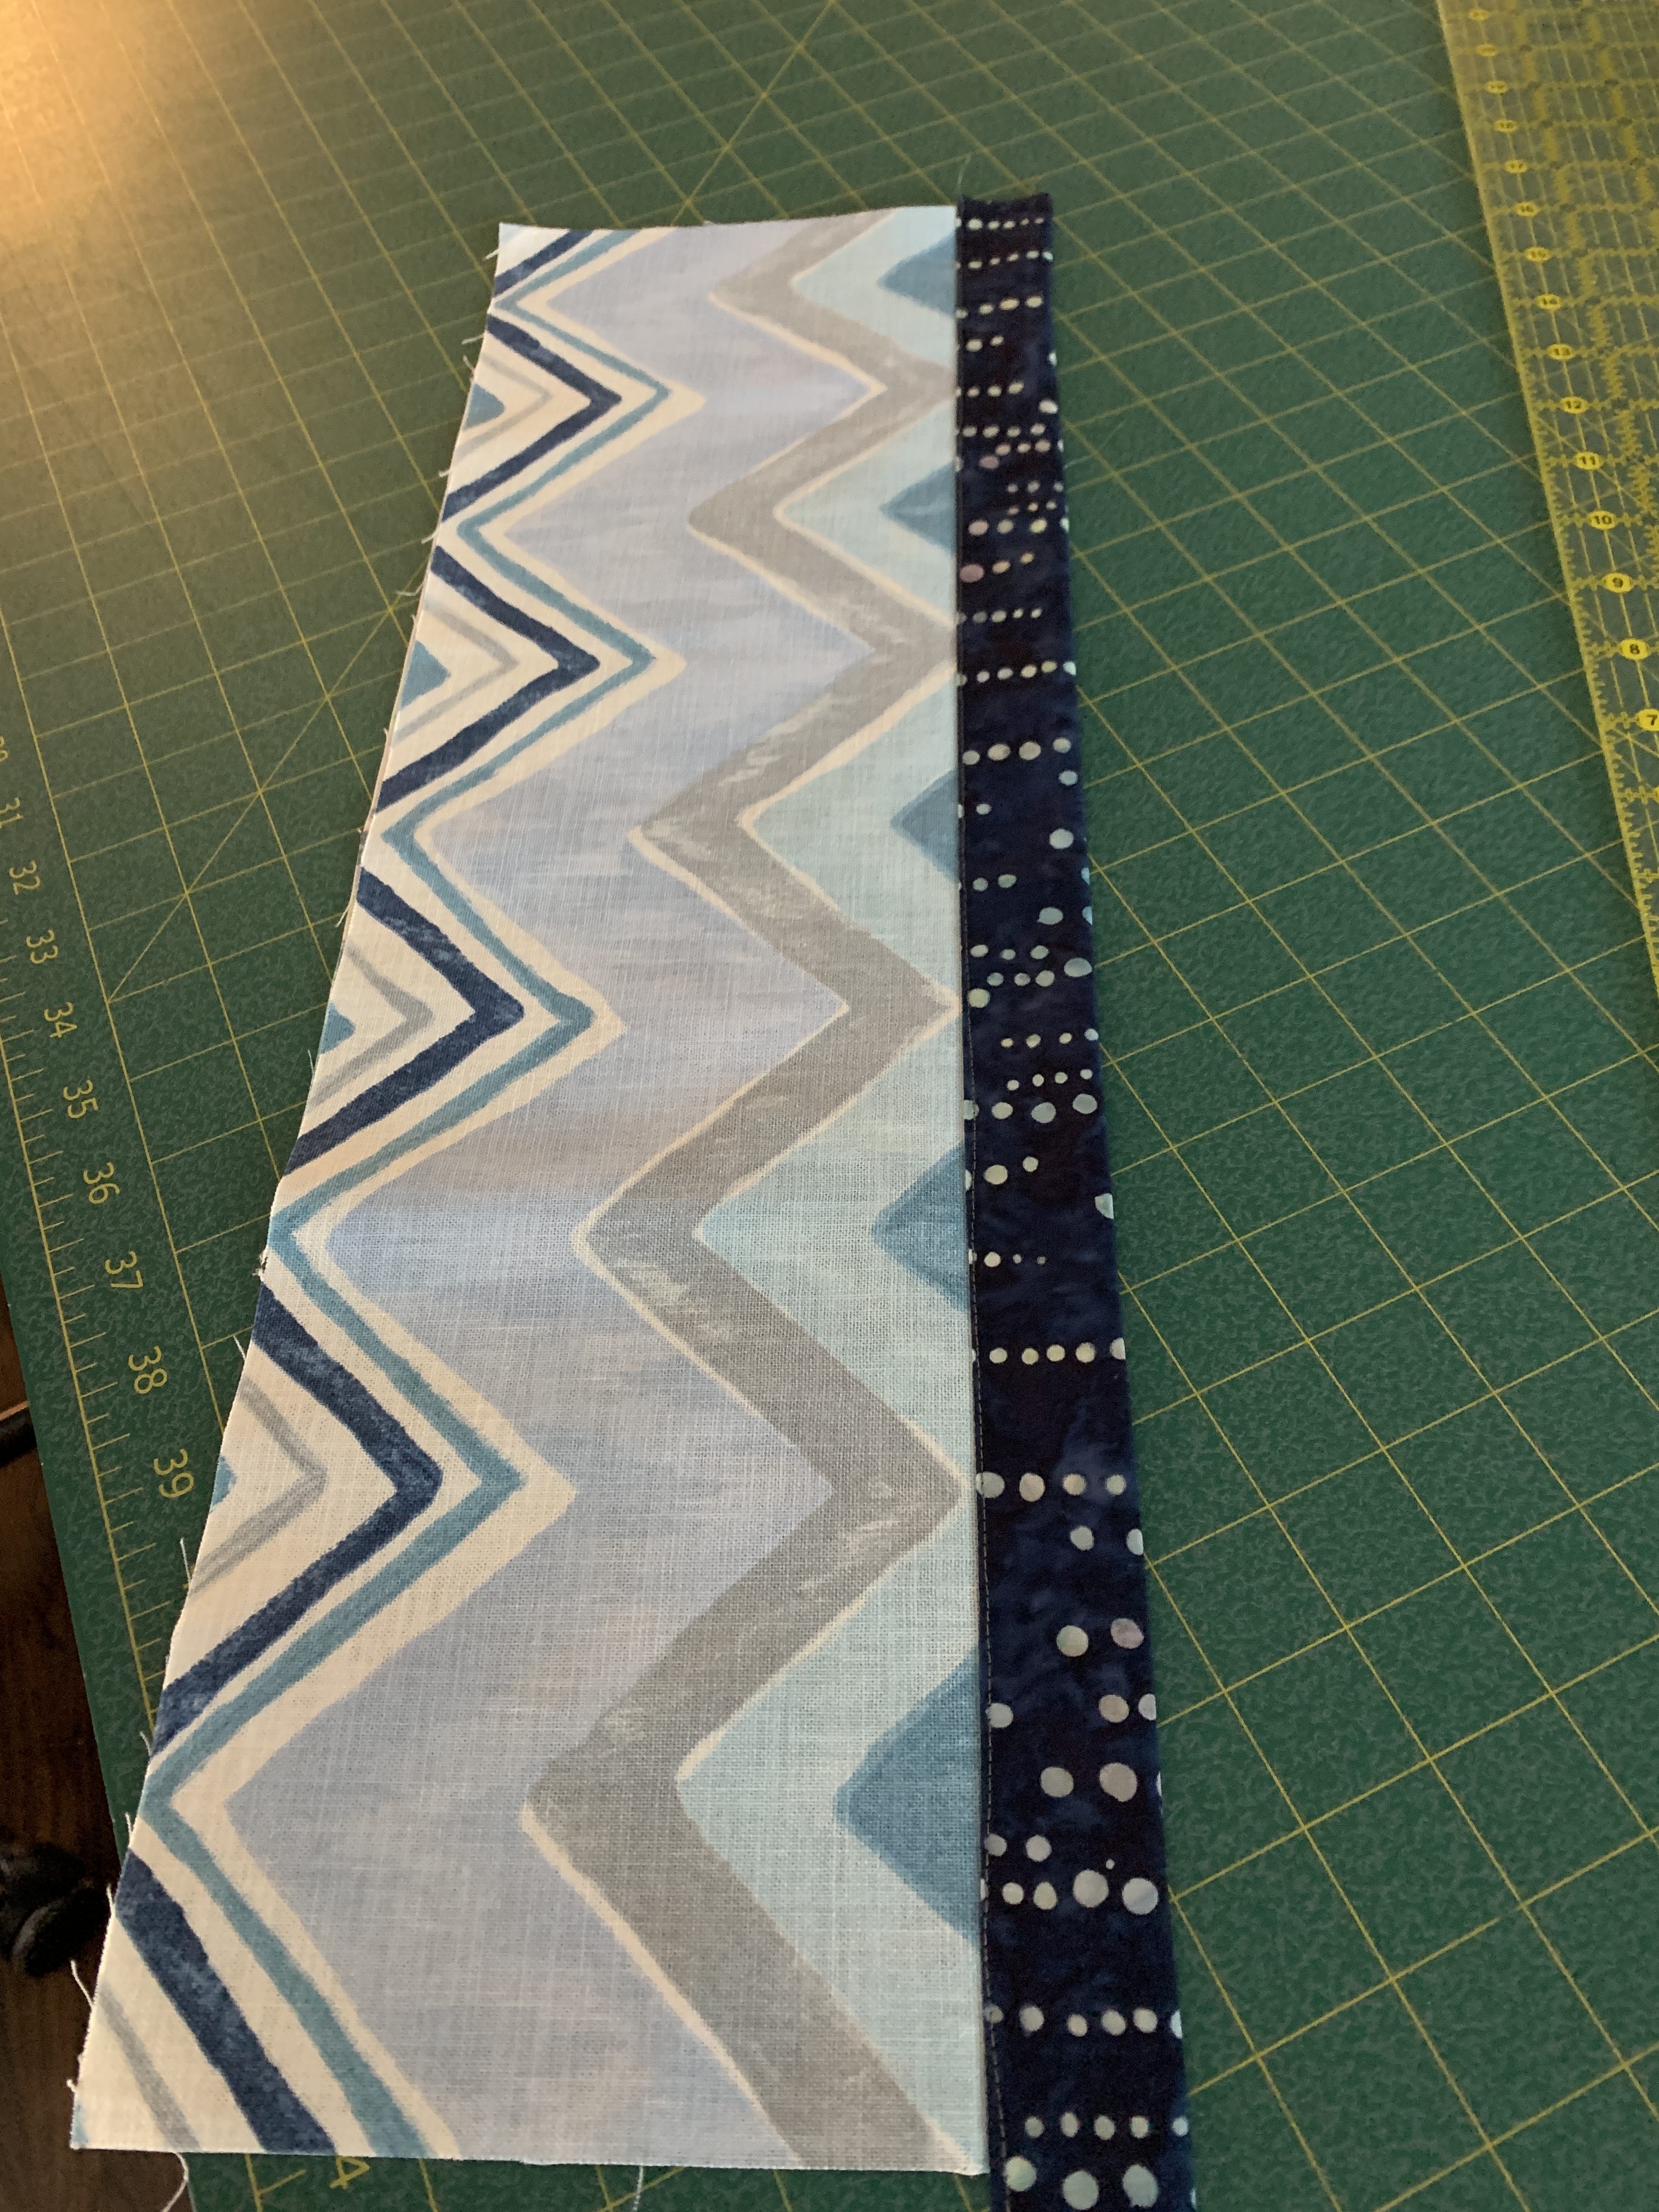
I cut one of the 3 1/2″ waistband pieces in half lengthwise giving me a 22″ facing strip (the other half becomes one of the ties). With the two pocket panel pieces (outside and lining wrong sides together) I aligned the facing fabric along one 20″ edge on the lining side (right sides together), stitched a 1/4″ seam.
 Apply Binding To Pocket on Lining Side – 1/4″ allowance
Folded the facing over the seam allowance toward the front,
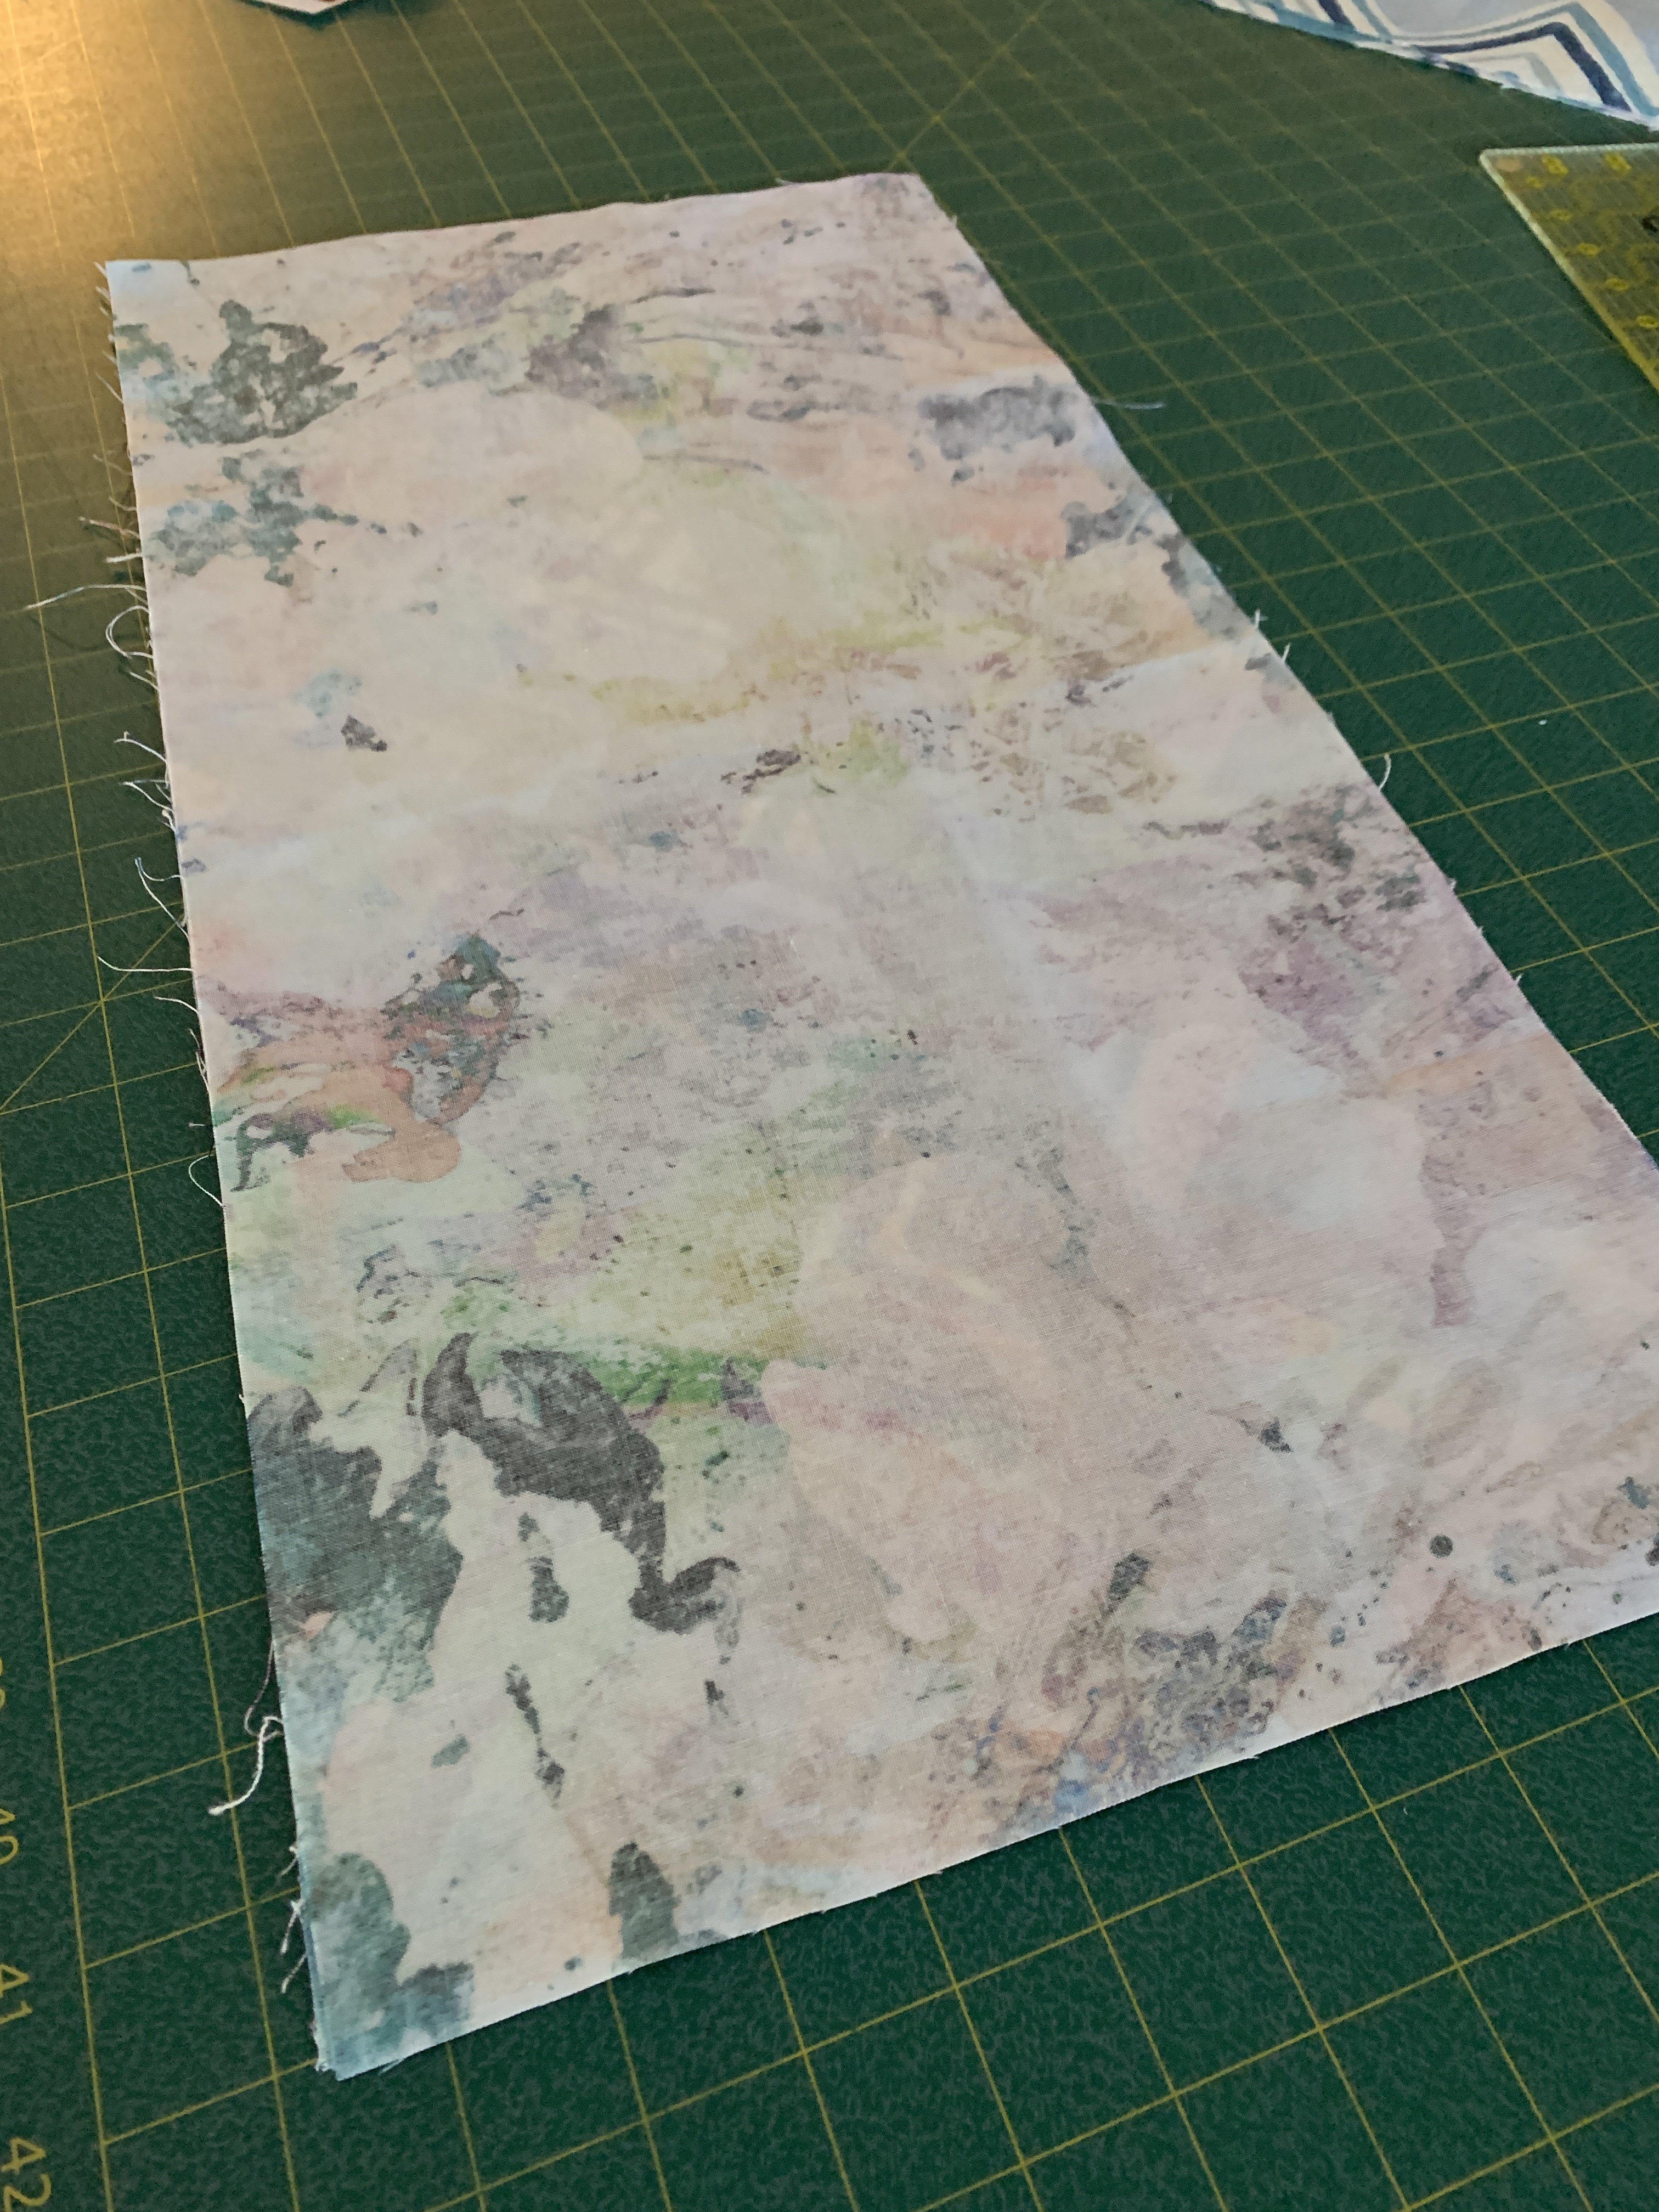
 Facing Completed on Lining Side Of Pocket Panel
folded under the bottom edge of the facing, pressed and top stitched to the front of the pocket panel.
 Pocket Panel Facing Top Stitched
With the pocket panel faced, I laid it on the body fabric (back of pocket to right side of the outside body panel),
 Pocket Laid On Top Of Body Panel
covered the pocket with the body lining fabric (in other words, I had a sandwich: lining fabric face down on top, pocket panel, outside body fabric face up on the bottom).
 Tool Belt “Sandwich” – with Lining On Top
I sewed down one side across the bottom and up the other side – turned the apron body right side out, pressed – making sure the open top edges matched (I pinned the top edges so they’d stay together when I pinned the waistband in place).
Next, the waistband. I interfaced the remaining piece of facing fabric to make the waistband more stable, laid it (right side down, interfacing side up) across the top open edge of the WRONG side of the belt, stitched a 1/4″ seam, pressed seam open, folded waistband in half, turned in the raw edge 1/4″, pressed.
Before stitching the open edge to the front of the tool belt, I cut the second 3 1/2″ facing/waistband piece in half lengthwise and attached each half to the ends of the waistband, folded in half lengthwise, turned in the edges, pressed. I folded in the ends of the ties and pinned them.
Then starting at the end of one of the ties, I edge-stitched the end, than the open edge of the first tie, across the waistband, folded edge aligned to just cover the seam, and continuing to the end of the second tie and across the end.
I press the ties and waistband. DONE!
 Teacher’s Tool Belt
It all sounds a lot more complicated than the actual assembly is. The second tool belt (to be constructed from the leftovers from the first) will go much more quickly because I’ve already figured out the order of construction.
- Cut out and shape outer fabric and lining; cut fabric for pocket facing/waistband and ties
- Face Pocket
- Make tool belt sandwich) body fabric on bottom / pocket / lining fabric face down on top
- Stitch around sides leaving waist edge open – turn right side out, press
- Stitch pockets
- Add waistband, ties
BTW, I’m not going into production for those other teachers who will want one themselves when they’ve seen the tool belts I’ve made for Suzanne and Maxelle!

What a great idea. And that fabric choice just looks so great.
I gave the tool belt to Suzanne last evening – she was thrilled with it. Wanted to know if I was ready to go into business for the teachers on her staff – NO WAY, I told her. I’ve got quilts and wall art to get done.