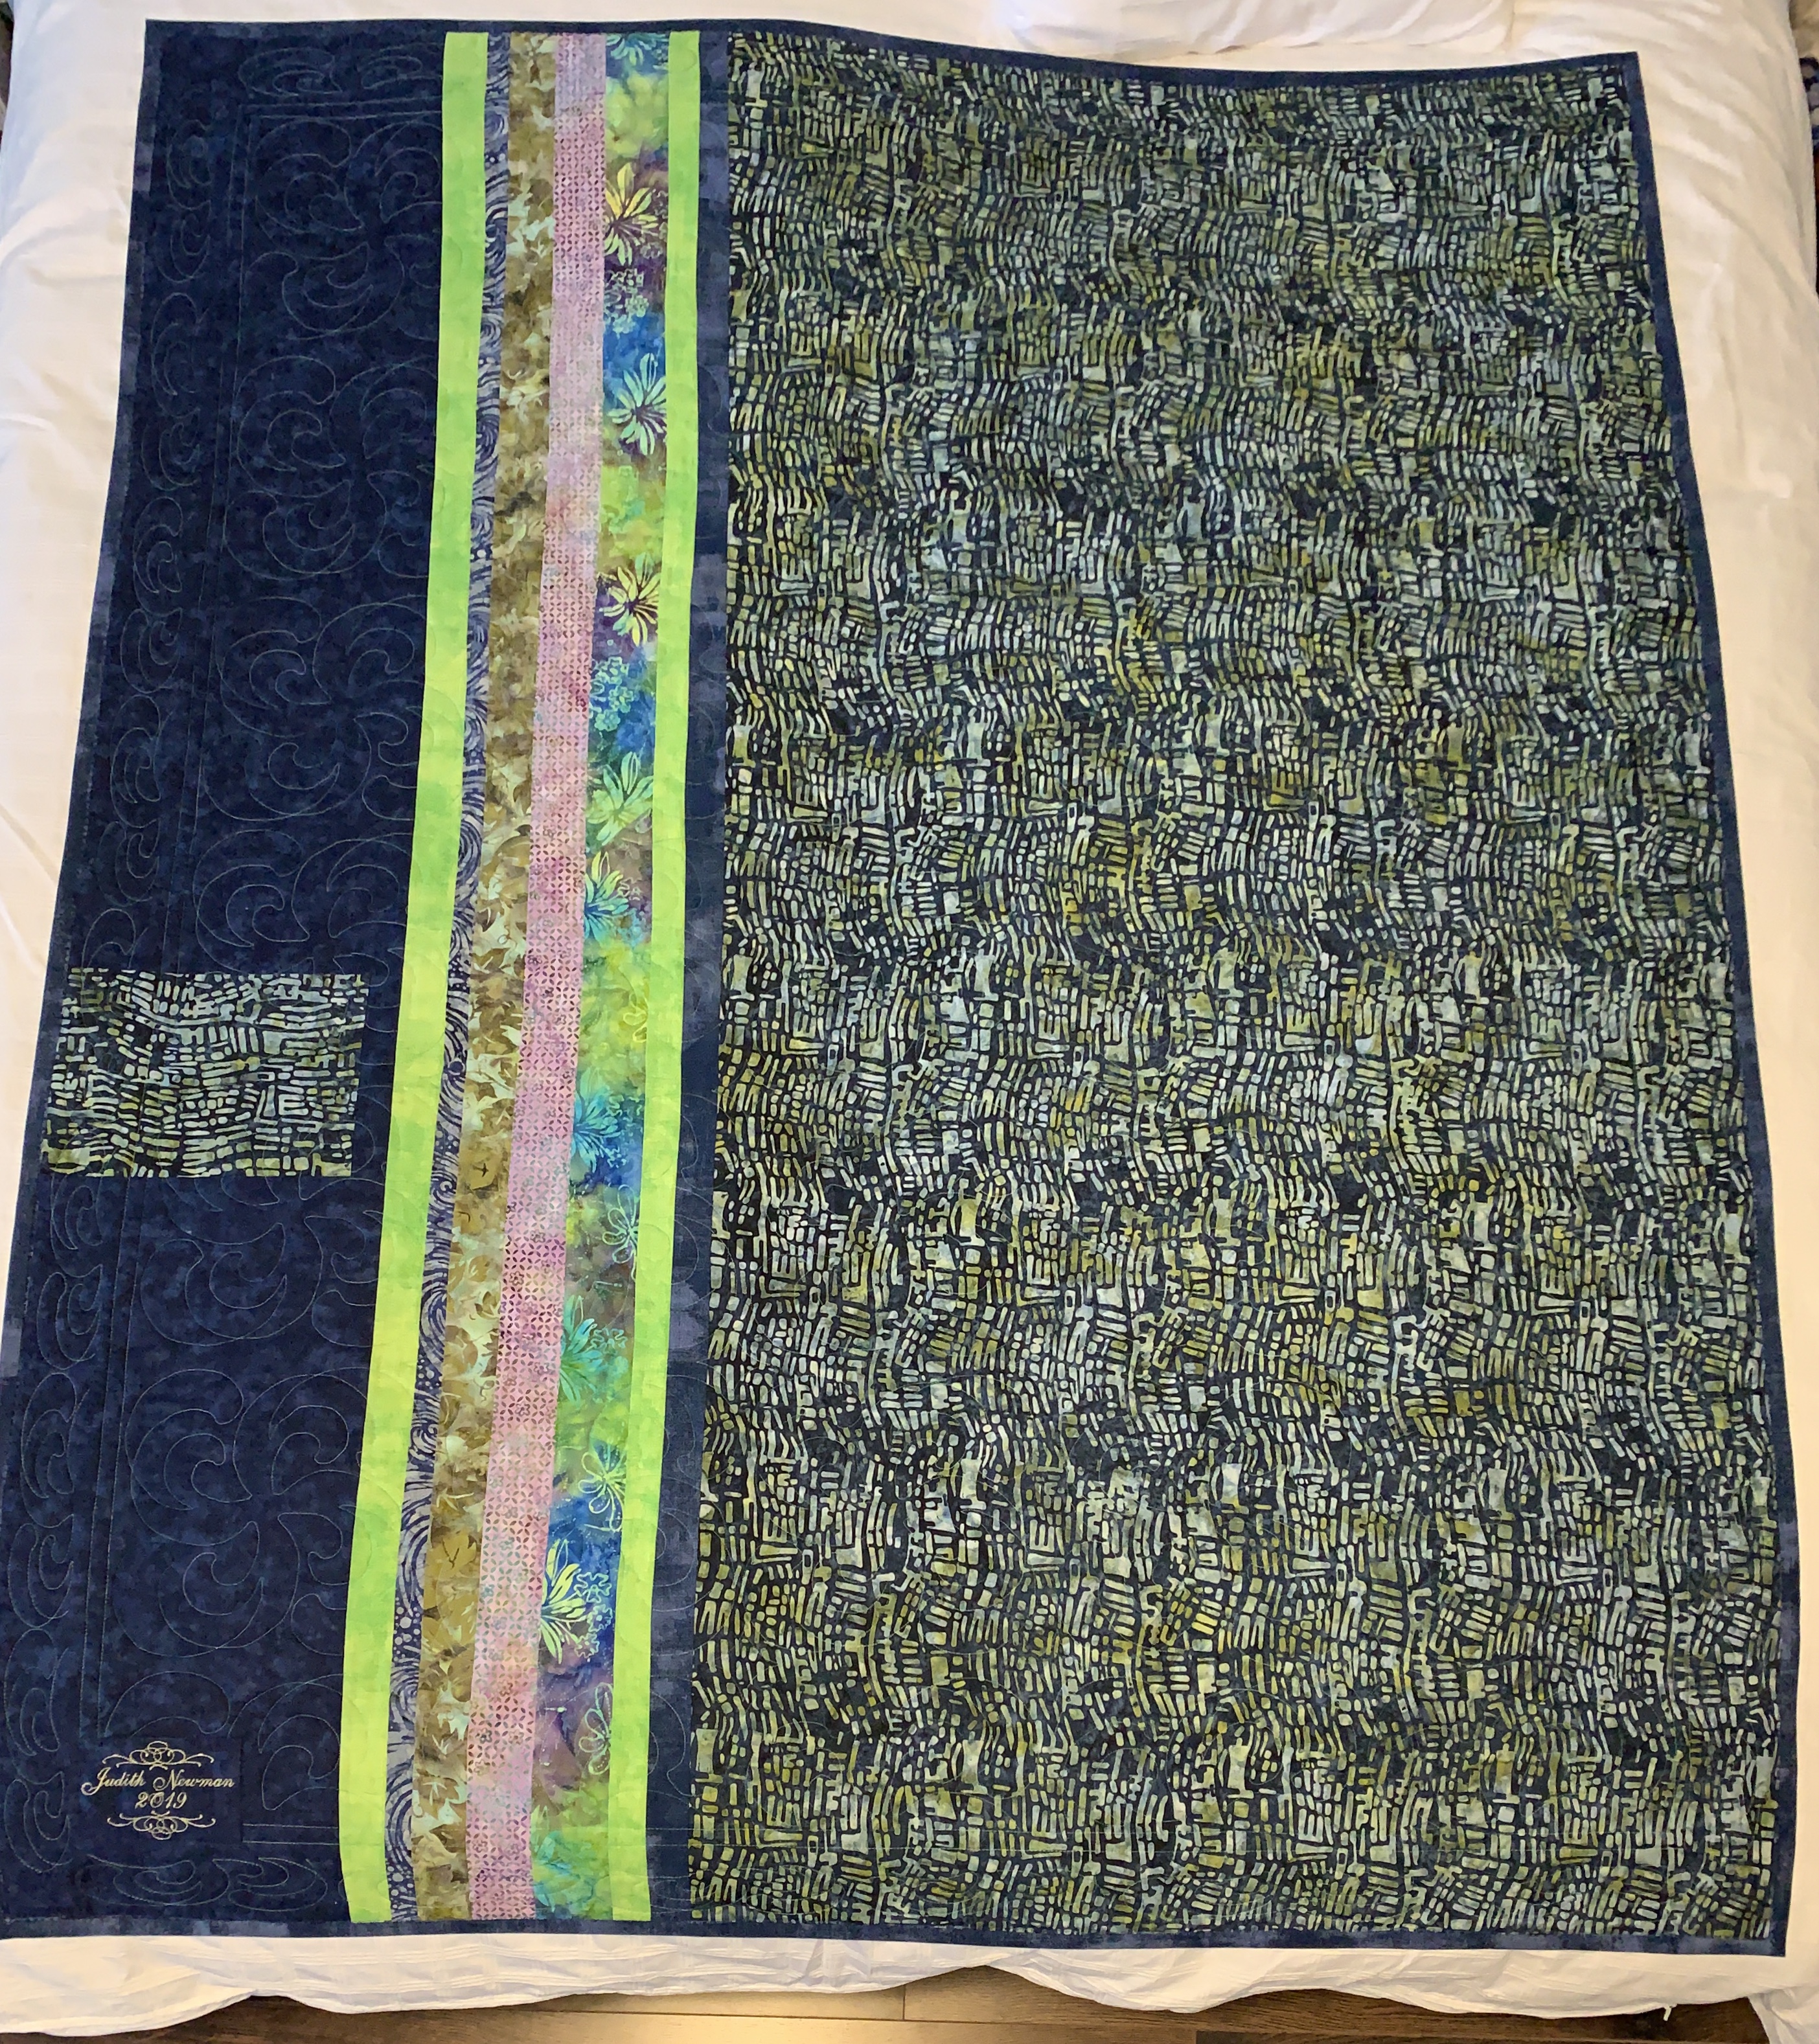
I want to make a new quilt for the upcoming show at the Central Library from mid-June to end of July. I will only be able to hang maybe 6 quilts and a couple of smaller pieces. I’ve got enough “circle” quilts if I add a new one. I’ve been thinking about extending the two layer idea I used for the last piece I did for Parrsboro last summer.

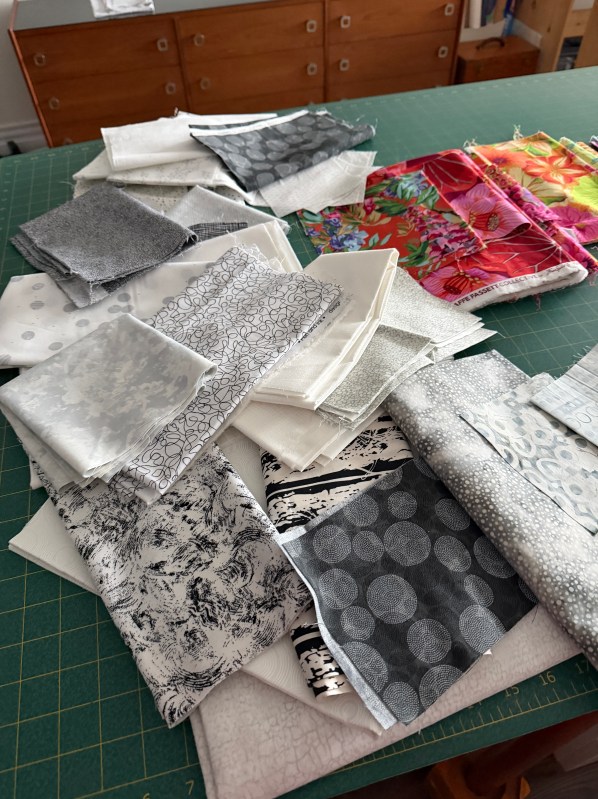
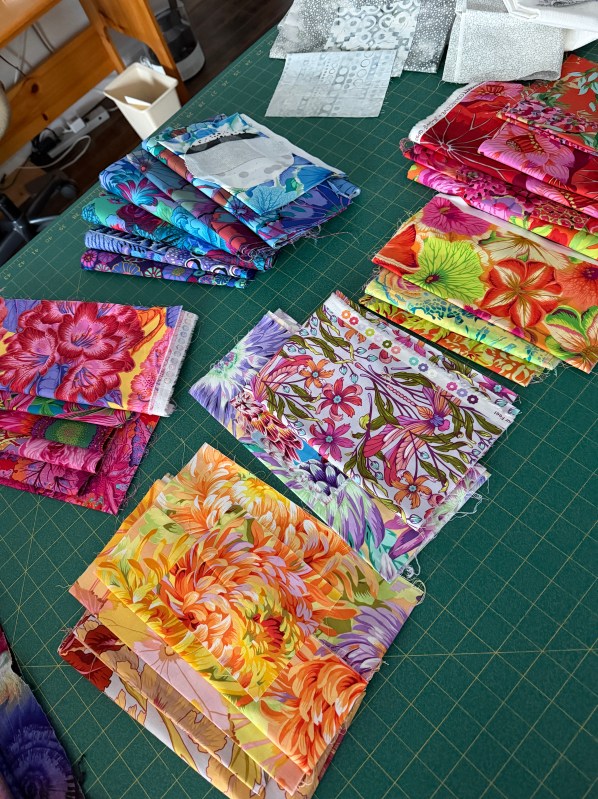
I want a throw (48″x 60″ – more or less). And I want to combine a “Double Vision” idea with multiple sized circles. I have no idea how to do that yet. I plan to start by cutting 5 1/2″ squares from the black and whites, and 5″, 3 1/2″ and 2″ circles from the Kaffe Fassett prints.
I thought briefly about creating the circles using Drunkard’s Path, but I think I will simply appliqué the circles on. I also want to use X-shaped pieces from the prints to reveal circles in the background black and whites.
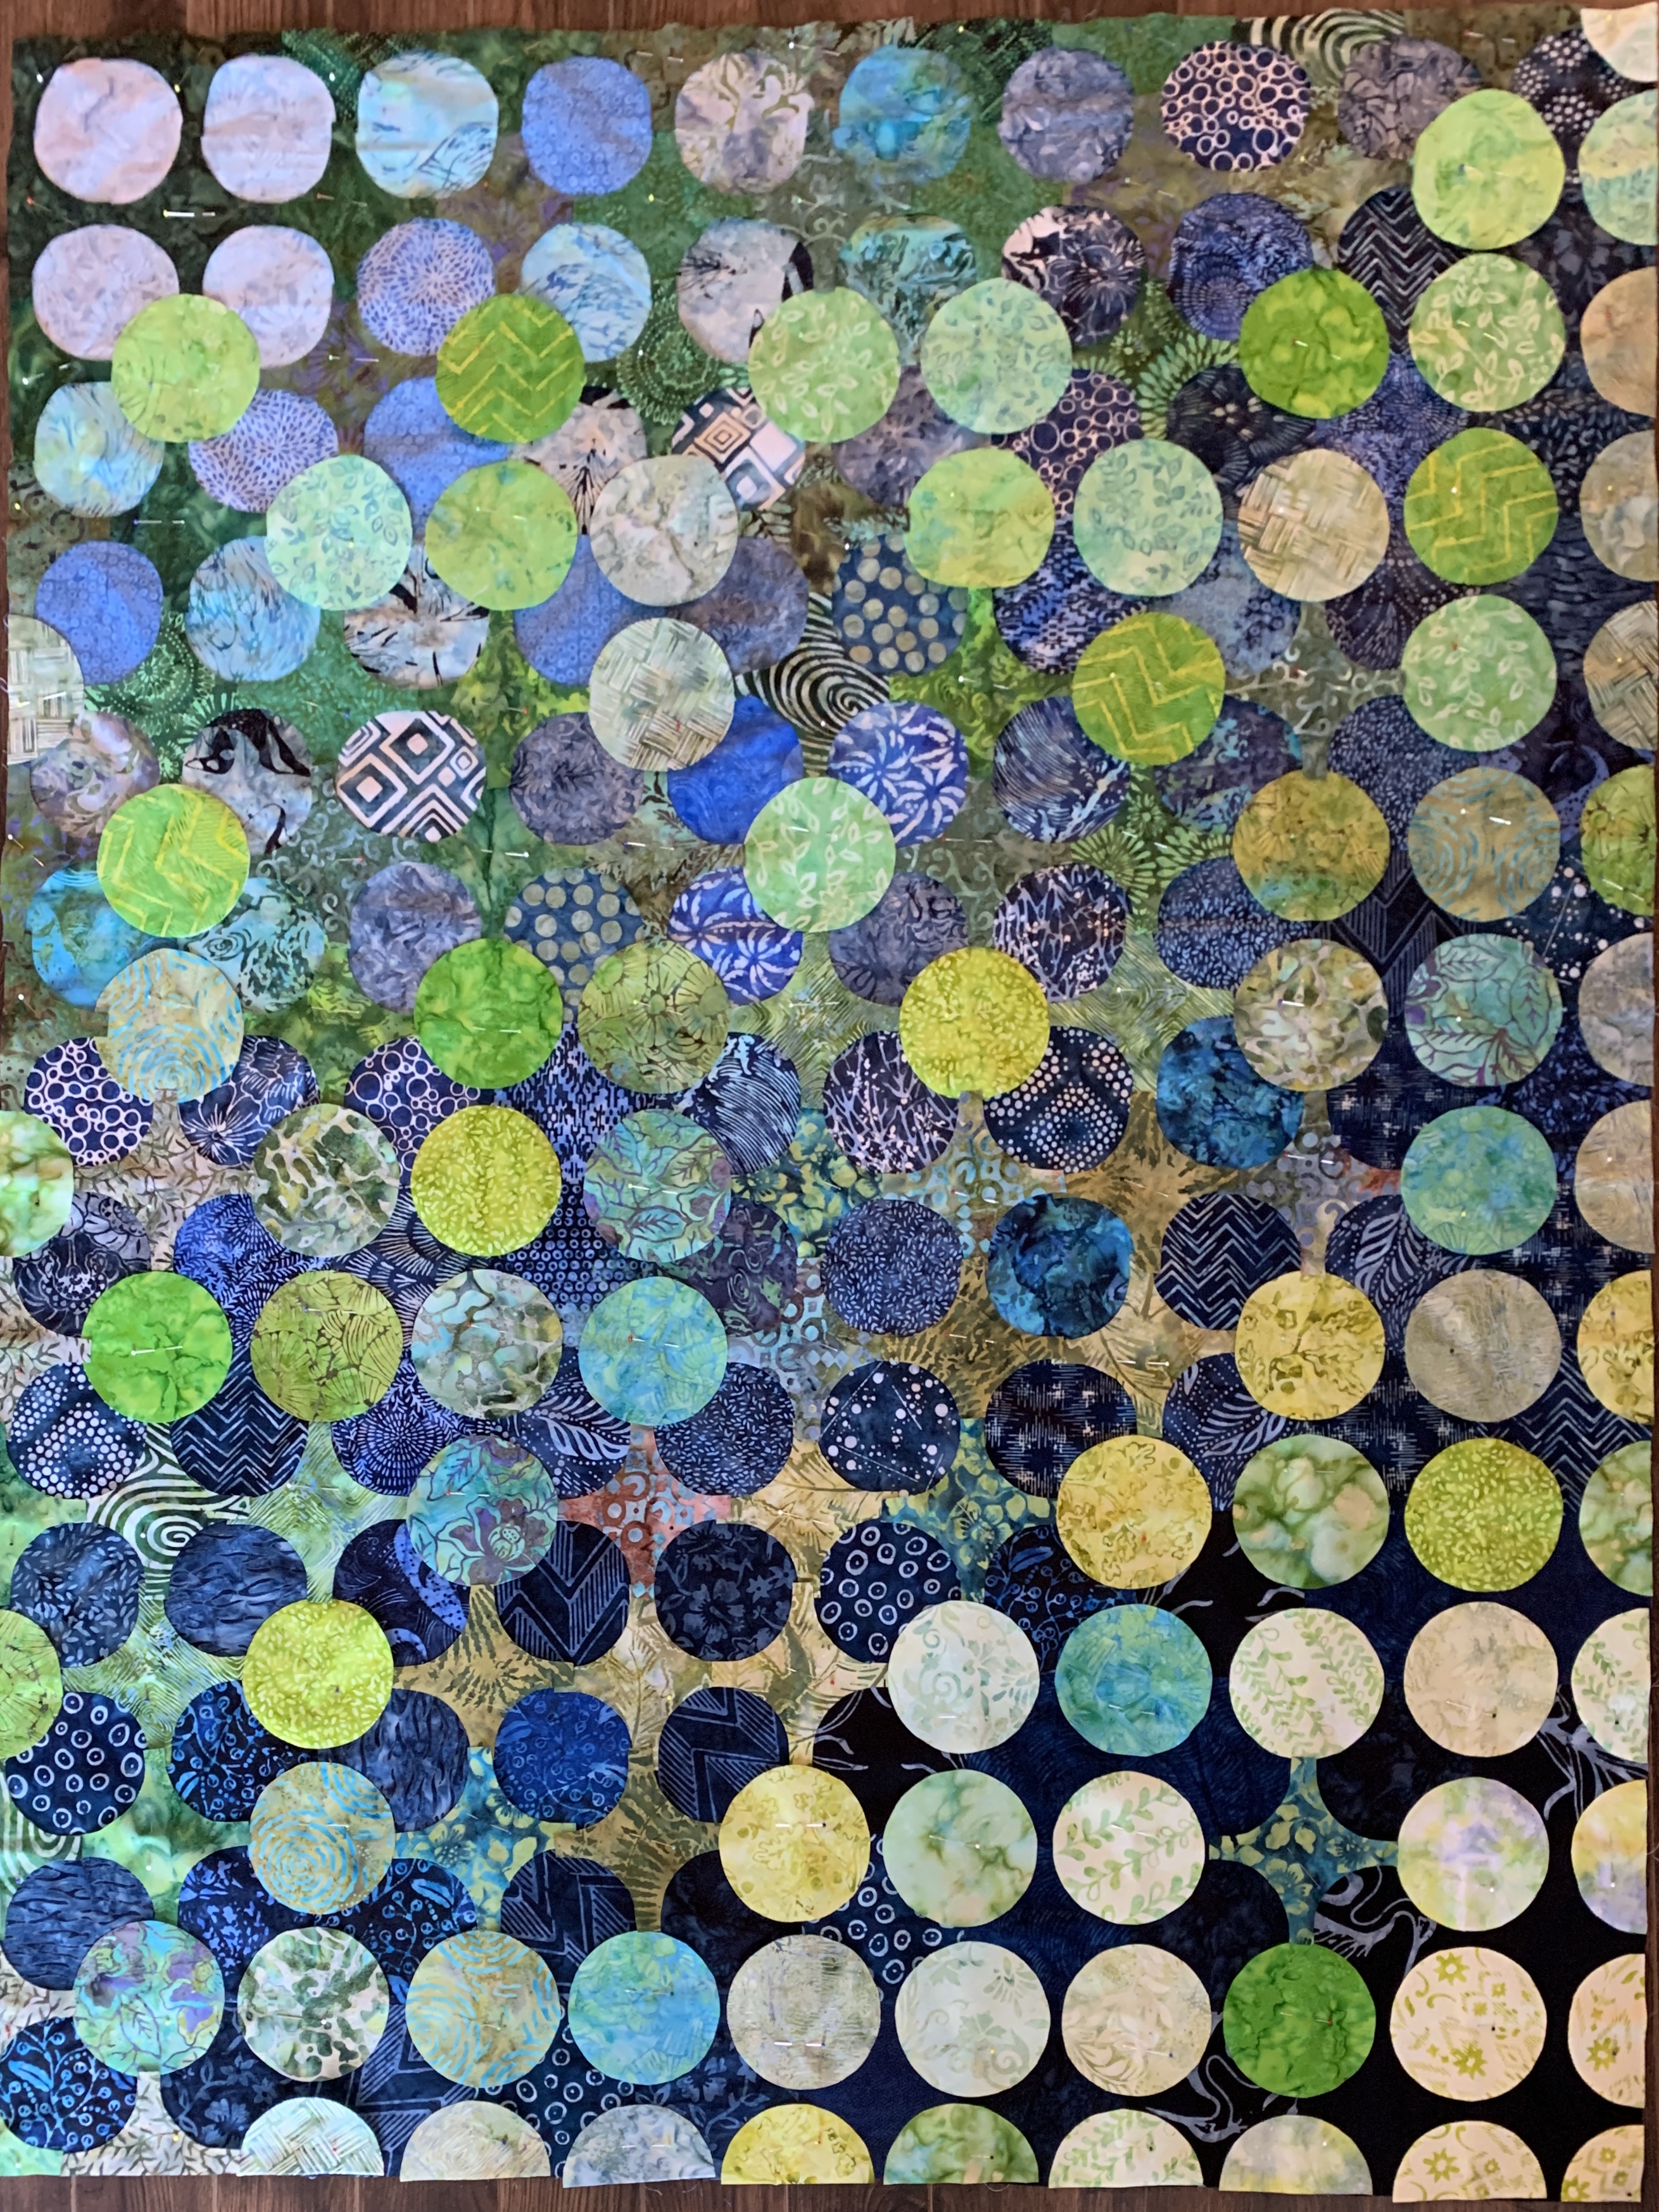
I’ve done two double vision quilts:
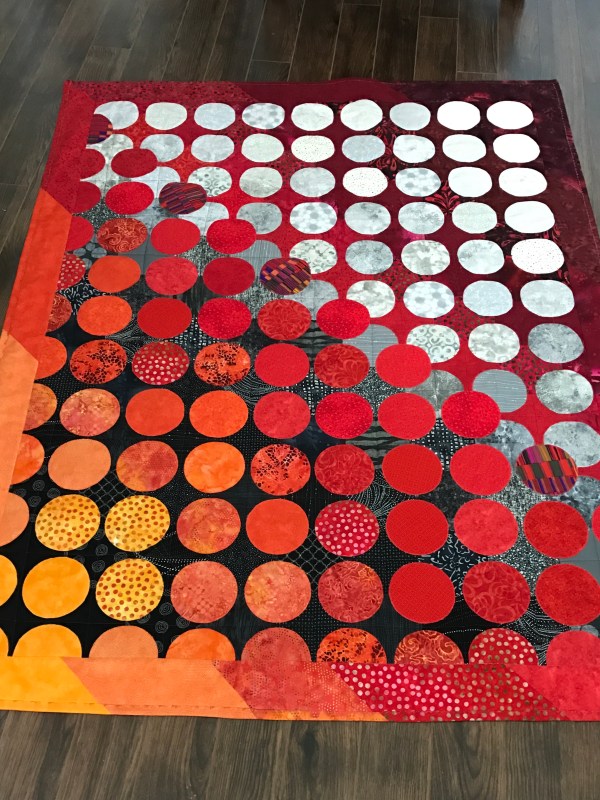

These two used circles all the same size. This time, I want to vary the size of the circles…
Here goes!