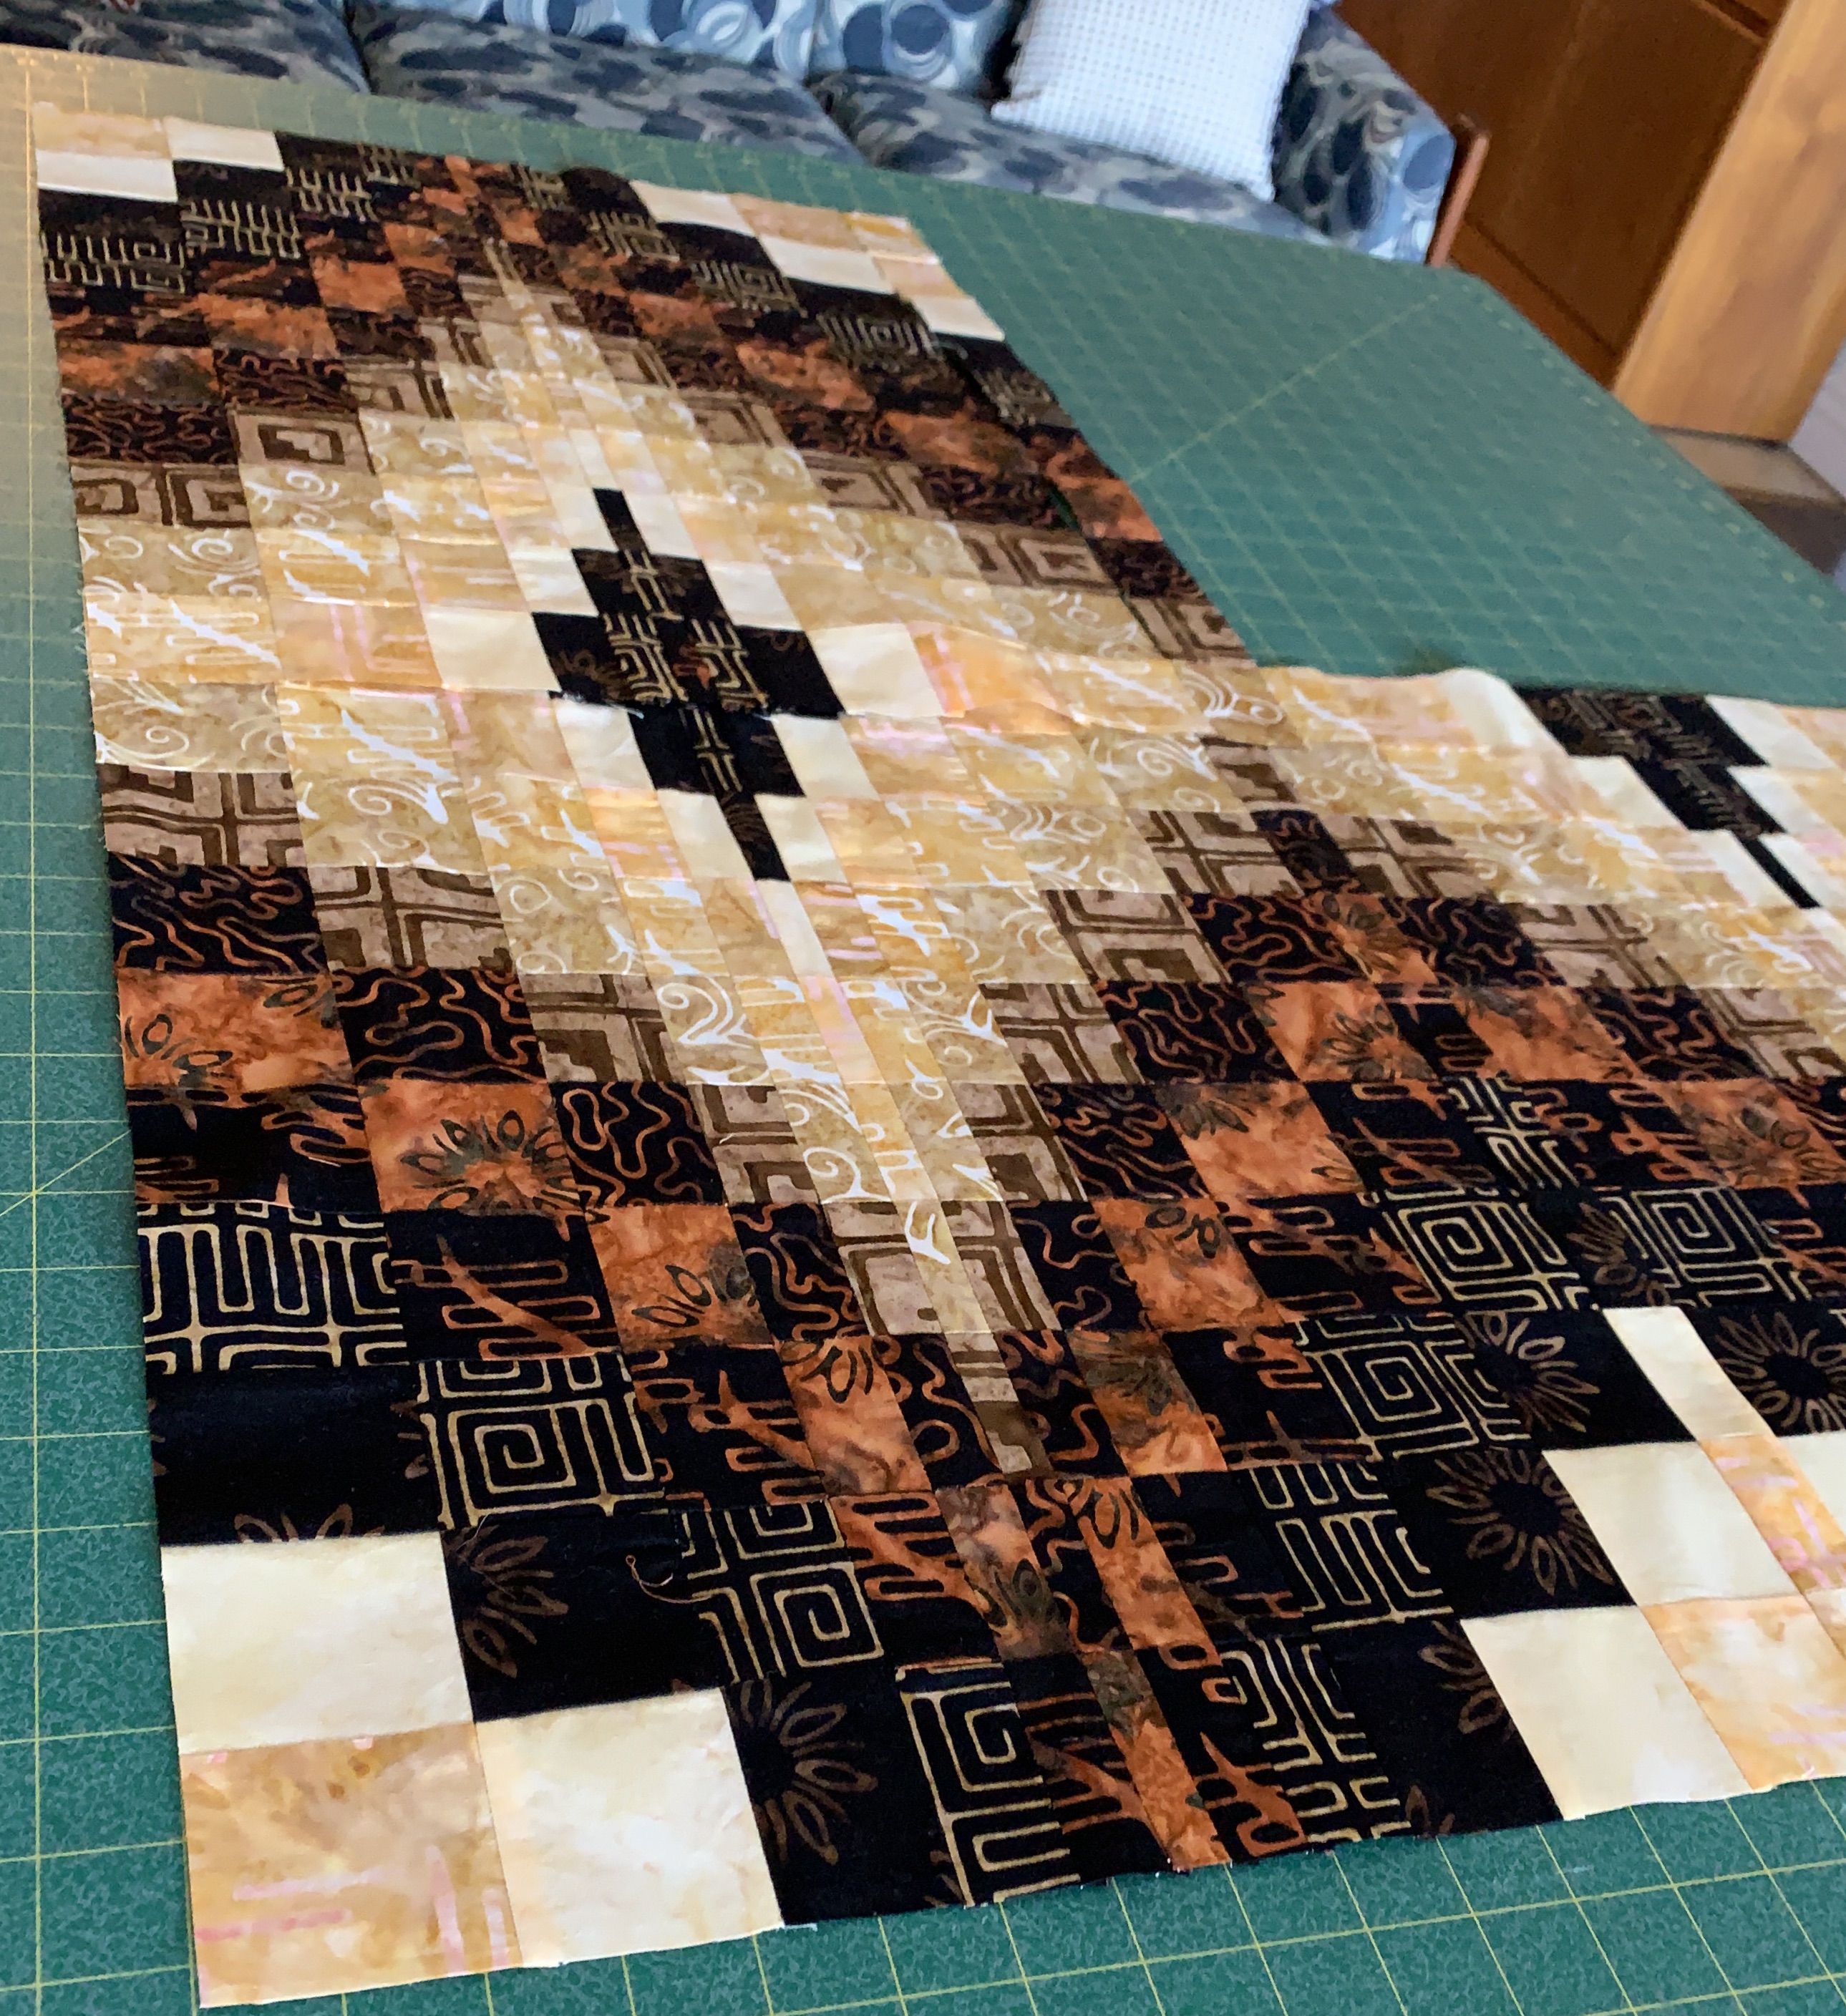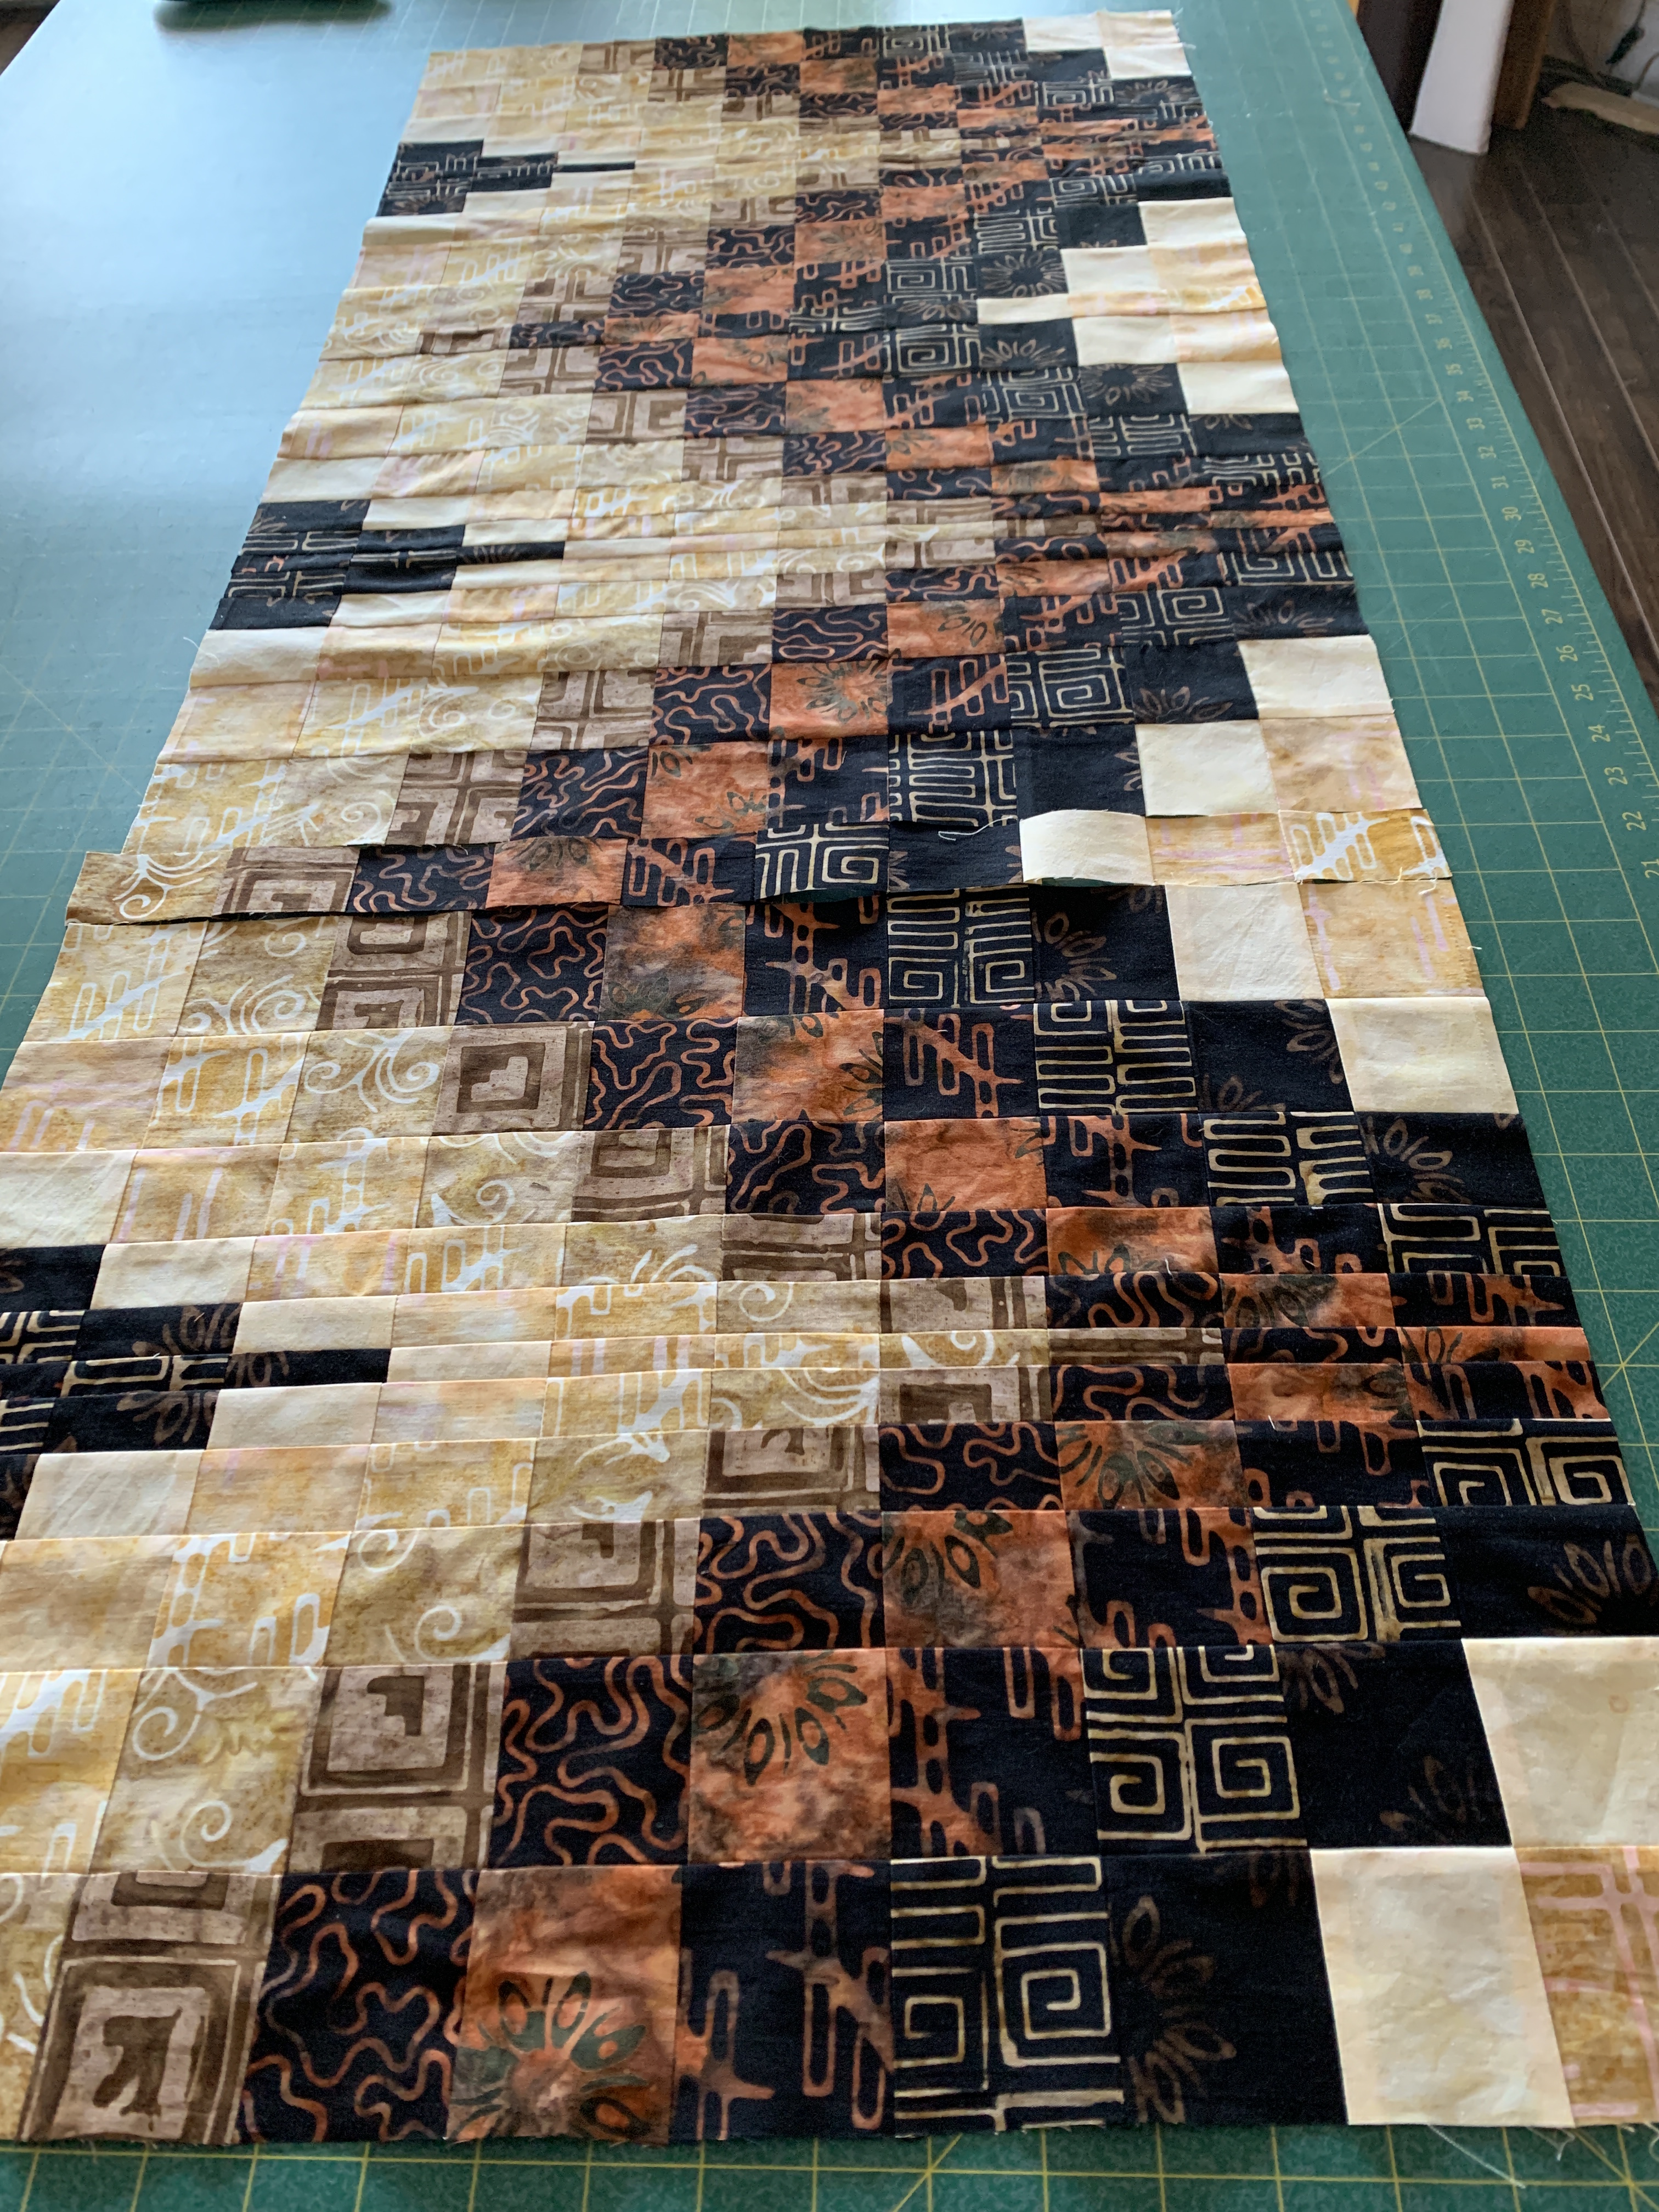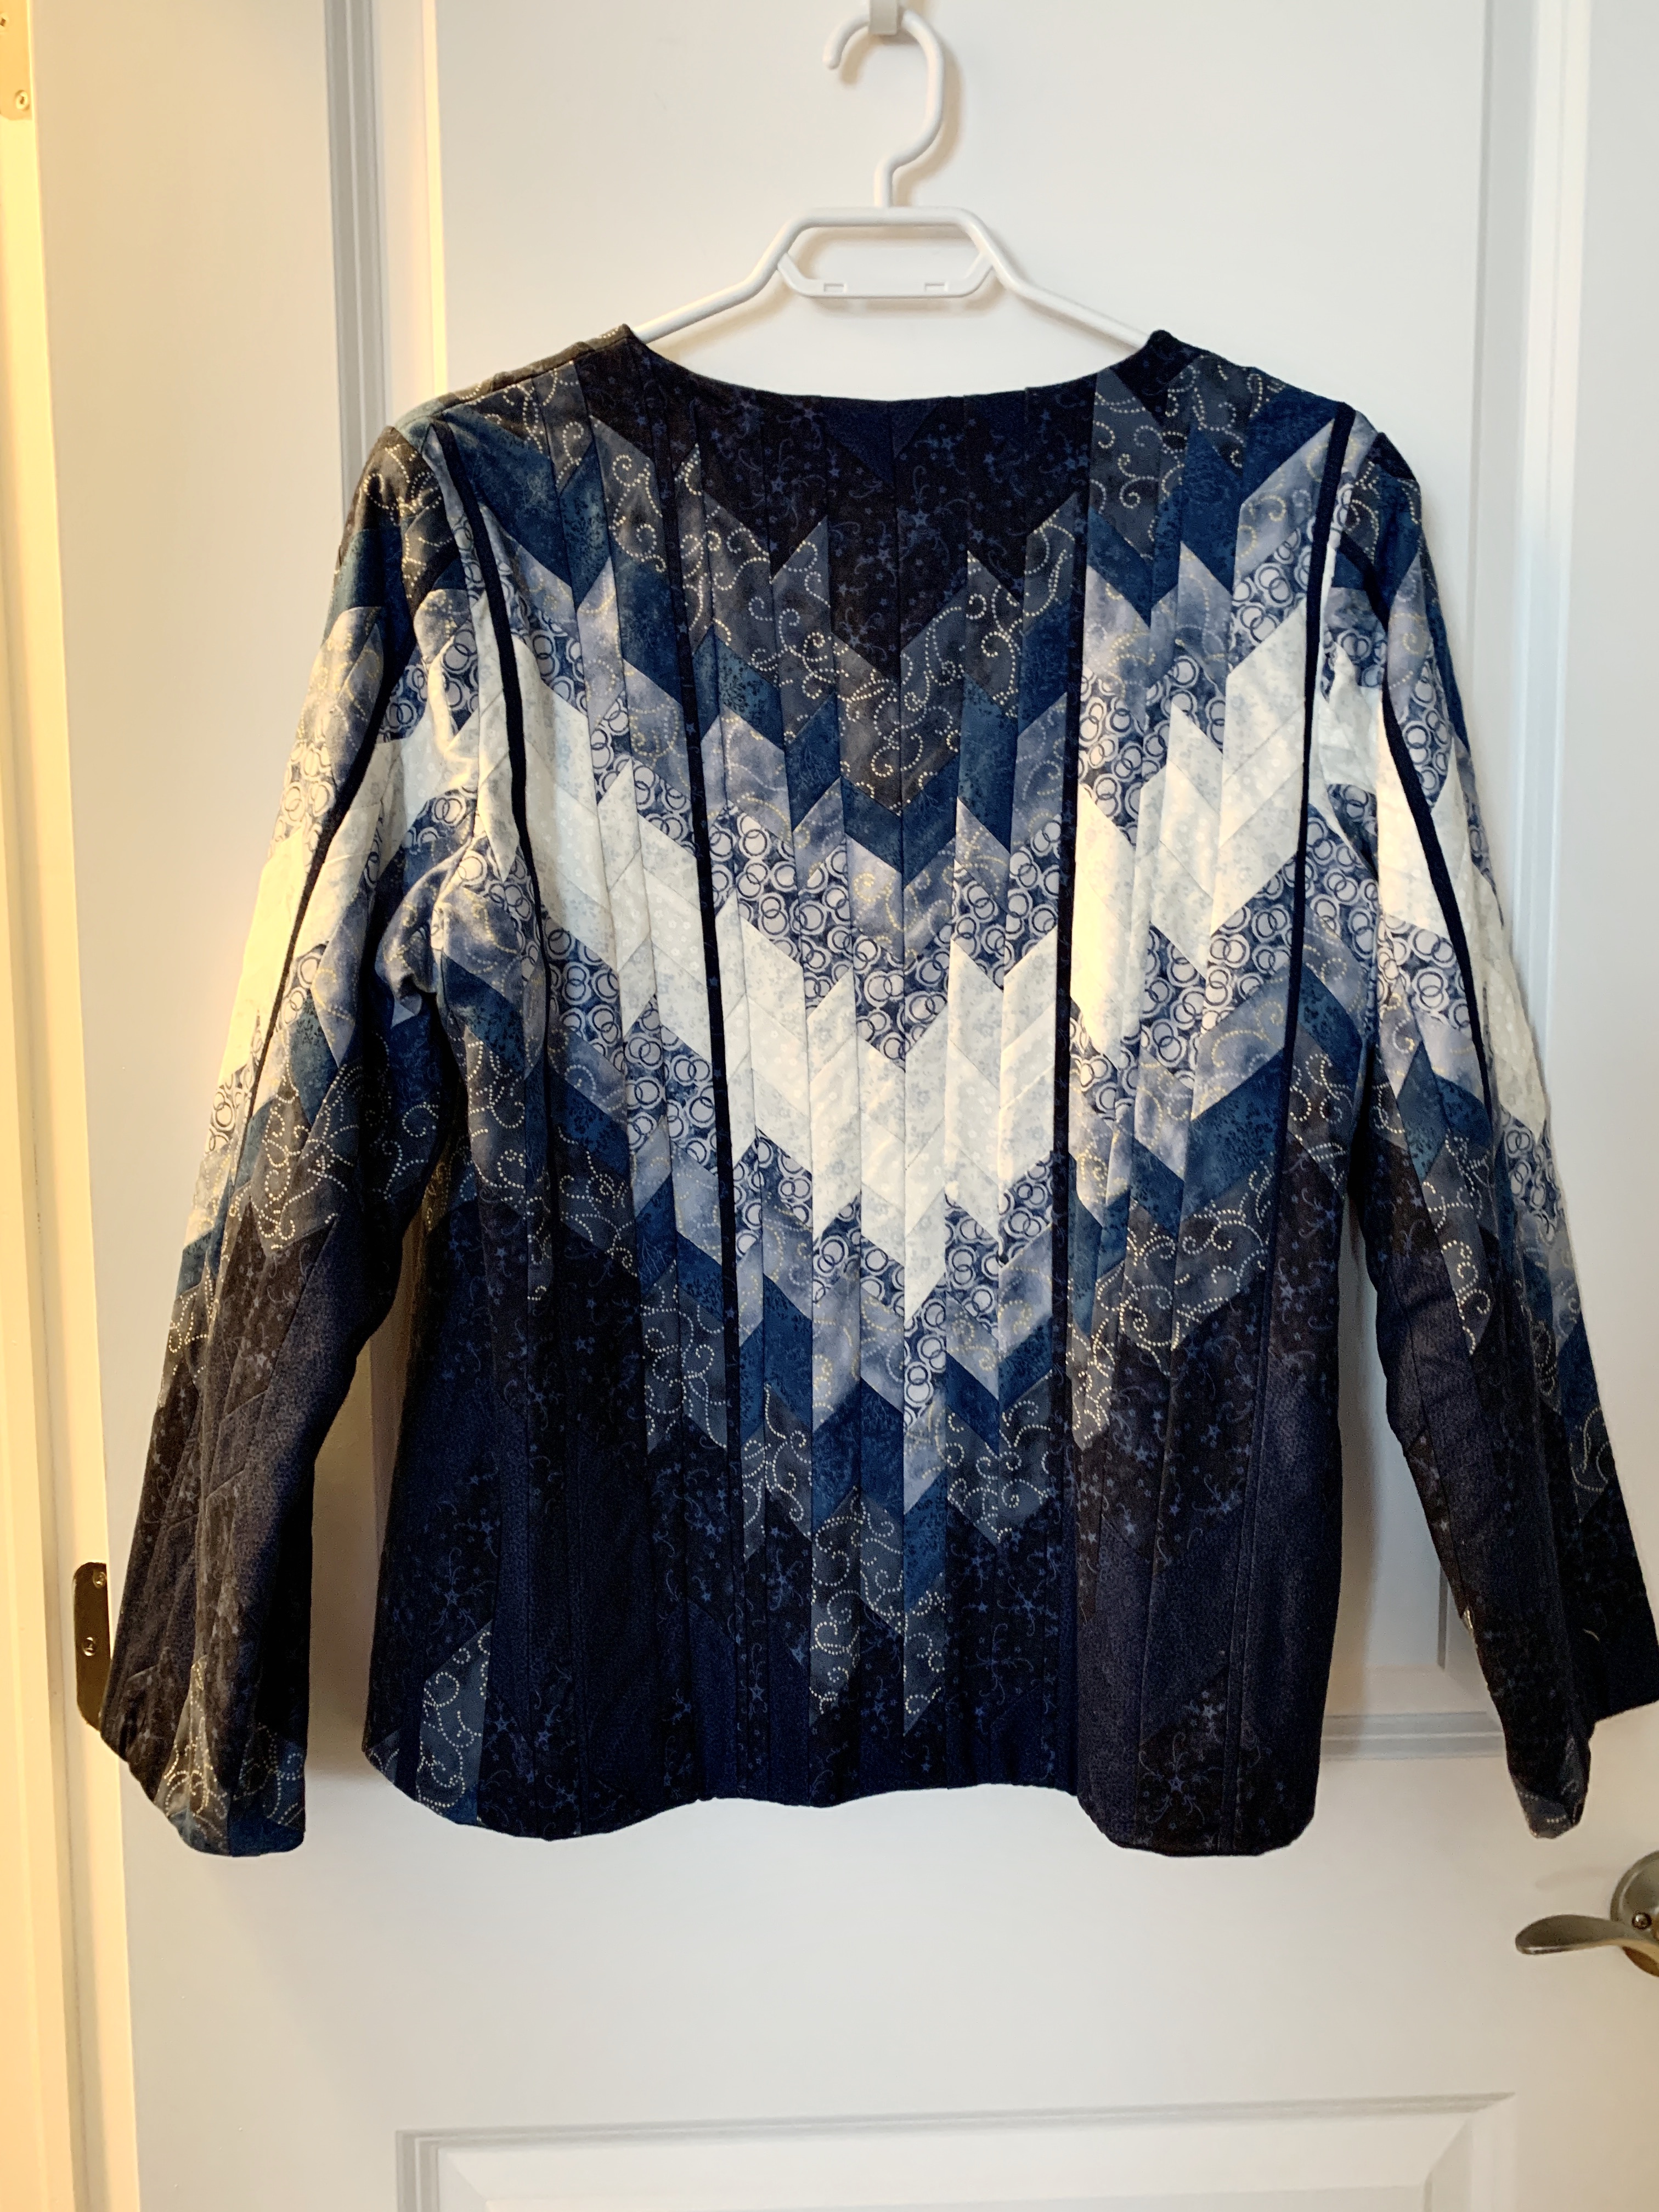
I just finished sewing all 108 blocks together – they need a bit more pressing but I’m now ready to move on to the next step – adding contrasting circles and embroidery to make this a double layer quilt. Later this afternoon, I’ll add fusible web to the back of my pile of blue fabric scraps and begin cutting out circles in many different sizes to fuse to the top.
I’ve already spend a couple of hours looking through my embroidery design collection for circular shaped embroideries – I’ve put several in a folder so I can locate them later. They’ll all need modifying for size and included elements. It takes a lot of time!
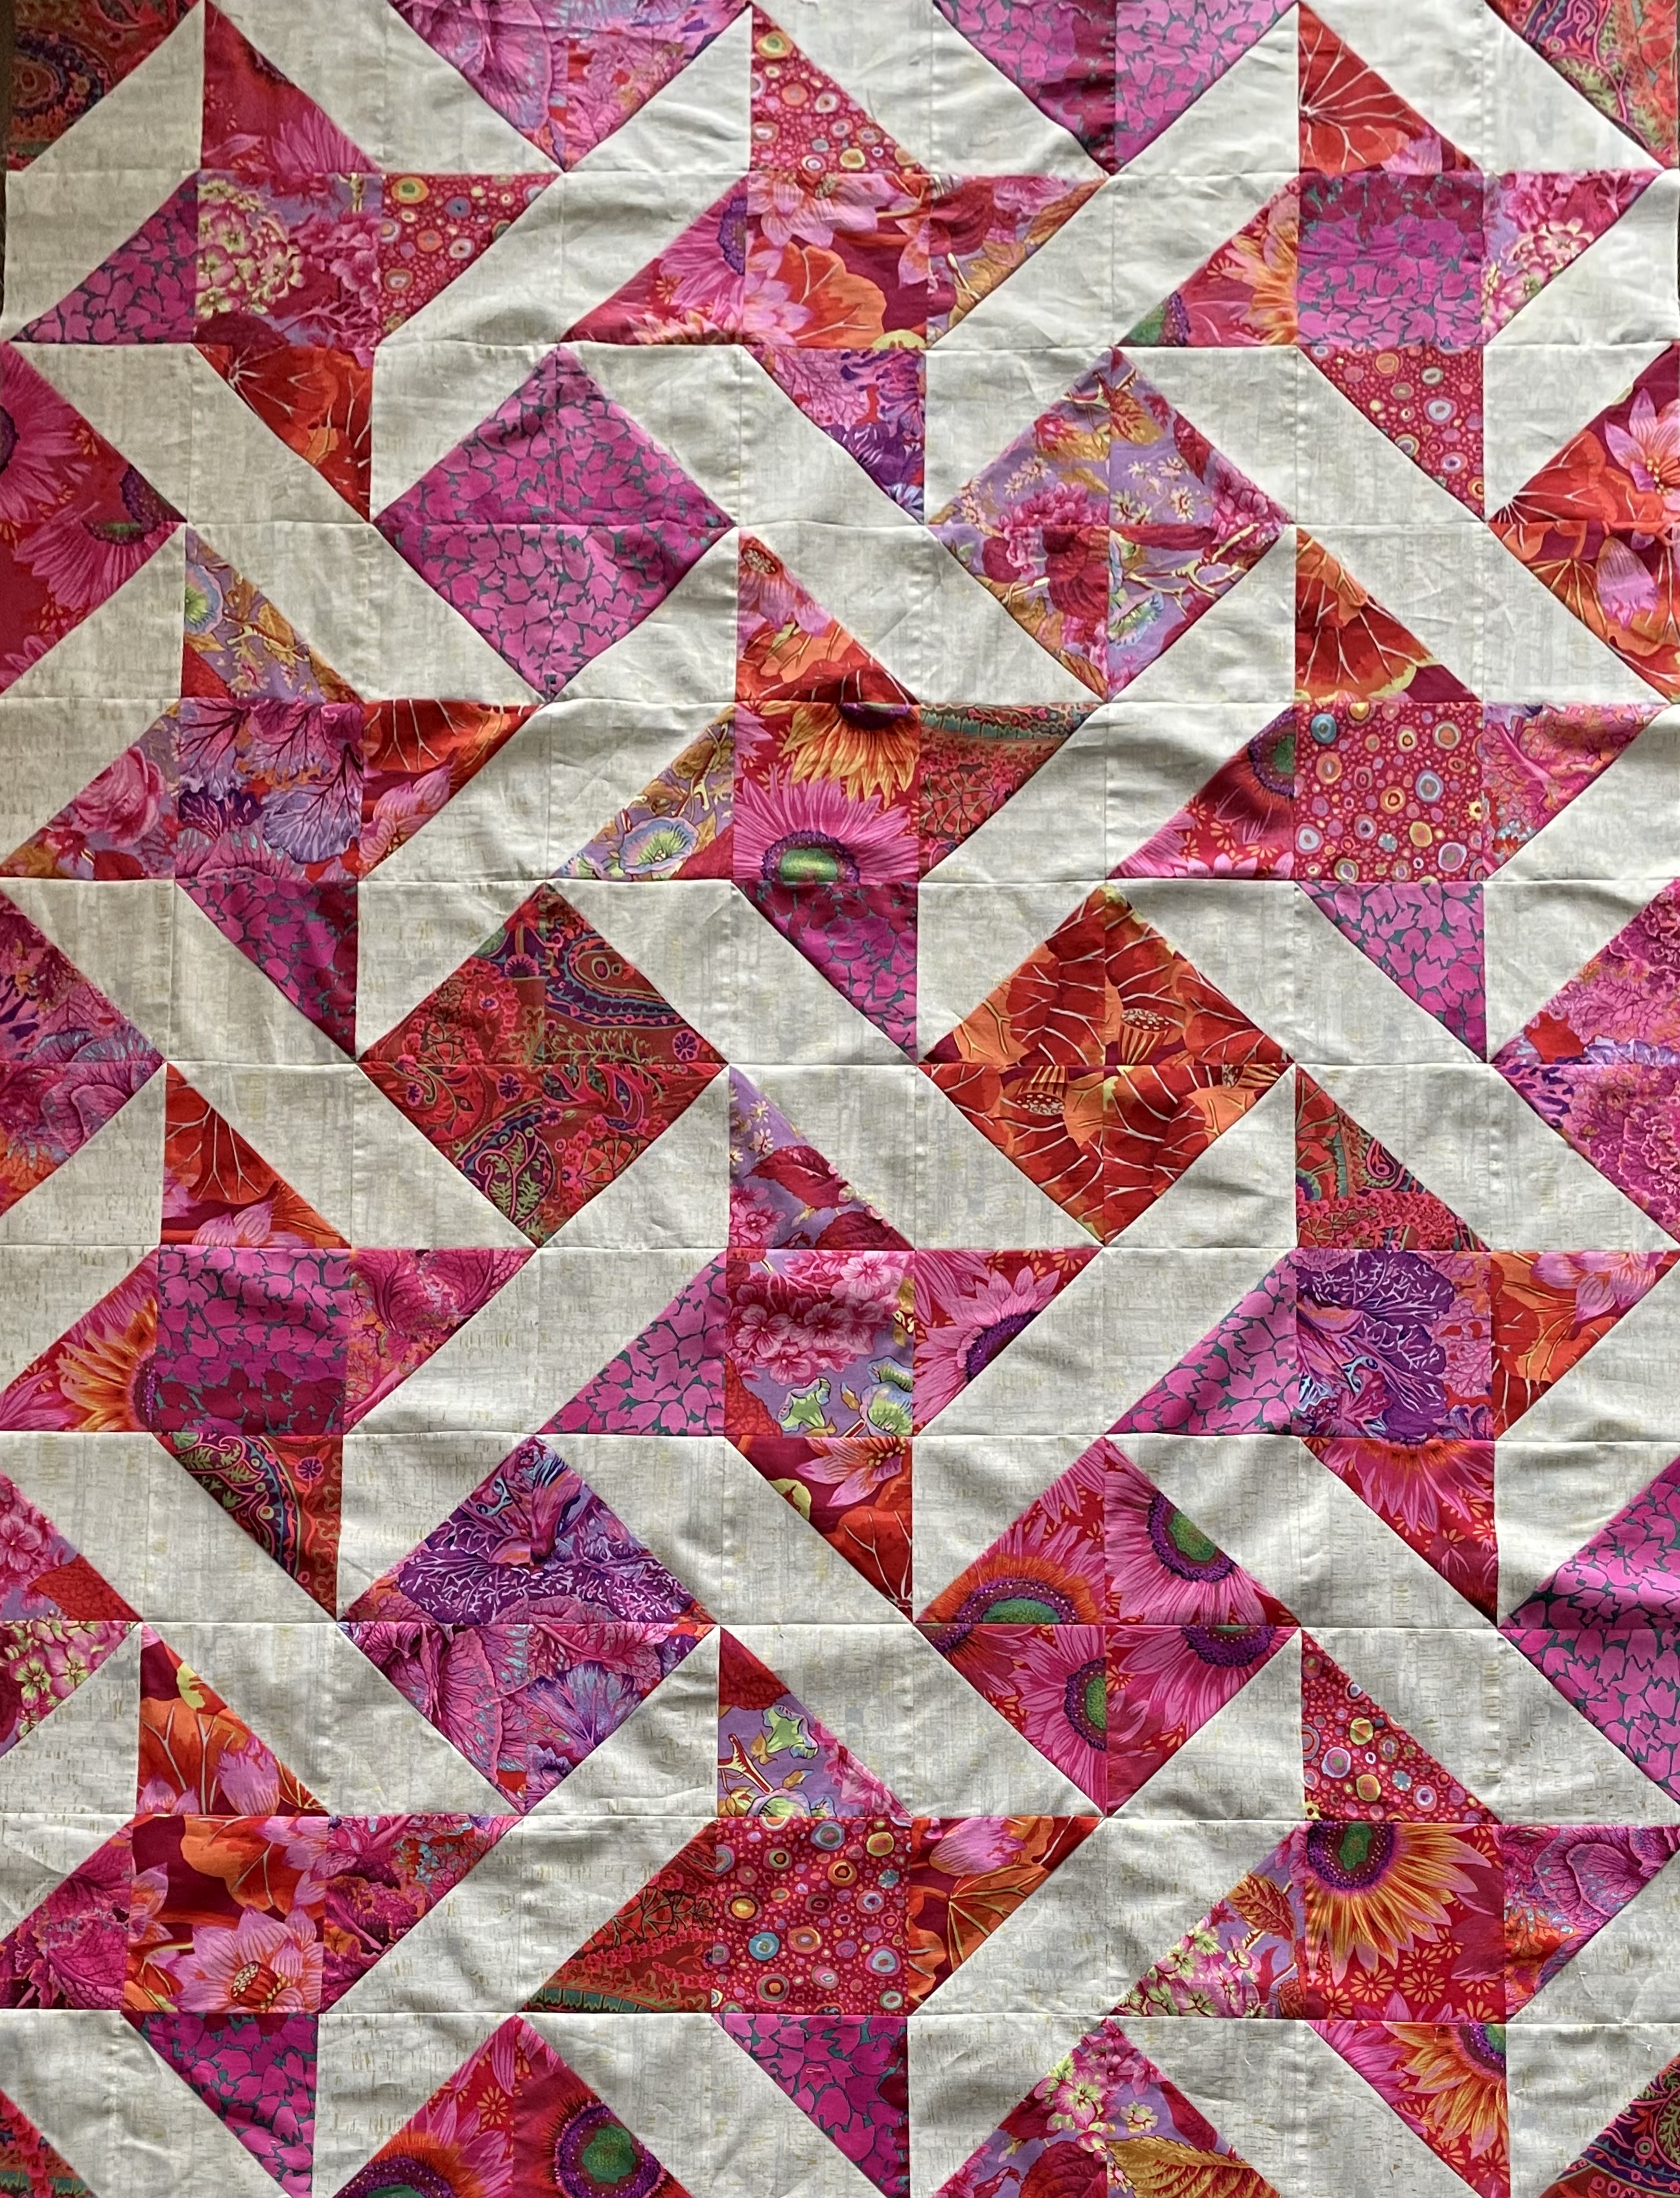
The assembly of the quilt top went reasonably quickly – I didn’t pin each row to the growing top – I find my nestings aren’t as accurate if I do; I start at one end, match up the first nesting, hold it firmly against my machine bed with my right index finger as I stitch toward my finger/the join. I take a stitch or two past the join then align the next nesting, holding it firmly with my index finger as I stitch my 1/4″ seam toward that nesting point. I do that with each segment. When I flip and press that row open my joins/nestings are almost all dead on.
There are some small inaccuracies – the original cutting of the blocks may be a smidgeon inaccurate, the HST diagonals may be a very tiny bit off the corner, my seams may be a thread width from exactly 1/4″ in spots, etc. All those very small variations add up – that’s quilting for you! But if you look closely, my joins are pretty close and when when I’ve added the circles/embroidery and quilt the whole project, nobody but me is going to notice the “background” seam joins.
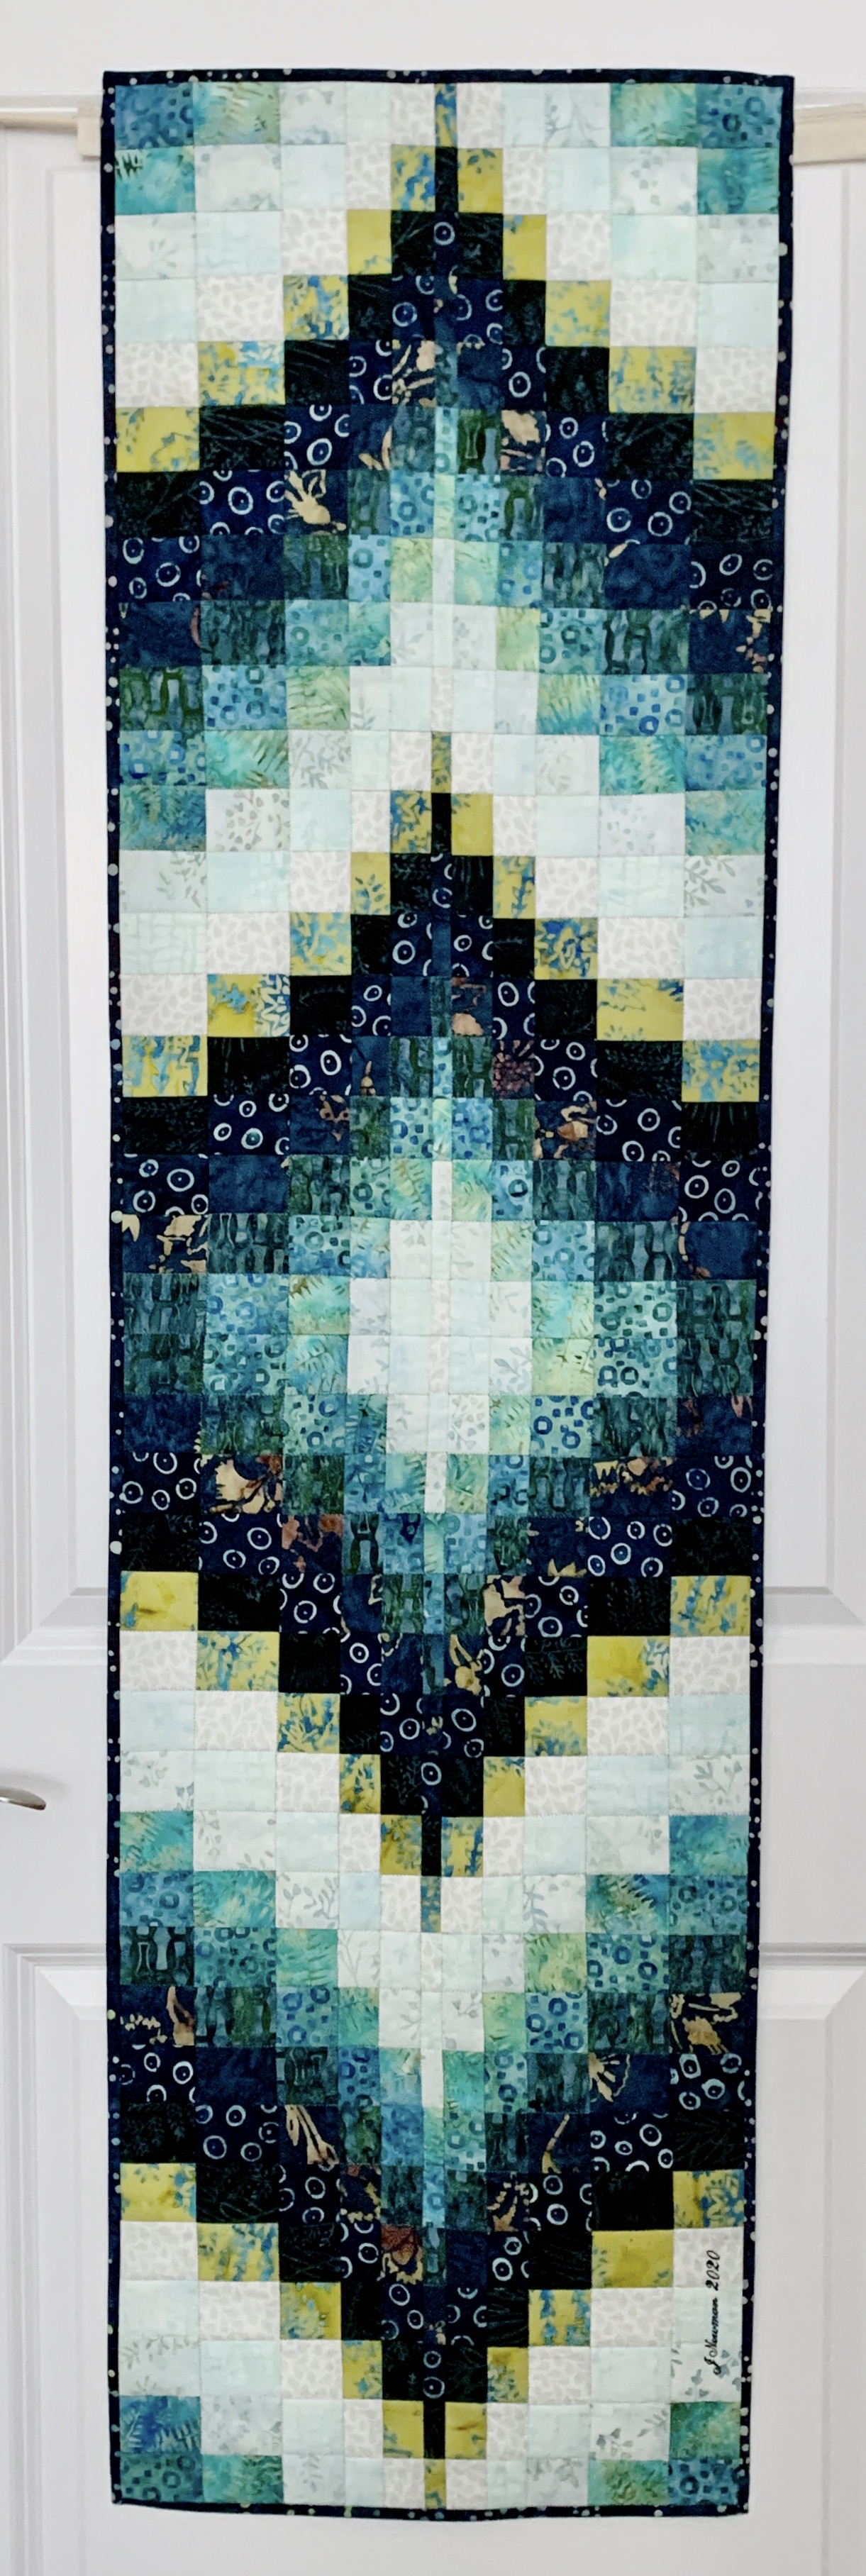
Thursday, I taught a “bargello” class – about using strips sewn together, the panel then cut in strips of different widths, these new strips are sewn together to create a “wave” – this involves lots of nesting of seams.

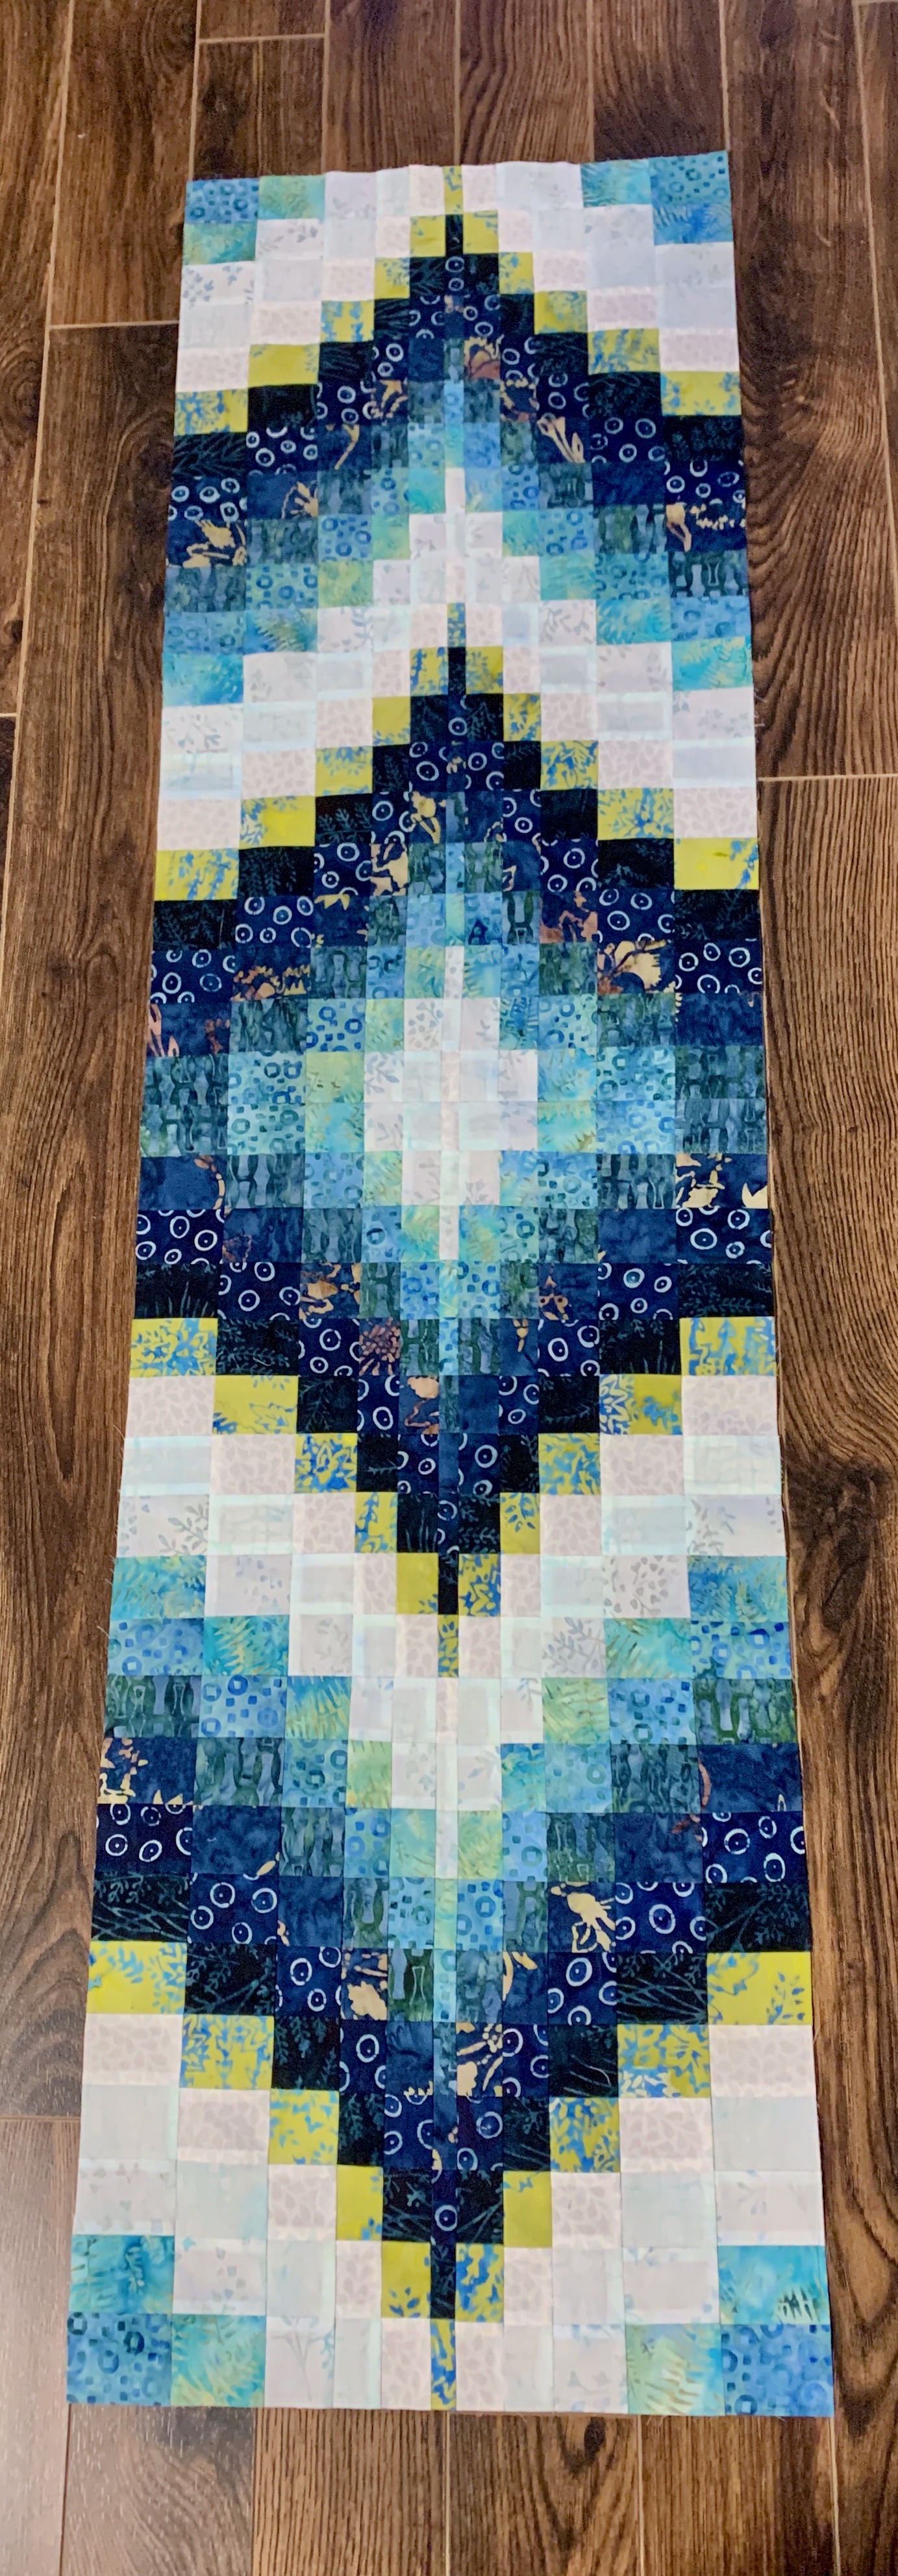
The two blocks came from one of the two sets of WOF strips I created for a demonstration piece. I’m not going to make the second two blocks – I don’t need another table runner I’m not going to use. I could give it away, but this two block piece will go into my “demonstration” projects box along with the remaining set of strips which I can use on another occasion when I’m teaching “bargello” again.
Both women in the class were nervous about sewing nested seams – there’s lots of practice in this project and in fact they’re easy to do – also without pinning. The joins are actually more accurate, I find, if I just align each new nesting as I go along, one at a time. The whole block assembles surprisingly quickly.
I could have joined the two blocks end-to-end, with the yellow centre blocks pointing in the same direction; I could have aligned them side by side with the yellow centres both pointing toward the opposite side. I chose to alternate them – to make my join I added two narrow strips to each block to bring the yellow back to the edge on each side. I probably should have made the join using the widest strip on each block but one of my wide strips wasn’t cut accurately – I only had one I could use – so I cut it in half!
This is, after all, a demonstration piece.