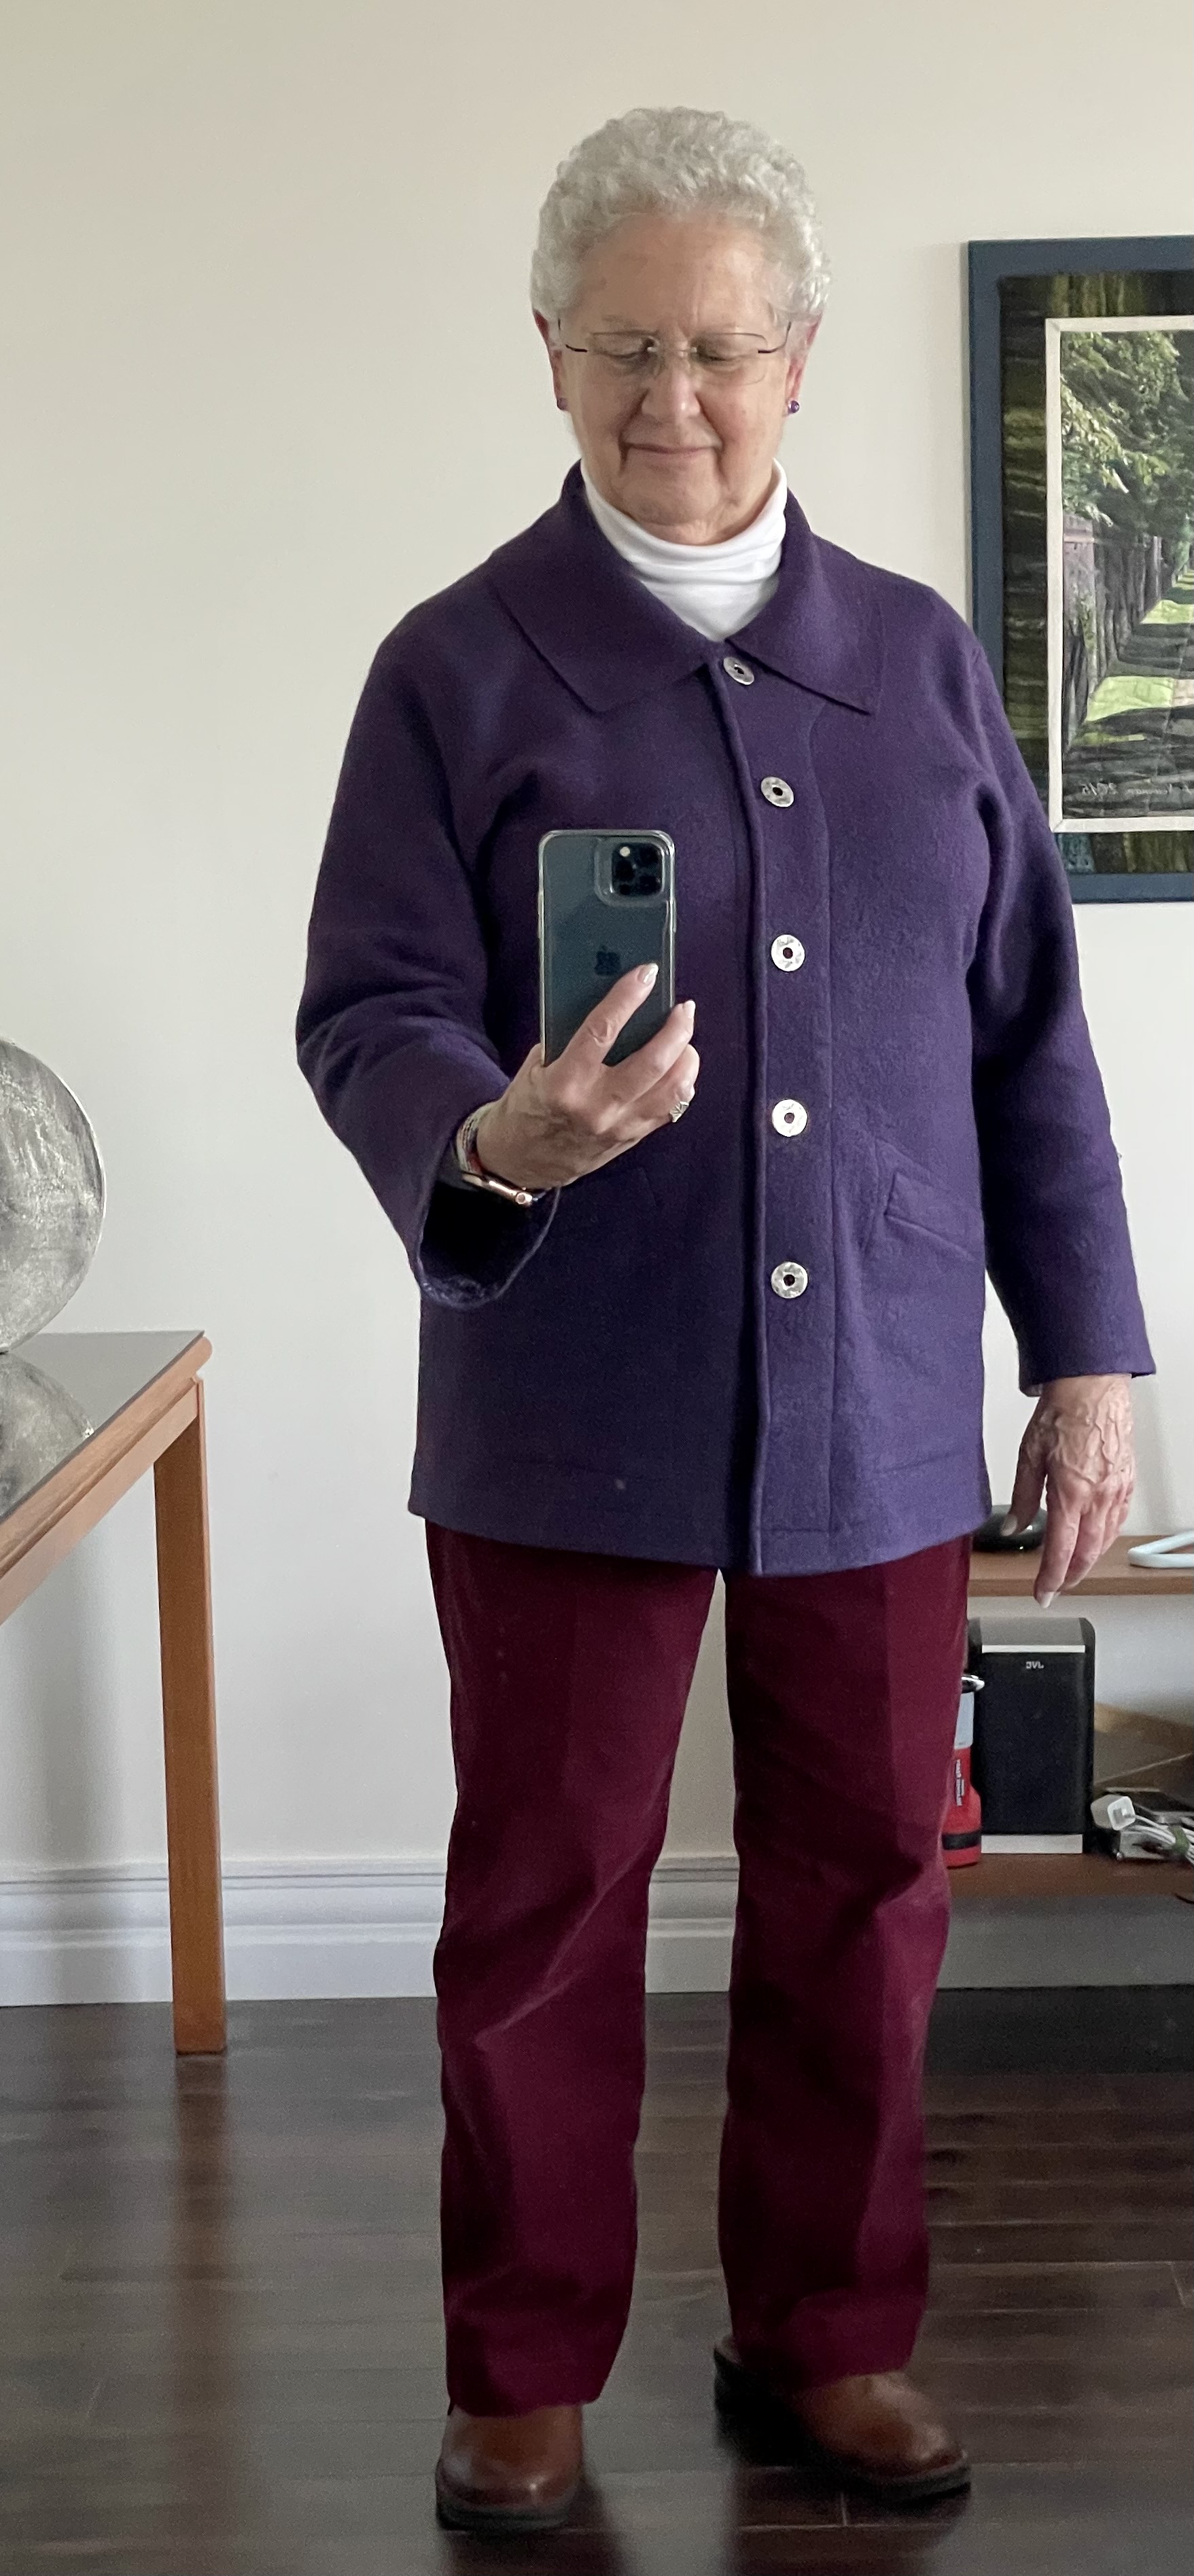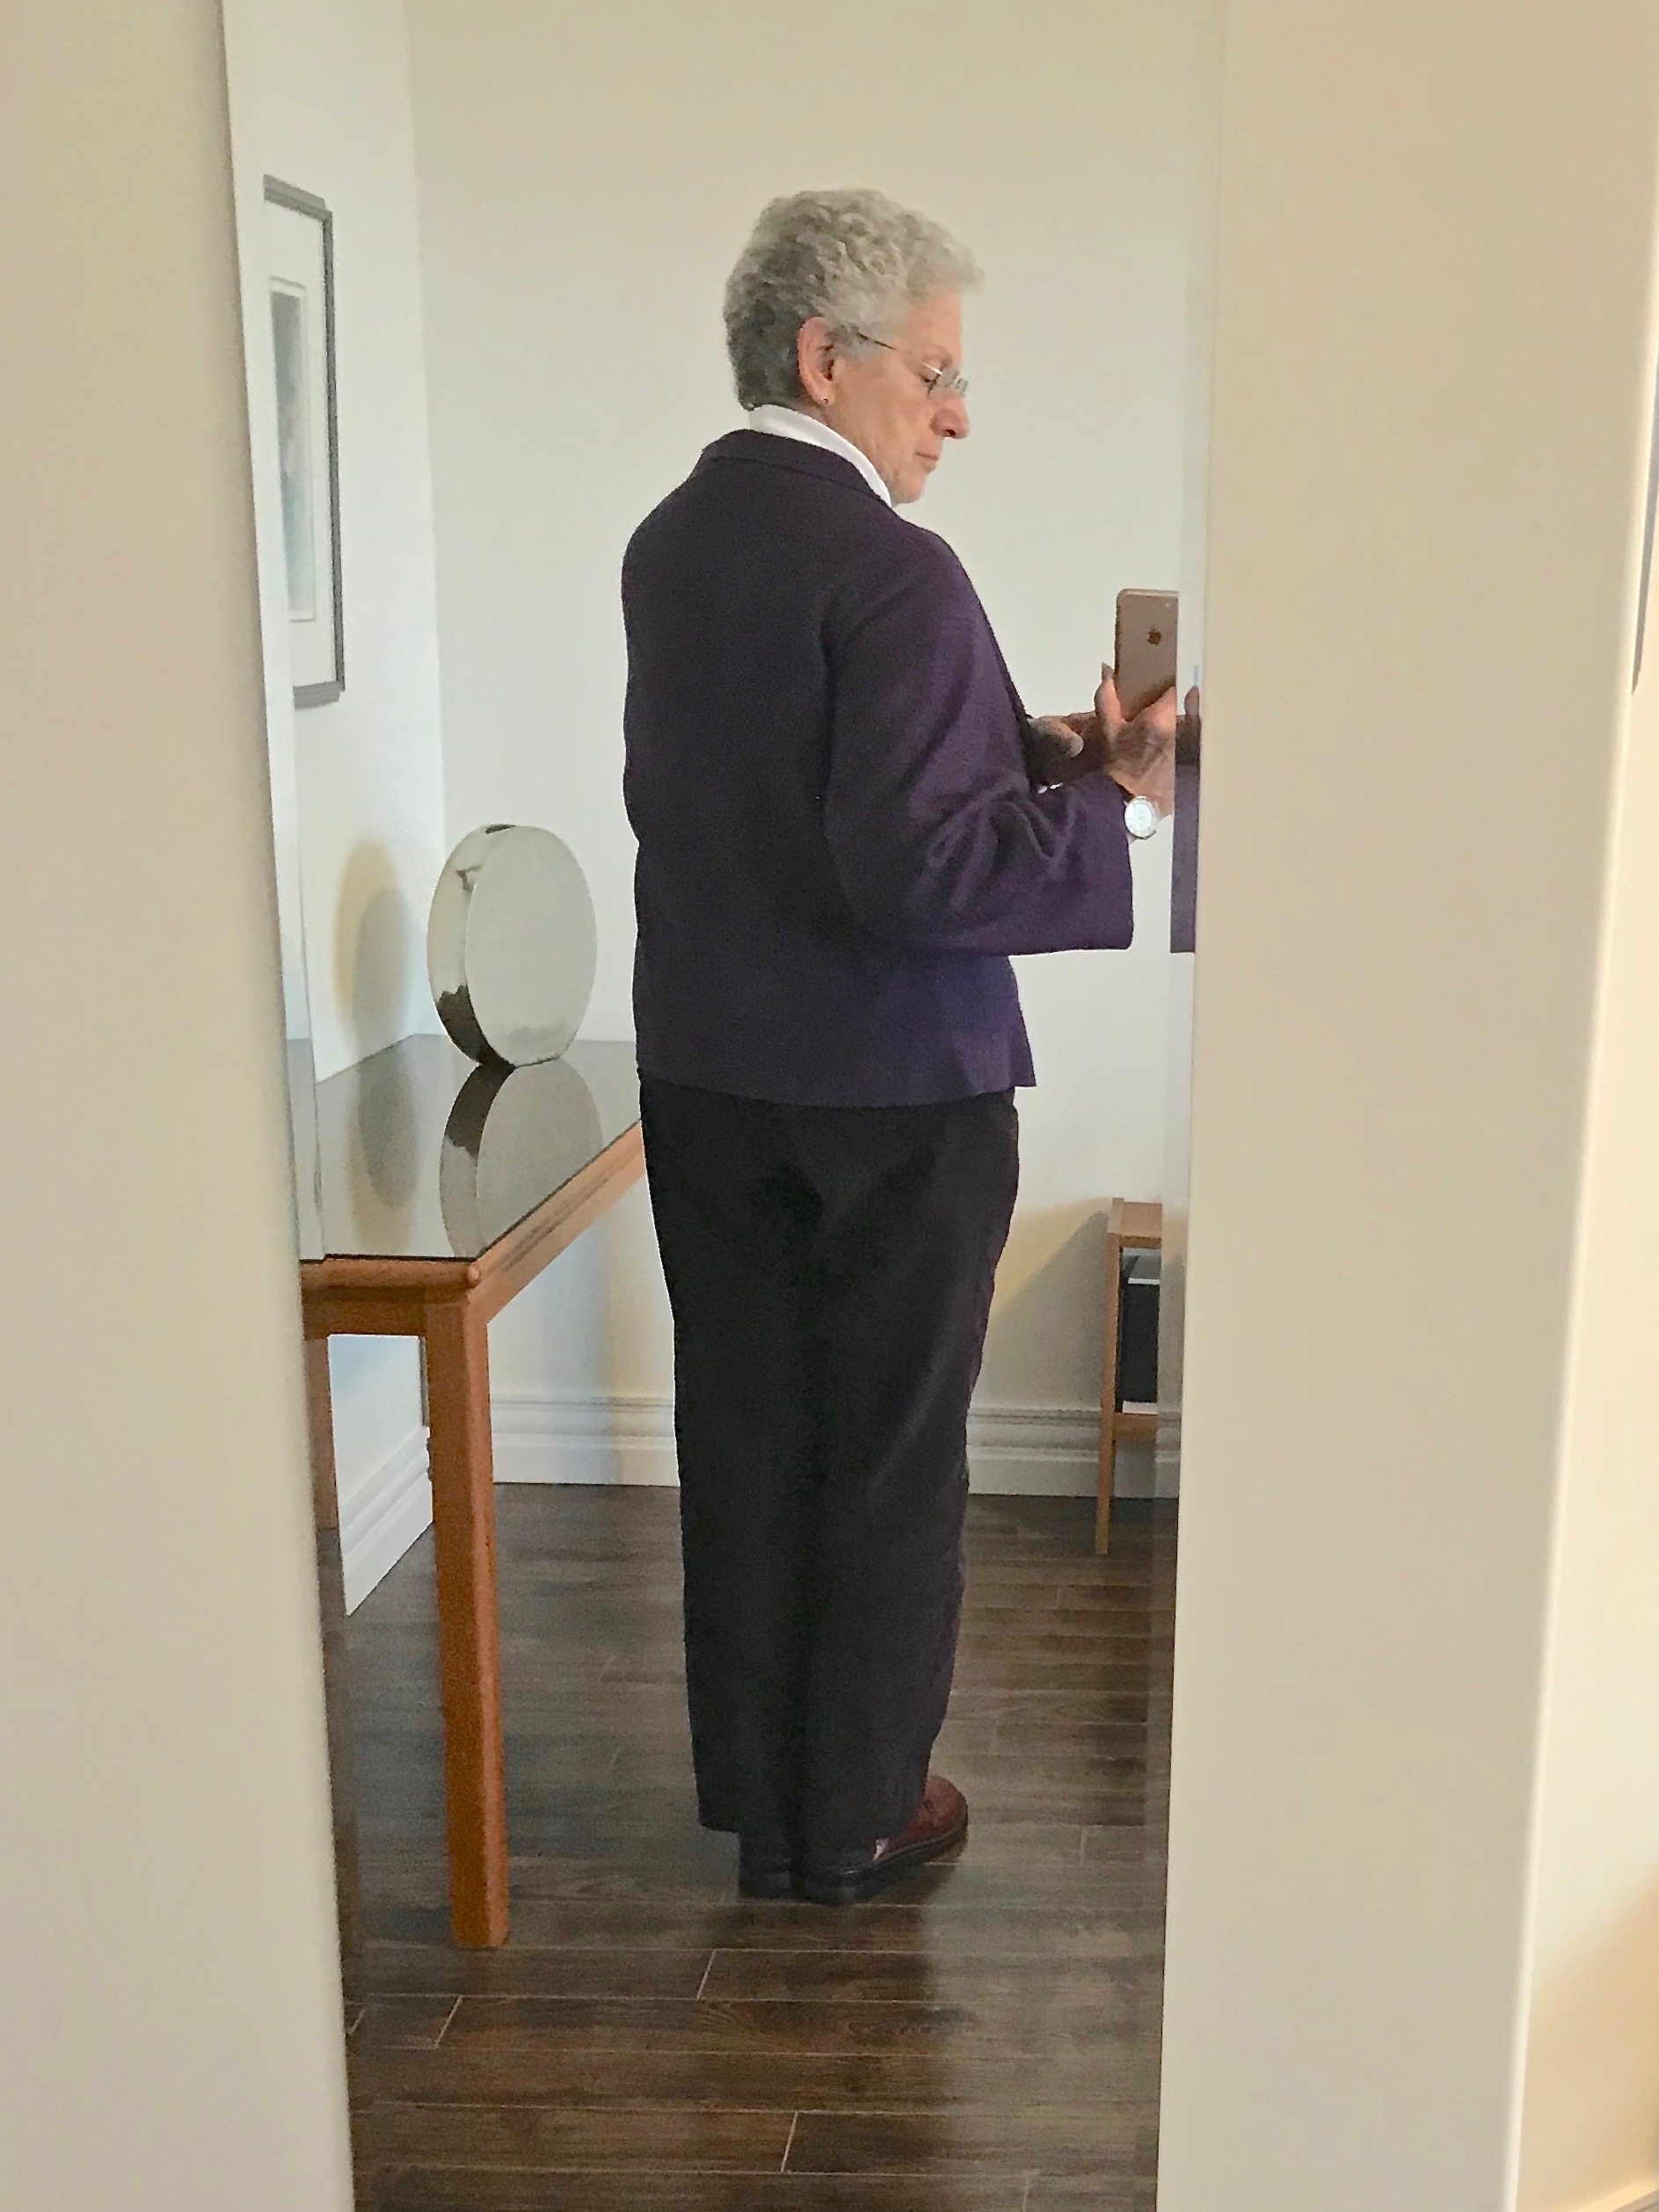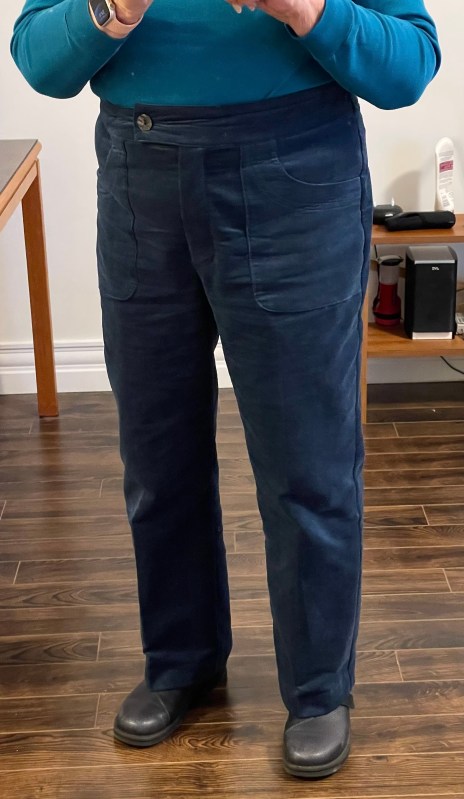
I’ve been busy sewing. Yesterday made this pair of corduroy pants/jeans (which I’ve been wearing all day – they’re very comfortable with a waist that’s large enough but just snug enough with the help of a bit of elastic in the back, they aren’t pulling down which means the crotch depth is good). As you an see I used a fly front which let me shape the sides just a bit (can’t shape them much because I don’t have hips and my waist is almost the same measurement as my hips). I no longer bother with inside pockets – the top pockets work just as well and look OK. There are also two back jeans pockets and as always, the dart down the centre back to give the legs/bum a bit of shape.
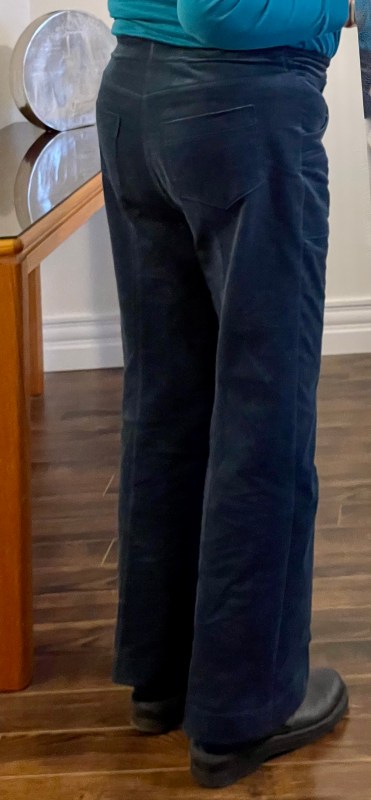
There’s a jeans back yoke to shape the top hip area which works quite well. There is still some bagginess just below the bum which I suspect I could get rid of if I brought in the back crotch about an inch – I’m not going to do that on these pants. The fullness doesn’t show when I wear a tunic length top. However, I will try that with the next pair – a dark maroon to go with the Ebony T-shirt.
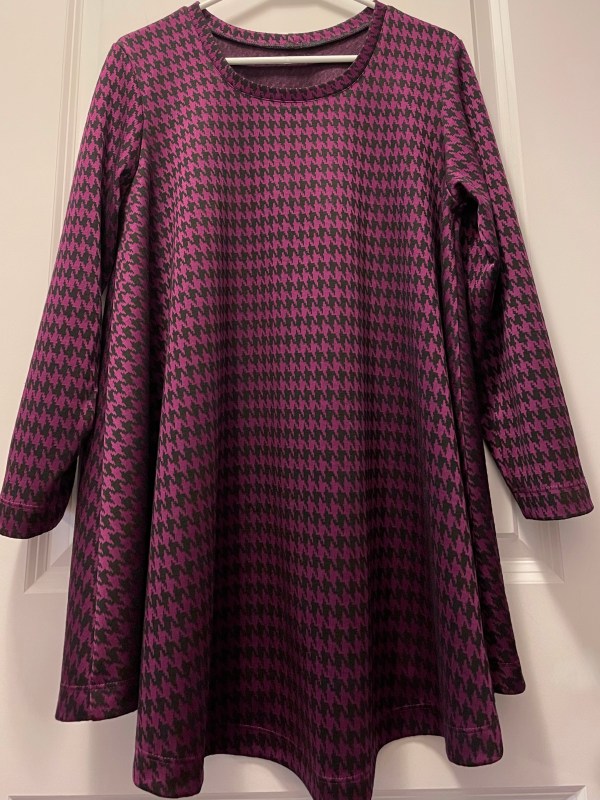
Today, I cut out and zipped up the flowing tunic top. Simple to make – stitch the shoulders, add the neck facing, sew in the sleeves, stitch the underarm and side seams, finally hem sleeves and bottom. Two-three hours work. I lengthened the tunic by 2″ adding an extra 1 1/2″ to the front. In previous iterations of the tunic I found it tended to hang shorter in the front than the back – this time I have managed to even it up.
I love having a dedicated coverstitch machine – it makes hemming garments (and other projects) a snap. That precise double row of stitching which covers the hem edge on the inside gives the garment that commercial finished look and it’s so easy to do. My advice to people who do a reasonable amount of garment sewing is to buy a good mechanical serger without a lot of bells and whistles, and invest in a separate coverstitch machine as well, rather than an expensive serger with coverstitch which takes an annoying amount of time to convert from serging to coverstitch and back again! The two machines will likelky cost lest than that fancy serger. My covertitch machine just needs threading (which is very simple) and it’s always ready to go.
Tomorrow I will cut out the magenta corduroy pants and get those whipped together over the next few days.