Convergence Quilt

Convergence Quilt – in progress

I’ve been teaching a class today on “Improvising A Quilt”. The women came with fabrics and ideas and wanting to explore ways of improvising on an idea and taking it somewhere.

What surprised me was to what extent the particular fabrics called for specific treatments. This one in particular – two complementary 1m cuts of Asian ombre prints both going from light to dark. They shouted out “conversion quilt“.  Jen hadn’t ever tried a conversion quilt, although I’d included a picture of one I’d made a while back and I happened to take that quilt to the class with me this morning. So convergence quilt it became.

Here it is – 22″ blocks cut from narrow to wide strips, interleaved and pieced, then cut again into narrow to wide strips, and interleaved, not yet pieced. This is going to be just lovely. The flow of colour and print detail is elegant. We don’t know, yet, how this quilt will develop beyond this central convergence panel but Jen has enough leftover fabric to come up with something that will work well with the panel.

This wasn’t the only fabric calling out for a particular treatment. Sheila had fabric to make something for her grandson – a fabric with images of soccer players, and three other fabrics with soccer balls, shoes. You have to keep the pictures of the soccer players intact – sash each then assemble them into some kind of quilt top? In the end she decided to offset the angle of the players which meant creating paper piecing templates for the odd shaped sashing elements and because the soccer player blocks were all different sizes, she decided to make all the blocks the same size which will make assembling the quilt top much easier. She’s gone home with four blocks completed. The sashings are all cut out and ready to be stitched to the soccer player images.

Nancy wanted to create a bed runner with Christmas fabrics using a slash and stitch technique – cut out blocks, slash them, piece in a narrow strip (usually 1″ which ends up 1/2″ wide), slash again, and piece, and maybe even a third time. She began with some red and green fabric scraps and inserted brightly coloured strips – but the focus was on the narrow strips. In the end she has elected to use a dark grey “grunge” fabric for the insertions which brings the focus back to the fabrics used for the blocks. Interesting how the fabrics dictate what has to happen!

We meet again in three weeks – enough time to complete piecing a quilt top. Then we’ll work on doing something interesting with the backs, discuss “in-the-hoop” quilting and get set up to complete the quilts. Looking forward to seeing how far they will have come.

Final Sock Remake

Final Sock Remake

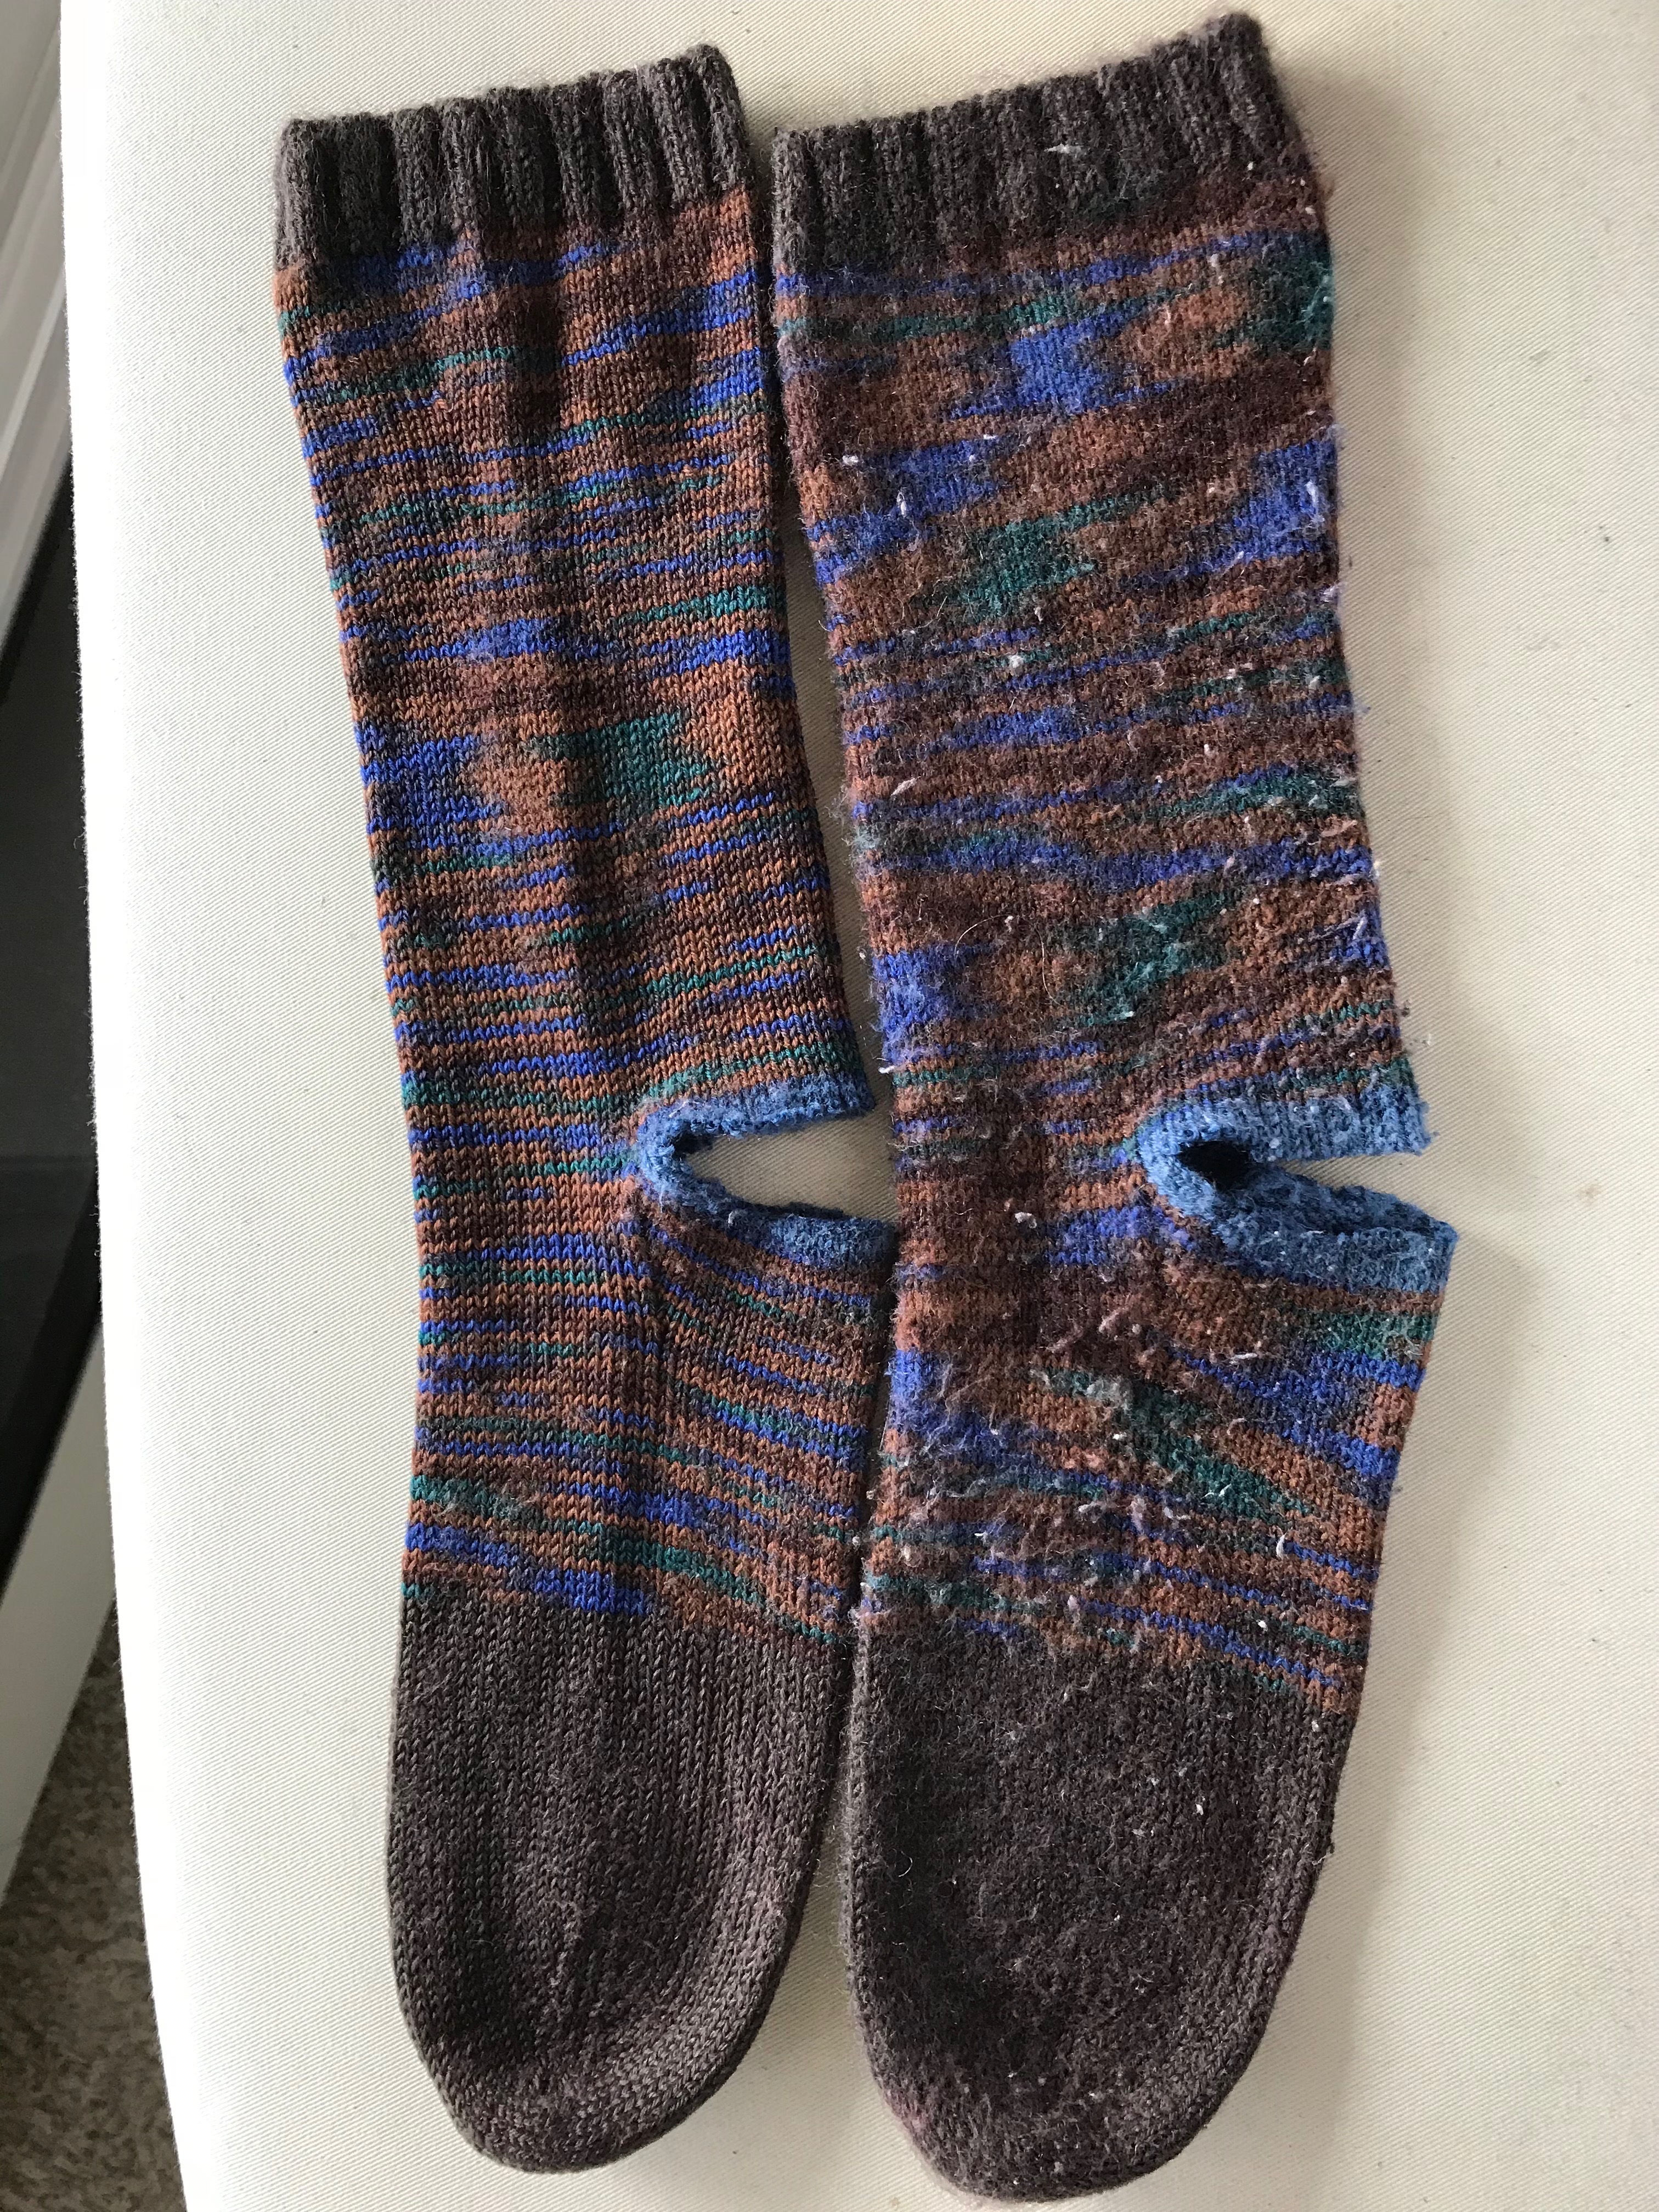
Finally done with remaking and repairing socks. Four pairs (one was too far gone to work on so I discarded it). Three pairs have been returned to their home. I’ll get this one back later in the week.

Now to return to making new socks. I have a good supply of yarn in the yarn stash – enough to keep me going for the next three-four months.

Remodelling t-Shirts

t-Shirt With Lowered Neck & New Neckband

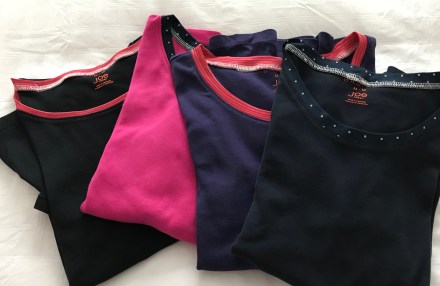
With the medallion quilt completed, today, I turned to clearing up the piles of stuff in my sewing room. At least six weeks ago I pulled four t-Shirts from my closet with the intention of lowering the neckline. The shirts had originally been high crewneck long sleeve t-Shirts which I’d bought so I could shorten the sleeves and end up with sleeves just above my elbow – that’s not something you can purchase, trust me.

I wore them last year, but realized I wasn’t wearing them this year because the neckline was too high. So I moved them from the closet to my sewing space intending to remodel the neckline. Finally got to that today. Started by cutting off the crewneck ribbing and dropping the front about 2″. Then I cut 1 3/4″ x 24″ strips from some t-Shirt fabric I have on hand, serged the folded strip to each t-Shirt neckline. Remodelling complete. The contrasting neckband doesn’t look bad at all. And it lays flat – I tried them on. (I should have used dark serger thread to stitch on the new neckband, but hey, the stitching can’t be seen on the outside.)

Remodelled t-Shirts

It’s true, t-Shirt weather is just about over here in Nova Scotia – maybe one more day warm enough to put on a short sleeve top. But these shirts are now ready for next warm season.

Dropped Neckline

Medallion Quilt – Completed!

Completed Quilt

Here, finally, is the completed, bound quilt. Just finished stitching the curlicues in the center of the medallion. In the end I straight stitched them on the machine, a couple of stitches at a time, in order to stay on the edge of the curlicue. I had set up a single run design to stitch them out as embroideries, but each of the four corners was slightly different, and I couldn’t align the first embroidery to stitch precisely where I wanted it, so I switched to plan “b”. It took lots of twisting and turning of the quilt (thank goodness it wasn’t any larger) to get each curlicue done.

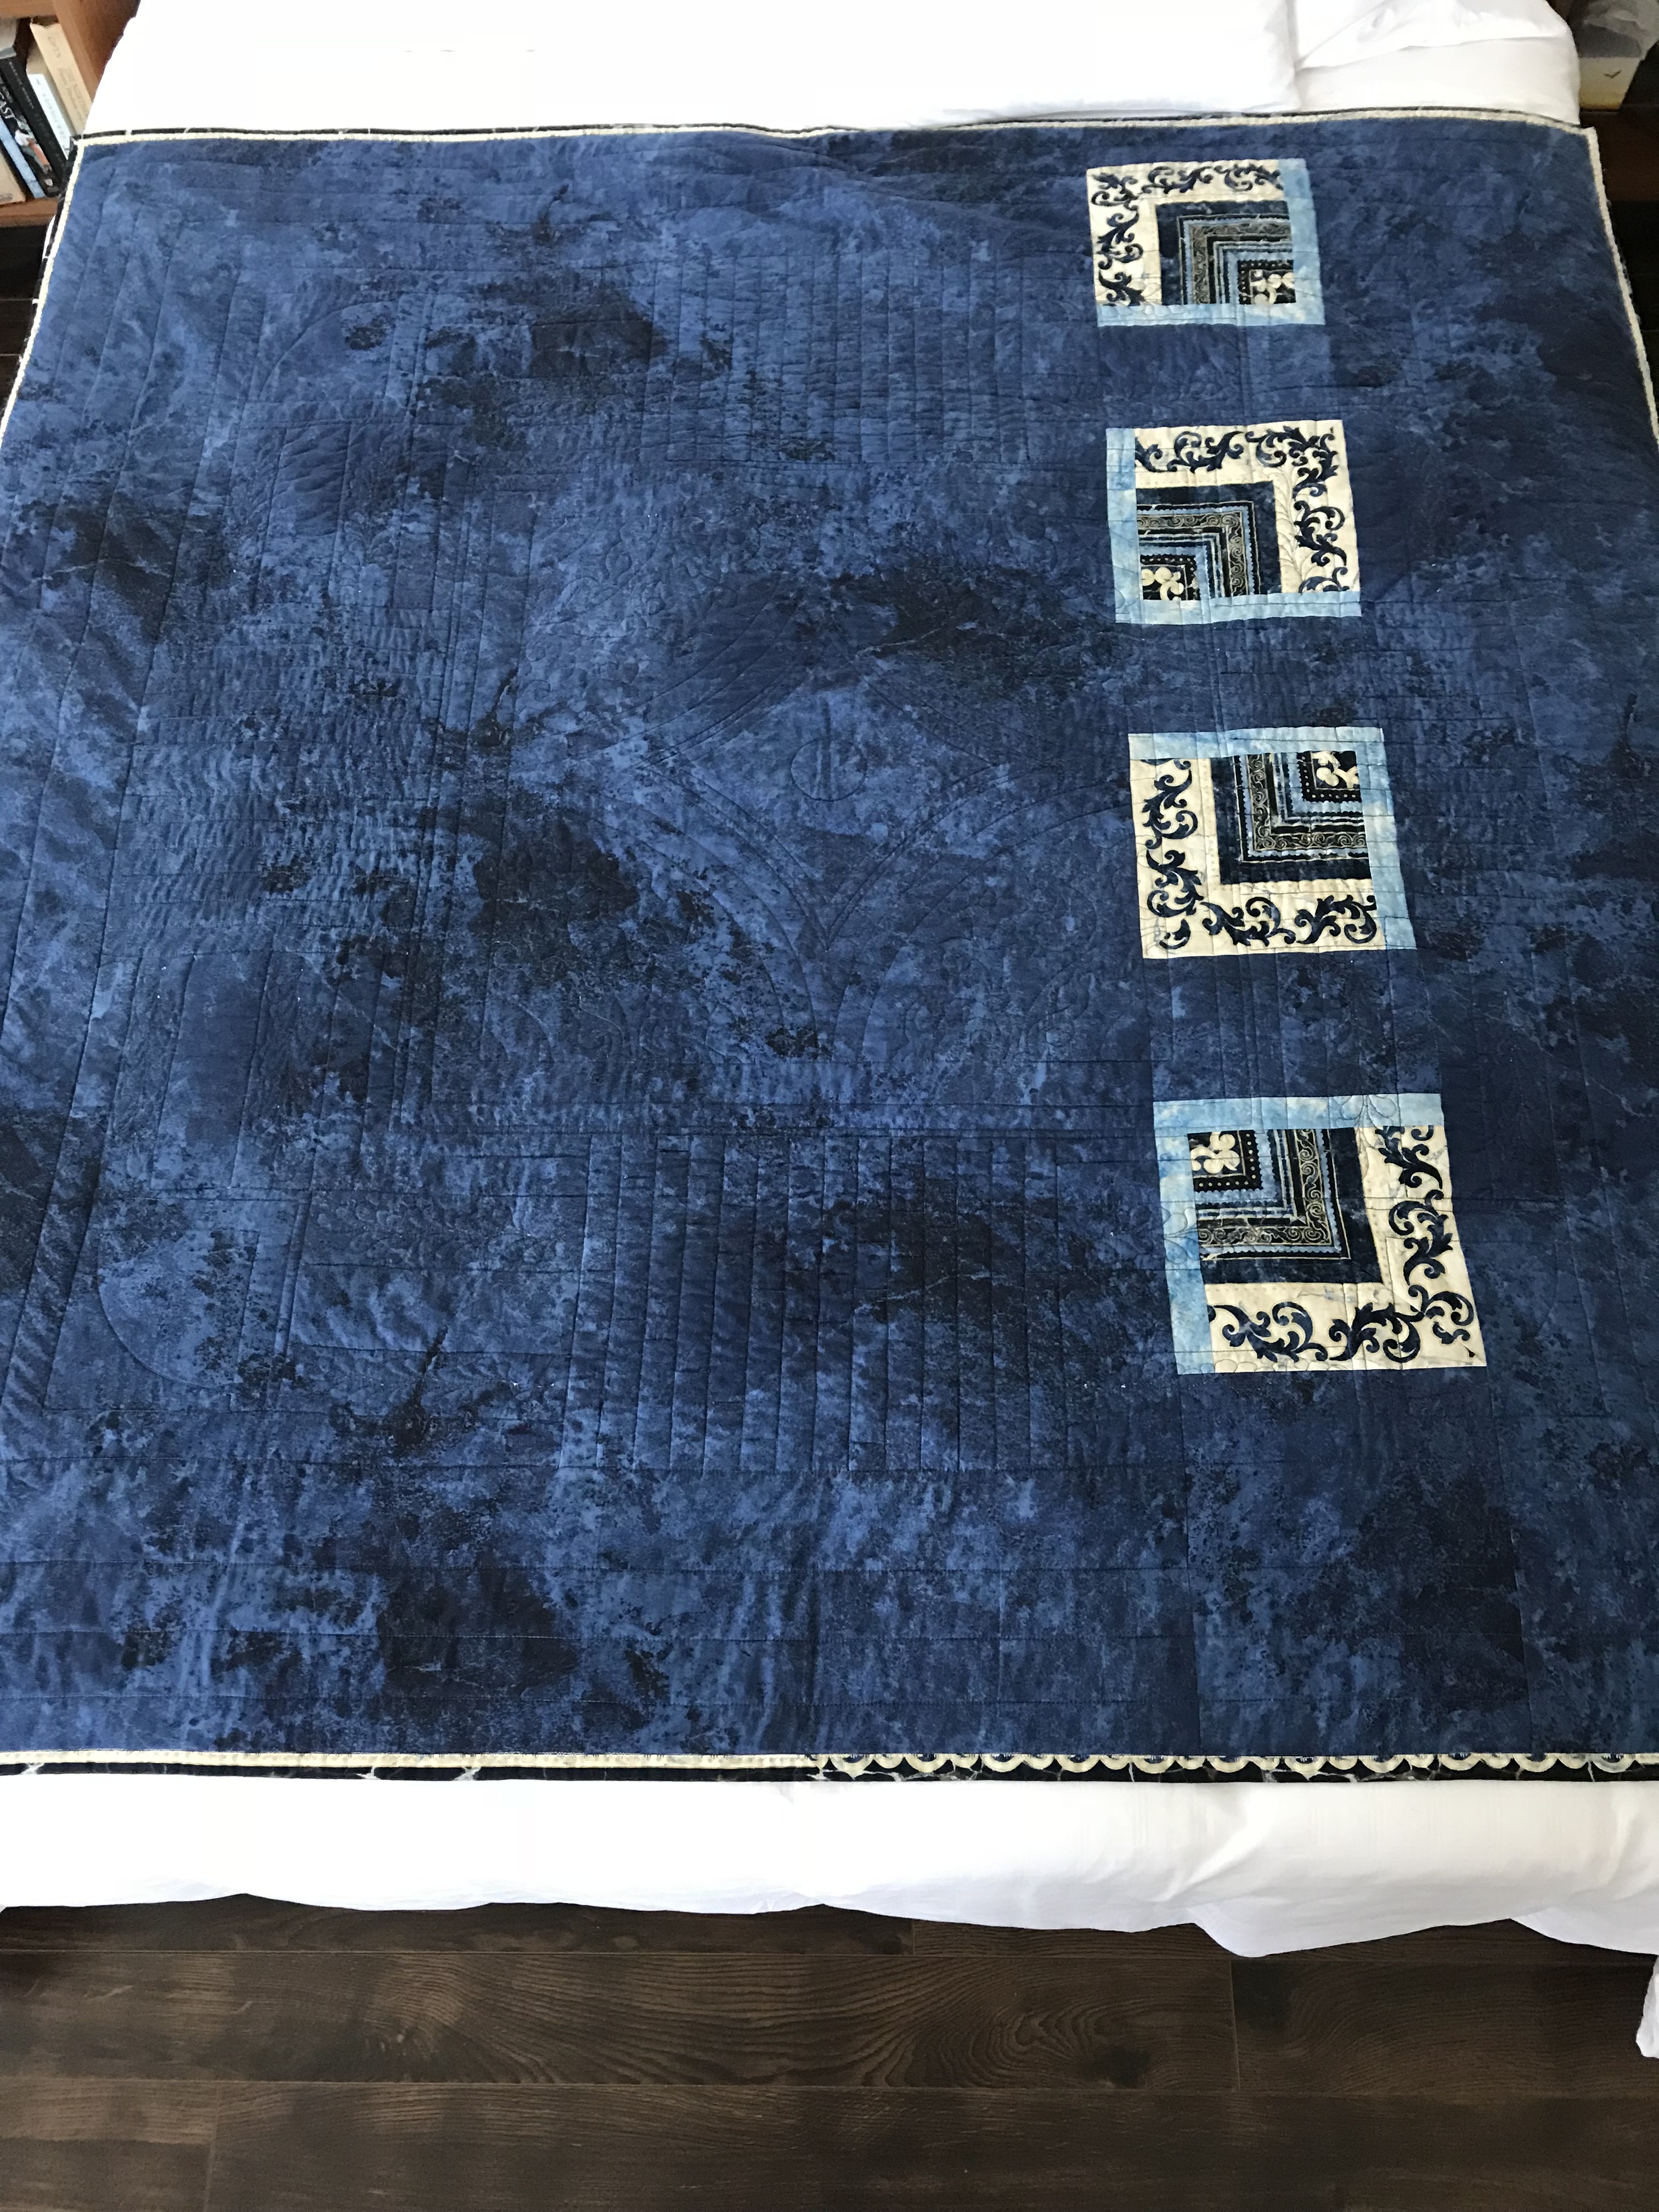
Quilt Back

I used leftovers from the outer border strips to create blocks for the back. Their off center placement is intentional. I could have placed them somewhat closer to one another, but once the back was pinned in place I decided not to bother taking the whole thing apart to make that small adjustment.

Close-up detail of one corner – showing the embroidery in some of the “empty” blocks.

Corner, Showing Detail

The embroideries worked out well – I did seventeen in all (one a test run to make sure the design stitched out correctly). Doing the embroidery proved challenging, not because they were particularly complex designs, but because my embroidery machine decided, at that moment, to be temperamental – the touch screen stopped working properly and precisely positioning each embroidery took patience. (The embroidery machine is now in hospital being repaired and I’m working on a borrowed machine.)

The quilt still needs a label but that can wait until I get my machine back.

#3


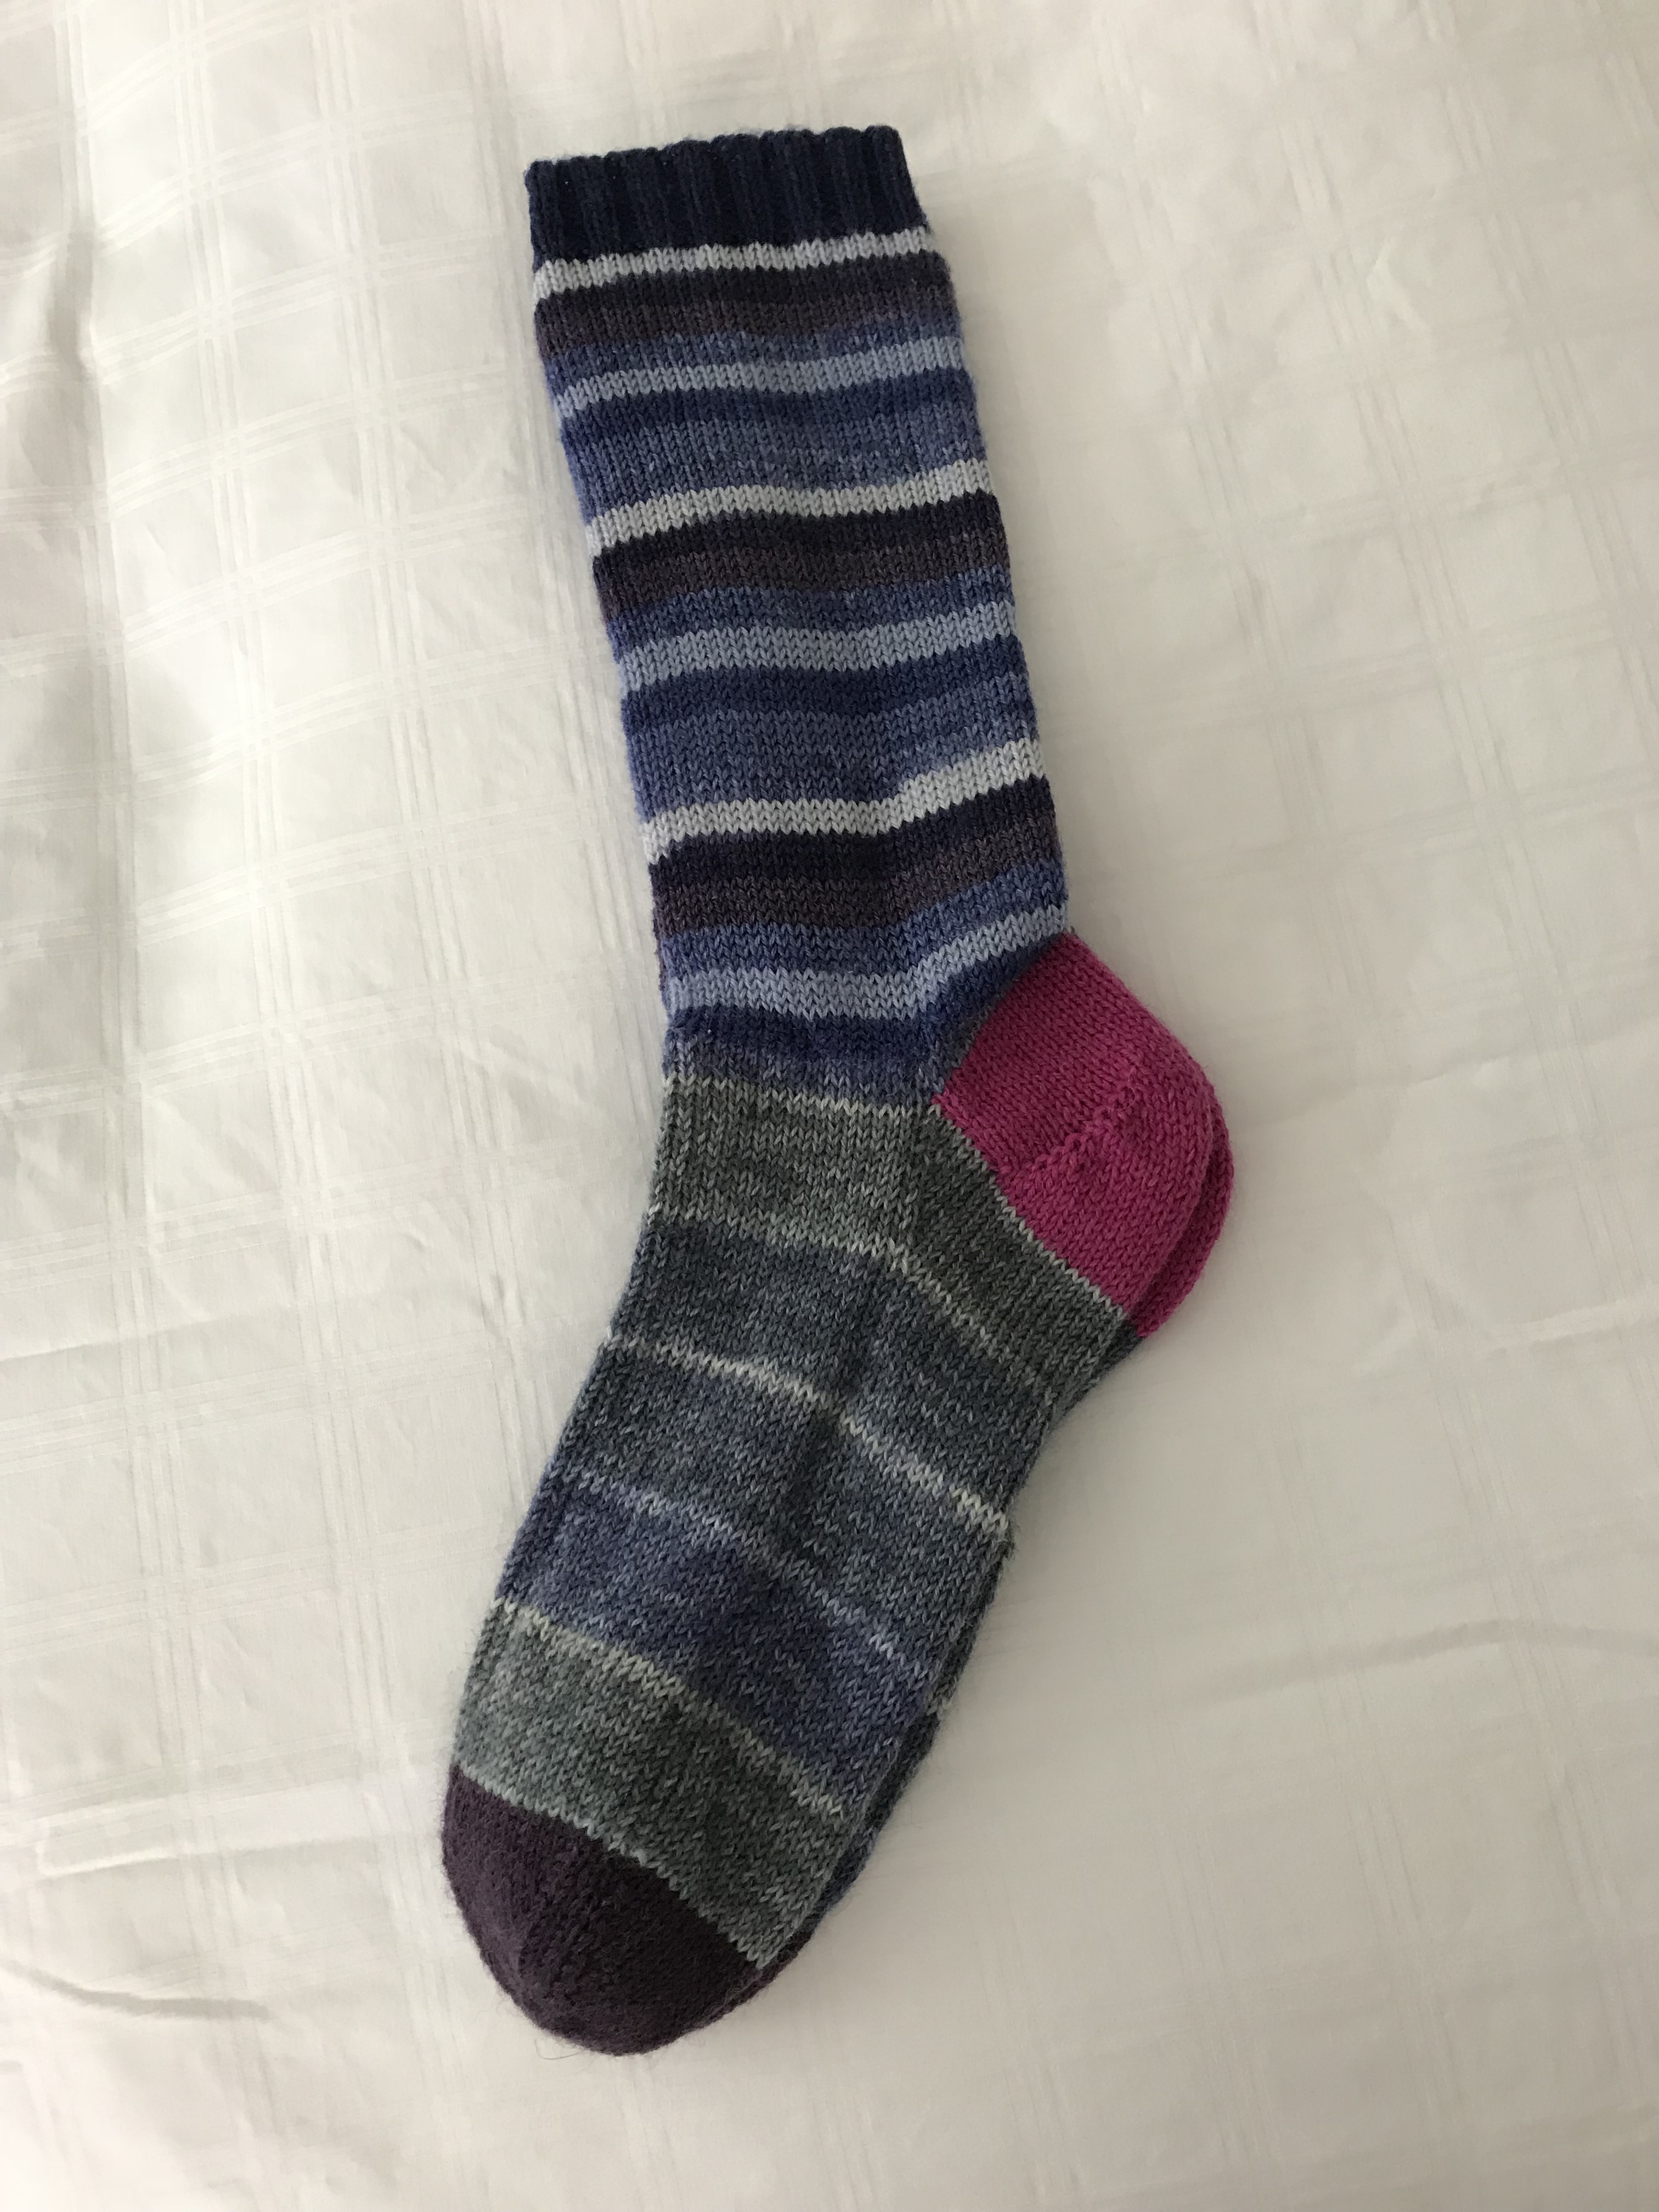
Restored this pair last evening. Straightforward heel replacement. No fussing. I was even able to come close to the original yarn I used for the heels.

Now working on pair #4 – another full foot replacement. That’ll take 4-5 days. Then back to new socks.

Socks – New Again

New Again – Sept 2017

5-6 hours later and here’s a new pair of socks – restored with new heels (Click here for the socks before I reknit the heels). If you’re a dedicated knitter and want to know how I do it check out my instructions.

Knitting a heel itself doesn’t take long – each heel takes about an hour – it’s all the preparation, picking up stitches on a carrier thread, carefully pulling out excess knitting (from the cut edge), and then finally grafting the instep onto the new heel (this last step requires slow careful stitching – done loose and then tightened just enough for an even finish, stitch by stitch).

Obviously replacing heels goes a lot faster than reknitting an entire foot – but I can only get away with this easier repair if the holes aren’t too big. If the worn heel includes some of the instep, I have to cut off everything, retaining just the legs and building a new sock from there.

Socks Revisited

January 2008

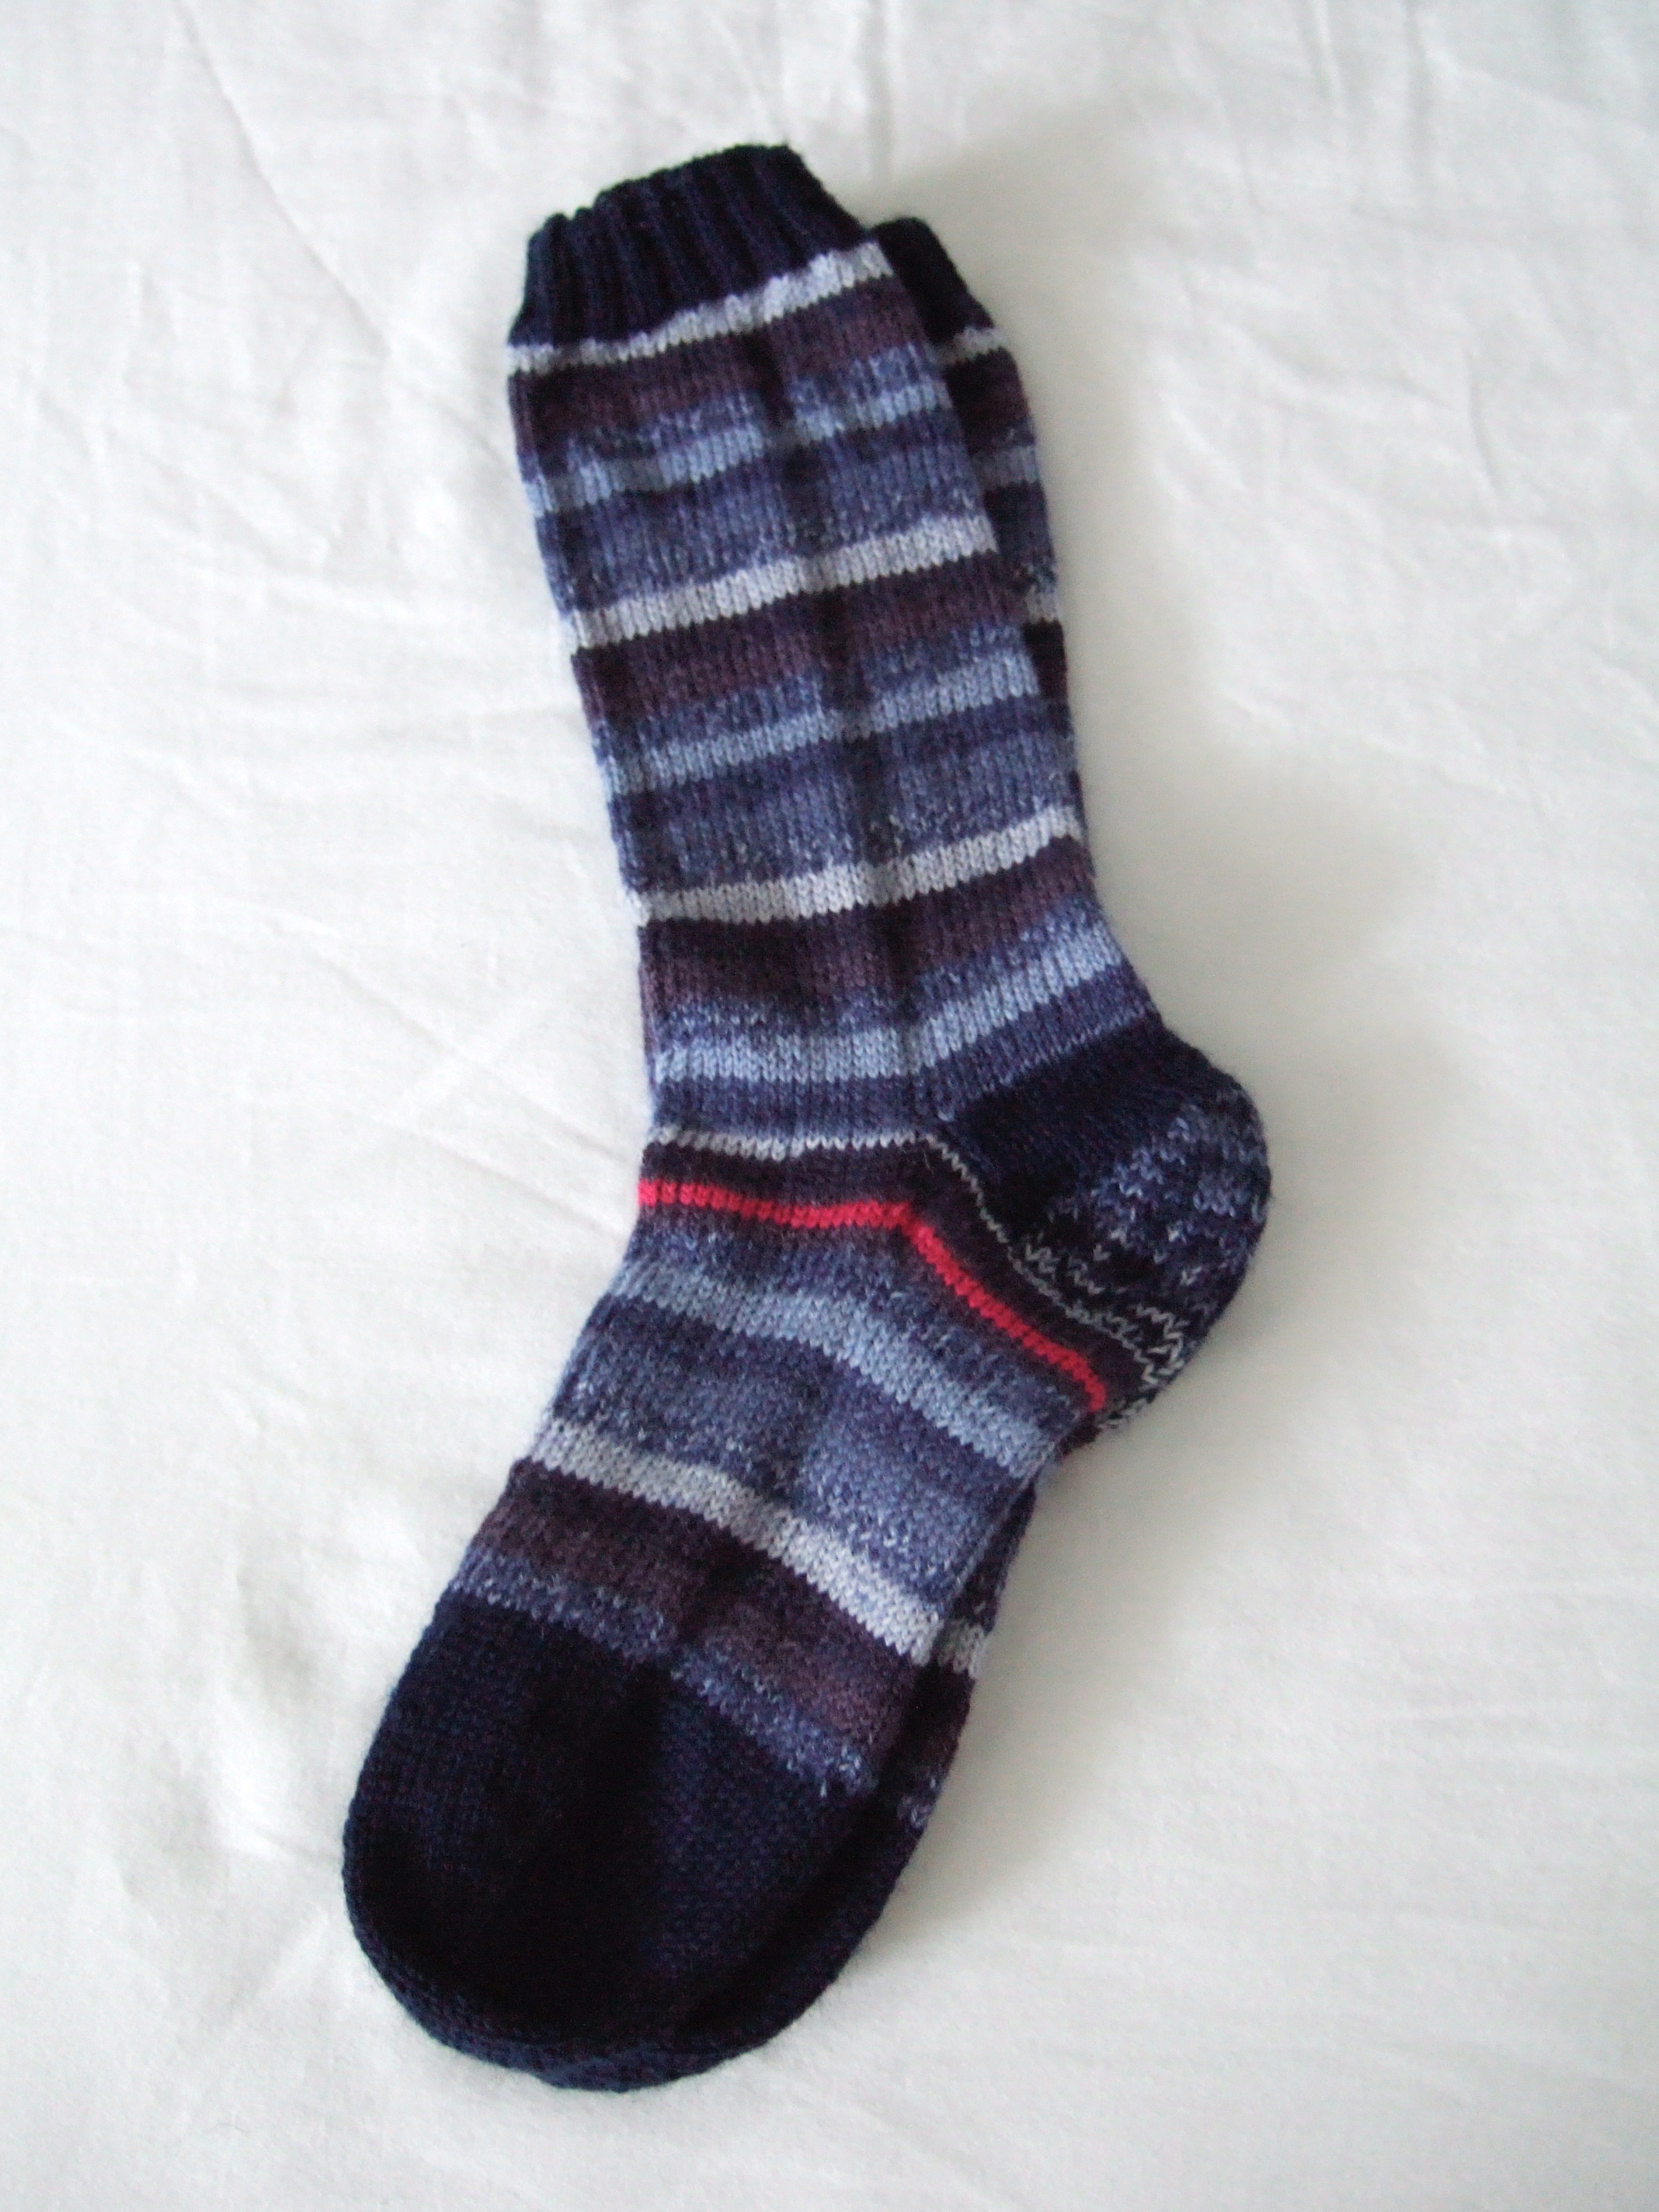
Here’s a pair of socks I made in 2008. The heels were repaired once in the interim. I got them back again for repairs a couple of weeks ago – heels for sure, but when I went to work on the socks I thought the ball of the foot was too worn to keep, so full feet were needed. The socks are still worth salvaging – the legs are fine, and that’s half the work! Nine years of wear is pretty good.

Remake September 2017

For the remakes I use whatever yarn I have on hand that might sort of blend. I could always use a solid, but where’s the fun in that. I’m not into boring – what makes the sock knitting work for me is a constantly changing pattern which the variegated yarn offers. I decided on bright heels to offset the darker yarn I used for the foot. These socks will serve for another 5-7 years!

The reality is when these socks come back to me, they look like this – holes and full of nubbies:

After & Before! (Worn heels removed)

These socks are well used – they’re slept in on flannel sheets! You can see what they look like before I begin working on them. The first step in the restoration is to shave them – this morning, I used my electric clothes shaver to clean up the nubbies so I have a clean sock to work with. This pair has an intact foot, so all I need to replace are the heels. This is the pair I will work on next.

Here’s the original pair from 2010:

2010

When I’m done with the repairs these socks will look almost like the original socks. Seven years of wear before a heel replacement – pretty good!

I still have a couple of pairs of socks in my sock drawer from 2004/2005 (I began sock making in October 2003)! These socks live a long time when they’re cared for. That’s why I still find making them so satisfying. I know my sister Barb has some that are that old (her’s also get repaired when needed) Gotta keep these socks alive.

Striped Socks

Striped Socks

Not my favorite socks – boring to knit. Finished last evening. Into the stash.

Now on to repairing five pairs of socks – two for sure, and maybe three, are too far gone to save the feet. However it’s worth knitting new feet – half the work after all is done – the legs are reusable.

Improvising A Quilt

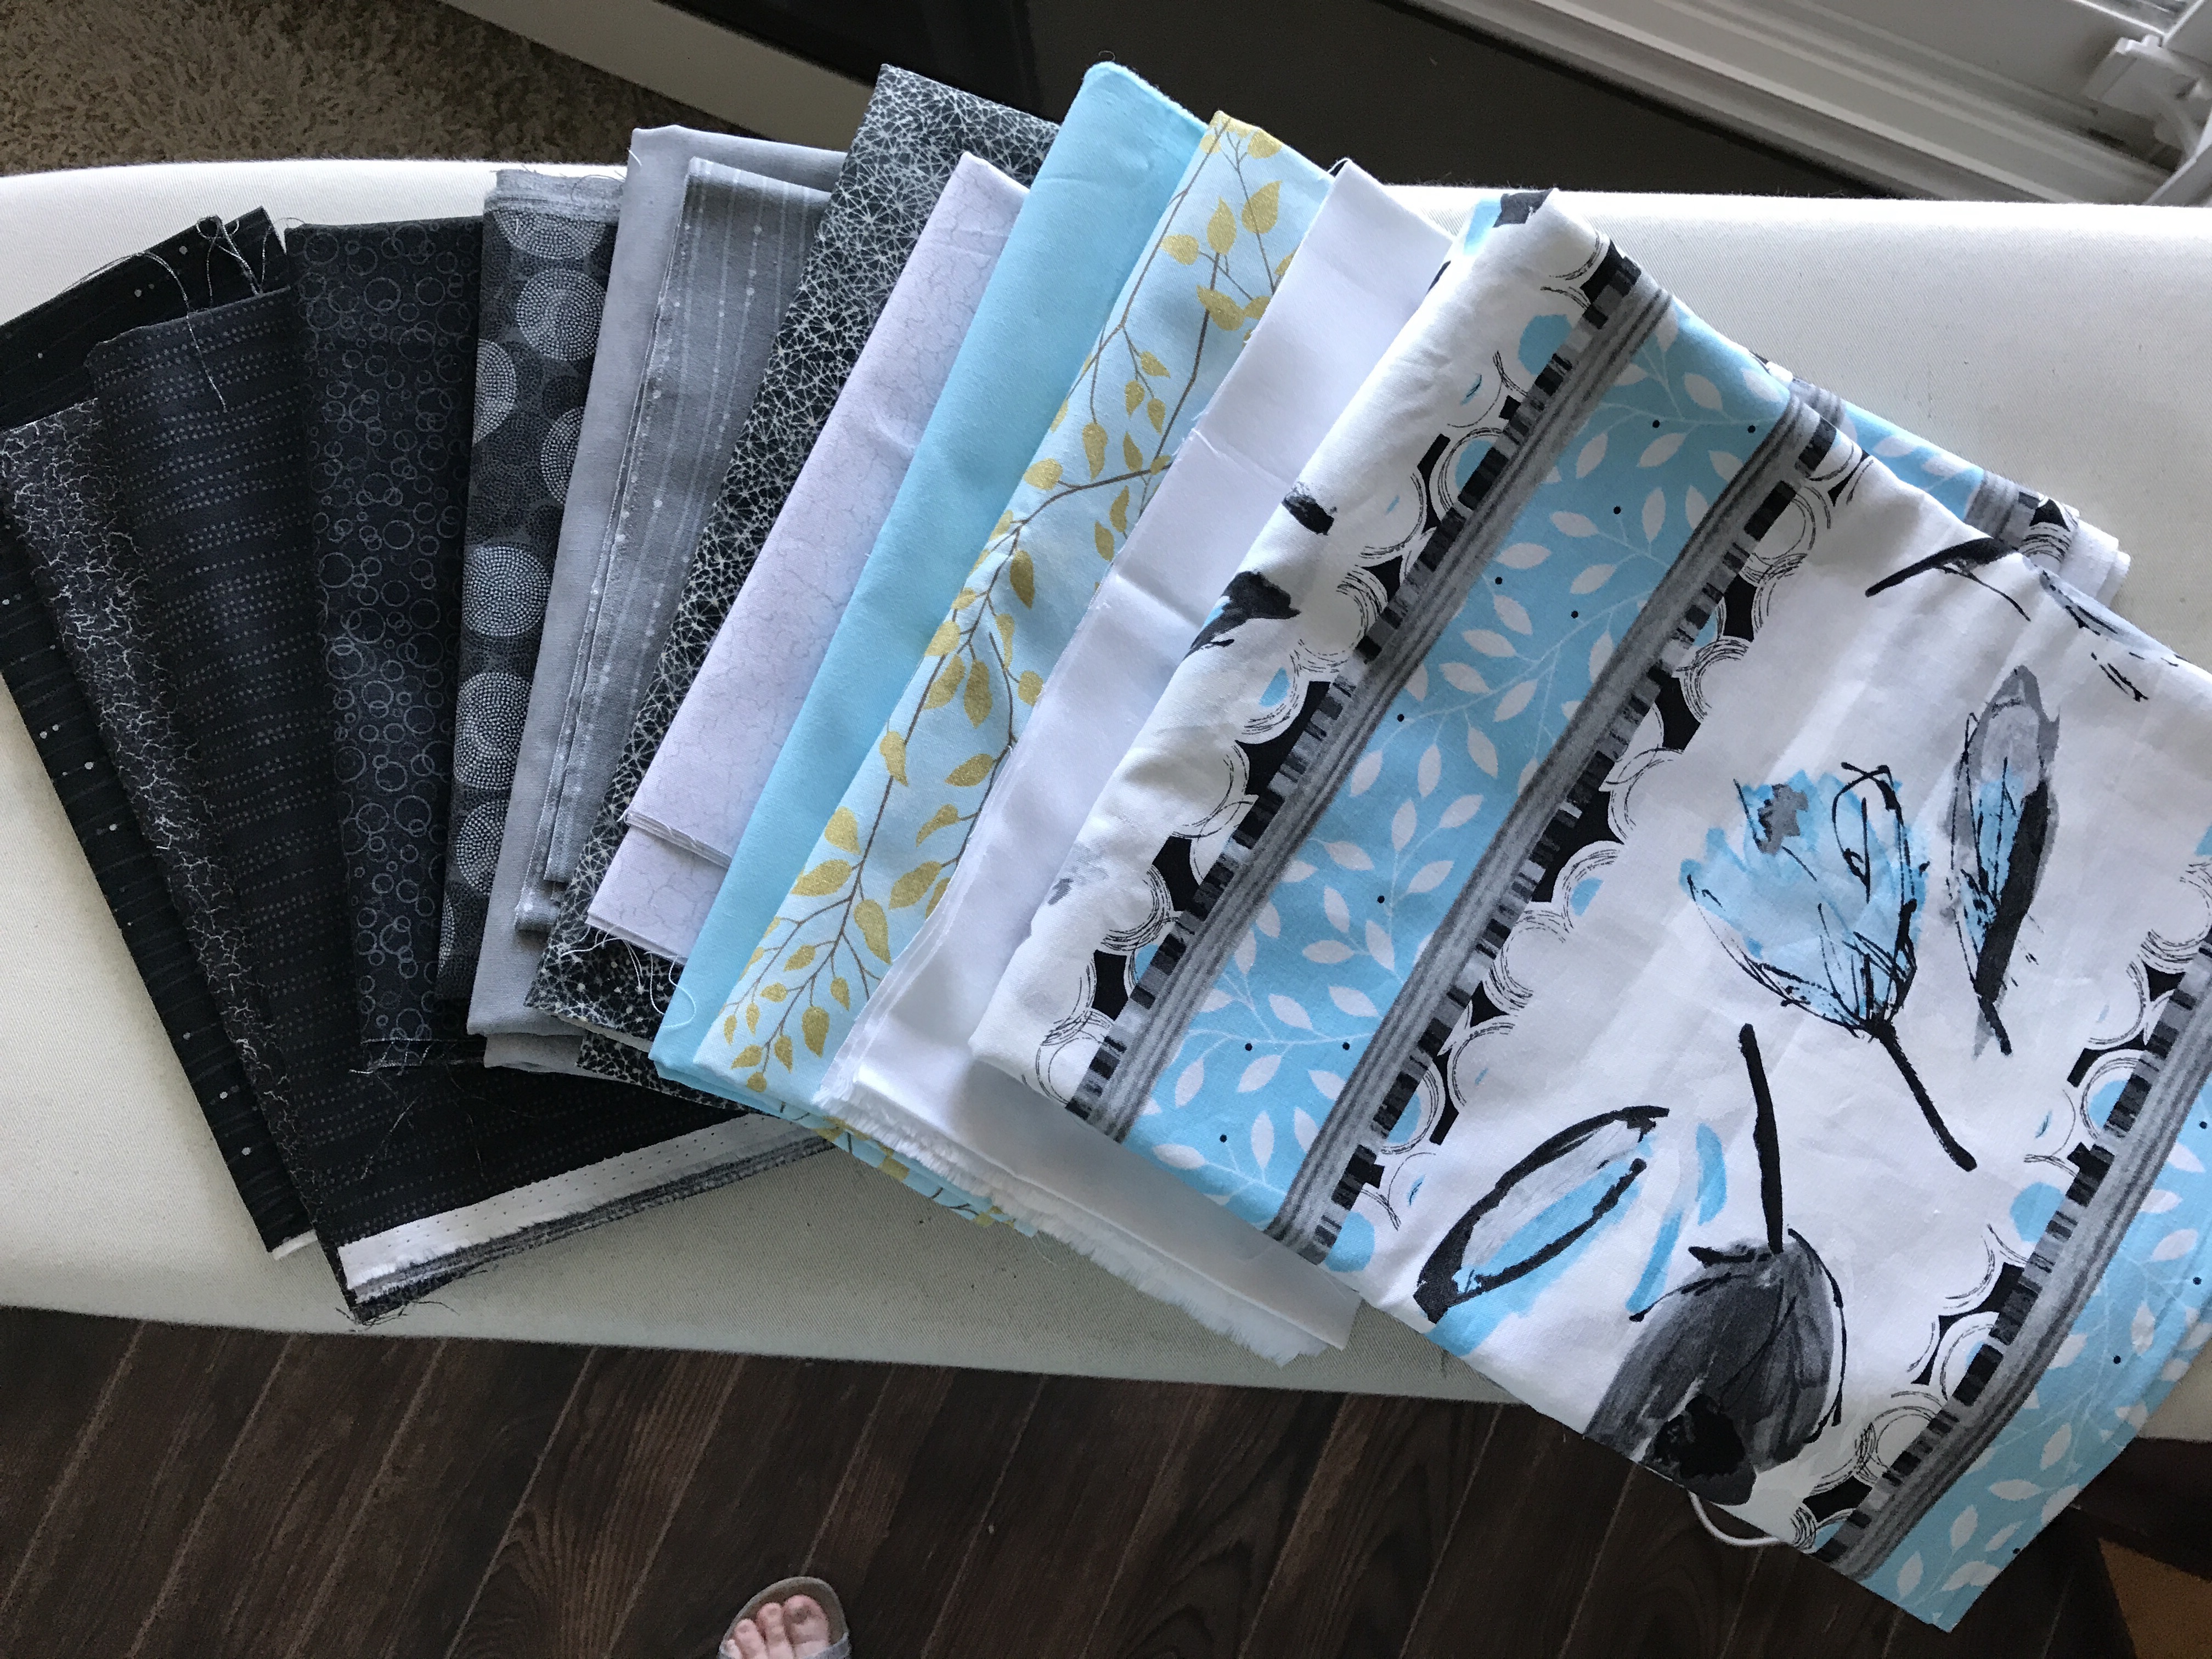
Yesterday, I dropped into Sew With Vision (my local Pfaff/Husqvarna dealer) to check on stuff in preparation for two classes I’m offering this fall. I also needed some variegated thread for quilting the Medallion Quilt. Sitting on the checkout counter was a 2m piece of Benartex fabric for sale at such a ridiculously low price it screamed “take me home”. So I did. Next step: go through the stash to see what might go with it – lots of dark and lighter greys, but nothing in the right shade/print style of the turquoise.

Benartex Cosmopolitan + Stash

So I checked the selvage – found out I had fabric by Benartex: Cosmopolitan. I checked online: Turns out there were I think three colour ways: turquoise, yellow, and lime. There appears to still be some of the lime prints available but almost none of the turquoise.

Benartex Cosmopolitan – Fabric Online

I did find a turquoise from the original collection at Fabric.com – 2 yds for $4.71/yard – it was the shipping that was horrendous! I walked away. But after shopping this afternoon for something that could possibly work (I found a Kona in almost the exact shade of turquoise as well as the turquoise with gold leaves at a local shop, both in the top photo) I came home and ordered 2 yds. To hell with the expense. That fabric is going to let me pull all the others together.

BTW, this is definitely NOT going to be a medallion quilt! Something simple and modern – an improvisation for the Improvise A Quilt class in a couple of weeks.

Medallion Quilt – Top Done!

Medallion Quilt Top Complete With Border

I adjusted the final corner within the block so that it was better balanced without affecting the outer dimensions. Then I added the outer border, complete with mitred corners. Quilt still square, Yeah! I’ve intended the quilt to be a lap quilt. However, while the finished size (63″ x 63″) is not a full double/queen size it could certainly be used as a colourful spread to focus attention on a bed.

Now I have to think about the back of the quilt. I have a complementary fabric double width so I could just cut the size I need and be done with it, but before I do that I will go through the scraps and other leftover fabric to see if there is some kind of strip I can cobble together to add interest to the back of the quilt. But that’s for another day – likely tomorrow.

Melanie McNeil asked if I was pleased with my efforts – now I can definitely say I am.