Trying to take photos of the pants I’m modelling is so difficult. Not great photos but adequate to show how the pants fit.
FrontSideBack
I finished the denim pants (made from the same pattern drafting I used for the white linen ones this morning. This was a test run to see whether I could use the pattern sloper without making any further adjustments. I could. The nips in the waist I’d taken worked out fine. The length was good. The front fits in the crotch without pulling, the side seam is perpendicular to the floor, the back falls straights without being baggy. I can sit in them confortably. The back crease is really a seam incorporating a dart under the bum (which is now in the right place).
I did add elastic to the back yoke because when I sat down the back pulled down. With the elastic the pants seem to be staying in place.
I’ve ended with a cross between Jeans and Trousers – I’ve used a jeans pocket (not a slant or inseam pocket used for trousers), incorporated the back yoke used to fit jeans at the waist, a fly front for easy access; but I’ve added the back dart down the centre of the pants, a straight leg, with limited top stitching that’s de rigueur for jeans, finishing the hem with a single top stitching, giving me a simple look more like trousers.
With my fingers crossed, in a couple of months, I will use this sloper to make some corduroy pants for the fall. That will let me purge some of the winter pants in my closet; some of which have been fitted and refitted many times as the years pass and my shape changes. This fit should last into the fall.
The thing about making pants is the fit changes over a six month period – my weight distributes just a bit differently so the pattern that worked last year won’t quite fit now even though my weight hasn’t changed much.
I bought some white linen and a medium weight denim several weeks ago. I decided I had to get those white pants done because it’s almost August and I have nowhere to store the fabric till next spring!
Finished pants draped over a chair
I didn’t want to make another pair of pull-on pants. I wanted a fly front which is actually a lot easier to get into. I pulled out my Sandra Betzina jeans pattern Vogue 7608 which I’ve been using since 2015.
My challenge is I have a very flat bum, skinny thighs but a full belly which makes my waist measurement close to my hip measurement. I last used the pattern in May 2019 (the date I noted on the draft) so I wasn’t prepared to trust the sizing of my draft – I figured I should at least lay it against my pull-on pants pattern (most recently used in Feb 2022) and was surprised how close the two actually were. Then I did what I needed to do – I took my body measurements yet again: waist, high belly, hip (at fullest), thigh, and checked them against the pattern. On this pattern I’m a size A through the bum in the back but I need a C from hip to waist. In the front I’m a C from crotch to waist. I checked the grading on my draft against the original pattern to make sure I was close to a working size.
I intended making the dart adjustment in the pants back but I needed to make sure I was getting it centered so I balanced the pattern, front and back, then added the dart to the centre back. This pattern has a back yoke (no waistband), with a waistband in the front. The smart thing was to start by working “Top Down/Centre Out“. I cut out the 2 yoke pieces, the two front waistband pieces, sewed them together, then tried it on. The fit wasn’t bad, a reasonable amount of overlap in the front, so I decided to go ahead and cut the fabric.
I was using my white linen fabric to make a muslin – if the finished garment fit I’m ahead of the game, but as usual, I was prepared to throw out the whole effort if it didn’t work.
I did all the prep work – fused interfacing where it was needed: back pocket facing, front pocket facing, waistband, yoke, both sides of the fly. I serged edges where I wanted to prevent fraying. I made up the pockets, added them to the front (I simplify the pockets by adding them to the top, rather than inserting them from behind the fronts). Now here’s where I deviated from Top Down/Centre Out construction. If this was going to be a wearable garment, I needed to set up the fly front. So I went ahead and put in the zipper, added the fly facing and top stitched the fly in place (Here are instructions for this simple fly front) (Here’s a link to a video.) With the fly completed I added each front waistband piece.
With the front done, I worked on the backs. I sewed the yoke to each back side, then sewed the back dart in each back piece, serged it (1/4″ seam allowance). Added the back pockets to each side. Now I returned to the Top Down/Centre Out technique – I sewed inner leg seams (no serging), sewed the outer leg seams (no serging), stitched the crotch seam( no serging), then tried on the pants. I could see I wanted to take in the side seams 1/2″, I wanted to remove about 1/2″ from the back crotch inner leg to flatten the bum a bit more, I also wanted to bring the back dart higher so it would finish under the pocket, finally take in the centre back 3/8″ at the waist.
I made those adjustments (marked them on my pattern draft), then I serged the seams. Tried on the pants again. I was satisfied with the fit, so I added the waistband and yoke facings (having matched them to the waistband and yoke on the pants), top stitched around those elements on the right side of the garment. I marked the inseam (27″), folded and pressed the hem, then finished the hems with a cover stitch. Last I added a button hole on the front waist tab, and a button and tried the pants on again. Overall the fit was good – but the pants were too long.
I took out the hem, shortened the legs by 1/2″. Cover stitched again – still a smidge too long. I shortened them another 1/2″.
The front fit is close but the added length interferes with how the legs fall – this was before I shortened, and reshortened the pants. The back is close – I just need to raise the dart to remove the slight bit of fullness under my bum. I’m not going to do that with these pants, by the time I’ve sat in the linen for a few minutes the back will be stretched out – I marked that adjustment on the pattern for the denim which I will make next.
All in all, after shortening the legs, I have a pair of wearable pants. A good couple of days effort.
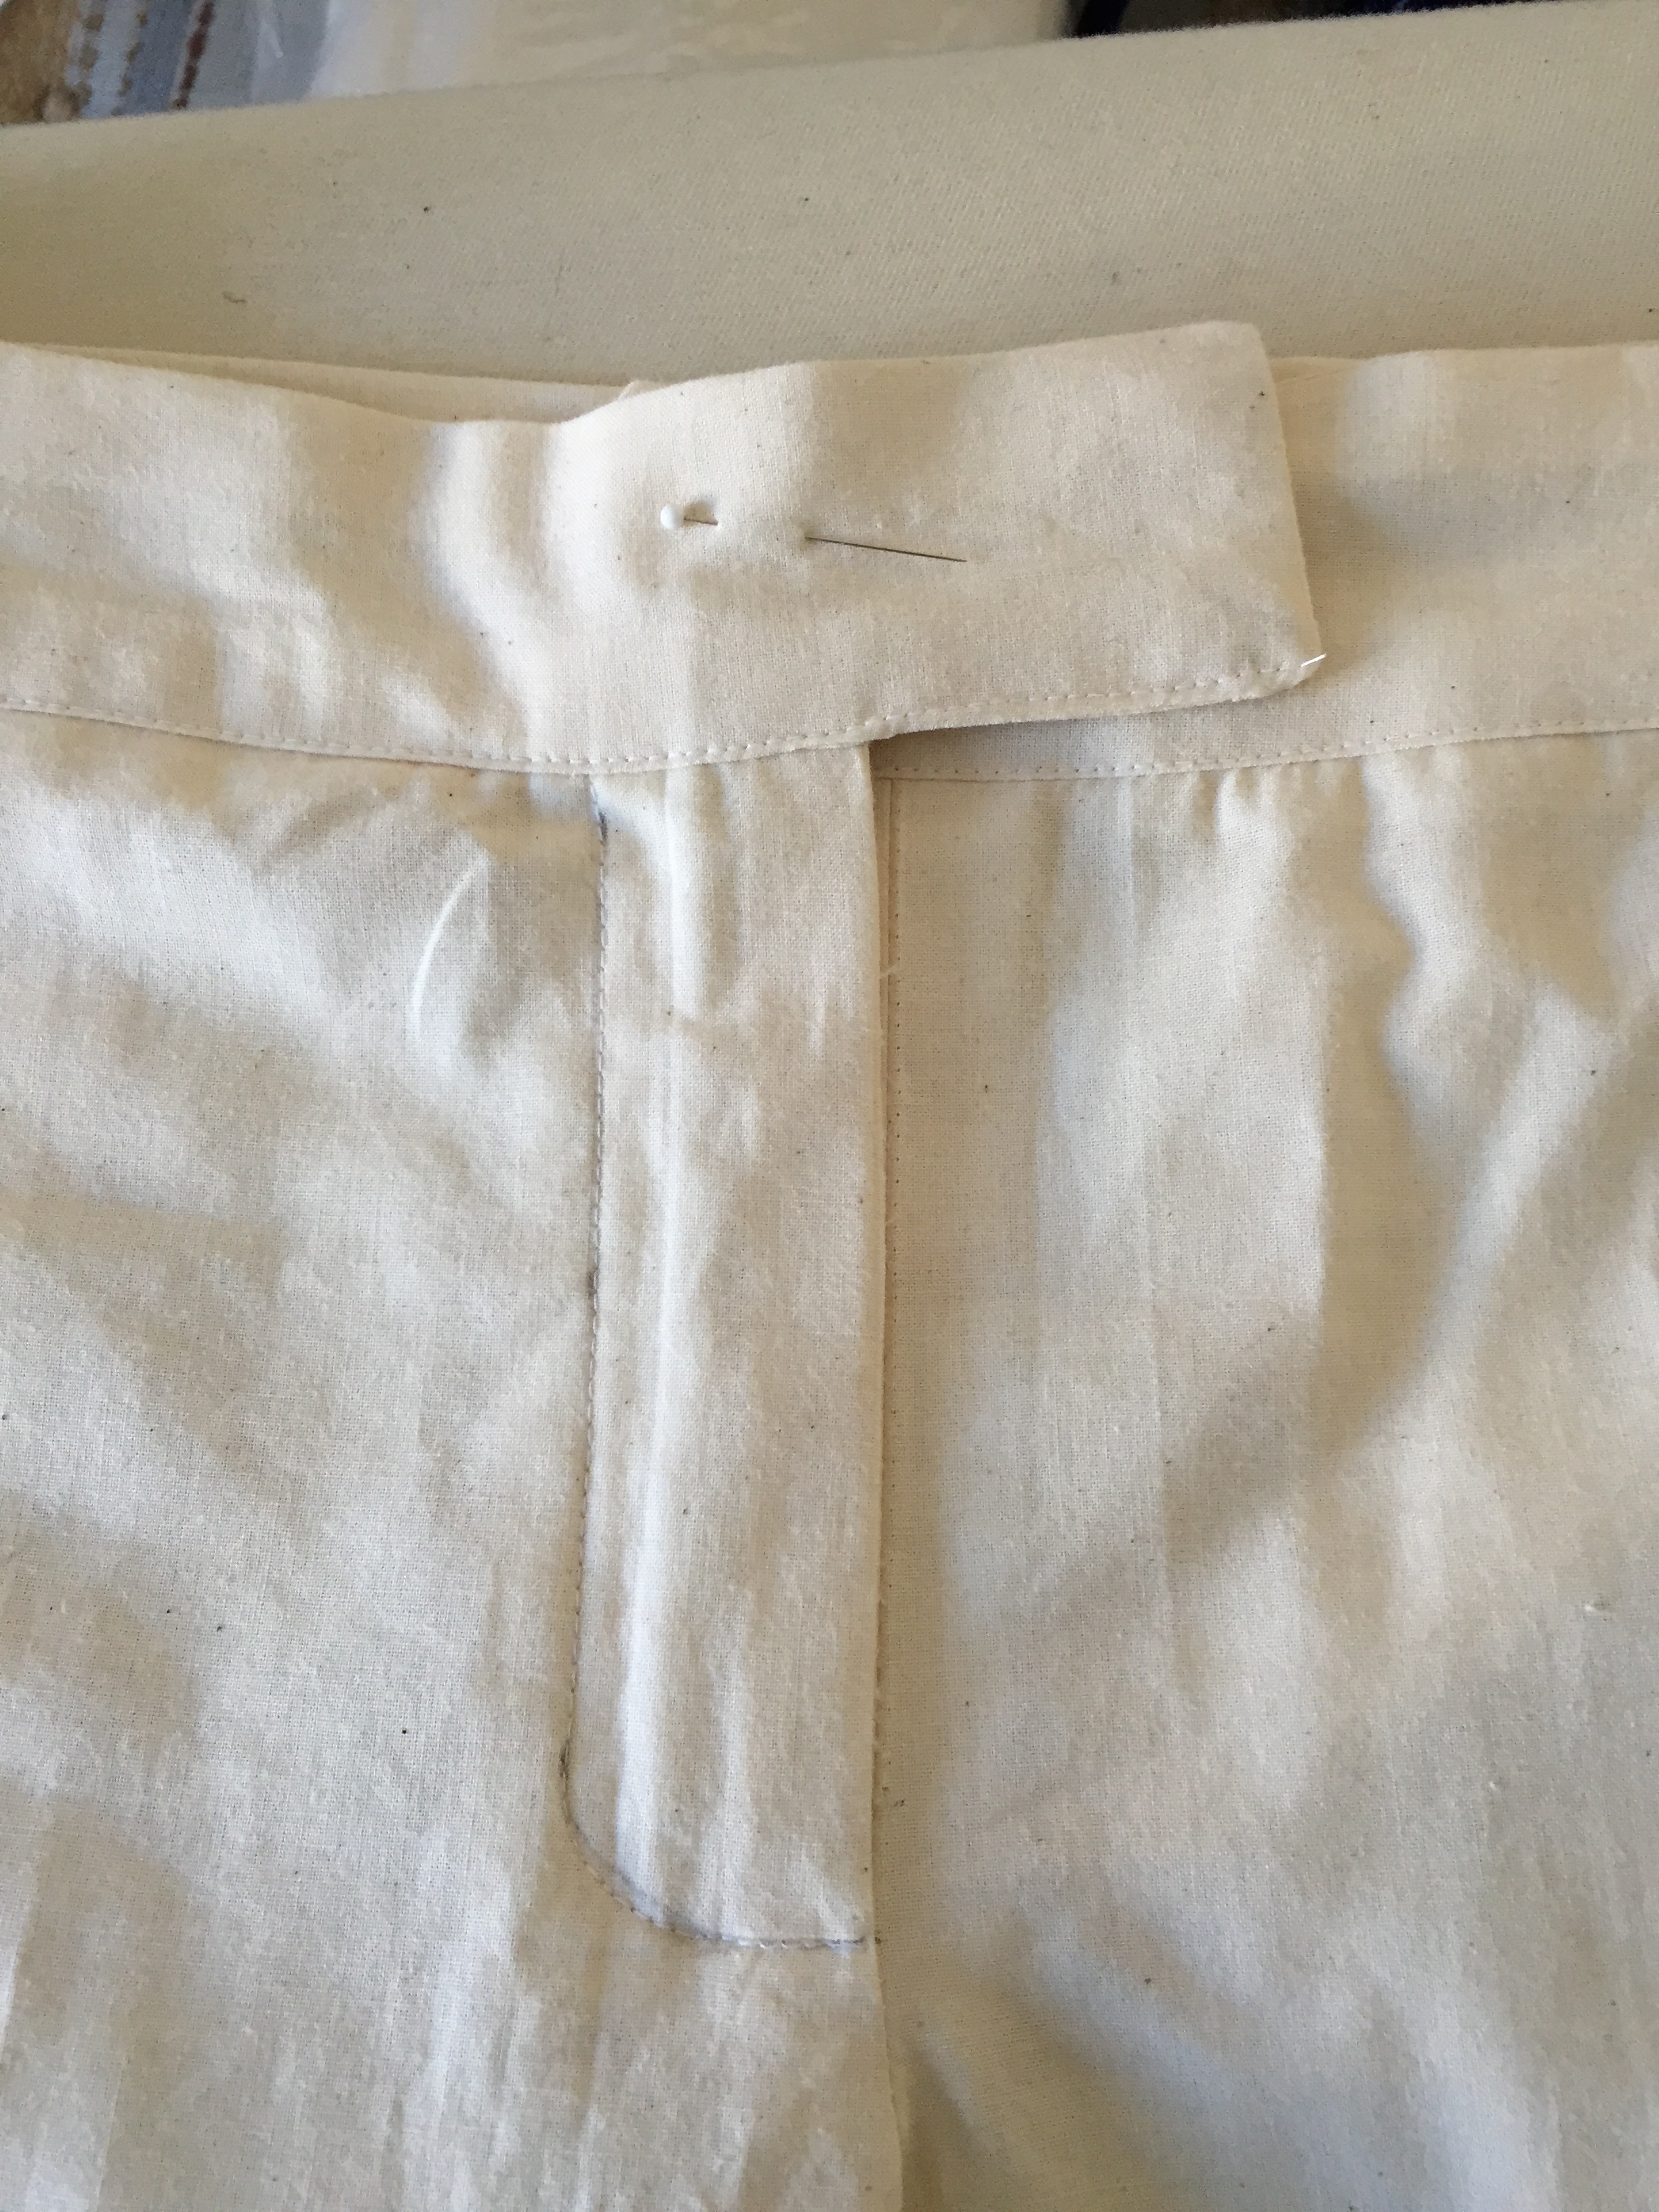
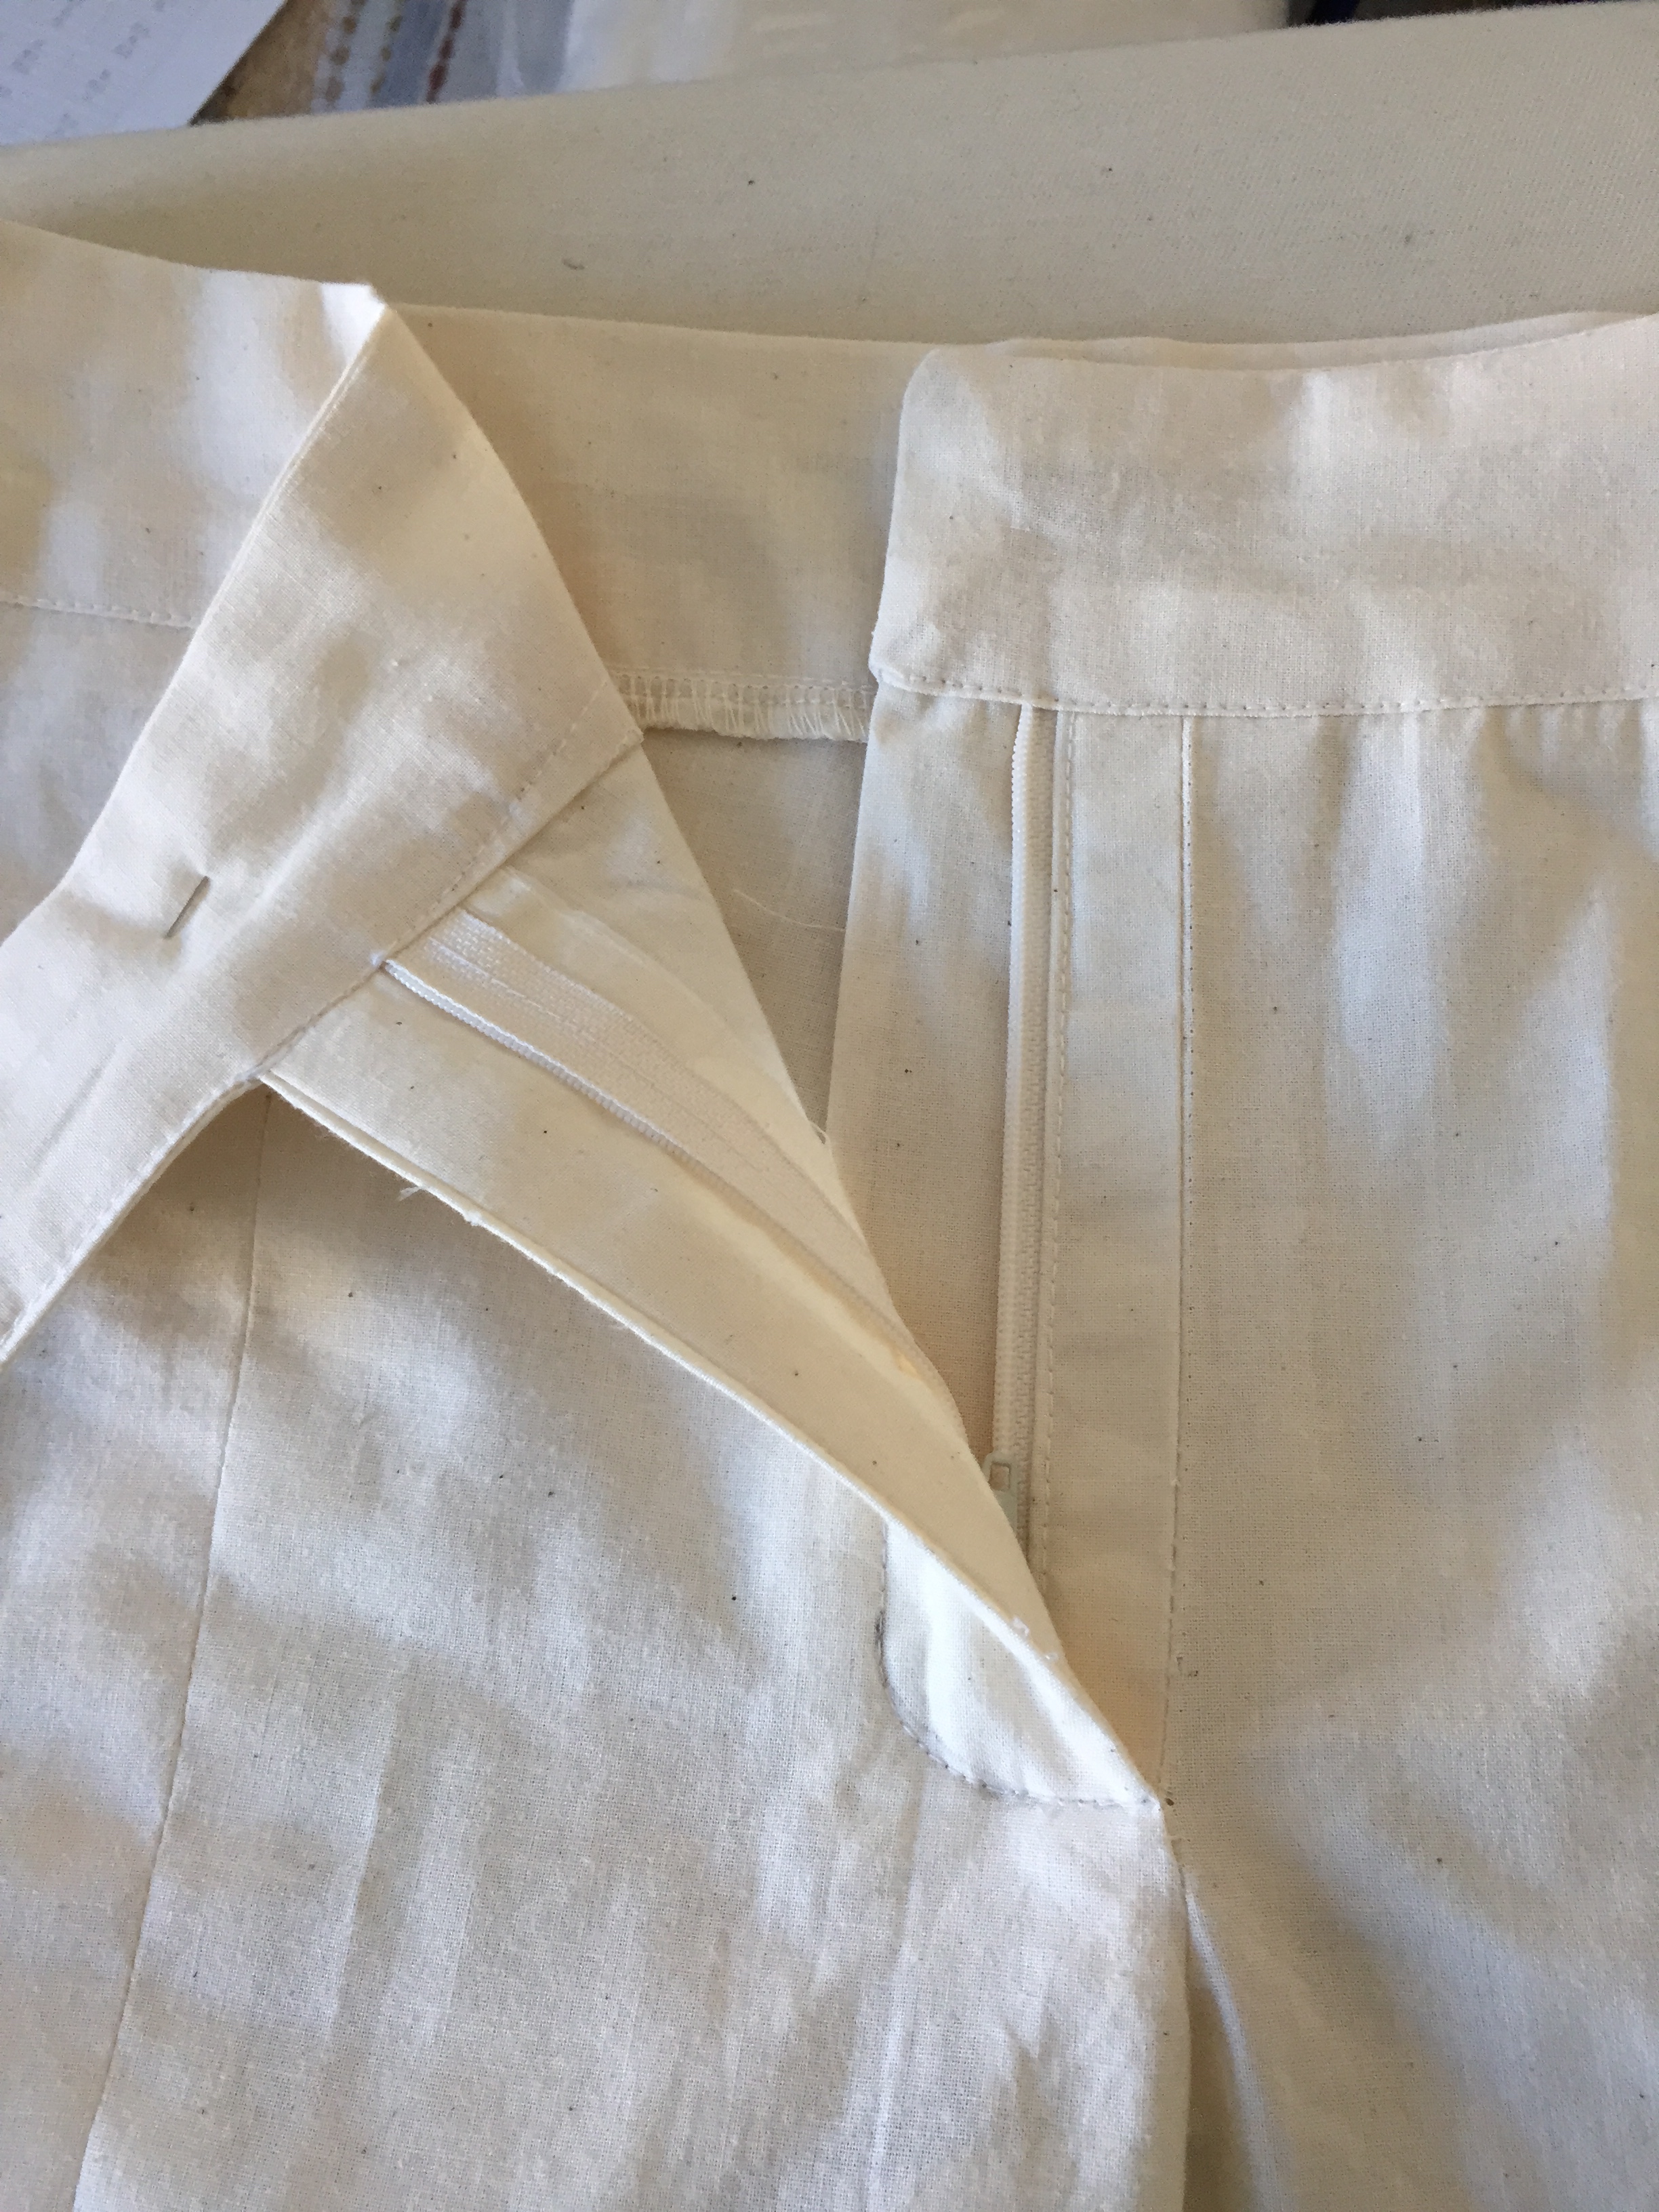
After watching the video of how Sandra Betzina does the flat fly front, I tried it on my muslin #2 (in search of the perfectly-fitted pair of pants). It was easy to do and it worked out perfectly.
I drew the top stitching line in pencil since this was a muslin and it didn’t matter – obviously I’d use chalk or some other erasable marker to draw in that line on a real pair of pants.
You see the centre line because I had to attach “fly” flaps to the centre seam in order to execute the technique but on my next muslin I will incorporate the fly flaps into the front pattern pieces as you can see on Sandra’s video,
Because my memory is not as good as it once was, I thought it would be a good idea to create a set of written instructions for doing this instead of having to watch the video each time I wanted to sew a fly front. So I took a series of screen captures from the video and created myself an instruction sheet.