Minimalist Quilt – Finished

It took longer than I had planned (a variety of distractions took over and slowed the quilt work), but this quilt if finally completed! Piecing the back needed improvisation – I was short about 8″ of backing fabric so I inserted a horizontal strip. In the end I decided to use the trimmings from the back to do a narrow 1/4″ binding which I hand stitched on the back.

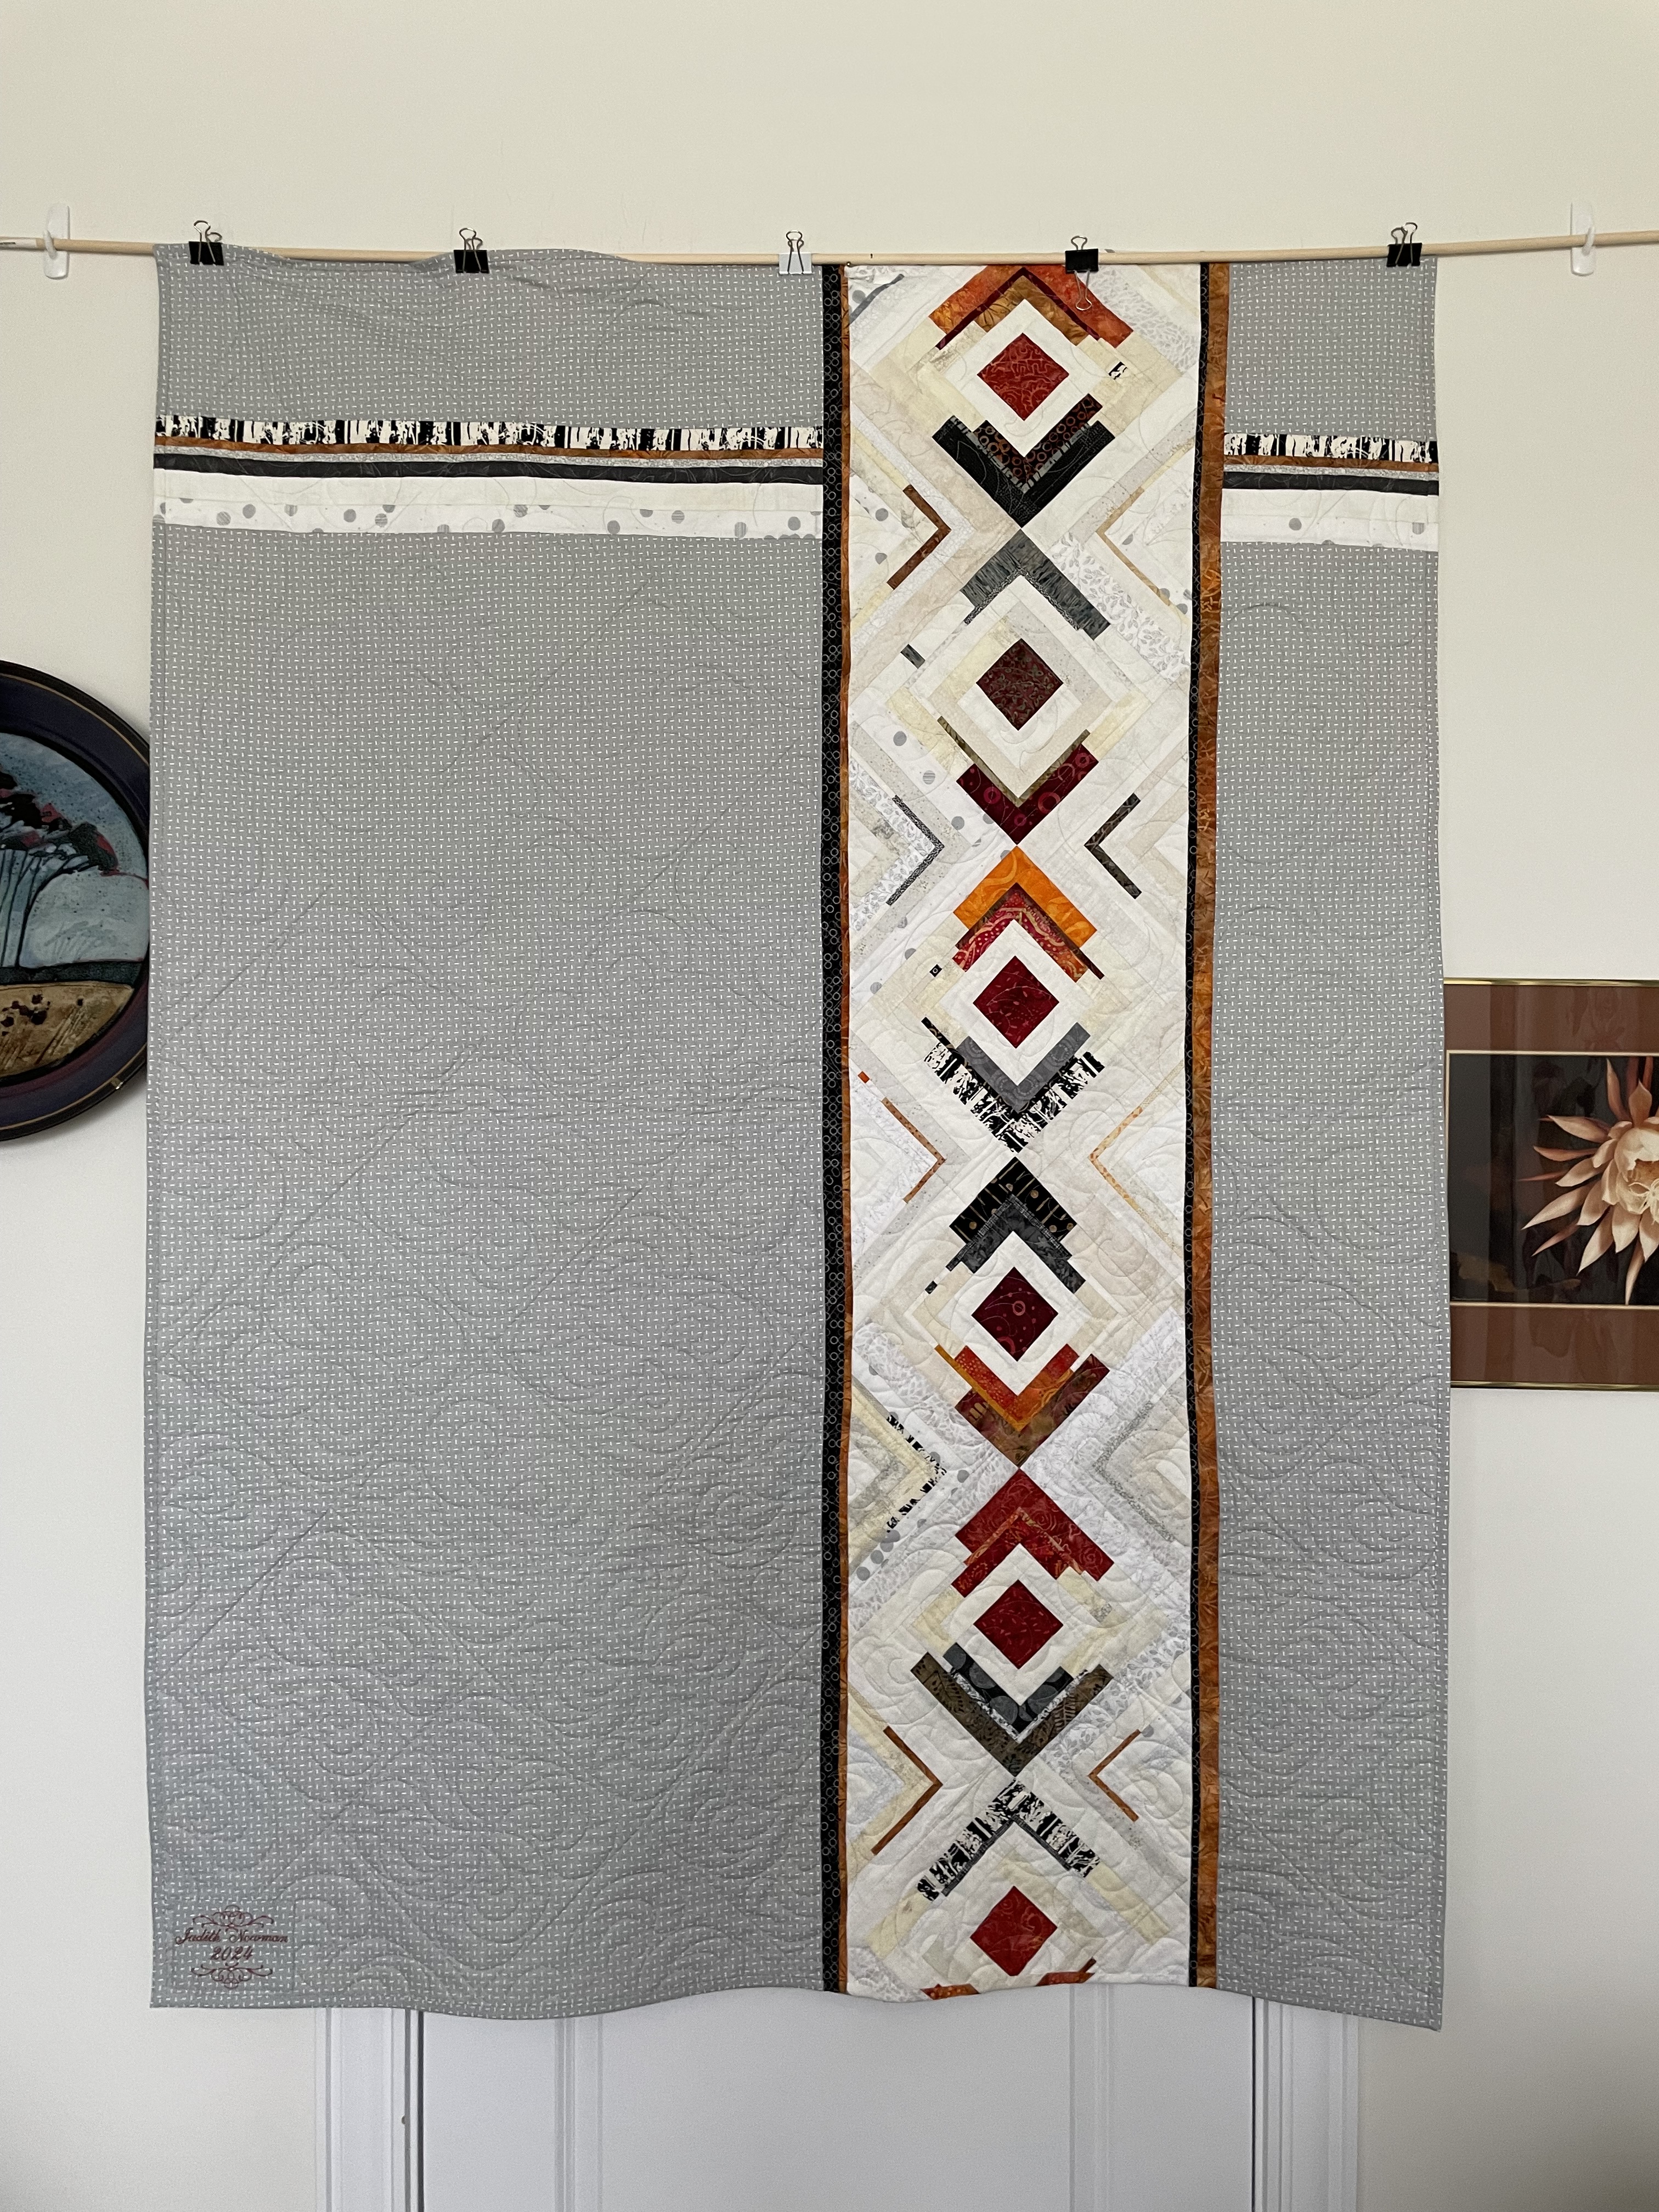
I’m pleased with how the quilt turned out. I like the range of shades in the “background” elements and the placement of the strong log cabin blocks (in fact all the blocks are constructed as log cabin, although the dimensions of the background blocks (light coloured ones) is different than the brighter coloured ones – this was necessary to vary the placement of the thin elements in each block.

I still have a box full of strips from this quilt that I’m going to have to do something with – I have no idea what yet, but I think if I start sewing strips together I’ll come up with some kind of block I can use for a new quilt.

Coming weekend I’m working with a group of women on the Zippered iPhone Case. One of the gals wants to use a #5 coil zipper (a standard zipper is #3 coil) on a somewhat larger case. So I figured I ought to try one myself.

Zippered Case with Decorative Zipper

There’s a challenge to working with a decorative zipper! Because it’s placed on top, it’s not simple to attach it to the fabric and lining. The accommodations I made for the front pockets were relatively straight forward, but adding the side zipper made it impossible to slip the open-end lining into the back…

Botched “phone” pocket!

Because of how I applied the side zipper which involved stitching down the lining, it was impossible to slip the phone pocket in behind the zippered pocket on the side!

I have to take this whole project apart and start over – I need to come up with some other way of adding the lining to the zippered side pocket so it lets the phone pocket slip in where it should go.

Quilting The Quilt

After I finished the backing using the strip I created from the leftover blocks, I assembled the quilt top/batting/backing, pinned it all together.

I set up a couple of embroidery designs to audition for the quilting. The first was a straight line design that more or less followed the log cabin layout of the blocks – the first block stitched reasonably well; the second wouldn’t align with the first! So I carefully unstitched both blocks and returned to the drawing board.

Quilting The Diagonal…

Next I decided to try quilting on the diagonal, more or less following the piecing lines at somewhat unequal intervals… I did quite a bit of stitching before I decided I couldn’t live with it and again carefully picked it all out!

Quilting The Quilt

Third I set up an enclosed embroidery design that fit the 8 1/2″ block size. The problem I ran into had to do with my embroidery machine losing calibration each time I tried precise positioning the embroidery within each block! The issue, I thought, was the belt driving the “y” axis element of the embroidery unit was a teeny bit loose, as a result it slipped when I tried locating the corners of each block. The drag created by the quilt itself was too great for the unit to move the hoop consistently without the belt slipping and losing calibration.

I packed up my machine, embroidery unit, and quilt on Thursday morning; took it into the nearby shop so the repair guy who comes in once a week with the machines he’s fixed that week could see what was happening. I set up the machine on a table in the classroom, started quilting – all went smoothly! When Neil arrived do you think I could make the “slipping” happen? I could not. I rehooped the quilt a couple of times trying to position the bulk of the fabric so it would pull against the embroidery arm when I attempted to locate the corners of a block. I COULD NOT get the embroidery arm to go out of calibration. So I packed the whole thing up and returned home.

Before I set it all back up, I happened to visit my friend Deb who mentioned that the new Husqvarna Epic 3 machine warns new owners to make sure the machine is LEVEL so the embroidery arm works. Maybe I was having a problem with my sewing table having developed a dip and the machine was not sitting level, now. So I pulled out my trusty spirit level and placed it on the bed of the machine in front of the needle. Ever so slightly dipping toward the embroidery unit!

I loosened the feet on the unit to lift it a bit; not quite enough to bring the spirit level to neutral. I placed a small piece of foam core under the feet – that did the job. The machine was now level. Guess what – the embroidery arm hasn’t slipped since (well just once in the 16 embroideries I’ve completed). Whether that was actually my problem, or something else inadvertently fixed itself I’ll never know, but I’m starting to trust the embroidery arm again.

[I won’t bore you with the long story about how I broke the “y” axis drive belt on the embroidery unit; Neil repaired it, and it looks like the arm is now working as it should!]