There are lots of ways of constructing a double-welt pocket. I never attempt one without first doing at least one test run! Here’s a sample I mocked up late yesterday.
I want the pocket opening to be on a slight diagonal rather than cutting straight across (this way I can make a wider opening in a shorter width distance). The 1/4″ welts are small but set up a stabilizing contrasting detail against the very busy fabric.

Double Welt – Front of Fabric
In this practice pocket I didn’t interface the welt fabric – I need to do that and I need to use a small (slightly stiff) interfacing on the jacket fabric itself so that the pocket opening is crisp and flat.
A normal double-welt pocket uses a pocket bag – but because I want to use patterned fabric on the inside as an accent to the solid of the reverse of the jacket fabric that won’t work – too much bulk. Instead, I’m going to cut out a single piece for the pocket, do a Hong Kong finish around the edges, attach it to the inside of the top welt fabric, then straight stitch the pocket piece to the front forming the pocket. In addition, I’m going to position the top of the pocket piece to match the angle of the double welt and align the pocket piece on the vertical.
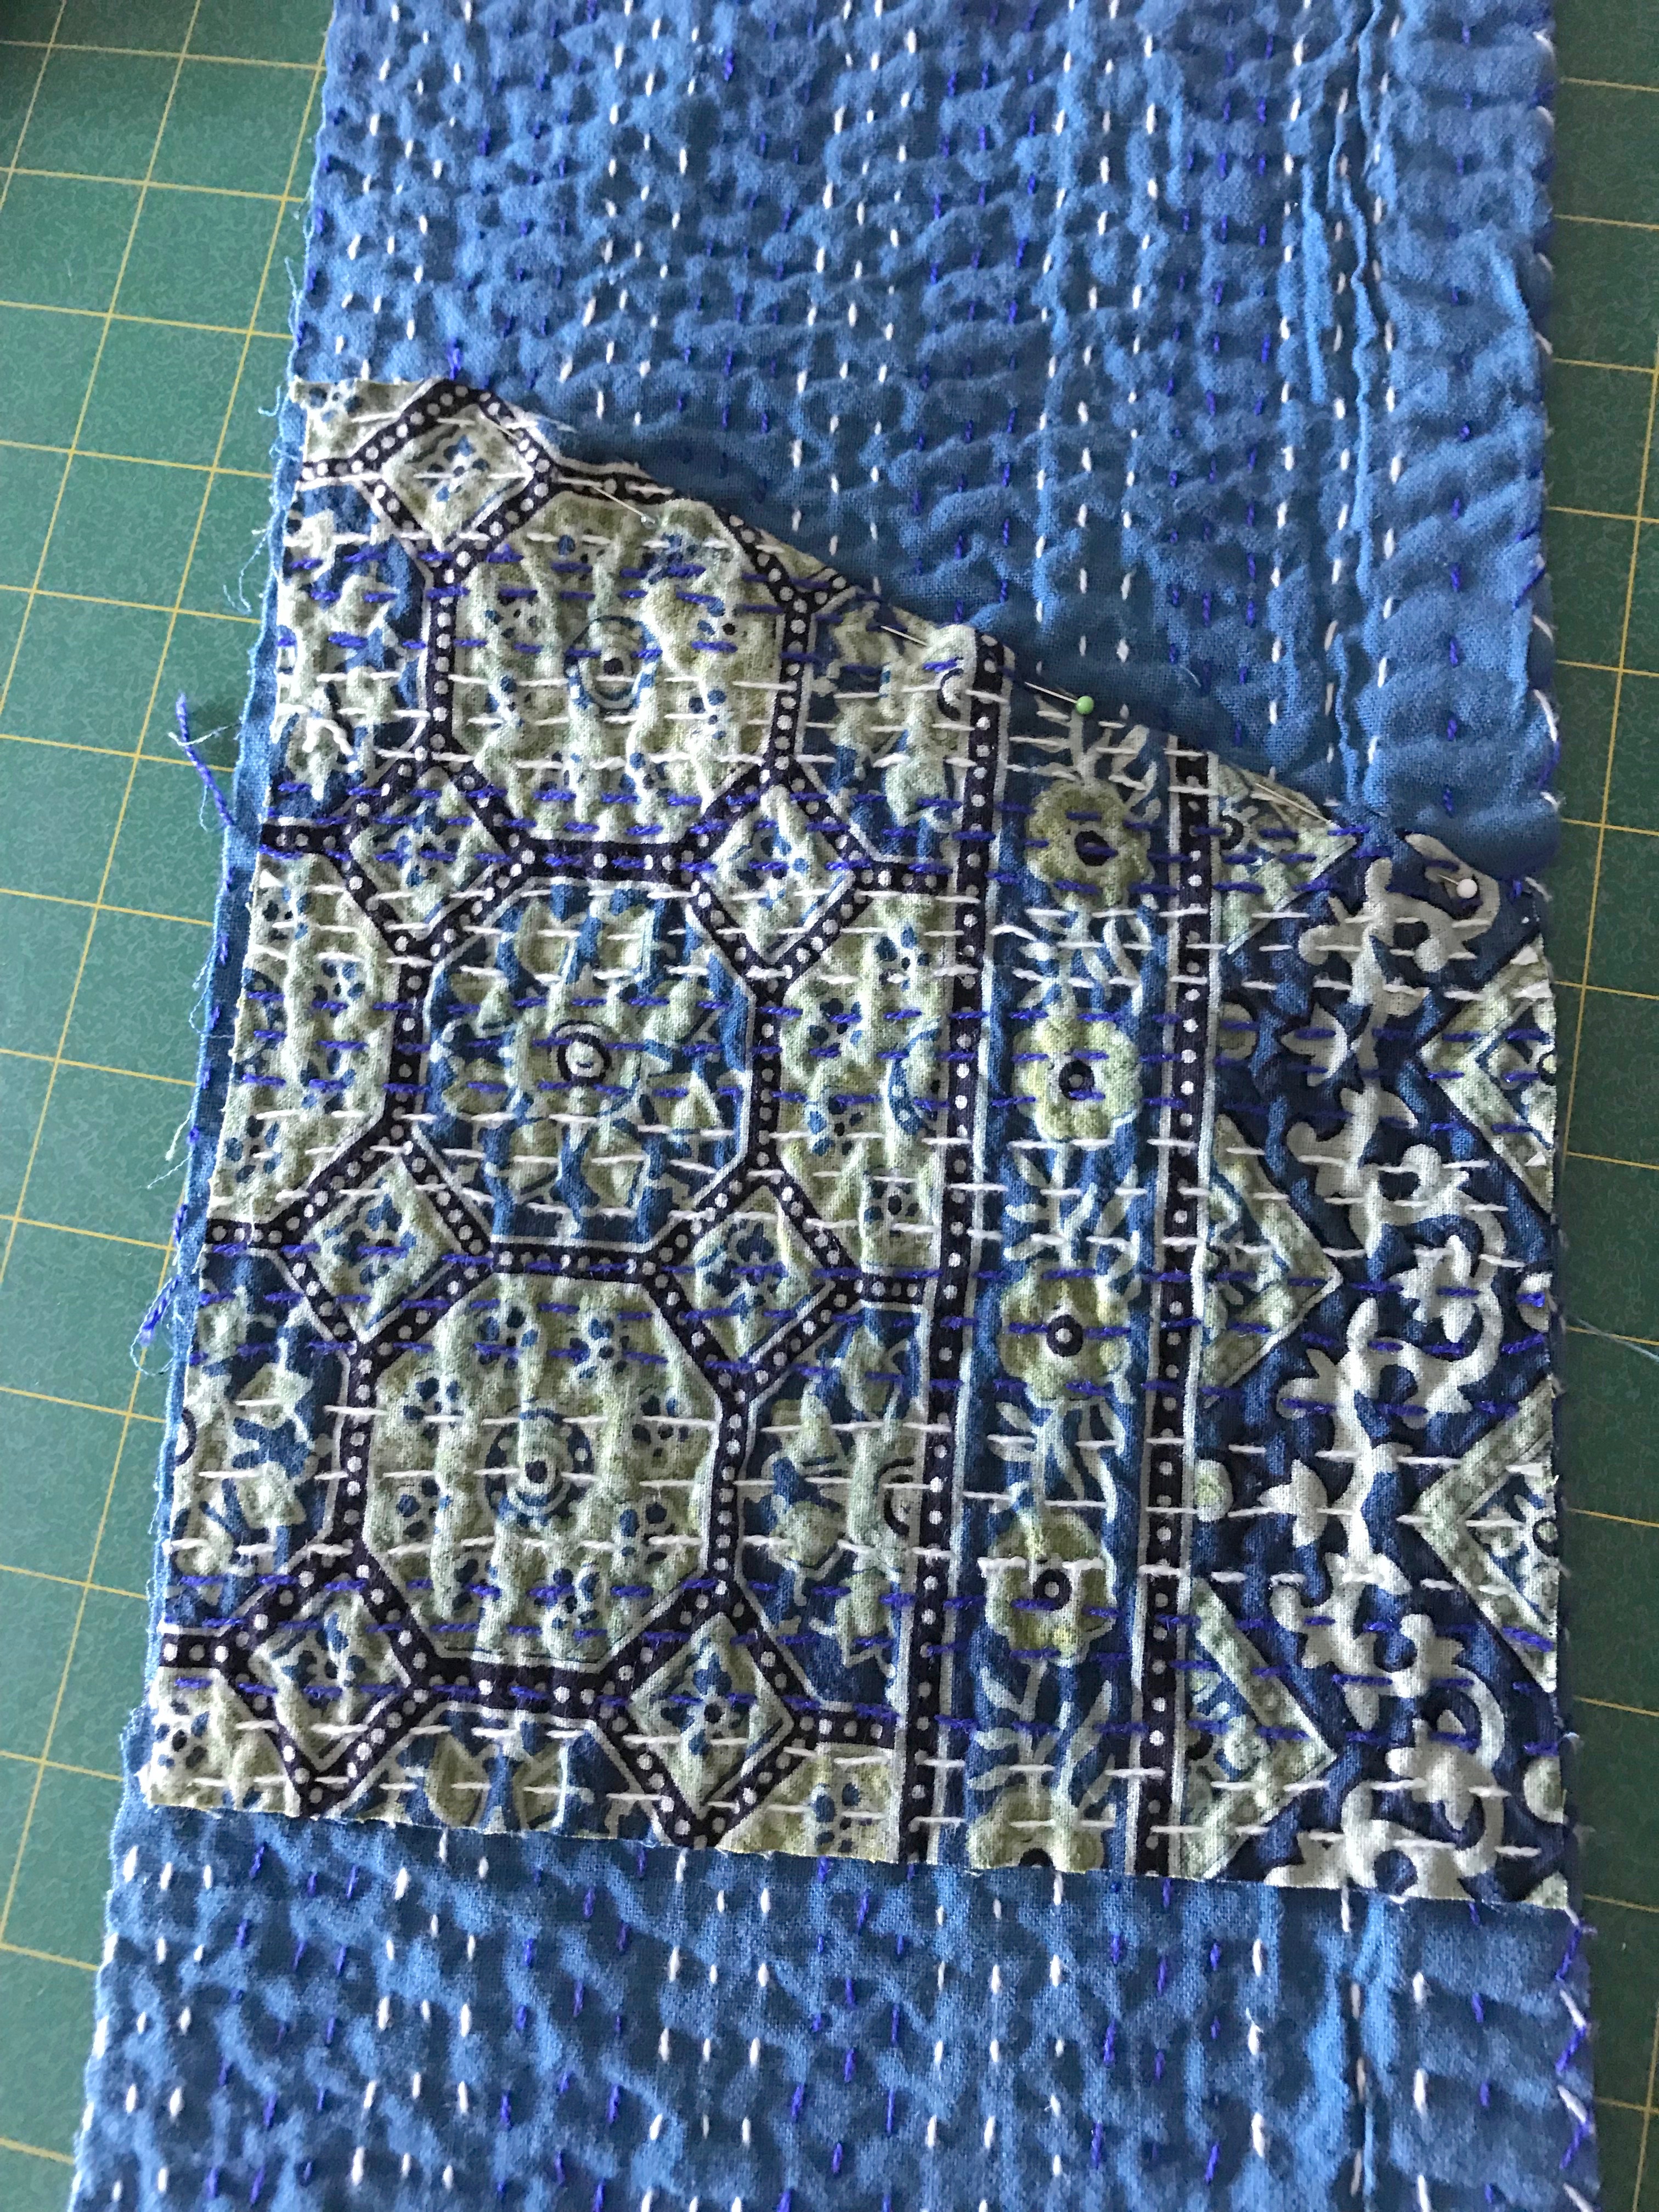
Pocket on Back Side of Fabric
I used the dimensions suggested in Andrea Brown’s tutorial – begin with 7″ x 3″ welt pieces. But the resulting 5″ opening is a tiny bit too narrow. I want to end up with a 6″ opening which might actually bring the pocket to the side seam – or very close to it. But because the welts are small, that should look OK.
Now to add the pockets to the jacket front pieces – easier to do before they’re attached to the jacket than after the parts are sewn together.
