Osterspermum are African daisies. I first noticed them at garden centres maybe 20+ years ago. They come in a range of colours from off white to a lovely purple, red, orange. I started planting them in the container gardens on my back deck. Over the years I took lots of photos of them.
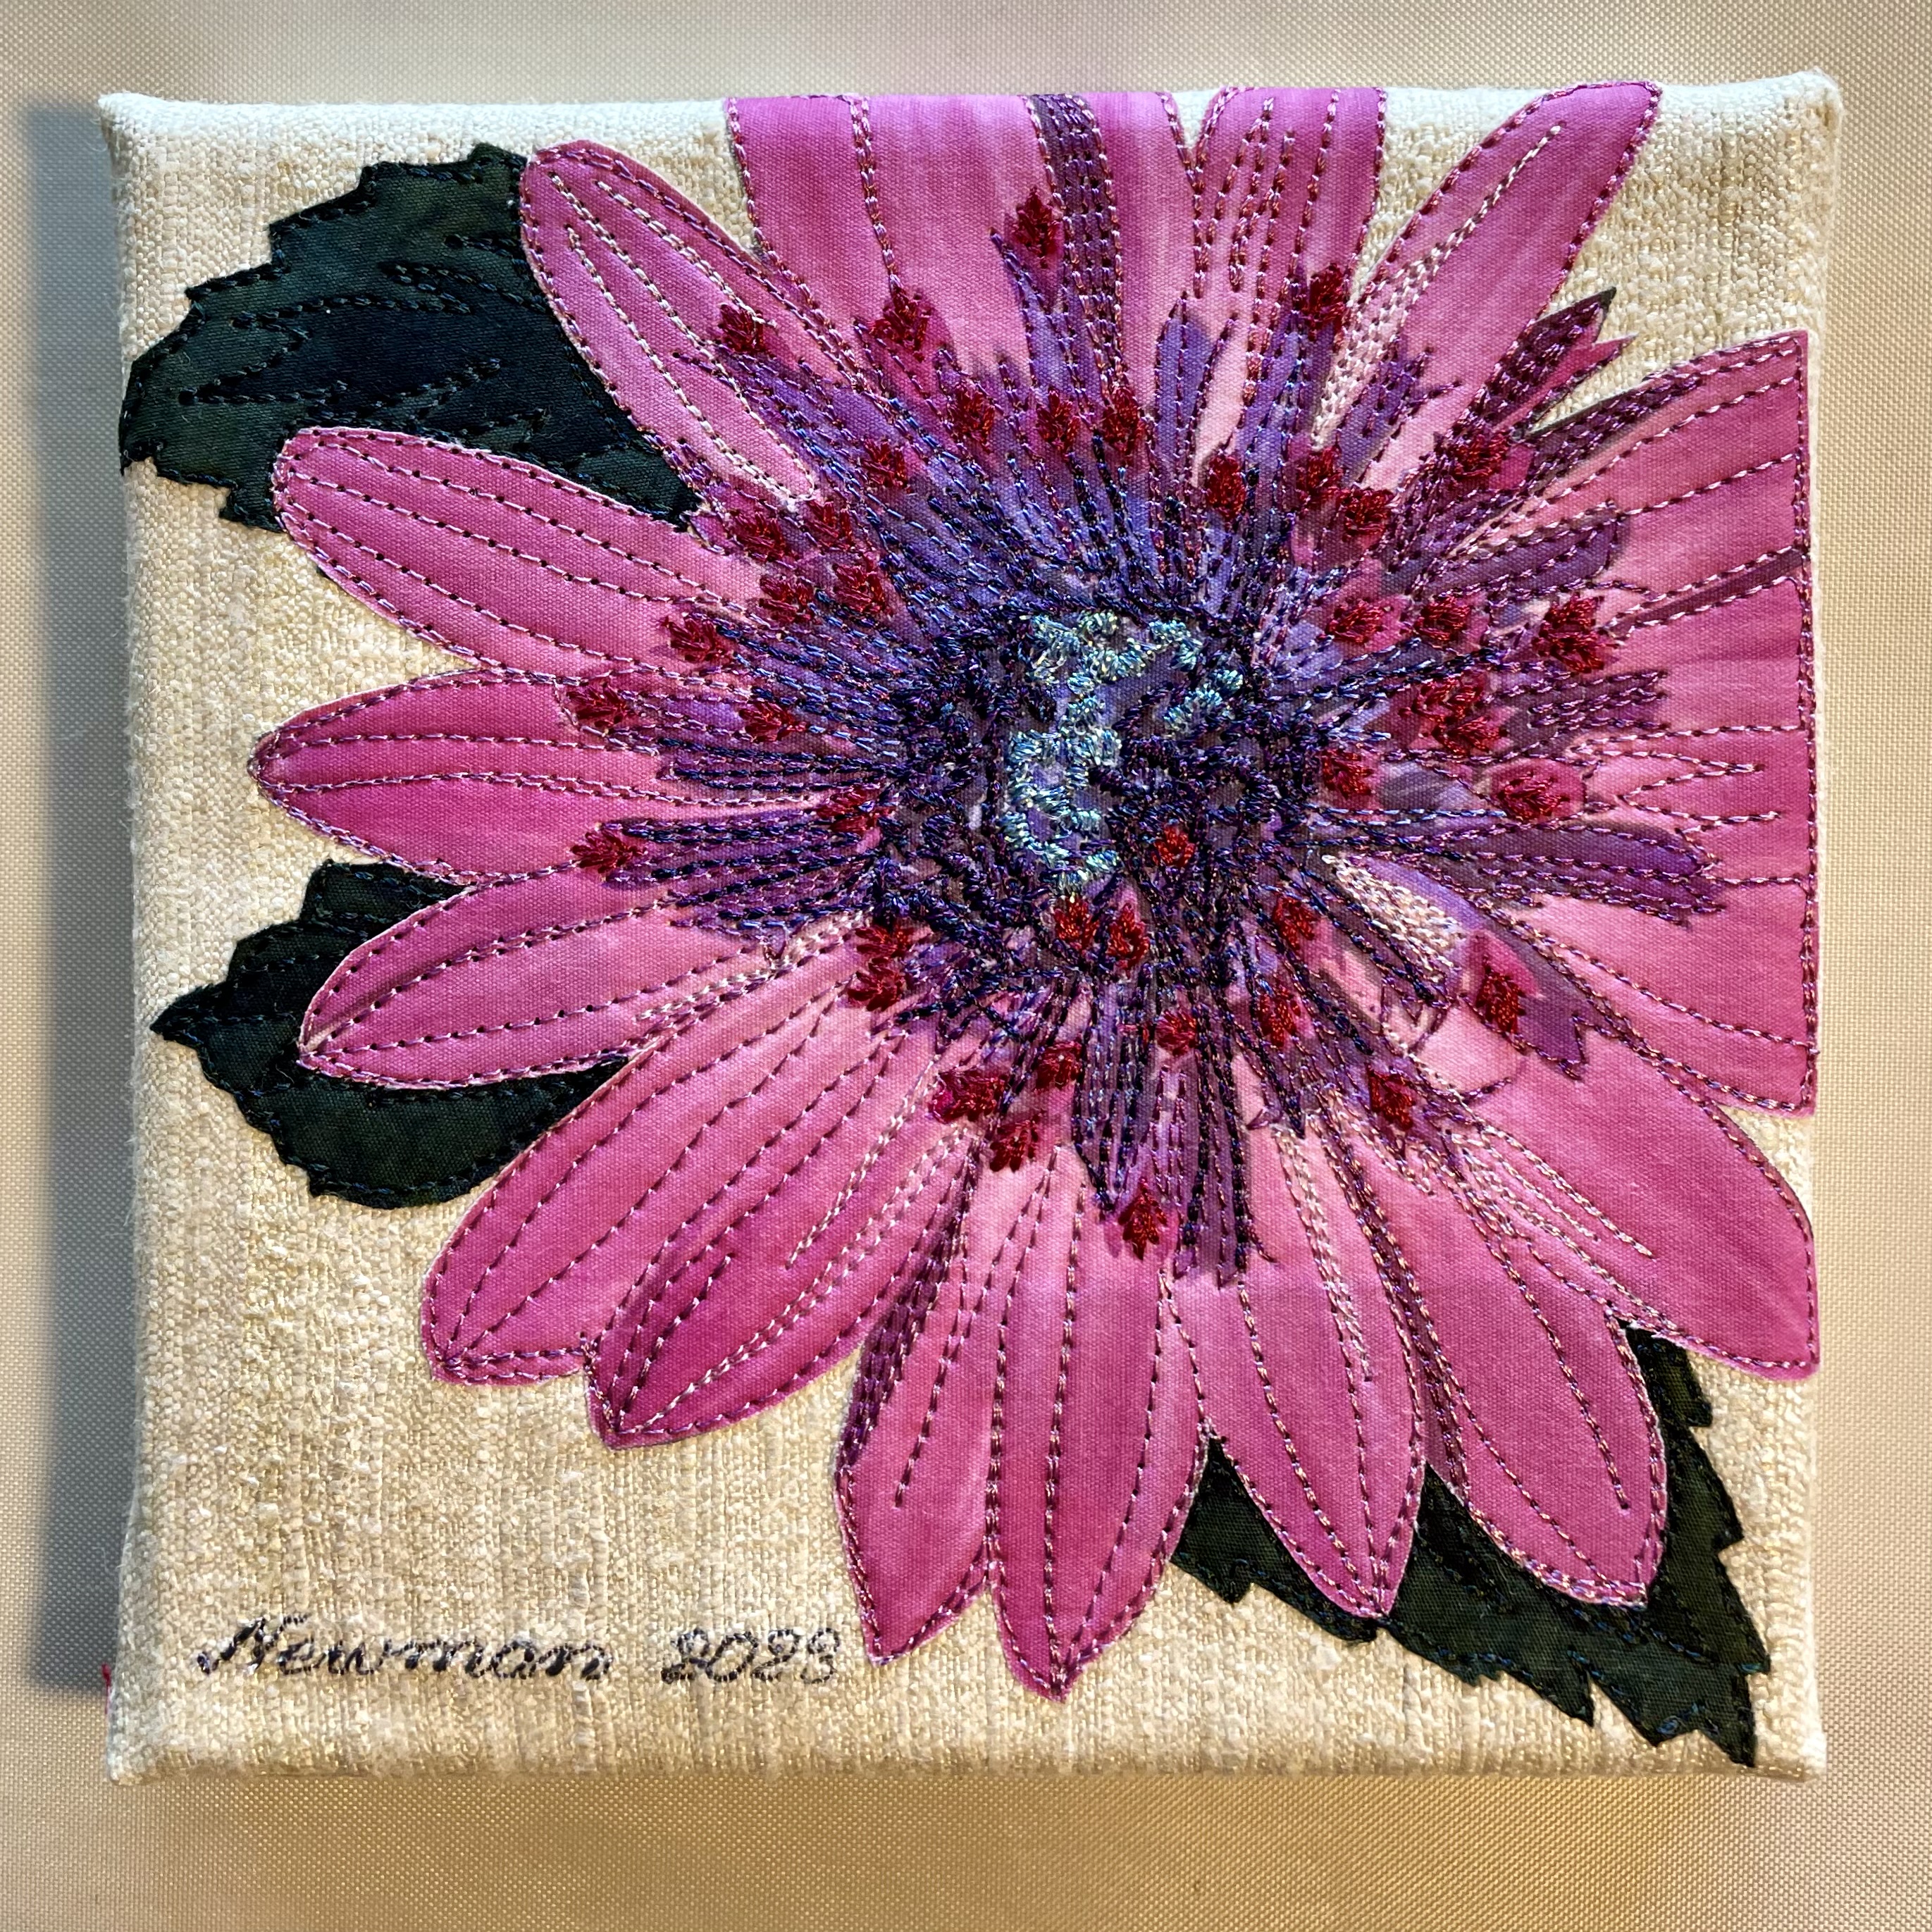
Osteospermum
I decided to include an Osteospermum in the set of ten pieces I’m working on.
Again, on a raw silk background, I fused the fussy cut flower printed on cotton. I selected a variety of rayon and polyester embroidery thread to use for the thread painting. Then I started stitching – first the flower edges with a dusty pink thread, then I spent about an hour designing a stitch to use for the small central florets – I stitched each one separately. Then I worked my way into the centre. wanted to catch the viewer’s eye at the centre – I used a metallic thread paired with a rayon to stitch the unopened florets at the very centre. Last came the leaves.
A second 6×6 piece finished.
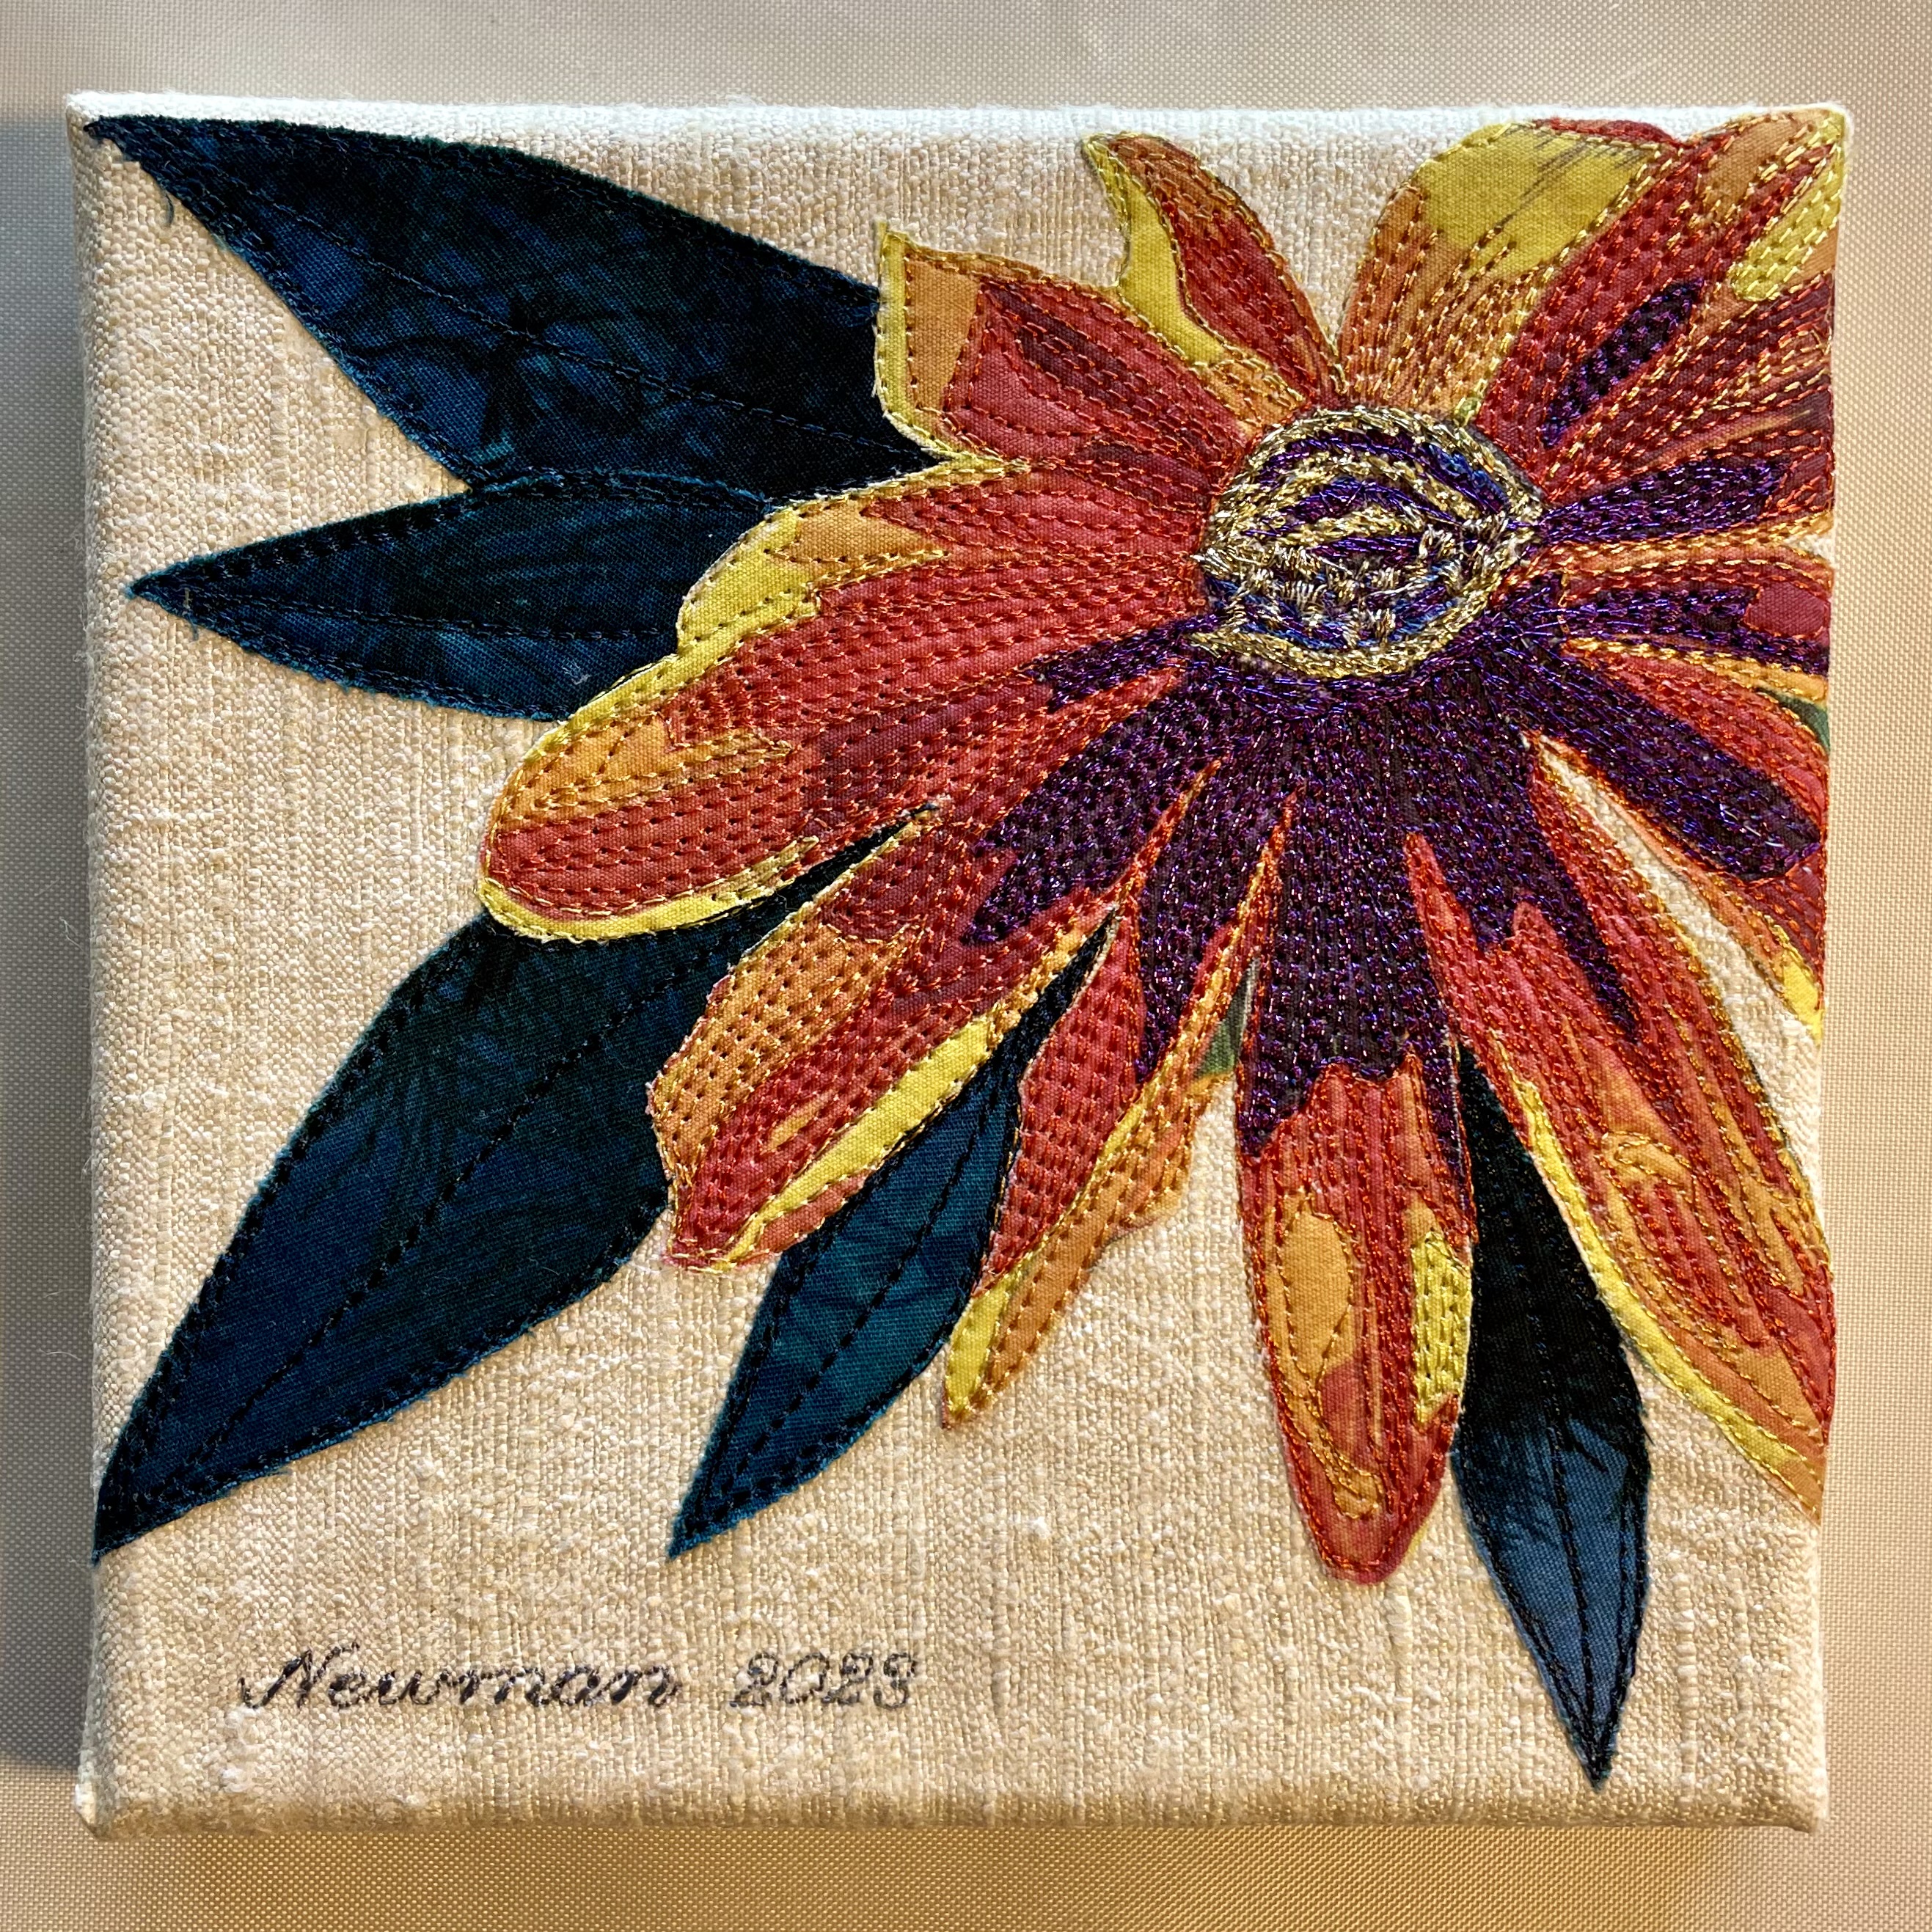
Then I went back to Rudbeckia II – I wasn’t happy with the flower centre. I removed the piece from the canvas backing, pressed it lightly and reworked the centre and dark purple areas thread painting with metallic thread.
Rudbeckia II – Reworked
You can just see the glint of the metallic thread at the centre and in the deep purple areas. The thread painting with metallic thread gives more depth and texture at the flower centre. The slight glint of purple metallic thread livens the whole flower.
This is my second go at the Rudbeckia. This time I printed the flower on fabric, pulled off the plastic backing, added fusible web, then fussy cut out the flower. I dug through dark green scraps, added fusible web, then cut leaf shapes. I fused leaves and flowers to a 9″ x 9″ raw silk square of fabric which I’d backed with Sewer’s Dream interfacing to stabilize it.
Then I began stitching! It took several hours to thread paint the flower – constantly changing thread and bobbin colour – using the “hover” function on my machine to simulate free motion sewing.
This time, I left myself enough space on the background to apply a signature. Having used fusible web, my raw edges are relatively smooth, not fraying as was the case with the first Rudbeckia.
I think I’m rather happier with this version than I was with the first prototype.
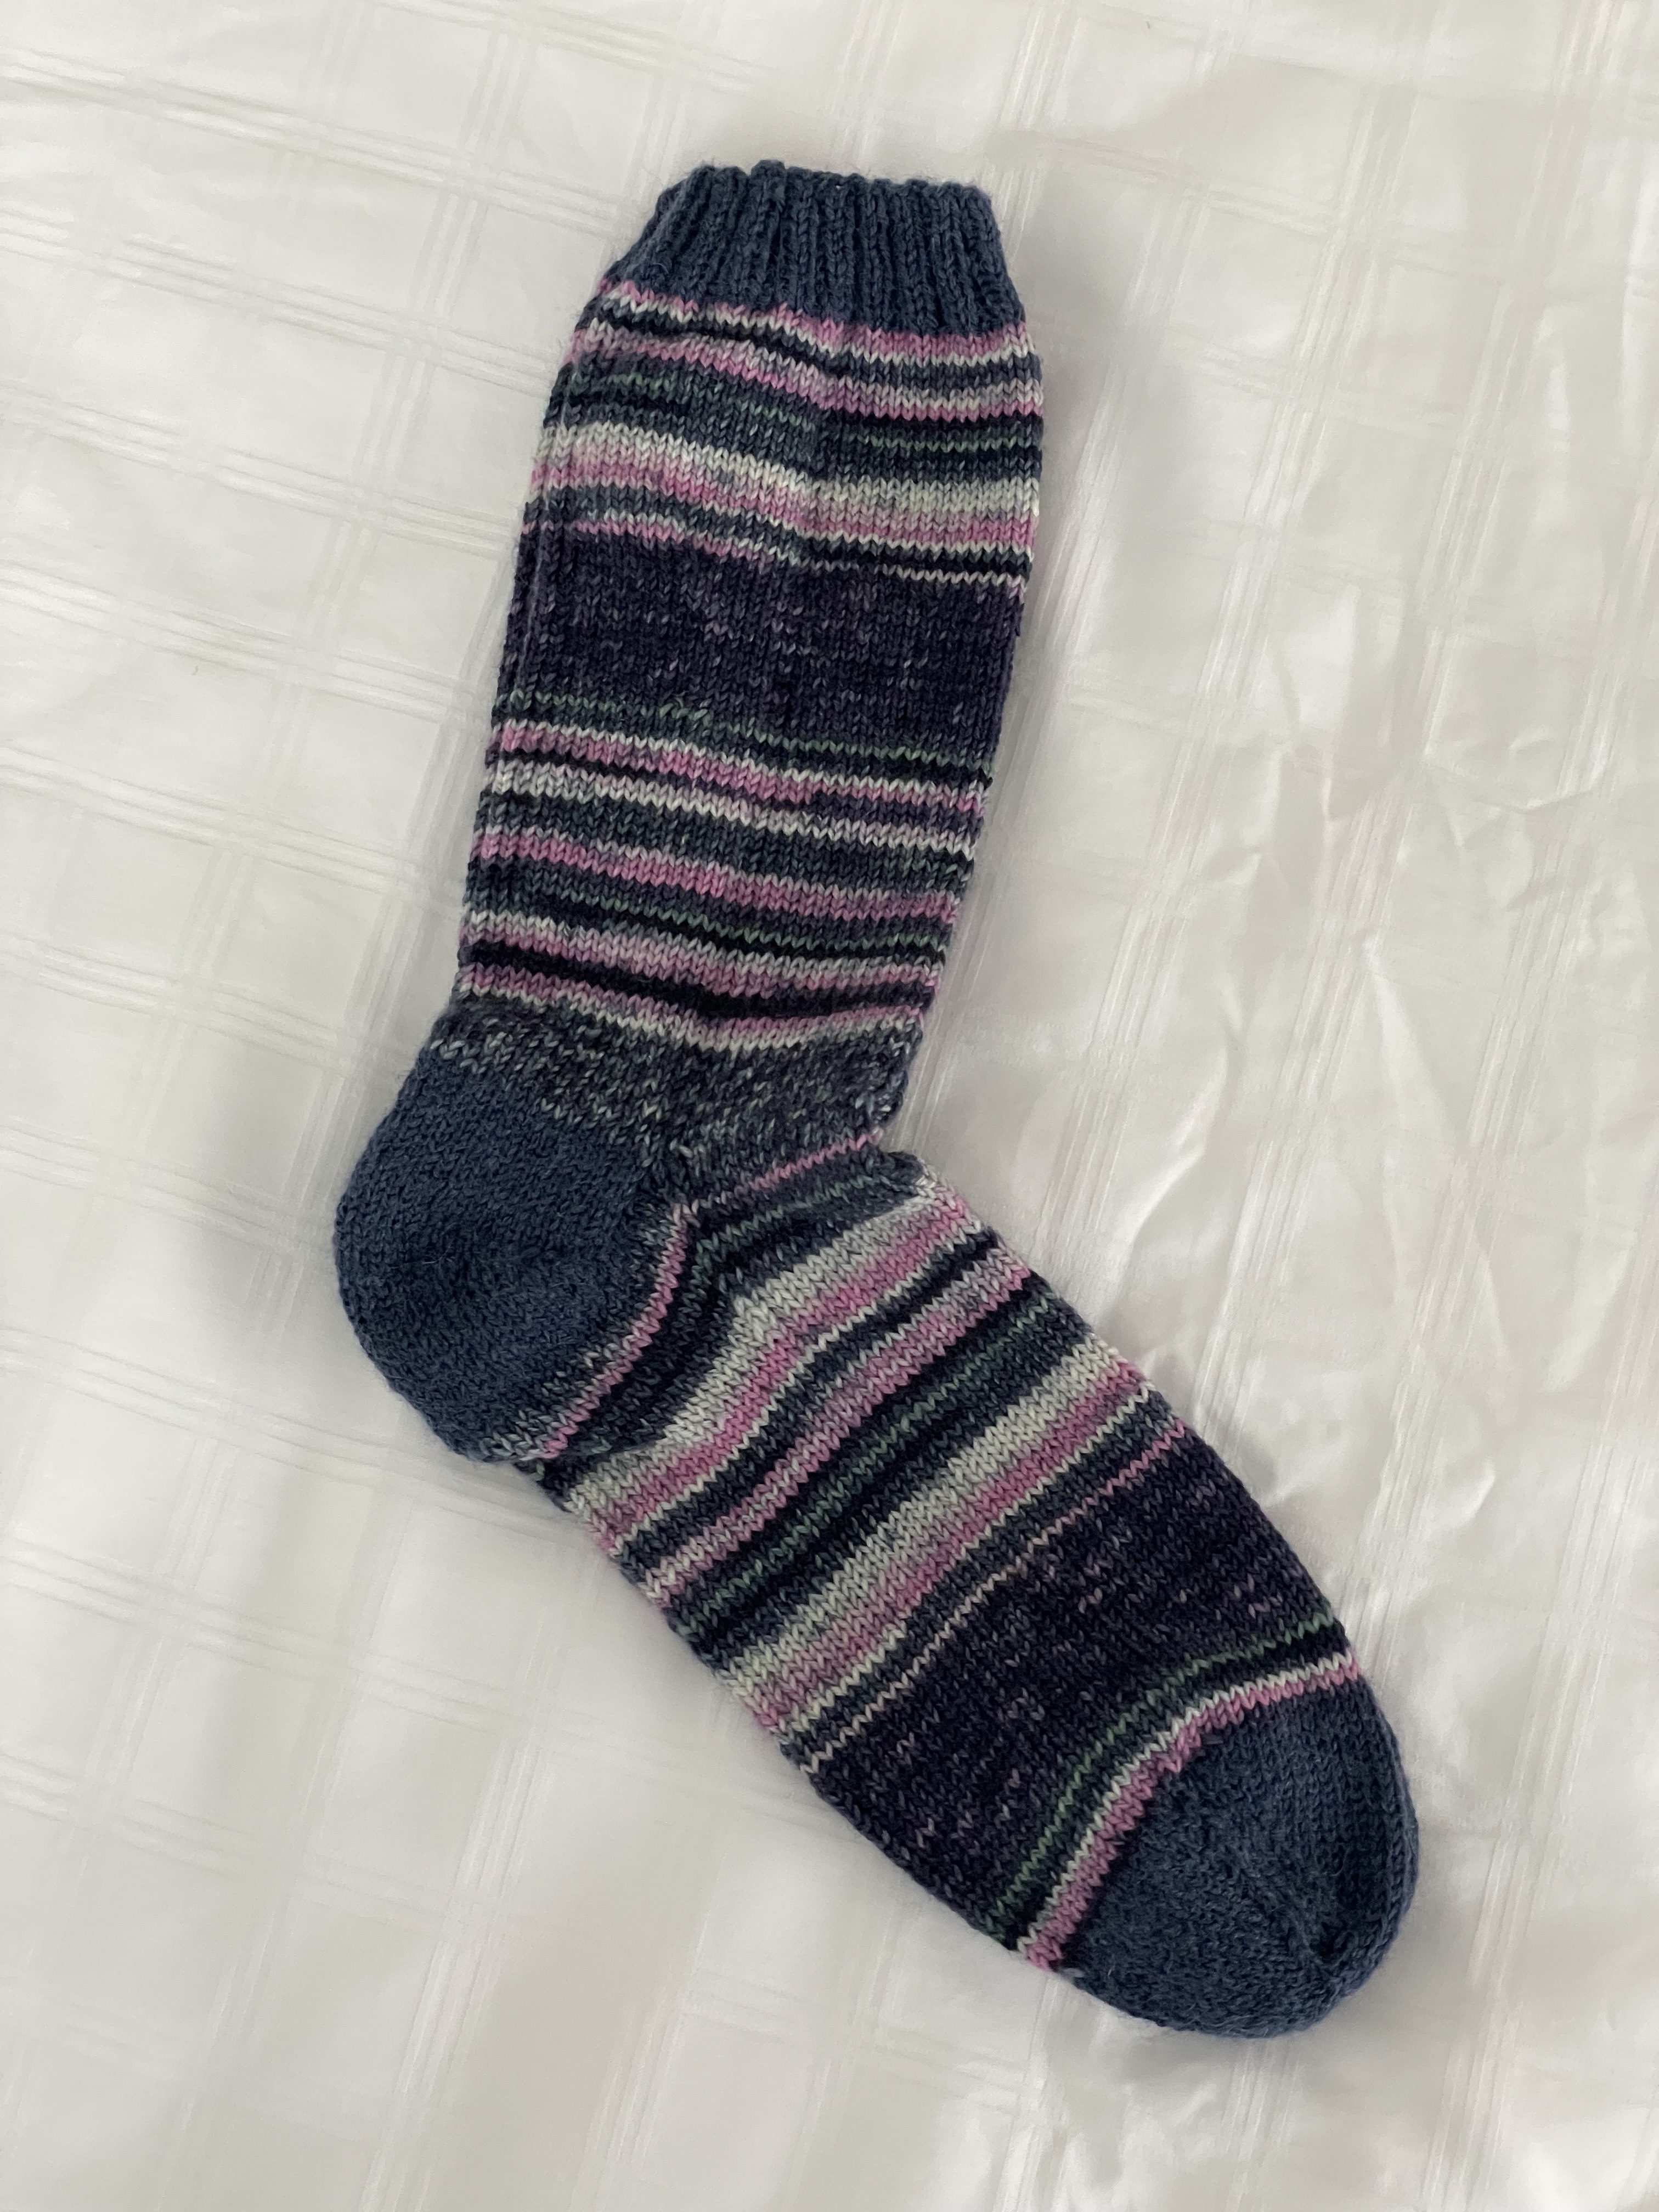
I mostly knit socks to fit a women wearing a size 7-8 shoe (give or take a bit in the length). If I know someone has a small foot, I knit them with four fewer stitches and a few rows shorter in the foot. I don’t actually knit socks in “inches”; I knit them by counting rows so I know precisely how long each section of the sock actually is without the uncertainty of stretching it against a ruler.
This pair of socks is intended for a man wearing a size 9 1/2 shoe. So I added 6 rows to my usual foot length. With a bit of washing (even in cold water) which will shrink the socks a tiny bit they should fit nicely. Just waiting for an occasion to pass the socks along.
The socks aren’t “dull”, but they are sedate, I’d say. No bright colours. Just a wee bit jazzy.
I’ve had a couple of ideas rattling around in my head for a new series of ten 6″ x 6″ pieces. I can use them at the summer showing at the NovelTea Cafe in July/August and whatever doesn’t sell there (I’m not expecting much will) will be ready for the 2023 Christmas show in Tatamagouche at the Ice House Gallery (I know Brandt is planning on doing 6 x 6 for a second year – last year’s show looked terrific!).
I have an interesting collection of seascape photos I’ve taken over the years. I have pulled them from my digital photo collections and stuck them in a folder on my desktop. The idea would be to crop each photo to 6.4″ x 6.4″ (that would allow the print to just come sightly over the edges of a 6 x 6 canvas), print each photo on fabric, back it will fusible interfacing to stabilize it so I can thread paint the image. I haven’t tried that yet – but it’s on my to-do list.
Green Bay, NS
I also have a collection of interesting flower photos. At first I thought I’d try printing those on fabric as well, but the paper print I did the other day wasn’t vibrant enough to stand as a background for thread painting. Instead, I decided to try a single flower image, cropped, from which I could piece a flower on a pale background.
Today I cut a 9″ square from some pale linen I had in my stash. I used a heat erasable pen to mark a 6″ square at the centre. I selected some fabrics, then started cutting. I arranged the pieces of fabric, pinned them in place and began thread painting.
Rudbeckia Flower
This piece took me about five hours to make. I took a couple of shortcuts since I was just playing around. I didn’t bother putting fusible web behind the fabric before cutting it out – a big mistake! I’ve ended up with fraying edges because there is no glue to secure the layers to one another. Next, the leaf at the bottom is in a bad location – I must remember to keep enough space free on the background for a signature. Also, the beige linen background is too “flat,” too “dull.” I definitely want to use to what I have left of the light coloured raw silk I used for the previous 6 x 6 works.
I also want to expand the flower to 7″ – a half inch more on each side so the petals and leaves wrap around the sides of the canvas. In this prototype I cropped the flower and leaves at 6″ – which makes it difficult to get a clean line at the canvas edge. I also need to think about embroideries specific for each flower centre. By the time I got to adding an embroidery here I knew I was just trying out the overall idea and didn’t worry too much about placement. I am going to have to be more precise with whatever I do at the centre of each flower.
I mounted the finished flower on a 6 x 6 canvas, then took the finished piece to show my friend Deb. She thought the idea was definitely worth pursuing. Because I like Rudbeckia flowers I will do another one for the collection.
Nothing on for tomorrow – I intend to do a second prototype taking into account what I learned today.
It took a couple of hours yesterday to set up the 12 blocks. This morning I laid them out on a piece of batting, added some stiff interfacing and stitched down the grosgrain ribbon to cover the joins (I didn’t sew the blocks together because I wanted the finished project to be larger rather than smaller – I gained 1 1/2″ on the width and 1″ on height by doing that).
Next, I embroidered my signature on the backing:
Back of Fidget Quilt
After embroidering a signature, I aligned the backing on the other layers, sewed the binding to the back of the project, folded it over the front and decorative stitched it in place.
I discovered when I was finished, that I’d put the backing on upside down! My signature is at the top left on the back of the quilt., instead of bottom right which I’d intended. Wouldn’t have happened had I done what I always do and hand stitched a label in place. Oh well. Lesson learned. Check backing twice before adding the binding (just hope I remember to do that checking!).
This time I focused more on texture with some velvet (which came from some pillow covers I made for my sister 25 years ago). I added a small circle of ripstop which has a crinkle sound when you scrunch it, but stitched flat it just feels “shiny” and makes little noise. I included a square of PUL fabric – that makes a sound when you rub your fingers over it.
I added a velcro fastening; a snap which is tight at the moment, and various beads and loops which move on ribbon or elastic. There is a small zippered pocket (which has a hidden object attached on the inside). The zipper with three pulls has no opening.
I made this second quilt as a prototype. I took the original quilt into my local sewing shop on Friday afternoon and the gals thought it would make a great class. Tomorrow this quilt will go to the shop to be displayed. All I have to do is prepare a description of the project and send that along with photos so the class can be advertised.
Now I need to do some actual experimenting with ideas for some 6×6 pieces. I also want to create a quilt based on the motif of the back of the last Drunkard’s Path quilt – Planets With Moons – a combination of large and small drunkard’s path blocks. I think 5 columns separated by a bit of sashing would be interesting.