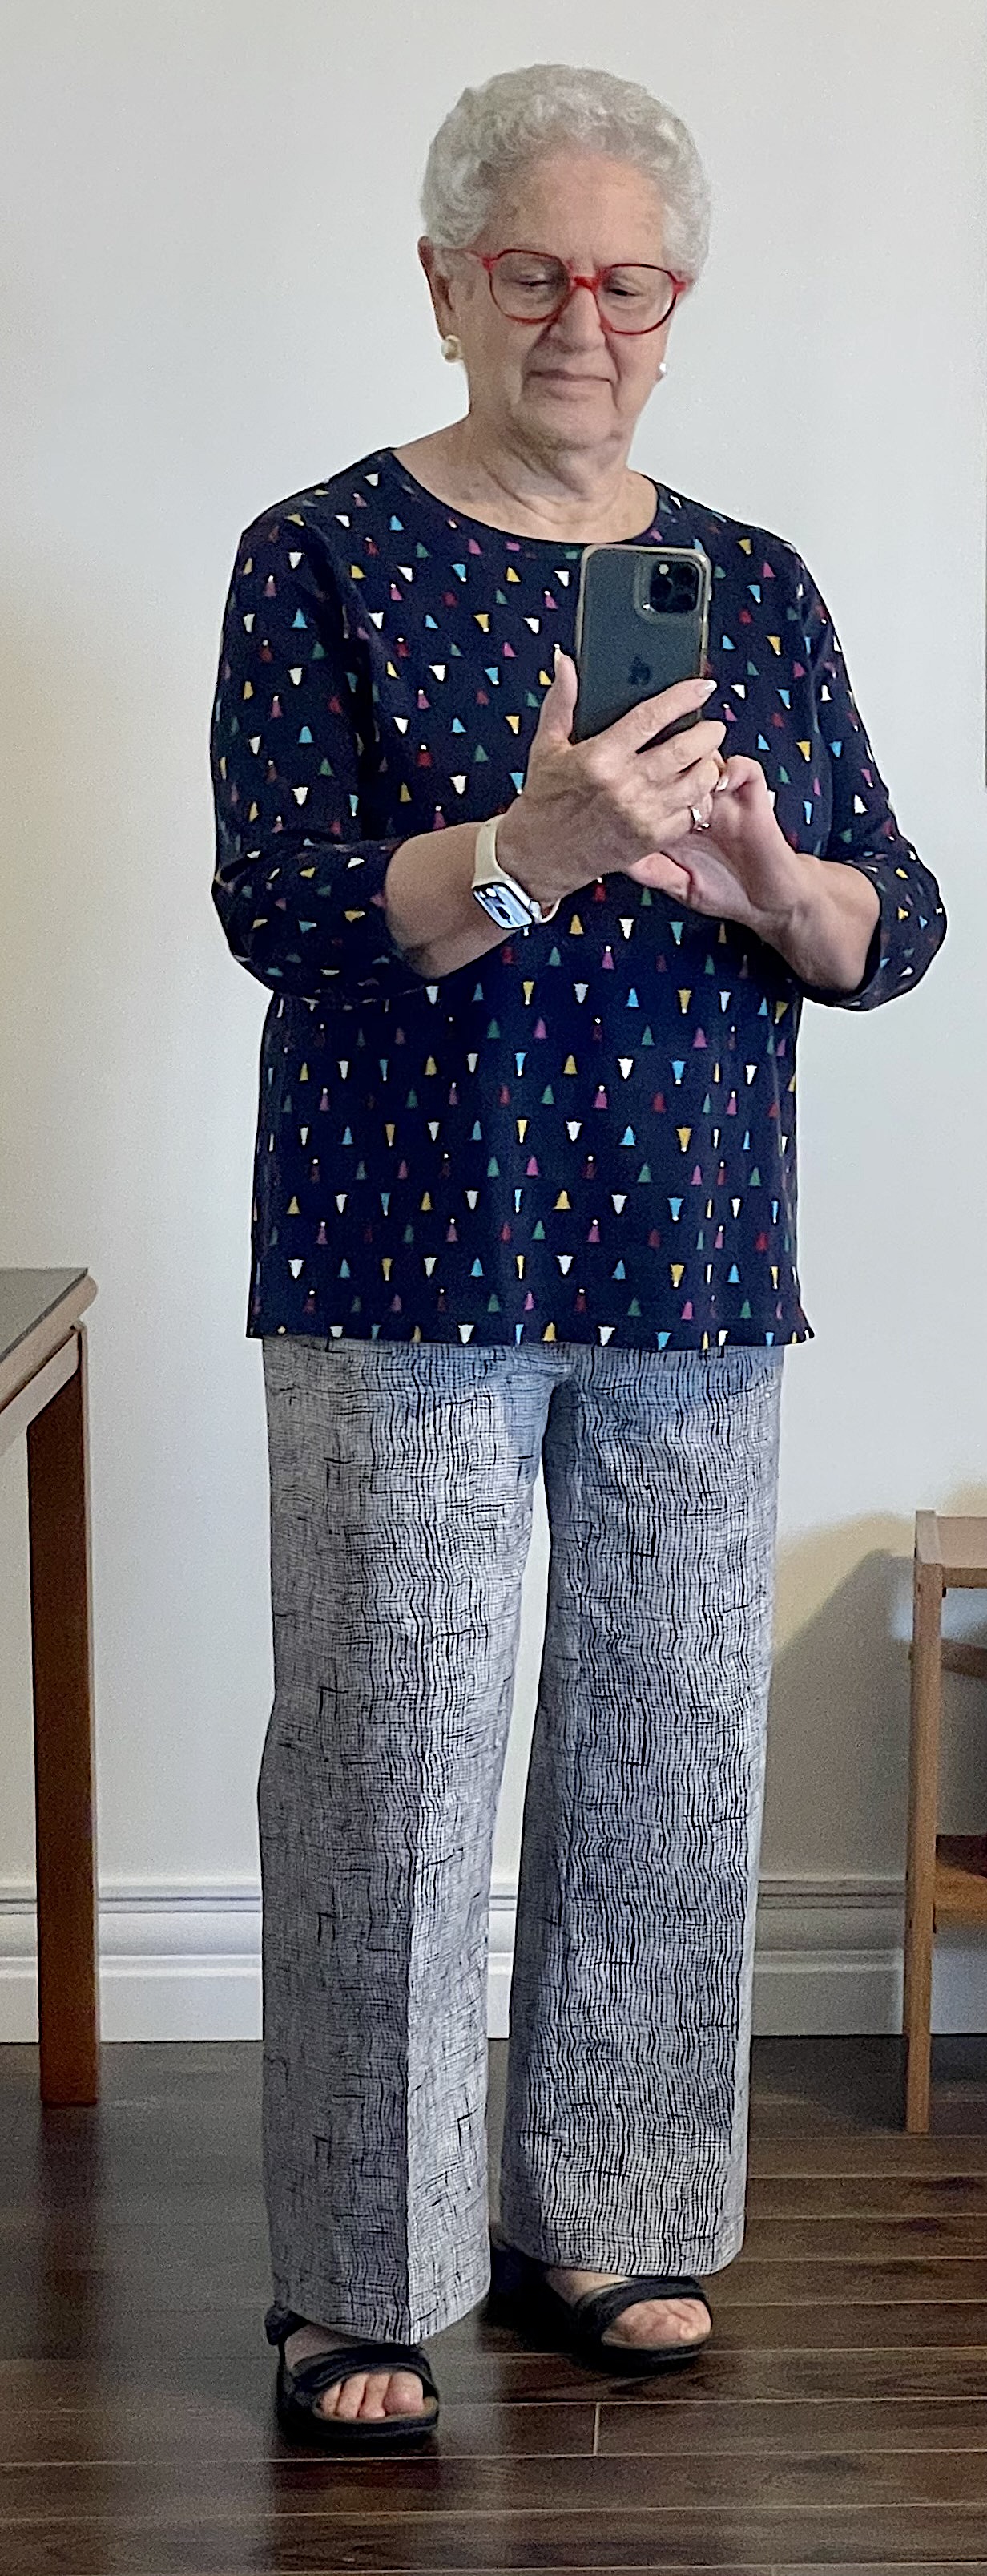
Just finished the pants. Simple to make, and I can tell these are going to be VERY comfortable!
I was careful to make the crotch gusset long enough that the inseam is straight. The pants are cut from two rectangles; two triangles (which become the crotch gusset) are cut from the top/sides – I couldn’t do that because my waist is the same as my hips. So I cut the two rectangles (leaving them as is) – I merged the front and back leg into a single panel – so no side seam – but making sure the centre of the panel was on the straight of the grain. I also merged the two crotch triangles into a single long triangle with the vertical of the triangle on the straight of grain so I end up attaching a single gusset, rather than two triangles (a narrow one on the front inseam and a wider one on the back). The widest part of the gusset triangle is positioned at the crotch depth position in my case 12″ at the back/11″ at the front. [Click here for full instructions on how to make a montpei. (Click here for the original instructions.)]
When I tried on the basted panels (with crotch gusset sewn in) I could tell the centre back was going to be too short (I could have adjusted it by dropping the crotch gusset but instead I added a back yoke (2″ at the centre back grading out to the sides); I left the front crotch depth as it was. (I also took in the waist 2″ at the centre back – I didn’t need the extra fabric to pull the pants on.)
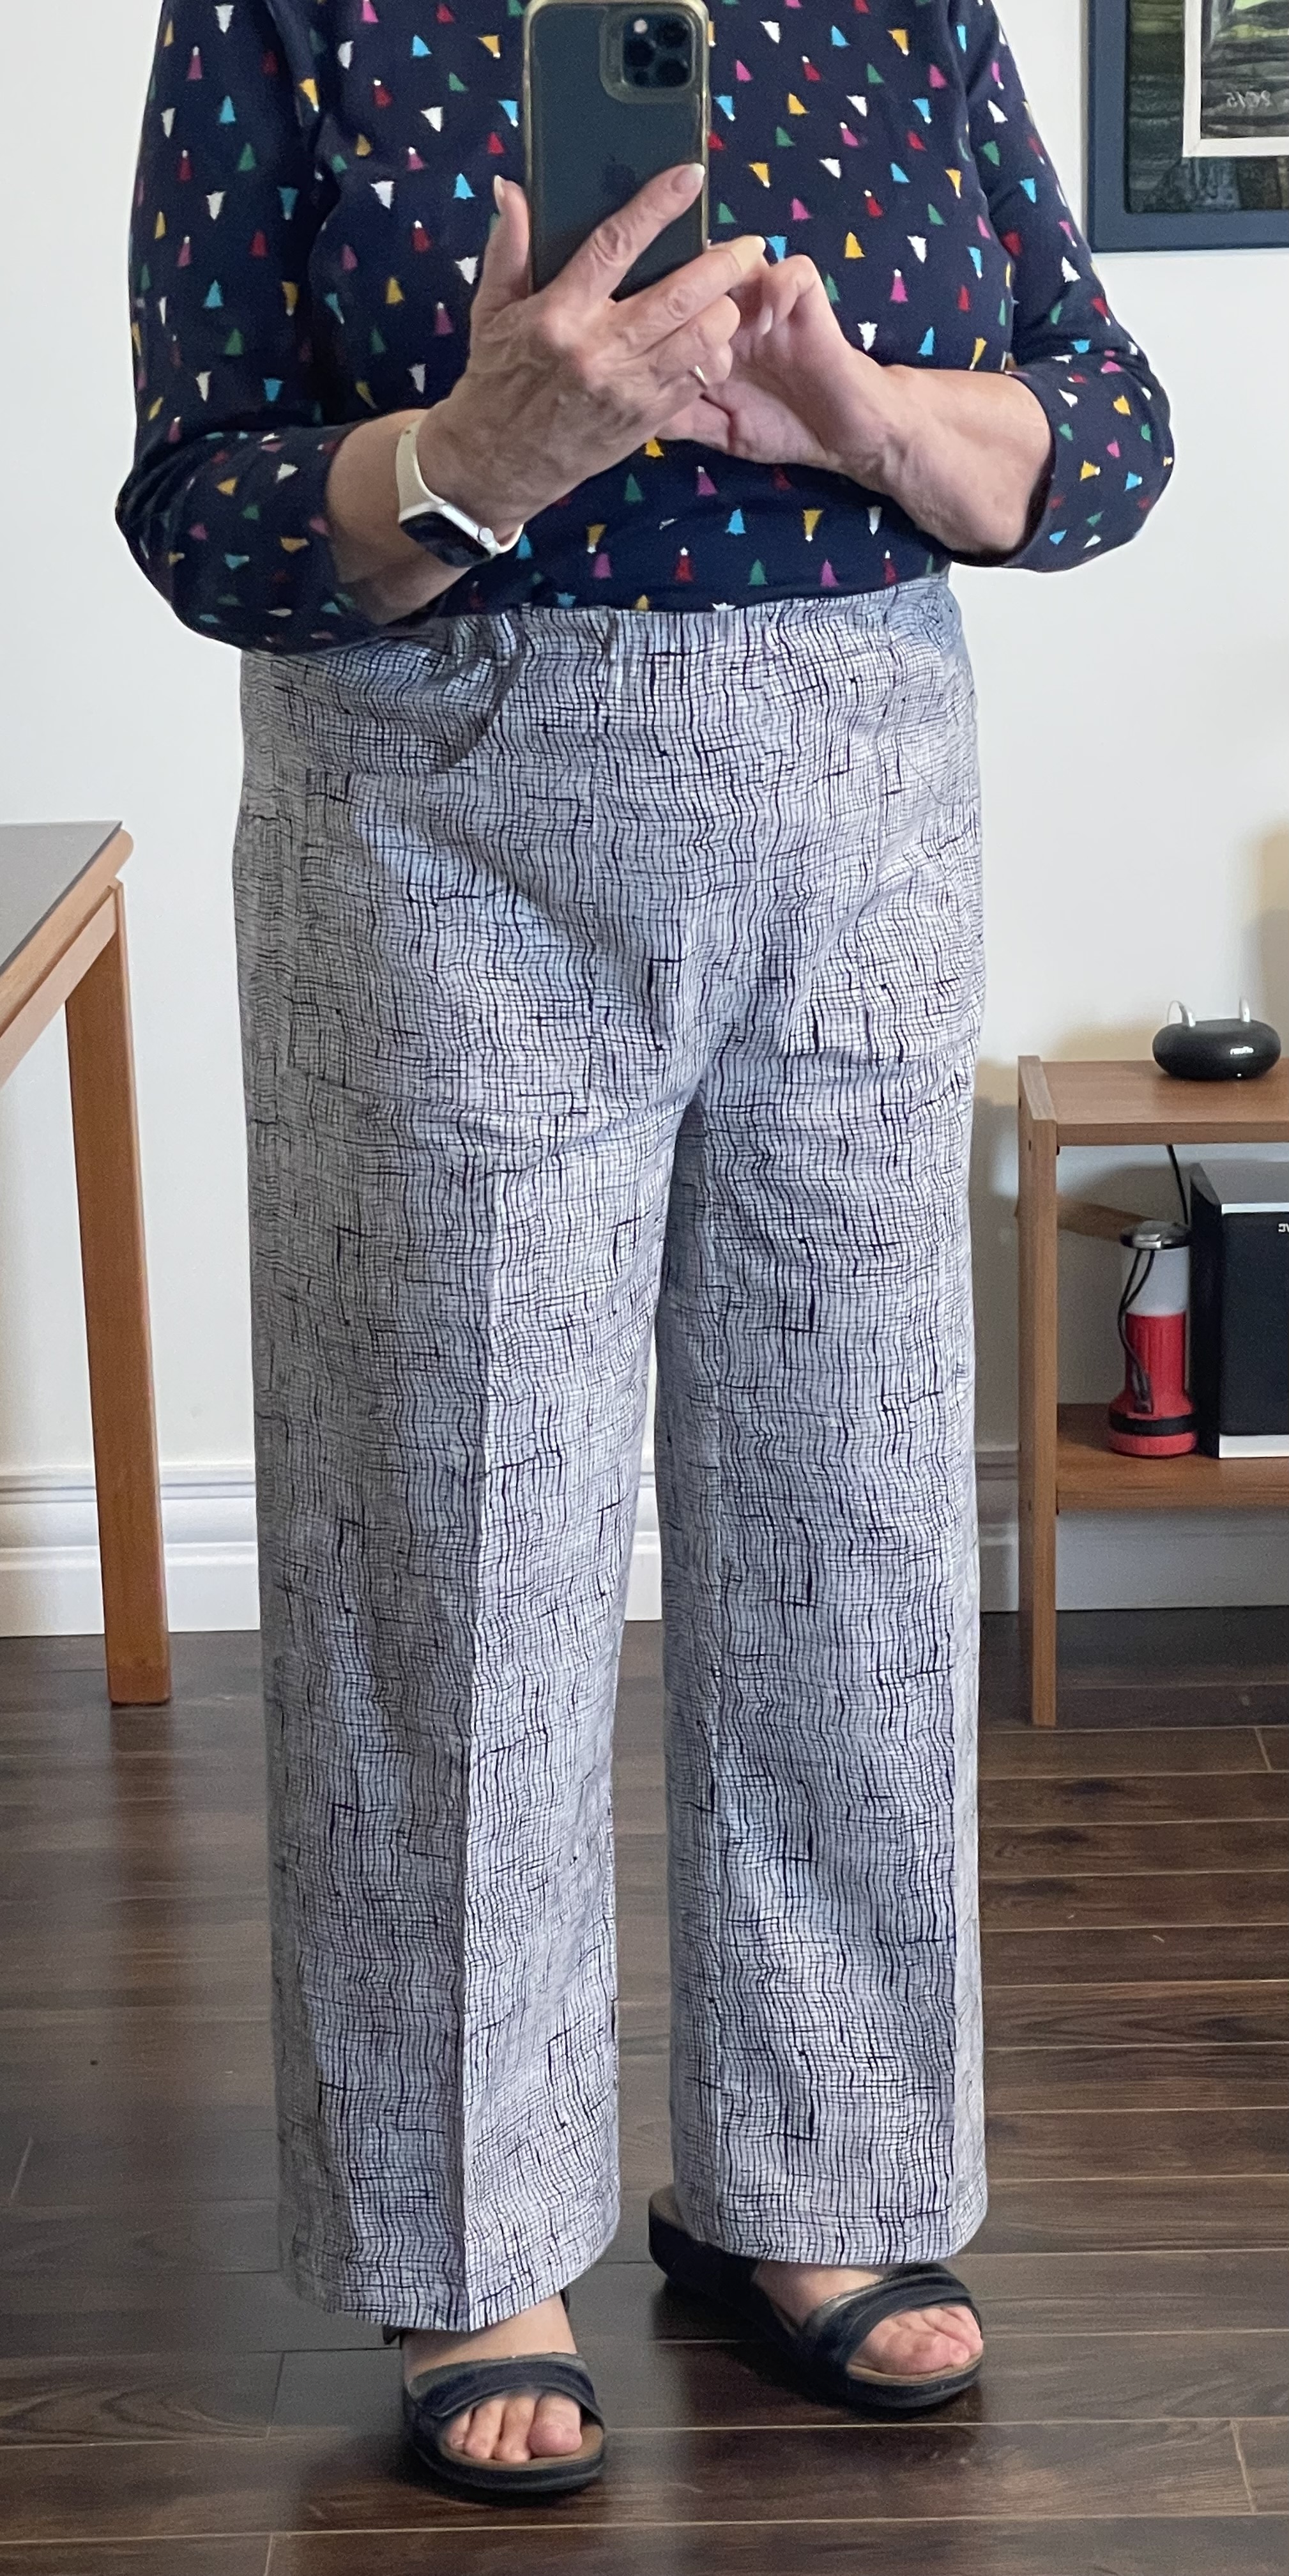
Because I wanted to add front pockets to the top of the panels I added them at this point; however they should have been sewn on while the panels were flat – to stitch them I measured 3 1/2″ from the centre crotch line marked it with a Frixion pen, turned the pants inside out so I could stitch the pockets with the panel “relatively” flat. Because the monpei have no side seam, I stitched down the side that would have been included in a side seam.
I created a facing for the waistband, attached it, strung elastic through the sleeve that created. I finished by top stitching the doubled over hem.
Done.
Here are the pants with my shirt tucked in so you can see how the top fits and the pocket detail which is hidden when the top is on the outside.
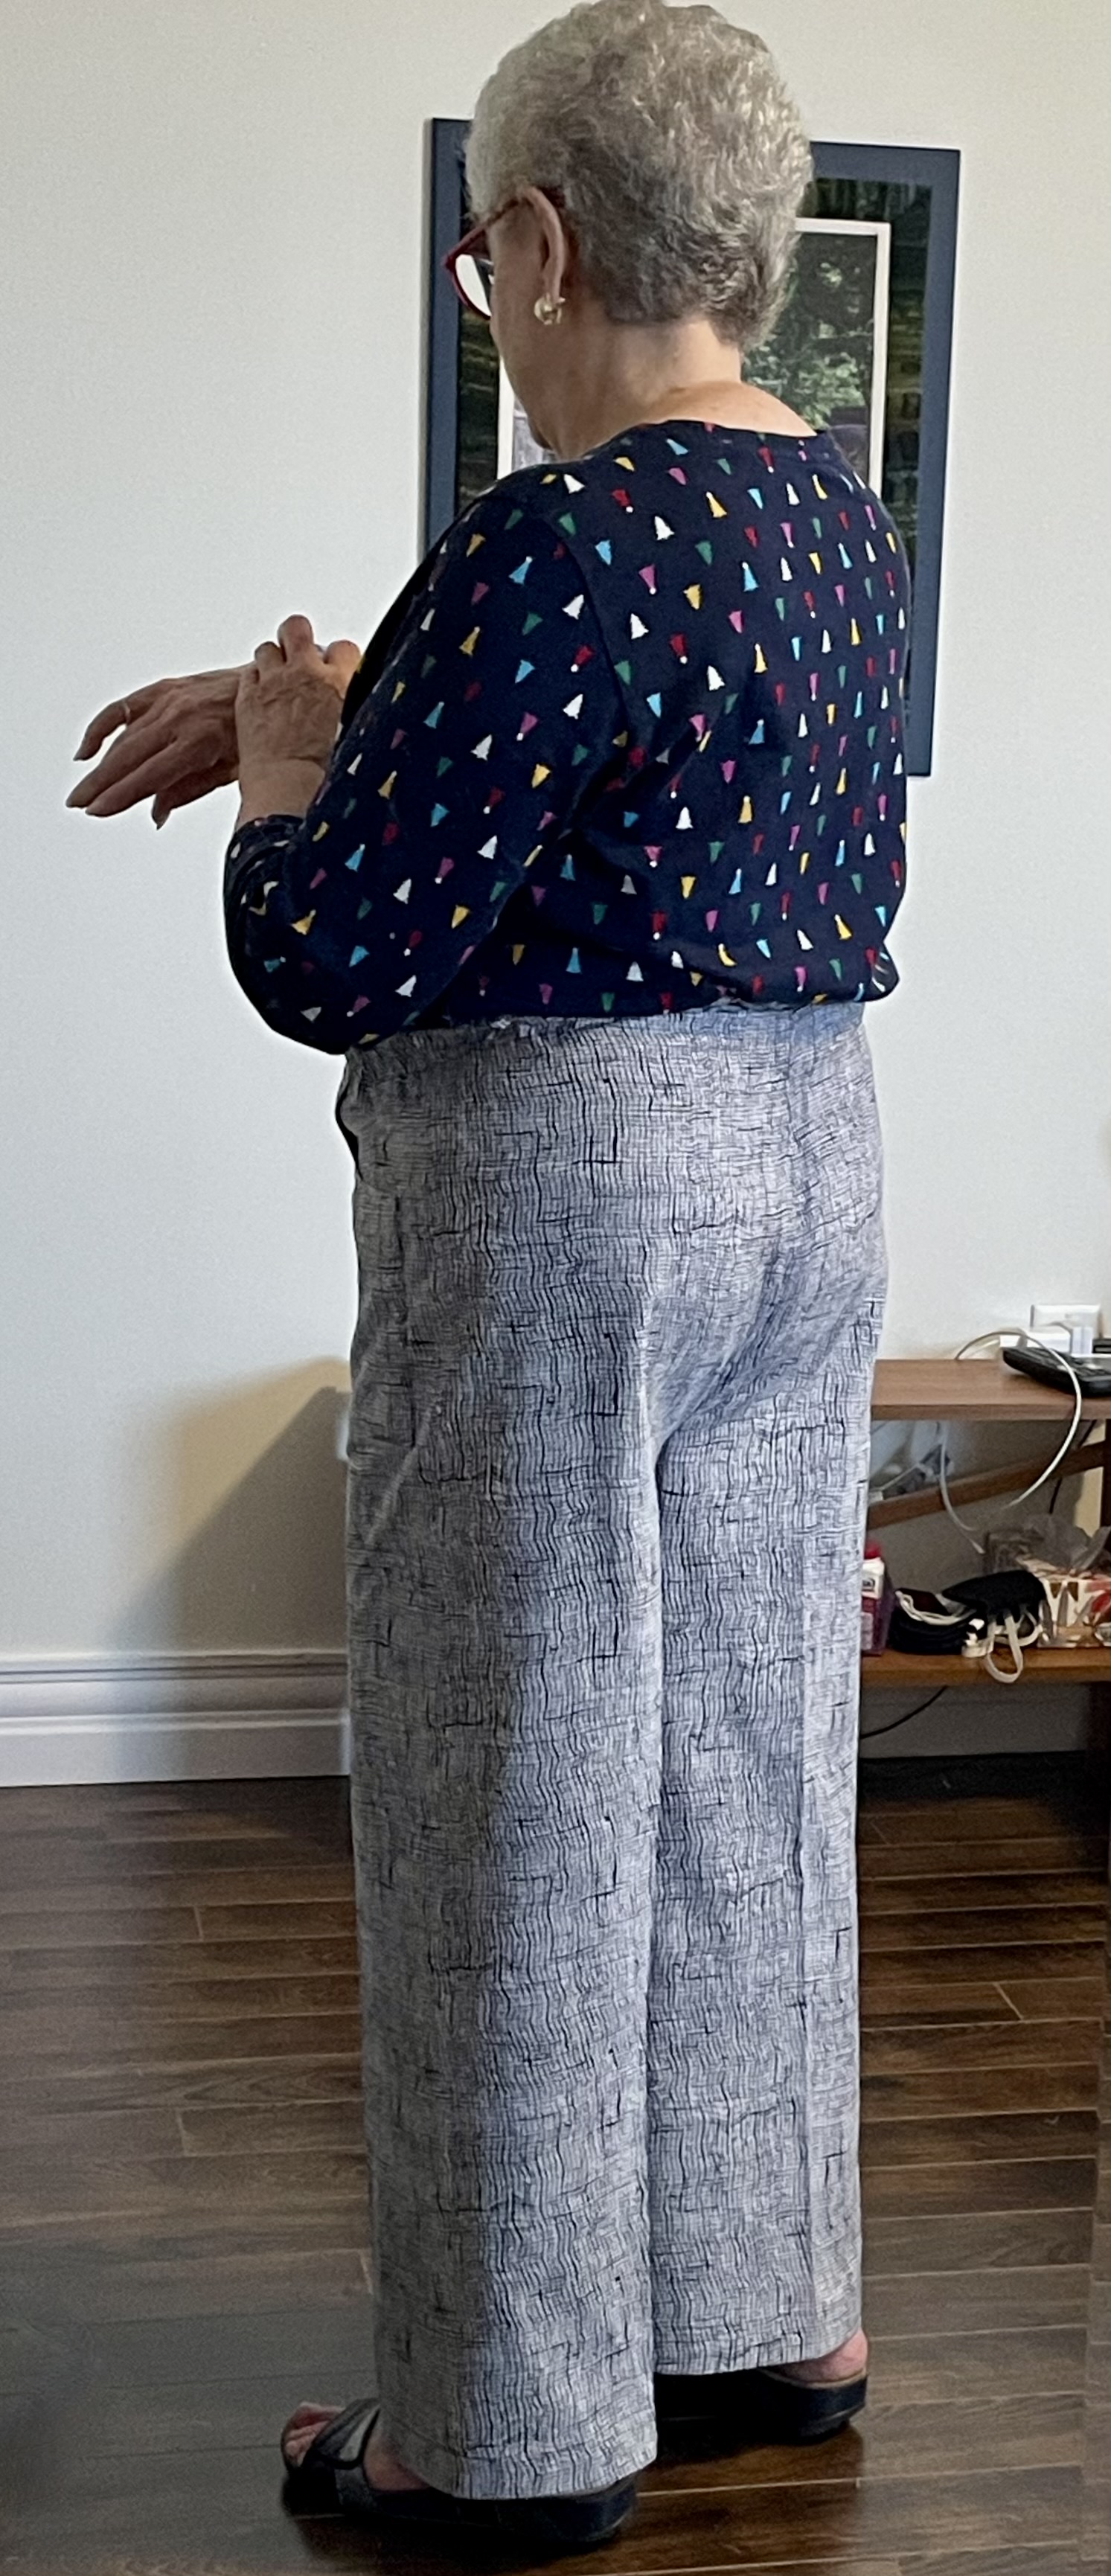
Although these pants have an unfitted straight leg, they fall nicely from my bum. The wider leg is easier to sit in, and the hip, while snug, is plenty wide enough to permit bending over.
BTW, I finally figured out how to get a reasonable photo of myself – I have a tripod which I set up so I didn’t have to focus the camera on my phone, I just had to press the shutter button on my watch – letting the camera remain focused and steady! (Duh… Don’t know why I didn’t occur to me to use the tripod before. Makes getting side and back pictures much easier!)
Because these montpei fit so well, I’m going to take the time to draft a sloper with the two crotch gusset triangles integrated into the inseam thereby eliminating the gusset (as they are on a regular pants pattern). I will adjust the centre back taking it in at the waist and extending the back crotch depth. My inseam seems to be about 26″ in these pants. I will set leg length at 26″ + 1″ for the hem. I’m curious to see how these would turn out in something like a light weight corduroy.
The finished fit is definitely the best I’ve encountered so far! This may be the starting point for any pants I want to make for fall!

Pingback: Climate Change Has Caught Up With My Wardrobe! | jmn