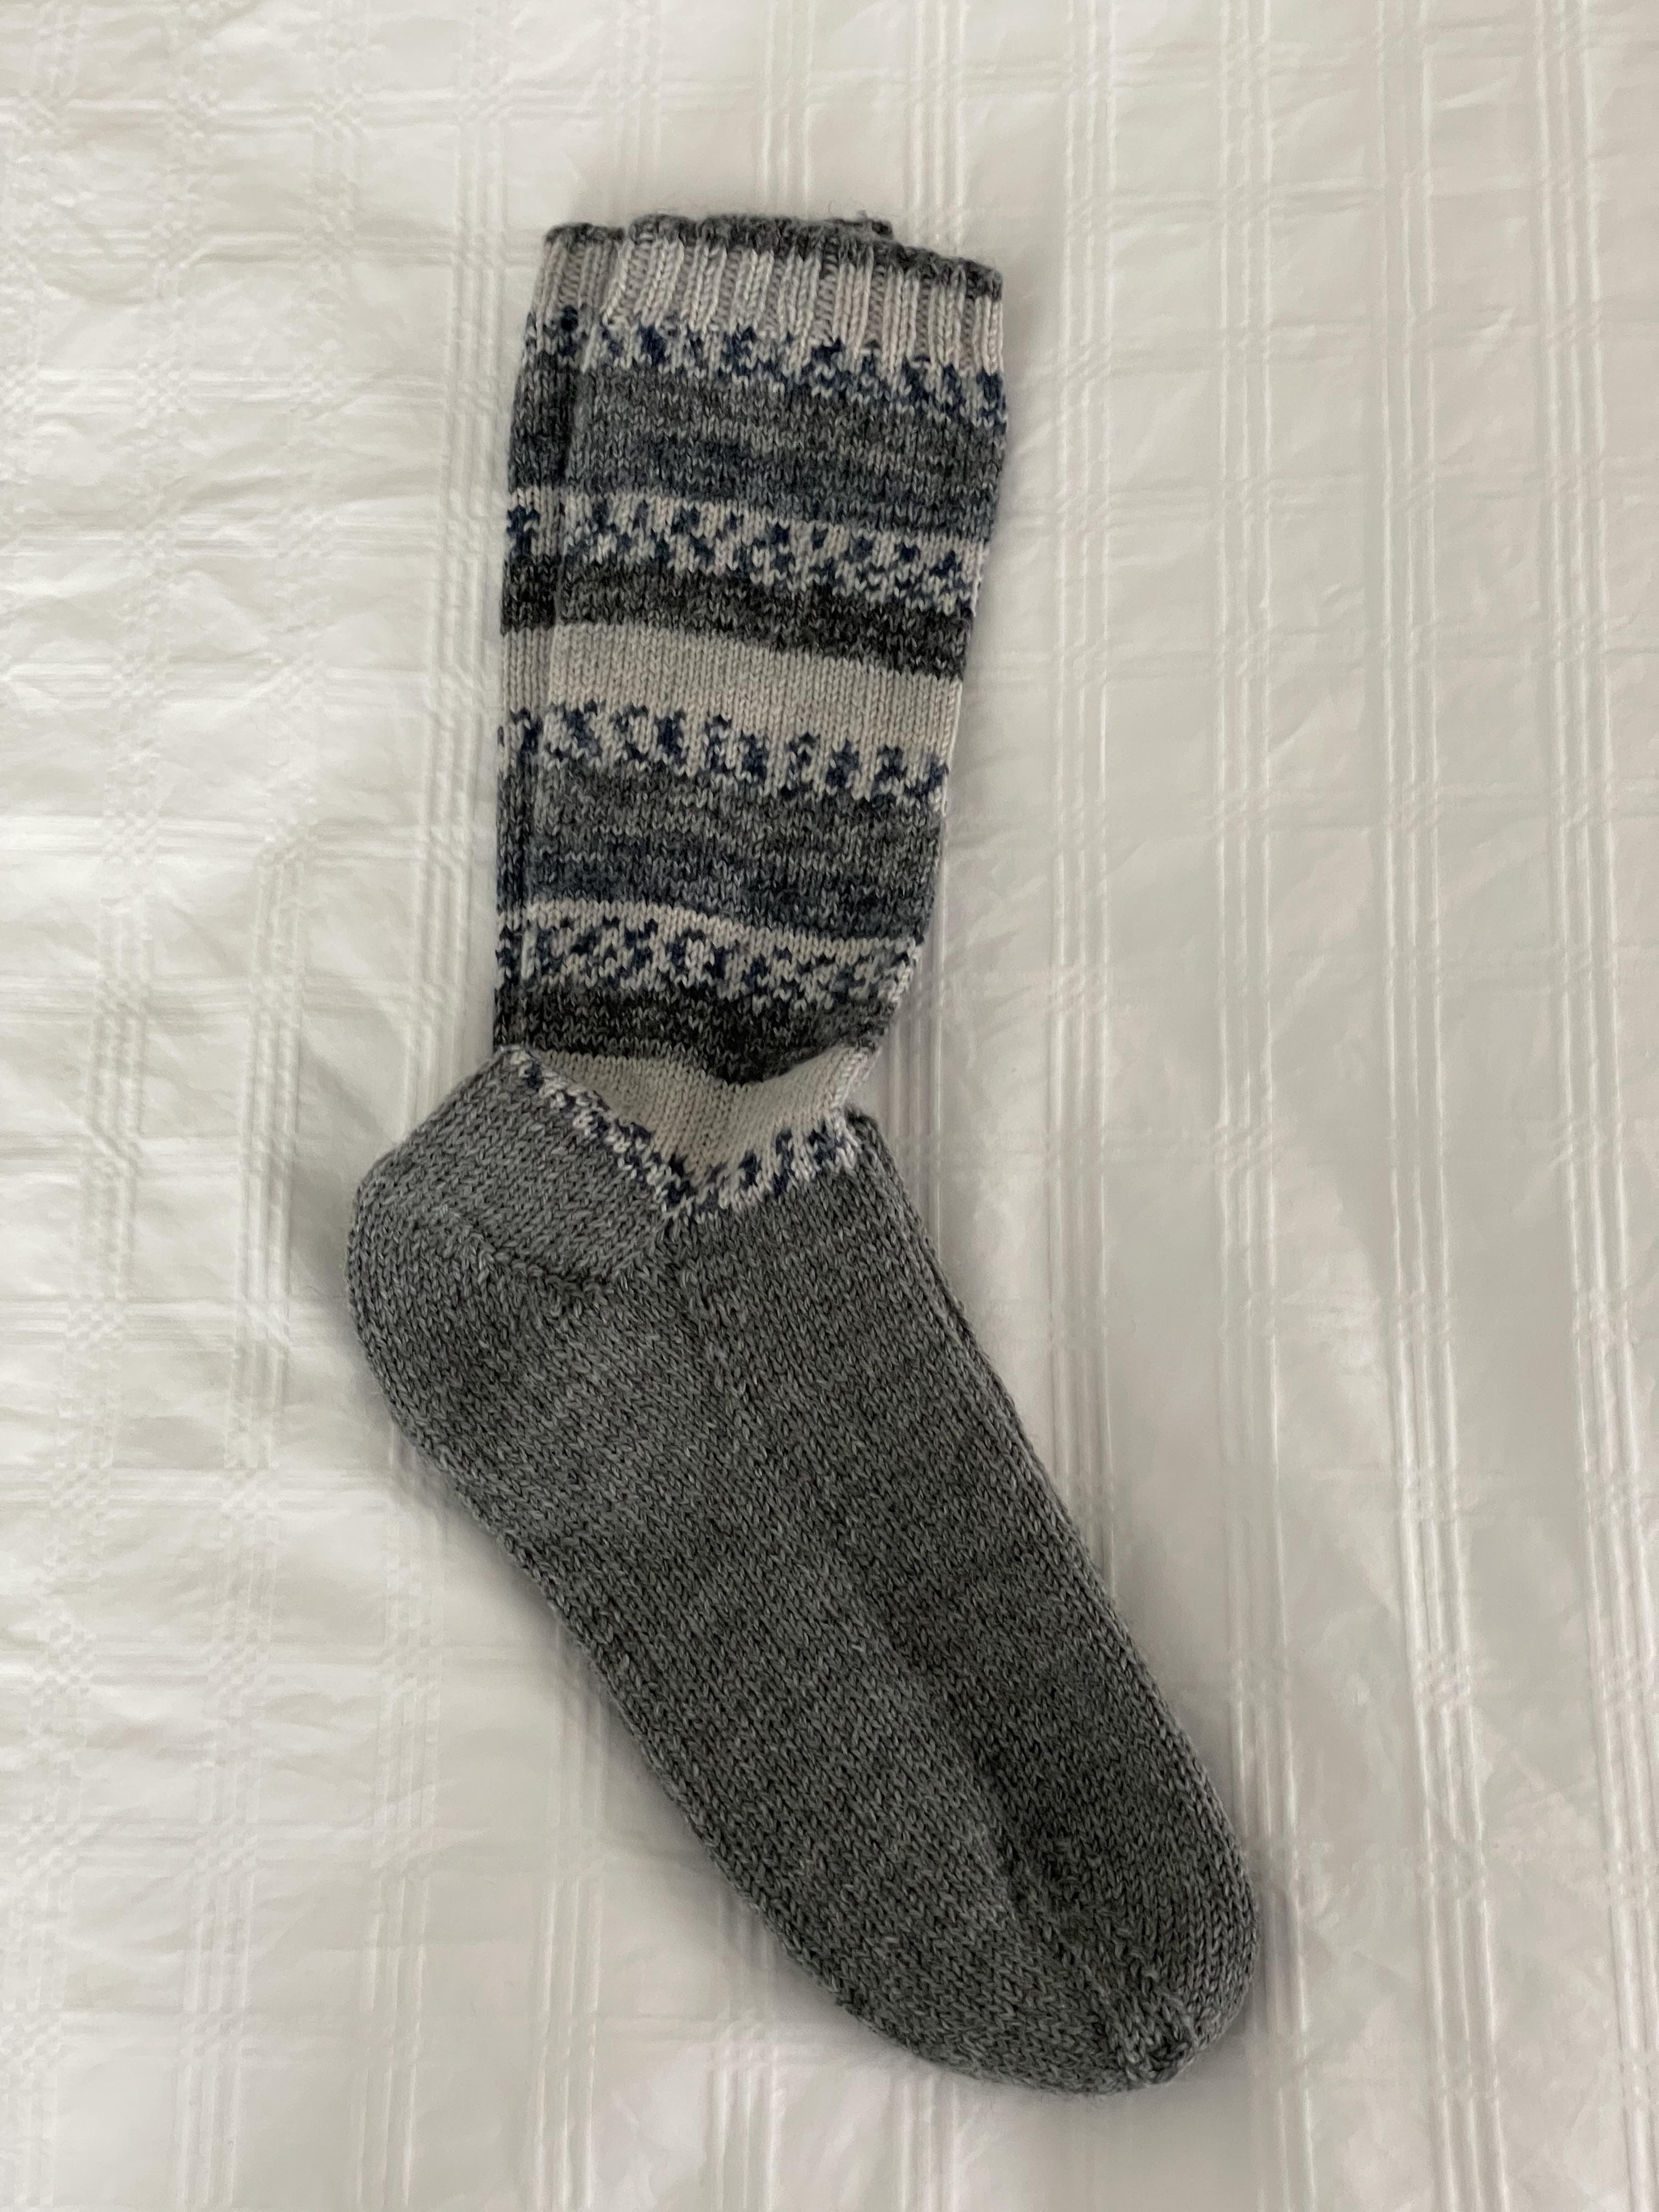
A couple of weeks ago I went to put on this pair of grey socks only to discover a hole in the toe of one. No big deal, I thought, I’ll just darn it. I didn’t like how the darning turned out (I used Swiss darning) so I cut off the toe. Then I decided to check the heels – they were pretty weakened as well. I cut off the foot.
The thing about salvaging legs is that at least half the job is done – it’s just a matter of knitting new heels, foot and toe. I picked up the stitches at the open end of the leg and got to work. I was about half way through reknitting the foot of the second sock when I realized I probably would have ended up with a more interesting sock had I done the foot in navy blue to pick up the accent colour in the leg – but grey socks these are.
Finished last night and back in the drawer.
It’s rare for my socks to end up with holes because I have so many pair and each gets worn just a few times a year. Obviously this grey pair was worn more than the others.
I started this garment last weekend. I worked on it during the week; today I added the sleeves (I’d already put the sleeve plackets in using Pam Erny’s 2-piece placket), serged the seams, top stitched them, sewed the sleeve/side seams, serged those seams, serged the bottom edge and stitched up the hem; made buttonholes, and machine sewed the buttons!
Check out the buttons – all different (if small). Just to highlight the many colours in the fabric. The fabric – a raime – has been in my stash for a number of years – I don’t remember when I bought it from Marcy Tilton (lovely fabrics, but expensive).
I lined the yoke, collar, collar stand and cuffs with a teal silk dupioni. It offers a hidden bit of contrast that nobody but a person who sews garments will notice, but I know it’s there.
I always intended making the raime into some kind of shirt. The question was how to position the pattern pieces on the fabric to get the most out of the print. After playing with pattern placement, I decided to cut the shirt using the width as the grainline (the crossgrain). This meant the garment could be symmetrical, more or less. I broke up the symmetry with the pockets and cuffs – largely because I didn’t have another repeat which would let me mirror the print I used for the front. I also positioned the back so the bold elements near the bottom would centre on the back – didn’t look right when off centre.
I still have another Marcy Tilton fabric in the stash – a “denim lace” which just had my name on it. I’ll cut that out soon to make another shirt/jacket. It’ll look very dressy but I intend wearing it with jeans!
Denim Lace
I set up the iPhone tripod so I could take some photos of the shirt. A bit on the big side – more jacket than shirt, but it’ll be fine with a pair of white pants and a t-shirt on a sunny summer day!
We’ve had lovey weather this past week – warmish, sunny, mild breeze.
The gardens are changing daily. Flowers are showing up everywhere. Clumps of Forget-me-nots and Wild Strawberry in the lawn of Basira’s apartment building caught my eye when I arrived on Monday. Marlene’s garden was in full first bloom – Tulips, anemone, Lungwort were peeking out from beneath the Day Lily which won’t show for another month.
Sunny or not, there’s something new to see every day. Right now, each new plant/flower warrants a pause – it’s been drab for so long. Another couple of weeks we’ll hardly notice the new blooms that appear; they’ll be taken for granted. Too bad.
I’m conducting a workshop on Saturday with a group of women interested in learning how to do heirloom sewing. In preparation for the day I made a new panel myself (in part because I need a couple of new nightgowns to replace two that are just about to rip apart from long wear).
I started the panel with a lace insert, added pintucks to each side, followed by a row of decorative stitching, then tucks, some hemstitching, more decorative stitching, finishing with a final row of hemstitching. I added an entredeux to the bottom where the skirt of the nightgown will be attached.
This panel is ready to be made into a nightgown.
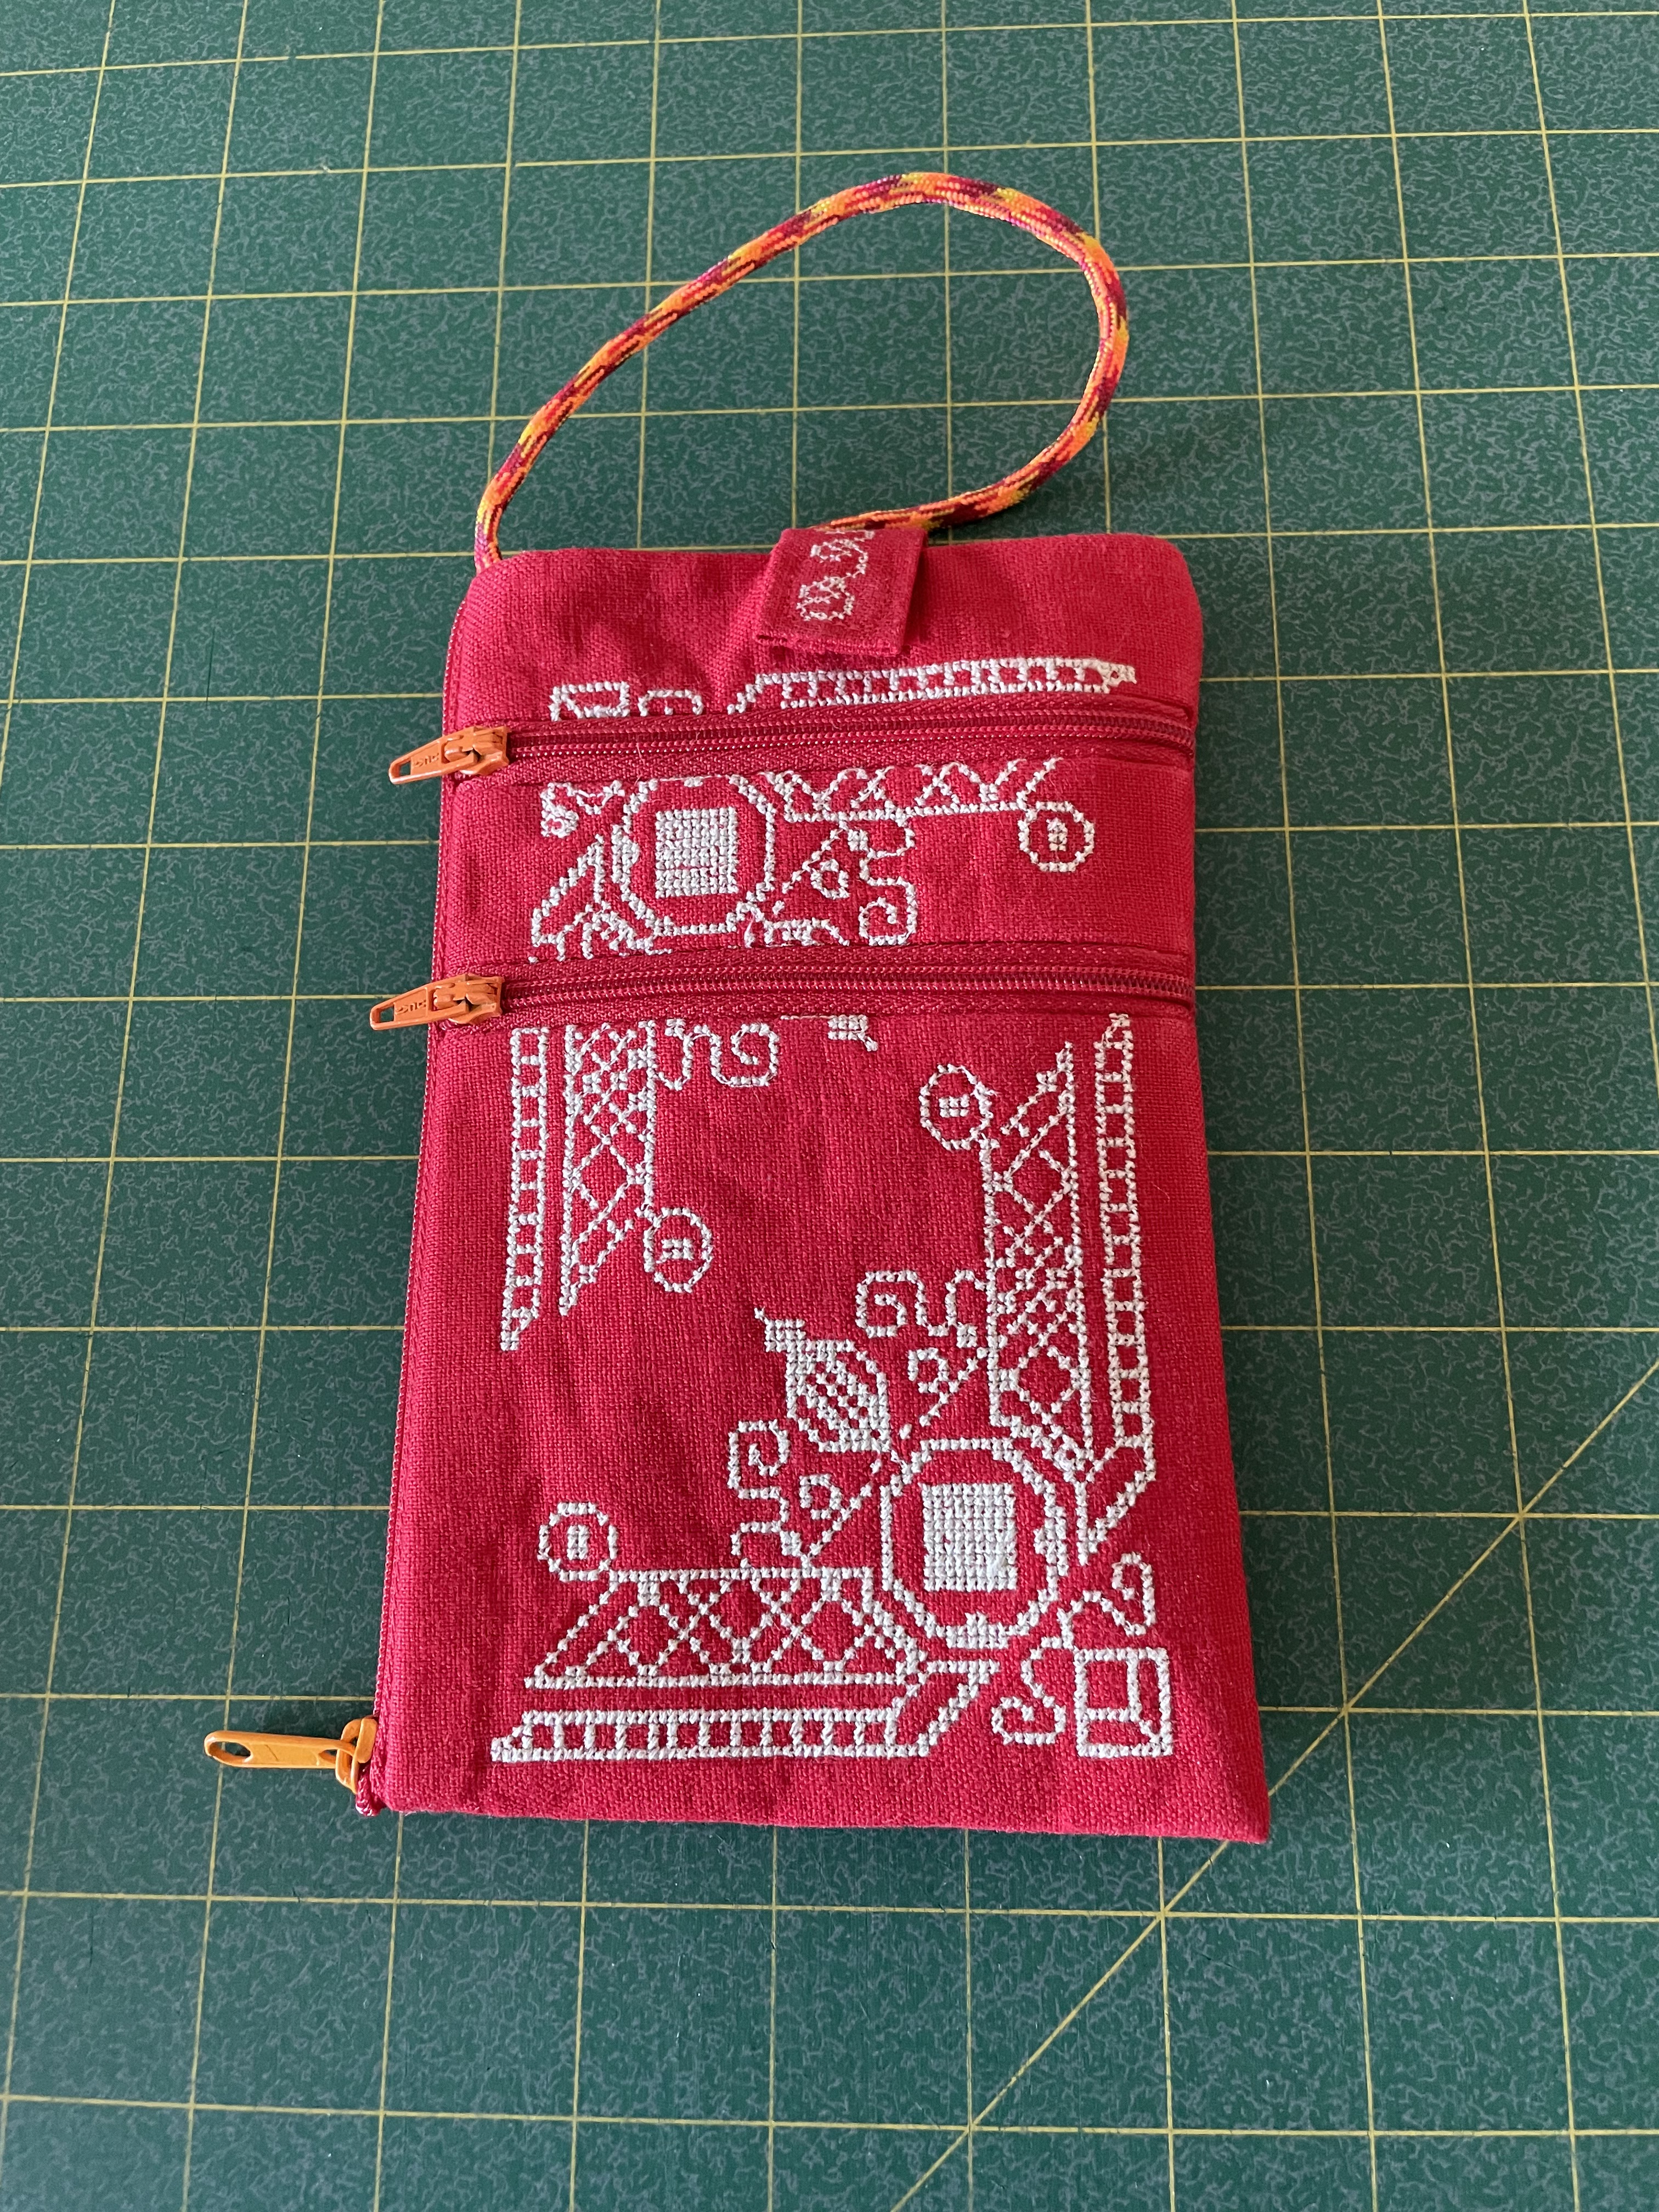
A couple of weeks ago, in preparation for a workshop on constructing a small bag with lots of zippers, I made this embroidered iPhone Case. I used a scrap of linen I had on hand, did a cross stitch embroidery in a contrasting thread, then made the bag. I chose zipper tape that blended with the fabric colour, but added contrasting zipper pulls. Because I have made so many, I can whip up a zippered bag in under a half hour!
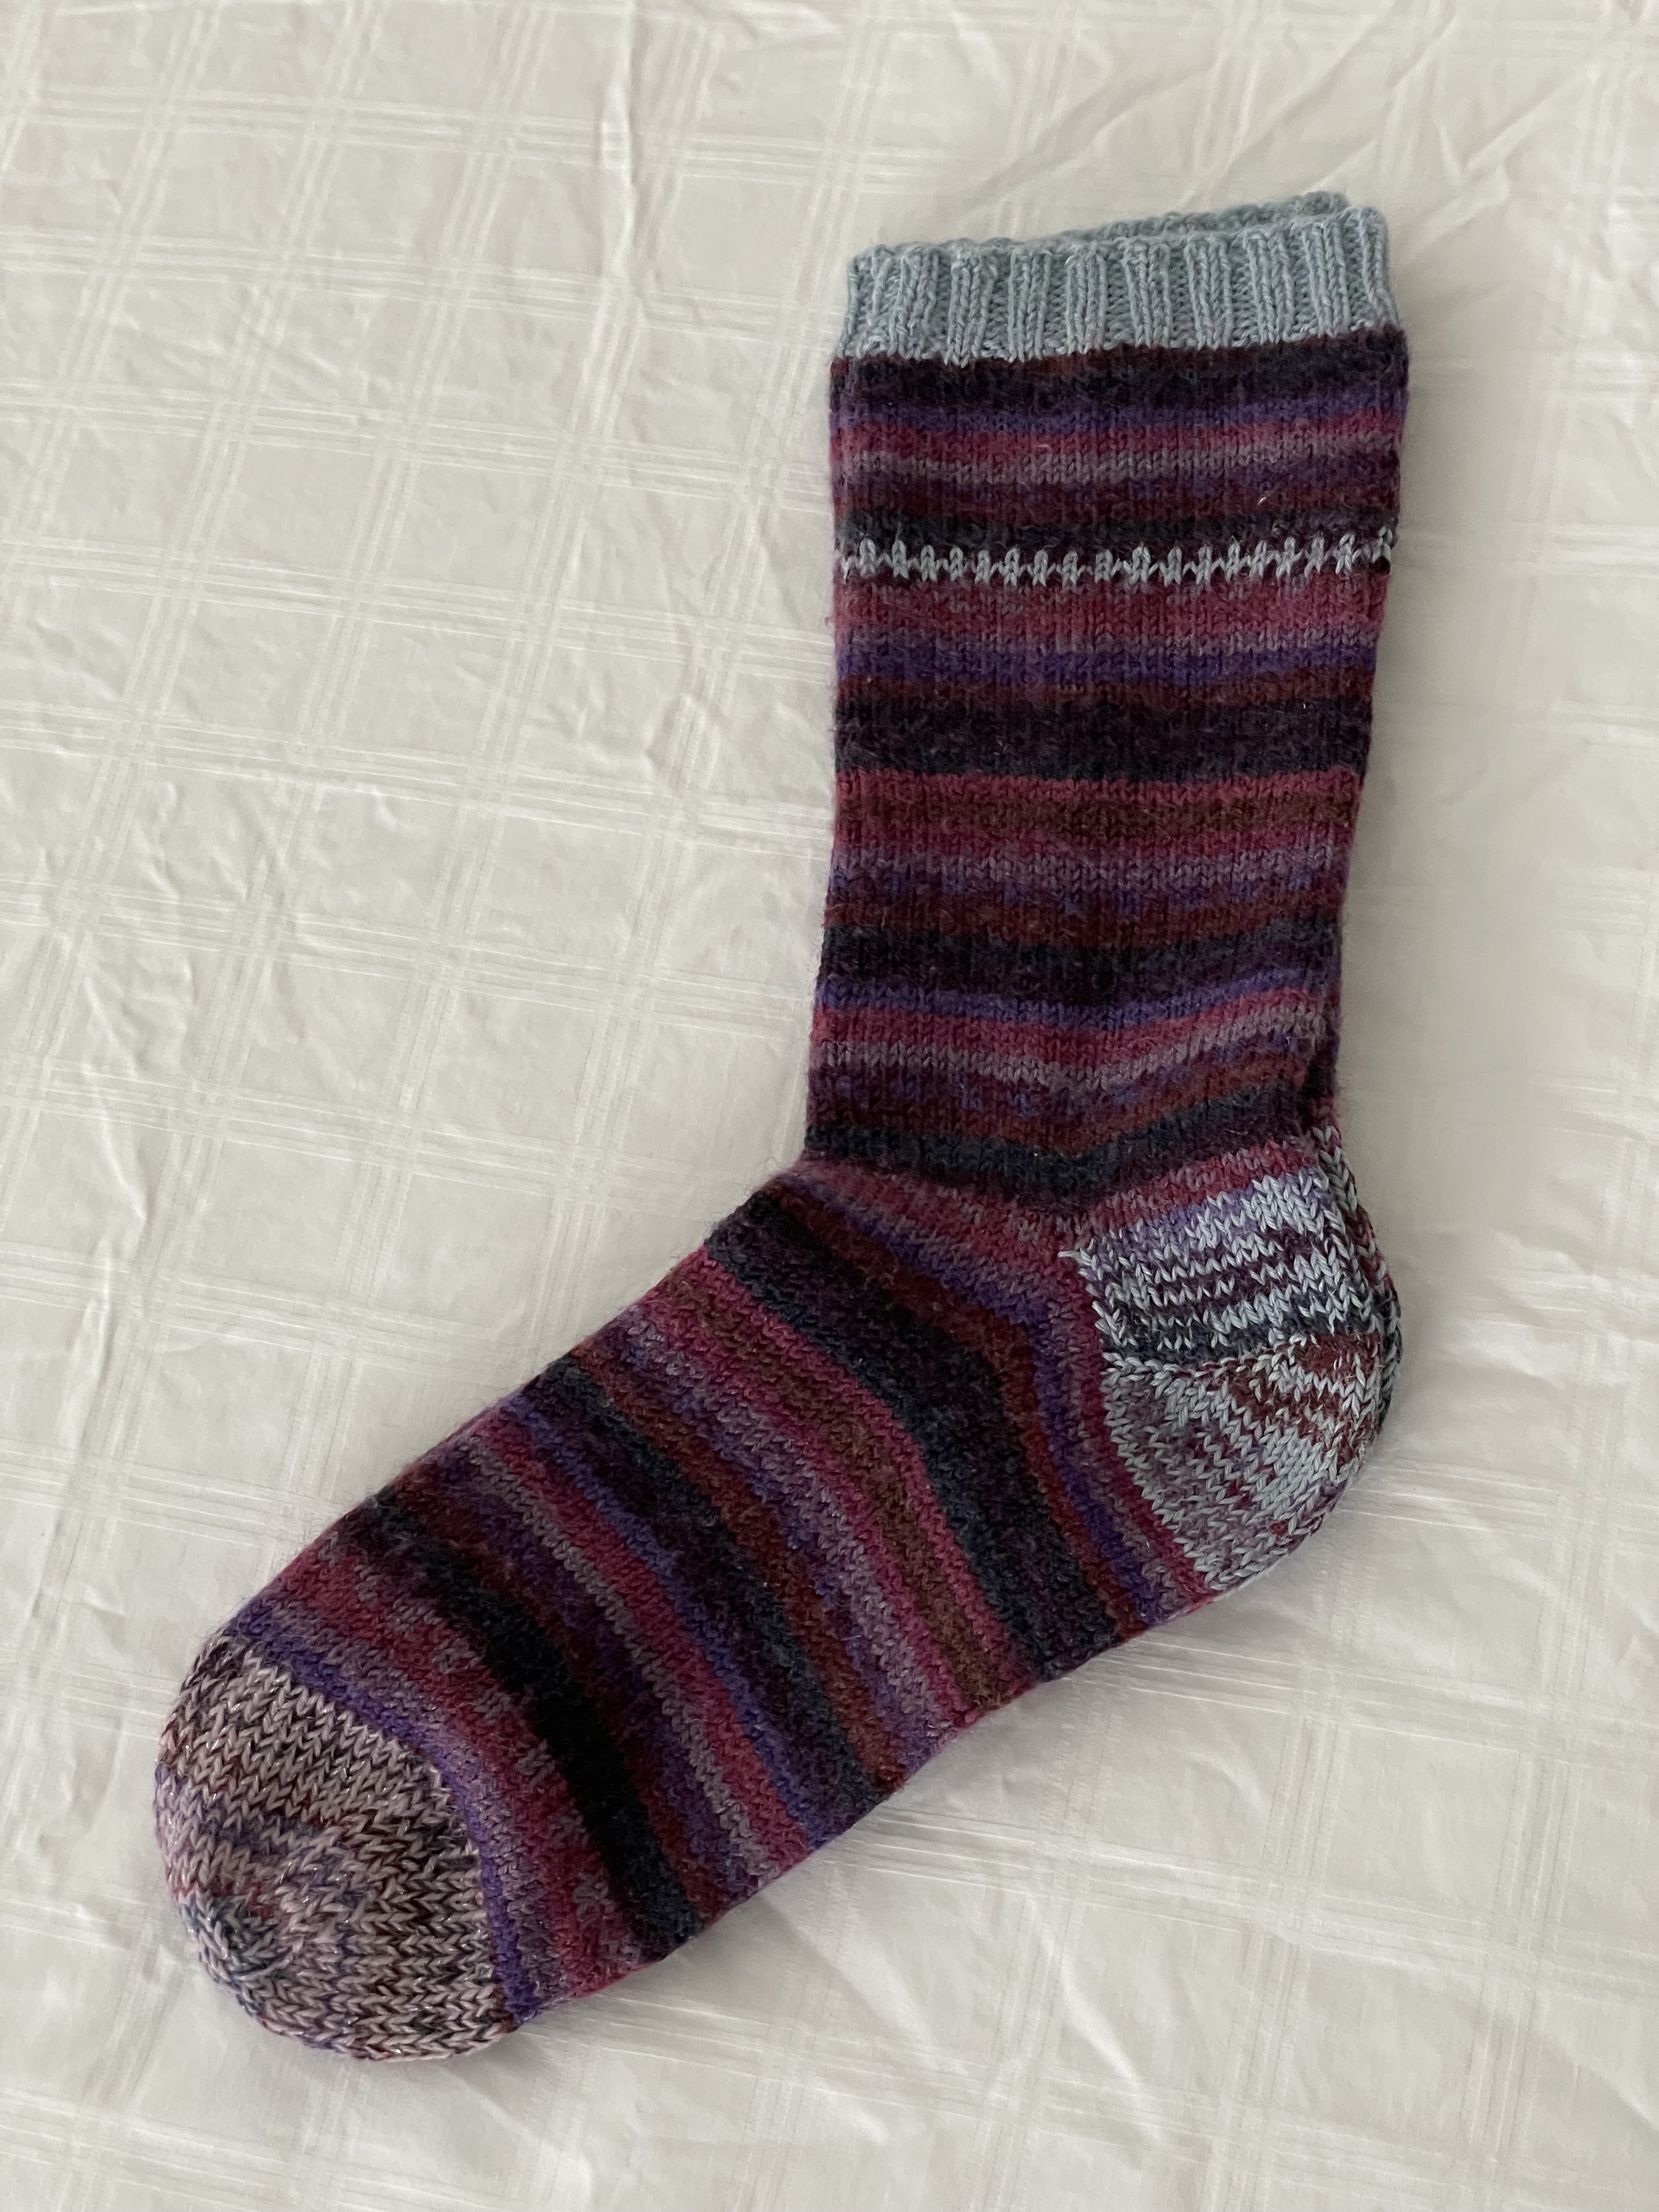
Also, I always have a pair of socks on the go. This pair took at least a week longer than usual because other things kept getting in the way of my knitting time. They are now done.
And last, I had two pair of socks with holes in the toes – first time in 25 years – since I started knitting socks!
New Toes!
It takes me an evening to knit a new toe. These socks are repaired – like new – and back in my sock drawer. I’m working on the second pair – they needed more radical attention – both toes and heels were seriously weakened – I decided to salvage the legs and knit new feet. The first of that pair is getting close to finished.
So Saturday I will be helping the gals with their heirloom sewing. On Sunday I hope to cut out a tailored shirt from a very wild linen print I’ve had in the stash – my intention is to wear it as a light summer jacket.
I’ve been remiss about keeping up with what I’ve been working on; I’ve been busy, nevertheless.
A younger friend is getting married on June 8. She needed a wedding gown. She tried shopping for one but wasn’t enthusiastic about what was available. I suggested she make one.
I sent her a photo of the wedding gown worn by Meghan Markle – stunning in its simplicity. Completely plain, a silk organza over a woven silk, princess fitted dress with sleeves and a clean neckline; no lace.
Same thing – clean lines, nice neckline, sleeves, and pleated skirt (which falls gracefully like a princess cut). Then I went to an online fabric store in India specializing in silk – FabricsandTrims. I’ve bought fabric from them before so I knew what we would be getting. I was suggesting an off white silk dupioni which would have a bit of sheen but also some texture and would drape nicely.
Marni a quilter; hasn’t done much garment making, but if I would help her, she was willing to take the risk. So she bought the pattern, we ordered the silk and the interfacing. She picked up thread, and an invisible zipper. We were set to go.
We traced the pattern, made a few small adjustments. Then we worked on a wearable muslin – potentially a light-weight summer dress. As we worked our way through the muslin, which went quickly with each of us sewing different parts of the garment, I made adjustments to the dress which I transferred to the traced pattern. It took us as I recall three sewing sessions to make the muslin which is definitely wearable!
Now for the silk. We’d already applied the interfacing to five of the eight metres of silk so that was ready to be cut. Our challenge was this – the skirt at the bottom was 51″ wide, our fabric was 42″! So I had to make both the front and back skirt in sections. I chose to embed the seam I created on the inside of the side pleat so it would be more or less hidden. We made a mock-up of the skirt using black quilting cotton to check the position of the seam – it was fine. Finally we cut out the dress (which took just 4 1/2m of fabric – better to have too much than not enough!).
Trusting that the adjustments I’d made to the pattern were accurate, and with both of us sewing, we began constructing the dress. First the bodice, next the bodice lining. Marni serged all the remaining edge seams on the sleeves and skirt to keep them from fraying. We added the band to the front and back of the bodice (and bodice lining), and sewed the neckline seam. Next we attached the sleeves. Now we assembled and added the front and back skirt panels. Here’s when the invisible zipper was installed and the back seam finished. Last we stitched the underarm and side seams. In two sewing sessions we had a completed dress.
Today we did the finishing – hemmed the bottom on the machine using a blind hem foot; hand stitched the hem on the sleeves, and finished with a hook and a loop to close the top above the zipper.
Done.
The finished “Upton” dress
There’s one last decision to make – Marni wanted some kind of embroidered embellishment on the band joining bodice and skirt. I made some flowers using two layers of silk organza with a tear-away stabilizer.
Flower Appliqué
Whether to add the flowers or not is her last decision. I prefer the dress unadorned. However, I sent the appliqués home with her – she can decide what she prefers.
A happy bride-to-be. I even wrote Cashmerette letting them know how pleased I was with how well the pattern worked out for us.
We began the project on April 4. It took us 11 sewing sessions to make two dresses.