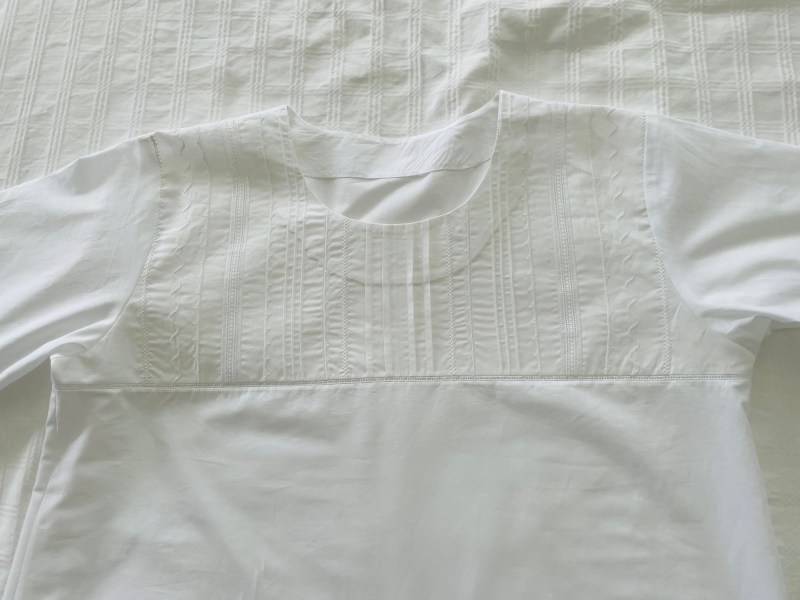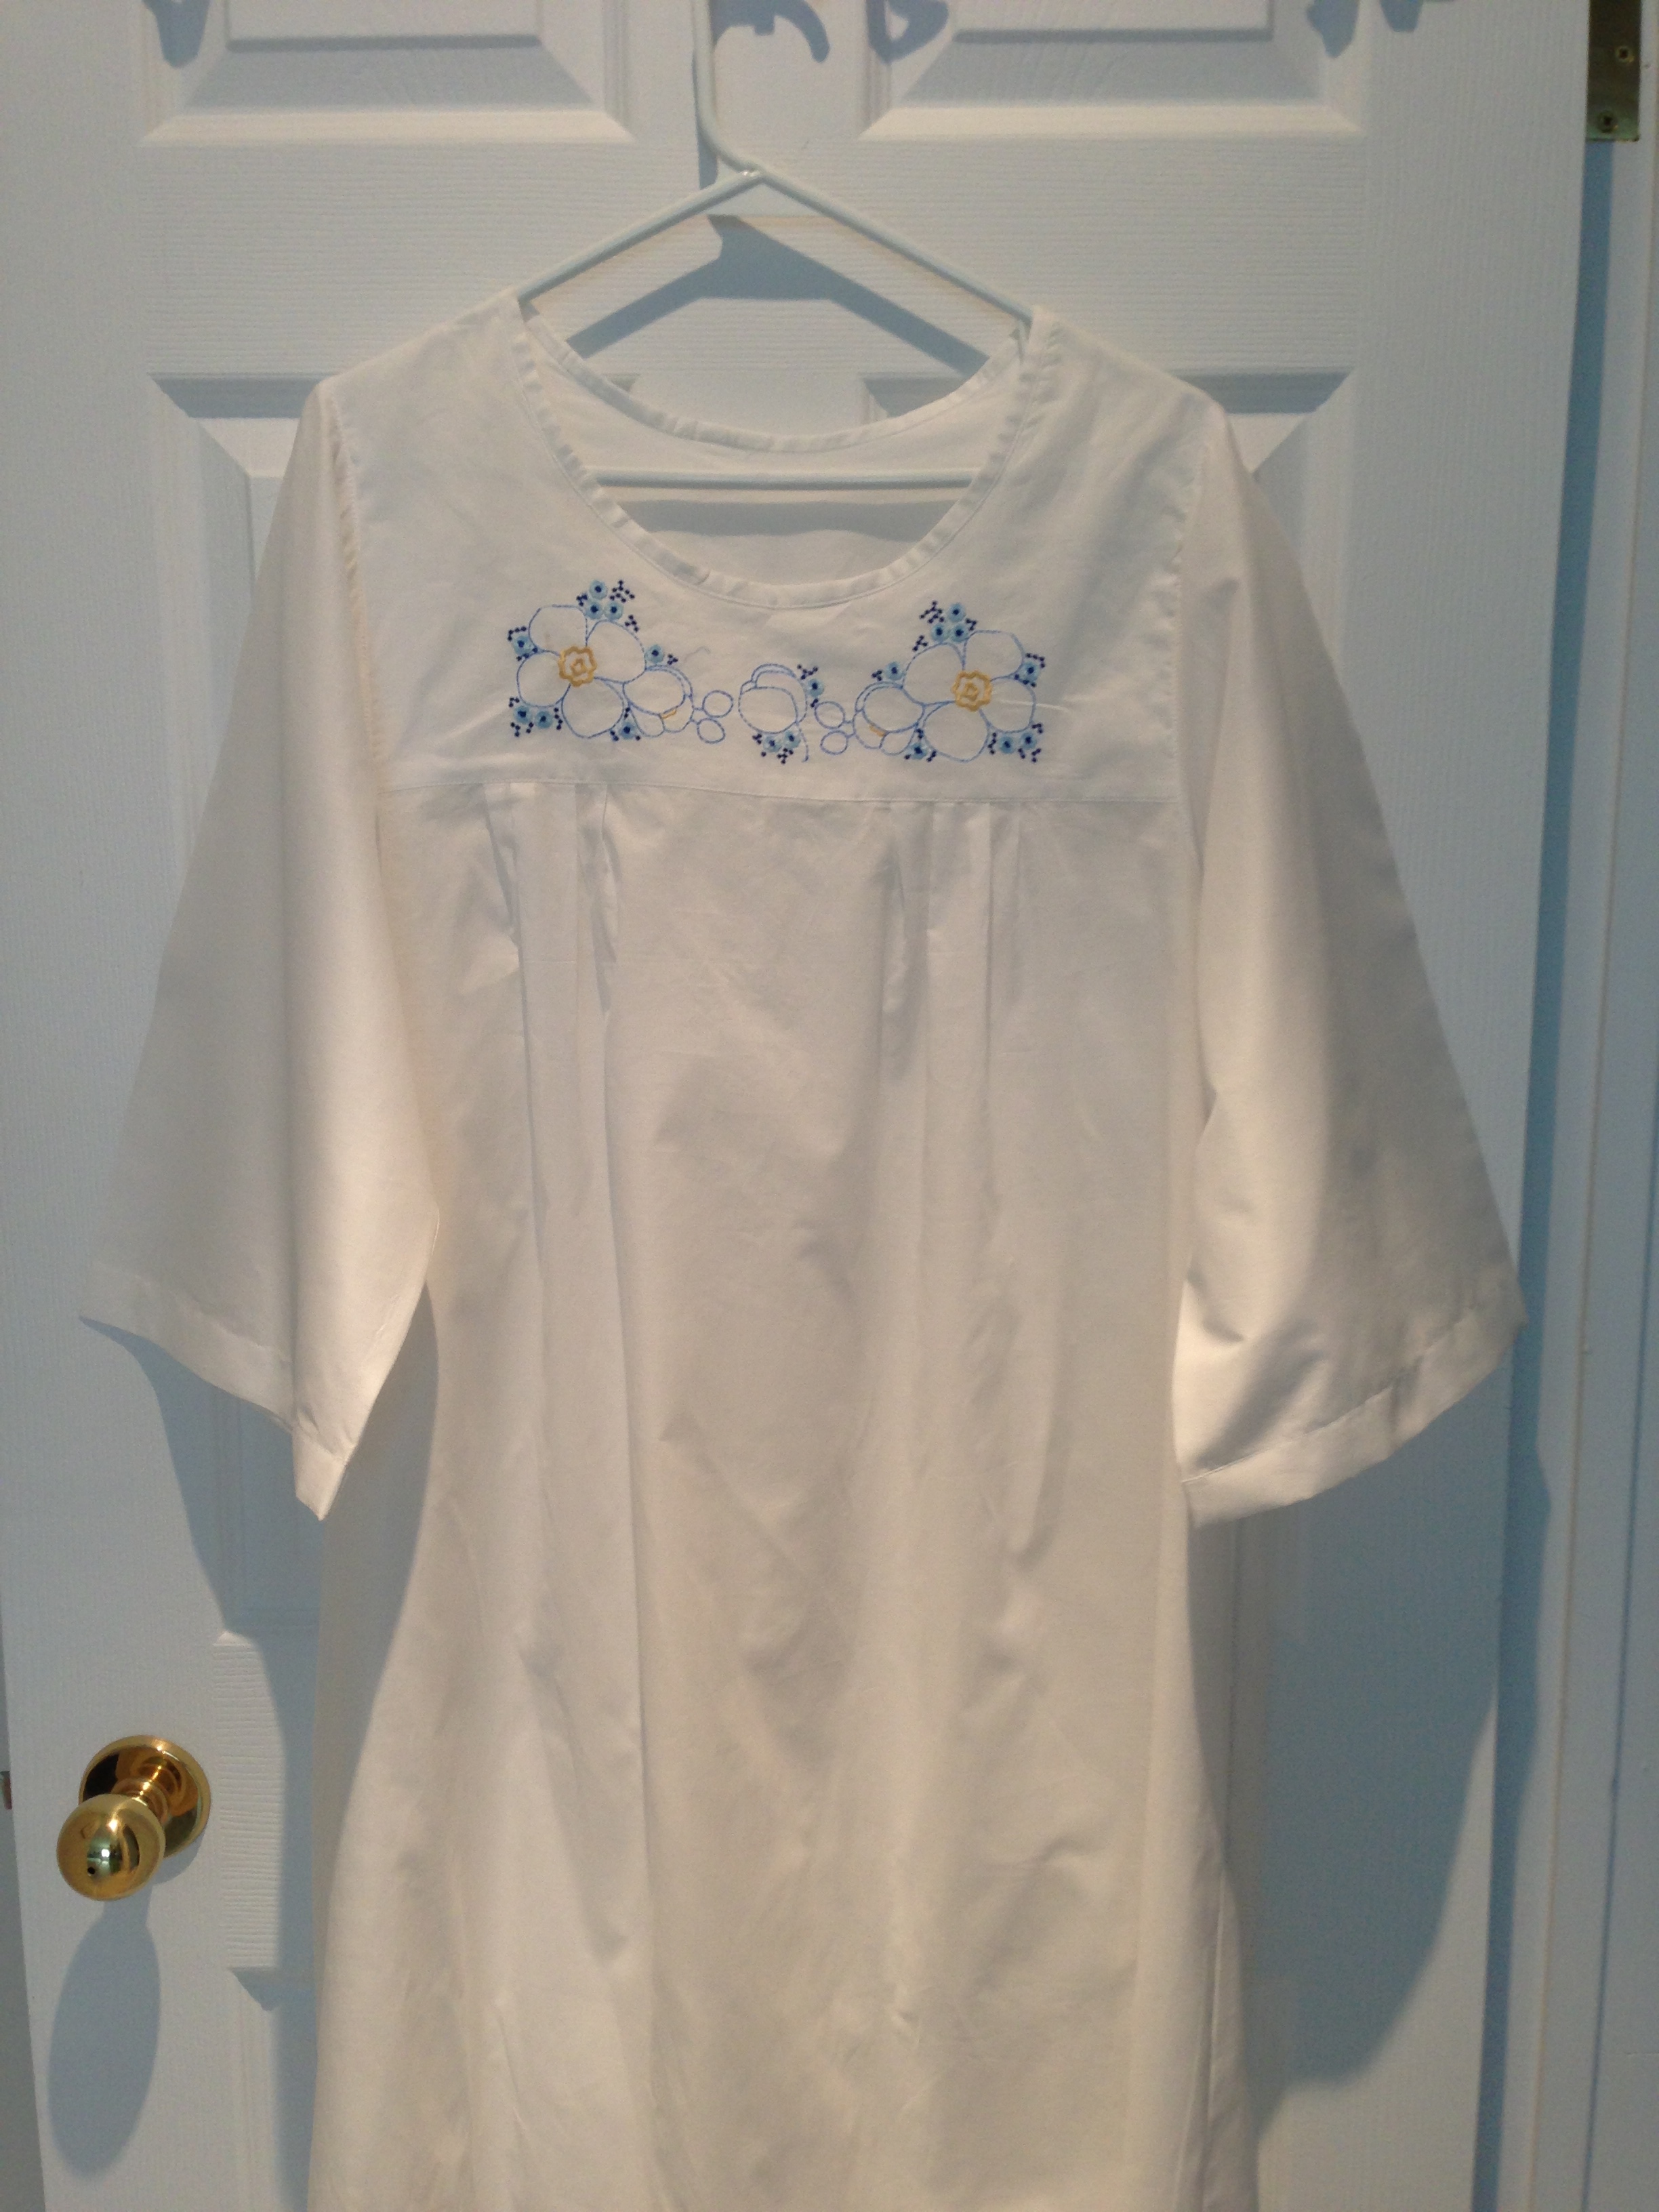

I’m conducting a workshop on Saturday with a group of women interested in learning how to do heirloom sewing. In preparation for the day I made a new panel myself (in part because I need a couple of new nightgowns to replace two that are just about to rip apart from long wear).
I started the panel with a lace insert, added pintucks to each side, followed by a row of decorative stitching, then tucks, some hemstitching, more decorative stitching, finishing with a final row of hemstitching. I added an entredeux to the bottom where the skirt of the nightgown will be attached.
This panel is ready to be made into a nightgown.
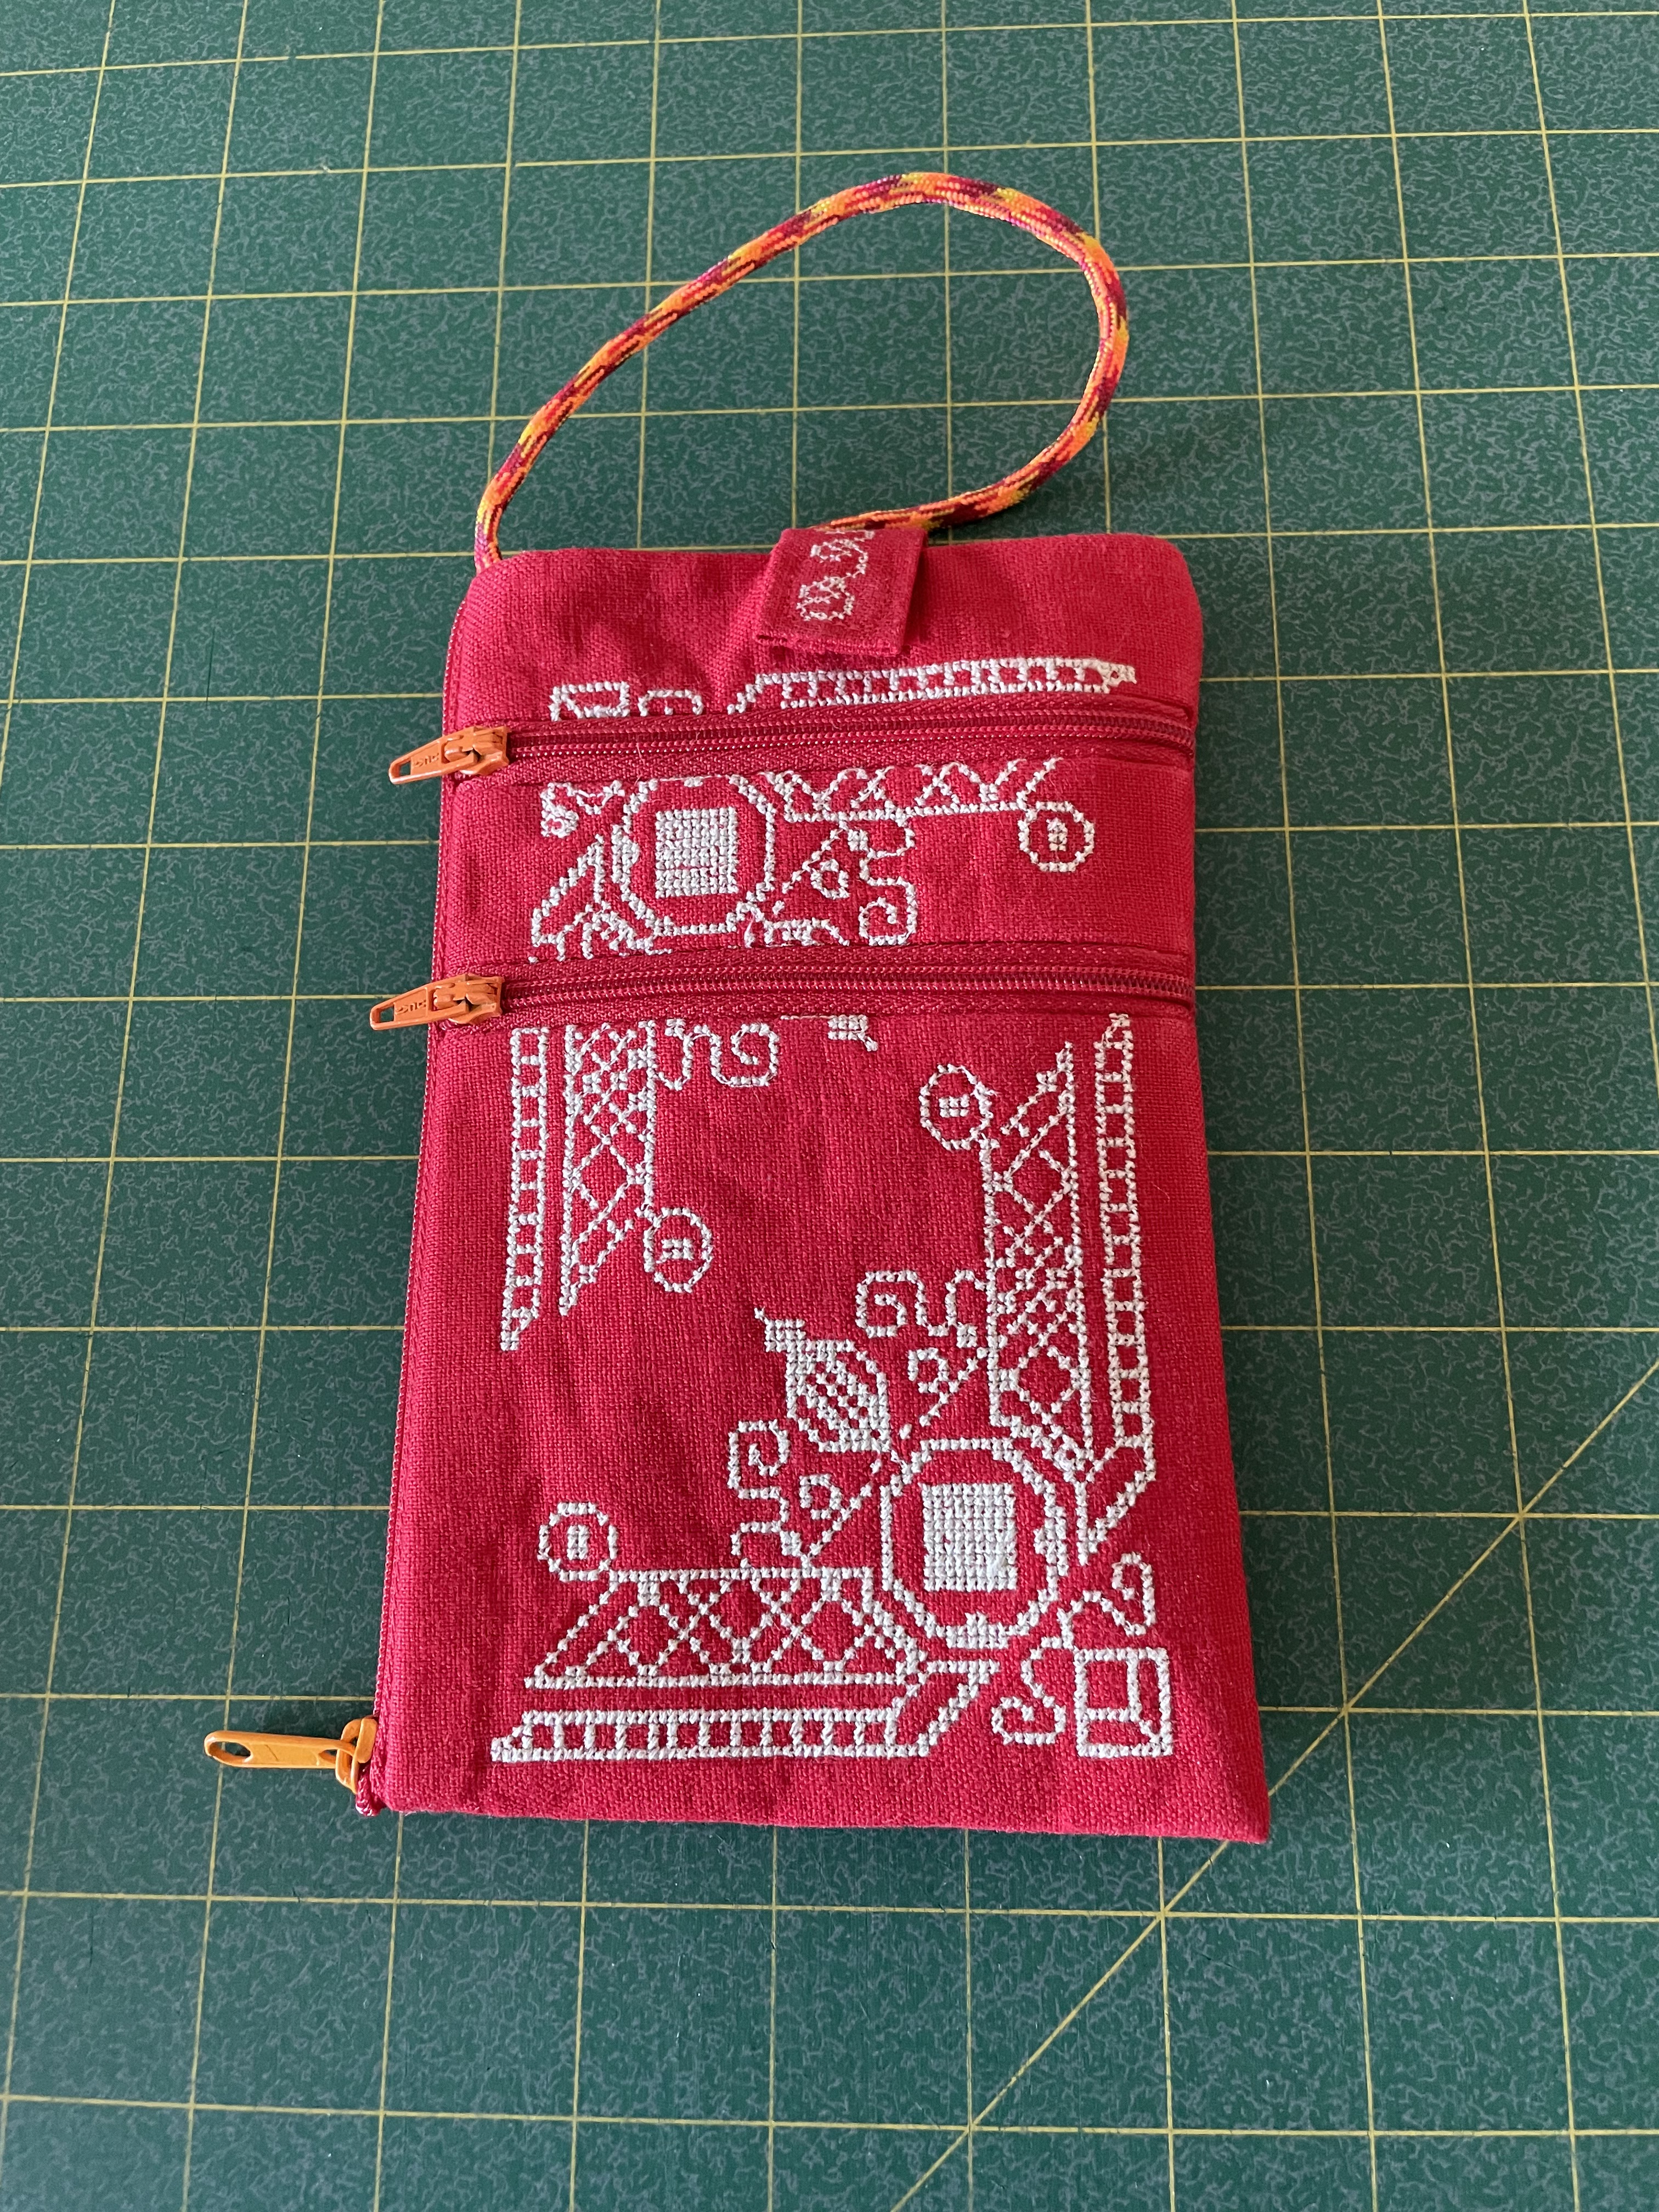
A couple of weeks ago, in preparation for a workshop on constructing a small bag with lots of zippers, I made this embroidered iPhone Case. I used a scrap of linen I had on hand, did a cross stitch embroidery in a contrasting thread, then made the bag. I chose zipper tape that blended with the fabric colour, but added contrasting zipper pulls. Because I have made so many, I can whip up a zippered bag in under a half hour!
Also, I always have a pair of socks on the go. This pair took at least a week longer than usual because other things kept getting in the way of my knitting time. They are now done.
And last, I had two pair of socks with holes in the toes – first time in 25 years – since I started knitting socks!
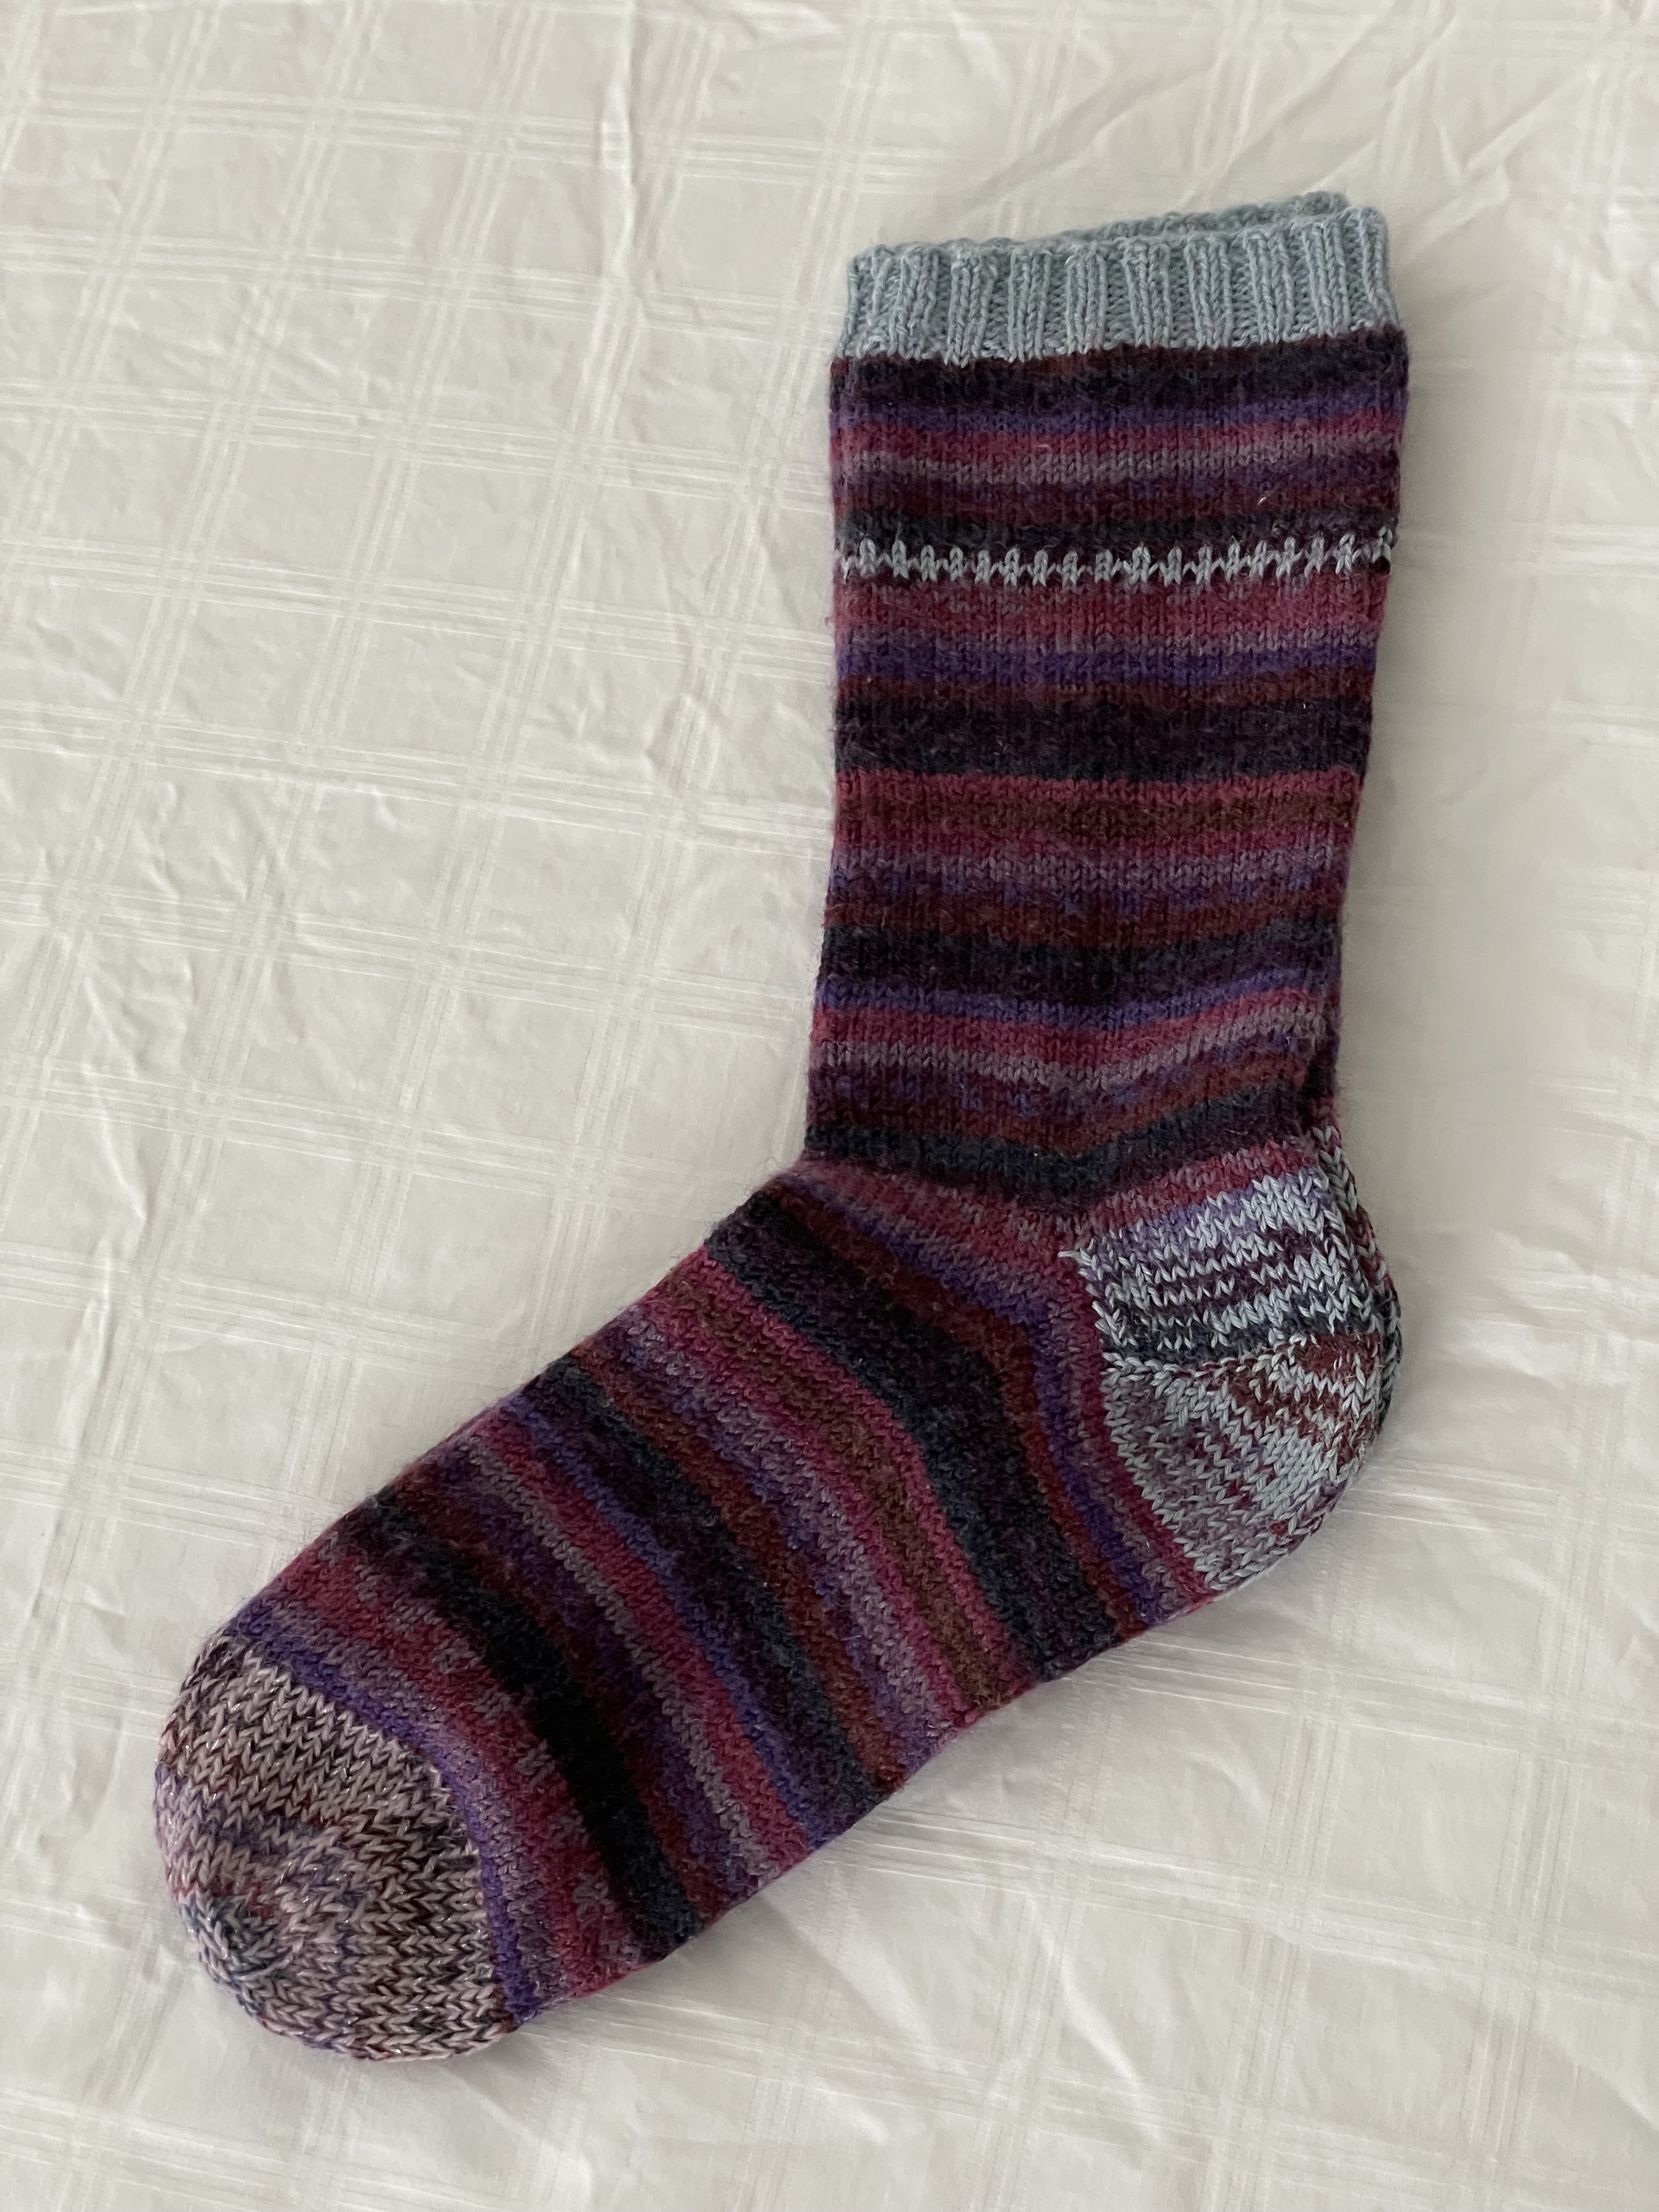
It takes me an evening to knit a new toe. These socks are repaired – like new – and back in my sock drawer. I’m working on the second pair – they needed more radical attention – both toes and heels were seriously weakened – I decided to salvage the legs and knit new feet. The first of that pair is getting close to finished.
So Saturday I will be helping the gals with their heirloom sewing. On Sunday I hope to cut out a tailored shirt from a very wild linen print I’ve had in the stash – my intention is to wear it as a light summer jacket.
I’m keeping myself in “create” mode.