Medallion Quilt IV

Medallion Quilt – In Progress

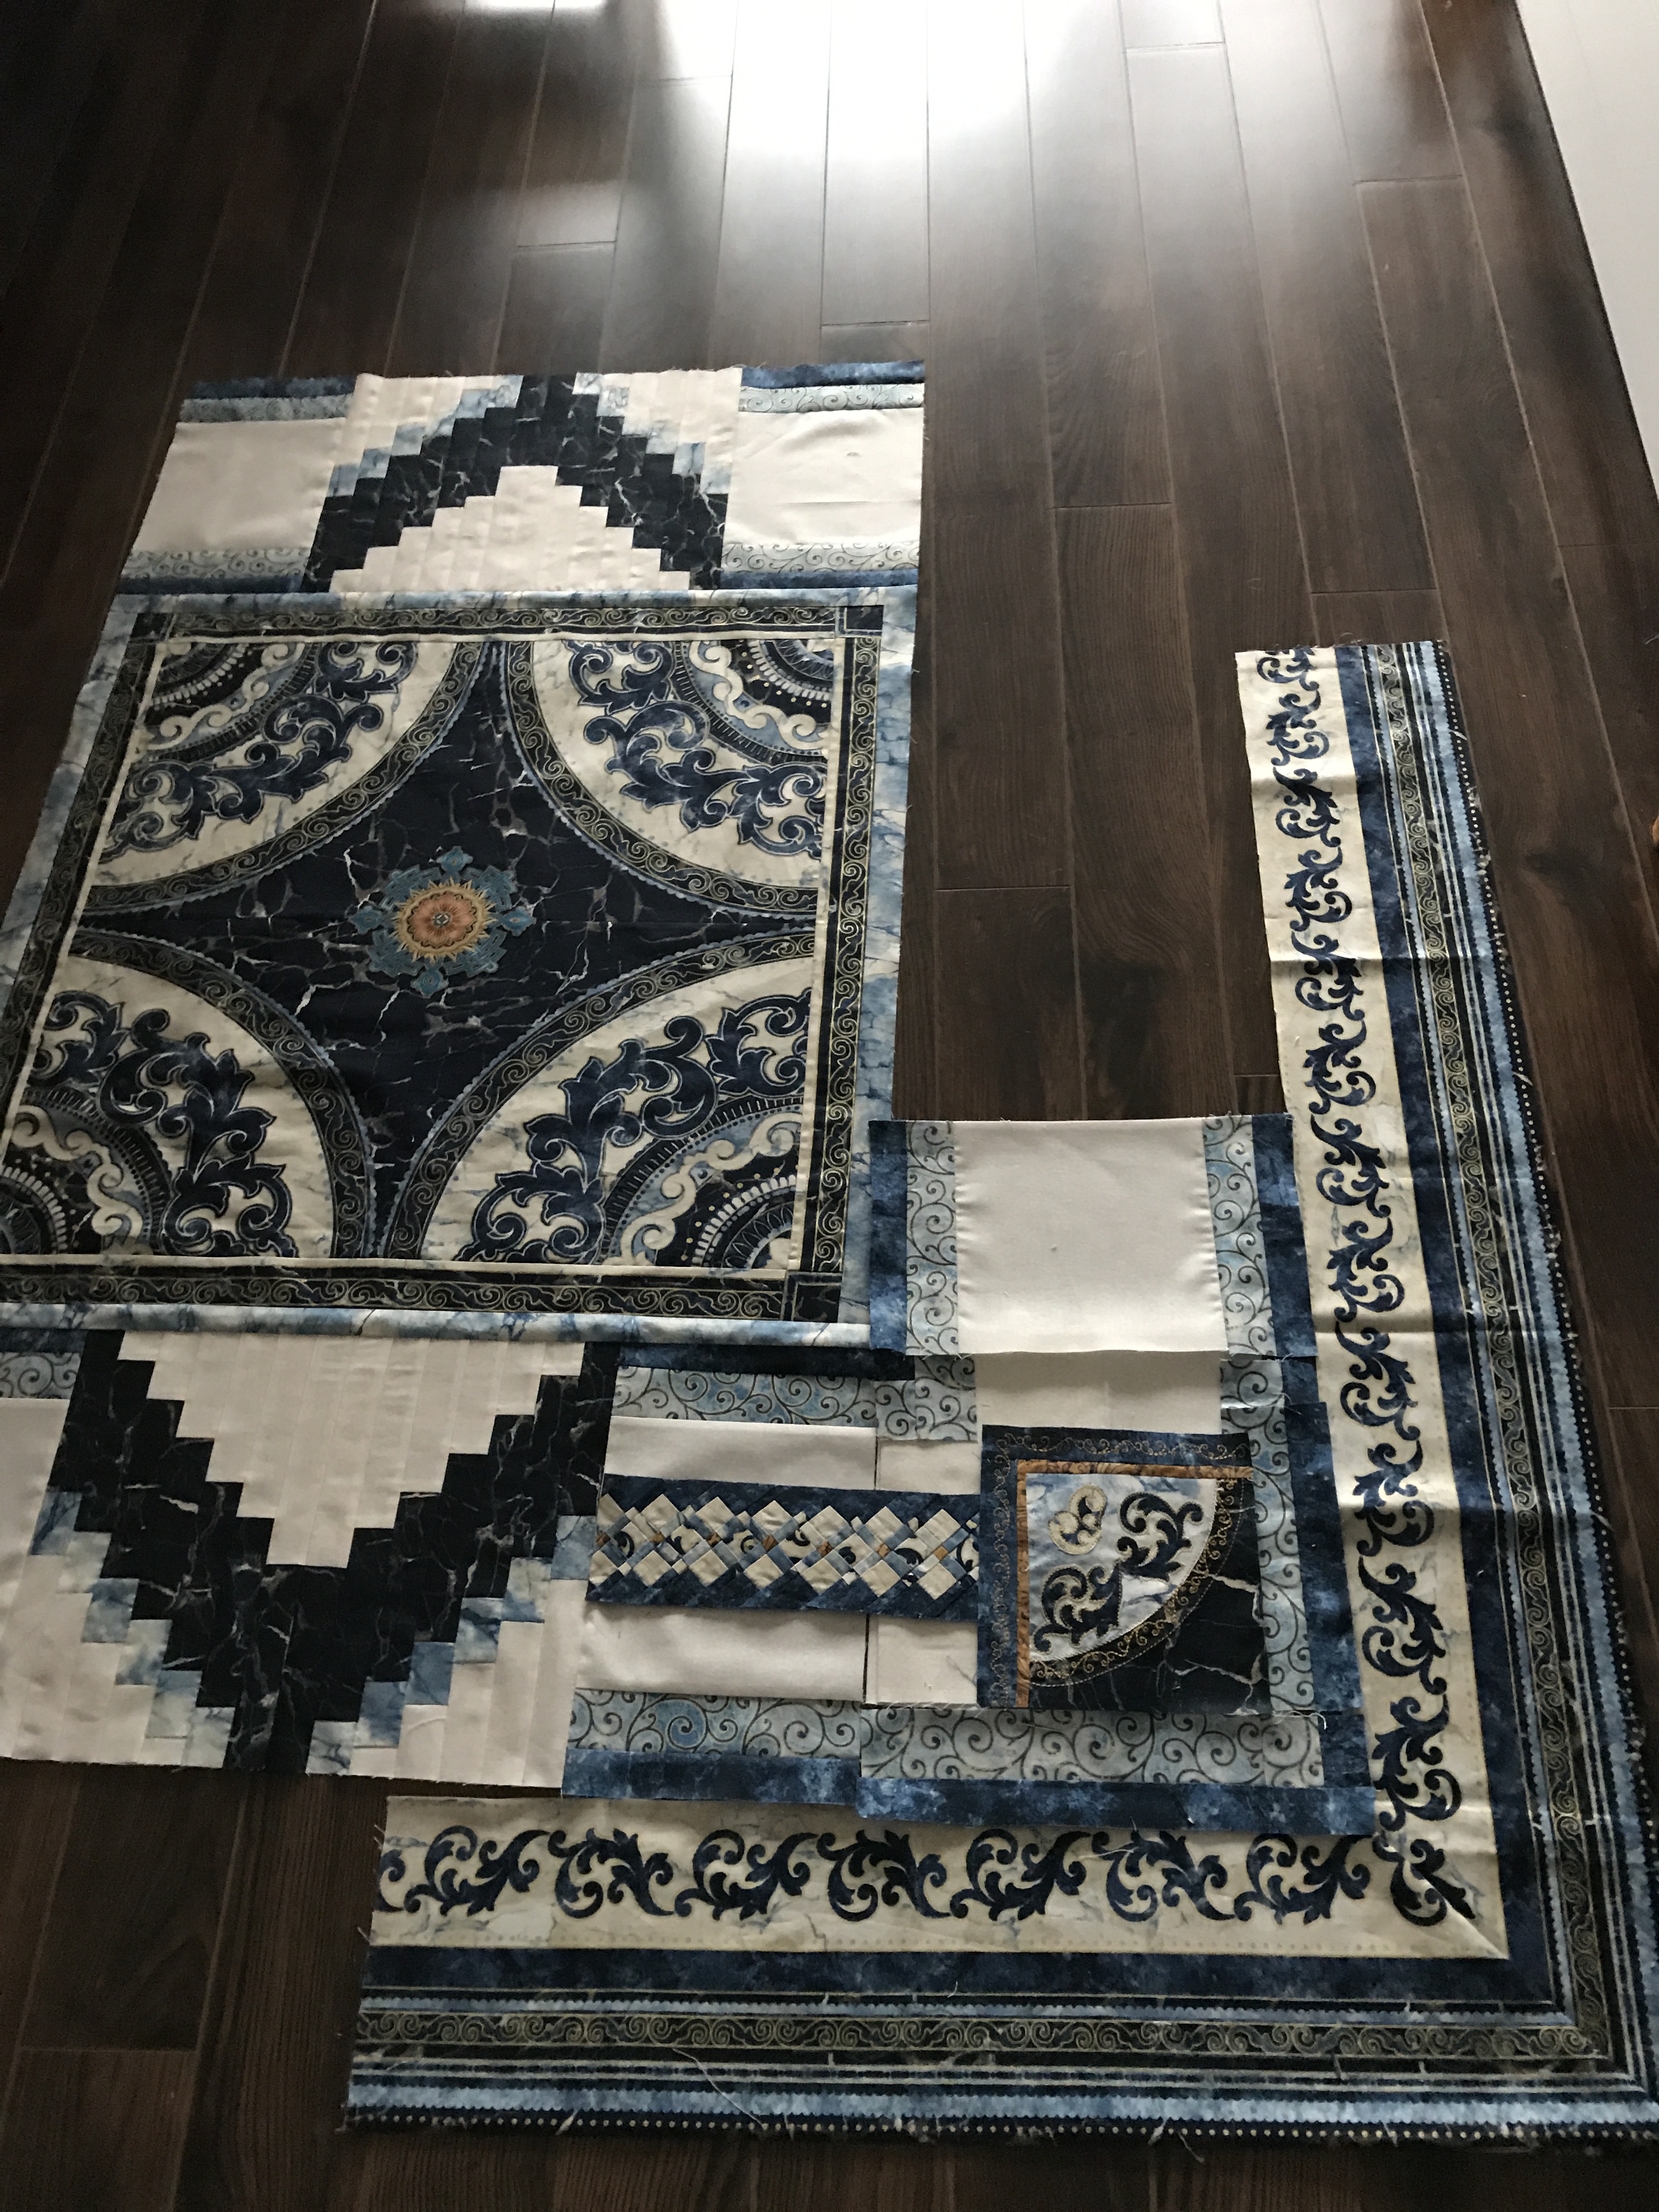
So here’s where I am now: I added a narrow light blue border to the central square, I also fused and stitched the small medallion in the centre of it yesterday (easier to do at this point than later when there will be a lot more fabric to handle).

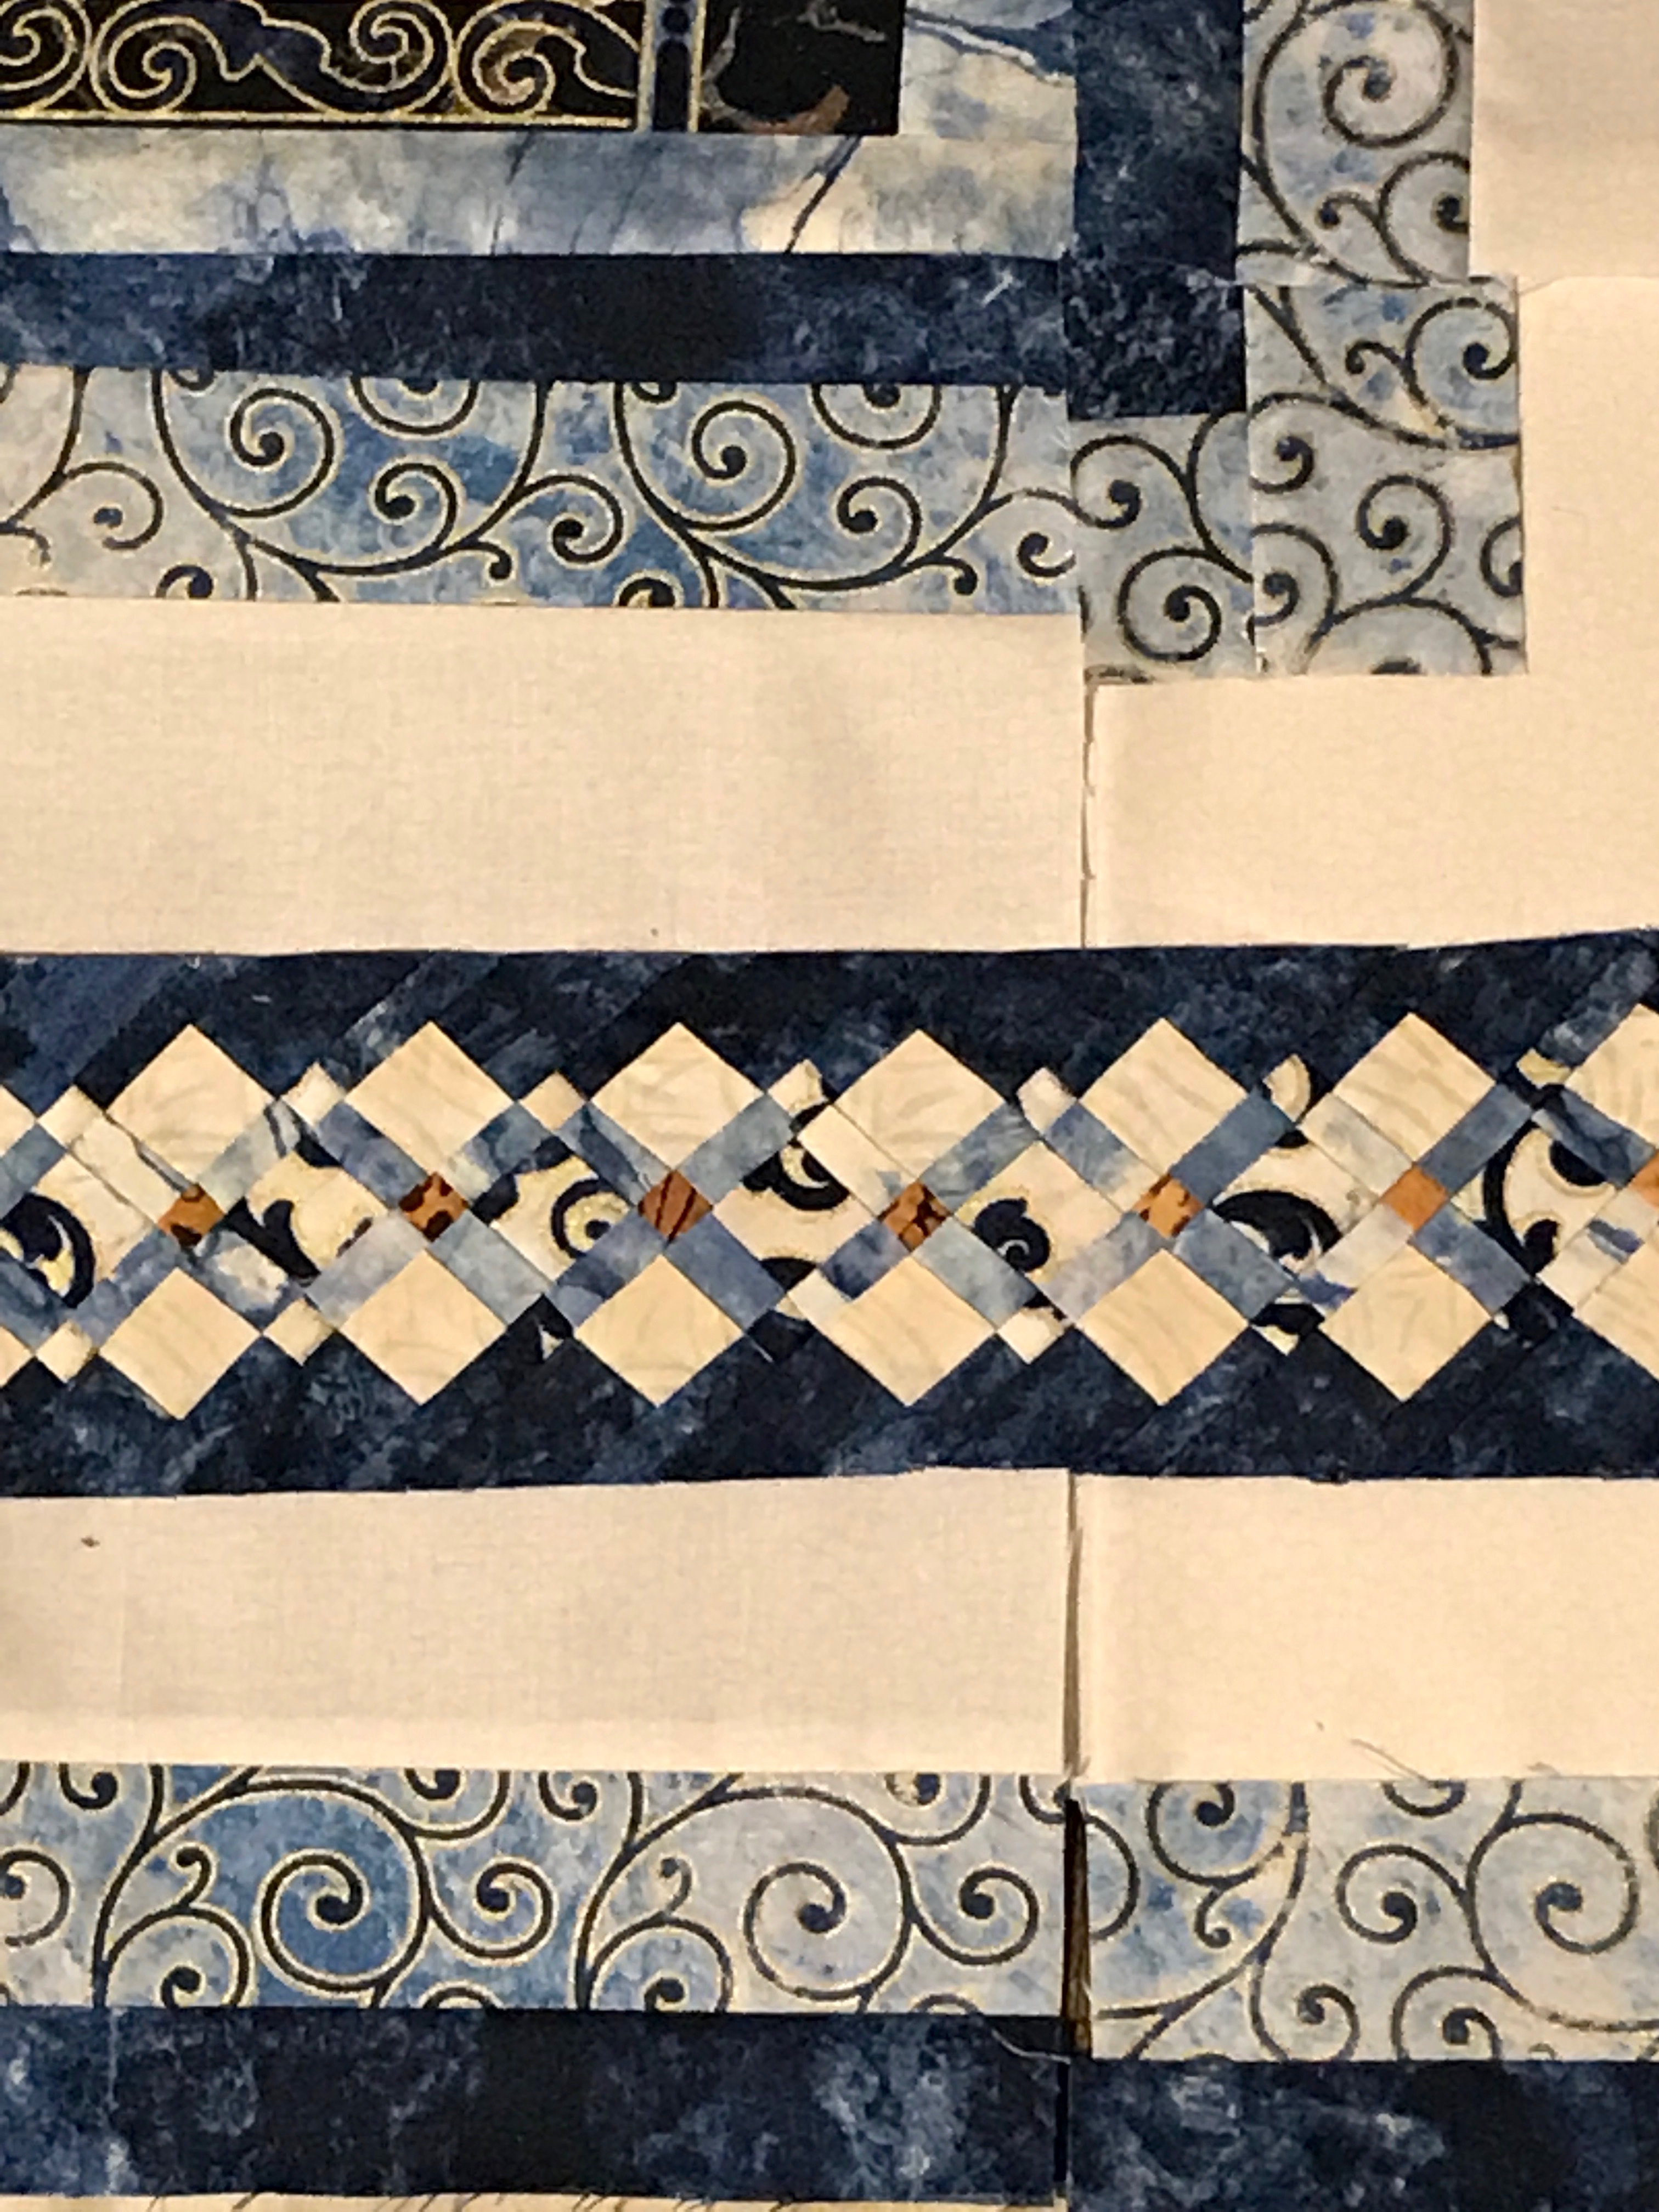
Then I began working on the next border. I wanted to lighten up the  overall colour, so I stitched an asymmetrical block which implies an on-point border – I have the other three sets of pieces ready to stitch together. I discovered to my dismay that I had very little off-white fabric left so I went shopping to find something that would blend with the fabric I had already used. I came home with a couple of possibilities and chose one. If you didn’t know to look for the difference you wouldn’t notice it.

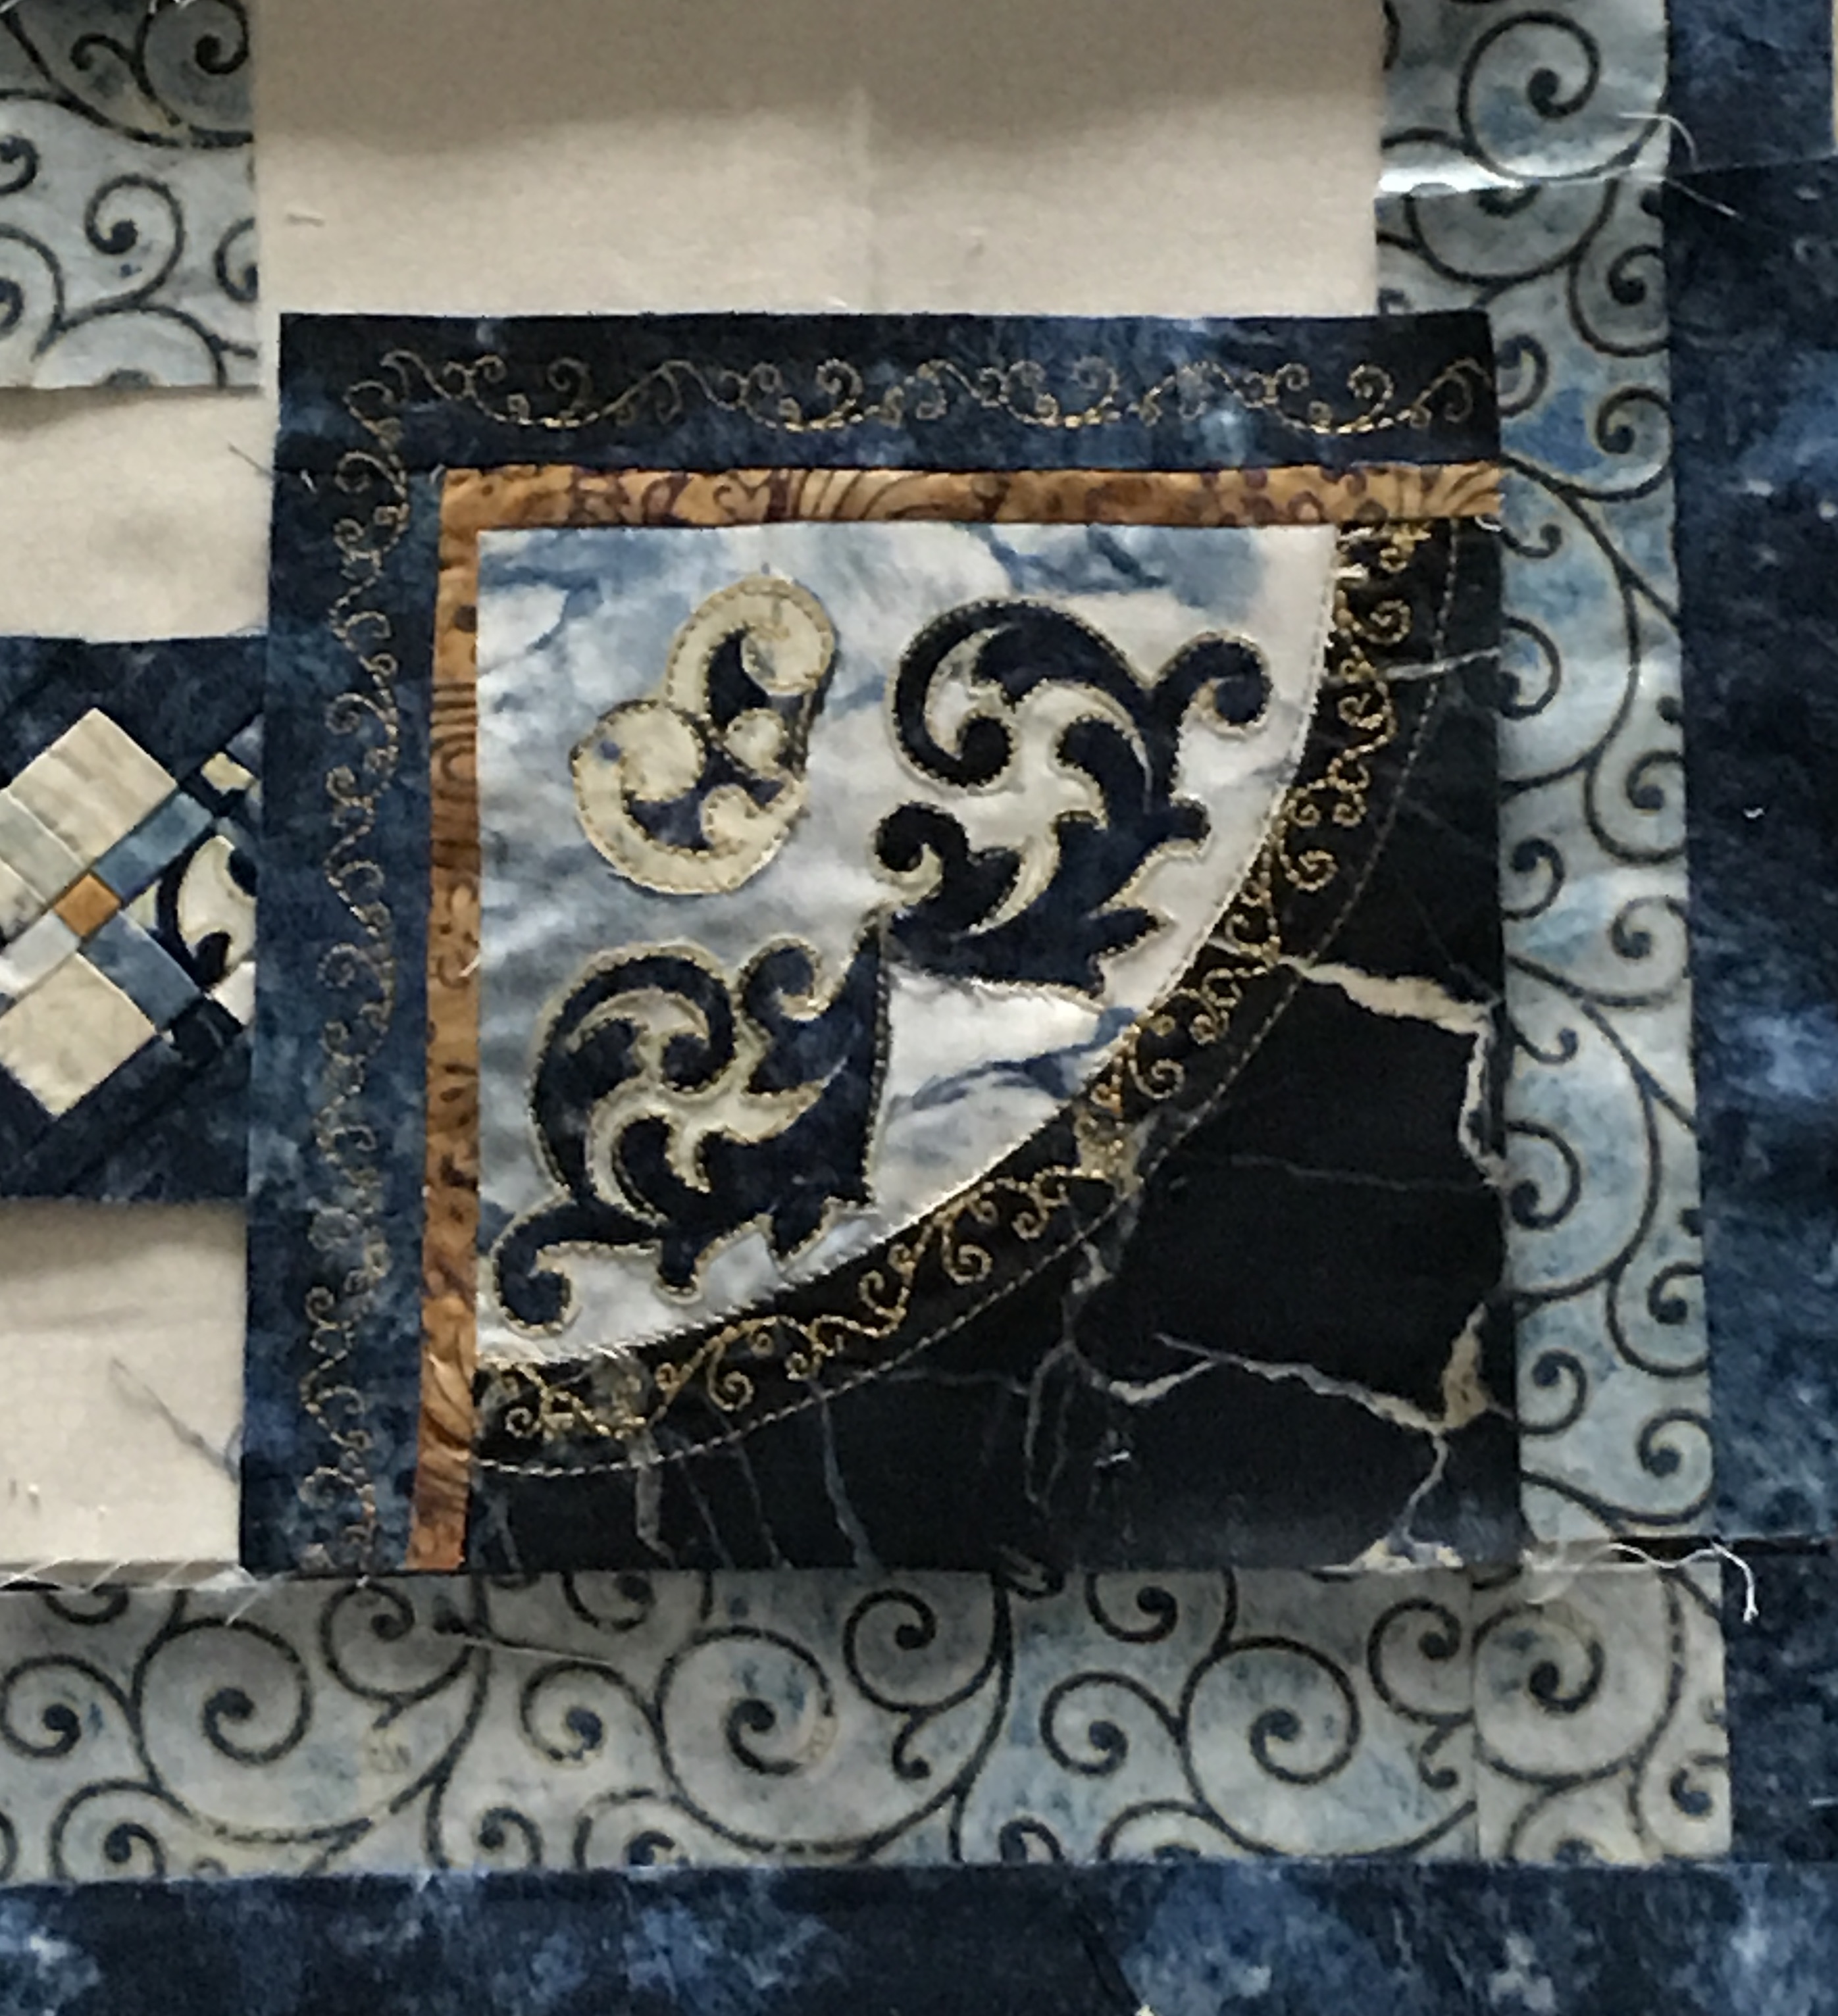
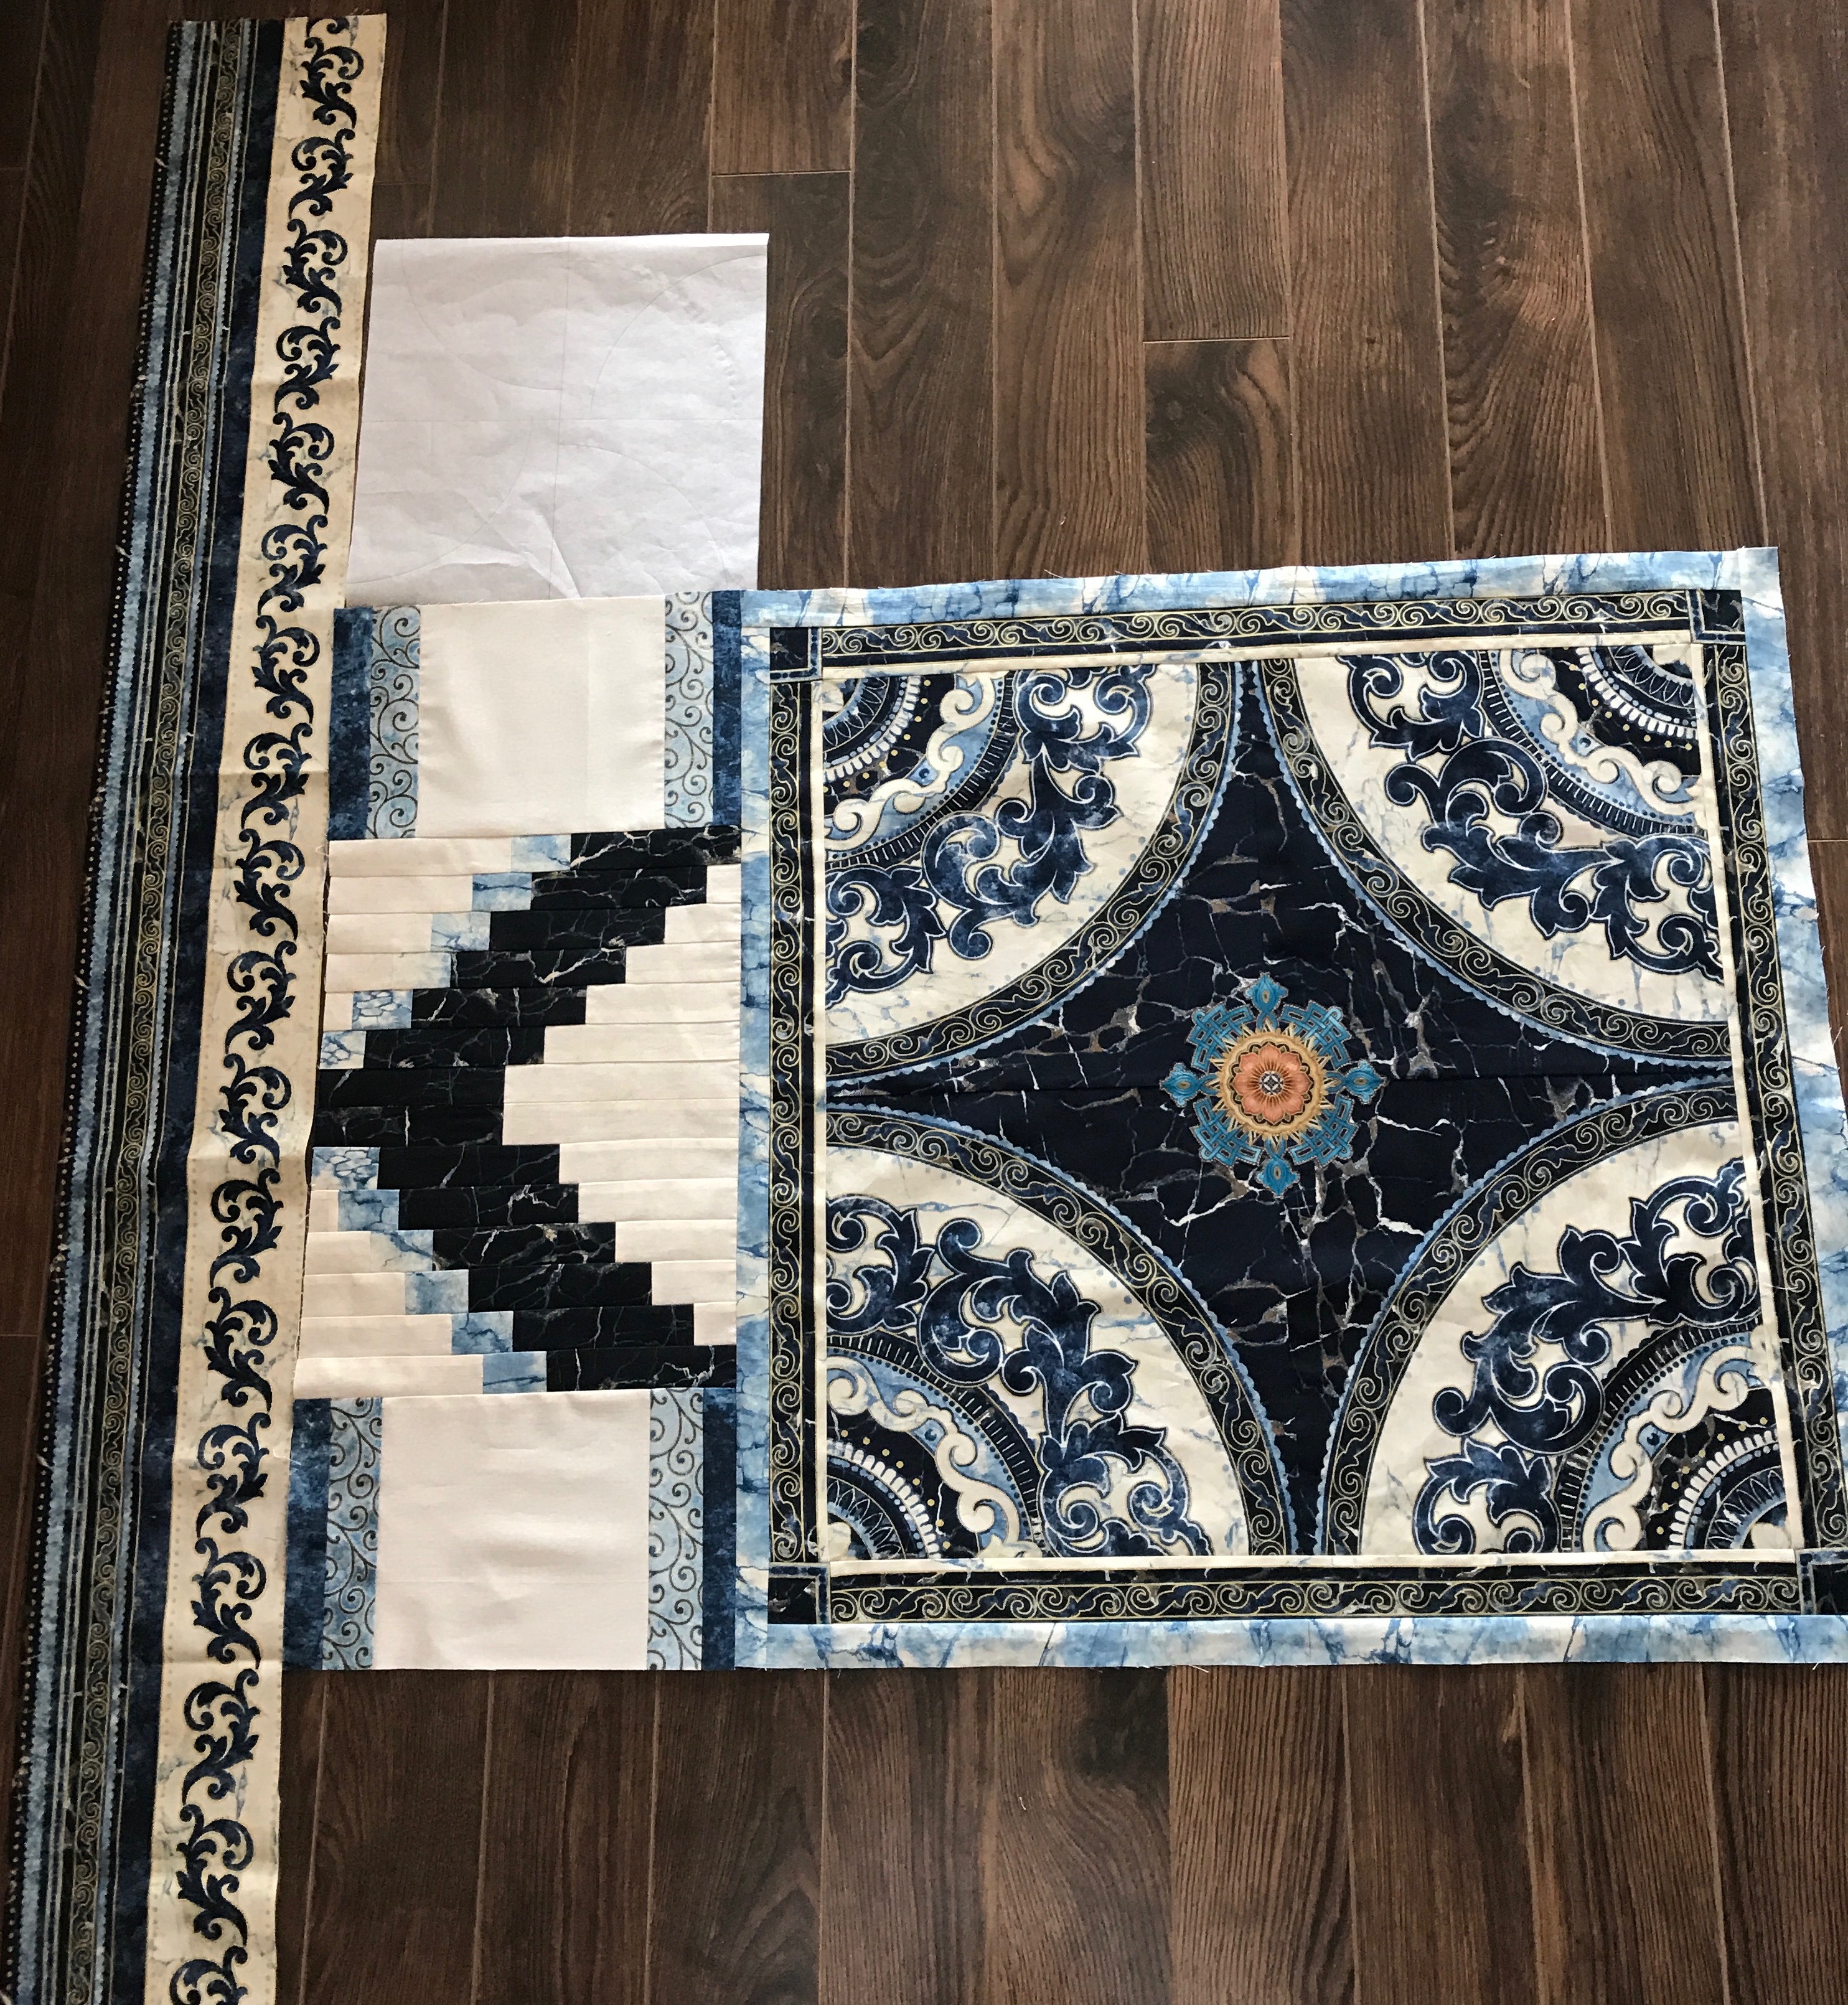
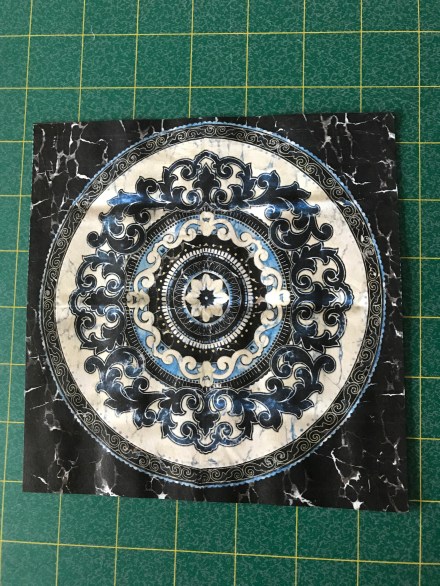
Next, I thought quite a bit about how to extend that border strip to fill the square. In the end I decided rather than piecing the ends with a block made from little pieces, I would just use a single light square extended with borders on each side. That leaves the corner piece (I’m placeholding the top left corner with an 11″ x 11″ piece of paper (the size of the finished block). What I’m planning at the moment is to piece four drunkard’s path blocks using five different fabrics and set them out in a whorl (with the same fabric in the rotated corner):

Whorl

That will bring back the circular motif of the central square. I thought about a block with pointed elements but echoing the spliced circle at the center is stronger. The last border will use a 6″ strip of printed border fabric that was part of the original Medici fabric set and I have enough to mitre the corners! Finished size will be close to 60″ x 60″.

I’m using the prints in the fabrics to create the detail rather than doing a lot of piecing. The challenge will be in the quilting – how to stitch the whole in a way that brings out the “layers” in the prints. That decision, however, is still a long way off.

Medallion Quilt III

I’ve walked around the table for the past six days trying to decide what to do with the center medallion. This morning I decided equal sides was most important so I finally cut the medallion panel and squared the pieced fabric. Next I cut sashing from the original edge fabric and added it – since the pieces weren’t quite long enough to mitre, I created corners which I added to finish framing the center. Final size: 25 1/4″ – it’s a bit of a problem because the length isn’t divisible by 2 so I am likely going to add another narrow light border (maybe in lighter blue) to bring the finished block size to 26″ or 28″ that way I can start planning the next border in increments of 2″.

Center Medallion

I like how the finished center looks but I remembered I had an asian print with many different medallions – I cut out one of the symmetrical medallions, backed it with Pellon 805 (WonderUnder), fussy cut it. For the moment it’s sitting at the center. I probably won’t fuse it and edge stitch it in place until I have more of the bordering done. I like how the gold/orange brings your eye to the center and the blue is close to the lighter blue in the rest of the piece. I was thinking I wanted a small bit of extra colour in this quilt top and that small bit of gold/orange might just be enough!

Center Medallion With Center Appliqué In Position

That’s it for today – I need to stop and think about this some more – audition fabrics for the next narrow sashing to bring the center up to a workable finished size: 26″ / 28″.

Medallion Quilt II – Update

Melanie McNeil commented: And of course you can shift them farther apart, too. This is exciting!

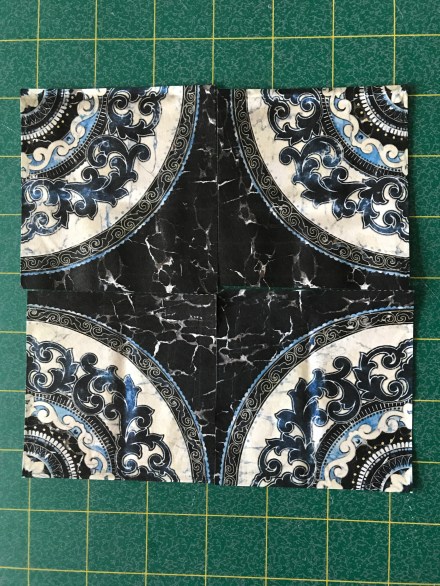
Here’s what that would look like (not necessarily using the lighter blue fabric – I have other choices):

Quadrants Separated

Doing that would overcome an interesting problem with the medallion itself – it’s not symmetrical – it’s 23 7/8″ in one direction, 23″ in the other. I can’t trim it much further to even it out – it’s printed slightly elongated in width. I might be able to fudge it better if I were to cut it out along the outer circle, and appliqué it onto a square piece of fabric. But were I to cut it, bringing the dark to the center and adding sashing to separate the blocks, I can trim the resulting block precisely and the bit’s of the medallion I lose in that trimming wouldn’t be noticeable…

Medallion Trimmed

This whole process is so interesting! That’s it for today. I have other things to do. This quilt is going to take a lot of “pondering”. People ask me how long it takes to make one – how can I possibly calculate the creative thinking time?

Medallion Quilt

“Medallion quilts have a central area that dominates the overall design. Other design elements are added around the center, increasing the quilt’s size as new ‘rows’ are added around the center.”

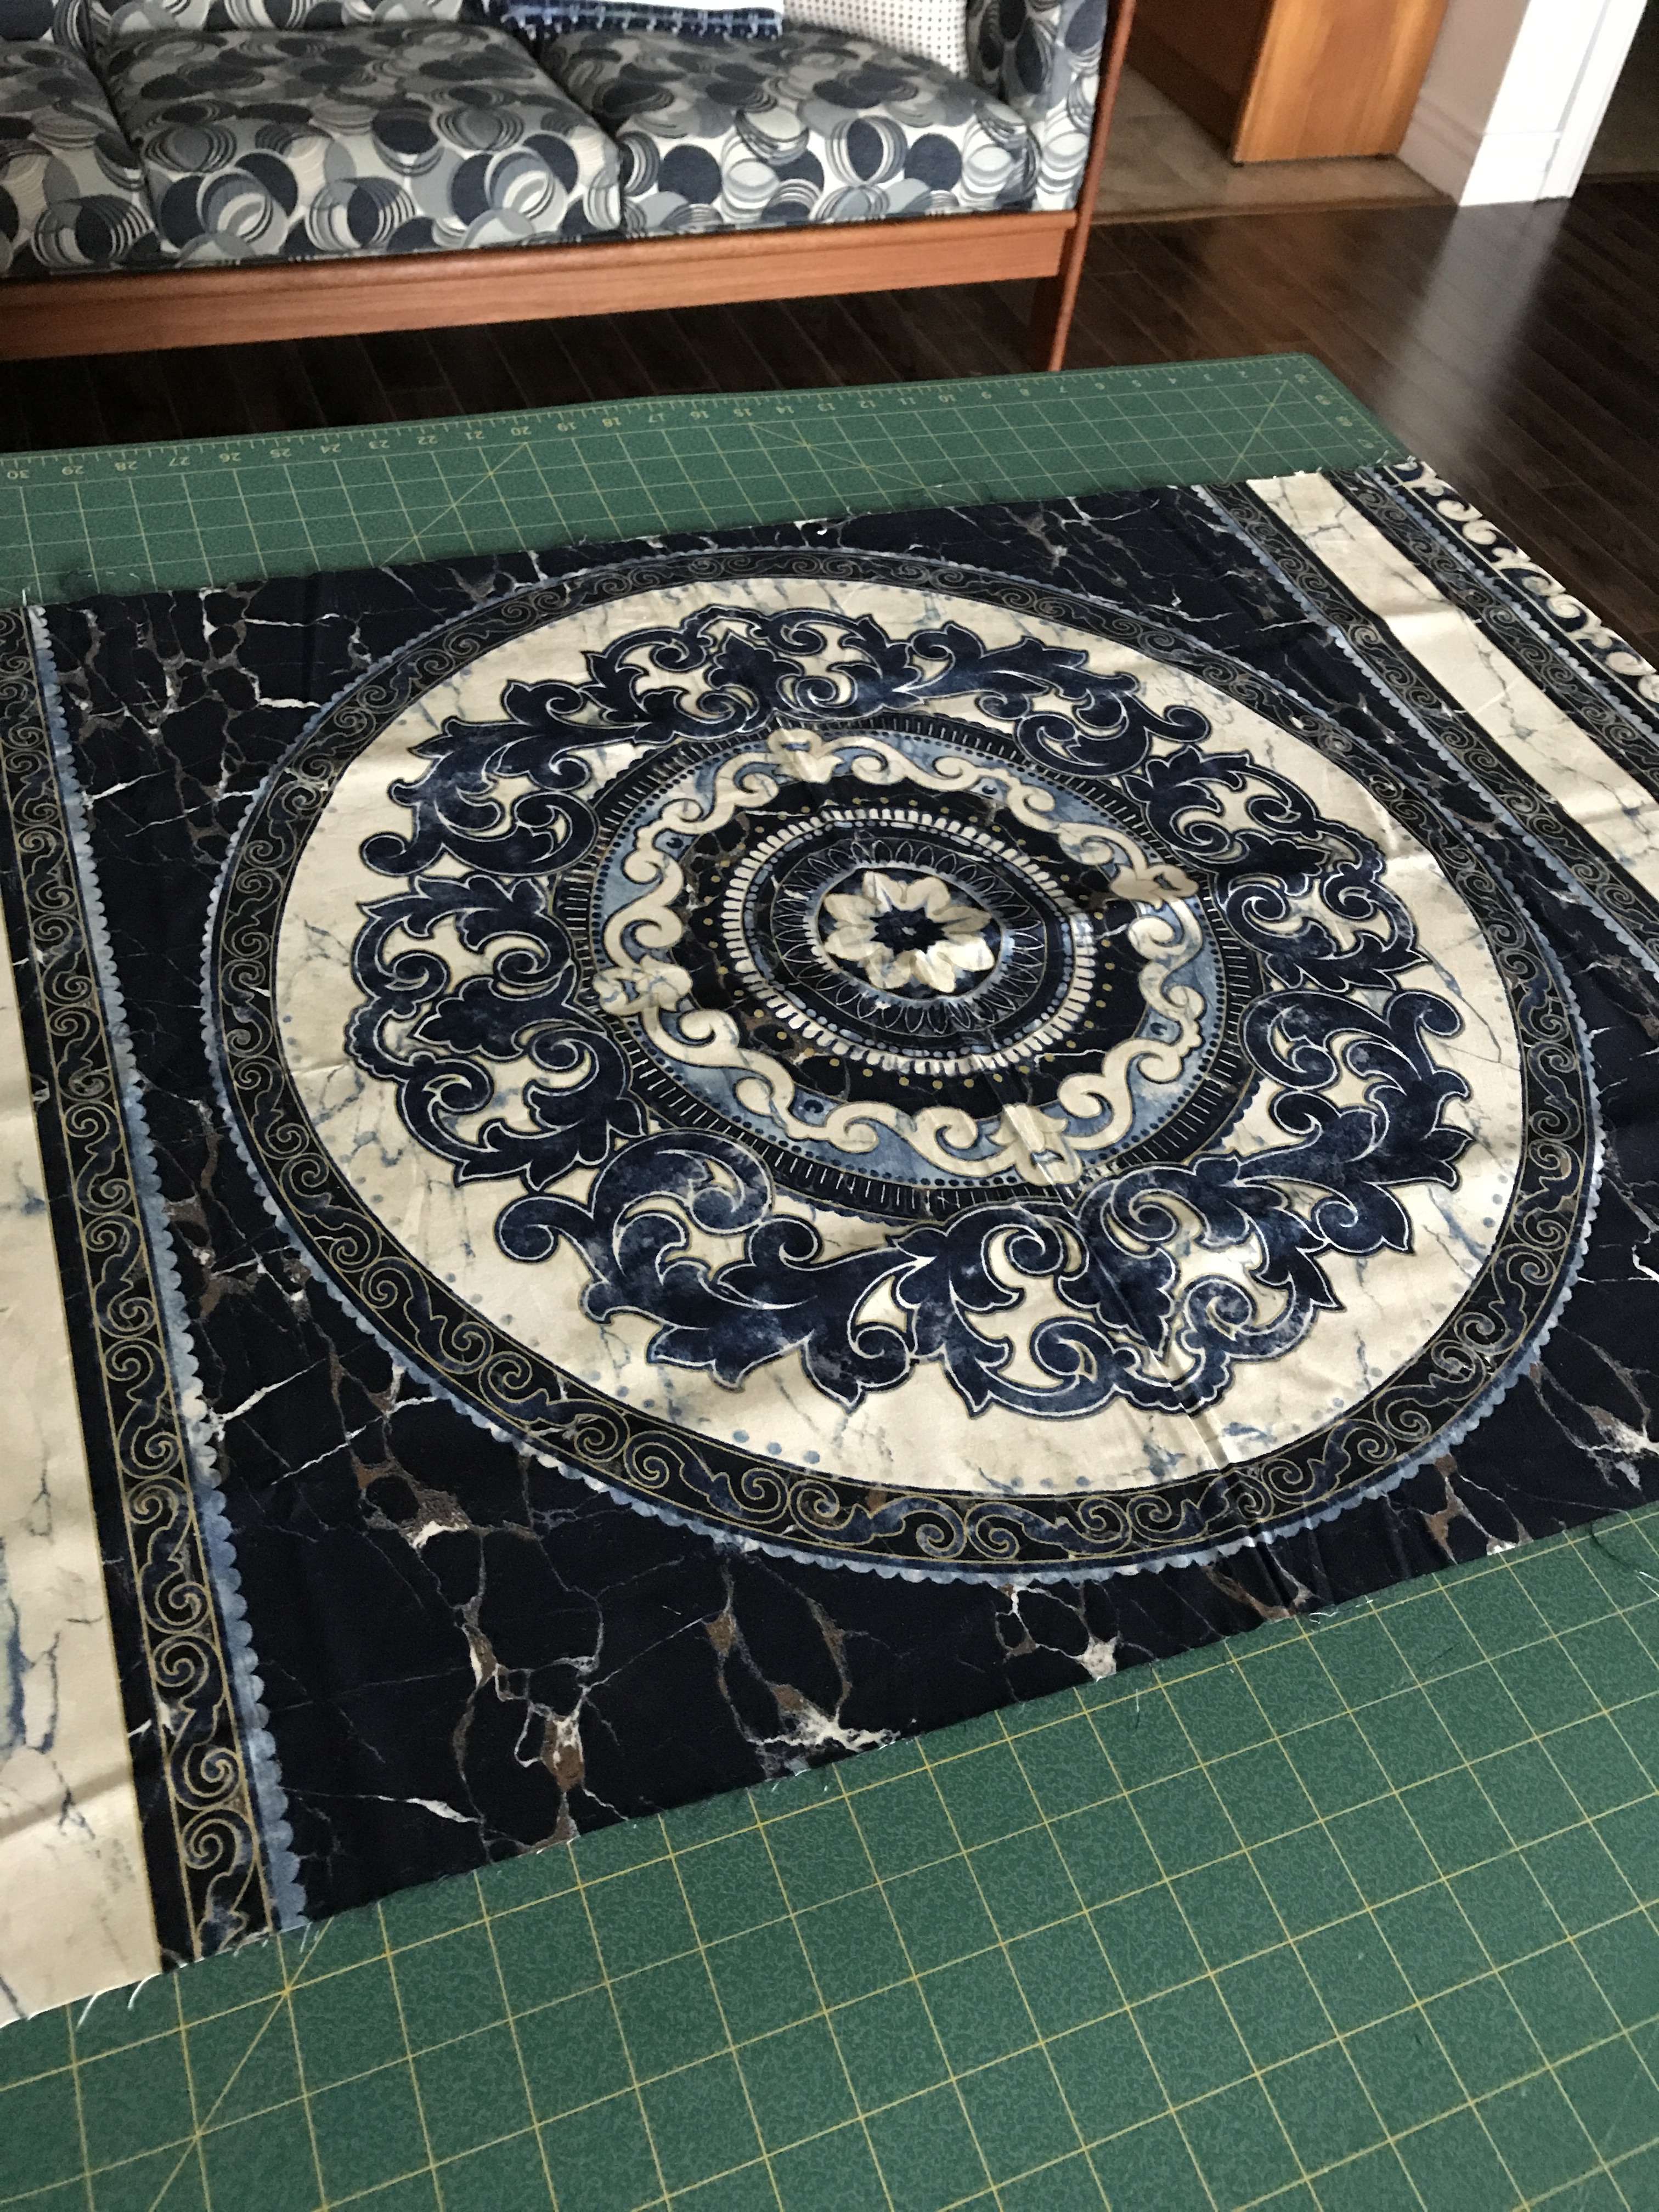
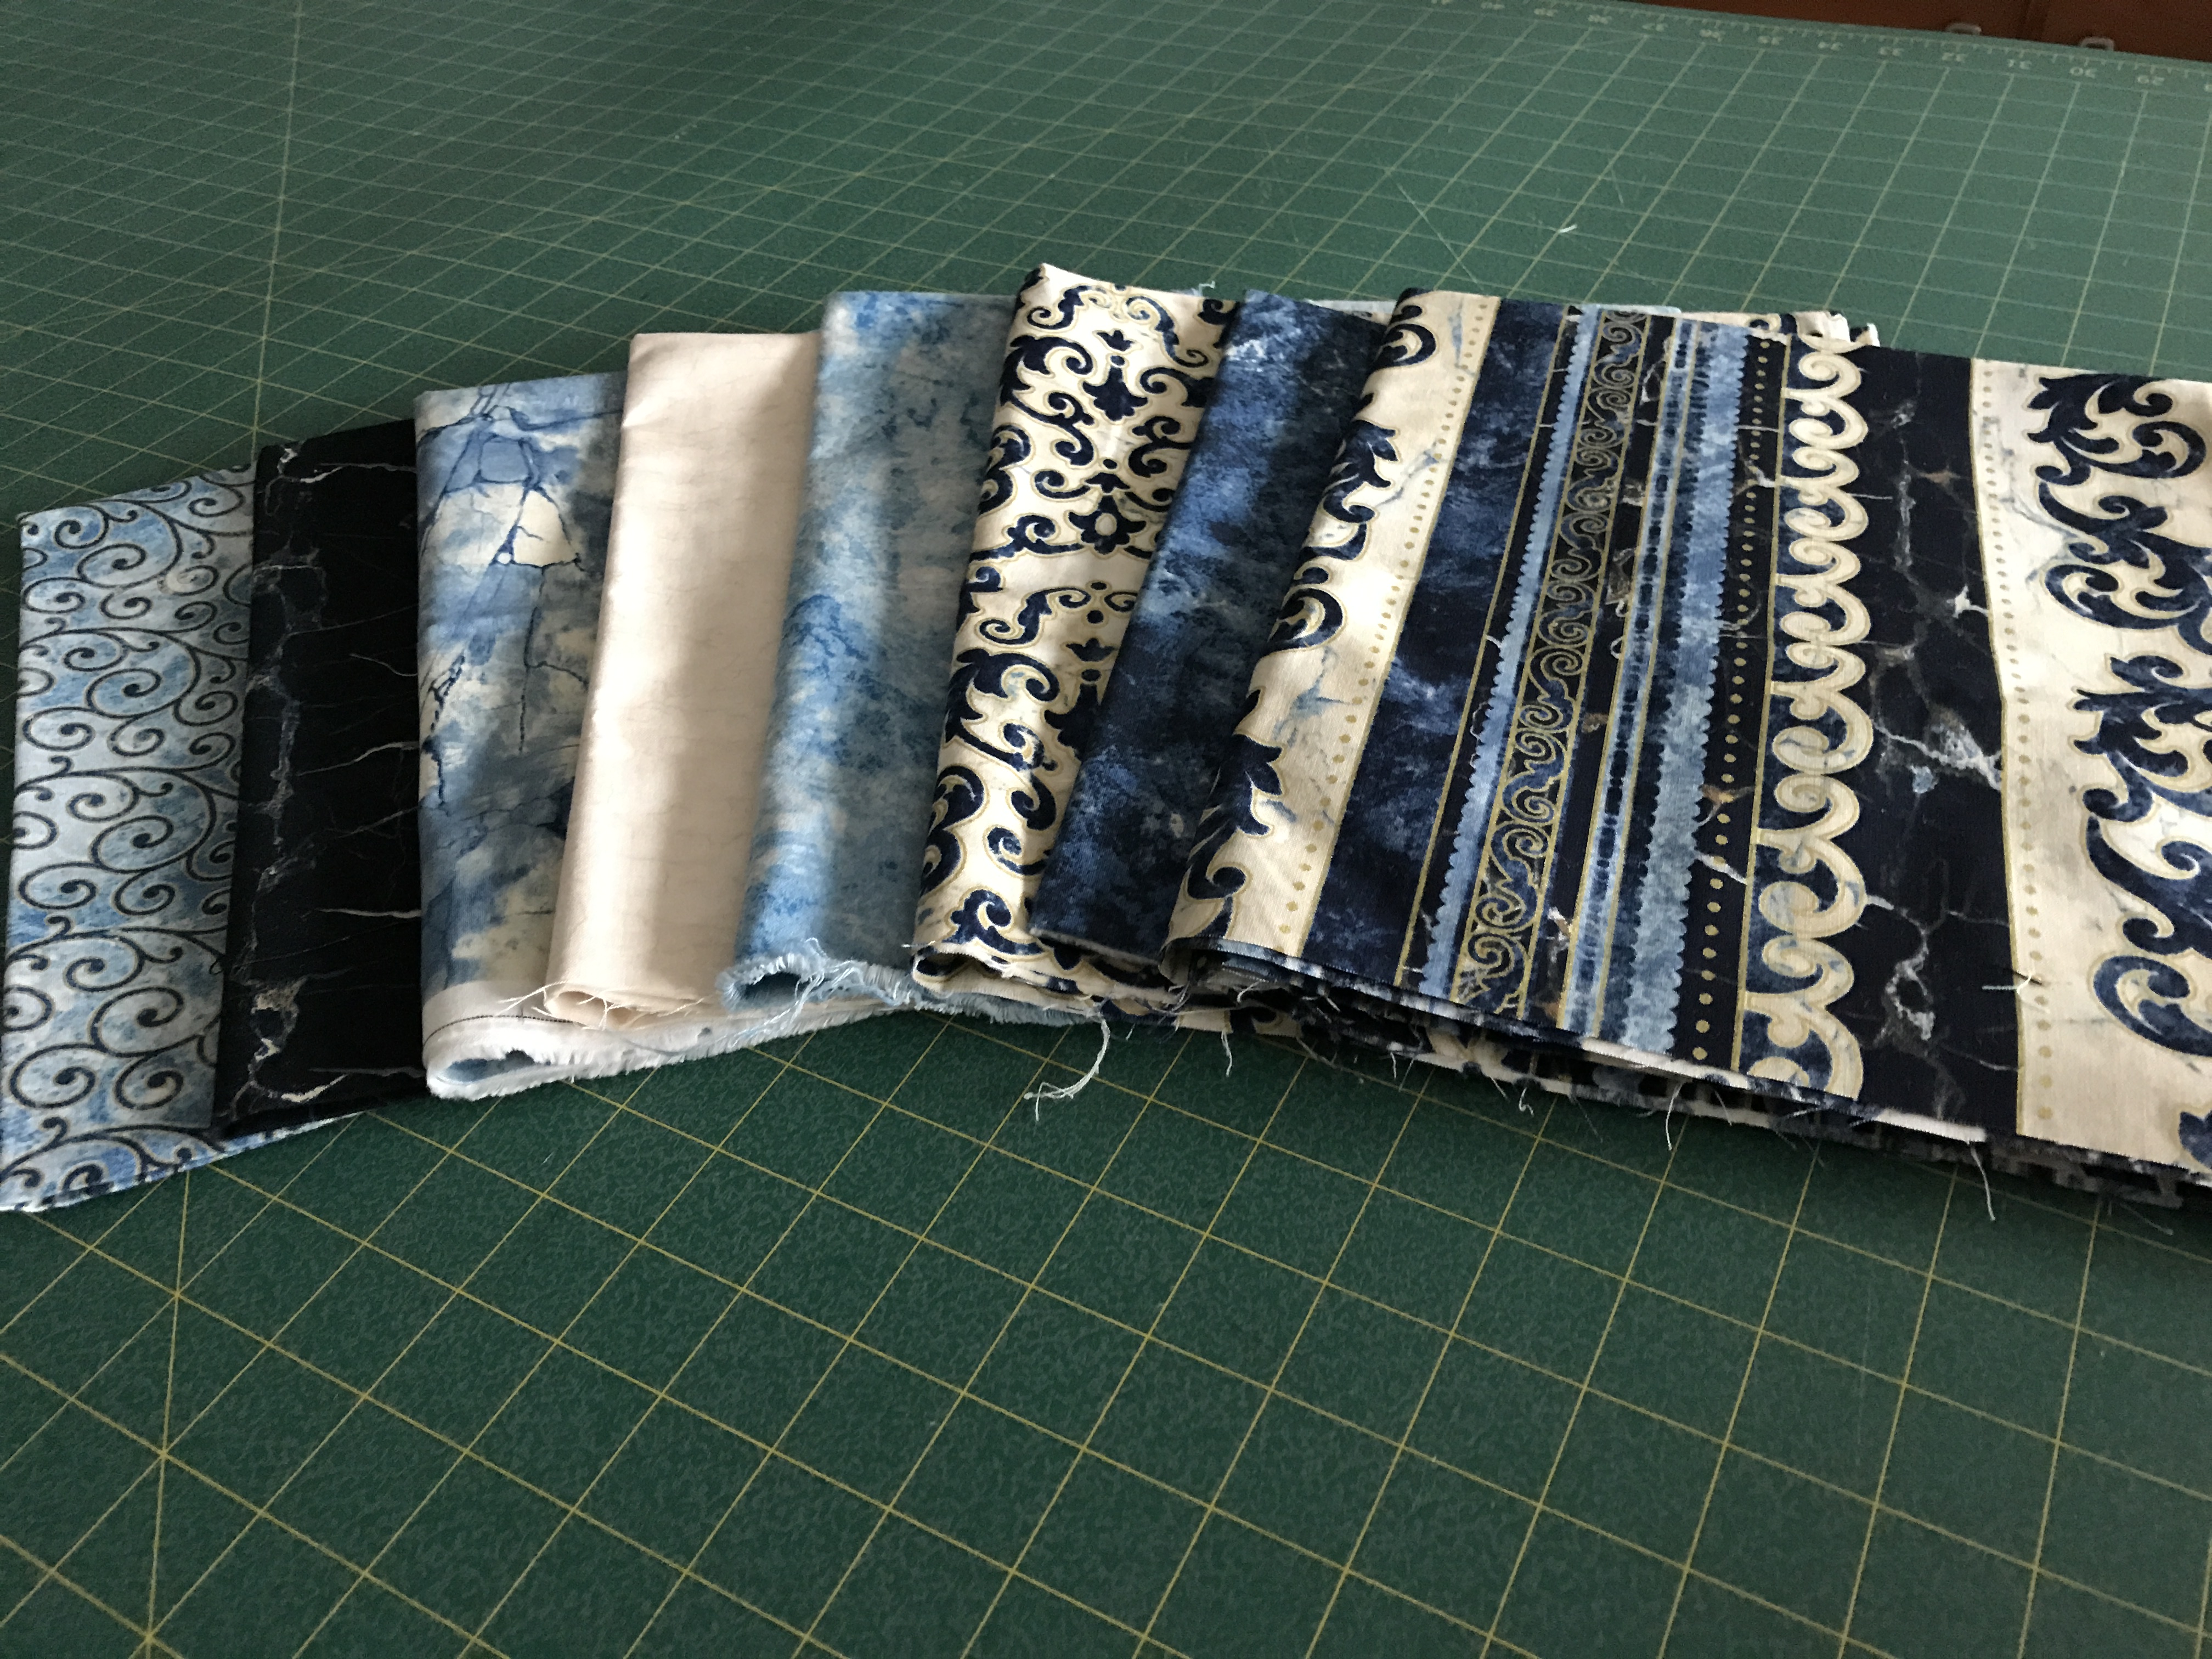
The center in a medallion quilt is usually pieced, occasionally it begins with a single largish printed element. In this case I have a 24″ printed medallion – a Northcott Stonehenge Medici fabric panel which I bought a couple of years ago along with 1/2m of each of the accompanying fabrics. I thought it might make a nice medallion quilt with the fabric doing most of the work. Well, it will, but the question is do I want to use this medallion at all, or should I do a pieced quilt using the fabrics from the Stonehenge Medici collection building a central motif from scratch?

Northcott Stonhenge Medici Panel

Northcott Stonehenge Medici Fabrics

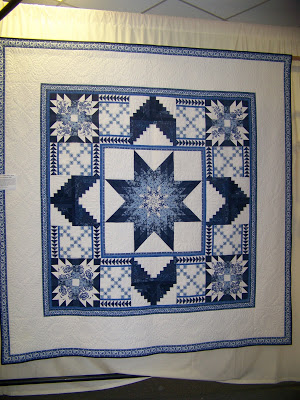
At the moment the fabrics are sitting on the cutting table as I think about how to proceed. For example, I could do something like the medallion quilt below by Borderline Quilter:

Medallion Quilt by Borderline Quilter

The problem is I’m sure my boredom threshold would quickly be reached attempting all the beautiful but finicky piecing that Kay Bell has done. I can see me building squares within squares, flying geese, half-square triangles, etc. but not tiny ones. What I particularly like about the quilt above are the blocks which create the illusion of the on-point border as background. My fabrics already have an element for a wide outer border (which I used in a previous quilt):

Garden Trellis with Wide Print Border

and will use again here. For now, I will probably go to Melanie McNeil’s Medallion Quilt Lessons to help me think about what I might do with my fabrics.

Stretch Cotton t-Shirt

This is actually the second t-Shirt – the first was a disaster (too big and too long – the culprit was the light weight black and white knit I bought in San Francisco – too loosely knit, I think). It went into the trash pile.

I bought the fabric for this shirt at my nearby Pfaff dealer who stocked some very nice stretch cotton knit this summer. This red stripe was the only one of those fabrics that suited my colouring, too bad. 0.8m (60″ wide) was enough for a t-shirt for me. The fabric sewed easily – didn’t have to fight it.

Red Stripe t-Shirt

Given my floppy upper arms, I like a sleeve that comes almost to my elbow so I lengthened the short sleeves. The pattern also uses a facing for the neck edge – nobody finishes a t-Shirt neck with a facing – I serged a doubled (24″ x 1 1/4″) strip to the neck edge (1 1/2″ shorter than the length of the neck so I could ease the neck edge into the seam). I also cut 1 1/4″ from the bottom edge – I’m short, and didn’t need the shirt to come below mid-stomach.

I cut out the shirt a couple of days ago. I was able to sew it up in under 2 hours this morning. I pressed the neck band toward the body and top stitched it 1.5mm from the seam to keep it flat. Cover-stitched the sleeve and bottom hems.

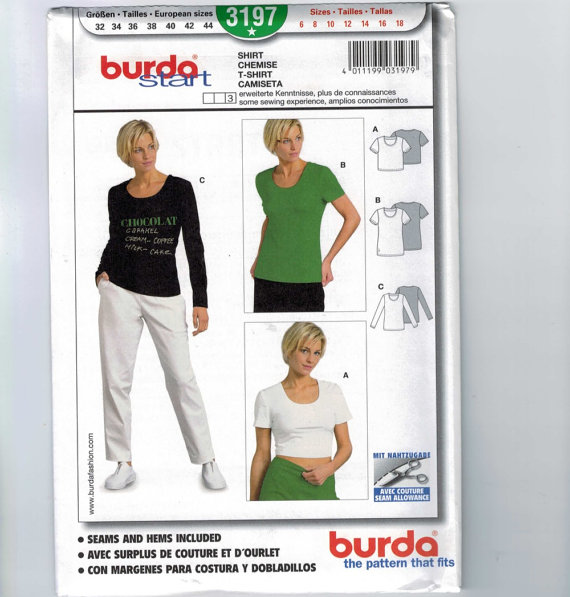
The Pattern is a Burda pattern I’ve had for ages (I tried finding some hint online about when the pattern was first released but came up empty although many people have made it – lots of photos of finished shirts). The size 14 fits me reasonably well. It’s easy to make with the 1/4″ seam allowances included in the pattern – makes fitting sleeve curves straightforward because you don’t have to fight the excess fabric in a 5/8″ allowance.

Burda 3197 Pattern (Vintage)

Now I need to go through my fabric stash and see if I can find another suitable knit to make at least one more of these shirts (then I’ll be able to cull some of the older ones in my closet).

Socks Using Lang JaWoll Aktion Yarn

Orange ‘n Grey Socks

A very nice sock yarn – good weight to knit using 2.5mm dp needles. When I got to the heel I decided to strengthen the colour using the orange, rather than tone down the socks with the grey I used for the cuff and toe. It worked – it makes the colours more vibrant. This pair of socks has a name on them. They’re for one of the gals in my building.

Preparing for Parrsboro 2017

Quilts and Wall Art for Parrsboro

I’ve been spending today getting ready for the showing of eight new quilts and eight new wall hangings in the Parrsboro Art Labs during the first two weeks of September. First I had to write some kind of biographical blurb for the blast email they send out, then I had to write descriptions of each piece with photos of the front and back of each quilt. Yesterday I was at the lumber yard picking up nine 6′ lengths of 3/8″ dowels to hang the quilts (I still have to baste a temporary hanging sleeve on each), I bought some bulldog clips to hold the dowels at the Dollarstore. I still need a package of push pins to mount the clips to the walls. The showing isn’t until September 3 so I still have three weeks to get everything done in time.

I love seeing my art hanging in one spot. I don’t have room to display quilts in my apartment—they live folded over hangers in a closet. To have eight of them fully displayed at once is such a delight. I’m not expecting any of the quilts or wall art pieces will sell (the prices reflect the actual cost of the materials, as well as my labour and creativity, which sets the price well above what people locally expect to pay for a quilt; however, I consider my work to be art and so I’ve priced it accordingly). Nevertheless, these pieces of functional and decorative art will be seen by a reasonable number of people and that makes this extra work worth while.

I’ll post photos of the showing after it’s been hung in the gallery space. And if you’re interested, here’s last year’s show and the show the year before.

Foggy Morning – Completed

Done!

Just finished the hidden binding (with a sleeve for a rod to hang the art piece. I darkened the uprights on the fence a bit with permanent marker after I’d put on the dark piping – now the two are more balanced. The border fabric has the texture of old barnboard which brings out the colours in the scene in a way I’m happy with. That fabric was a lucky find yesterday – a fabric by Moda: grunge! And the distant fog obscures the trees and buildings in the distance but when you look more closely you can just make them out (as you would with fog).

Foggy Morning – Completed

That’s it for now. That gives me eight wall art pieces to take to Parrsboro beginning of September.