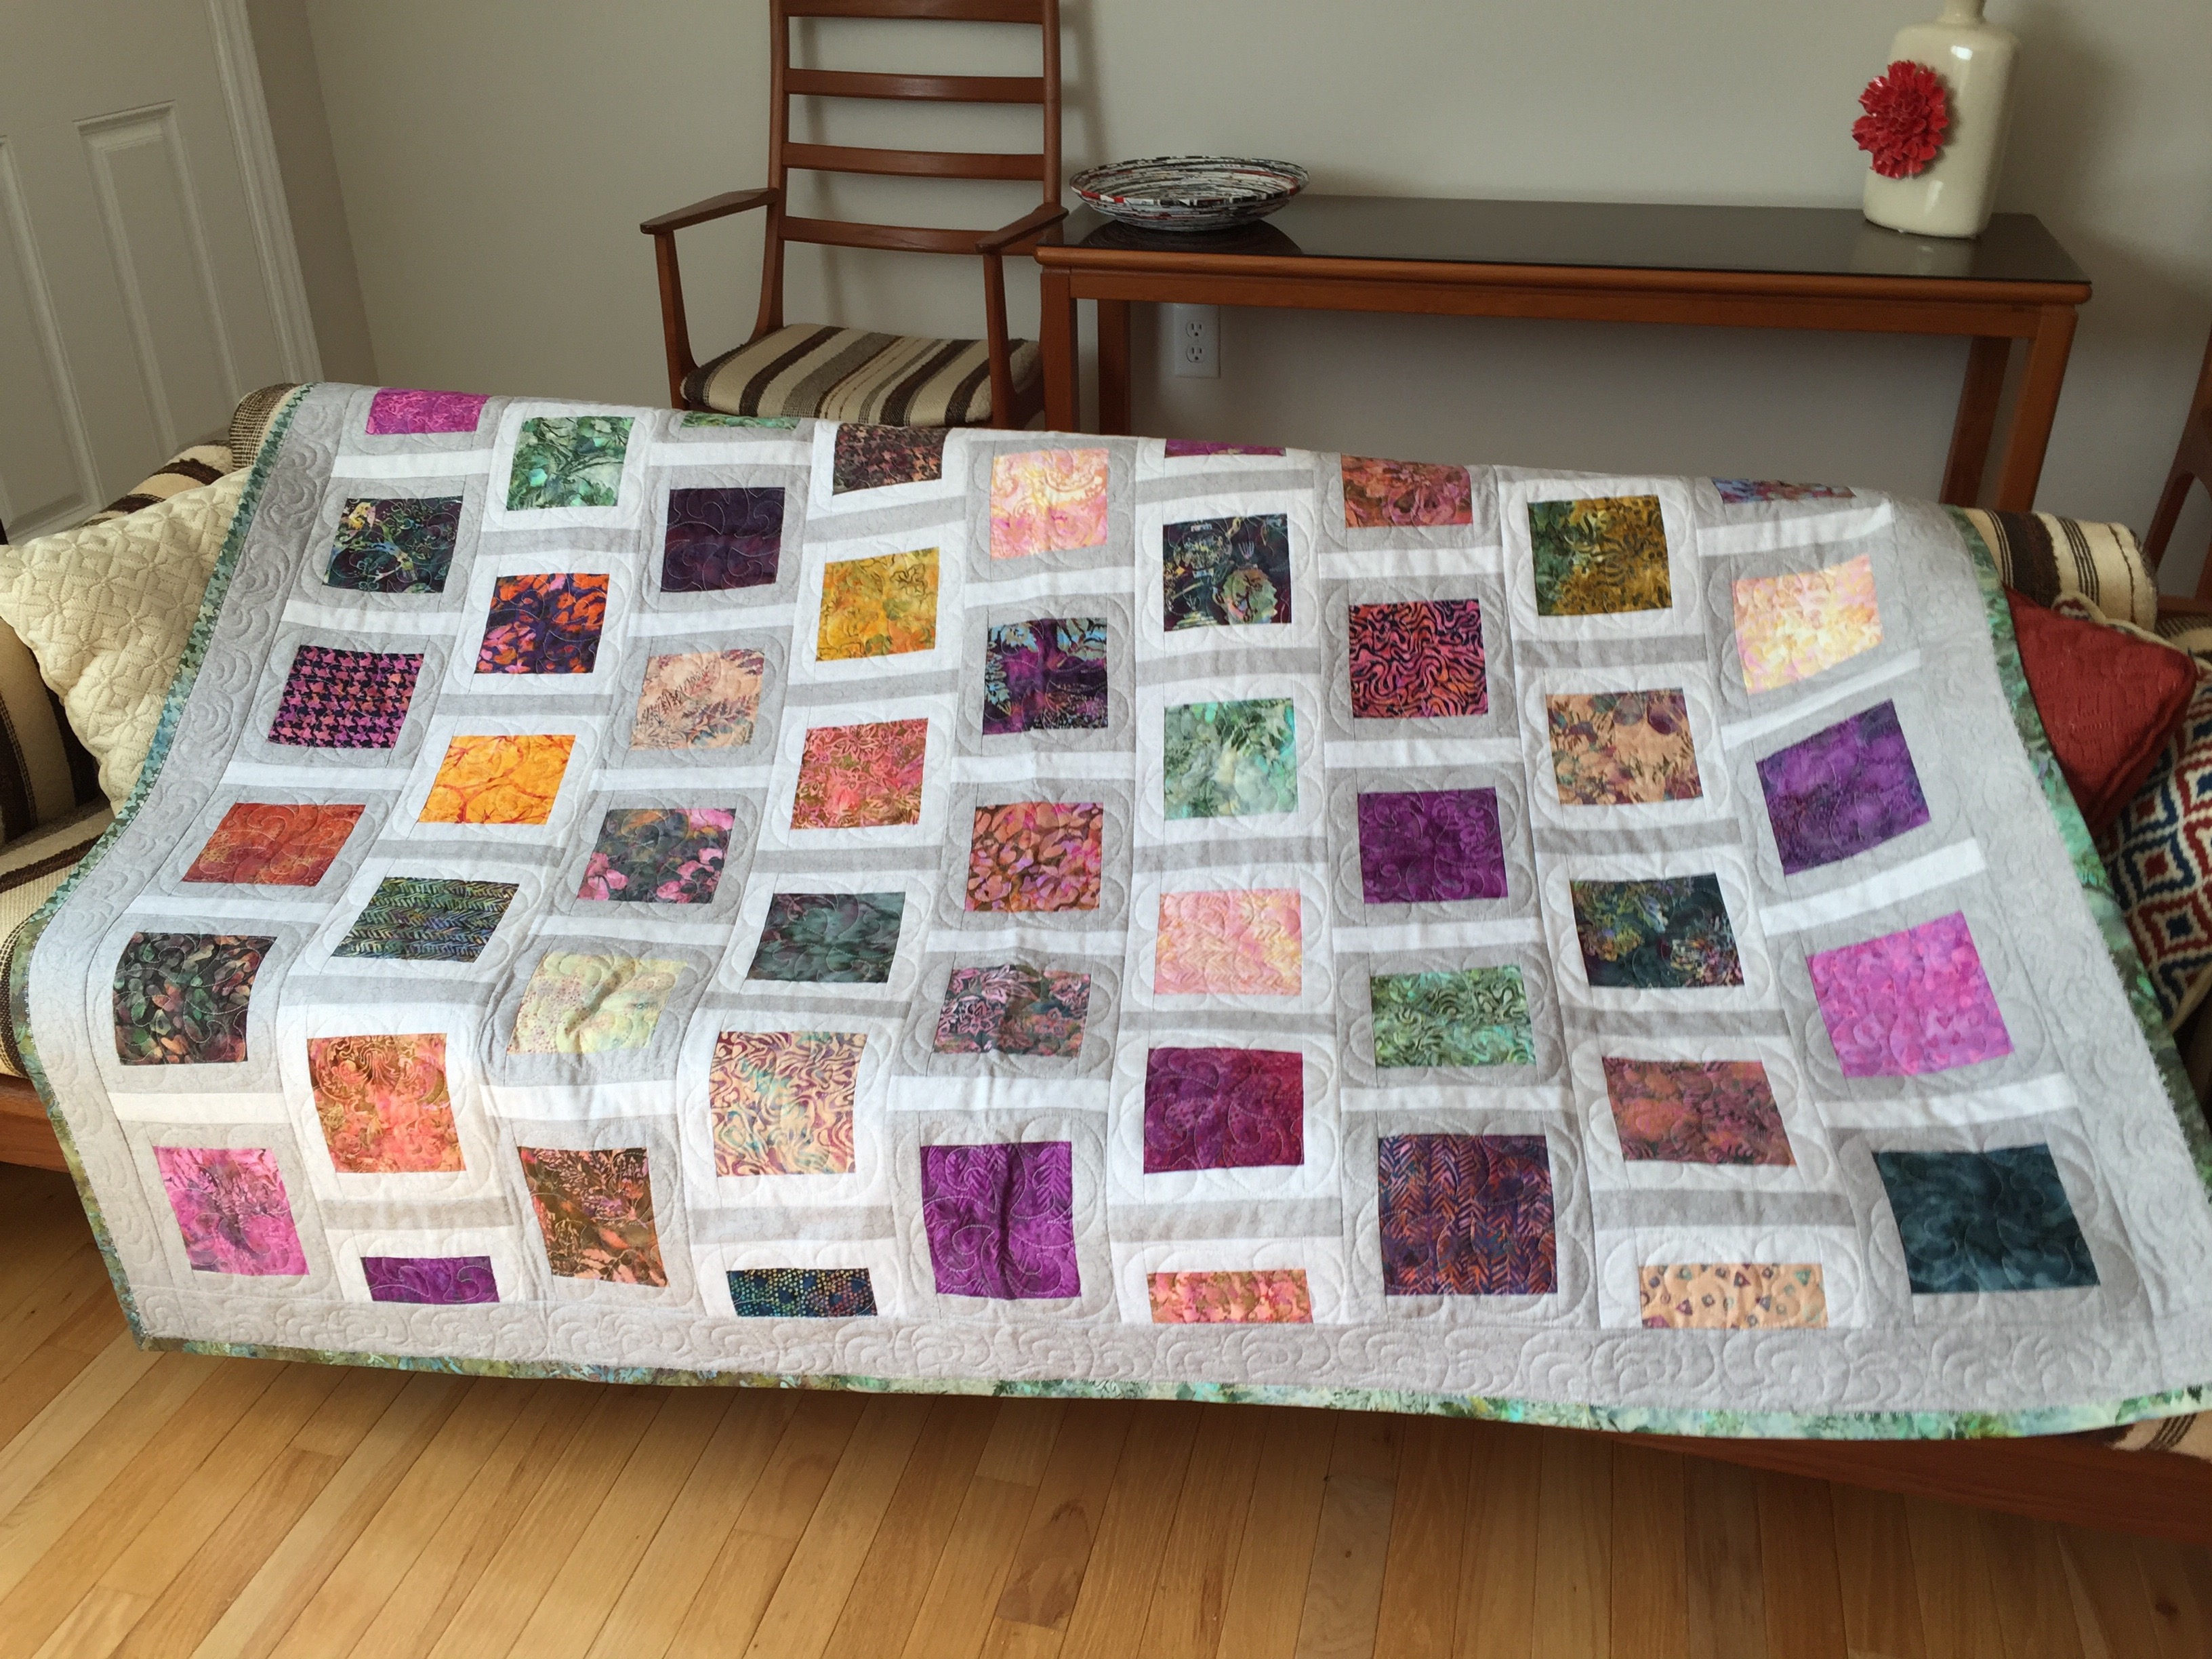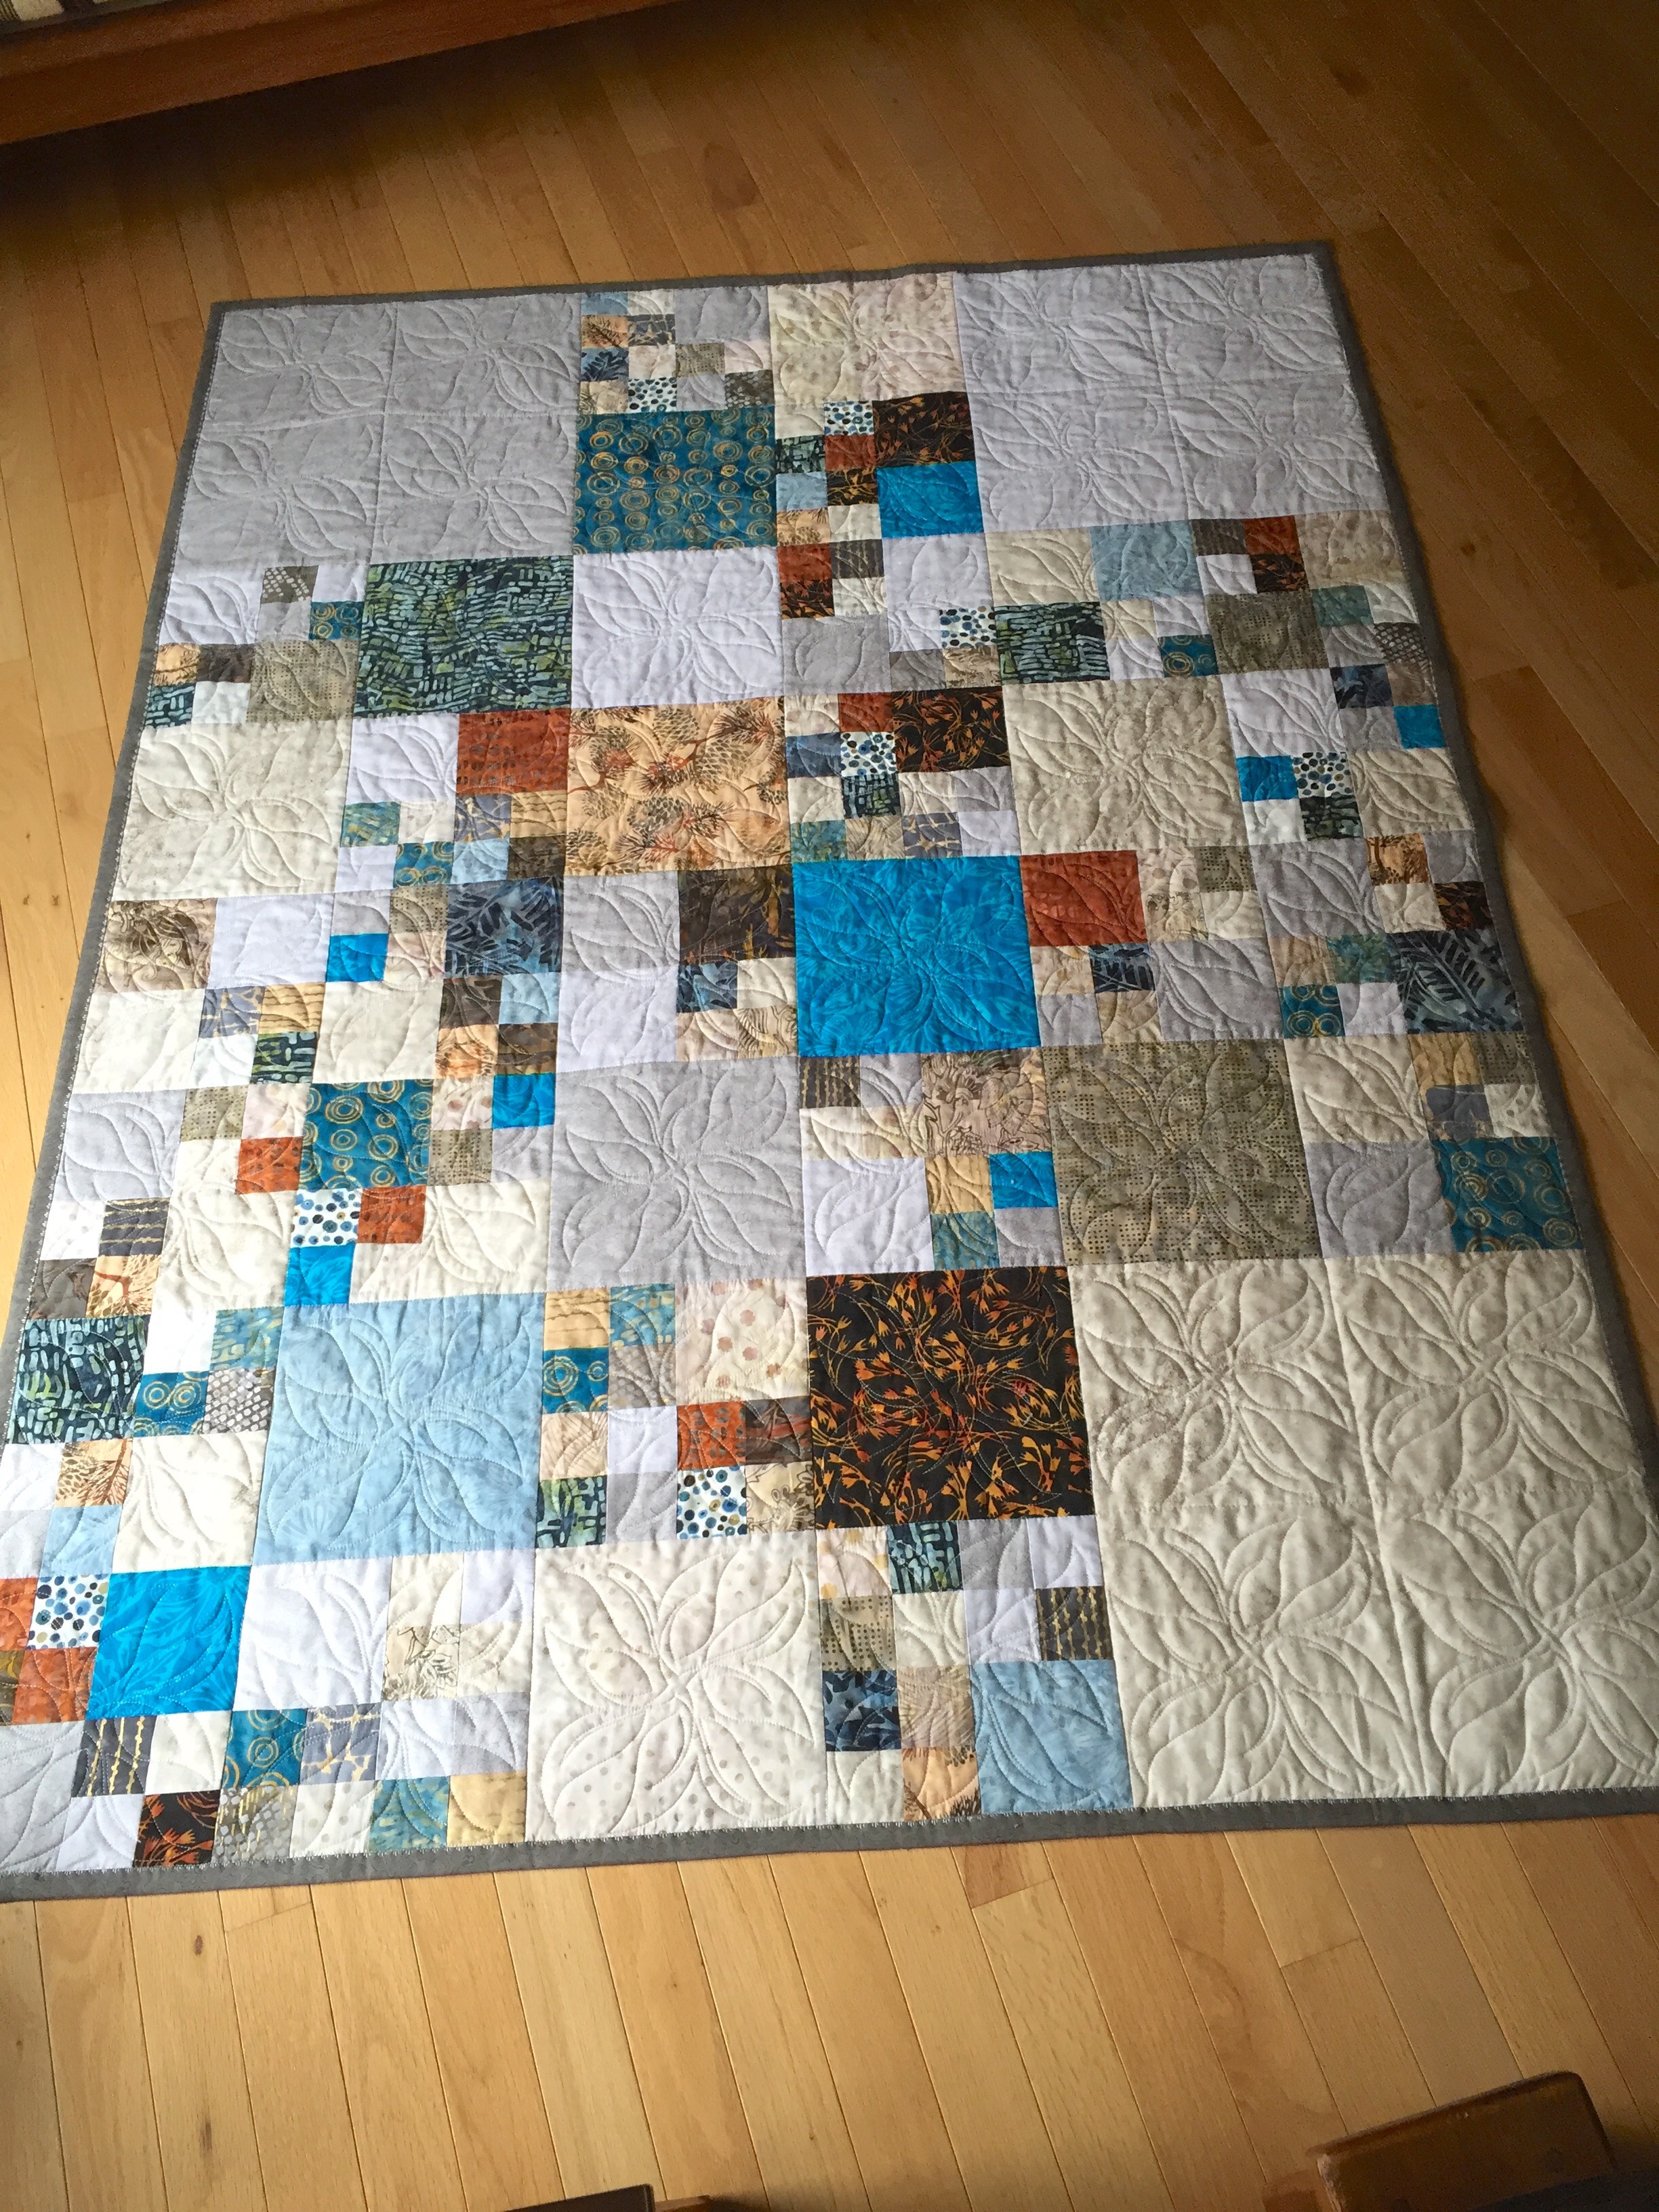
Improvisation #4


The inspiration for this quilt was simple – start with three predominant neutral colours, then mix in a bunch of coordinated batiks and improvise based on a few (3) large 16 1/2″ blocks, a dozen or so (in the end I had 13) 8 1/2″ blocks, two 4 1/2″ blocks from each fabric, and a large number of 2 1/2″ blocks.

I began by laying out the three large neutral blocks, next the 8 1/2″ coloured blocks, the 4 1/2″ blocks, then the small blocks which I’d created by sewing short strips of two batik fabrics then cutting pieces 2 1/2″ wide block pairs. I couldn’t sew long strips together because I wanted more colour combinations than that would have given me. So I mixed and matched shorter strips to get 4-5 pieces from each. The few small block pairs I had left over were incorporated into the back.

I quilted the whole using a 200 X 200 embroidery hoop with an open flowing embroidery design that just about filled the hoop. Before I did that, though, I gave some thought to simply stitching randomly spaced vertical and horizontal lines across the quilt surface. It may look simple, but stitching those lines is a manual task, quite time consuming, and hard on my neck and back. So in the end I opted to embroider the quilt blocks with an 8″ X 8″ design.

Final dimensions: 48″ X 64″. A good size for a lap quilt. I bound the quilt using the same fabric I used for the accent strips on the reverse side. As usual, this is a reversible quilt.

Finished Last Evening

Just the heel in a contrast colour this time. I wanted to use up as much of this yarn (Opal: Sweet ‘N Spicy) as possible to have the least left over (still probably enough for a pair of legs).

This is the only yarn I’ve used for three pairs of socks – that’s why this pair seemed to go so slowly – I knew what was coming.

That was the last full ball of yarn in my stash. Time to visit LK Yarns in the north end, my local yarn shop.

Winter Wonderland

It snowed here yesterday – quite a bit of light blowing snow. The drifts on my back deck were, let’s say, interesting. I was just able to open my backdoor enough to get out and shovel off the top step. Then captured a picture of the drifting snow.IMG_7290

And today my amaryllis is in FULL bloom – 8 flowers at the same time – never been this lucky before. The red just glows.

IMG_7292

Charms Quilt II

Just finished – the second charms quilt. The goal here was to use up more of the leftover charms from the first charms quilt. I had to add some strong batik 5″ blocks to those I was able to select from the charms packs because I didn’t have enough strong coloured ones otherwise. The strips came from my scrap boxes I didn’t need a lot of fabric (I chose all darker colours) – 1″ x 5″ strips  (70 in all). The blocks were easy to assemble, deciding on an arrangement took a couple of days, first auditioning all 140 on the floor then tweaking the placement over a few days.IMG_7297

The big decision was whether to border the quilt in the off white fabric or to use the darker grey – I obviously chose the darker grey. Glad I did although the quilt would also be interesting with the background fabric as border – in which case, looking at the quilt now, I can see if I had done that I could have stuck one or two triangles in the border along with a couple of strips! Didn’t think of that at the time. Something to keep in mind for my next quilt.

IMG_7299

The back uses some more charm pieces to make “flying geese” blocks. My pinterest feed had instructions for making the blocks – since I’d never tried them I thought this a good opportunity to have a go at some. In the photo you can’t really see the teal colour in the backing fabric but there is some. That was the reason I decided to border the strip with a strong turquoise. It does bring out blue in the backing.

My backing was wide enough that I was able to salvage almost enough fabric for 2 1/2″ binding strips (I had a bit of backing leftover which I also used and incorporated one orphan strip to complete the binding. It blends rather well with the whole).

That’s two completed quilts in four weeks. Now on to a quilted jacket/coat that I want to take to San Francisco in a couple of weeks.

Amaryllis

  
Finally my amaryllis is blooming. I potted the bulb as soon as I got it at Christmas, watered it sparingly – and finally it’s got flowers. It’s a double (the second stalk will be in flower in a few days). So I may actually have eight flowers at the same time – wouldn’t that be grand.

Charm Quilt I – Finished

Just done. Label and all. I’m pleased with how the quilt turned out. I like the contrast between the two muted background fabrics and the individual swatches – each is strong and colourful, yet they blend well.

I wasn’t sure about the bold batik I used for the back – whether it complemented the insertion or not, but now that the quilt is completed I’m happy with the result.

This quilt I think has found a home in my living room- it fits in better than the quilt I had there.

Downtown Halifax


The face of Halifax is changing – another new building under construction. Love the prow shape at this end of the building.

Couldn’t resist taking the photo as I was going into Neptune Theatre this afternoon to see 2 Pianos 4 Hands. The play was well done particularly the Bach duo at the end. Really enjoyed it.

Jeans Makeover

Too bad I didn’t remember to take a before picture – you’d have seen jeans that were very baggy in the bum with upper legs that were WAAAAY too wide!

So here’s how this goes: I go to a local thrift store and buy a pair of jeans that fit nicely in the waist and high hip. That’s my starting point. The jeans cost me $5! There’s no point in buying new expensive jeans retail because they fit no better than those from the thrift store.

Get the jeans home and wash them a couple of times to get rid of the smell (and to shrink them if they haven’t been worn a lot).

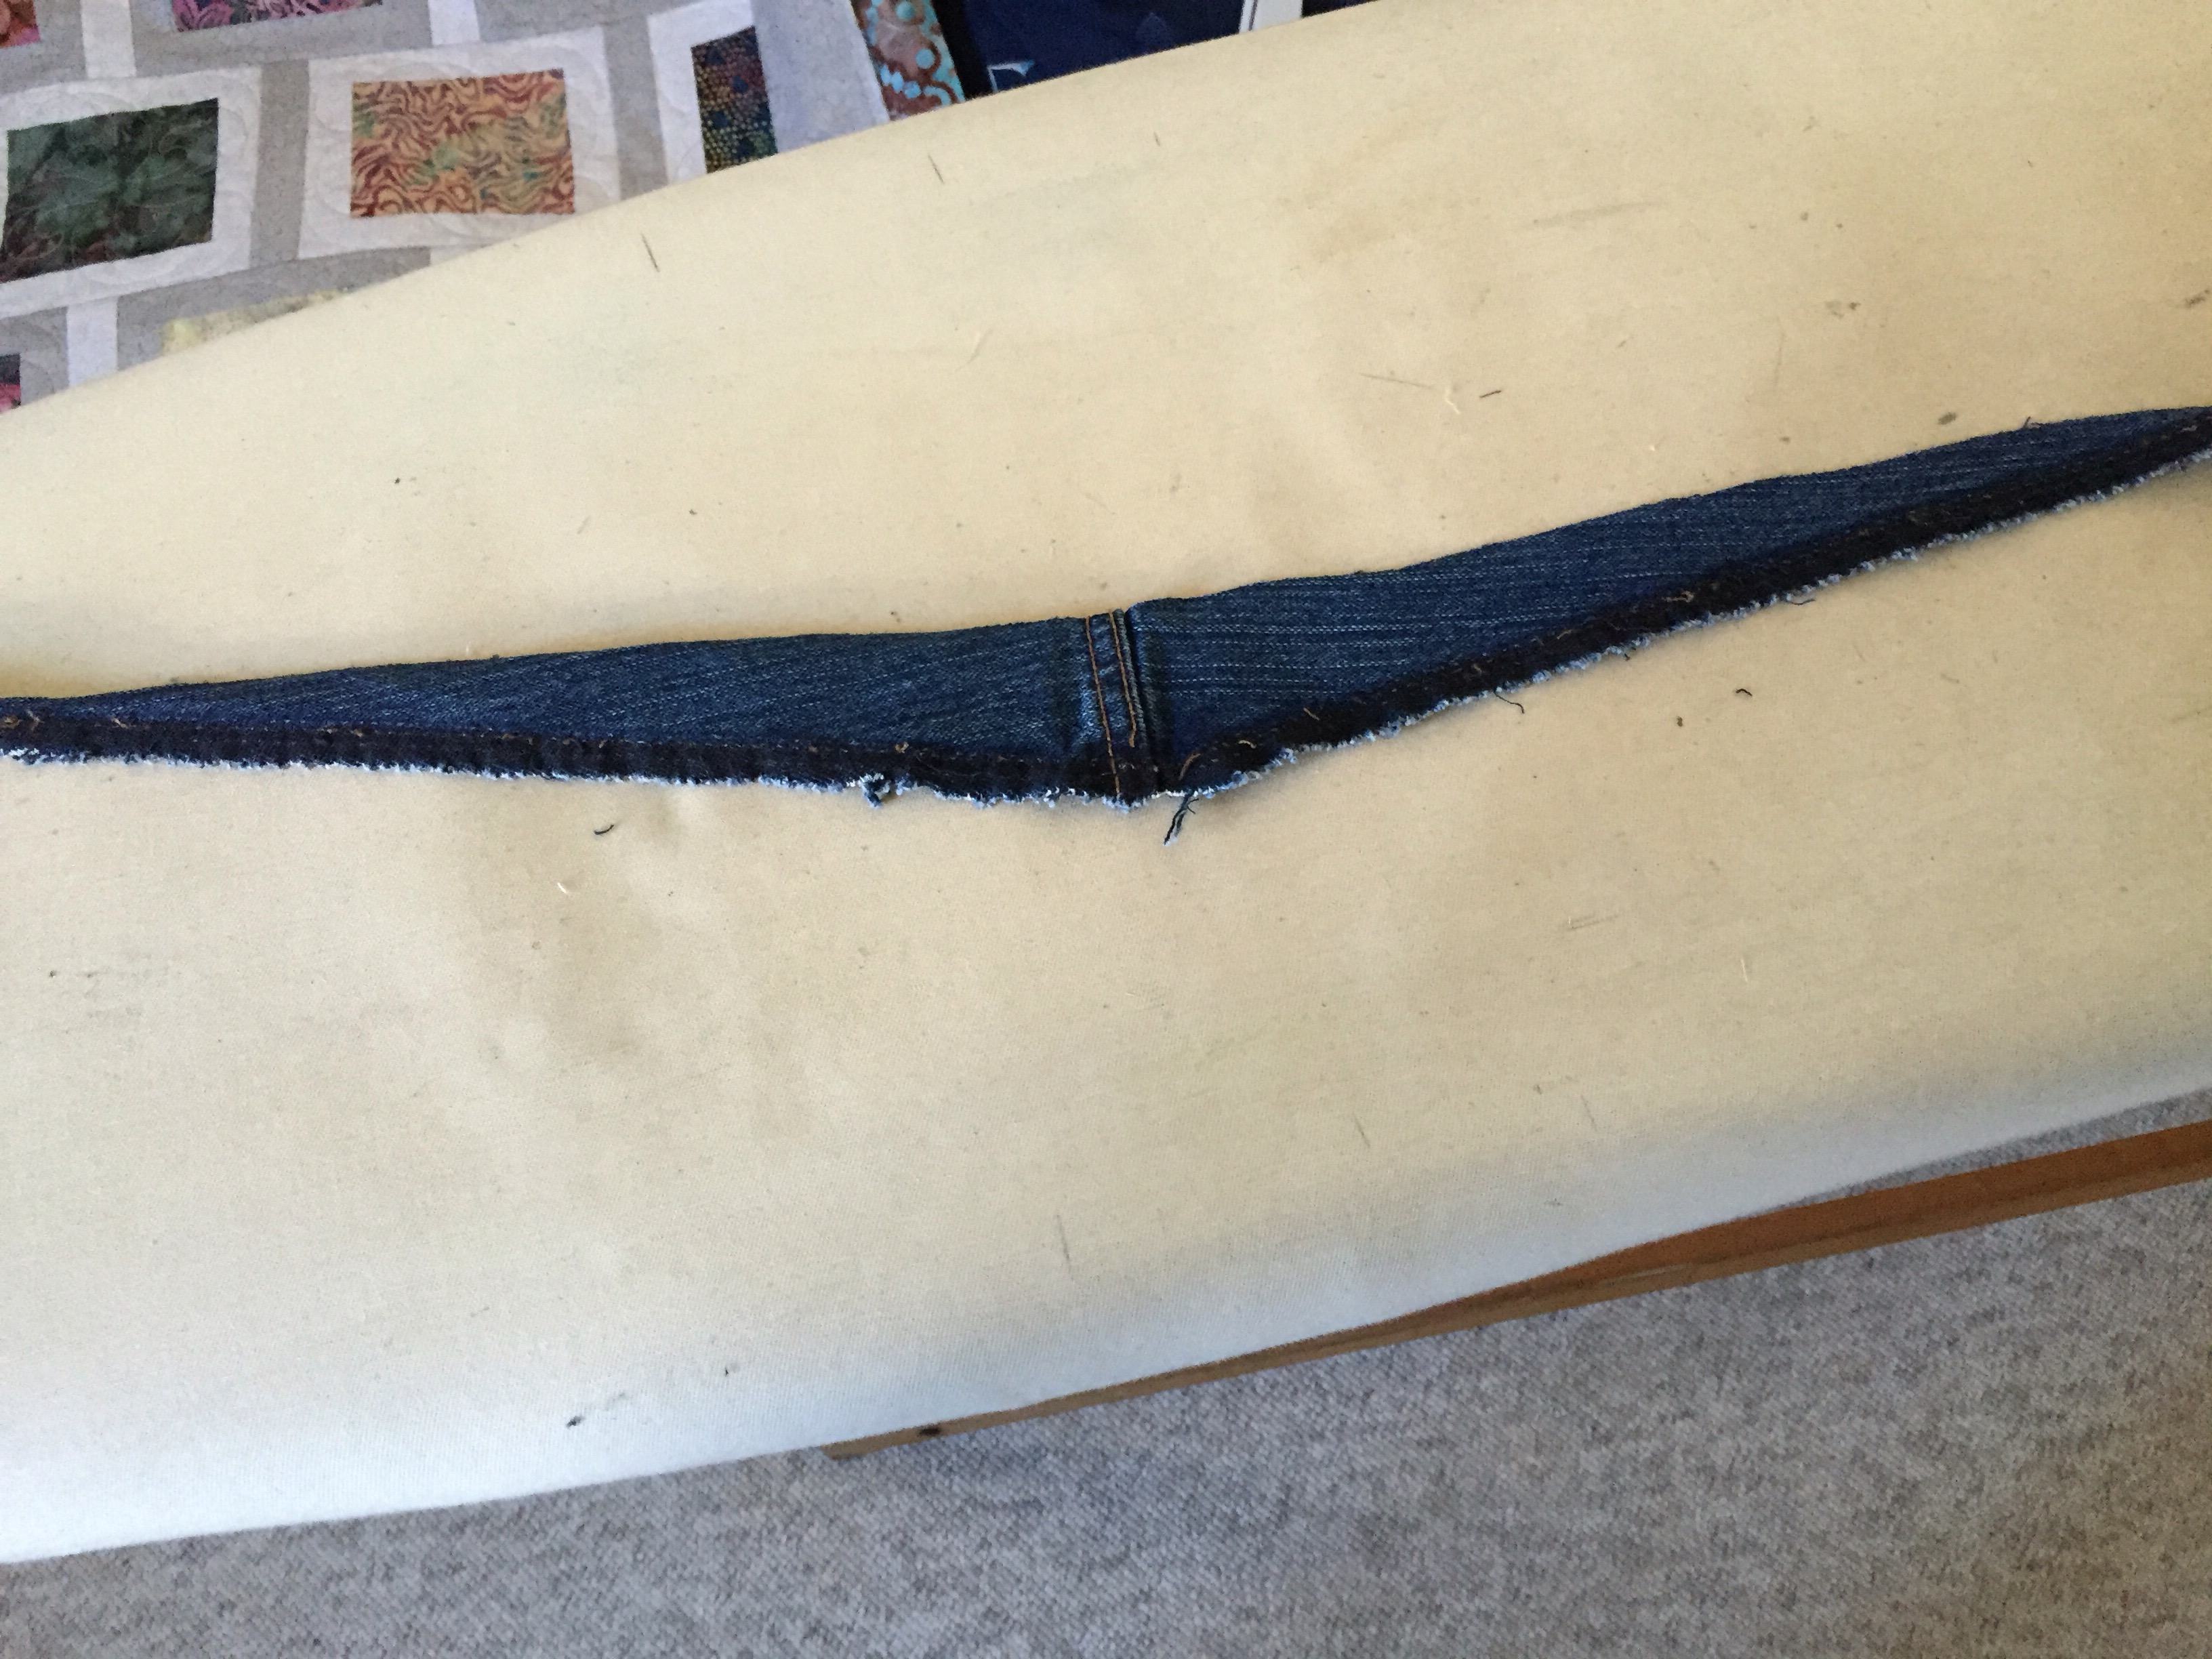
I open the inner leg seam from knee, through crotch, to knee. I pin, then straight stitch, front to back through the crotch making sure I am cutting out about 2 1/2″ at the back crotch seam area tapering the alignment along the inner leg till the front and back match at the knee – I don’t cut anything at this point because I want to check fit before cutting. The fabric eventually removed from the back crotch and back inner legs looks like this – sort of triangular.

Once I’m sure of the fit (I may want to remove a bit more from the back crotch and back inner leg – a smigeon from the front as well) I stitch, cut, and serge the inner legs through the crotch, then edge stitch the seam flat.

IMG_7251

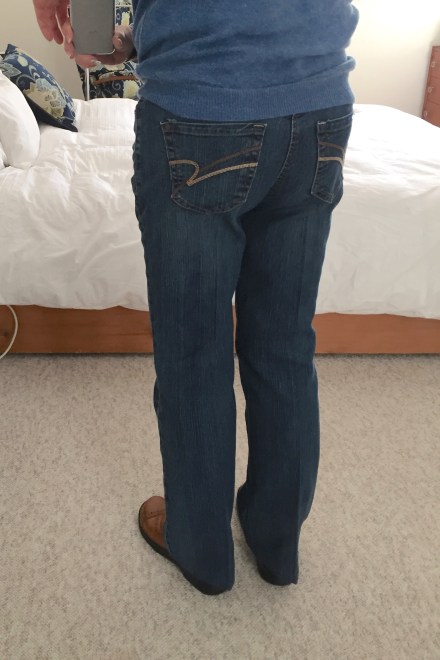
The back fits reasonably snugly with enough give for sitting. I shorten the legs – cut the length of the leg at the inner seam 28″ (enough to serge the edge and turn up a 5/8″ hem – my inseam is 27 1/4″).

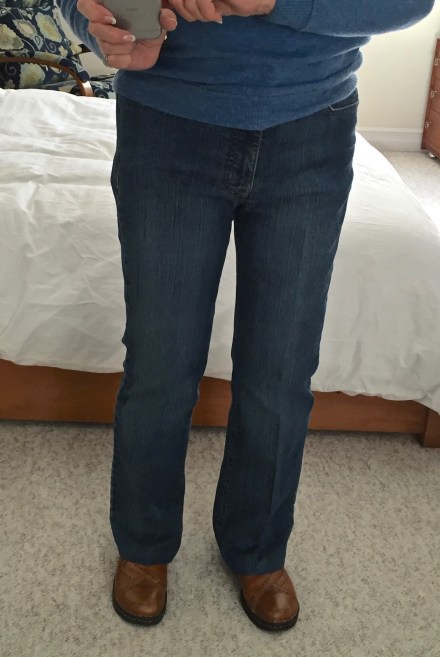
The front fits smoothly, not baggy.IMG_7252

I make two other alterations – I carefully cut out the front grommet – they cut holes in my sweaters – patch, and reinforce the hole, sew on a button; the second alteration is to extend the depth of the right front pocket to hold my iPhone securely.

This is an earlier pair adjusted to fit the same way. I’ve worn this pair a lot – they’re very comfortable.IMG_7255

Sunny (Although Cold) Afternoon


indour Garden Mid-winter

 
I’ve been out doing errands and have just come home. Since I’ve added a quilt to my living room sofa I’m much more inclined to stop and read for a bit here (why I didn’t that years ago is beyond me!).

So I sat down to read, have taken a moment to enjoy the sun streaming in the large window and the plants lined up in front. I’d pruned away dead leaves and flowers on the weekend now they’re all looking happy.  They’ll start responding to a longer day in a couple of weeks.

It’s peaceful sitting here.