Boring Socks III

img_8263

Finished last evening. To liven this variegated yarn I introduced single row stripes in different colours at random intervals – gotta try something because the yarn itself is boring!

The stripes liven up the socks a bit. It’s a ice wool yarn to work with, but none of the colour bands are bright; it’s more interesting working on a more dramatically coloured yarn.

I’ve started the final ball of this boring yarn – this ball consists of shades of mauves/purples/greys. So far just working on the cuff in a contrasting colour. Not sure yet what other colours to bring in and how to do it.

Amaryllis

img_8259

My amaryllis last year was a serious disappointment – one flower stalk which began fading before it was full opened. I look forward to a couple of weeks pleasure from this one (2016) – two sturdy stalks, each with four blooms. A bit of spring in the midst of winter!

Striped Leggings with Top

img_8252

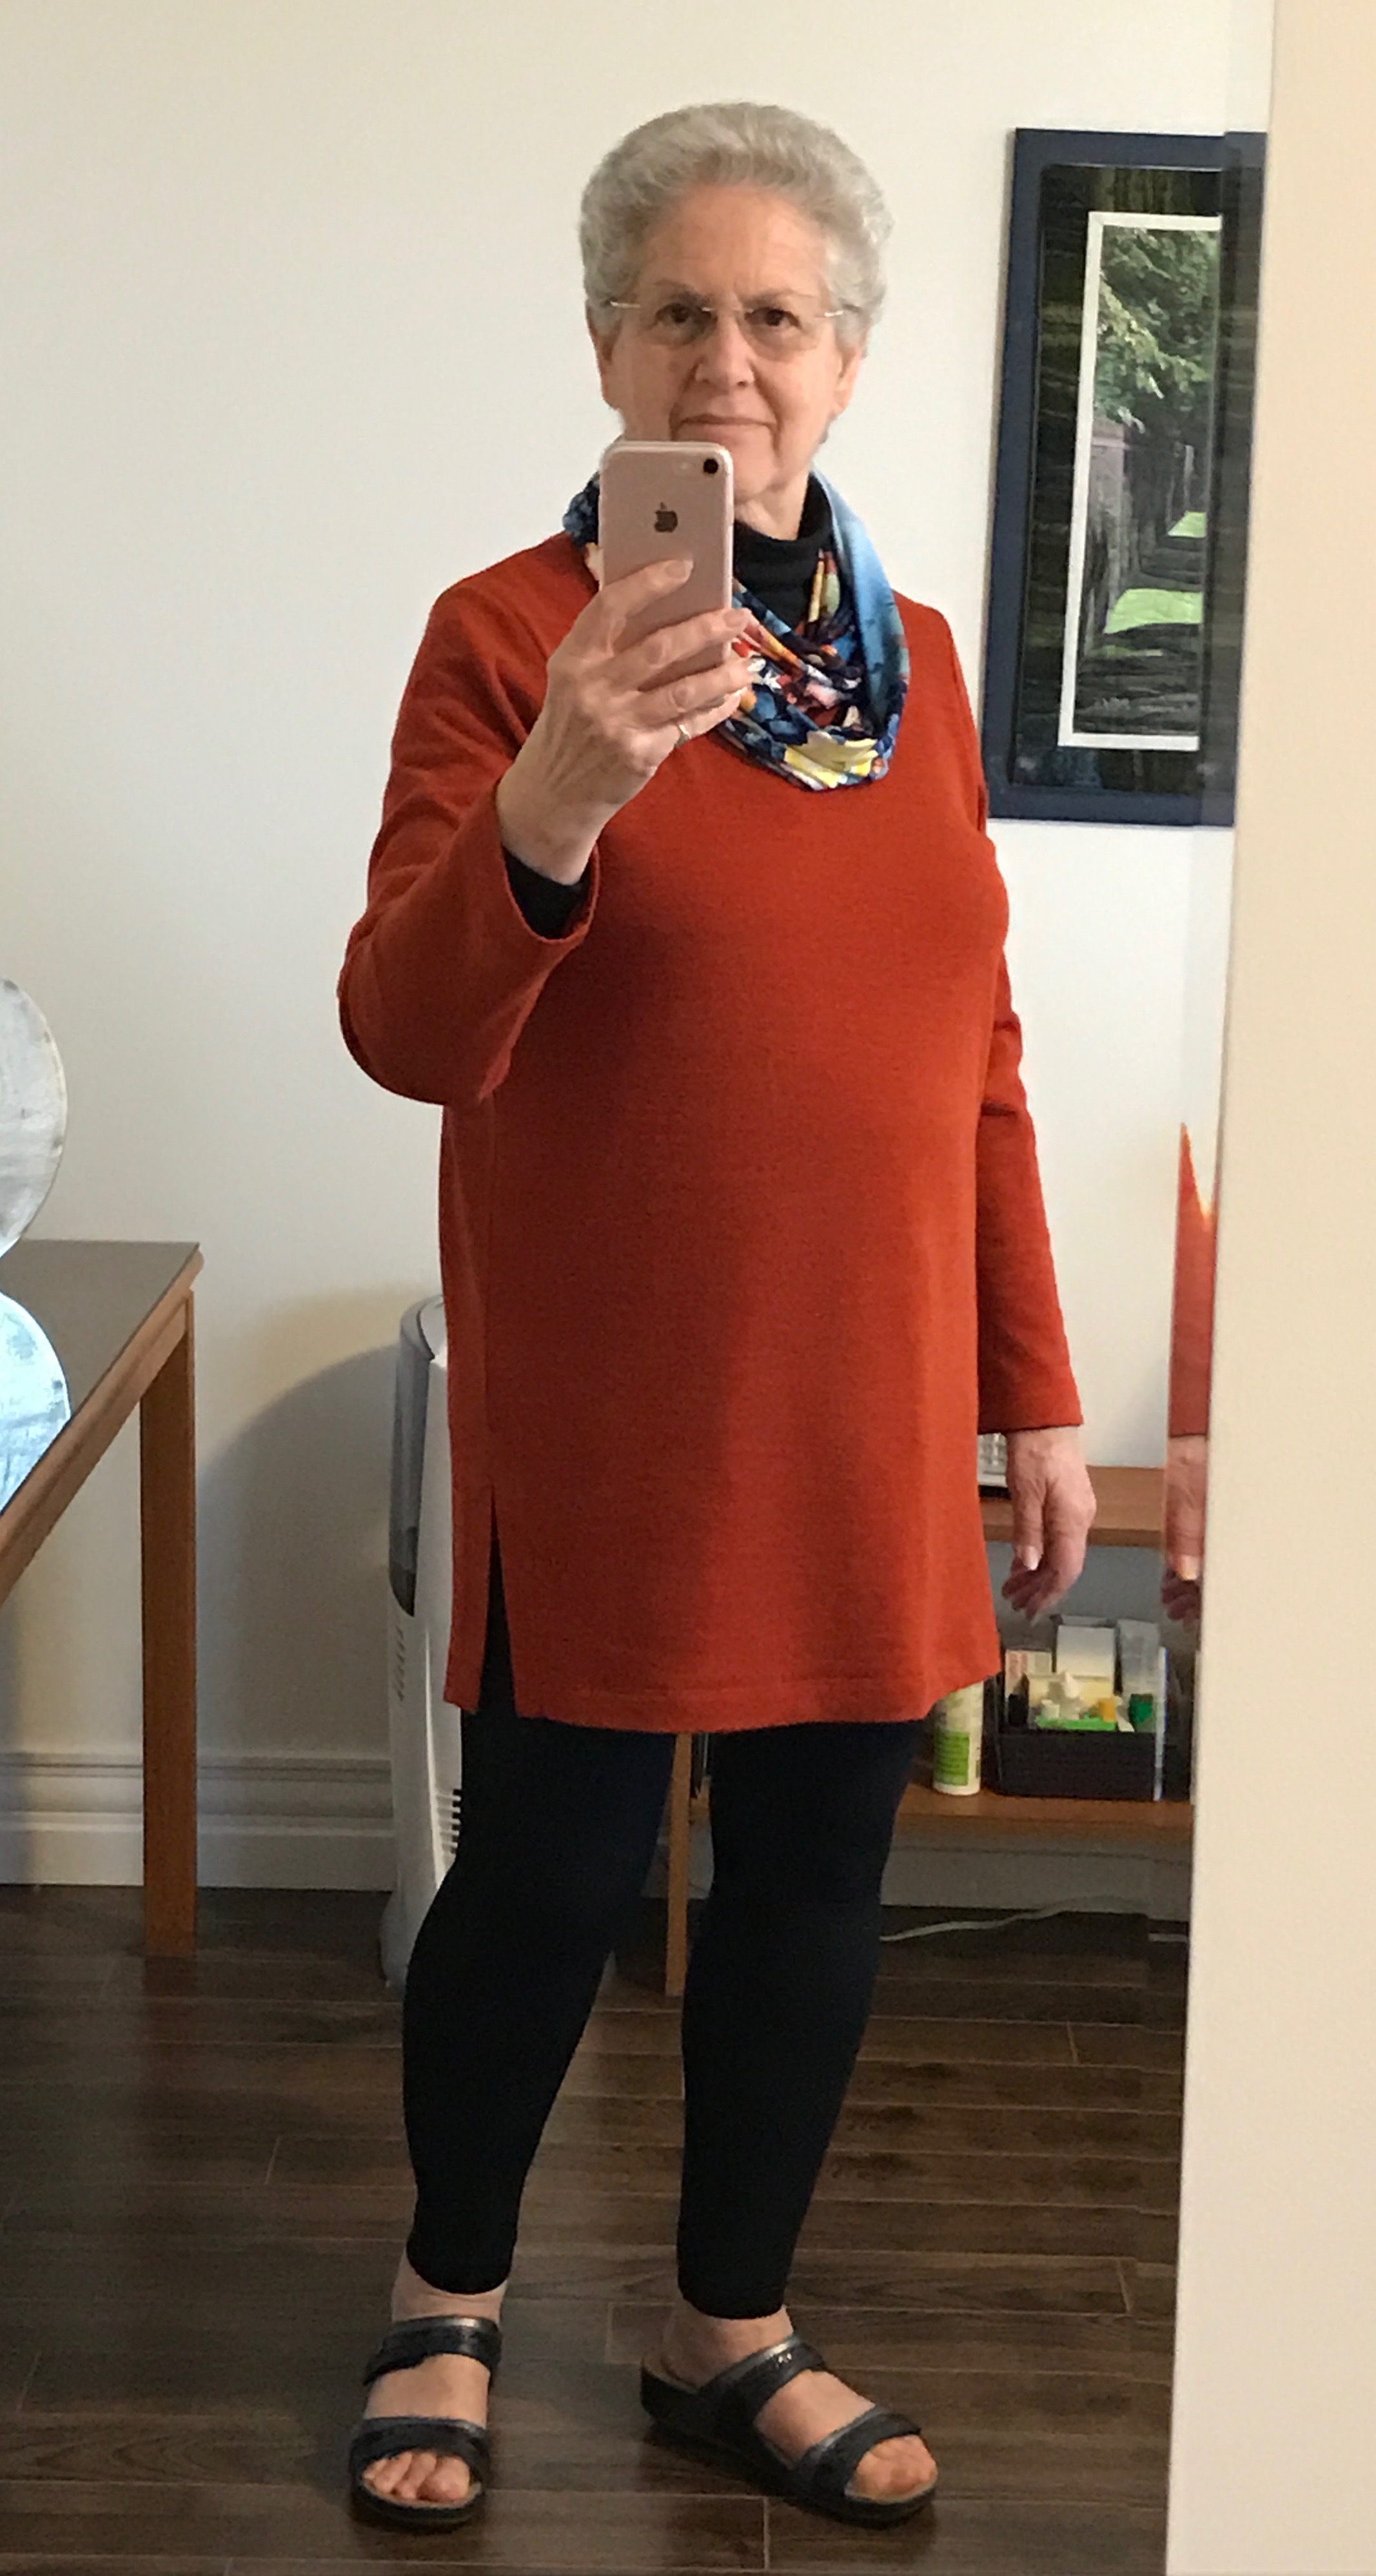
OK, here are the wacky striped leggings and the black knit tunic I just finished to go with them! Not too bad. This top is a bit shorter and somewhat more flowing than the previous tunics. The small embroidered bag is to hold my phone – no pockets in the leggings or the tunic (the fabric is too stretchy to use a pocket to hold my phone – the small purse is colourful and works well).

I’m even going to wear the outfit out to dinner with a couple of friends this evening!

And that’s it for garment sewing right now. Back to finish the wall piece I began a couple of months ago and I’m thinking about a modern quilt of some sort.

Needle Books

Needle Books

Needle Books

On Friday afternoon I knit with a group of women – this Friday we will be celebrating birthdays for four of us, mine among them. There was one birthday on December 25; mine was today – January 2. There’s another on Thursday and a fourth on Friday. So we’ll likely have some wine (a couple of the women are involved in wine making) and some nibbles to celebrate.

I wanted to make a small something to give the others – I keep a small “needle” book beside each sewing machine with a variety of hand sewing needles in it – I like shortish large eye embroidery needles (rather than small eye sharps) for sewing. I also have a couple of “self threading” needles (which are handy for tucking in end threads when I’m machine quilting), as well I keep a couple of used machine needle for those situations where I want to carefully pick out a seam – the machine needle is just that bit larger and stronger than a hand needle for the job.

[I just looked up a hand sewing “needle guide” – John James makes fine quality hand sewing needles of all types and sizes – turns out my preferred hand sewing needle is a size 7-8 “embroidery” (sharp with a large eye to accommodate embroidery floss), rather than a comparable “sharp” which has a small eye which I find difficult to thread. Darners also have a large eye but I find them too long and too thick to be comfortable to work with. I also keep some “easy threading/calyx eye” needles – these are self-threading needles which are threaded by pushing the thread through an opening at the top of the needle rather than through the eye.]

So I whipped up three needle books and have outfitted them with a few straight pins (with glass heads – the iron doesn’t melt the bead head), three quilting pins (I don’t have any safety pins on hand – just curved quilting pins), four different needles (embroidery and sharps), a calyx eye, and a blunt tapestry/cross stitch. I also included one used machine needle. I’ve closed the book using a quilting clip.

I’m sure the gals all have places where they stick their sewing needles but I’m betting none of them has a needle book. A small gift that I’m sure will be useful for these women who knit/sew.

I also keep a “machine needle” book at each machine – for those needles that haven’t had much use – the problem is keeping track of what kind of needle and its size. The machine needle book solves that problem for me. So if I need a slightly used needle for a small job that’s where I head first. If I know I’m going to use the needle for an entire project, it’s a new needle each time.

Machine Needle Book

Machine Needle Book

And in case you wondered – because I do a LOT of machine sewing I have a complete selection of machine needles for each different job!

img_8243

Machine Needle Collection

Knit Tunic

img_8237

As you can see, I’m  not exactly a “leggings” person. However, everybody seems to be wearing them so I thought I’d give them a try. I bought a funky black and white pair during the summer in Lunenburg. I have yet to find something to wear with them! I’ve tried printed fabrics, and solids, but the prints just don’t work with the stripes. I made both a black and navy pair from some lovely stretch knit I bought from Distinctive Sewing Supplies, they both fit fine but same problem – nothing to wear with them that looks reasonable.

Last week, I bought a couple of pieces of solid colour knit fabric, hoping if I made a couple of tunic tops they’d work with the leggings – forget that, the black and white stripes come above my knee in the front (really, I can’t publish a photo) and so even this sedate solid rust colour tunic does not look great. Here it is with black leggings. The tunic turned out fine, but, really, it doesn’t make me into a leggings person. The dark teal tunic – exactly like this one, same length – doesn’t look any better. Wearable around the house but for going out anywhere – not too sure about that. I just don’t have the shape for leggings. Probably shouldn’t wear them…

Seat Belt Covers

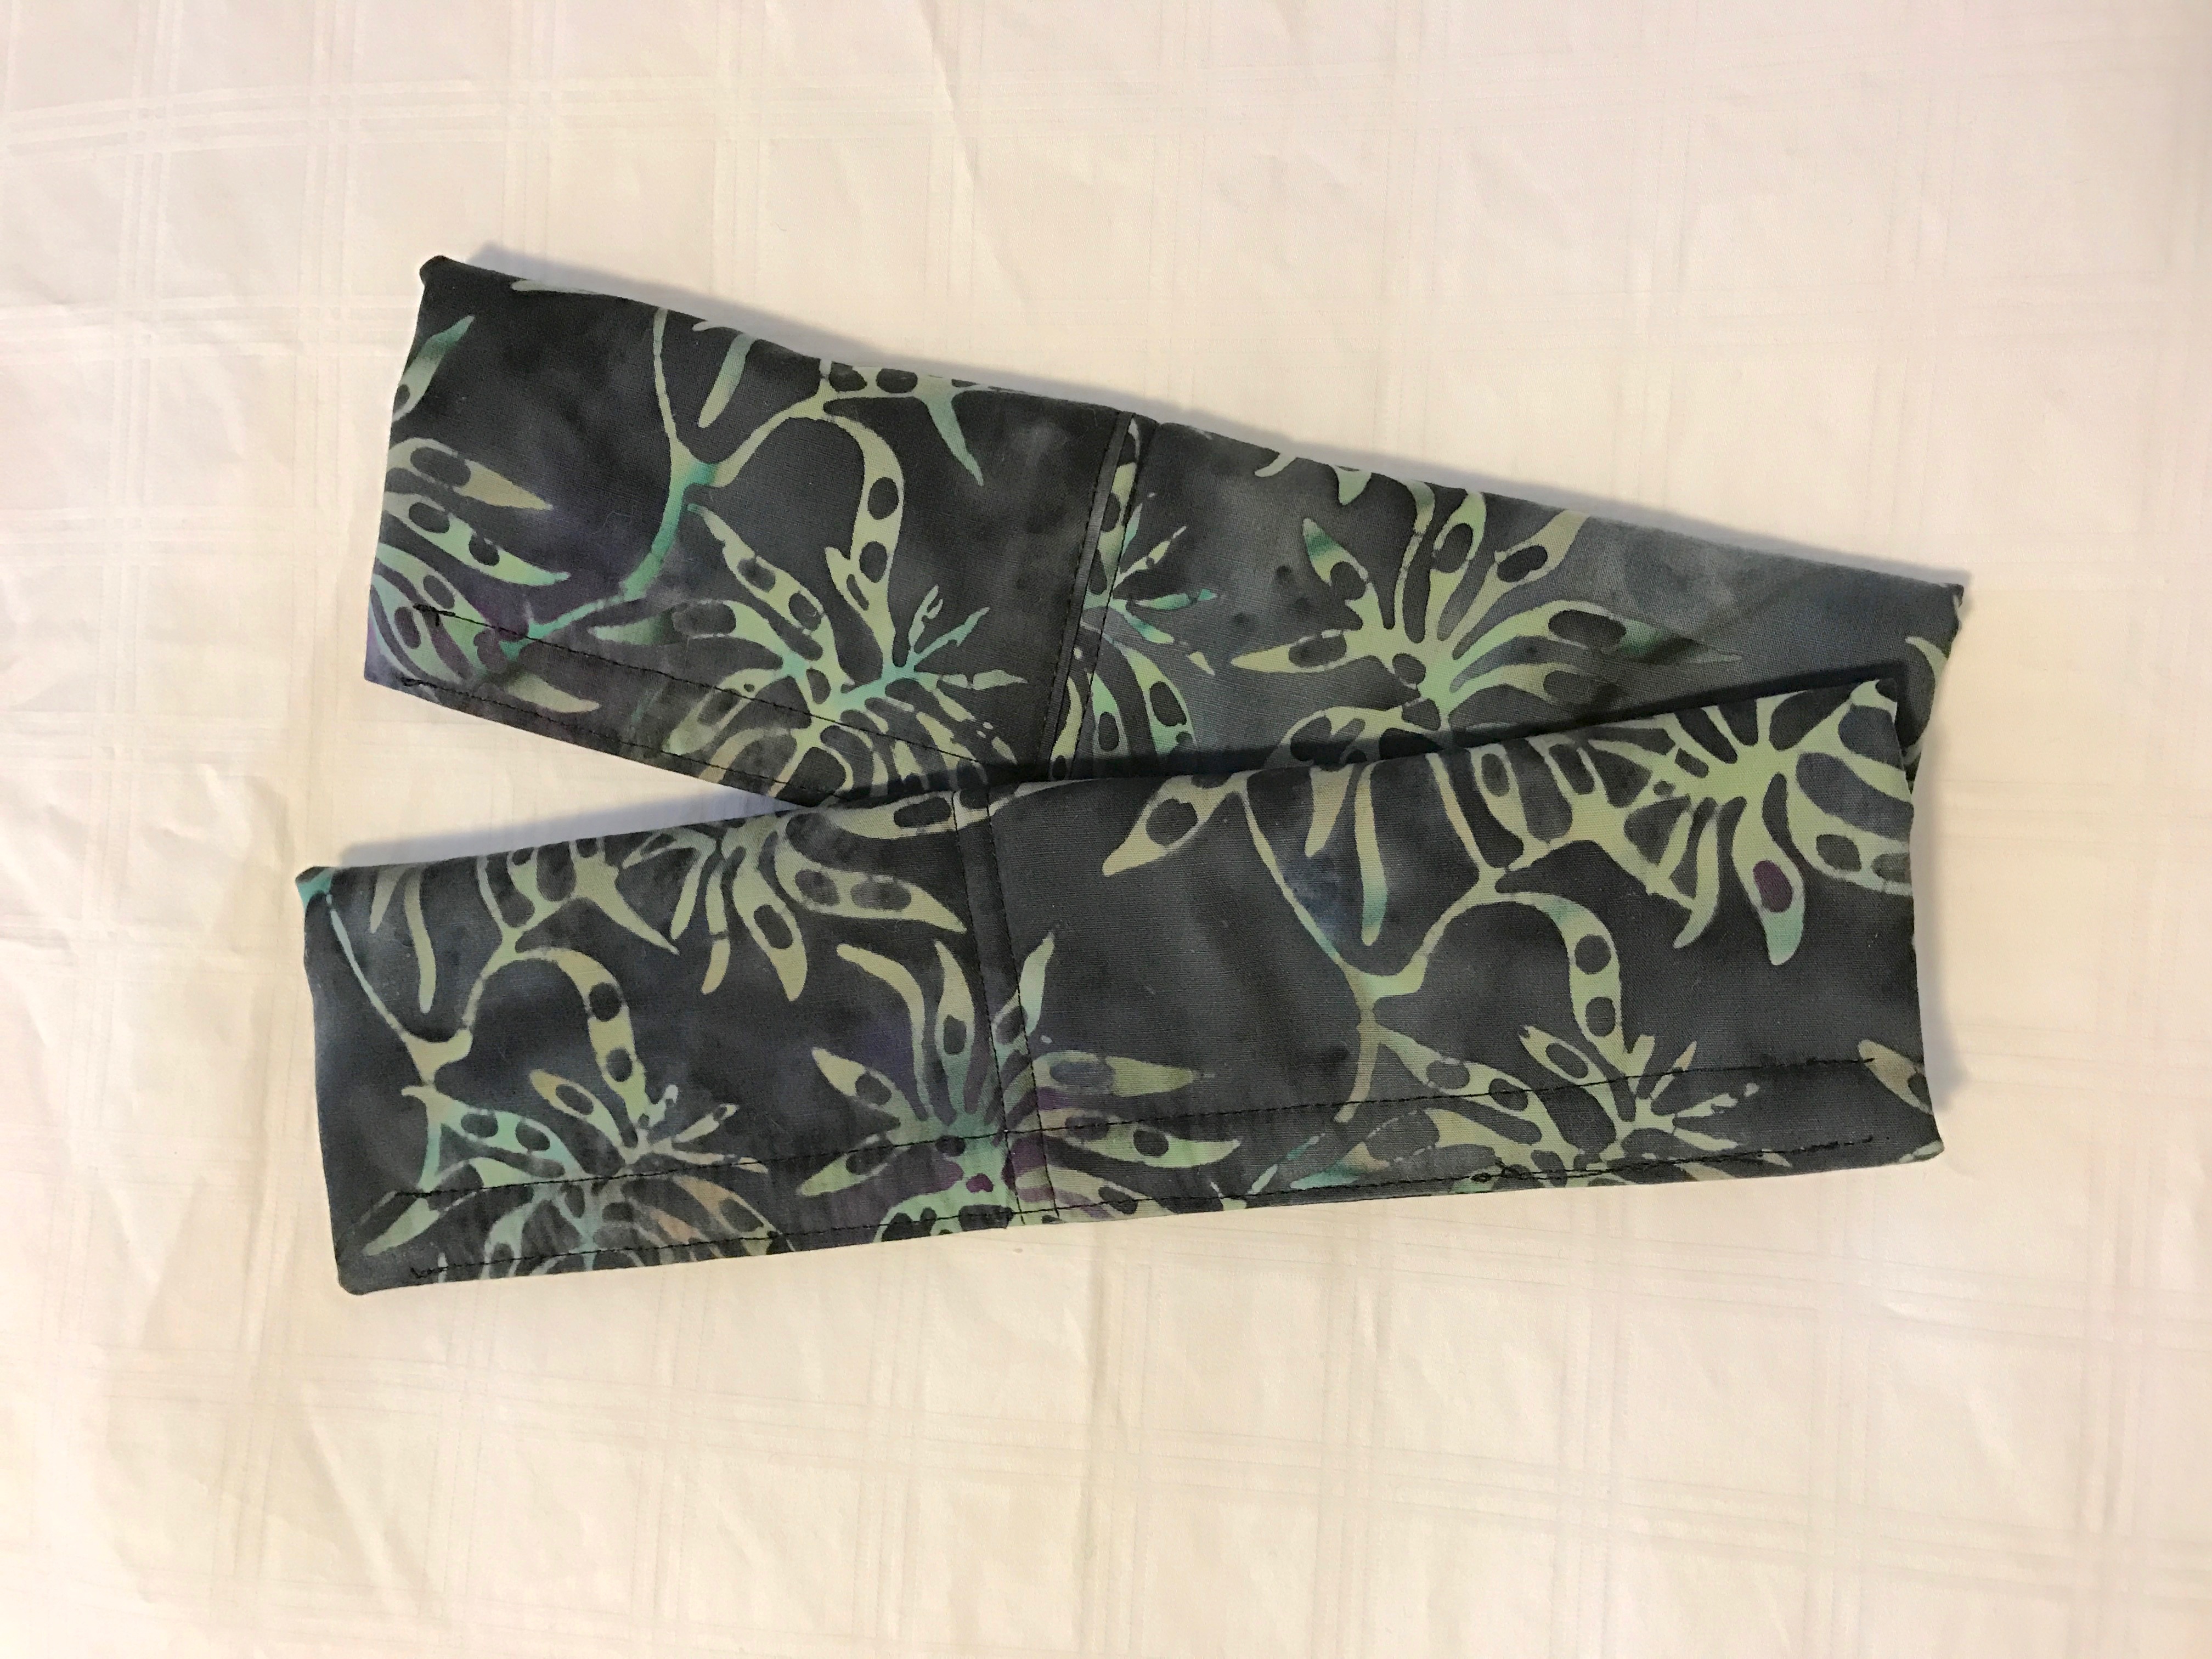
img_8224

Seat Belt Covers

Just finished two sets of seat belt covers. I’ve been meaning to make myself a new set. The impetus was a request from a friend who has a pacemaker and finds the seat belts in his car uncomfortable. I made him a set shortly after he’d had the pacemaker implanted. They’ve worn out. So I’d put a note on my calendar to make him a new set today. I made a set for myself as well.

Materials for one seat belt cover: a piece of fabric 24″ x 7.5″, a double cut of batting 11″ x 6″, 1 piece of hooks velcro 3/8″ x 10.5″, one piece of loops velcro 3/8″ x 10.5″.

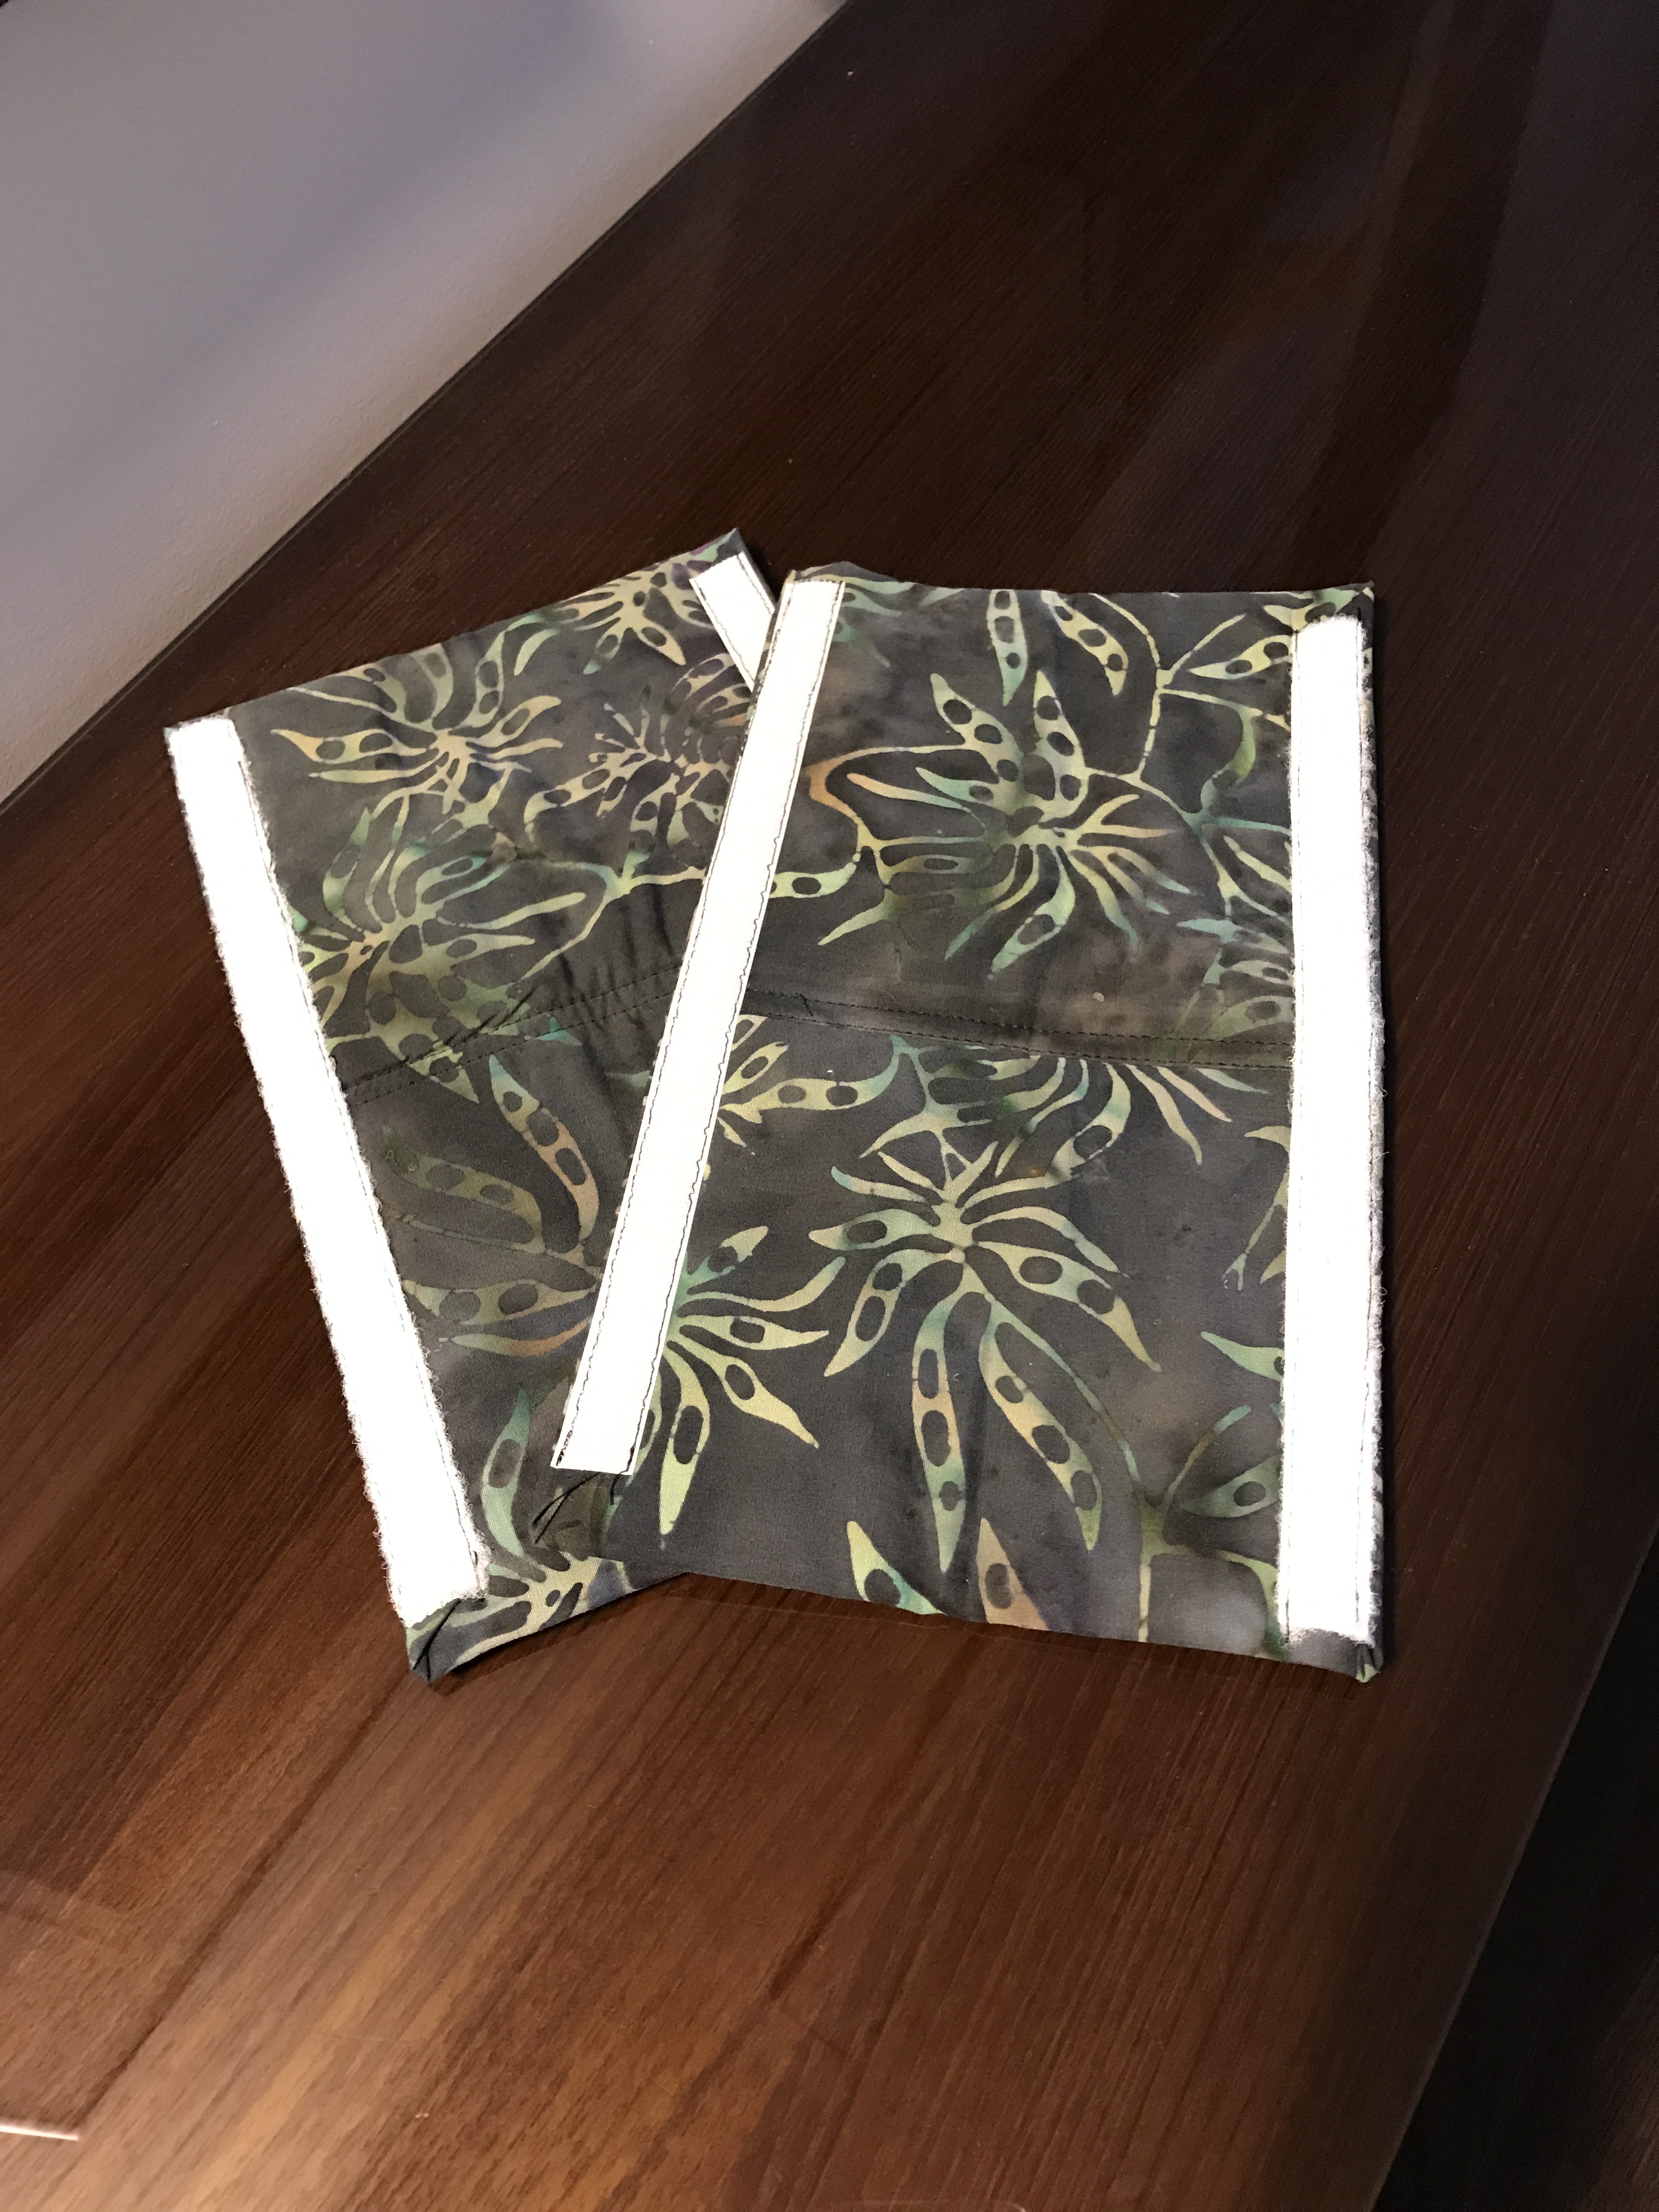
Construction: I lay the batting in the middle of the fabric, fold down one long end over the batting, fold up the second long end to overlap the first (I try to use the selvage on one end – that means I don’t have to worry about folding under or fraying – if you don’t have a selvage, fold under the raw edge of the top fabric before stitching). Stitch close to the edge, then a second row of stitching 3/16″ away from the first. Next press the seat belt cover, turn in the side edges (folding in the end corners), press. Finally, careful lay one of the velcro pieces along the folded edge (over the folded-in fabric), stitch as close to the velcro edge as you can, then along the inner edge of the velcro. Add the second strip of velcro to the other side making sure both pieces of velcro are on the same side of the cover. Fold seat belt cover in half using velcro to close it. The cover will just slip over the seat belt – I use them with the folded edge to my neck, open/velcro edge away from me.

img_8225

Inside of Seat Belt Covers

They’re great for short people who find seat belts uncomfortable, particularly in the summer when I’m not wearing a heavy coat. I still use them during the winter as well. Just convenient to have them in the car. I also have one on the passenger side. They’re particularly useful for children using booster seats who also find seat belts cut their necks.

My original pair came as a gift from Hawaii at least 30 years ago. I’ve continued making them as gifts and for myself ever since. The fabric doesn’t have to colourful, a closely woven batik works well – batik has quite a bit of body which makes the seat belt cover a bit stiffer and the fabric doesn’t wear as quickly as a softer cotton.

Bendy Bag…

Bendy Bag

Bendy Bag

I know, I said I was finished making bags but there was just one more I wanted to try – Lazy Girl’s Bendy Bag. I found images of it while looking for something to make for Hillary and played around with paper folding and almost got it figured out on my own – what I missed were the cut corners which you fold and seam straight across at the zipper tab end to get the blunt end at the front of the bag. I gave up, rather than mess around further and bought the instructions. I was right about how to get the diagonal seam and the zipper application. I had to try one this morning so I could put this bag making to rest!

There I’m done (really). The last bag for a while. Now, I can see each triangular piece I cut from my rectangle on each side to get the diagonal seams on this bag are large enough to make a pod… I’ll save them for another time.

Season’s Greetings 2016

Christmas Eve and all’s quiet here. No cooking or baking left to be done, no last minute present wrapping, none of the rush that most folks deal with on the night before Christmas. I thought this would be a good time to take a moment to send my best wishes for a relaxed and pleasant holiday season and all the best for a happy and healthy new year.

img_6993

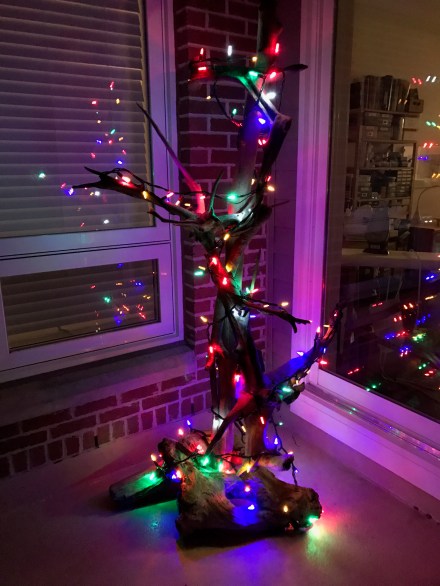
Driftwood Sculpture Draped with Christmas Lights

Sweet Kugel – 2016

Sweet Kugel

Sweet Kugel

That time of year again.Two days before Christmas – making the sweet kugel for Christmas dinner at Marlene’s. Can’t make just one, my sister Donna loves this kugel so one for her (for her freezer); and one for a friend also in time for Christmas dinner.

I described in detail last year how I make it – Sweet Kugel – so I won’t go into the details again. If you want to learn how it’s done click on the link.

They’ve been in the oven about 20 minutes and already the apartment is smelling wonderful!

More Variations On A Theme

img_8214

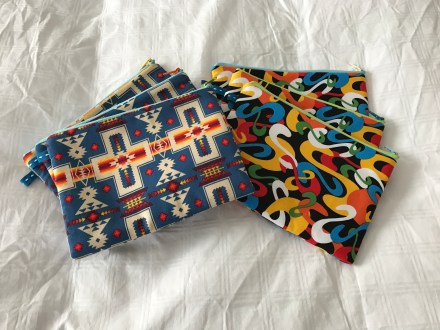
I was curious to see if I could apply the half-zipper technique to my standard zippered bag construction – that meant figuring out a way to have the seams concealed between outer layer and lining. Turns out to be quite easy.

Instead of cutting two sides 6″ x 8″ I cut one piece 6″ x 16″ – I sewed the zipper to one long edge, added lining. Here’s the crucial difference – I didn’t top stitch the zipper, instead I steam pressed the zipper making sure both lining and outside were well pressed away from zipper edge. That allowed me to add the slide, fold the bag in half, separate the lining from the outside, sew the remaining side seam (from lining to outside with little tab inserted near the zipper) making sure zipper protruded on the lining side as I sewed. Next I made sure to open the zipper. Finally, I stitched the outside bottom, turned bag right side out pulling lining beyond the zipper, folded lining bottom seam allowance under and top stitched the lining bottom, pushed lining back inside bag, pressed.

I had a zippered bag with a “loop” zipper, and concealed seams.

I made six from four fat quarters which I had just bought so now I know exactly what my materials cost:

The fabric to make six 6″ x 8″ bags cost me $12; batting – I used large pieces leftover from a quilt (batting costs $26/m so say I used 1/16 m ) – $1.65, thread (can’t calculate), zipper (I buy zipper tape and slides from The Zipper Lady @ $36 for six yards (that includes exchange as well as shipping and handling), $10 for 40 slides (25¢/slide) – I get two bags from 1/2 yard so zipper costs me  $10.50/six bags (a bit less than if I’d bought zippers individually at the fabric store). Total for the materials: $25.65 for six bags = $4.27/bag. Labour: It took me 2 hr to make six bags – time per bag, ~20 min (that’s pressing the fabric, cutting fabric and zippers, sewing it all together, pressing again). At $20/h labour works out to $6.65/bag. Total costs: $4.27 + $6.65 = $10.92. Profit – 20% of costs = $2.19. Total cost of one 6″ x 8″ bag: $13.12!

People tell me I should sell them at the craft market – I’d be selling the bags at a loss if I charged $10/bag!

So even a small zippered bag is a gift of love.

That’s it for bag-making for now!