Climate Change Has Caught Up With My Wardrobe!

I may not have written much but I’ve been making pants these past few weeks. Why, you might ask, with a closet full of summer and winter pants, I doubled down on making pants?

Well, the weather in Nova Scotia has been unending sunshine. We don’t get weather like this. The “normal” in NS is a day of sunshine sandwiched between two days of rain! If it’s one thing we can count on here is lots of rain, all summer long. Then September comes and we get our best weather into the middle/end of October. Sunny, if a bit cool, days wonderful for being outside. For six weeks, maybe seven, we get our best weather of the year.

Not this year. It rained for most of June, days on end, and then July came and the sun came out and it stayed. In fact the weather has been so dry it’s been considered a drought! Wells have gone dry. Activity in the woods has been banned. We’re conserving water because the water level in the watershed lakes is extremely low.

The outcome of all of this is, after Labour Day when that one “fall’ day would normally arrive and I’d change over to winter clothes, that day hasn’t yet happened. I realized I needed a couple pair of fall coloured, if somewhat light in weight, pants to wear in this shoulder season that we never have! Something a bit heavier than the summer cotton pants and lighter than my fall corduroy or denim pants/jeans.

In addition, Sally at Sew With Vision asked if I’d do a class on making a basic pair of pants. I’d agreed. So I dug out my Japanese Monpei instructions and took a look at them. Monpei are constructed using 4 rectangles based on hip measurement for width and from waist to a smidge above the floor for length.

To create a crotch, the traditional Monpei uses a gusset based on two crotch triangles. I wanted the crotch to be incorporated into the front and back of the pants. So I decided to draft a pattern first.

I started by drawing two rectangles – one for the front, one for the back. I marked the vertical centre line (to use as the grain line), and drew in the horizontal crotch depth (including ease and seam allowances at waist and crotch).

I shaped the crotch using the measurements suggested for the gusset and drew the appropriate triangle to the front and the back along one side at the crotch depth. (In the Monpei instructions, the gusset triangles are cut from the top edge of the rectangle and repositioned at the appropriate depth along one side – the centre front/back seam.

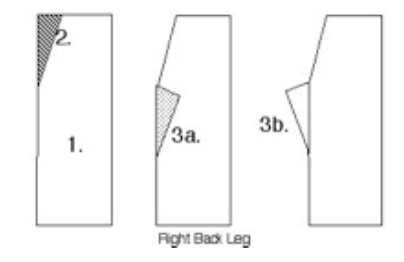
In my drafting the centre front edge remained straight (because I need to be able to pull the pants over my hips and my waist and hip measurements are almost the same). I used a French curve both front and back to round out the crotch shape.

Then I shortened the centre front crotch length by 1″ and rounded the “waist” with the French curve, because my front crotch length is shorter in the front than the back.

I drafted pieces for a pocket to be placed on top and incorporated into the waistband and side seam (pants without pockets are useless!), and a pocket facing. Finally I created waistband facings.

Because the Monpei gives me a rather nicely fitting pair of pants I decided to go ahead with the basic design without comparing my drafting to any of the several pull on pants patterns in my pattern stash.

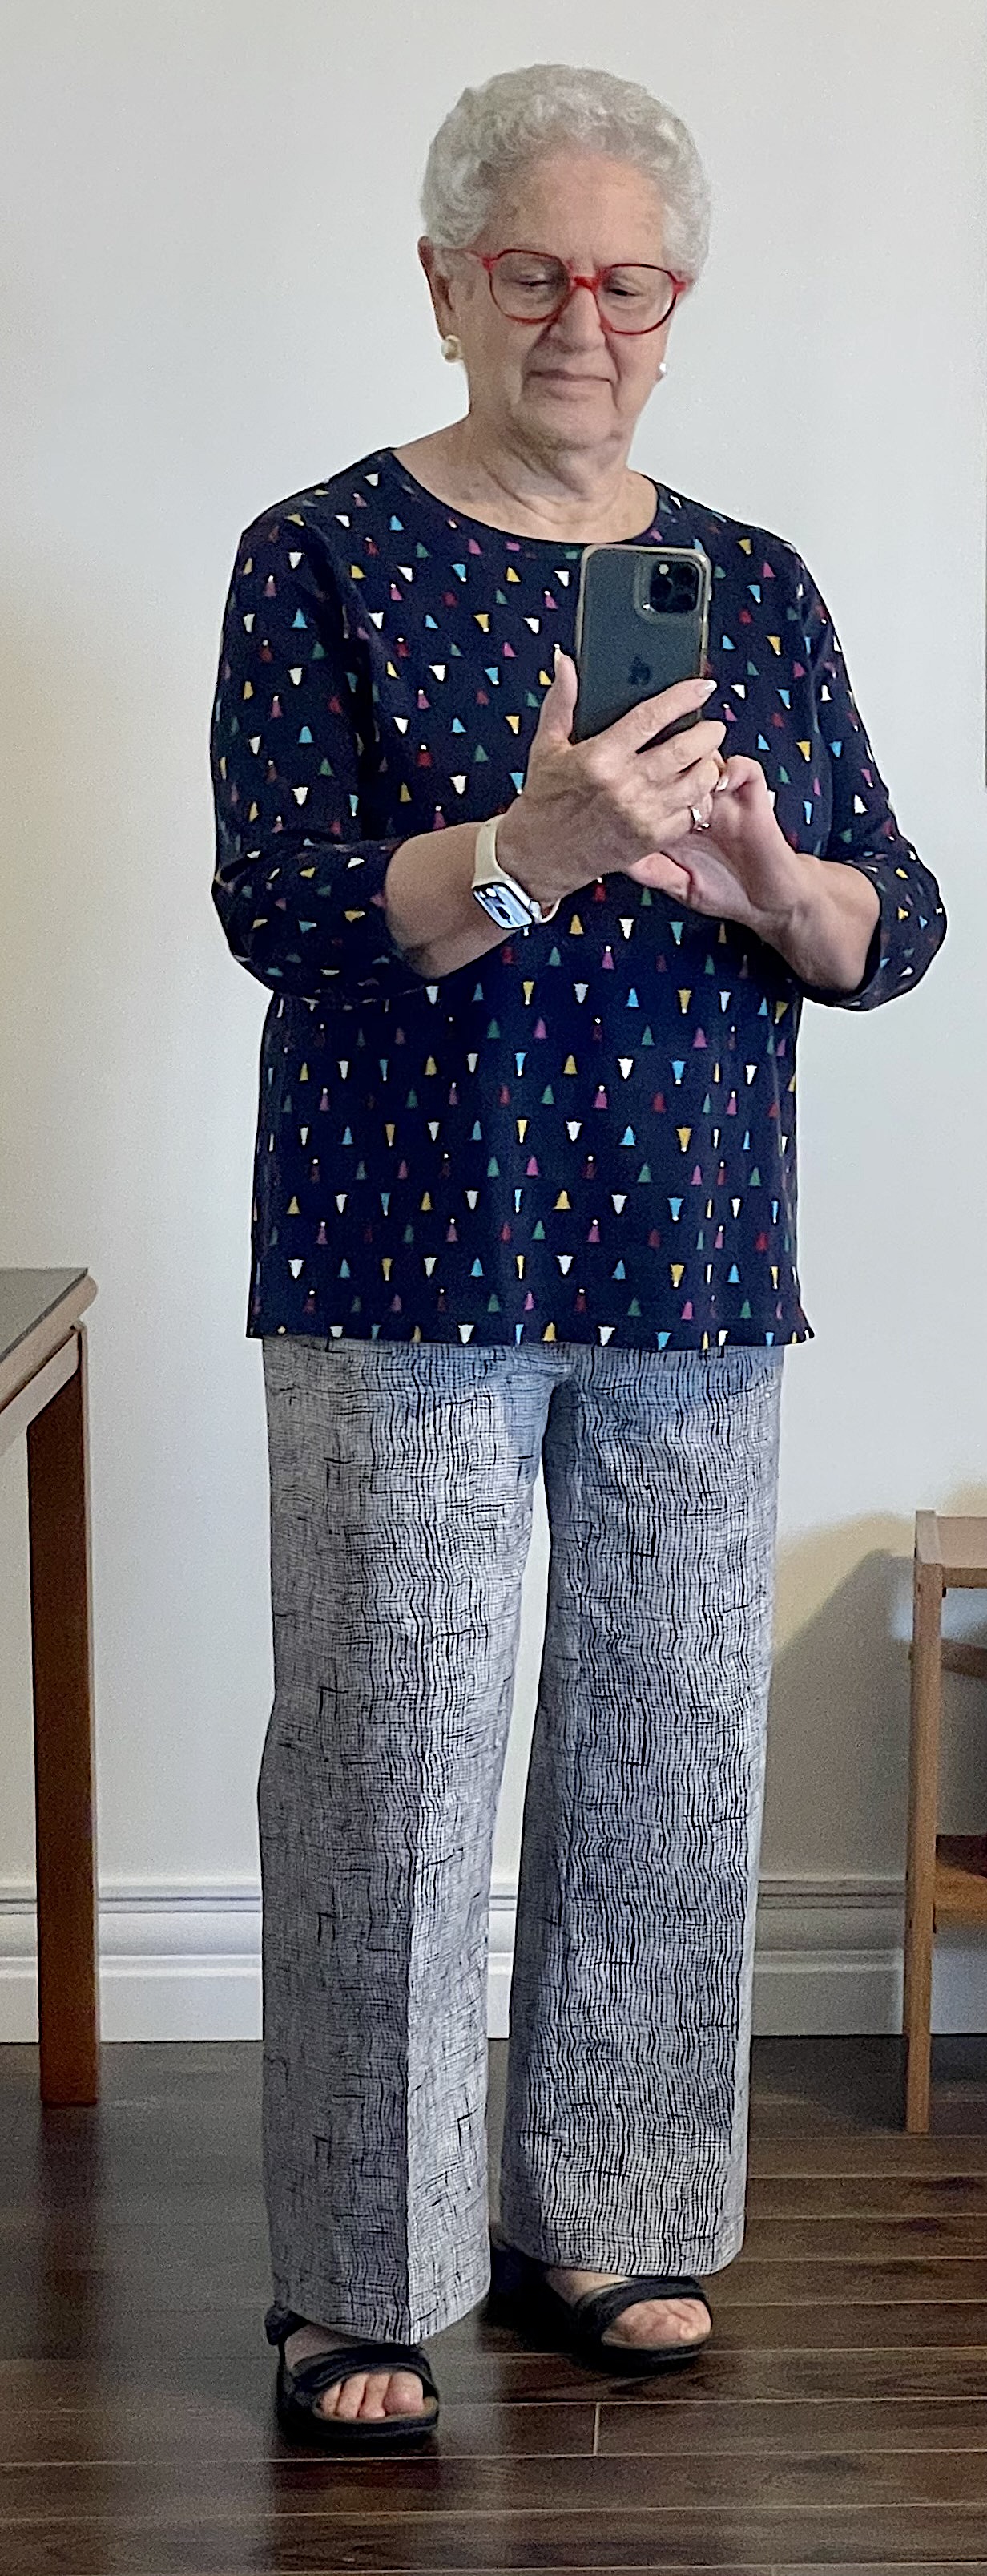
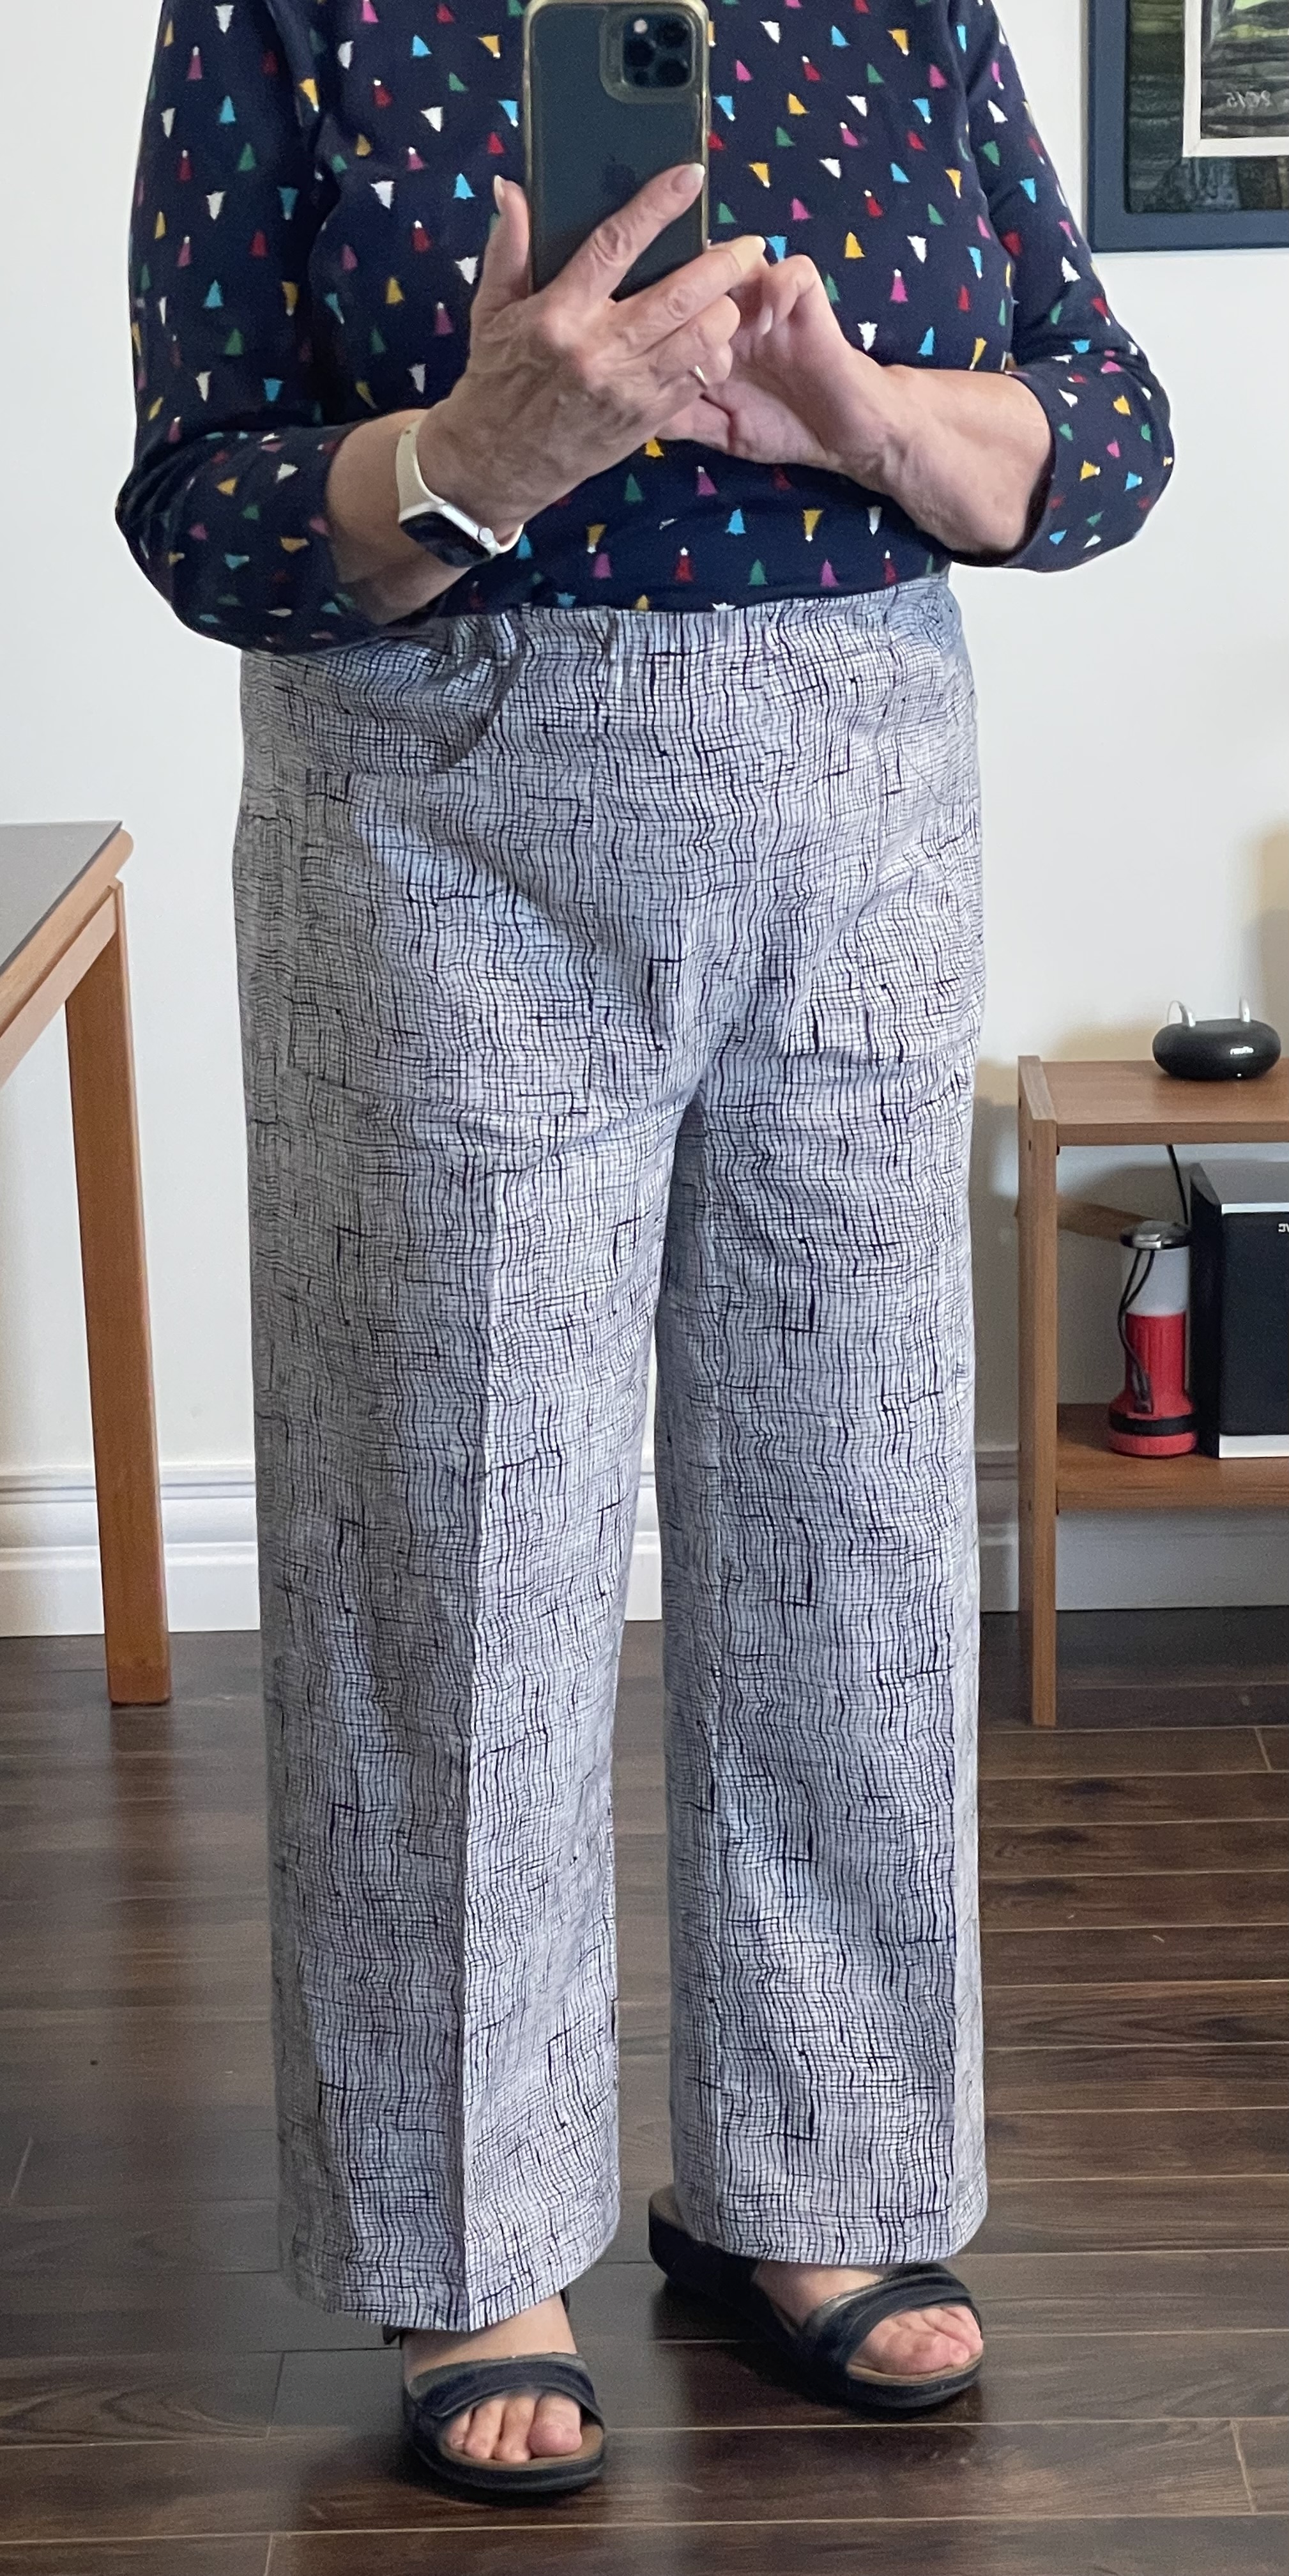
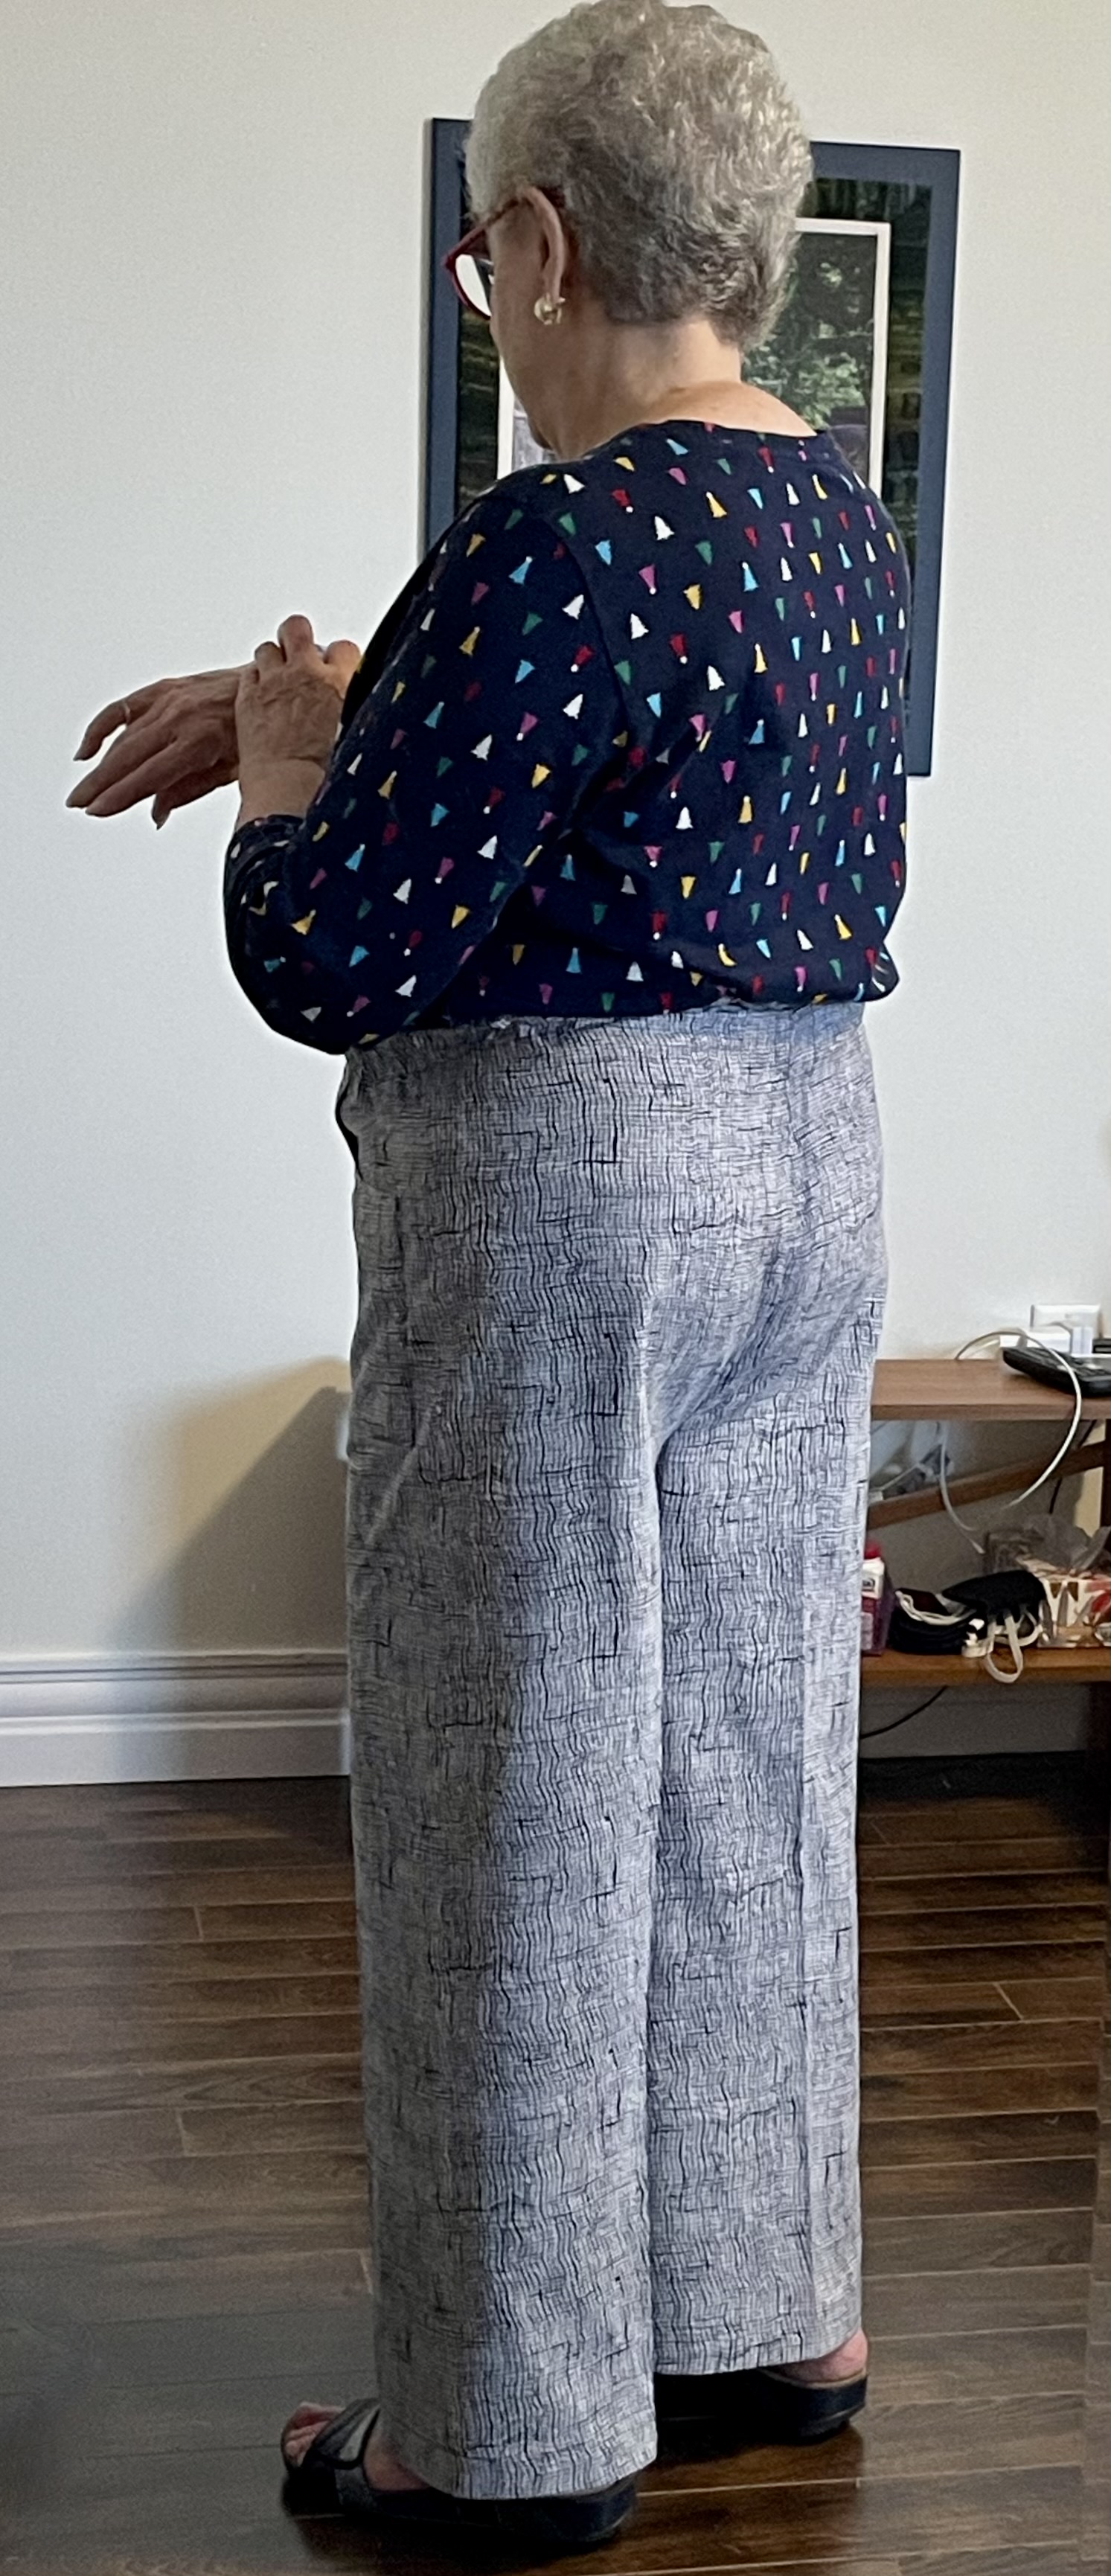
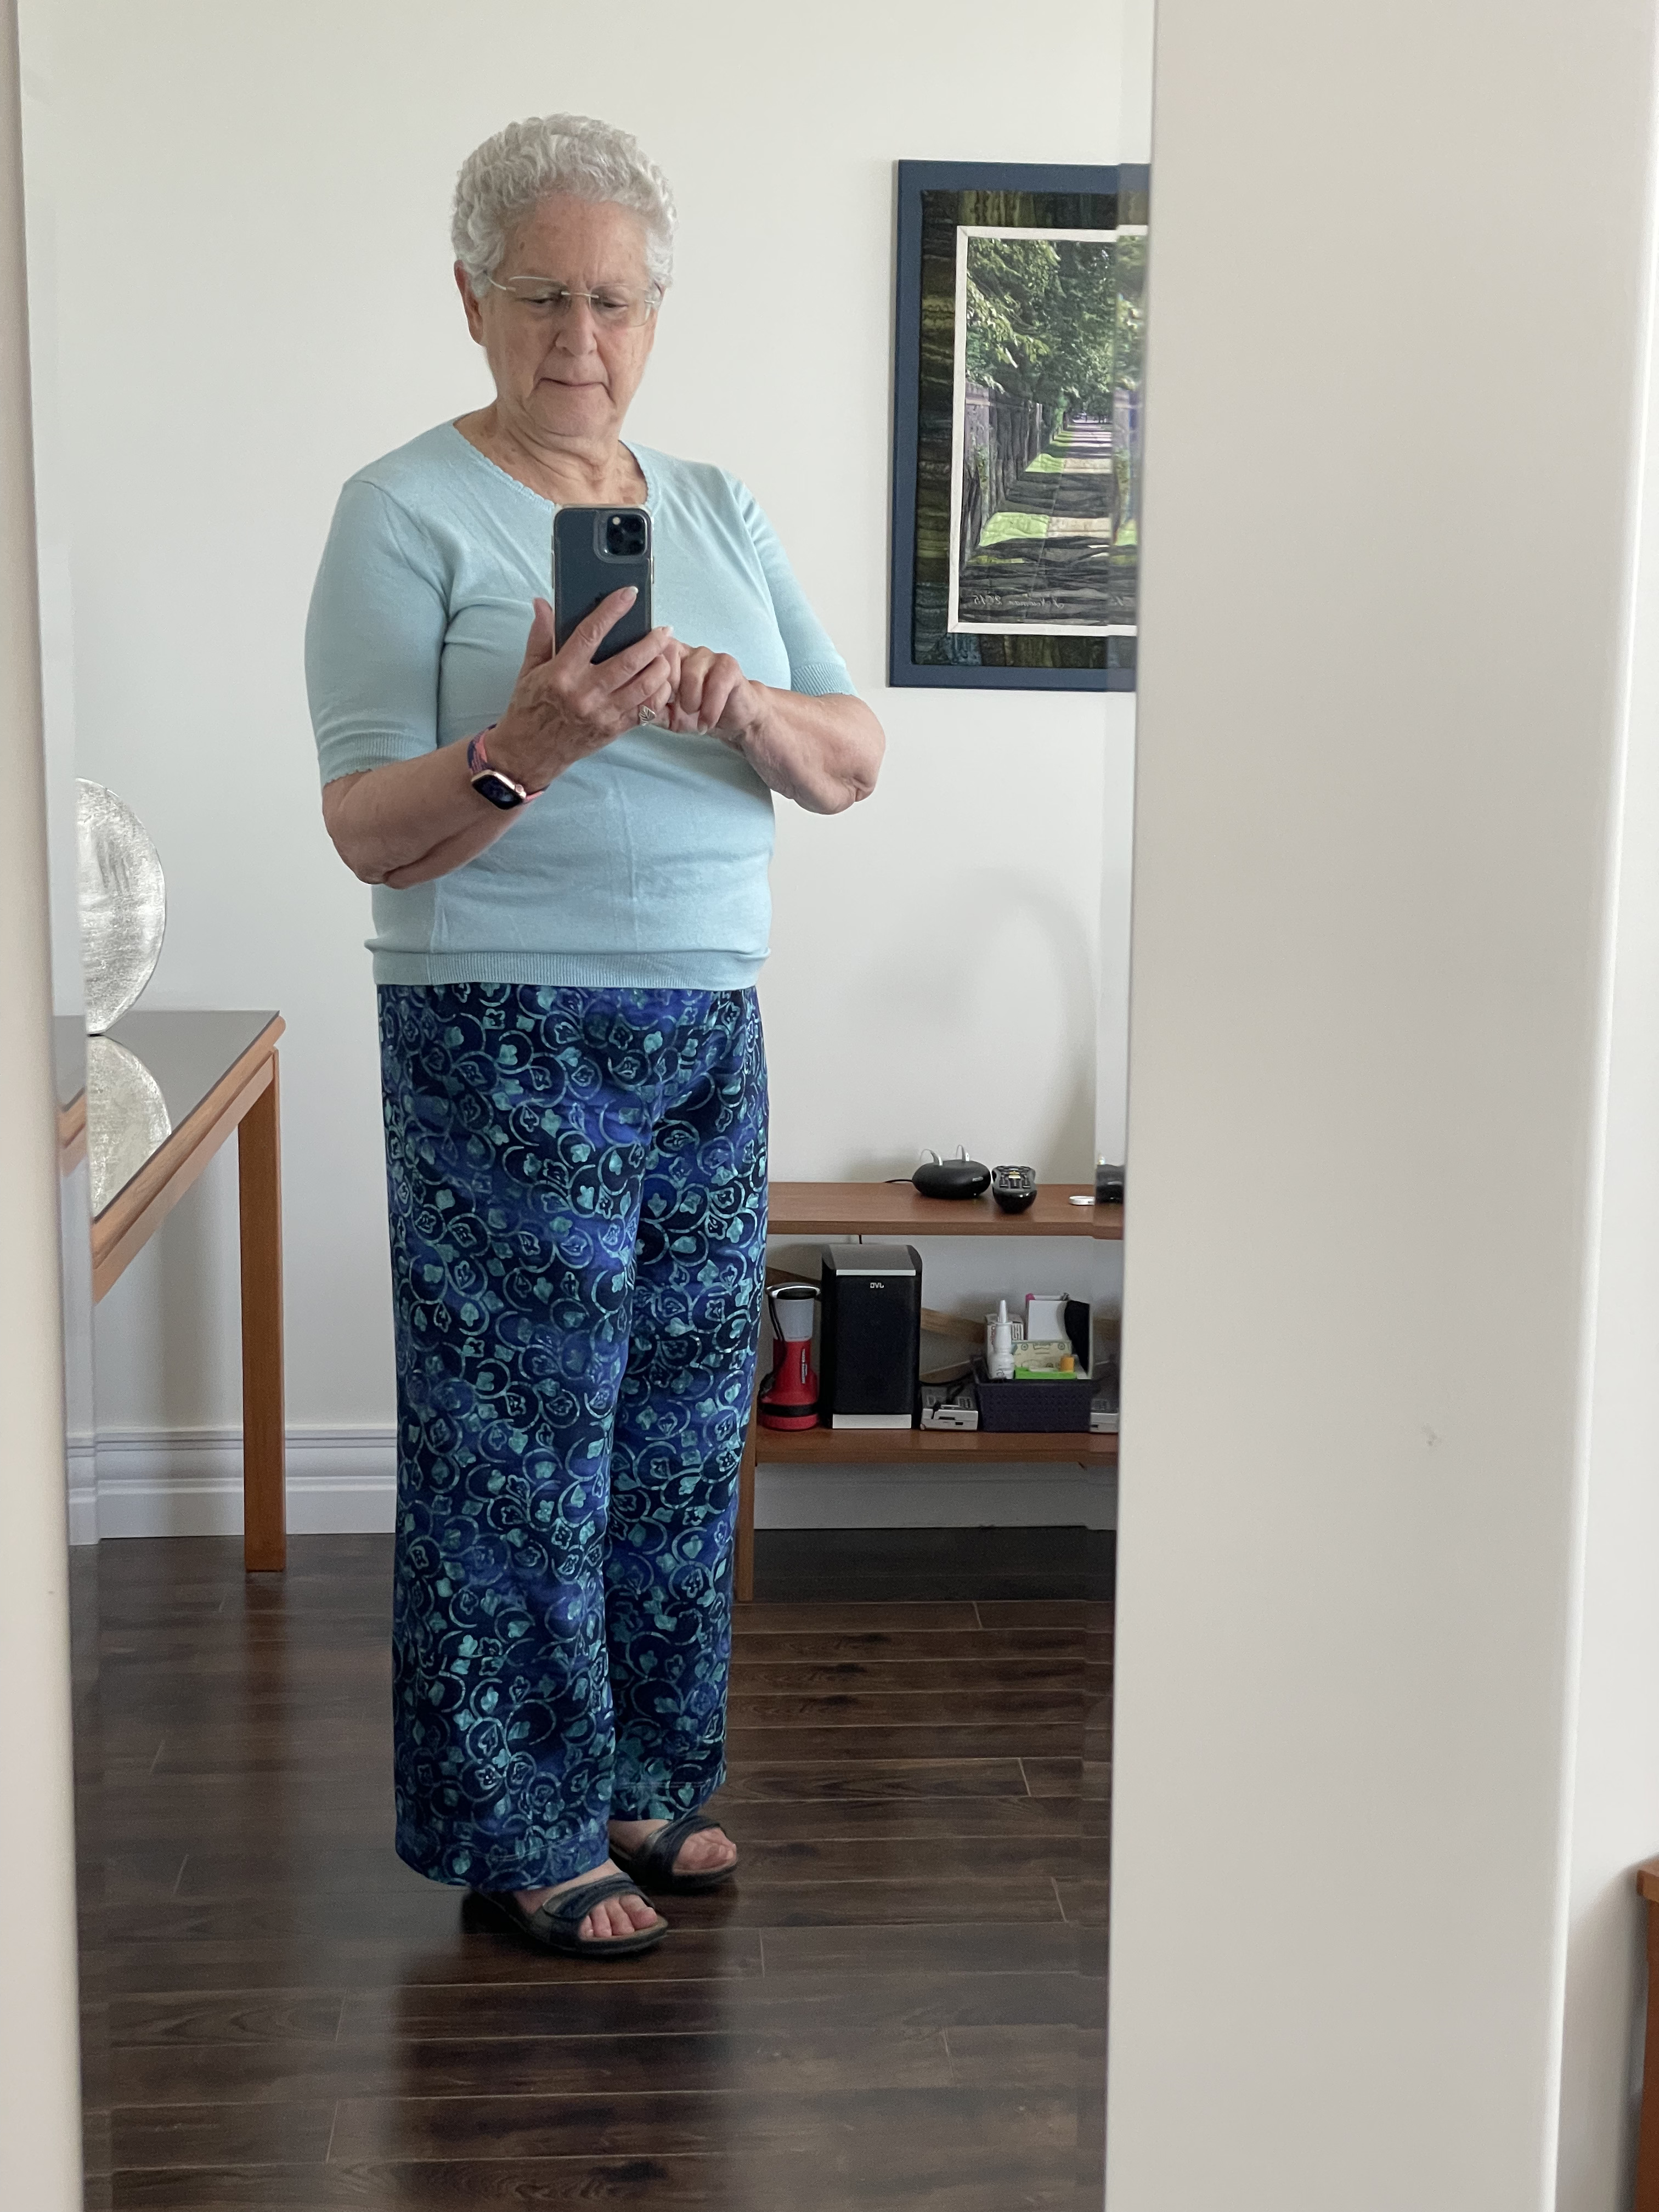
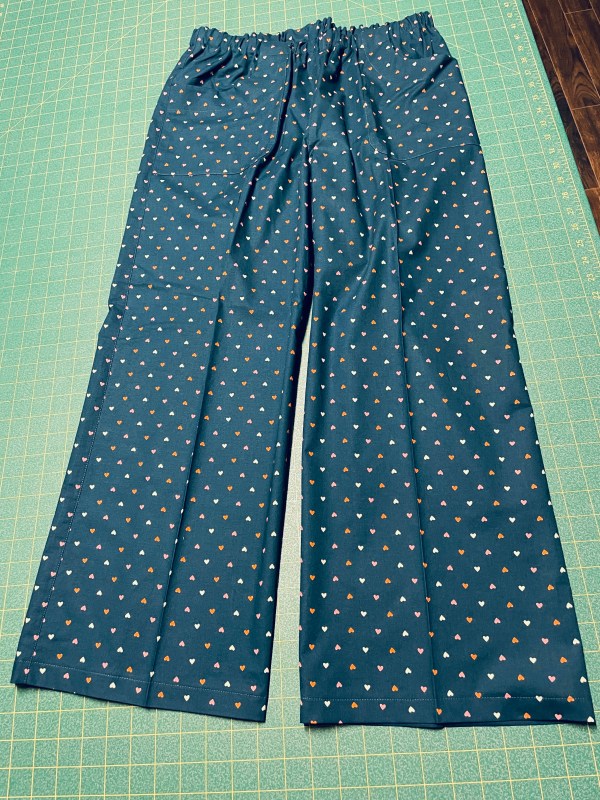
Using a Polyester/rayon knit fabric, I ended up with these:

Although you can’t see them, the front pockets are there.

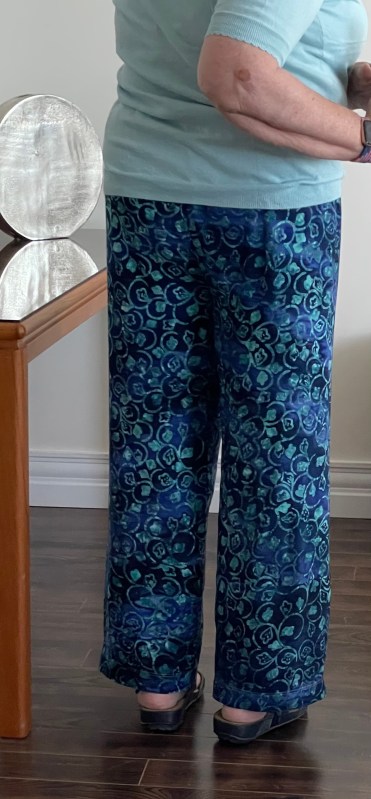
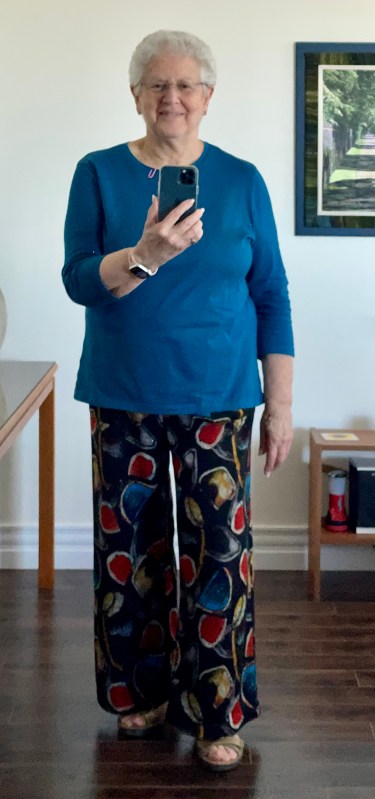
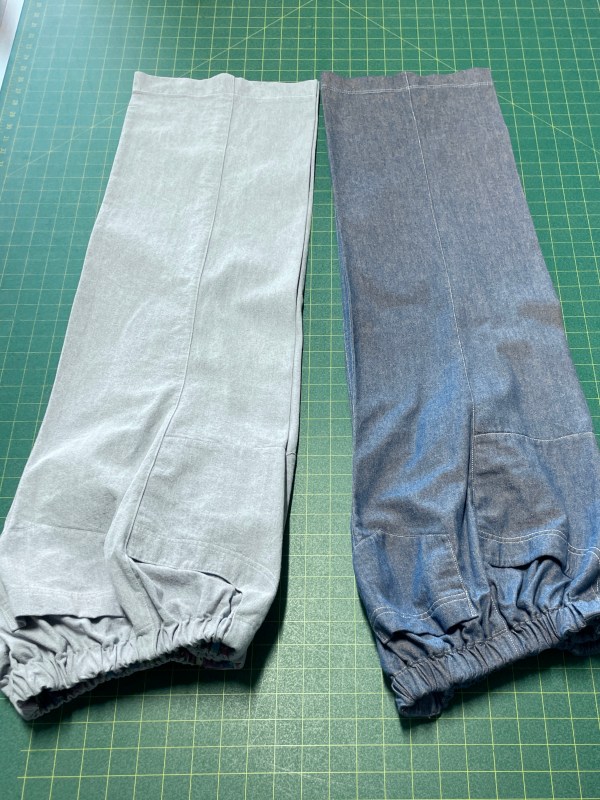
I made two pair of denim pants using the same basic construction but added a fish-eye dart down the centre back and shaped the side seam to narrow the legs a bit. I also added a back pocket to conceal the top of the fish-eye dart.

Then I tackled pants for Sally!

First I made a muslin from the Monpei pattern I drafted using Sally’s measurements (no pockets – although I added the waistband facing elastic, and hemmed the legs so I could gauge the fit). The crotch depth worked well, but the legs were a bit short. Next I made the pants for Sally adjusting the leg length and adding pockets.

The plan is to display the Monpei/pants in the shop so people have an idea of what they’d be making when they registered for the class. (I have a hunch Sally is intending to wear them!)

So I’ve been sewing, just not writing about it.

Monpei Finished

Just finished the pants. Simple to make, and I can tell these are going to be VERY comfortable!

I was careful to make the crotch gusset long enough that the inseam is straight. The pants are cut from two rectangles; two triangles (which become the crotch gusset) are cut from the top/sides – I couldn’t do that because my waist is the same as my hips. So I cut the two rectangles (leaving them as is) – I merged the front and back leg into a single panel – so no side seam – but making sure the centre of the panel was on the straight of the grain. I also merged the two crotch triangles into a single long triangle with the vertical of the triangle on the straight of grain so I end up attaching a single gusset, rather than two triangles (a narrow one on the front inseam and a wider one on the back). The widest part of the gusset triangle is positioned at the crotch depth position in my case 12″ at the back/11″ at the front. [Click here for full instructions on how to make a montpei. (Click here for the original instructions.)]

When I tried on the basted panels (with crotch gusset sewn in) I could tell the centre back was going to be too short (I could have adjusted it by dropping the crotch gusset but instead I added a back yoke (2″ at the centre back grading out to the sides); I left the front crotch depth as it was. (I also took in the waist 2″ at the centre back – I didn’t need the extra fabric to pull the pants on.)

Because I wanted to add front pockets to the top of the panels I added them at this point; however they should have been sewn on while the panels were flat – to stitch them I measured 3 1/2″ from the centre crotch line marked it with a Frixion pen, turned the pants inside out so I could stitch the pockets with the panel “relatively” flat. Because the monpei have no side seam, I stitched down the side that would have been included in a side seam.

I created a facing for the waistband, attached it, strung elastic through the sleeve that created. I finished by top stitching the doubled over hem.

Done.

Here are the pants with my shirt tucked in so you can see how the top fits and the pocket detail which is hidden when the top is on the outside.

Although these pants have an unfitted straight leg, they fall nicely from my bum. The wider leg is easier to sit in, and the hip, while snug, is plenty wide enough to permit bending over.

BTW, I finally figured out how to get a reasonable photo of myself – I have a tripod which I set up so I didn’t have to focus the camera on my phone, I just had to press the shutter button on my watch – letting the camera remain focused and steady! (Duh… Don’t know why I didn’t occur to me to use the tripod before. Makes getting side and back pictures much easier!)

Because these montpei fit so well, I’m going to take the time to draft a sloper with the two crotch gusset triangles integrated into the inseam thereby eliminating the gusset (as they are on a regular pants pattern). I will adjust the centre back taking it in at the waist and extending the back crotch depth. My inseam seems to be about 26″ in these pants. I will set leg length at 26″ + 1″ for the hem. I’m curious to see how these would turn out in something like a light weight corduroy.

The finished fit is definitely the best I’ve encountered so far! This may be the starting point for any pants I want to make for fall!

On Fitting Pants

Donna DeCourcy wrote me today

“I look forward to your progress on pant fitting. Currently, I make all my own clothes and am frustrated by pants. I enjoy your blog immensely and finally changed my password and made the roundabout route to get back to finally making and leaving a comment!”

I answered her:

  • jmn Donna, pants fitting and making is difficult and frustrating because you’re working from a flat piece of paper and you’re trying to create a garment that is curvy in a number of different locations that are different on every body, and your body changes constantly!
  • You can’t count on a pattern you got to work once to work with a different fabric that has a different weight or a different amount of give (stretch). You can’t know for sure a pattern you made six months ago will fit you today! Unlike a top or a dress or a skirt which fits more loosely, pants (particularly today’s styles) fit closely, so there’s not much forgiveness in fitting – they fit and are comfortable, or they’re not and you start over again. 
  • I’ve been chasing patterns and ideas for fitting pants for at least 30 years! At the moment, the closest I’ve come to getting a pattern to work is “Top Down, Centre Out” which fits the waistband first, then drapes the pants pieces from that, making the adjustments in the toile/musin as you’re making the pants.
  • That’s why I just make “wearable muslins” (prepared to discard the project) because as far as I’m concerned each new pair of pants (from the same pattern) is still a work in progress, never a sure thing.

I added another comment later:

Monpei #2

This pair of pants is a Monpei: Here’s how I made them: https://jmncreativeendeavours.ca/2021/07/25/the-japanese-monpei/

You might want to give this idea a try. It’s surprising how well they hang on me! I’m about to make another pair from some Japanese katagami fabric I’ve had for a couple of years.

The Japanese Monpei

The Japanese monpei are working pants constructed in such a way that there is no waste fabric – you cut triangles from the waist area which you use for the crotch. It works – with a few caveats!

This gives you an idea how the pants are constructed. Click here for a link to the original set of instructions. (I’ve added notes and some numbers to the instructions – click here for my additions.)

Here’s what they look like finished.

The Front
The Back

This is actually my second try – I followed the instructions for the first try – cutting triangles from the “top” of the rectangle panels (3 1/2″ for the back crotch gusset; 1 1/2″ for the front crotch gusset). Because the panels use your hip measurement to calculate the width the waist on my first try was WAAAAY too small.

Fortunately, I had enough fabric left that I was able to start over – this time working with the complete rectangle (because my waist is almost the same as my hips) and cutting a single gusset for each leg (constructed by making the front and back gusset pieces into a single gusset piece). However, I didn’t have quite enough fabric for the legs – I cut 12″ from the bottom of the first try and added them to the bottom of the legs on this second try to give me enough leg length. I was going to do some decorative stitching to make the seam appear to be intentional but in fact you don’t notice the leg lengthening seam so I’ve left well enough alone.

I used rayon fabric I bought in Bali in 2014 (where do the years go!). It’s a lovely weight and drapes nicely. I’d say the monpei turned out rather well. I have to look at some of the other rayon in my stash and see if there’s enough of another piece for a second pair of pants.

I didn’t quite follow the instructions – I didn’t cut fronts and backs of legs separately, I cut single panels for the front/back leg – no side seam. A next pair will have a side seam because I want to add front pockets and they’ll work best if they side of the pocket is incorporated into a side seam.