I completed the purple placemats yesterday. I’d set them up with batting and backing when I finished the bright ones, but I didn’t get around to sewing them together, turning them right side out, and stitching in the ditch along the seam lines. It’s not like I have use for them – I do so little entertaining these days where I might use new placements on my glass table. These have gone in the drawer along with the other two sets of “Stack ‘n Whack” placemats I now have on hand. I’ve made them to display in Sew With Vision to advertise a class in the fall. Once that’s done, they will likely be given as gifts.
I don’t need another set of placemats, but yesterday I took several quilts and other projects to Sew With Vision to show the new owner, Sally, so we could talk about classes for the summer and fall. The set of placemats I took with me I made several years ago and they wouldn’t catch anybody’s attention. They’re pretty dull.
Original Placemat Tops
These stack ‘n whack fat quarter placemats are a novice quilter project. I decided to make a new set to display in the shop to entice some novice quilters to take a class to learn some basic quilting technique – precise cutting (with rotary cutter), sewing precise 1/4″ seams, chain piecing, pressing seams to nest joins and sewing the nested seams.
I picked four batik fat quarters from my stash (who knows, maybe these are also dull!). I started by pressing each fat quarter then I stacked all four, cut the pieces all at the same time, last evening. It probably took me an hour to press, stack and cut the fat quarters.
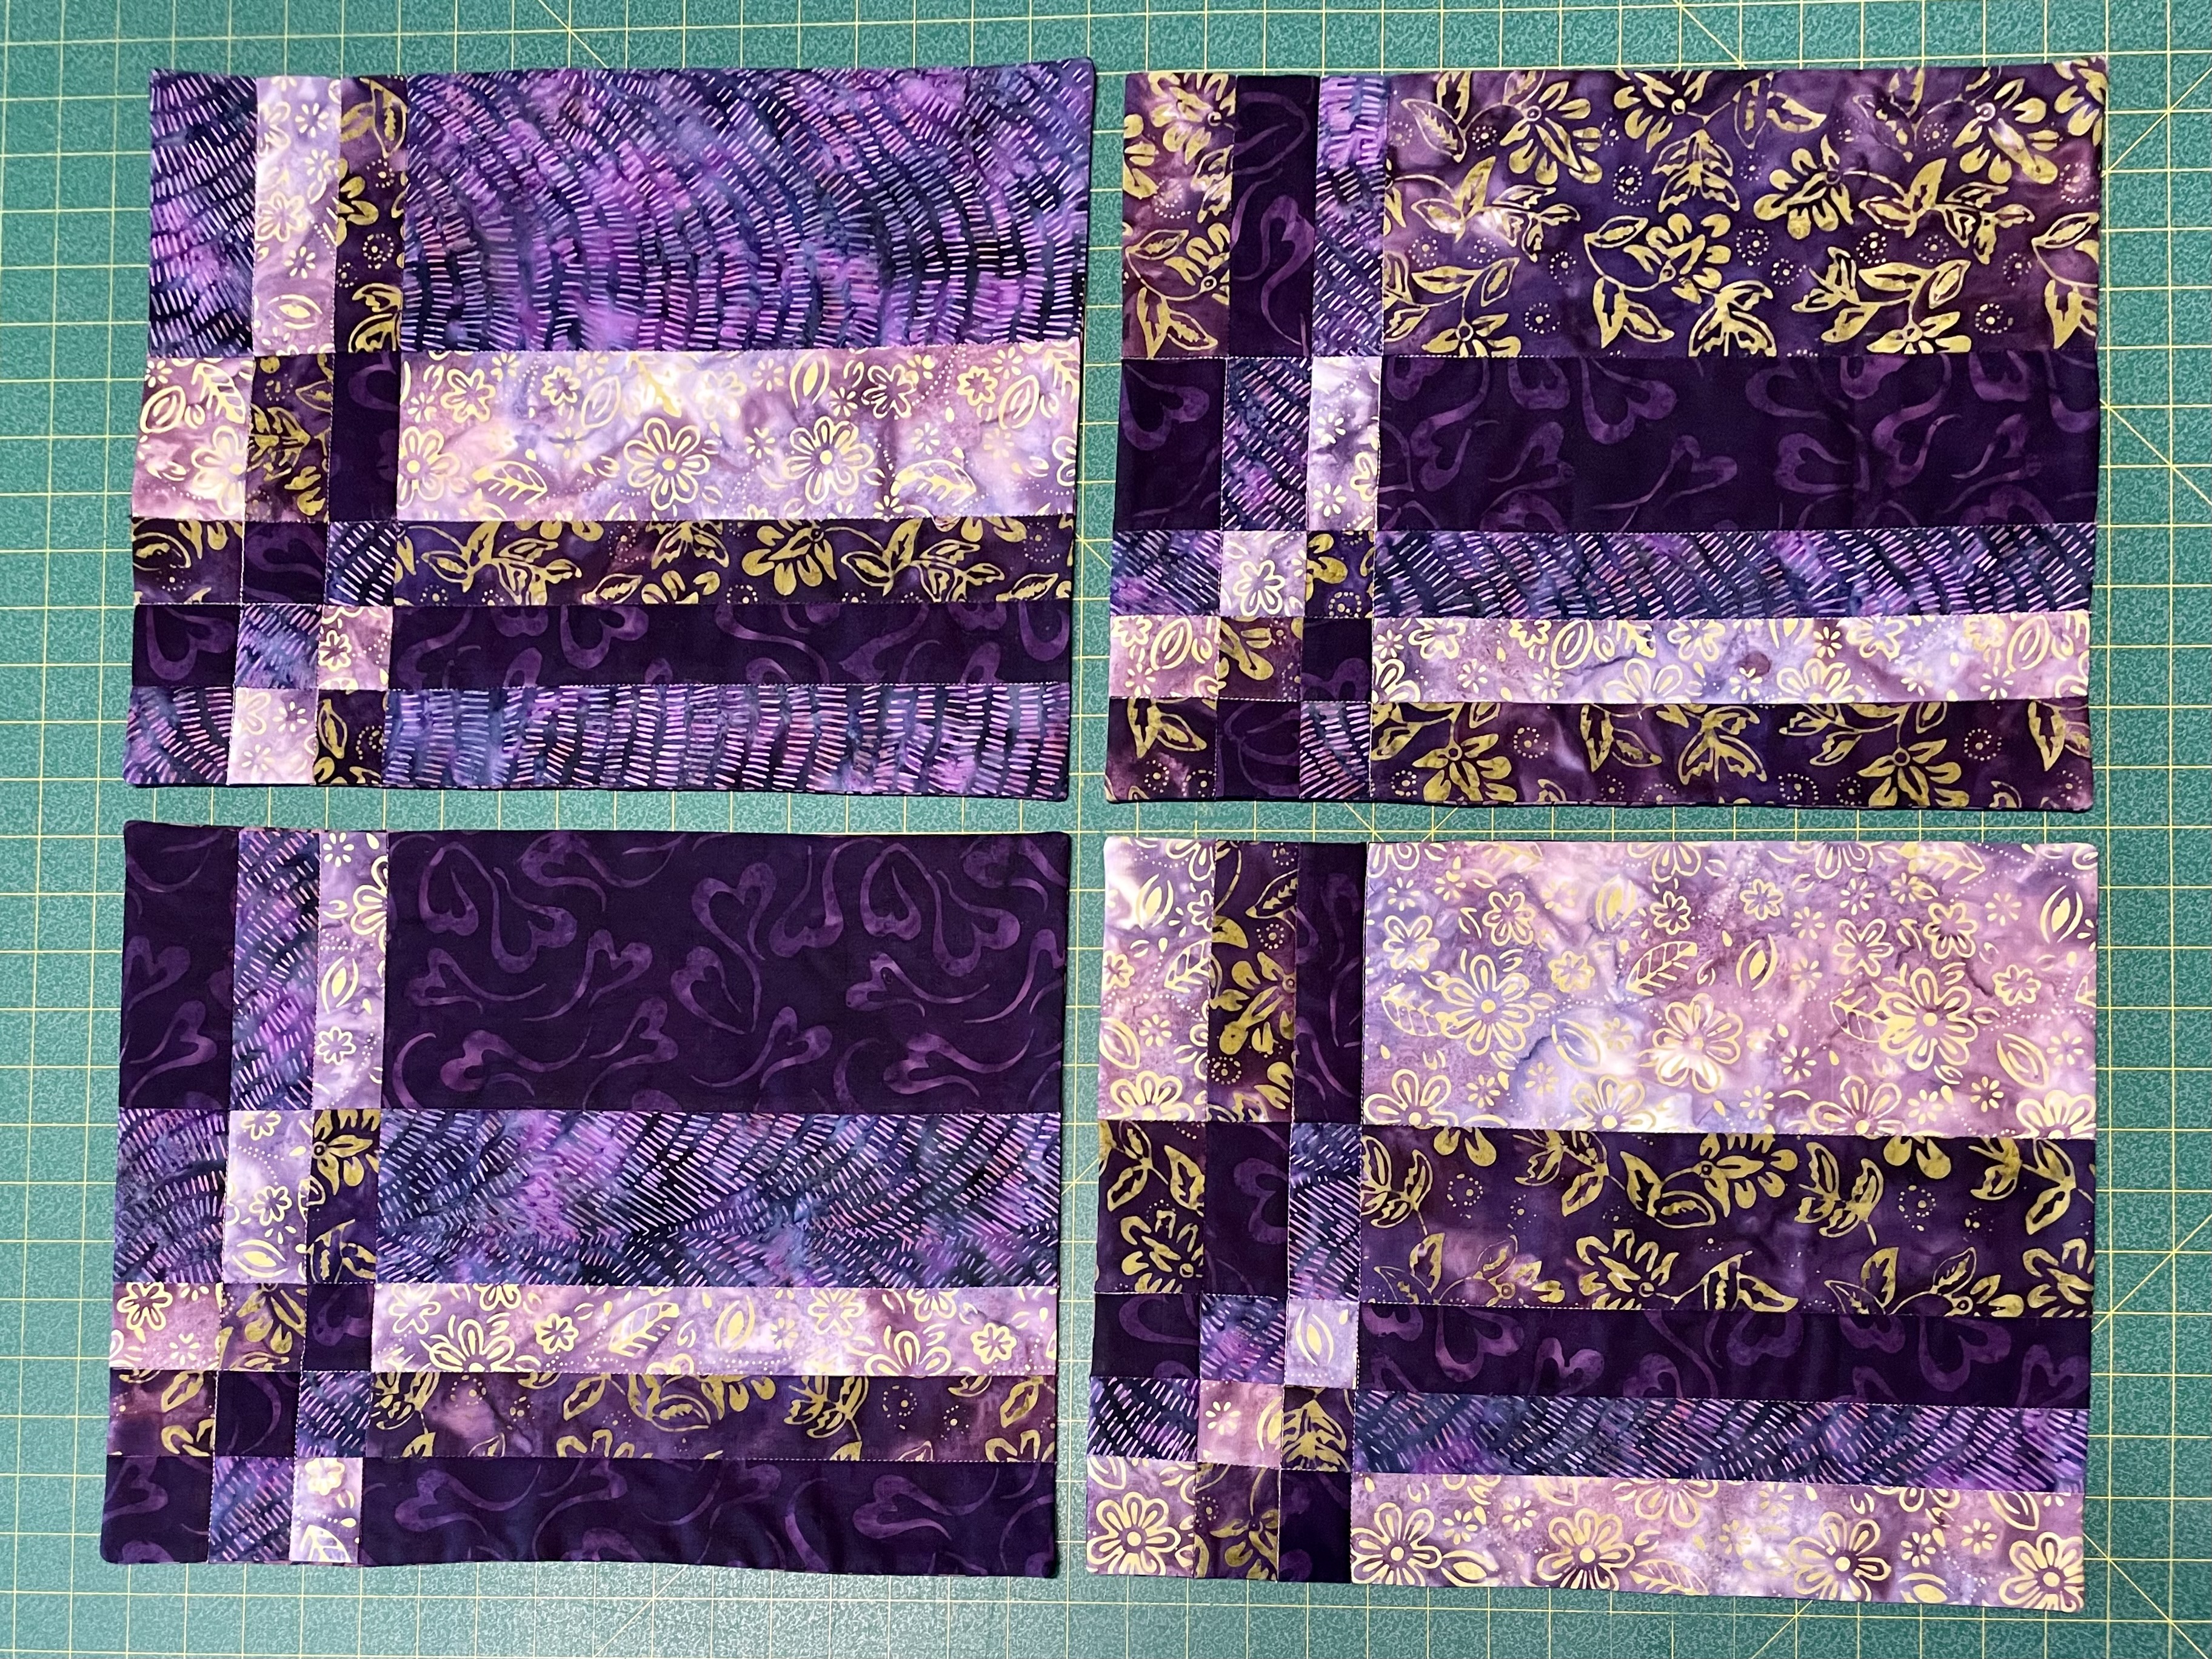
Fat Quarter Placemats
This afternoon, I laid out the pieces for each placemat, making sure my layout was the same for each one. Next, I laid adjacent pieces together and pinned them, then I piled the pinned pieces on top of one another. To sew, I used a “production” technique. I chain pieced as much as I could in the first pass – I stitched the adjacent pairs of pieces in the “rows”, pressed the seams to one side, then sewed the two parts for each row.
When I finished sewing and pressing all the rows, I laid out the placemats. I picked up the rows for one placemat, making sure the seams in adjacent rows were pressed in opposite directions so I could nest seams as I joined the rows. As I stitched, I made sure the joins did nest as I sewed them.
I pressed each placemat when the sewing was finished.
Now I need batting and backing to complete the placemats. I’m still deciding whether to quilt them just by stitching-in-the-ditch along the seam lines, or whether to quilt them in the hoop with a simple design.
These placemats could be sewn together to make a table runner. Or you could use the idea to make a quilt top. The placemats are simply an excuse to hone technique. As I explained to Sally, I don’t teach a project, I teach technique – I use projects as a vehicle for becoming a more experienced sewer or quilter.
Just finished the set of eight placemats for Andrea’s kitchen. I don’t have a picture of her kitchen but the tile floor is grey/white, cupboards are dark brown, countertops also white/grey granite, and there’s a dark red sofa in the family room. Hence my colour selection.
This set of placemats used eight fat quarters (a fat quarter is half of a 1/2 m of fabric rather than 1/4 m from the width of the fabric). They are stacked and cut into pieces (the pieces from each fabric are all the same size and shape), then you mix and match to create the placemat. Very efficient use of fabric – very little left over.
Finished dimensions: 17″ x 13″ – a good size for a placemat. I used a brown/brown printed fabric for the reverse.
I could have completed the placemats with a binding but used a “pillowcase” finish instead – stitched the quilt sandwich in the following way: back fabric wrong side up, pieced top fabric right side up, batting. The edge stitching starts part way along one long side, and edge side, second long side, second edge side, and finally part way on the other end of the first side leaving an opening to turn the placemat right side out. The small opening (~ 4″) is blind stitched closed. I just like the look of the placemats unbound.
The quilting: stitch in the ditch along all seams both horizontal and vertical; very quickly done.