Having just finished the half square triangles quilt I wanted to link to the “magic squares” quilts – I did three of them but it seems I only wrote about one of them. So I thought it would be interesting to juxtapose all three of those quilts.
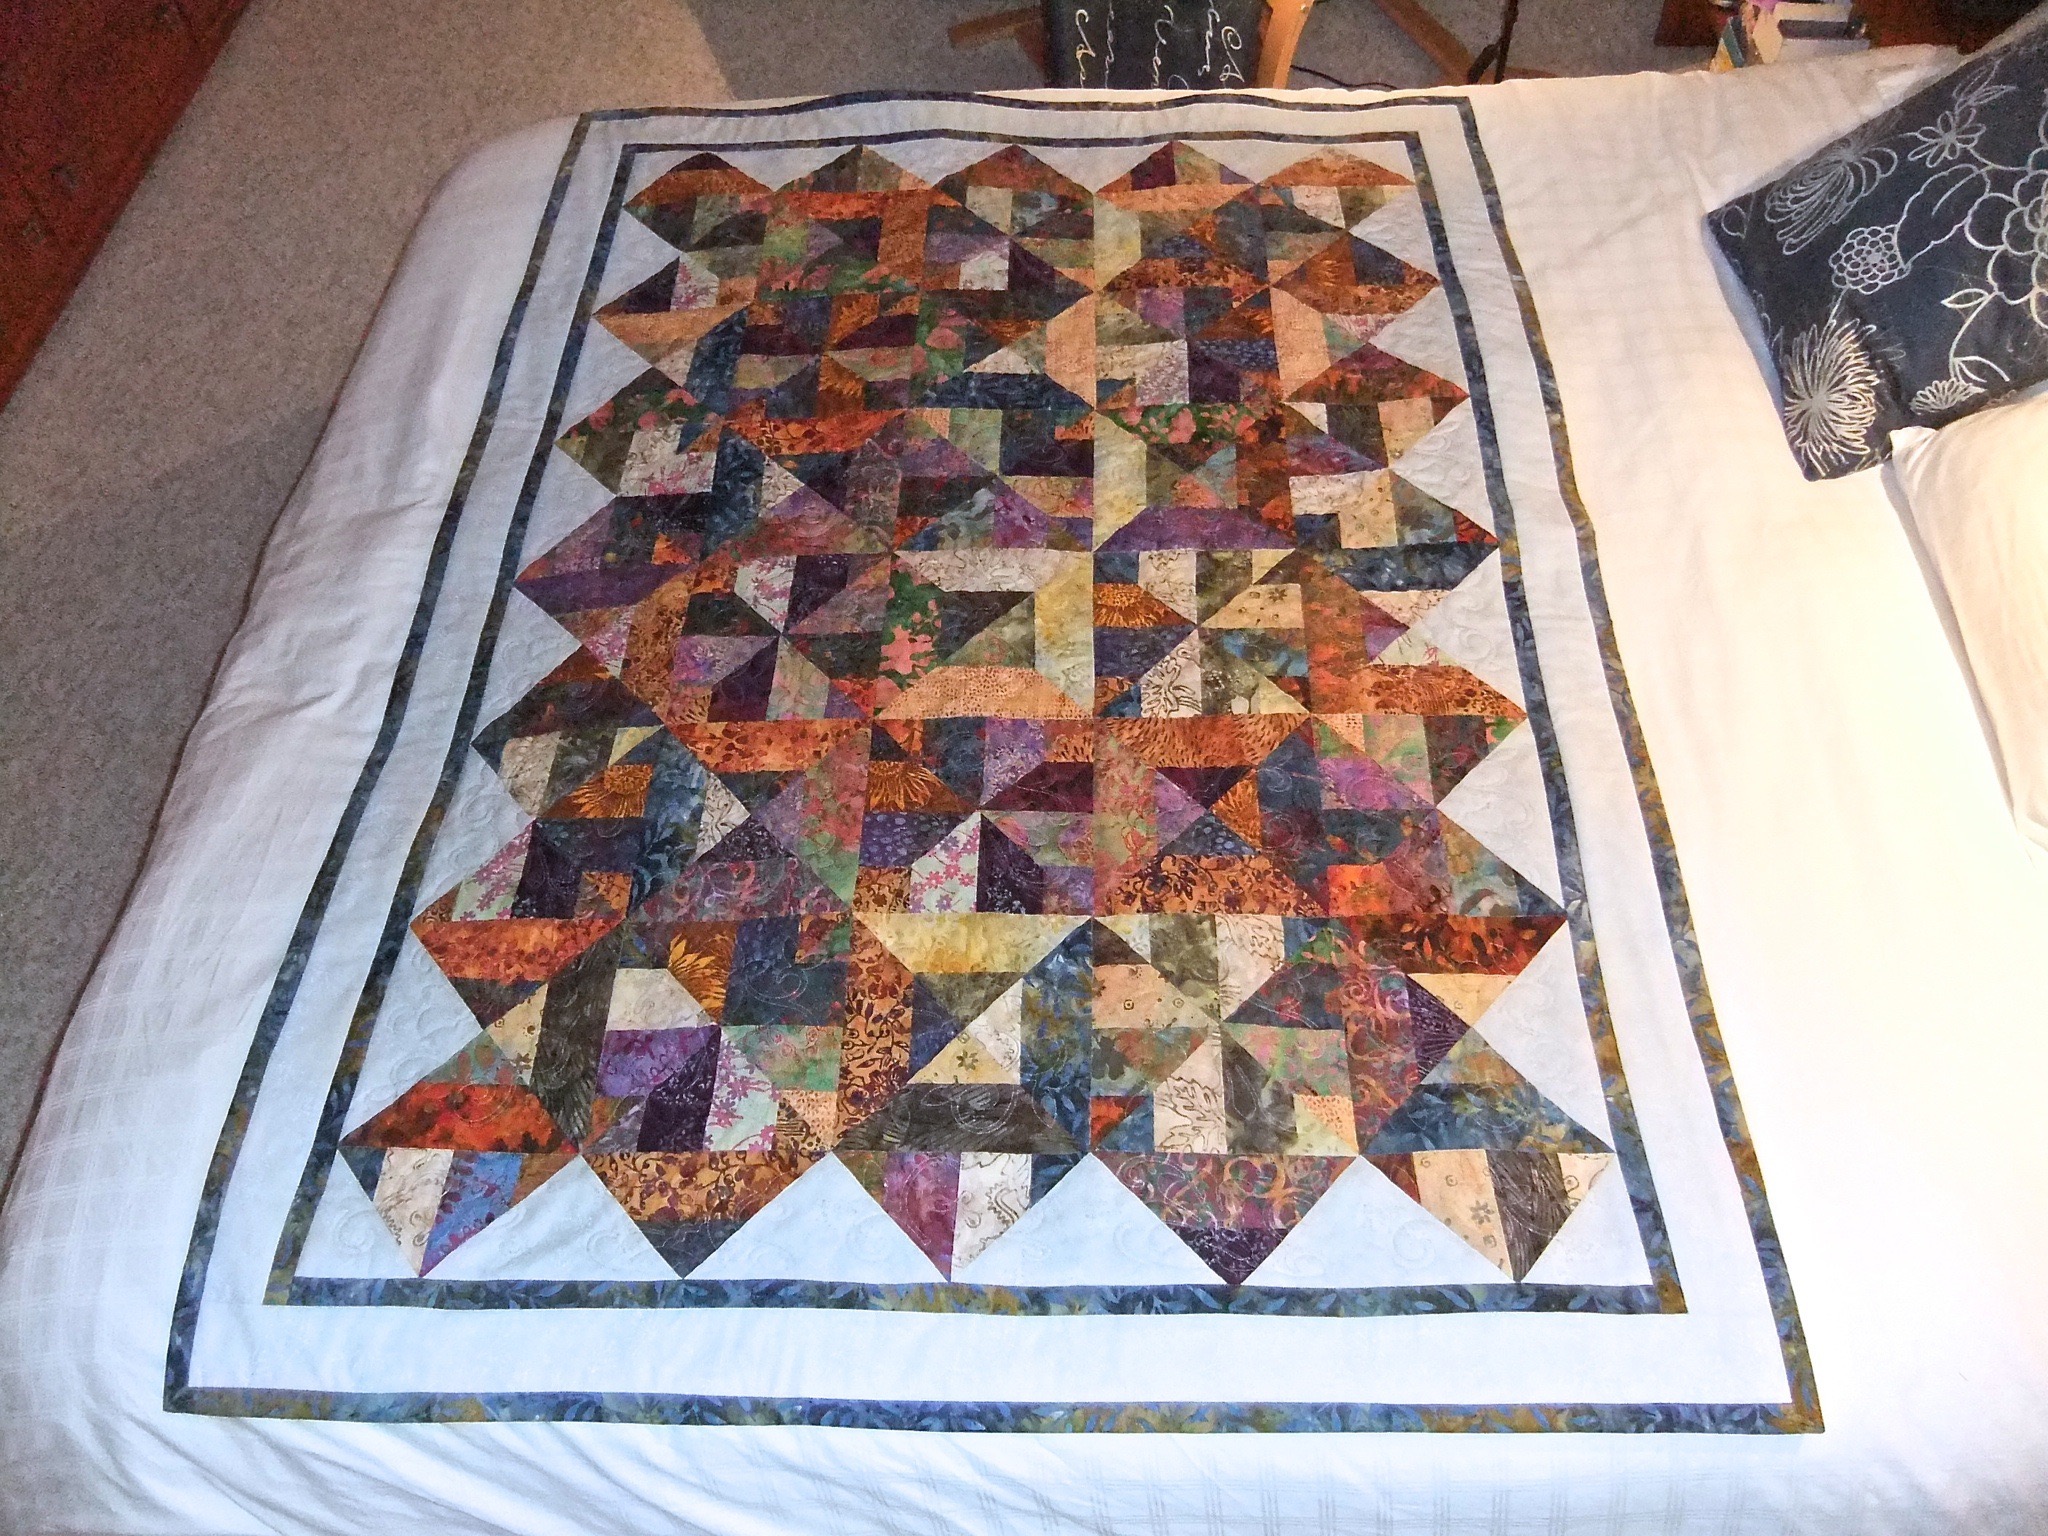
Here’s the first:

This quilt was made from leftover jellyroll strips (I had a collection in shades of blue/turquoise and rust/gold/beige)- sewed 4 strips together not paying much attention to the colours I was picking up as I went along, cut the panels into 8 1/2″ blocks, put two blocks right sides together (strips at right angles), sewed around the outside, cut along the two diagonals – resulting blocks were 4 1/2″. I arranged them on the diagonal being careful to alternate the orientation of the blocks to get both pinwheels and squares. Added background triangles to square off the edges and two borders – a narrow one and a wider one.
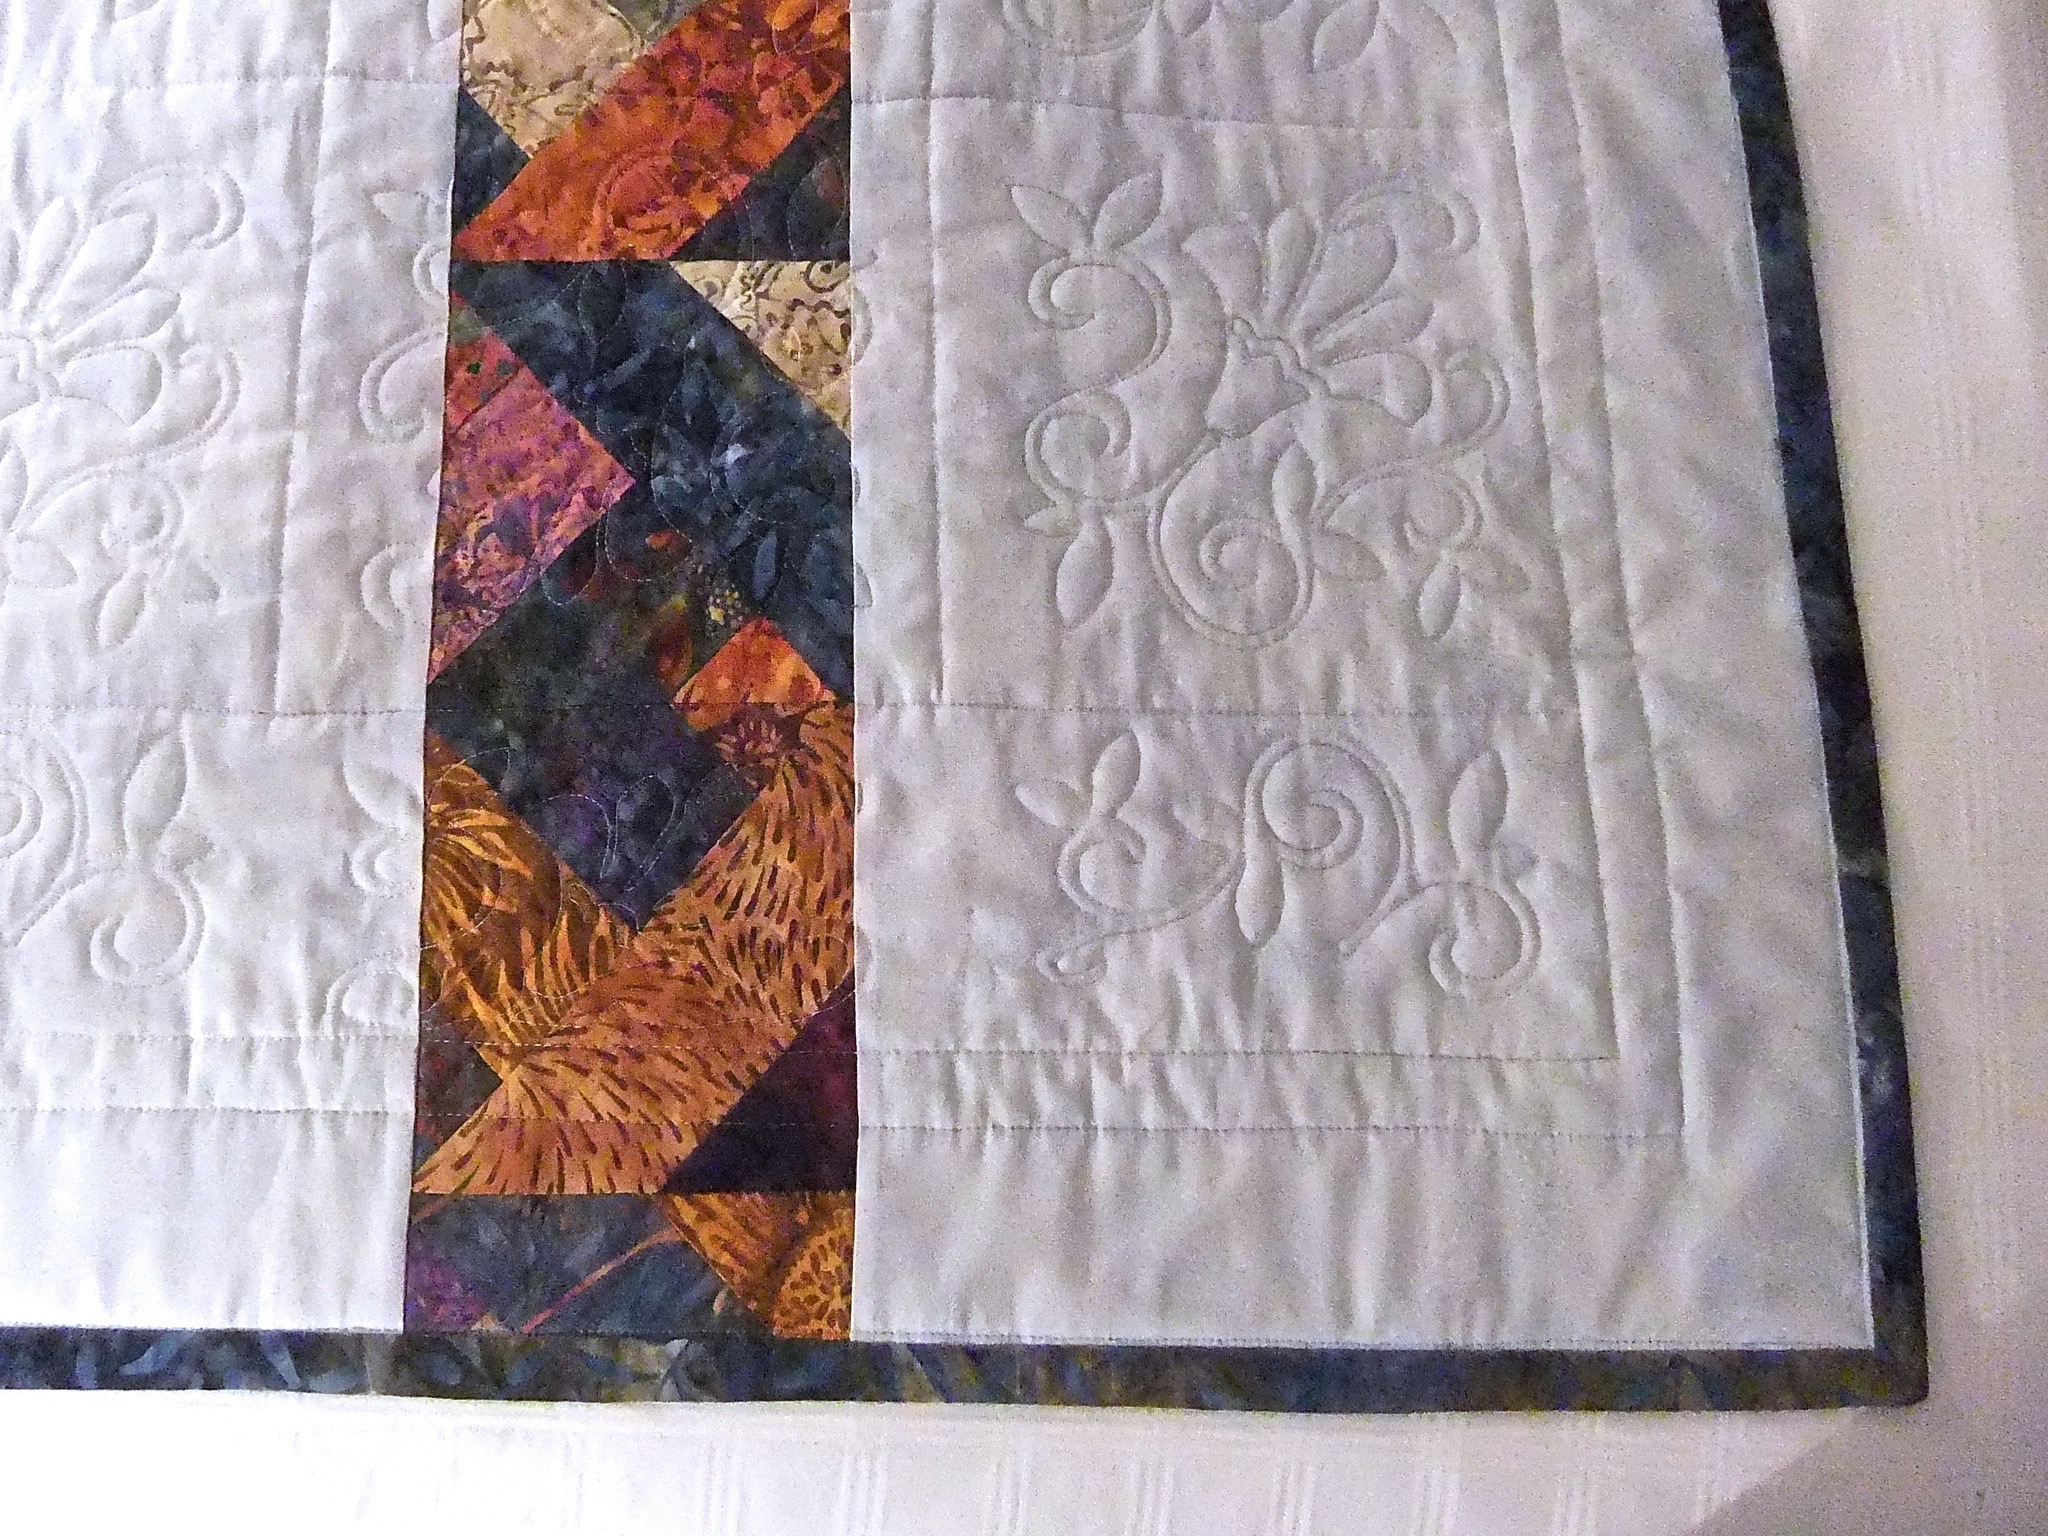
The quilt back was the same fabric used for the background on the front with an added strip created from leftover blocks so the back would be wide enough.

While I was finishing this quilt I could see quite a few other possibilities for layout and contrast so I did a second quilt using the same technique – cutting 2 1/2″ strips from a “scrap bag” I’d bought from Keepsake Quilting (each scrap bag contains twelve 9″ width of fabric strips in complementary fabrics).
Here’s the second:
In this quilt the fabrics are subdued, all in a single pallet, with two fabrics of a bolder pattern giving some contrast. This time, I stitched the 4 1/2″ blocks on the straight which gave quite a different overall effect.
 On the back, in addition to the pieced strip, I added a narrow contrast strip just to create a bit more definition on that side.
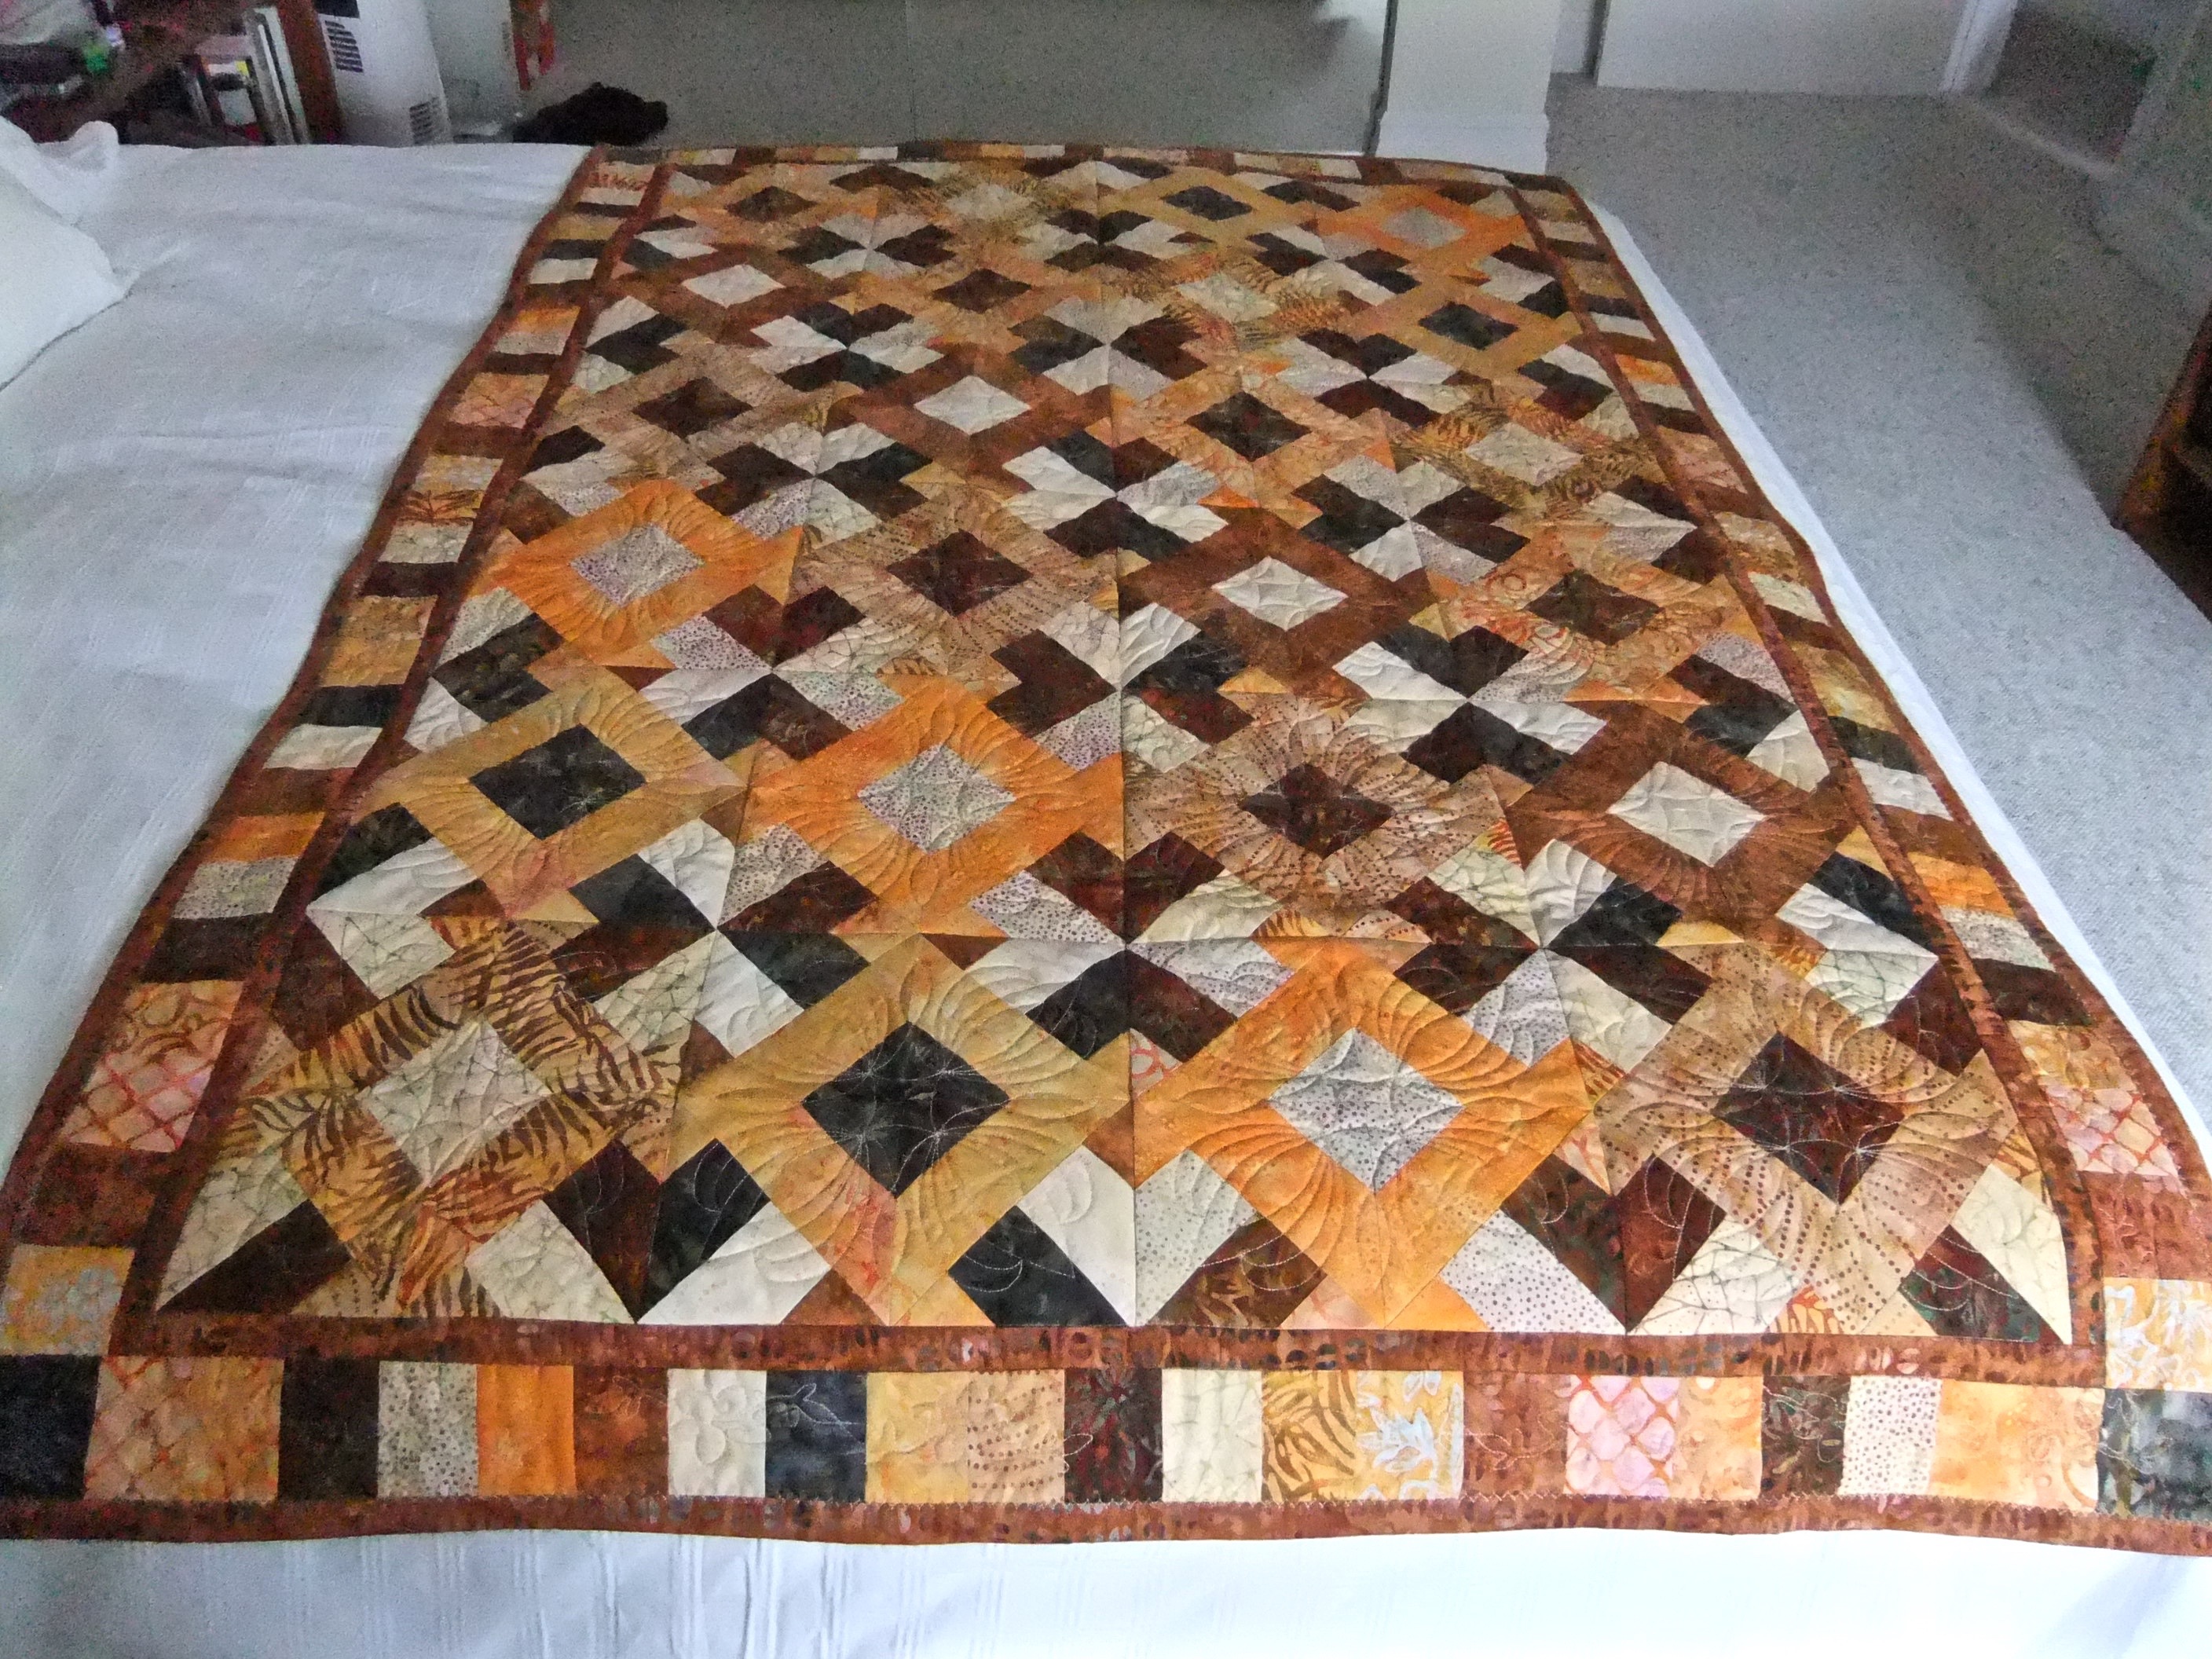
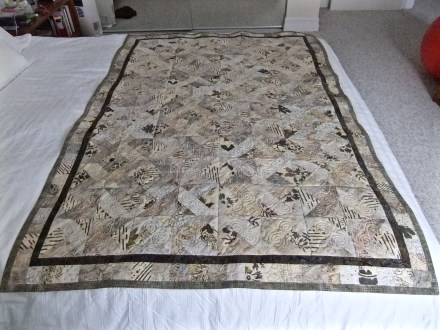
Here’s the third:

This quilt was made from another “scrap bag” – the fabrics this time were in shades of rust, brown and beige (I did have to swap out a couple of the fabrics from the scrap bag for something else in my stash that coordinated better with the set). Again, I arranged the 4 1/2″ blocks in straight rows (9 blocks in a row) taking care to stagger the resulting larger blocks, which formed squares, in rows that created a noticeable diagonal – you can see that in the photo if you follow the orange squares from the middle left to the bottom.
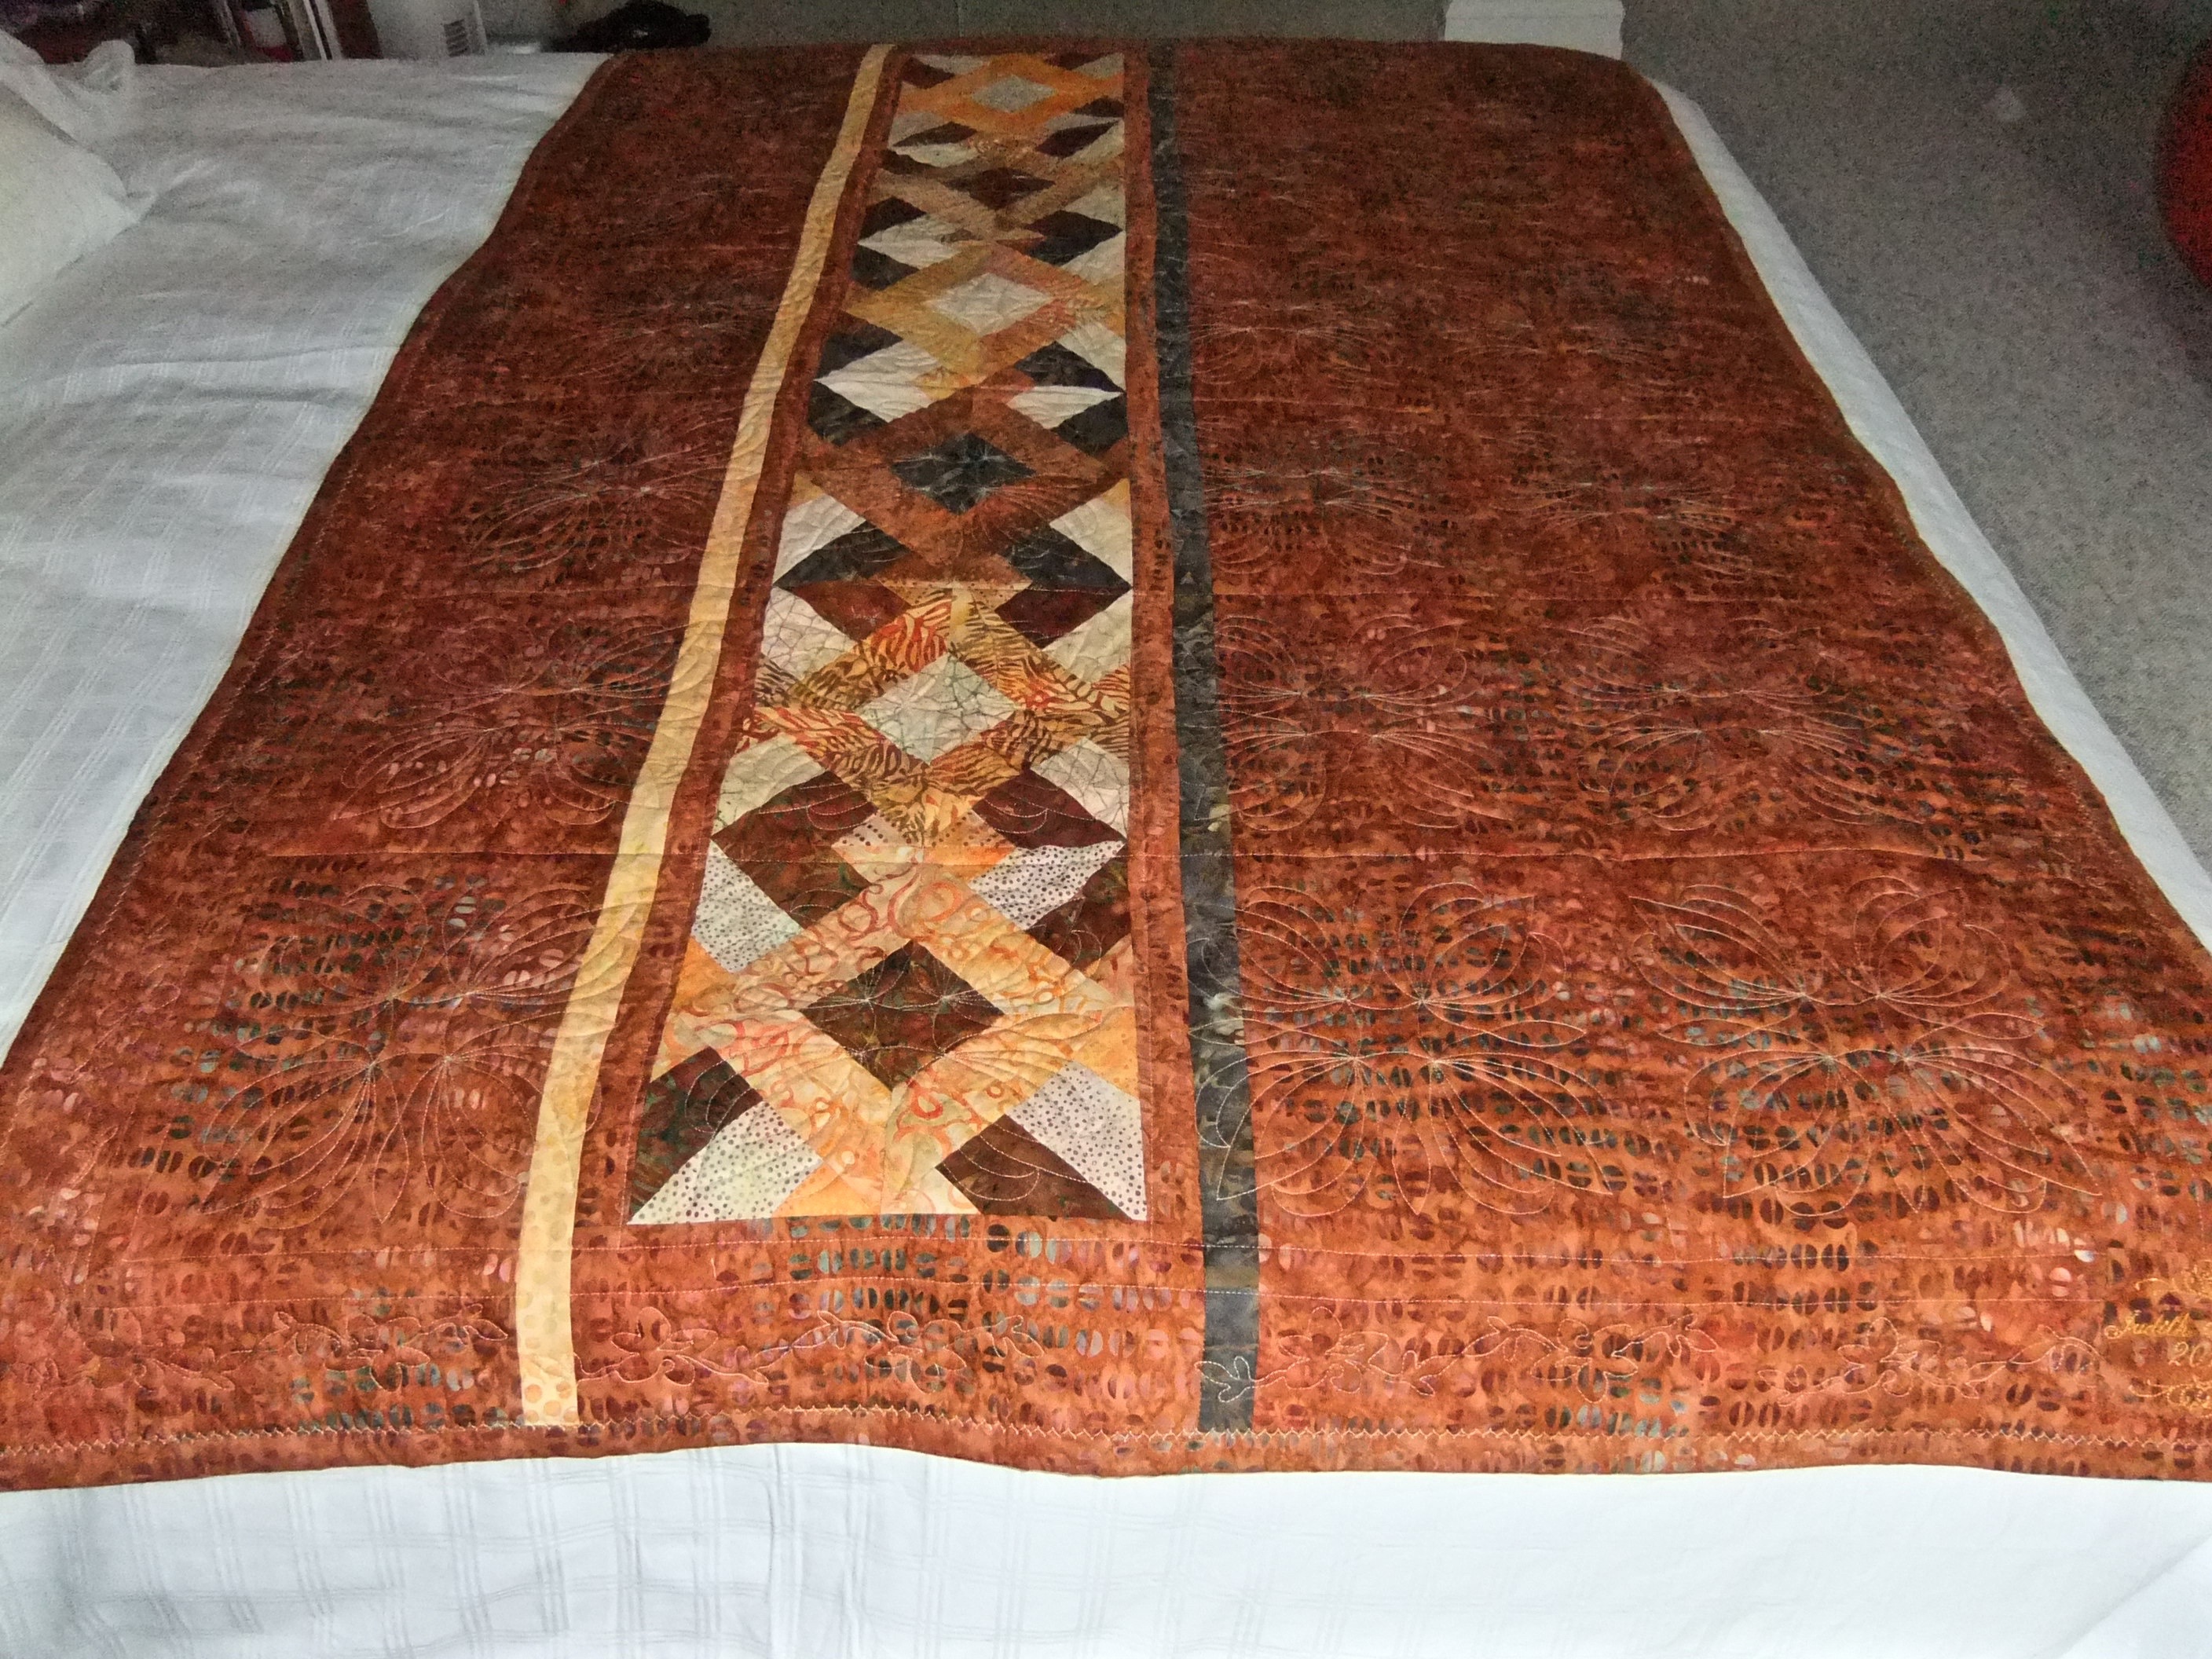
To make the quilt the final size I wanted I added a narrow border of the backing fabric, and a wider border pieced from the fabrics used in the blocks. The back consisted of a wide strip created from leftover blocks, a 1″ sashing of backing fabric on each side and two contrasting stripes. The way in which the blocks were constructed is obscured by the final layout – so a simple technique produced a rather complex design!
I can think of many more possibilities with this “magic squares” technique – just depends on the range of colours used for the strips and the layout of the resulting blocks. I haven’t tried it, but I wonder what the design would be like if instead of cutting along the diagonal, after sewing two 8 1/2″ blocks together, I cut unequal blocks on the horizontal and vertical?
I need to look at the jellyrolls I have and think about what I might do with them.