Here it is – just completed. A tiny bit wider than the original tools organizer but I was reluctant to make it narrower since I wasn’t sure how much width I was going to lose when I added in the zipper sides. Big-ish isn’t a problem, too small would have been.
So you can see the welted zipper opening on the front. What isn’t obvious is my name in the lower right – I chose the wrong colour embroidery thread! Instead of the lime green I should have used a golden orange (up close you can see the name, it just doesn’t hit you in the face).

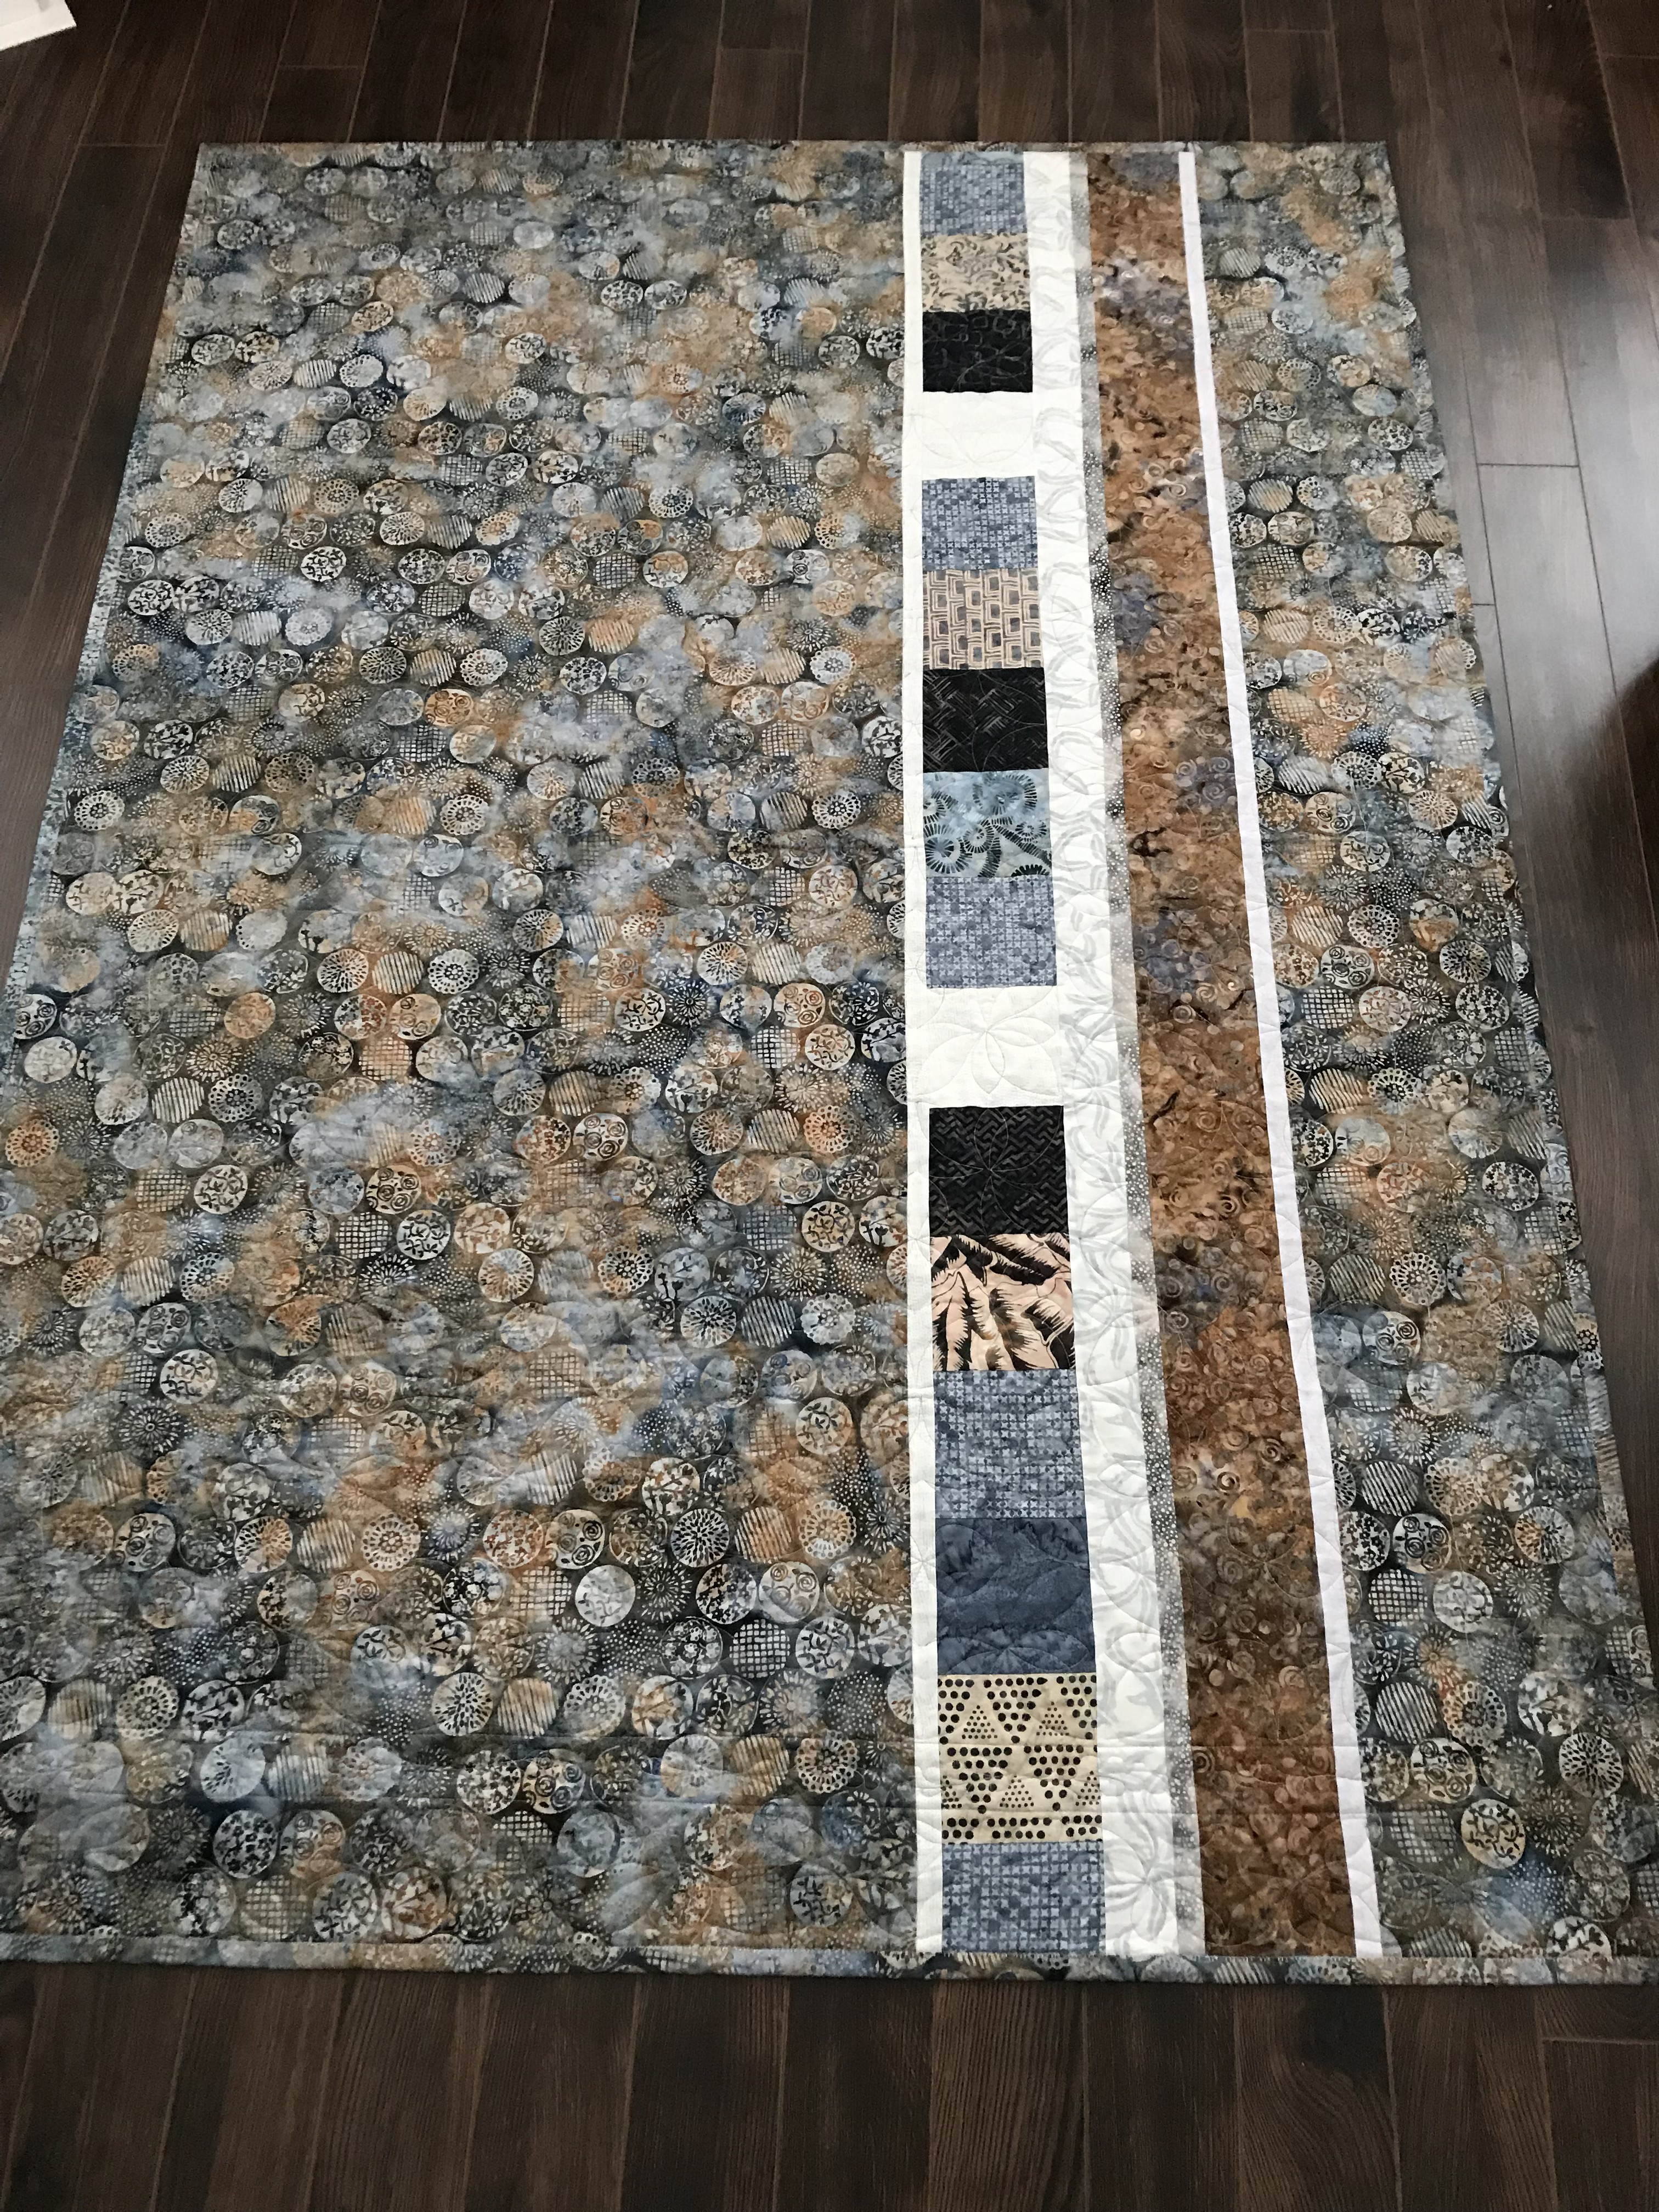
New Exterior Case
The pattern (which I linked to yesterday – scroll down the blog entry) was helpful for dimensions and some overall construction suggestions, but because I wanted elements between outer and inner fabrics I couldn’t quilt the pieces and had to carefully think my way through construction. Not having the outer and lining fabrics on the sides not quilted was a bonus – it helped with zipper installation because I could apply the zipper to the outer fabric, then add the lining enclosing the zipper seams.
Applying the binding was a slow process – having to stitch through anywhere from 8-12 layers of fabric meant I needed to take my time although the machine handled the job perfectly well (with a new sharp universal 90 needle). In the end, I’m happy with how the binding turned out.
Here’s the interior:

Interior With Tool Pages From Original Organizer
The point of this project was to create a new case for the tools organizer – the original “pages” of pockets were fine – they just needed a new cover. Since the pattern has directions for making these pages, I may actually attempt one more – the cover is loose enough to accommodate another. What isn’t visible are the two pockets on the inside of the organizer covers – one zippered, one closed with some velcro.
Although I suspect many of the sewing ladies at Sew With Vision would be interested in making an organizer for themselves I have a feeling the sewing around these small round corners to apply binding is more difficult than many of them would be willing to attempt. I’ll take my organizer into the shop to show it off and ask what that the staff think.
Don’t know what’s next.