A couple of days ago Melanie McNeil described in her blog how she was binding her latest quilt – “For this particular quilt, I chose to finish the binding by machine rather than by hand.”… I wrote her that I always machine finish the binding (for a host of reasons I won’t go into here), except I use a decorative stitch with variegated thread when I attach the binding on the front.
Let me back up here a bit: many quilters machine stitch the binding to the front of the quilt, then blind stitch the turned binding on the back by hand. However, if you’re going to machine stitch the turned binding edge, then you have to sew the binding to the back of the quilt, turn the binding under on the front (I pin the turned binding, then lightly press it), then machine stitch to secure it to the front.
I’m assuming you already know how to apply a quilt binding. If you don’t, Melanie has very clear instructions with videos, etc. explaining and showing you how to bind a quilt. What I’m offering here, is an alternative for the final stitching to secure the binding to the top of the quilt.

Graduated Stitch – Edited
Here’s a stitched binding on one of my quilts (notice the diagonal fabric join in the binding). What I want you to observe is the stitching I’ve used to attach the binding to the top of the quilt – a stitch that stitches adjacent the edge of the binding and incorporates jump stitches to the right and back which permanently attach the binding edge to the quilt (remember, the binding is already machine sewn to the back using a standard 2.5mm straight stitch – Melanie prefers a longer 3.0mm stitch).
This is what the stitch looks like on my machine screen:
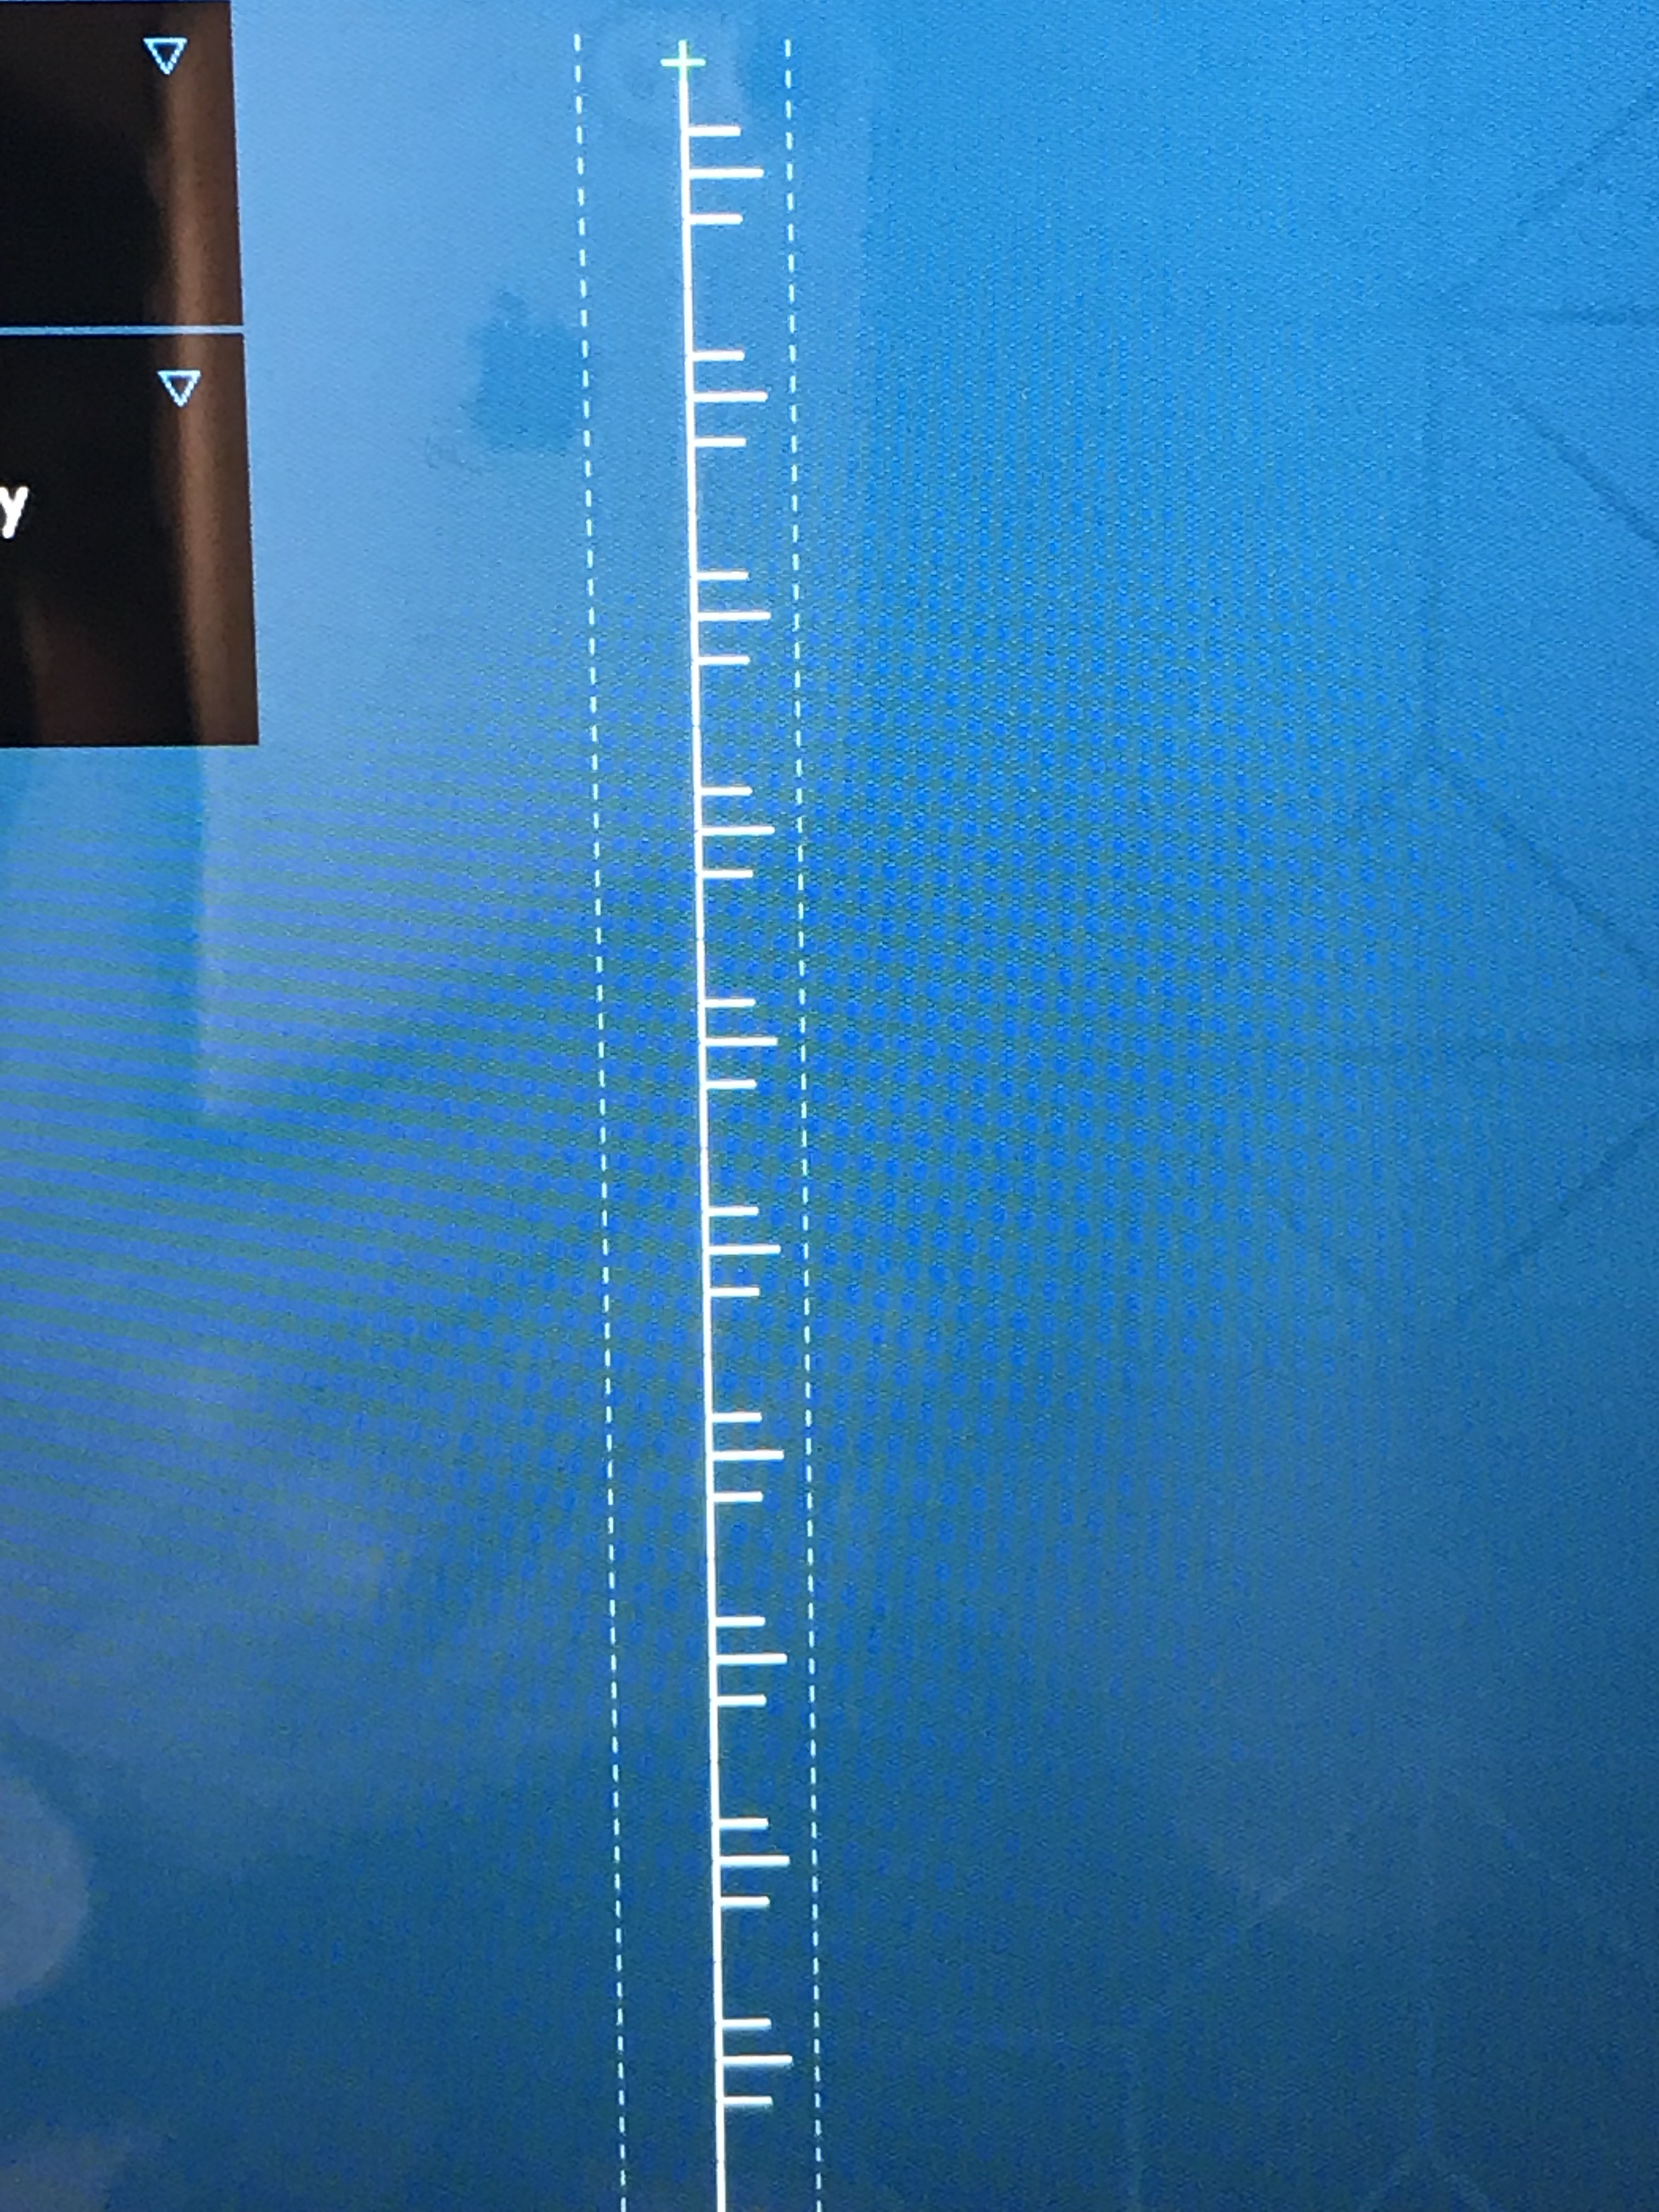
Double Graduated Stitch – Edited
This is my modification of a more complex built-in stitch on my embroidery machine. Here’s the original stitch:

Double Graduated Stitch
I wanted the stitching down the centre to be just to the side of the binding with the cross-over stitches just securing the binding so I used the stitch editor built into my embroidery machine to get rid of the stitches on the left and keep just two forward stitches between the grouping of stitches to the right. It attaches the binding securely and I’m not having to worry about whether I’m getting my straight stitch a consistent needle width from the binding edge. (The decorative stitch also is forgiving on the back of the quilt if it doesn’t align perfectly with the binding edge.)
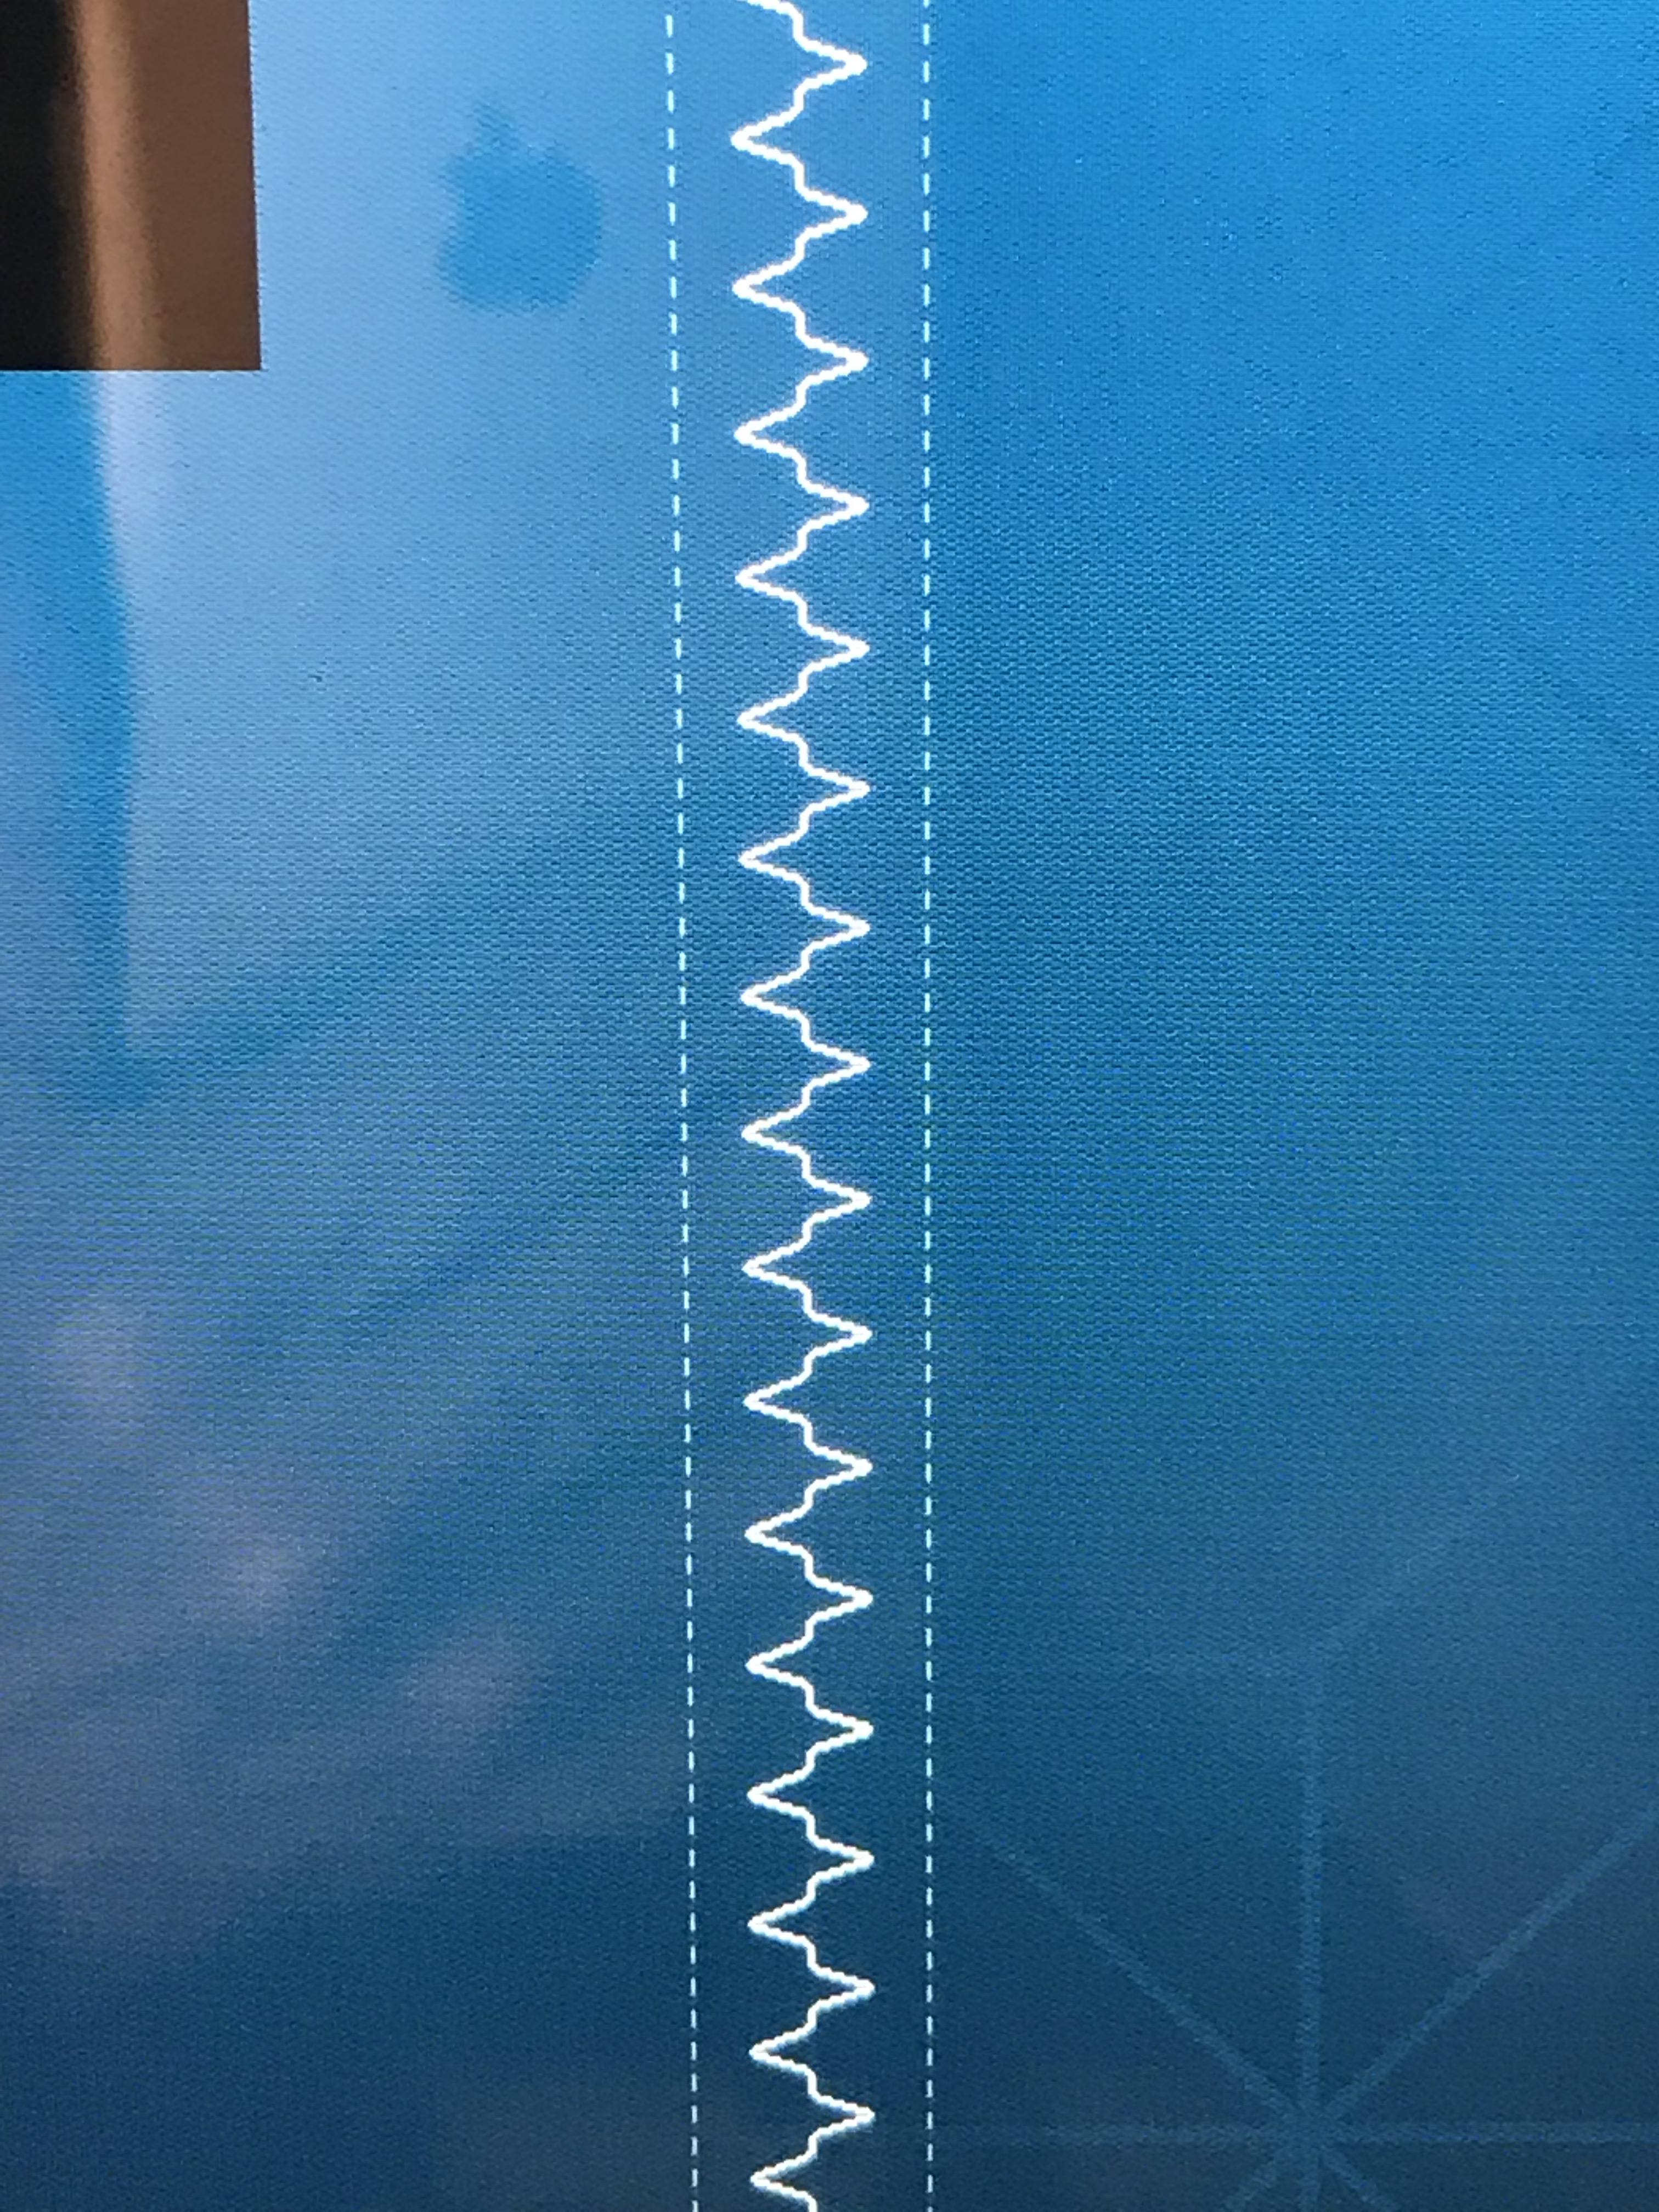
Here’s another decorative stitch I use frequently:

Honeycomb Stitch – Edited
Below is the “honeycomb” stitch on my machine – I’ve reduced the width quite a bit, and extended the length so the stitch doesn’t extend very far on either side from the binding edge on the quilt front.

Honeycomb Stitch
Here are two other decorative stitches that could work:

Graduated Stitch
My point is it doesn’t take long to machine stitch a binding to the front of a quilt with a decorative stitch and it’s visually a lot more forgiving than trying to stitch the binding with a straight stitch!

That looks really attractive, a nice touch to finish. Thanks for the links. I finished the 4th of my 4 quilts to bind today. As I mentioned to someone else, some look GREAT! and others simply good enough. It seems to me the fabric used has as much impact as the technique in the final appearance.
Thanks for the post! Good information here.
You’re welcome