One leaf done – a second underway and weeks of work left to do.
 One Leaf Done; Weeks Of Work To Do
The question is why bother? Why didn’t I just fussy cut the flowers, fuse and edge-stitch them in place and leave it at that? Good question. The thread painting, in spite of the large amount of work involved, adds interesting texture and dimension to the fabric turning it into a piece of wall art. I probably should have thought more about the size of the piece before I began, choosing fewer elements, but this panel does make an interesting art object. So I committed myself to the work. In addition, the fabric raw edges are inclined to fray because the bark cloth is loosely woven – thread painting lets me densely edge stitch creating a sharper outline for the flowers and leaves.
 Tropical Flowers – Bark Cloth
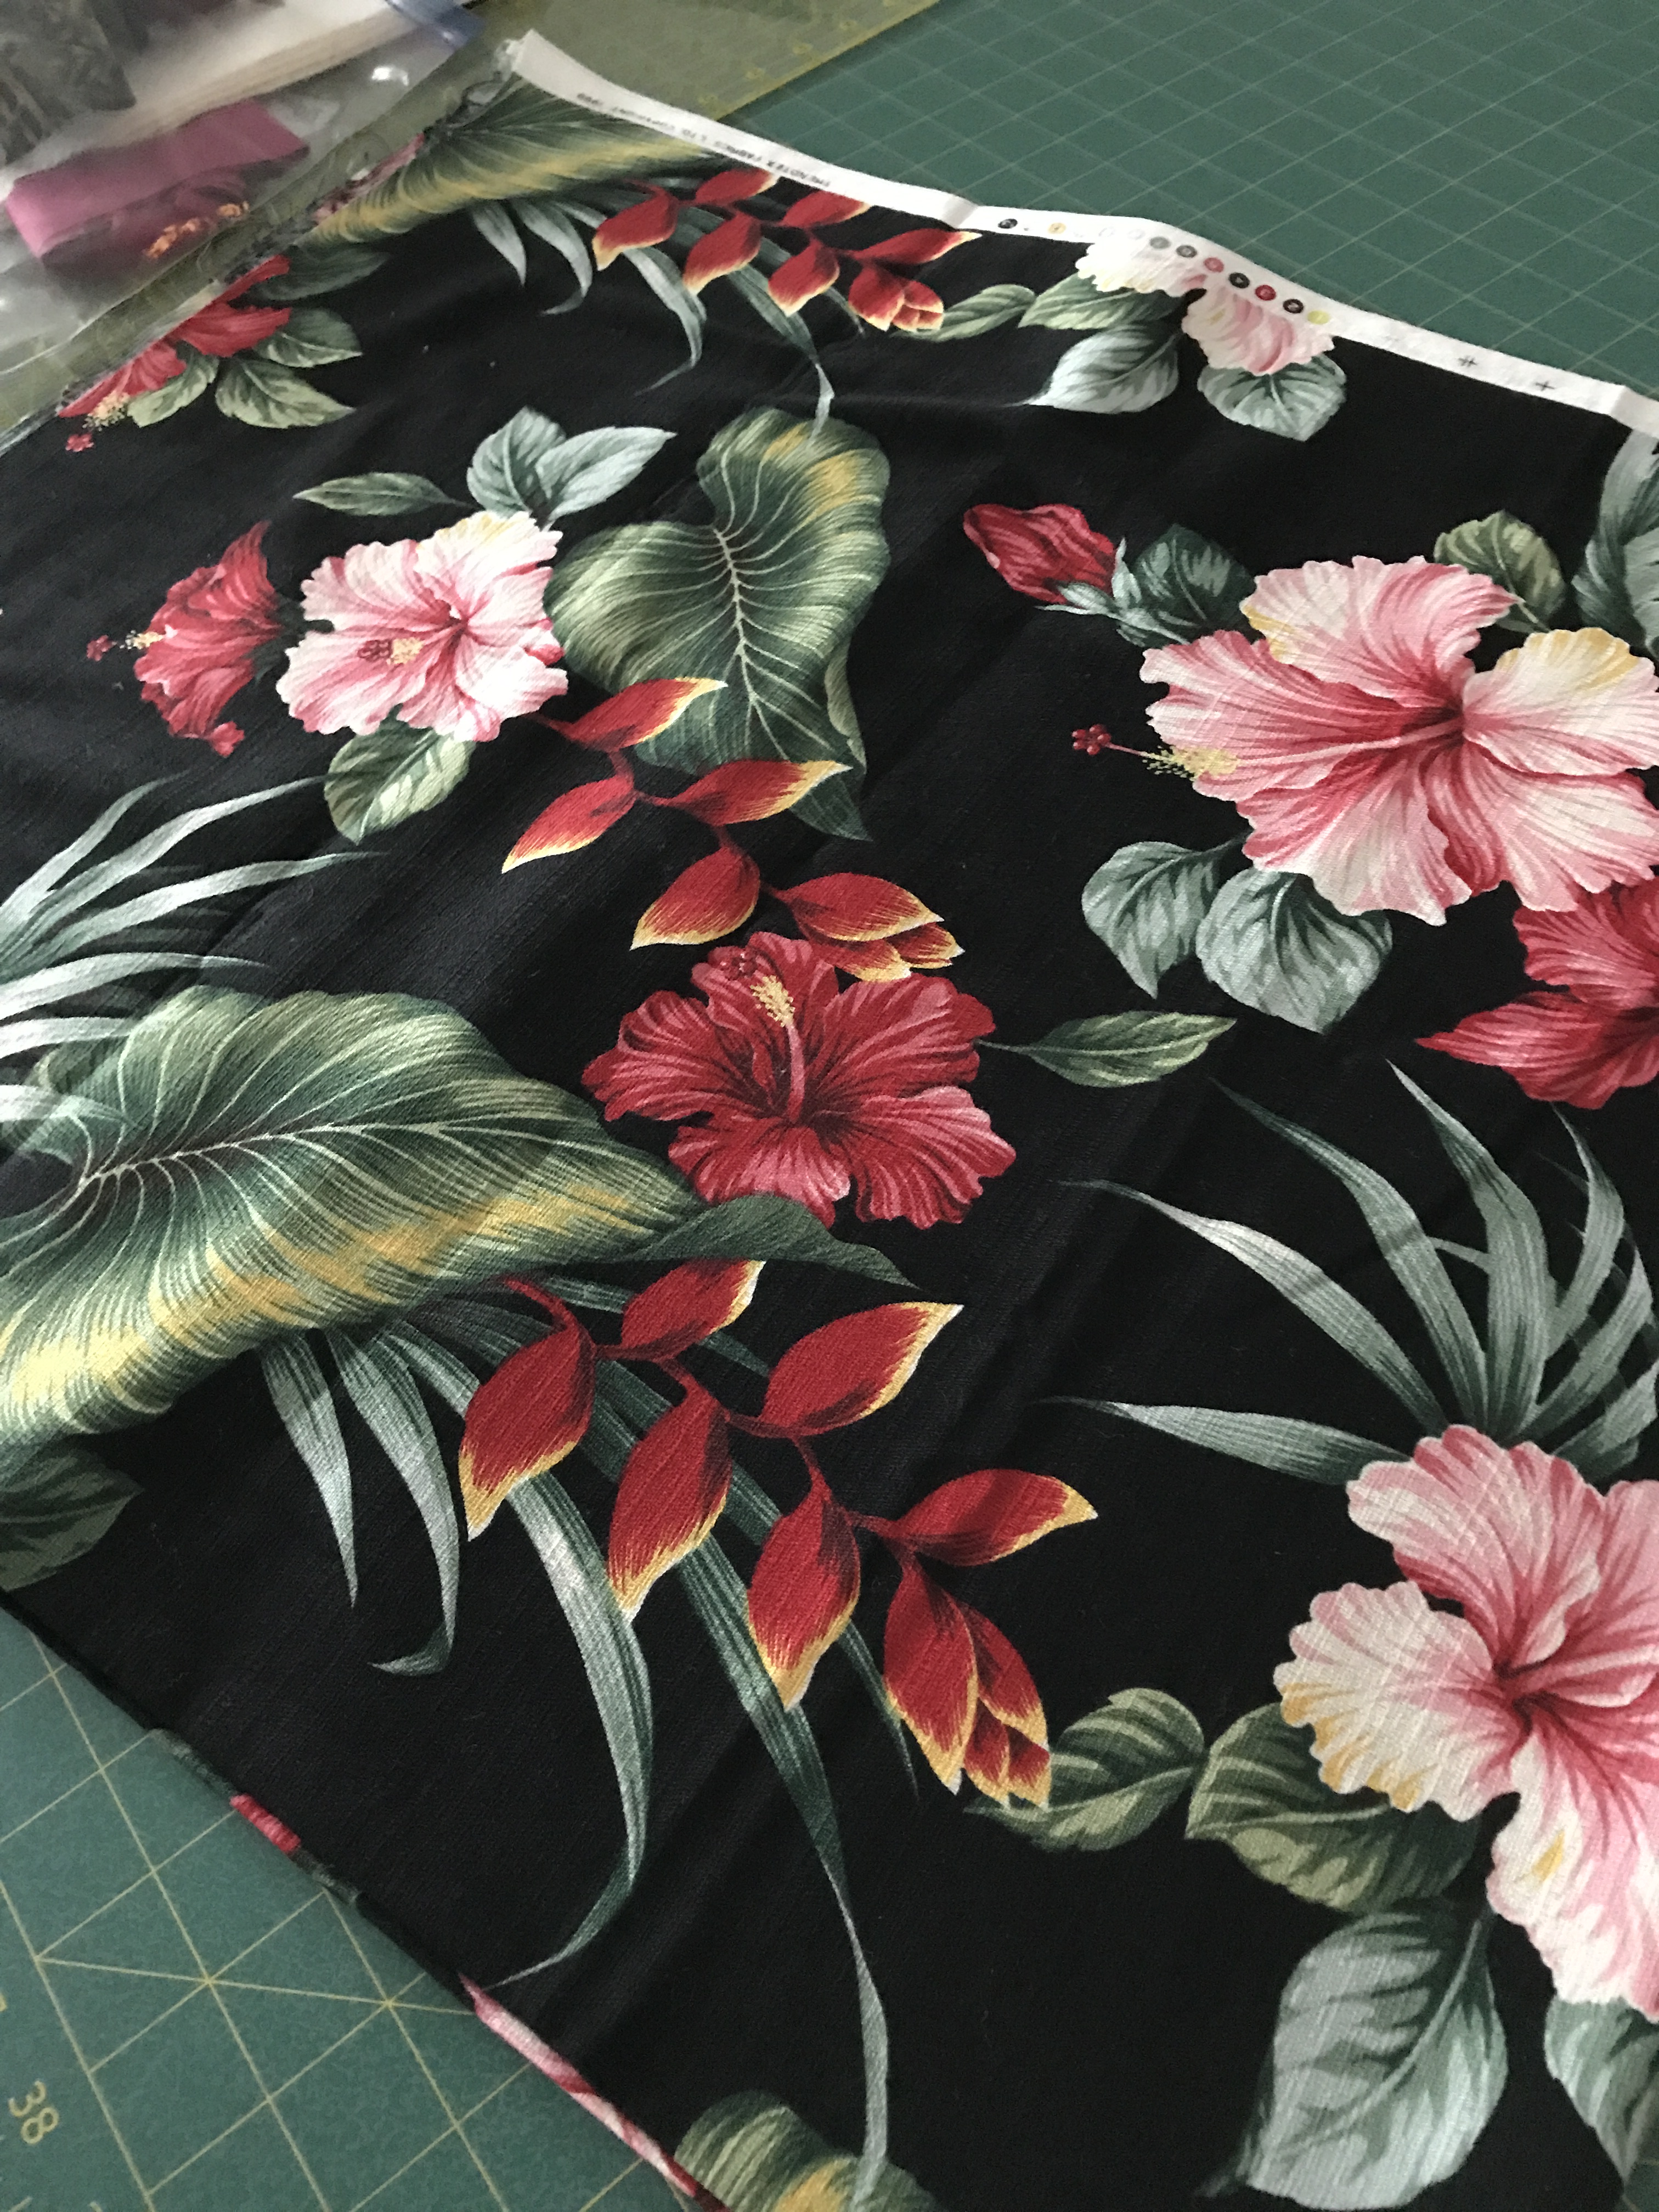
I started with printed bark cloth given me by a friend – 4 one metre pieces with different coloured backgrounds. I chose the blue to work with here but you can see from the black piece just how clearly printed the flowers are. The fabric provides a lovely foundation for doing thread painting.
 Tropical Flowers – A Selection
The first step is to choose a few flowers/leaves and cut them out. Next I apply a fusible web to the back of the fabric, pressing the whole thing flat, then fussy cutting before removing the paper backing from the fused web – the paper makes cutting out much sharper. Once the flowers are fused to a background fabric, thread painting can begin.
So that’s where I am in the process. It will take many hours to fill in the colour gradation of the leaves and flowers – I’m working to eliminate the grey using light values of the adjacent colours so “grey” won’t mean grey when I’ve done thread painting – there will be pale green, or pale teal, or pale pink where grey currently is found.
The flowers/leaves on the black backed fabric don’t have grey, instead the fabric has appropriate light shades for each element, making the decision-making process somewhat easier. But now, back to the teal leaf which I began yesterday….
