I did a bit of searching before starting to sew my diamonds together – I wanted to see how people generally stitch their diamonds/cubes/hexagons together for the Tumbling Blocks design. The cube/hexagon, as I learned with the previous quilt, is created using Y-seams with three diamonds. I’m getting relatively good at that, so that wasn’t my question – I wanted to know how people put the cubes together. Turns out they do what you’d expect – create each cube then butt the blocks together, but most of them are working with three fabrics (a dark, medium, light) and it’s possible to start in the centre of the project and work your way out from there.
My challenge is each cube/hexagon is unique and I want a specific colour flow. The way to assemble the quilt top, I thought, was to carefully stack the diamonds in each cube keeping it in its exact row; stitch each cube, stitch each row, then join the rows to one another.
TOO FIDDLY!
I created rows 1 & 2 separately, and managed to join them, but getting the “star” joins, involving six points, took a great deal of time, and a lot of picking out of stitching, to get the points to match precisely. So that’s not the way to do this!
How else might I assemble sub units so I can join them with less effort?
I realized, as I was sewing row 2 to row 1, that if I set up half-star units, I might be able to get the 6-point join to work more easily.

In this layout I have two “simple” Y-joins at each end of the star with the 6-point join in the centre of a long flat seam, rather than struggling with two Y-seams to make that 6-point connection.
I’ve laid out the rest of row #3 that way, and I’ll sew it tomorrow.
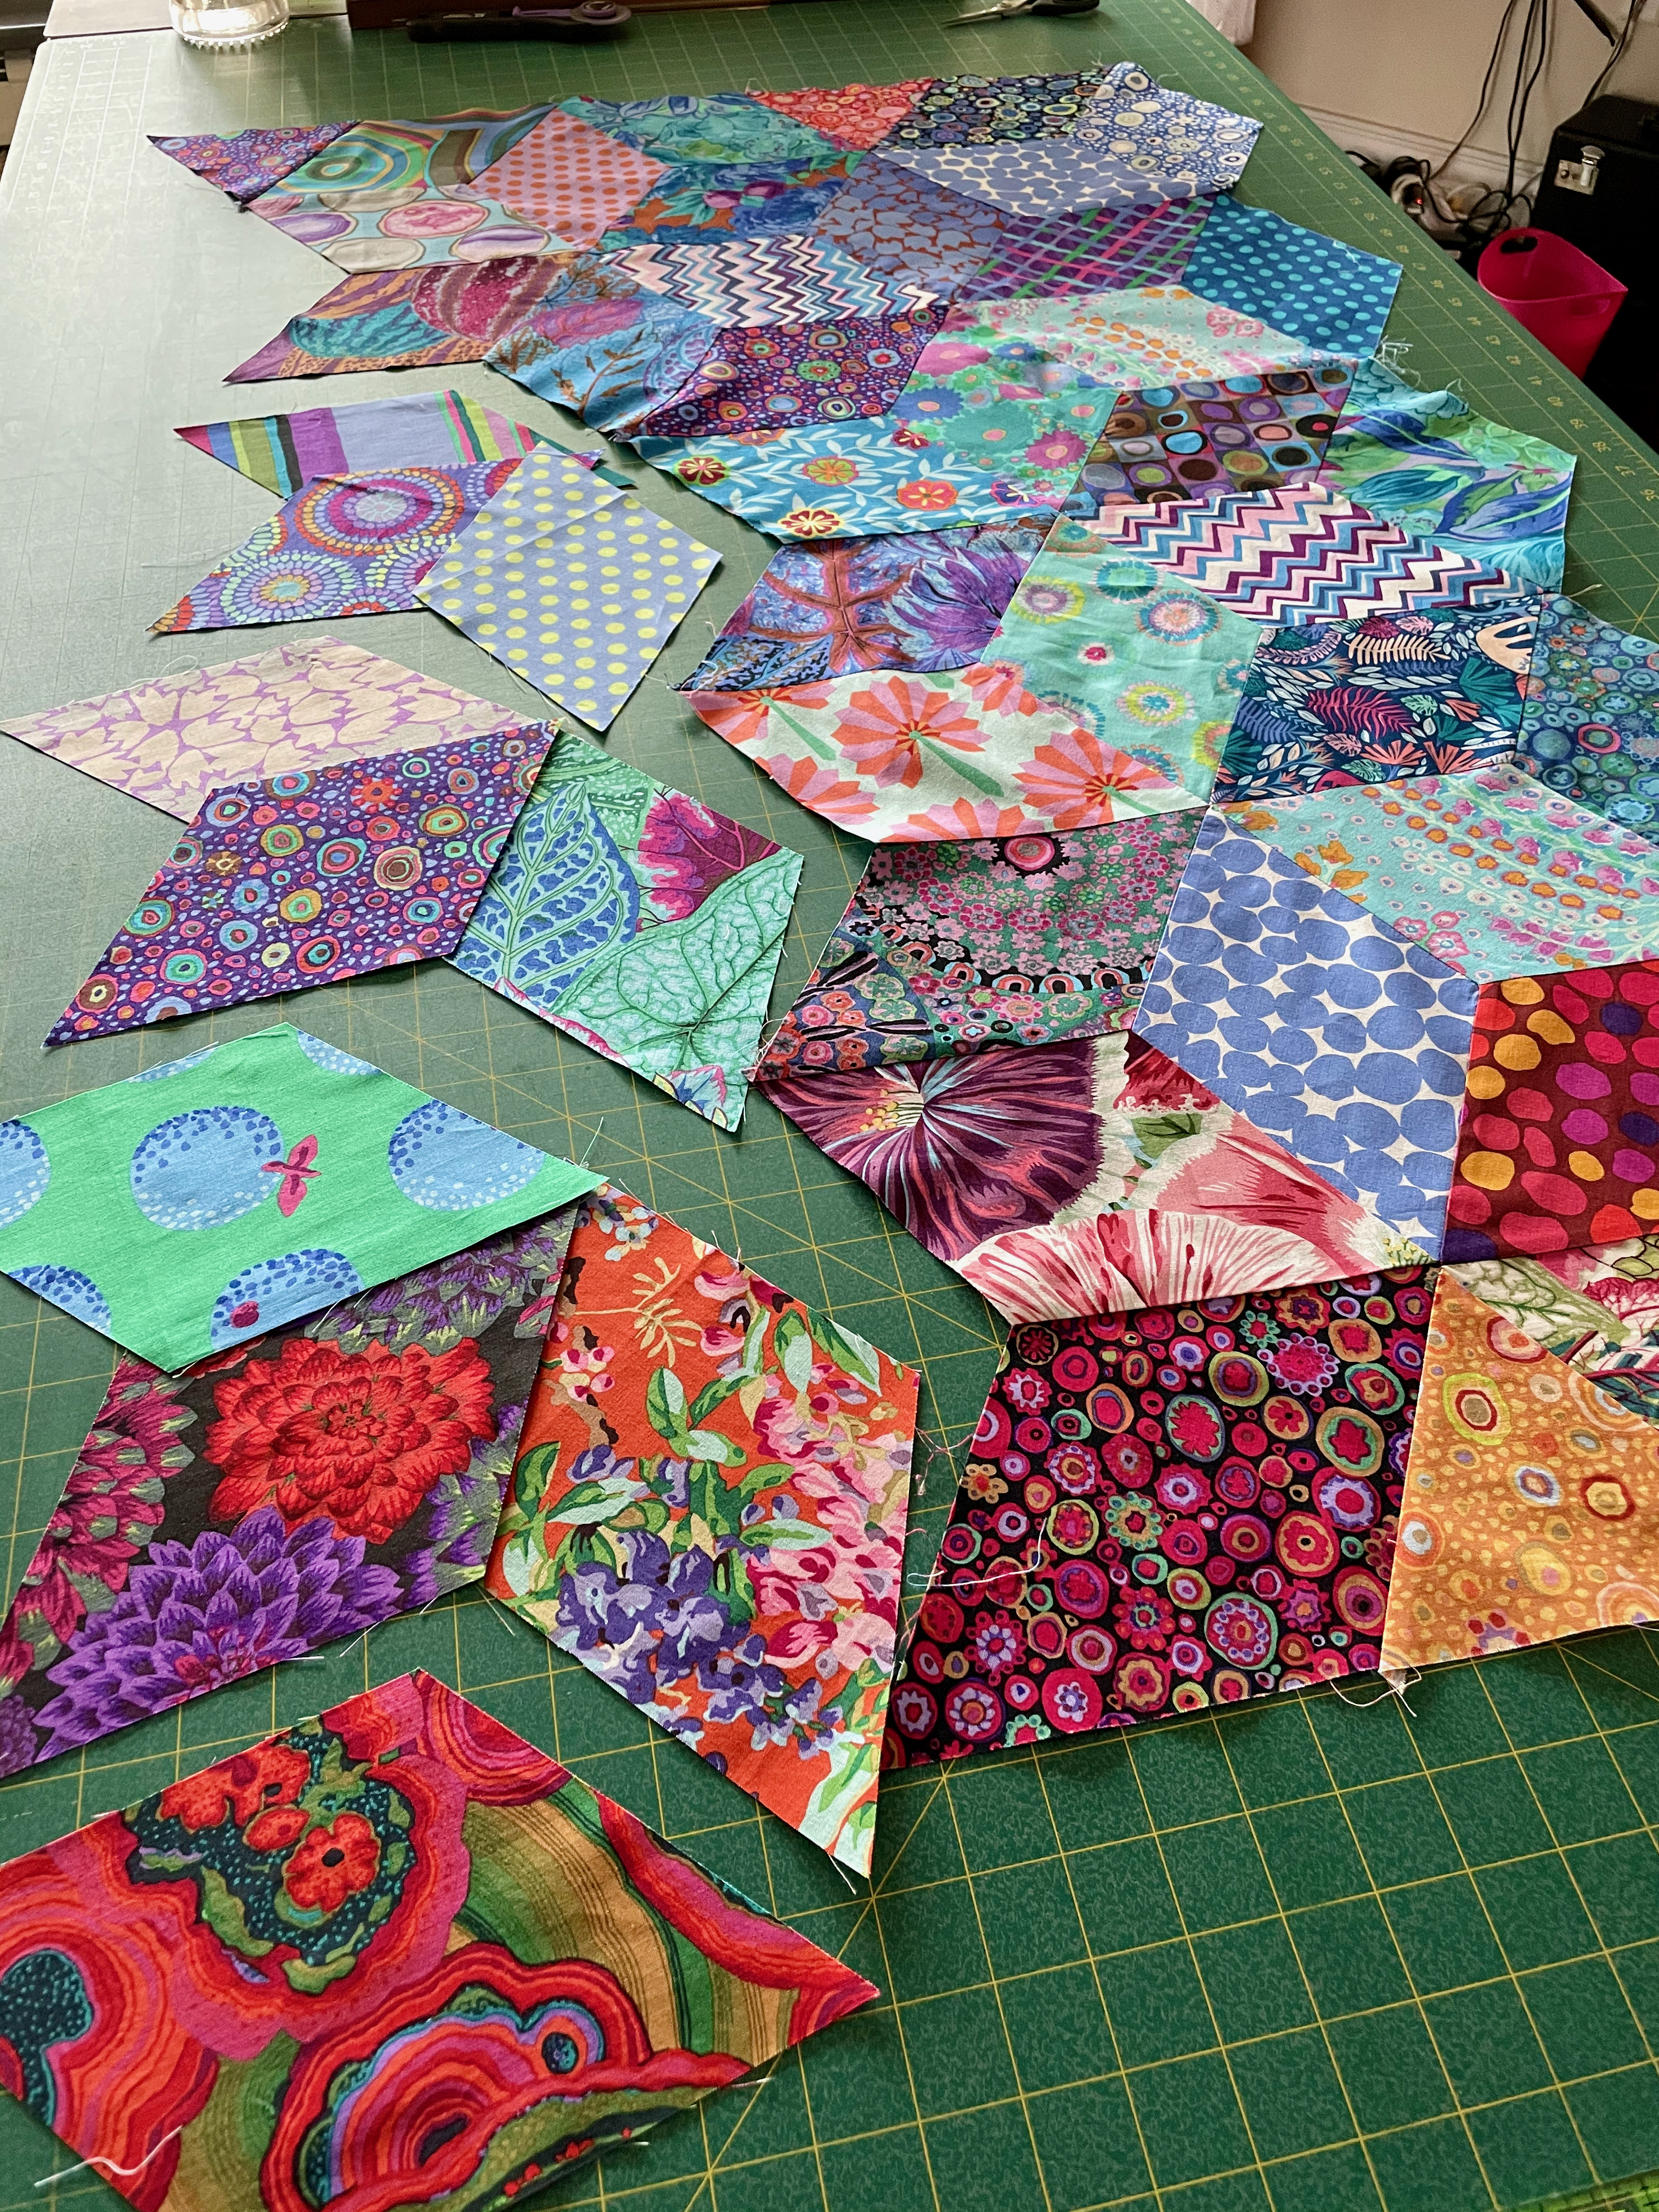
I still have to work with my carefully stacked rows of cubes – but before sewing cubes, I will lay out each row as half-stars, join those units, then connect them to the rest of the quilt top.
Let you know how well that works, tomorrow!
