
Last week I pulled a jellyroll package from my stash (Hoffman Bali Poppy: Poppy Field #2: Hard Cider #662) – it held 20 strips – maybe enough for a lap quilt but there weren’t enough light contrasts so I dug through the drawers of batik and came up with another 20 fabrics that blended – I cut 20 more strips. I colour sorted them into groups of 4 to give me 10 groupings. I’ve begun sewing the 4-strip groups together. I have 6 groupings to go.

I have no idea yet what I’m going to do next. The obvious move is to cut the strips into 8 1/2″ blocks, overlap blocks (right sides together), stitch around the outside, then cut on the diagonals to create 4 HST blocks. But there may be other things I can do with these 8 1/2″ panels. I’m still thinking about it.
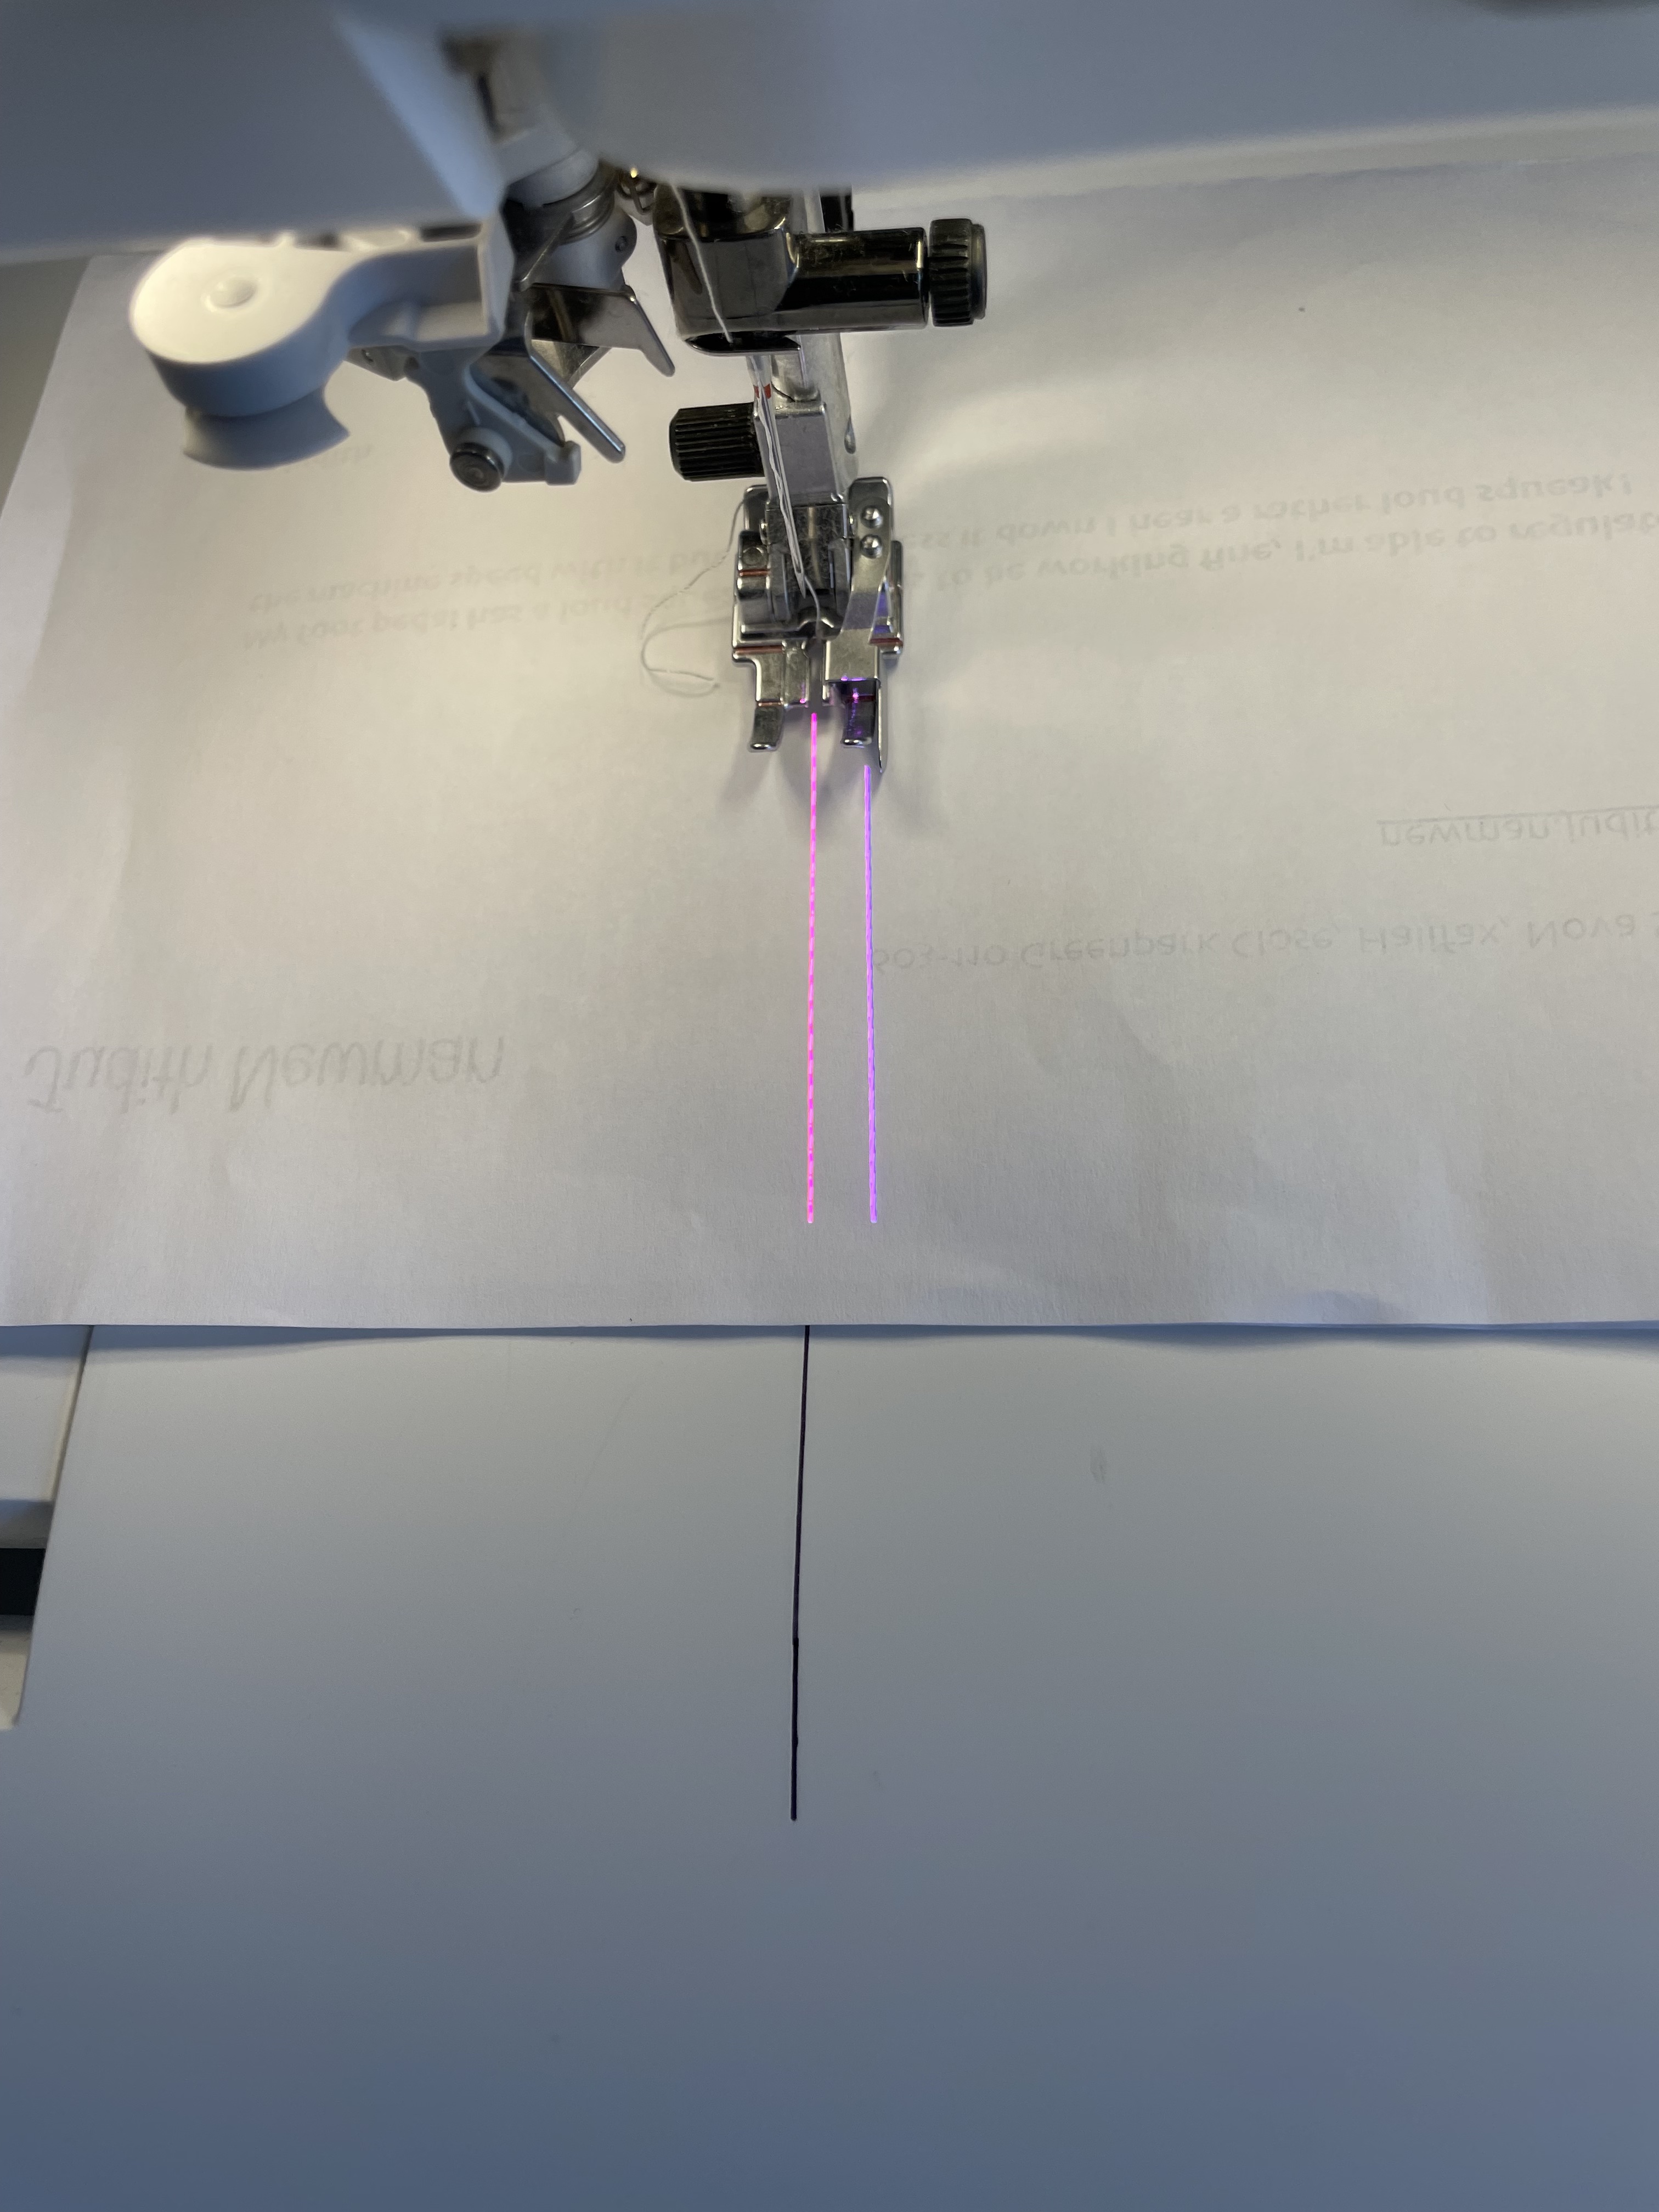
The thing is, I used the projection guidelines on the machine to set up a scant 1/4″ seam – I still used my 1/4″ quilting foot with right guide, but the laser guide was a scant bit to the left of the guide on the foot. It was actually quite easy to follow the laser guide and I did end up with a pretty accurate 8 1/2″ panel.
I’ve marked the needle position on the embroidery unit extension (and I’ll mark it on the tool box, too) in order to accurately stitch a 45° mitre when joining two 2 1/2″ strips. No other marking needed. The laser guide isn’t quite long enough to position the end point of the mitre.
I also played with more decorative stitches:

I’m doing the “Experimenting With Your Machine’s Stitches” class a second time in couple of weeks – an opportunity to try out more off the stitches on this machine. Again, I used the laser grid system to align the stitching. I mirrored the stitches as well as the thread colour from the centre. [I did a simple grid quilted the back of the bag.]

I also pulled out a bag I made quite a while ago using scraps of fabric, where I used the “stitch/flip” technique to construct the fabric on which I then used decorative stitches to mark the seams. I want folks to see this other possible use for other machine stitches.

You make me want to go upstairs and do another few bags with stitches! But I hear the meadowlark singing and I am like – nope spring is here. I rarely sew in the summer and just want to finish one last project before I dust cover my machines. Bernie
Enjoy the bird song and spring flowers! I have to keep going because I have a show coming up early August and have to make a couple of quilts before then!
Will look forward to seeing your creations.