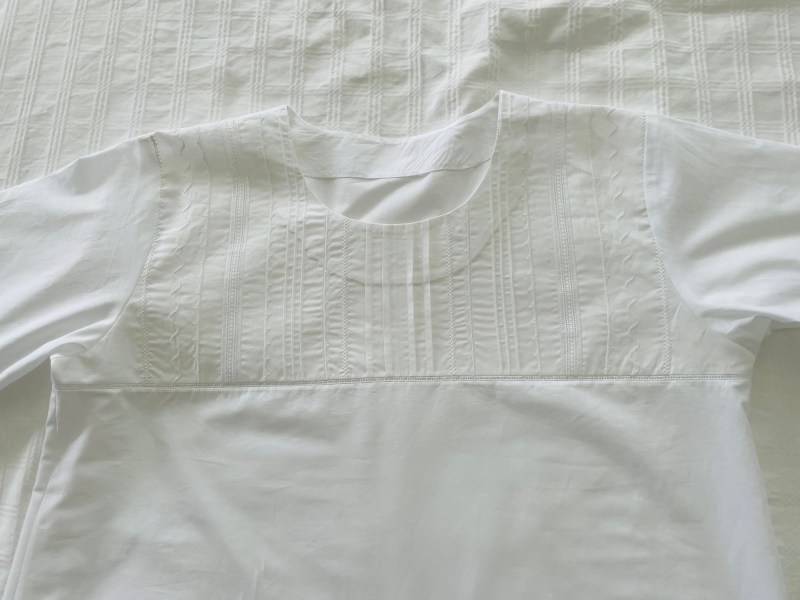
I also finished the latest pair of socks (added to the give-away stash) and the pull-on shirt I made using the heirloom panel I created a couple of weeks ago. I’ve since added five small mother of pearl buttons to the centre of the heirloom embroidery to draw attention to the stitching. It’s a light, loose hot summer day shirt. The only problem – the fabric I used for the heirloom panel is a slightly yellower colour than the rest of the shirt. Nobody will notice it. And I’m hoping a washing or two with oxyclean will whiten so the panel will blend with the rest of the shirt!
My patience and perseverance were tested yesterday. The other day, I pulled out some Marcy Tilton t-Shirt fabric I’d bought last year – time to use it to make up a couple of shirts. I went through my collection of t-Shirt patterns and decided to try out the Connie Crawford’s “Perfect Knit Sloper” that I’d picked up a couple of months ago. When the sloper arrived, I opened it, and drafted a sloper on Swedish cloth, using my measurements. This is the first time I’m trying out this sloper so I know I’m making a muslin.
I cut out a t-Shirt – using Janet Pray’s technique for turning a t-Shirt into a “swing” shirt (a shirt that is flared at the bottom)(15:25 – 21:55 on the video). Cut a couple of pieces of grosgrain ribbon a bit longer than the shoulder seam (to stabilize the shoulder), then serged the shoulder seams. So far so good. Next comes the neckband. I cut out the neckband the size suggested in the sloper pattern and serged it to the neckline. First problem – I had a couple of spots where I didn’t have the neckline and band aligned perfectly – I opened those spots and restitched them.
Tried on the garment to see how the neckline looked – dreadful – the band stuck out in the front – the band was too long. I thought the neckline was a bit higher than I liked, so I carefully removed the neckband (being extremely careful not to cut or pick the fabric), recut the neckline 1 1/2″ lower in the front, then reattached the neckband. The band was still too long, so I carefully removed it (being extremely careful not to cut or pick the fabric), shortened it by 2″, distributed the fullness of the garment neckline (stretching the band as I attached it to make it fit), basted the two together this time, then once I was sure I had the band and neckline aligned, I serged the seam! Finally the band laid flat and the fabric edges matched. I pressed the band seam toward the garment and top stitched it (to hold the seam allowance flat on the t-Shirt) 1/8mm from the seam using a narrow-edge foot.
Now to attach the sleeves. I carefully aligned the right sleeve with the sleeve opening on the t-Shirt, sewed it in place – didn’t like the sleeve header – the top of the sleeve stood up rather than lay flat. I unpicked the serged seam, flattened the top curve of the sleeve an inch, reattached it (this time basting it first) then serging the seam. I recut the second sleeve and serged it.
I serged the side seams; they were fine, until I tried on the shirt – too much flare! So I removed a wedge from bottom portion of the side seams.
Last, I used my coverstitch machine to do the bottom and sleeve hems (stitching a wee bit narrower than the fold and trimming back to the seam using my handy duckbill scissors.
Wearing the Finished t-Shirt
“Why?” you might ask do I bother making t-Shirts – because I can’t buy t-Shirts with sleeves long enough to cover my old lady arms.
This t-Shirt turned into a L-O-N-G project. I was determined not to give up and throw the whole thing in the garbage! But constructing it – a muslin, I kept reminding myself – definitely pushed my patience and perseverance to the limit! I wore it today and got complements on it.
Sewing the second t-Shirt was simple and straightforward – I made the adjustments to the sloper pattern, cut it out, basted, then serged the seams. The neck band lays flat, the sleeves headers are smooth, it’s not too full at the bottom.