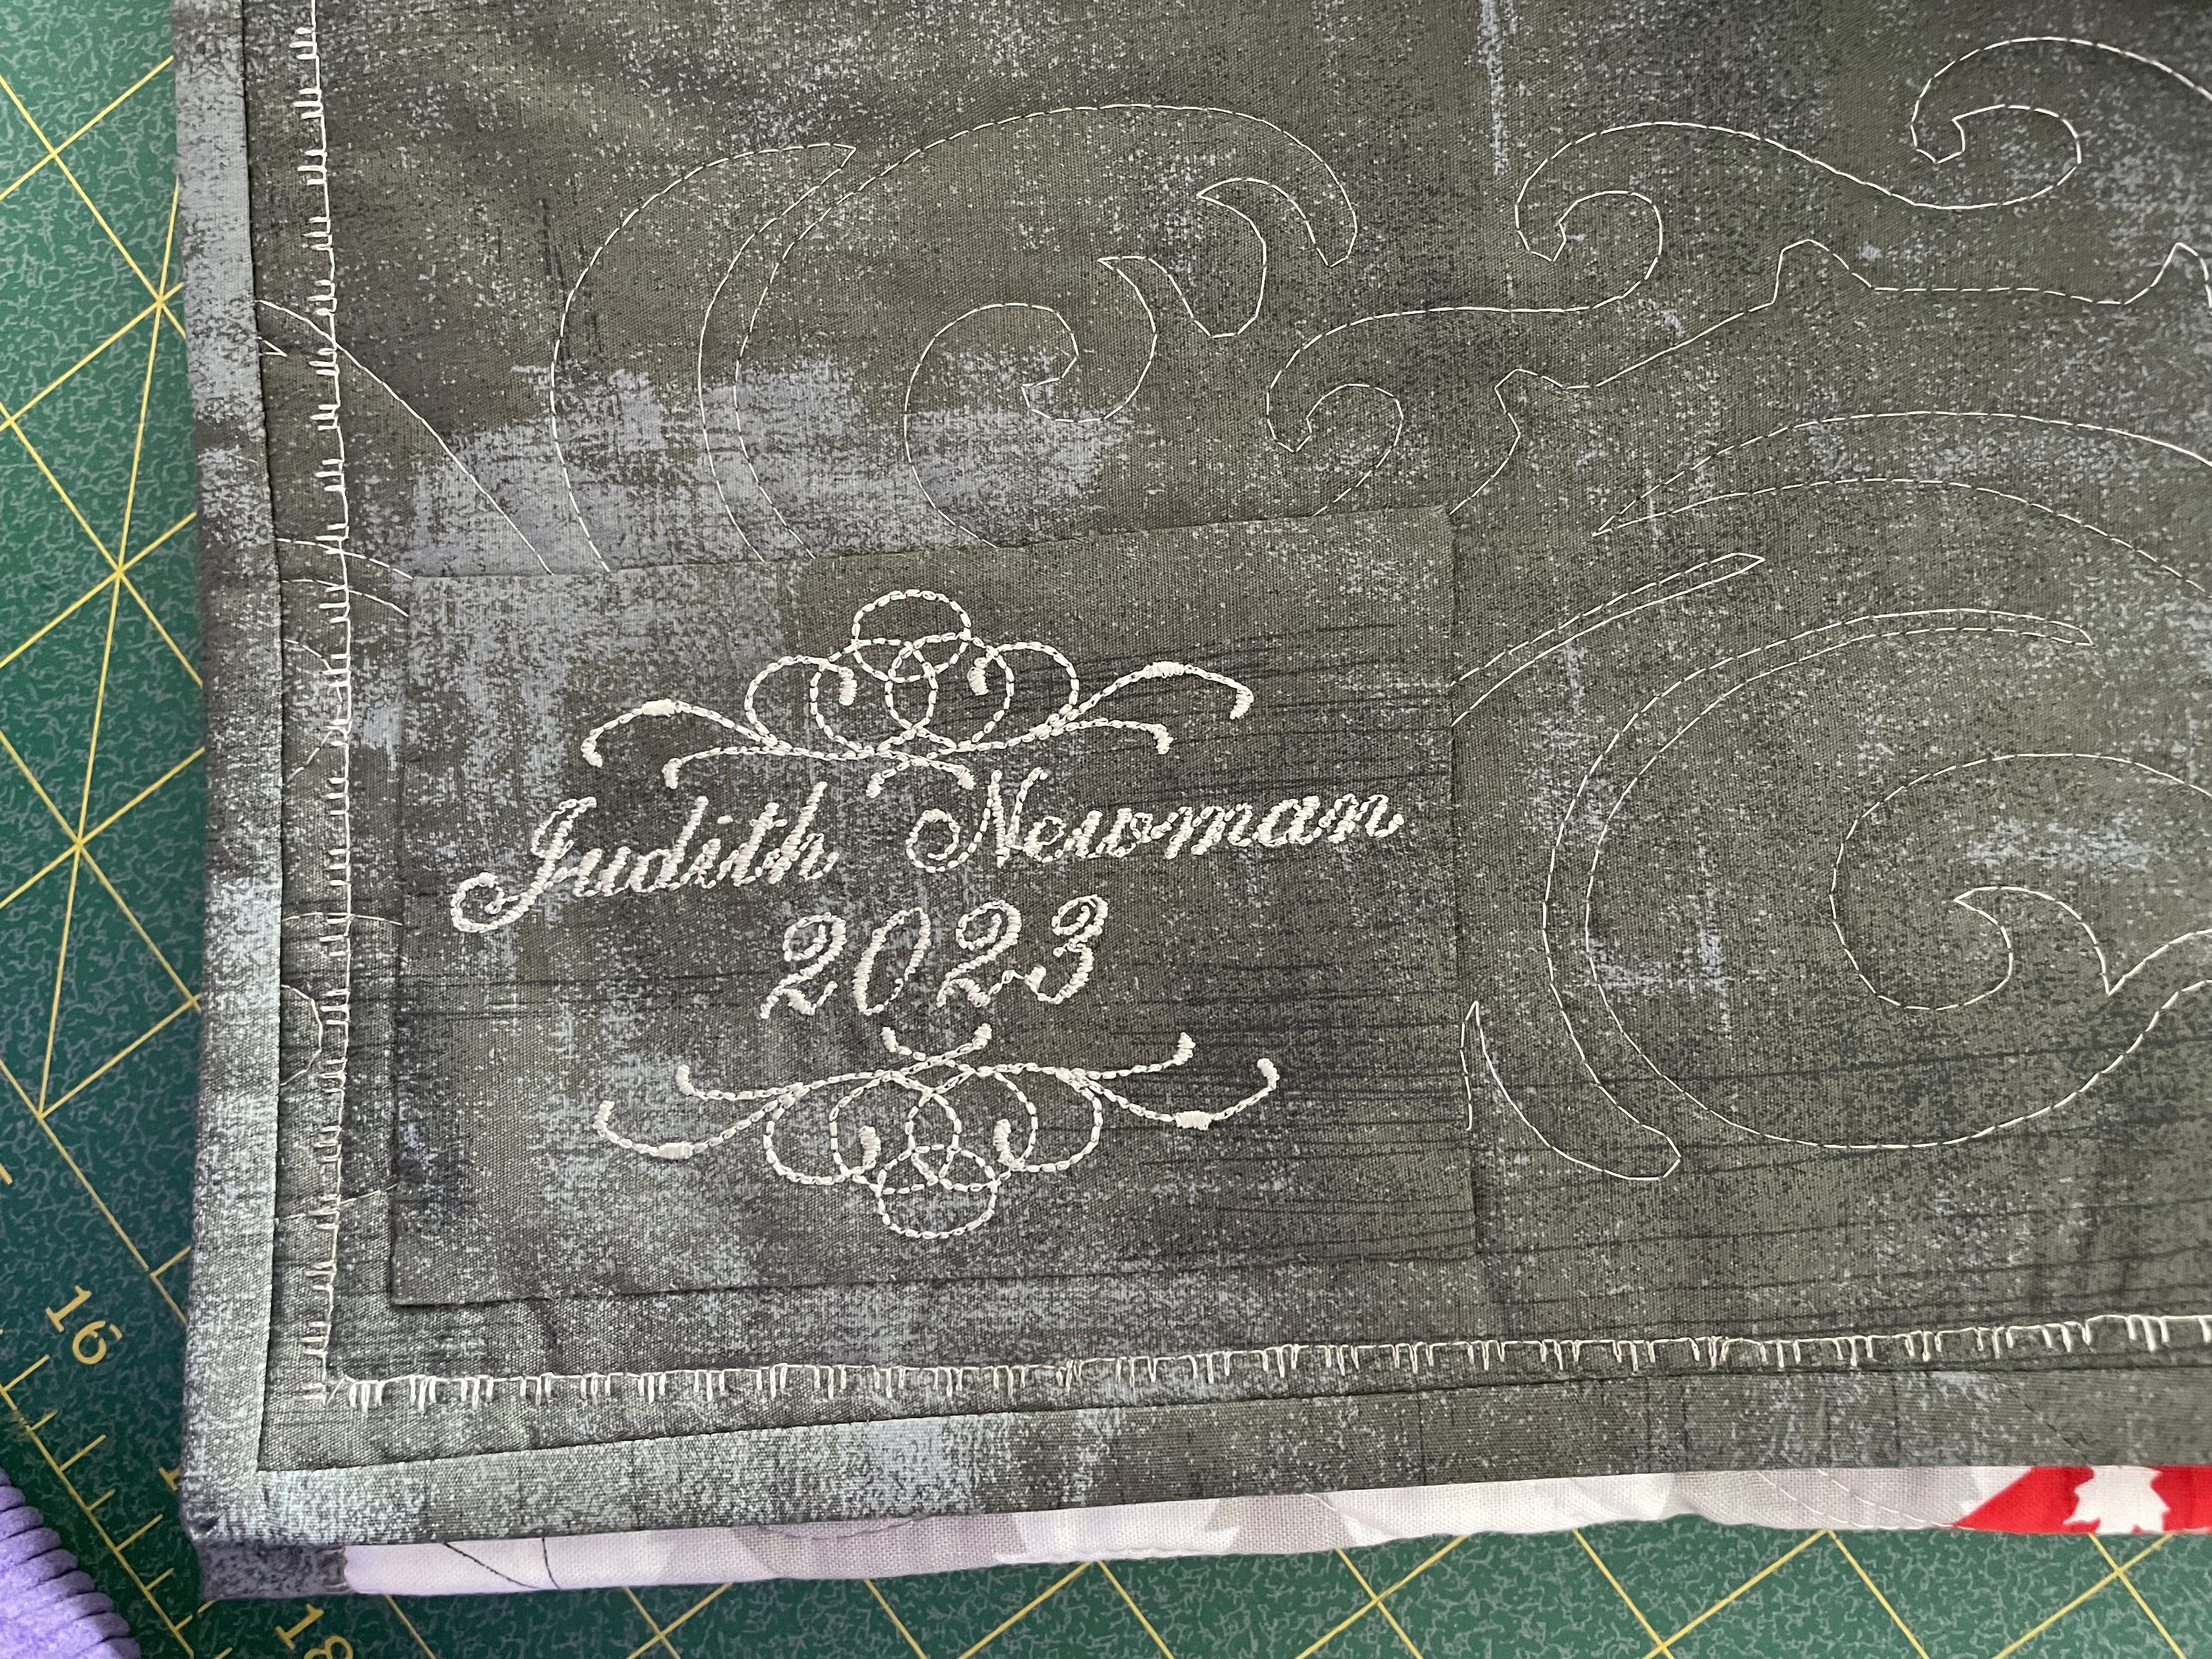
Finished except for a label on the back.
Do the photos ever show up the imperfections! You can see the back strip isn’t perfectly horizontal; there are wobbles in the layout of the quilt top. None of this is obvious when you’re looking at the quilt draped on the bed, however. I know nobody looking at it will notice any of what I see.
The quilting I set up as an edge-to-edge design, working in the width of the strips – the embroidery for the animals was one width, the embroidery for the blocks was narrower – again, that something I can see but nobody else will notice.
I finally “mastered” precise positioning while I was working on the quilting. After all this time, I discovered how to set the opening (pivot) stitch and how to rotate the design a smidgeon so the embroidery would end up in the right spot for me to begin the next. This is the best edge-to-edge work I’ve done. I managed to align the start needle position with the finish needle position of the previous stitch out each time. What made this quilting relatively easy is that I didn’t have to worry about nesting the embroideries – I’ve done that a couple of times in the past – a lot of math and measuring to make that work. Here, all I had to do was centre the embroidery in each strip.
I completed the quilt with a folded French binding using 2 1/2″ strips. What I learned (having never bound a quilt like this before) is that if I wanted a 5/8″ binding front and back, I’d need to cut my strips 3 3/4″ wide. Here, I attached the binding with a 1/4″ seam, folded it over so I would end up with close to 5/8″on the front. I stitched the binding in place with a decorative stitch at the very edge of the binding. Because the binding was attached on the back with a 1/4″ seam allowance, the binding in the back ends up at just under 3/8″ wide and the decorative stitching is inside and separate from the narrow binding. I probably won’t finish a quilt like this again – I’ll go back to using the binding open rather than folded and finish both front and back at 5/8″.
I learn something with each new project.
Sunday, March 12 2023
Bernie had questions about the decorative stitch I used to bind the quilt. Here’s what it looks like on the top of the quilt (binding a smidgeon less than 5/8″); and on the quilt back (binding 3/8″ wide). [To have a 5/8″ folded binding top and back would need a binding of 3 3/4″!] The stitch is an edited version of one of the standard quilting stitches on my Pfaff Creative Icon 2.


From start to finish the quilt took me 10 days. I just finished hand sewing on a label on the quilt back.