

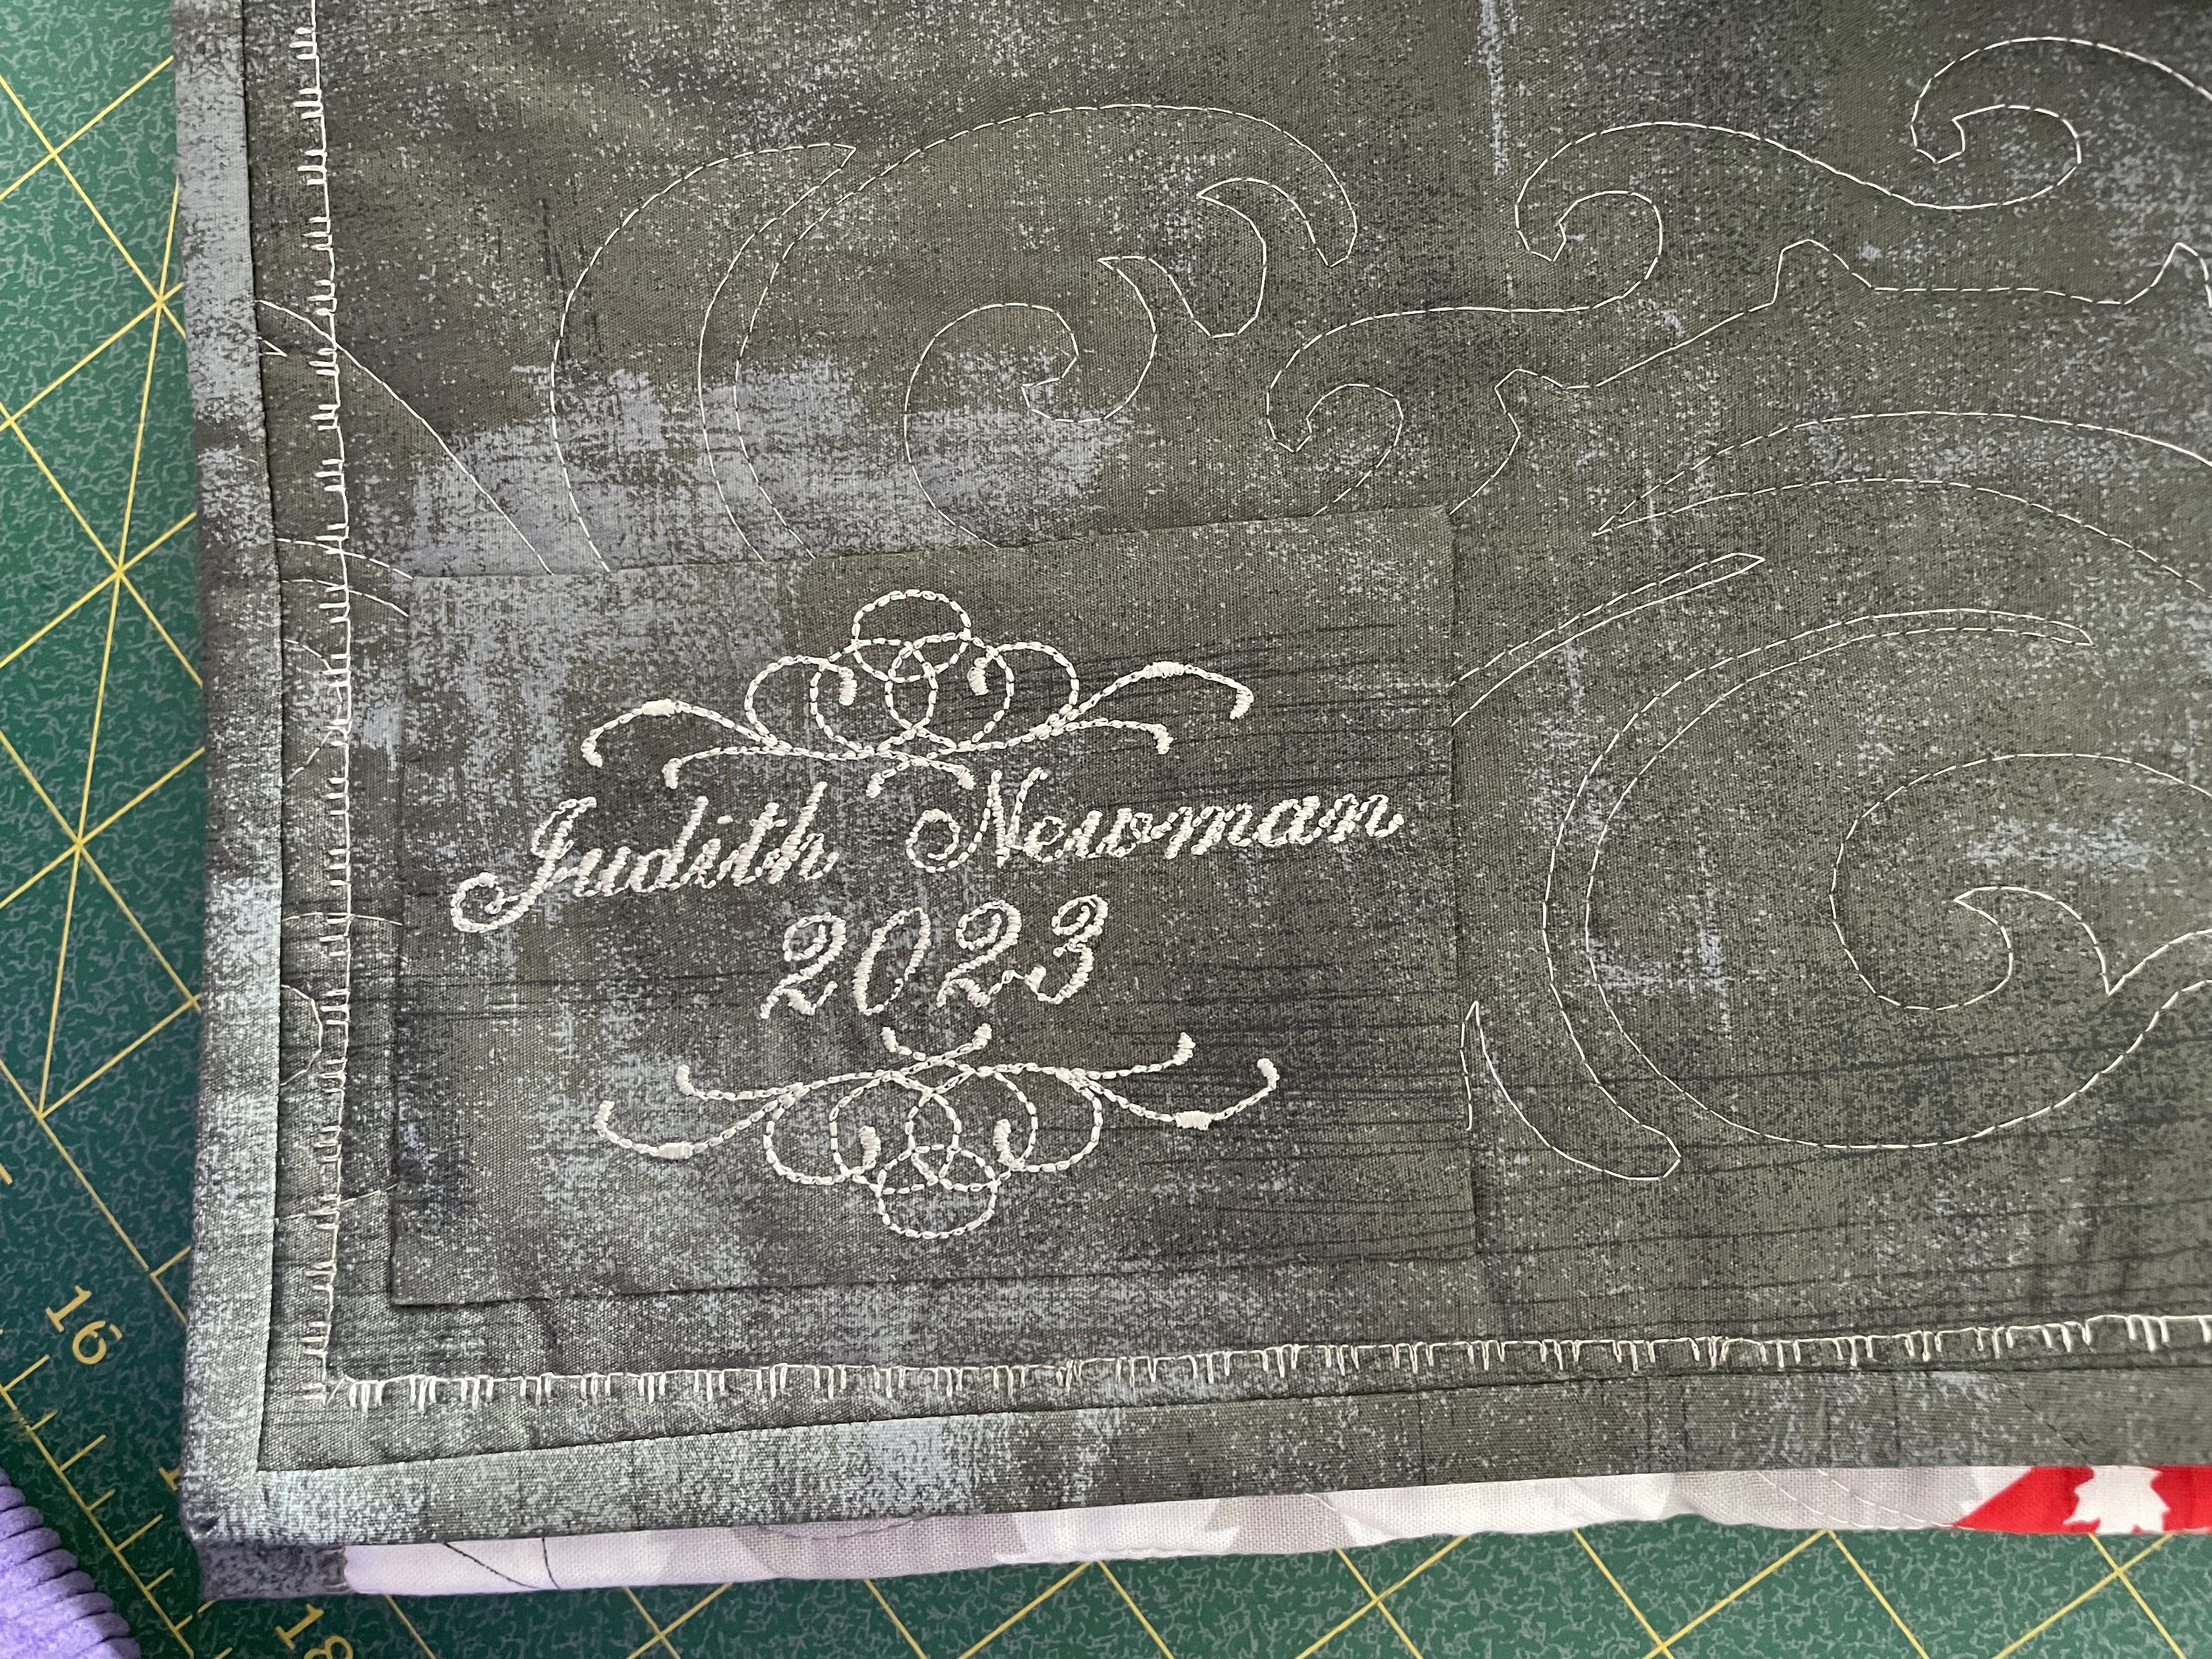
Finished except for a label on the back.
Do the photos ever show up the imperfections! You can see the back strip isn’t perfectly horizontal; there are wobbles in the layout of the quilt top. None of this is obvious when you’re looking at the quilt draped on the bed, however. I know nobody looking at it will notice any of what I see.
The quilting I set up as an edge-to-edge design, working in the width of the strips – the embroidery for the animals was one width, the embroidery for the blocks was narrower – again, that something I can see but nobody else will notice.
I finally “mastered” precise positioning while I was working on the quilting. After all this time, I discovered how to set the opening (pivot) stitch and how to rotate the design a smidgeon so the embroidery would end up in the right spot for me to begin the next. This is the best edge-to-edge work I’ve done. I managed to align the start needle position with the finish needle position of the previous stitch out each time. What made this quilting relatively easy is that I didn’t have to worry about nesting the embroideries – I’ve done that a couple of times in the past – a lot of math and measuring to make that work. Here, all I had to do was centre the embroidery in each strip.
I completed the quilt with a folded French binding using 2 1/2″ strips. What I learned (having never bound a quilt like this before) is that if I wanted a 5/8″ binding front and back, I’d need to cut my strips 3 3/4″ wide. Here, I attached the binding with a 1/4″ seam, folded it over so I would end up with close to 5/8″on the front. I stitched the binding in place with a decorative stitch at the very edge of the binding. Because the binding was attached on the back with a 1/4″ seam allowance, the binding in the back ends up at just under 3/8″ wide and the decorative stitching is inside and separate from the narrow binding. I probably won’t finish a quilt like this again – I’ll go back to using the binding open rather than folded and finish both front and back at 5/8″.
I learn something with each new project.
Sunday, March 12 2023
Bernie had questions about the decorative stitch I used to bind the quilt. Here’s what it looks like on the top of the quilt (binding a smidgeon less than 5/8″); and on the quilt back (binding 3/8″ wide). [To have a 5/8″ folded binding top and back would need a binding of 3 3/4″!] The stitch is an edited version of one of the standard quilting stitches on my Pfaff Creative Icon 2.


From start to finish the quilt took me 10 days. I just finished hand sewing on a label on the quilt back.

This is a whimsical quilt. I like what you did.
Regarding your medallion quilt: https://dailyfiberfun.wordpress.com/2023/03/03/sahrr-2023-round-6-so-close/ – you’re right you could use more background fabric as you work out to the edges. I’d just stick those pinwheels in the corners and fill in with something as border – not too bold whatever it is you decide to do. One question I had though: You say “my scrappy quilt measured 90 inches tall by 68 inches wide” – I can’t see how that’s possible since you’re building a square medallion quilt. How does it get to be taller than wider when what I see is square symmetry?
Thanks for your thoughts. Regarding your question, the sides of the quilt are not visible in the photograph. The last round and its coping strip were cut short. I used setting triangles to “square” things up. It’s hard for me to explain. Bill will help me take a photo that includes the whole thing.
I have made a single medallion quilt: https://jmncreativeendeavours.ca/2017/09/26/medallion-quilt-completed/ I wanted to turn it into a rectangle but the “squareness” of each added ring just didn’t lend itself to me adding a row of some sort top and bottom so I left it square. It ended as a large throw, could have been used as an accent on a queen size bed.
Medallion quilt is impressive. I really like your work.
And yes we notice the imperfections but others don’t. I just did a bunch of hst and my batik bear is walking with his feet in the air on a few of them….. UGH
Yup, I know what that’s like!
Hard to get a close up of the binding that you were talking about. I use the “EKG” (looks a bit like one) stitch on mine (especially for baby quilts that will see so much wear) and my back and front line up for the most part. I use a 2 1/2 ” folded piece like you described.
As to learning something new – I think that is the icing on the cake. It helps keep our brains going. Bernie