Fibonacci #1 – Completed

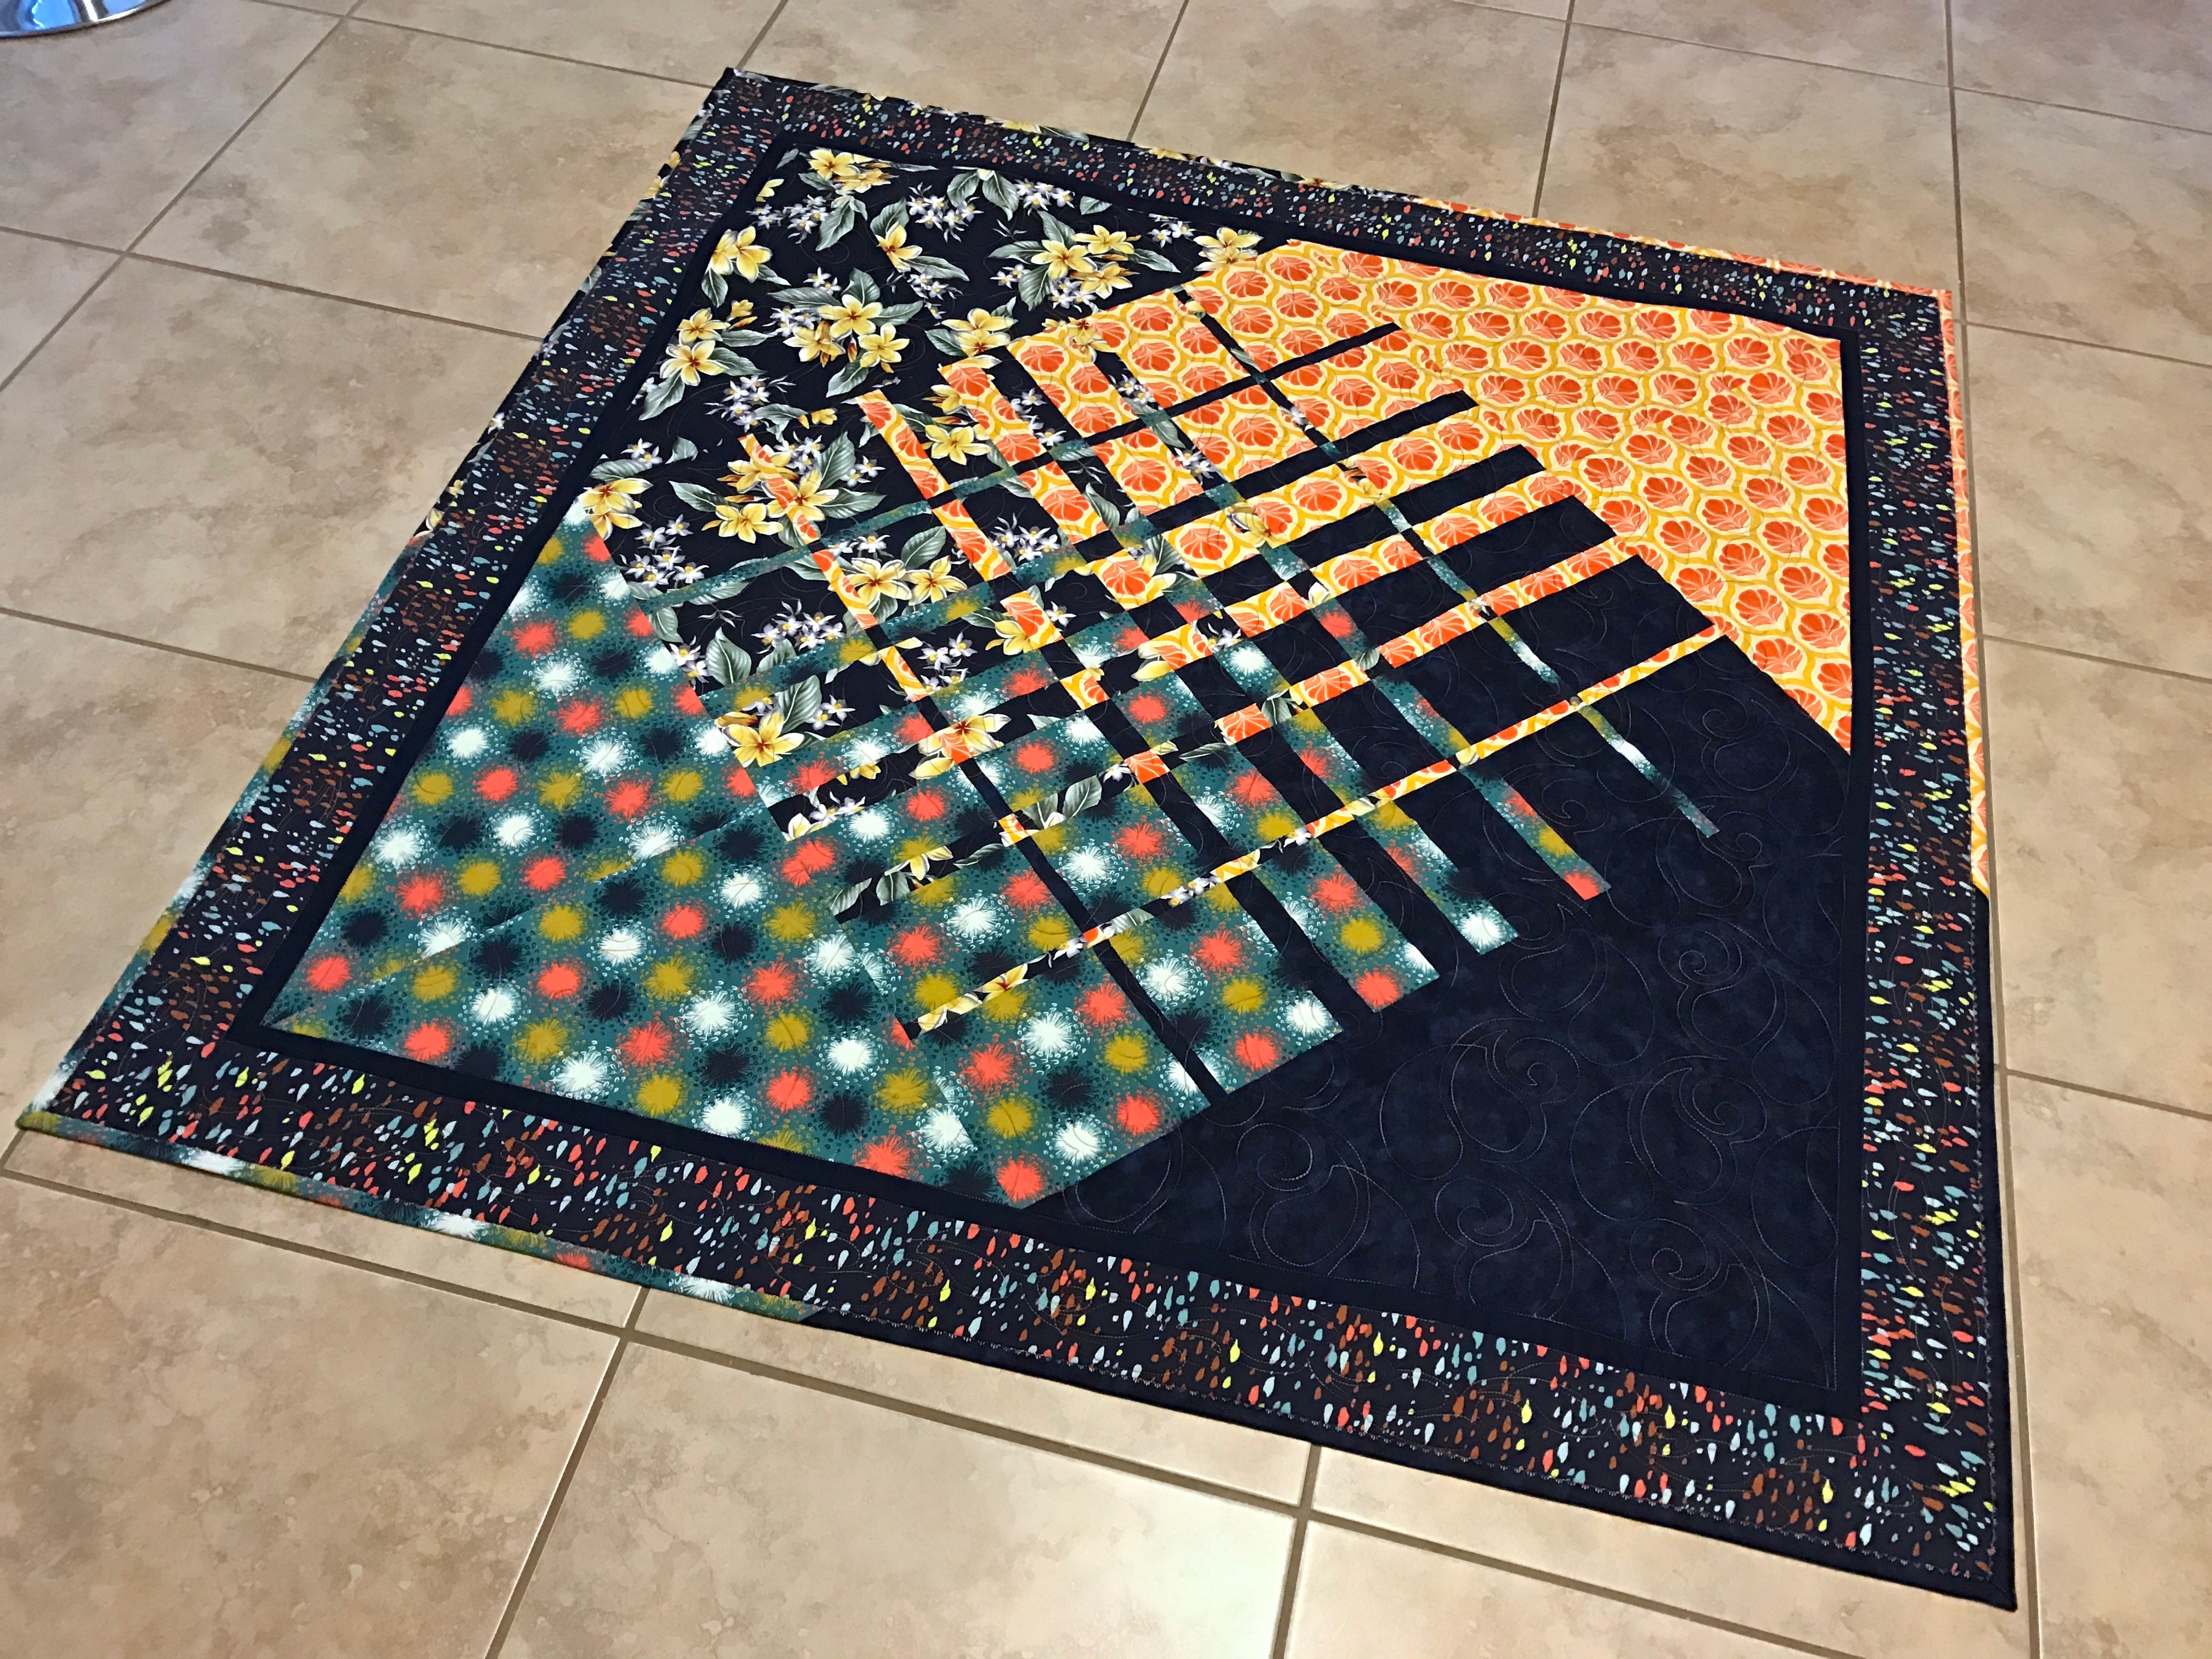
I spent the afternoon finishing the Fibonacci Quilt. Last evening as I was nearing the end I was thinking about the binding – my first inclination was to bind it using the solid Kona dark blue but decided that wouldn’t add anything of interest to the quilt. I dug out what was left of the original fabrics, realized I had more than enough to cut two 2 1/2″ width-of-fabric strips from each. My idea was to extend the triangular corners into the binding, carrying the diagonal lines past the border. It took quite a bit of pinning and fitting to align those diagonals but in the end they worked – the most obvious of the matches is the yellow diagonal on the right, but they’re all done that way.

This could be considered a “medallion” quilt – the center block element (in this instance offset as a diamond) is constructed from the Fibonacci series of fabric strips, surrounded by large triangular panels of the individual fabrics, set off within a narrow navy sashing and finished with a contrasting border!

Quilt Top

Quilt Top

I edge-to-edge quilted the inner panel – I had worked out the dimensions of the embroidery to fit within the navy sashing. My calculations were close enough that eight rows filled the panel end to end without having to fudge the spacing between rows. It’d hard to tell from the quilting detail below that the rows actually overlap – that is, there were spaces in each row filled by elements in the next row. This is usually how long arm quilting designs are created – rows of nested scrolls. It’s much more difficult to plan out when I’m quilting in the hoop on my embroidery machine because while I’m quilting in rows, each row consists in this case of 4 1/2 repeats each of which has to be precisely connected to the adjacent stitch out for the rows to work! The inner sashing was stitched in the ditch; the outer border was quilted using a modified version of the main quilting motif.

This is the most intricate quilting I’ve attempted and it worked out very well. The new embroidery machine and the larger sewing table definitely helped. It was also nice to be able to do the hooping of the fabric on the cutting table rather than on my knees on the floor!

img_8056

Quilting Detail

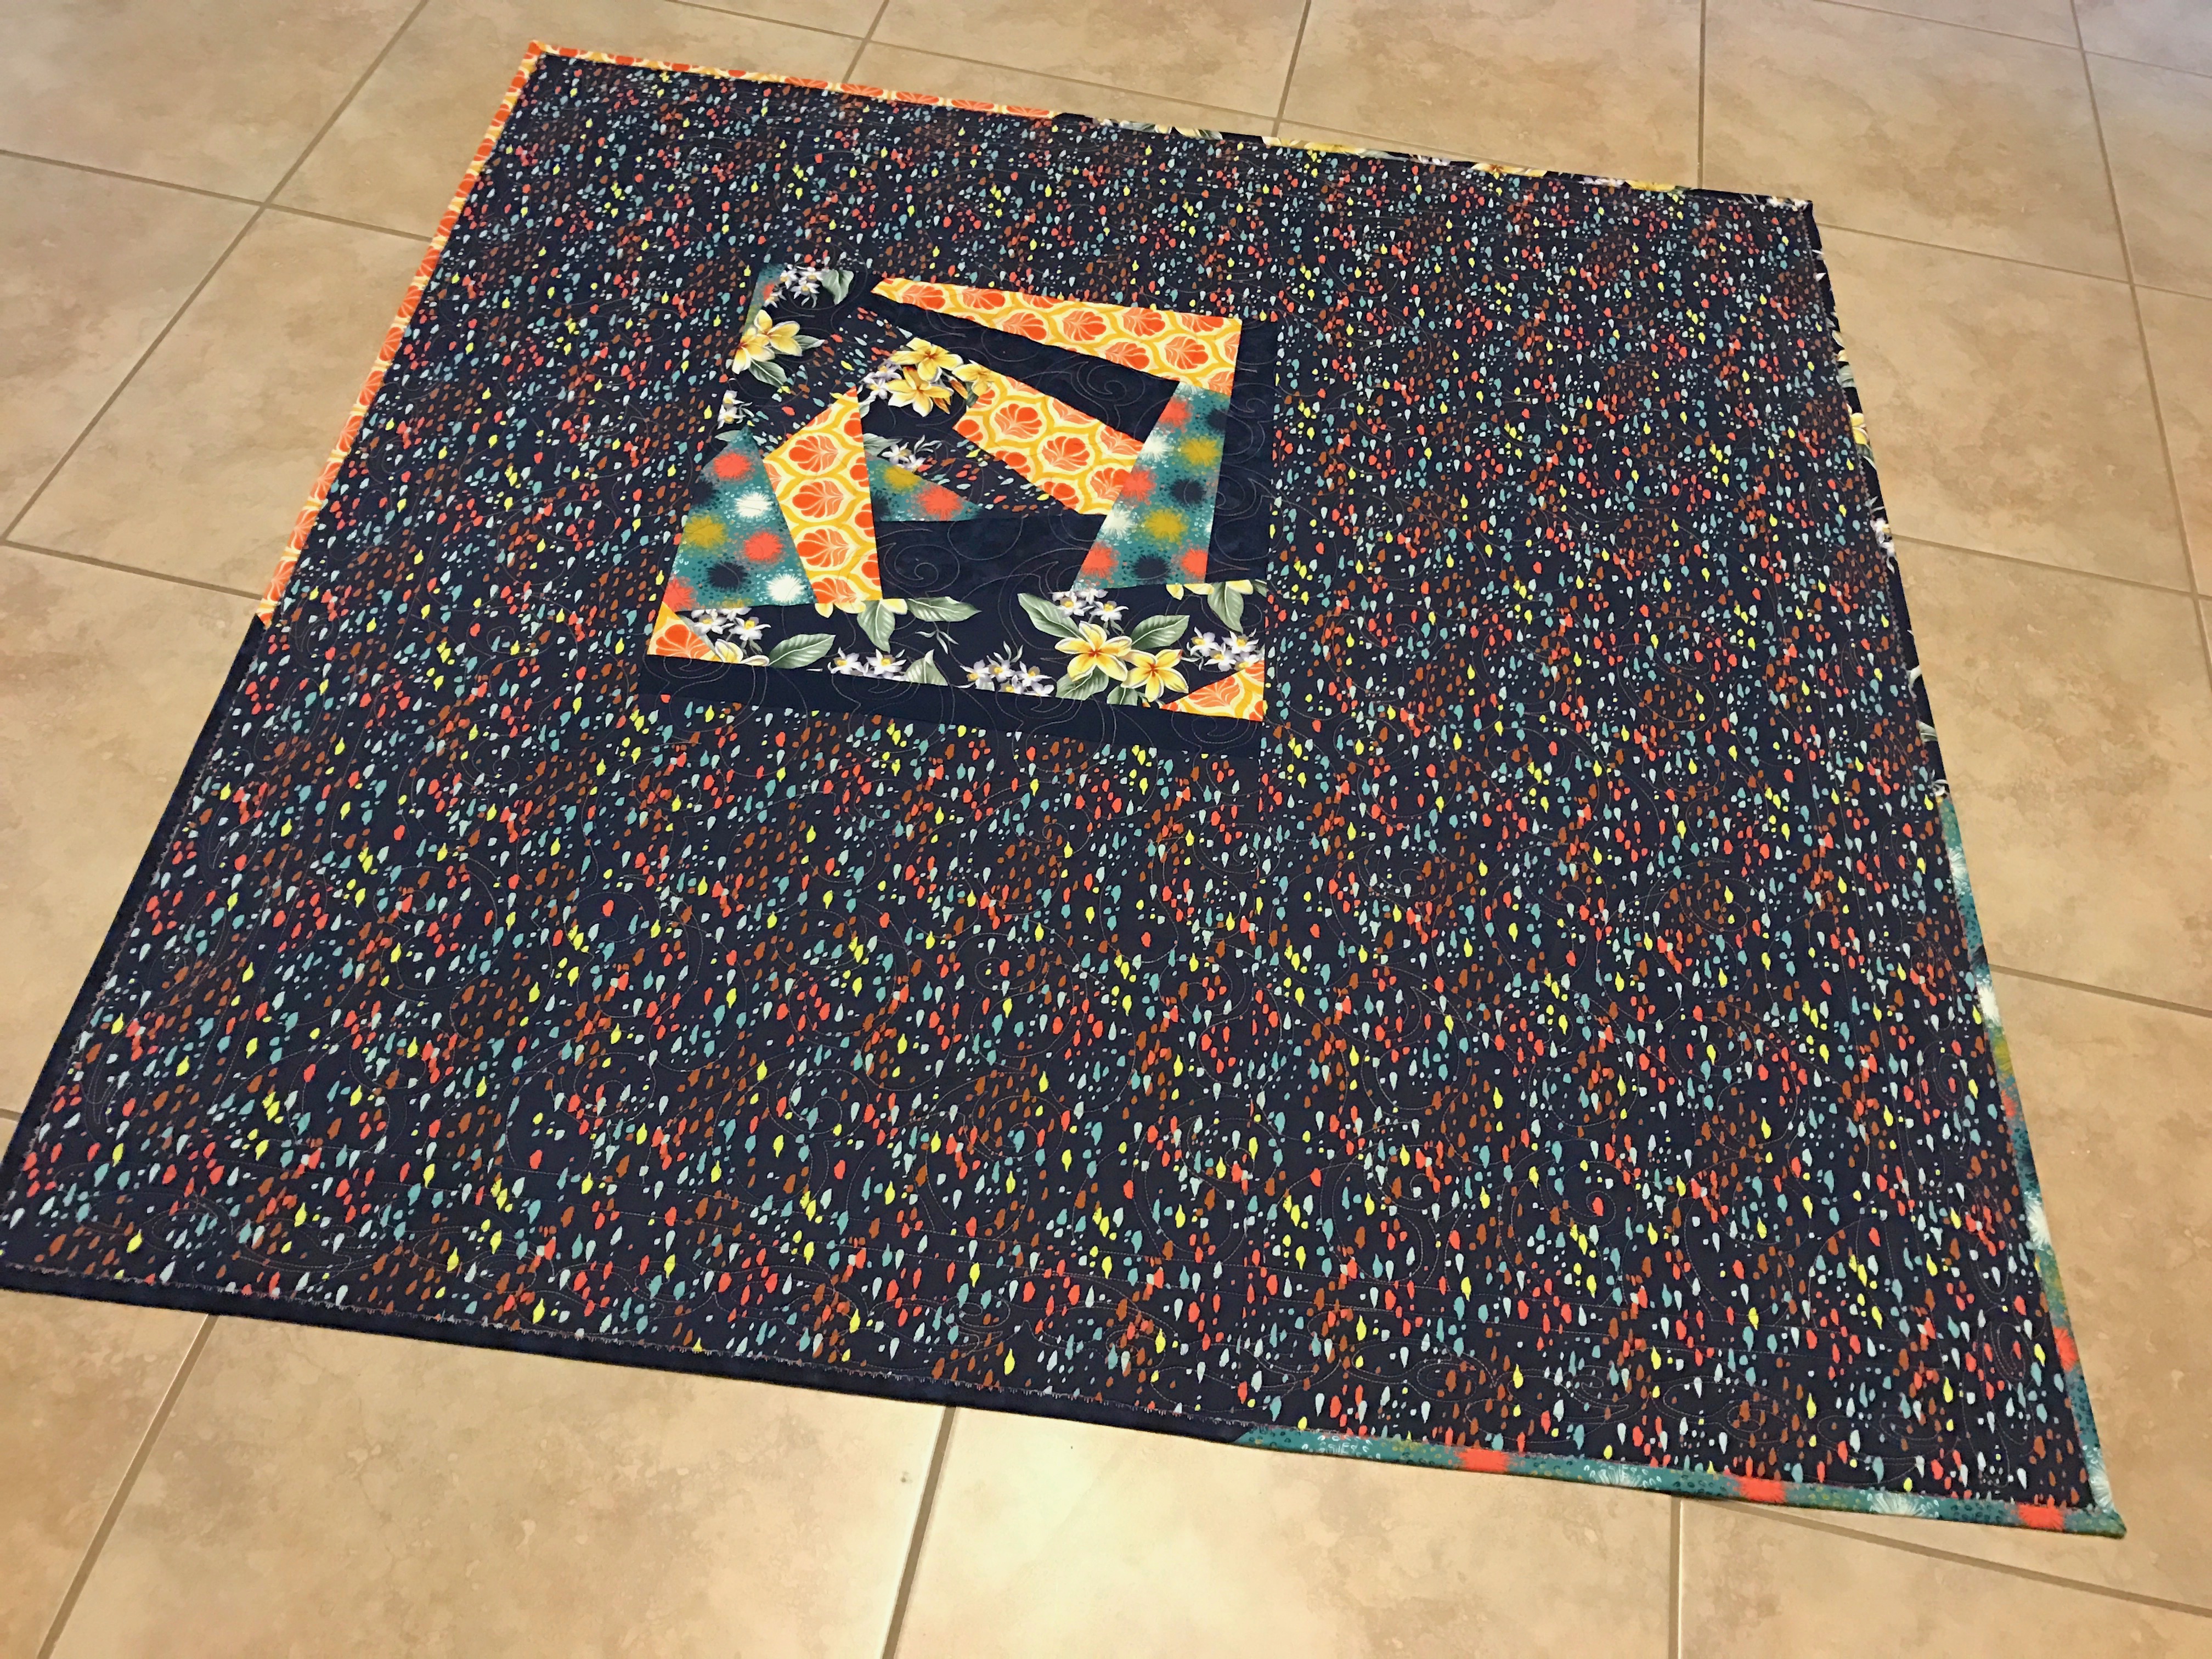
For the back I used leftover scraps from the original fabrics assembled randomly in a crazy quilt array. The block is quite large pieced into the backing fabric.

img_8057

Quilt Back

I’ve named this quilt Fibonacci #1. There are, in fact, many different ways of using this number series to construct a quilt. I have to let the ideas percolate for now but there will be more quilts based on the number series…

New Sewing Machine

Last week I upgraded my embroidery machine – a totally impulsive decision. My Pfaff Creative Sensation was about 5 years old (no longer offered by Pfaff and  quite substantially depreciated since the new Creative Sensation Pro II was released within the last couple of months). My local Pfaff dealer was offering a good trade-in on my old machine so I decided to make the swap.

The differences between the two machines are subtle – the Pro II embroiders noticeably faster, there are a couple of new fancy stitches, the workings are all just a bit more stable than my original machine. The trade up made some sense since all my embroidery hoops work on this machine as do all the feet in my large collection of sewing machine feet.

img_8051

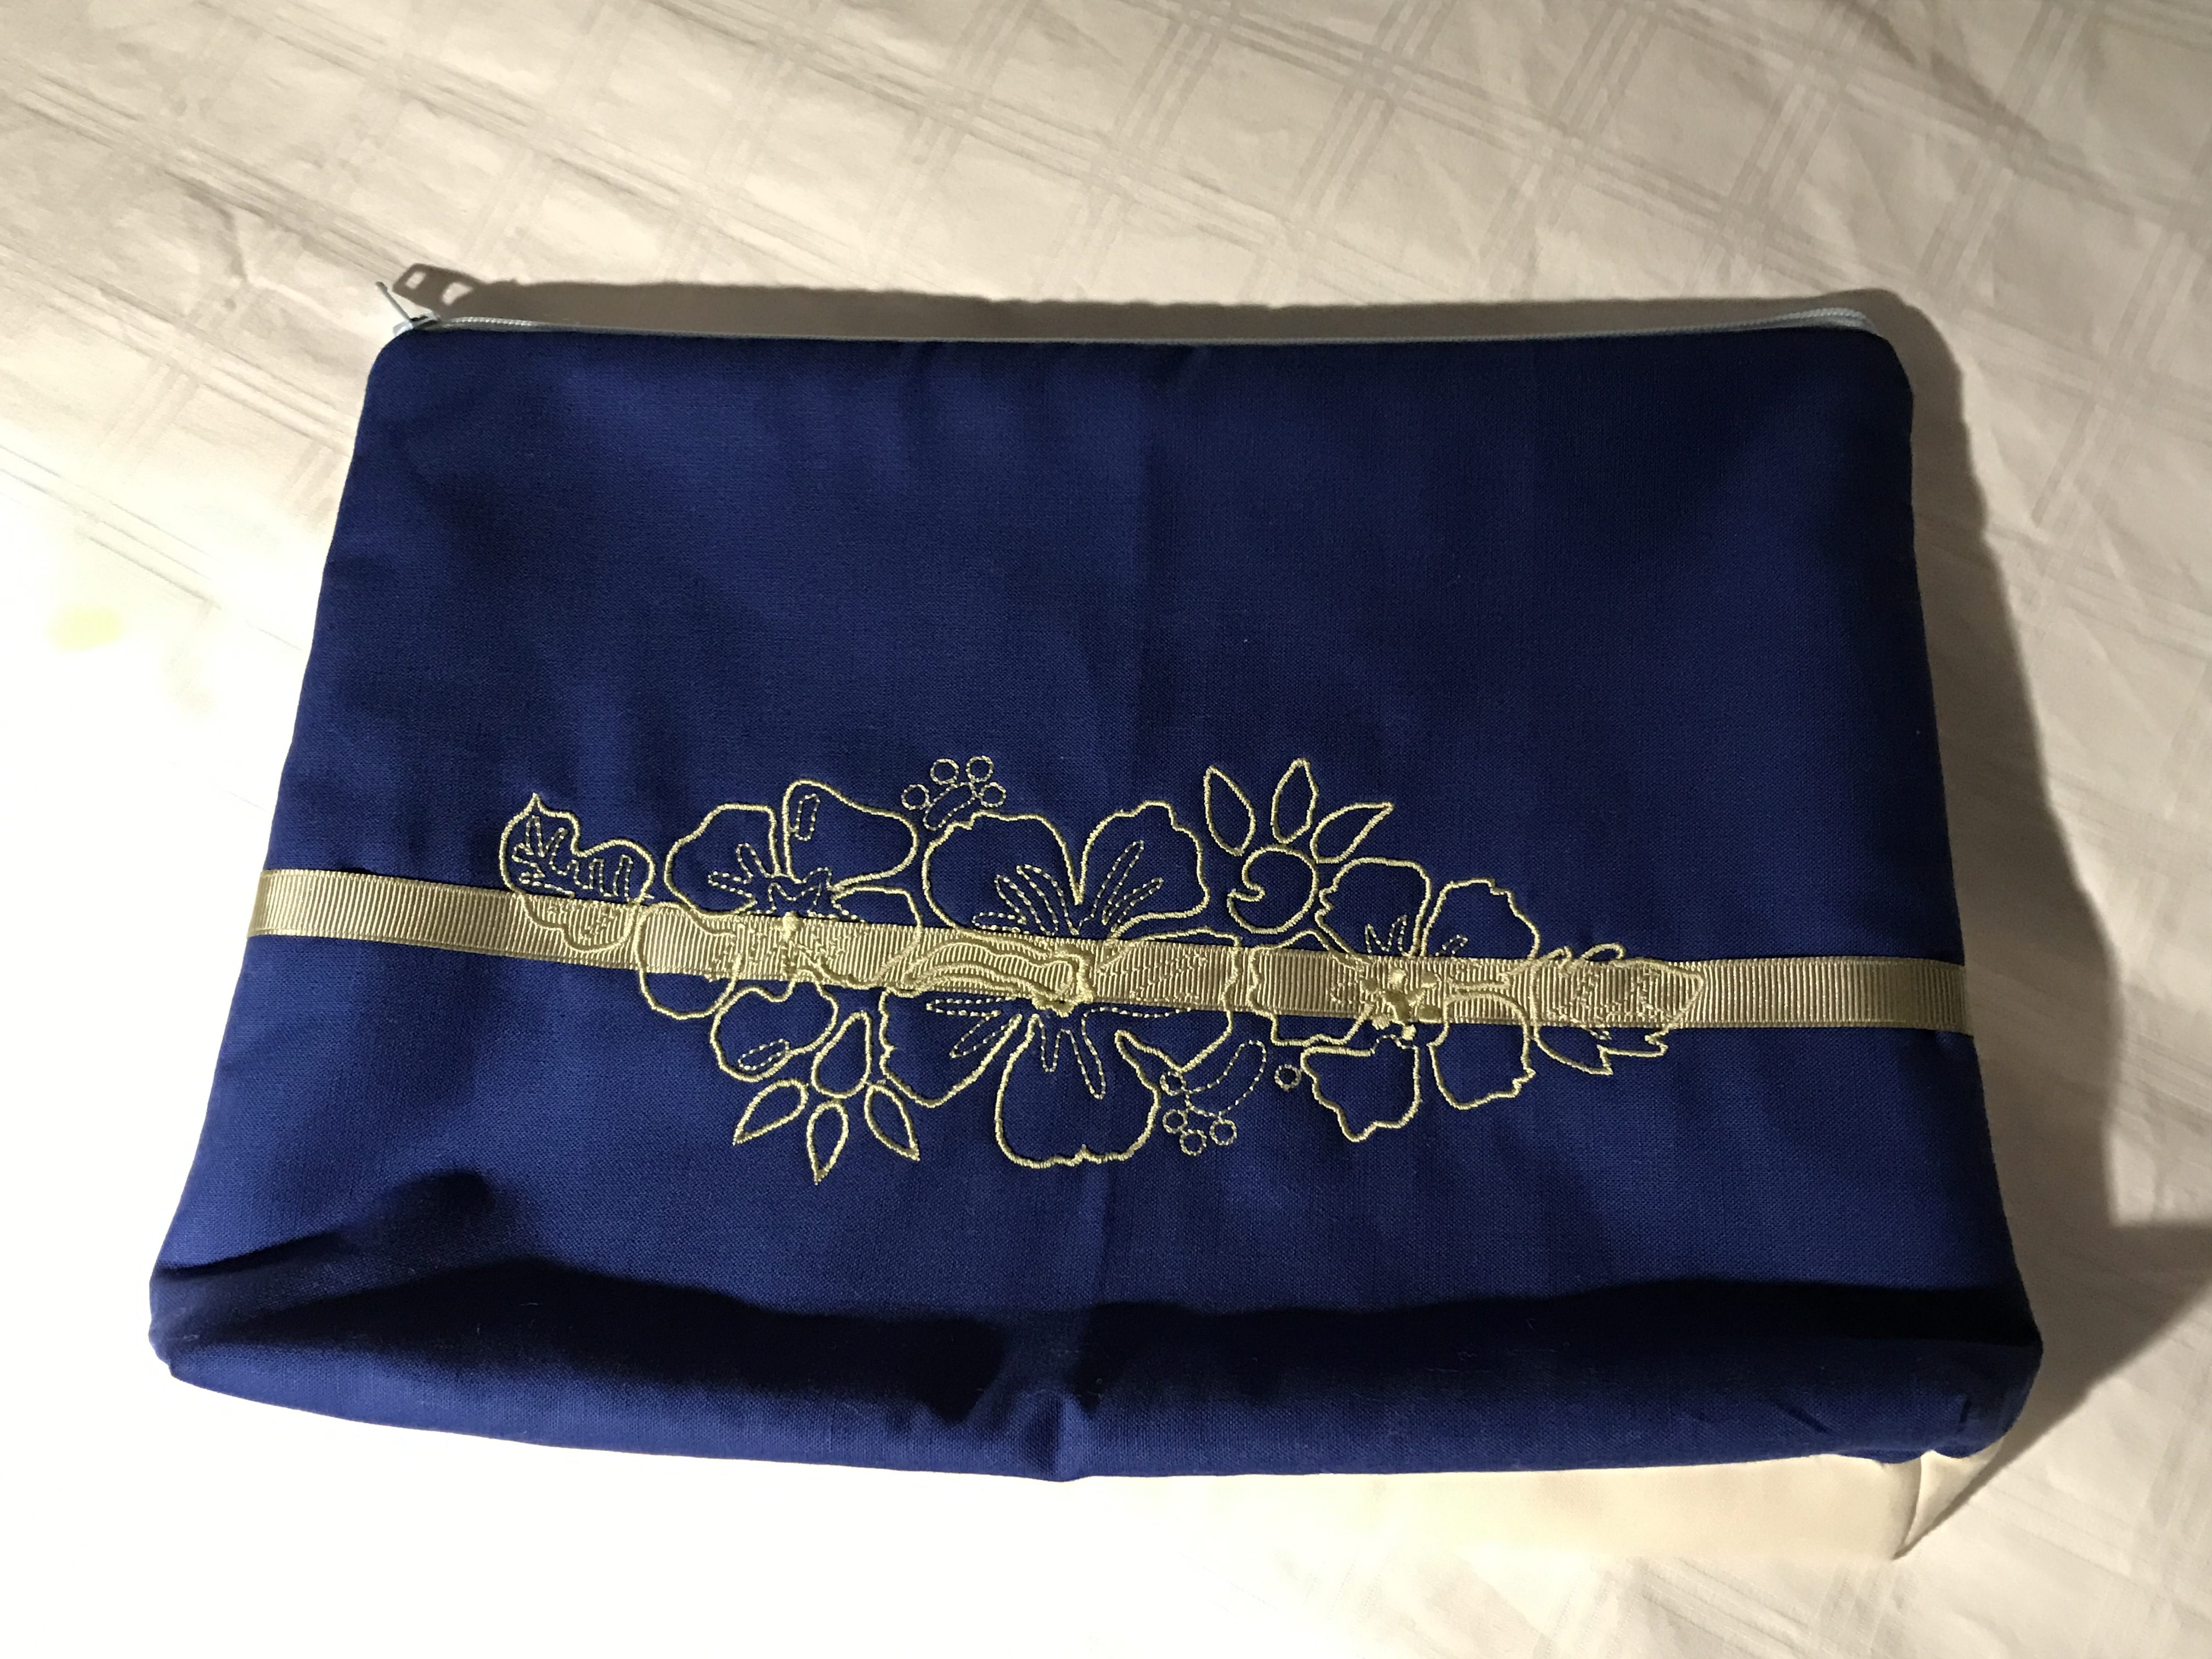
Front of zippered bag

So I took the machine home, unpacked it, and decided to give it run by making a zippered bag for storing the foot pedal and cord when I need to transport the machine. I loaded one of the embroidery designs included on the machine, picked out some rayon embroidery thread and stitched out the design. Did a nice job and this was where I could see the increase in embroidery speed. The stitches were properly embedded in the fabric layers without my having to make any tension adjustment (which I often had to do on the old machine). No thread breakage – always a good sign.

One of the few hoops I don’t have is a “texture” hoop – one which lets me add ribbons and other trim to the surface of the fabric before stitching out an embroidery. Instead, I took a piece of grosgrain ribbon, lightly glued it along the middle of my fabric, hooped the fabric and stitched out the embroidery. Worked fine!

img_8053

Back of zippered bag

I added a zipper, a lining, and stitched up the bag. Didn’t take long. Then I played around for a while testing out various stitches on a scrap of fabric.

These days, however, I primarily use my embroidery machine for quilting. Once my quilt top and quilt back are pieced and sewn (I actually prefer my straight stitch quilting machine for that), and the quilt sandwich pinned, I do the final quilting by hooping the pinned quilt segment by segment (easiest is when the top is actually constructed from blocks; more demanding is hooping from edge to edge – which is the job I just finished today on my Fibonacci quilt (I’ve quilted half of the border; I’ll complete that job tomorrow, then add the binding and label)).

The Pro II runs more quietly and smoothly than the original Creative Sensation. I can see I will turn to it for more than just quilting.

The new machine is now sitting proudly on my new sewing table which is deeper and a bit longer than the previous table (on which is sitting my straight stitch quilter) – making the whole business of quilting with the embroidery machine much easier (much less drag on the embroidery unit since the weight and expanse of the quilt is distributed over a much larger surface).

I can see I’m gonna be happy having upgraded the embroidery machine.

This ‘n That…

I’ve been working away at stuff – got another pair of socks finished:

img_8036

My sister Barb was visiting from Toronto on Sunday and she went home with one of the pairs of socks in my stash. This pair will take their place. The others will be Christmas gifts, quite likely.


Yesterday, the zipper on my small “wallet” separated at the back end. It’s a small zippered pouch I made maybe four-five years ago – small enough to fit in a jacket pocket but large enough (with enough zippered pockets) to hold just about everything I want to carry with me: a few credit cards, a couple of loyalty cards, a bit of cash, some change, and a spare key (along with a pocket screwdriver). Here’s a second one I made at that time – discovered when I’d finished sewing that it was for a left-handed person!

img_8041

The zippers open the wrong way and if you hold the pouch to open them with your right hand, then all the pockets are upside down! I use it to hold my driver licence and car permit in the large compartment but not much else. I needed a pouch that was right-handed.

img_8038

The one I made today is a tiny bit wider and longer but the zippers open on the right side and the pockets are right way up when you open them.

I used some royal blue rip-stop scraps I had kicking around from my days of kite making. I had a some turquoise/lime green grosgrain tape, and some lime green zipper tape (without pulls) left over from a roll of make-a-zipper tape I’d bought from Nancy’s Notions years ago:

13138128

I’d used all the pulls that come with the tape – so I removed the pulls from the zippers on the original pouch – with some tugging, managed to install them on the green tape (which is why one pull is pink!).

Project took a couple of hours – the rip-stop is slippery and I had to pin as I went along to be sure the sections of the pouch would be aligned – slowed the sewing process down. I should actually make a pattern for this project – I’m sure other people would be interested.


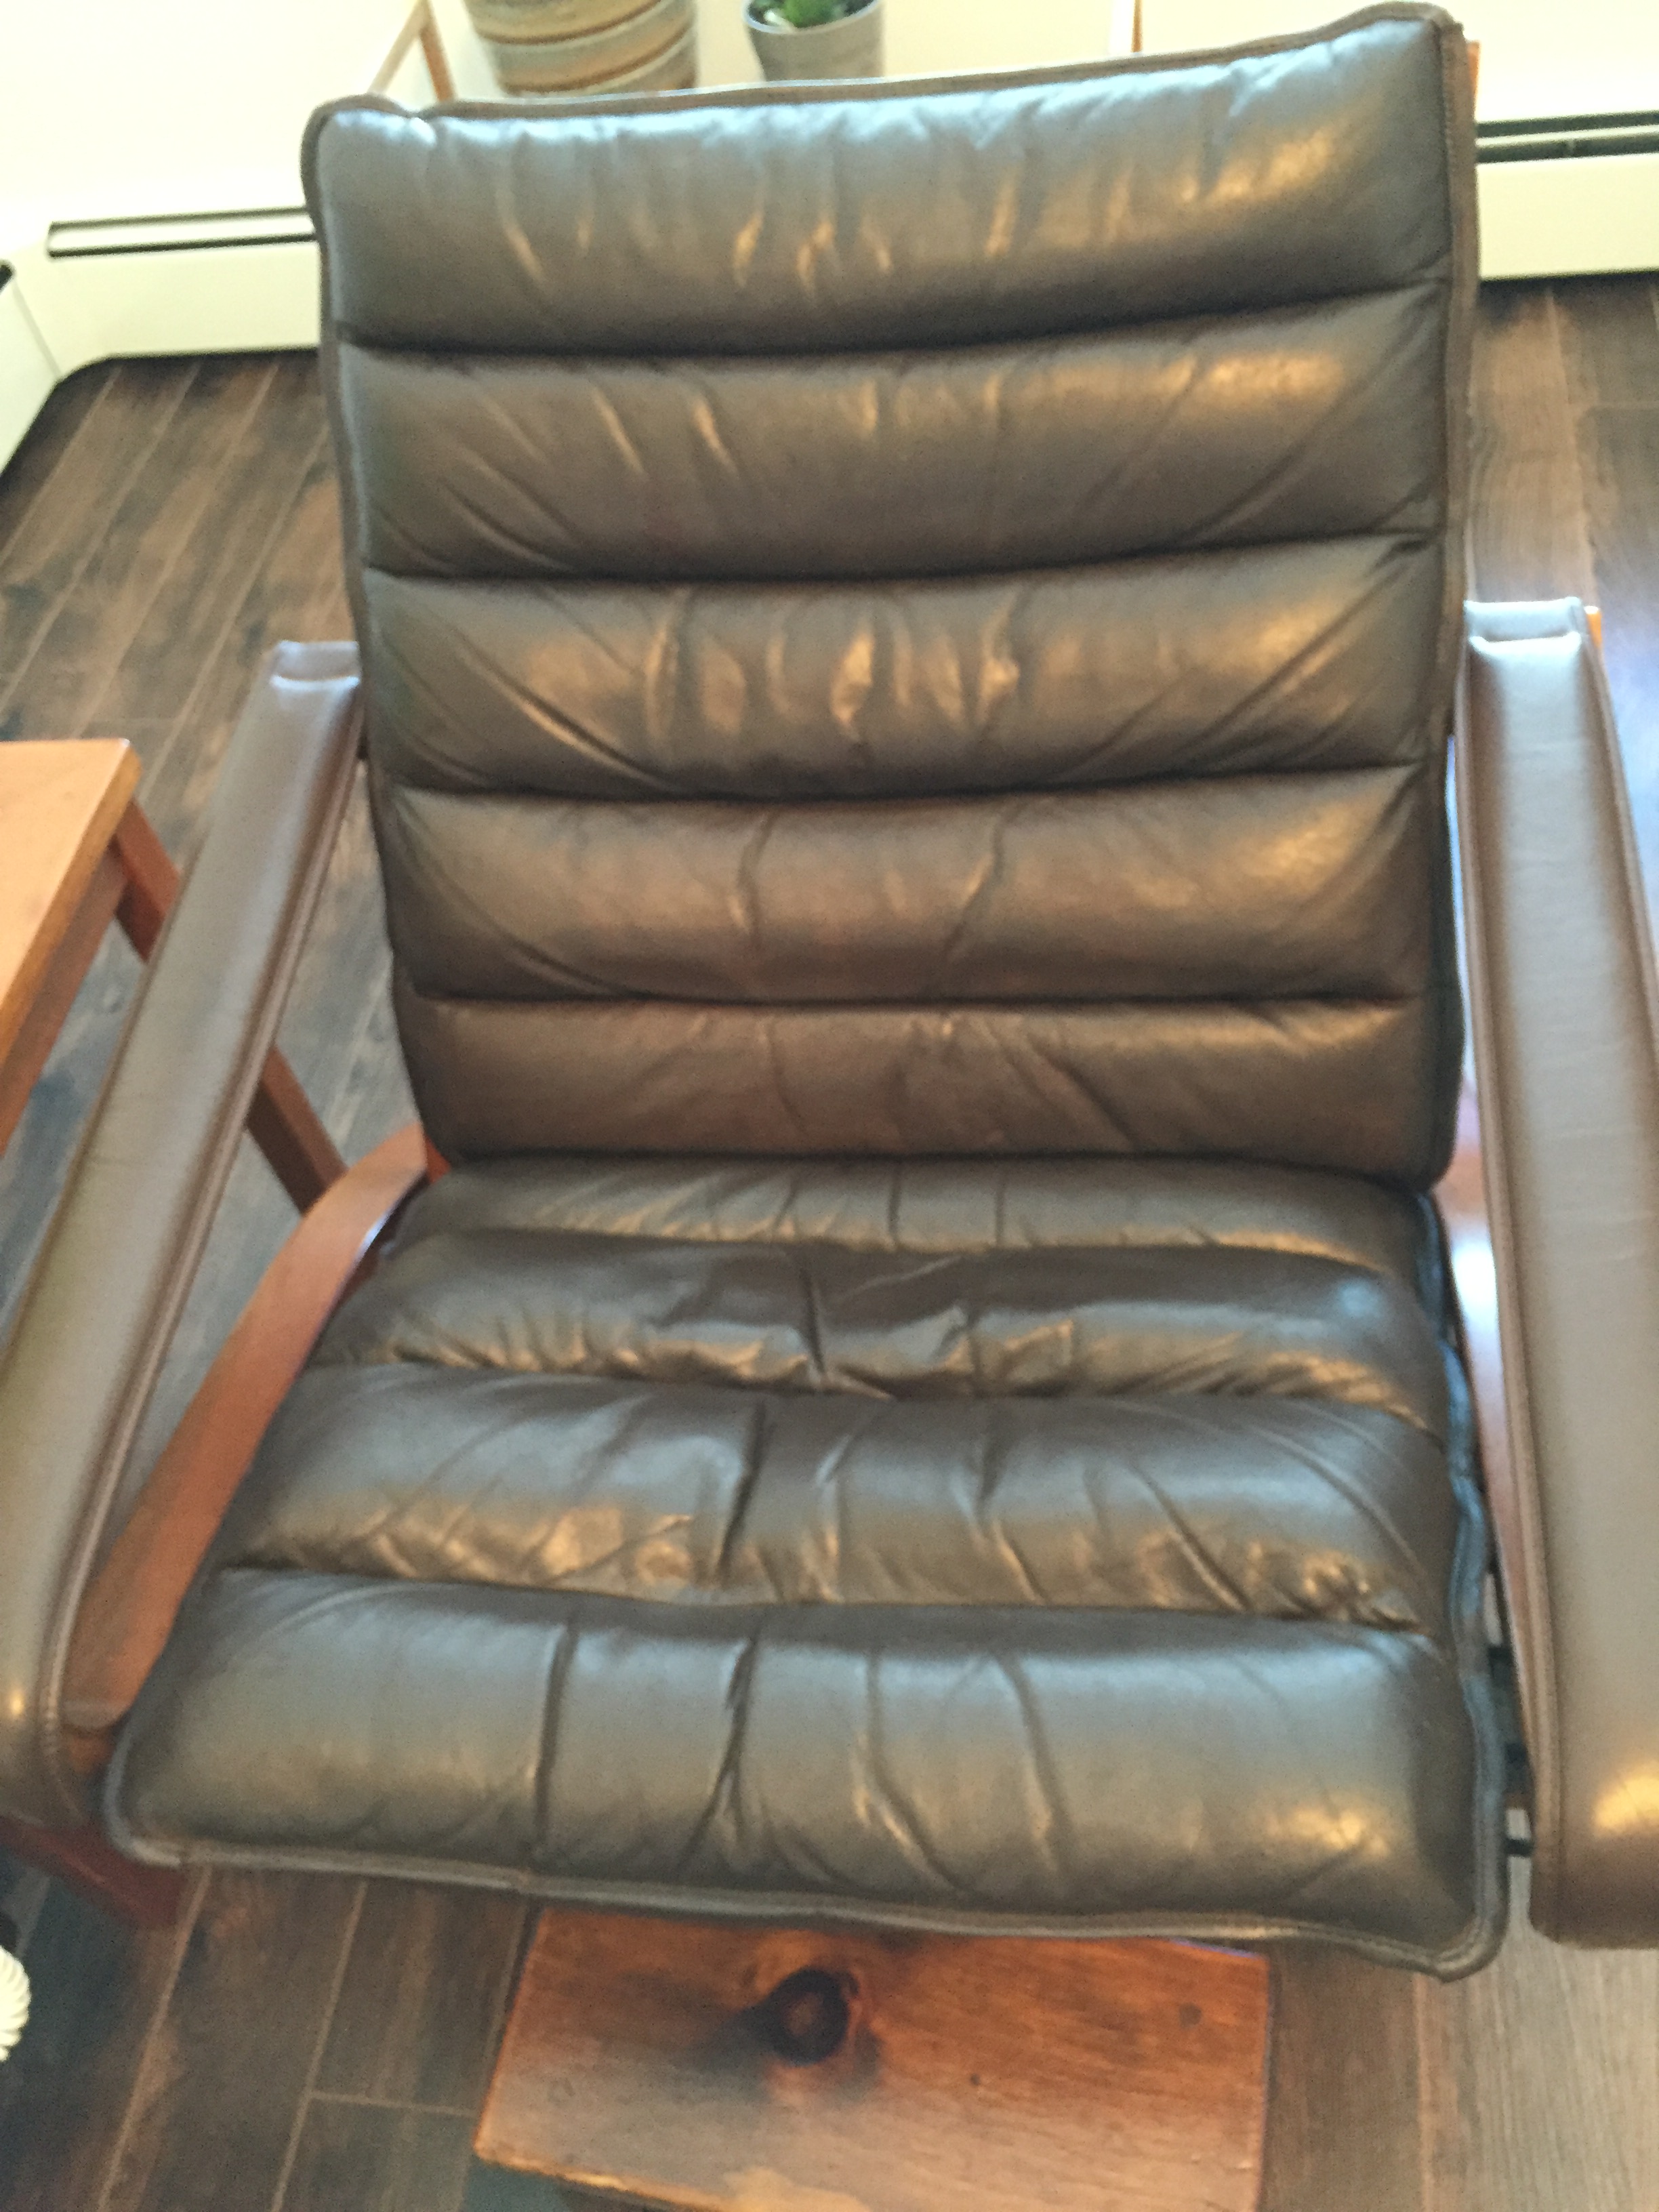
This morning a jar of Rustins Leather Re-Colouring Balm arrived in the mail from England. I’ve had a dark brown leather chair for over 40 years. About 20 years ago I had the cushions restuffed but I was never able to find a product to refinish the leather itself. With this move I decided to see if I could find something to renew the leather on the cushions. I came across this Rustins Recolouring Leather Balm:

leather-balm

I ordered a jar in dark brown. I’ve just used it and it’s wonderful! I thought to myself as I started applying it to the chair cushions I should take a “before” picture – I didn’t. But here’s an “after”:

img_8042

All the white wear marks are gone. The balm soaked in quickly – there wasn’t much excess to wipe off. The best part is it’s not going to come off on clothing when someone sits in the chair! It didn’t take long to apply, wait for 5 minutes, then wipe off (the wipe off cloth didn’t pick up much colour at all). I’ll apply a second coat tomorrow just to catch the few uncoloured spots that I’m noticing now. I can’t believe how much better this chair looks.

So now to get organized to quilt that latest quilt. The sandwich is pinned together. I’ve set up an embroidery design to quilt it edge-to-edge. Gotta try out the embroidery on some scrap fabric to make sure of the dimensions so my edge-to-edge quilting will align properly.


Convergence Quilt #1 – Top Completed

img_8034

So here is the top completed. The original convergence block is the center of the quilt, with triangles matching one of the predominant colours on each side. Those triangles were difficult – in the end, I laid the sewn convergence block on the floor, laid paper under one side, then drew a triangle – the base of the triangle was the length of the block side, 45° angles to form what is an isosceles triangle! Where the two sides met created the apex of the triangle (which I made sure was a 90° angle). (I remembered to add seam allowances to each side of the triangle.)

I didn’t have enough fabric left to create the triangles in a single piece although overall there was enough fabric – if I made two smaller right angled triangles, stitched them together on what would become the diagonal of the overall block. Then I had enough width to accommodate the edge of the convergence block.

Once the triangles were attached, I added a 3/4″ sashing piece for stability – the sides of the triangles on the outer edge were all on the bias and needed to have something attached that would retain the overall shape. I cut the sashing on the length of fabric (since I had just enough length of the Kona solid I used). Then added a 4 1/4″ border from a fifth fabric that I’d bought as part of the set with the other four fabrics.

Now I have a 54″ square top. I need to think about what to do with the second side (back). I bought another 1/2 m. of each fabric, as well as 2 1/2 m of the dots fabric for the back. Flying geese? Half square triangles? Strips? Crazy quilt? Lots of possibilities. I’ll wake up with something in mind, I’m sure. That’s how these things seem to work themselves out for me.

Convergence Quilt #1

Yesterday I drove to Parrsboro to retrieve my quilts from the Art Lab Exhibit. No sales – wasn’t expecting any. Lots of nice comments in the guest book, though.

When we were hanging the quilts three weeks ago, Michael asked me if I’d ever tried a quilt using the Fibonacci Sequence of numbers (0, 1, 1, 2, 3, 5, 8, 13, 21…). I never have but I googled Fibonacci Quilts and found a gazillion examples!

Turns out that modern quilters began playing with this idea quite some time ago. One of the earlier quilters to explore intersecting graduated, spliced fabrics in two directions was Ricky Tims. He used a slightly different sequence of numbers but the effect is similar. His book: Ricky Tims Convergence Quilts offers a variety of ways to play with this idea.

cover-rickytims

Book Cover

c2

Example from the book

Quilts called out to me today. I put the shirt/jacket to one side (I have to take the back princess seams apart and reduce the fullness of the side back panel to smooth out the fit of the back of the garment – I’ll get back to it likely tomorrow because once I solve the back fit problem the assembly of the garment will go very quickly!).

I went to my fabric stash and chose four complementary fabrics – two with strong patterns, two more muted. I had 1/2 m of each fabric – I cut 20″ blocks from each, pressed and starched them. Lined them up, trimmed them, sewed two together, folded them right sides together, then cut the following strips from each pair: 1″, 1.5″ 2″, 3″, 4.5″, and 7.25″ (that used up most of the width of the fabrics).

I interleaved the strips, then stitched each set together giving me two graduated panels. Here they are with the strips assembled in one direction:

img_8012

The second step is to cut the panels again, with the fabric rotated 90°. I laid the two pieced fabrics right sides together, strips horizontal, then cut vertical strips again, using the same dimensions, then interleaved them once more. This produces a single panel with the four colour blocks converging into one another:

img_8017

My “convergence” panel #1

My finished panel is 34″ x 34″ – now I need to do something with borders to extend the quilt top so I have a lap size quilt (~ 45″ x 60″). That means asymmetrical border elements so I end up with a top that is longer than wide. I’m thinking I might want to use this panel on point, making the strips diagonals… something like this example below – I’d want to offset the panel somewhat more than this one so I could then add more asymmetrical borders to the enlarged square. 

diagonal

Convergence block on point…

I’ll work on this some more tomorrow. Tims calls these “mystery quilts” – he’s right! It’s hard to anticipate how the spliced, interleaved fabrics will look. I’m happy with this first attempt – I’ll want to play with it some more using strong coloured fabrics with more muted patterns to see how that might turn out. I can see I might be engaged in this cutting, sewing, cutting, sewing for quite a while – there’s lots to learn here… 

In Progress

In April, Ann Williamson blogged about having just made a couple of “hitoe” jacket/blouses from her kimono silk stash. She calls them ‘hitoe’, the Japanese word for a silk, light weight, unlined kimono, because these jacket/blouses are unlined. By chance she discovered they look terrific layered, so often she shows them in pairs, like the two hitoe below (each with contrasting facing fabrics).

double-hitoe

A double hitoe

I love Ann’s work and the garments she creates. After my visit to her studio in Portland Oregon in 2013, I ordered some kimono silk myself from Ichiroya.com.

IMG_8007

Two bolts of kimono silk

Kimono silk comes in 14″ wide bolts with anywhere from 10-12 yards of fabric – enough, I’ve discovered for a single jacket/blouse. The hitch is you have to piece the fabric to make it wide enough to create a garment. Or you can do what Ann does – cut the silk into small bits, piece it into a large swath of fabric from which to construct a garment.

Sharon-trench

Pieced trench coat (using silk from four different bolts)

In this case I decided rather than cutting my silk into bits and piecing it, I’d use a princess pattern – all the pieces would fit on the width of the kimono bolt.

It just so happens I have a princess-based pattern I could adapt to create a hitoe – McCall’s pattern M4394 (out of print but available online from eBay, for example, although I actually bought my copy from McCall’s some time last year). It’s a vintage classic coordinated collection. I’d bought it because of the simple lines and the fact that it actually had fit adjustment markings on each of the pattern pieces!
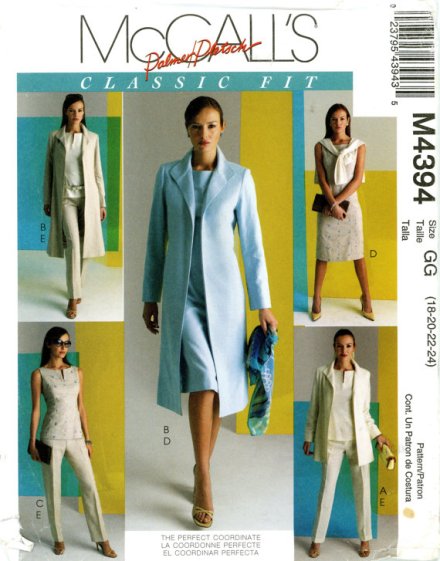
jacket pattern

Hitoe-like jacket – View A

View “A” (shortened a bit) I thought would work for a hitoe like Ann’s. I selected the pieces I needed for the jacket, traced each, making size adjustments to the tracing. Cut out each pattern piece ready to work on the kimono silk.

This is where I should be making a “muslin” – trying out the garment using some inexpensive fabric first to make sure the fit works. I actually went so far as to prep some muslin from my stash, but thought – why not try the pattern using one of the kimono silk fabrics I’m not especially fond of – if it works (with adjustments, likely) I end up with a wearable garment, If not, I will have learned what I want to anyway before using silk I really like.

I selected the mauve silk with trees in the clouds. The bands of pattern are intended to embellish the kimono sleeves and hem area. I was able to match up the pattern for the front so the design crosses from high on the right shoulder to lower on the left hip, lining up across the center front.

IMG_8005

Partially constructed fronts

I was able to match the center back but the side back pieces had to be solid mauve (no pattern left). One sleeve has an enlarged tree in the center of the upper arm.

So far, I’ve pieced the fronts and backs. Now I’m ready to piece the sleeves (these are two-piece sleeves which I needed in order to have them fit the fabric width – a single-piece sleeve would have been too wide for the fabric).

I thought about doing the facings in a contrasting fabric, but I’ve used the mauve for that purpose in order not to detract from the flowing design in the main fabric.

More to come as this garment develops.


Latest Socks

I manage to knit a pair of socks about every two weeks – that’s how long it takes me – 25 hours or so. Since I knit for a couple of hours only in the evenings – two weeks.

People say to me, “Oh you should sell them!” Right – 26 pairs of socks, more or less, a year – any idea what I’d need to charge to make that worthwhile? People are shocked when I say I charge $50 for a pair – $25 for the yarn, 25 hours – that’s just $1 an hour for my labour.

Want to know what these socks are really worth – @ $90/hour that my physio or massage therapists charge – these socks should be priced $2250 + $25. The price I should be charging is $2275! Why should my time be worth less than theirs?

No, these socks are gifts of love to people I know are going to treasure them!

IMG_8004

If fact, I like these ones well enough that they may just go into MY sock drawer!

Garment Sewing Again

I’ve finally made it back to some garment sewing. A couple of weeks ago in her Distinctive Sewing Supplies newsletter, Catherine Goetz featured ITY knits (some prints for tops as well as solids in a 300 weight) perfect for making leggings. She included this Jalie pattern as well.


Jalie leggings

Jalie Leggings Pattern

I ordered 1 metre of the ITY knit in black and navy, and the pattern. They arrived early this week. Couldn’t wait to give the pattern a try – very simple: cut out x2 the single pattern piece (no side seam) in the navy, some elastic for the waist, quickly stitch it up on the serger (no hand sewing required). In under an hour I had a finished pair of leggings that fit very well.

Now I needed a tunic length top. A while back I had made a top using Marsha McClintock’s t-Shirt Trifecta pattern – turned out well. So I looked through the garment fabrics I had on hand, found two jersey knits I’d purchased earlier in the spring. Cut out the pattern (had to use some of the leftover ITY knit for the top since I didn’t have enough of the jersey knit), sewed it up. Not as fast as the leggings, obviously, but a couple of hours and I had a finished tunic length top.

IMG_7998

Tunic Top

Top with matching leggings – an outfit I can wear now, and into the winter (with a turtleneck for warmth).
IMG_7996

That was yesterday. I got up this morning and headed directly to my cutting table to cut out the second pair of leggings in black. Those went even faster than yesterday – I knew what I was doing at this point.

Then a second tunic top. Again, I was short on fabric, but this time rather than use the black ITY knit, I had enough fabric to piece the sleeves with a center seam from shoulder to cuff (if I hadn’t mentioned it you likely wouldn’t notice it when I have the tunic top on – and the seams in the sleeves lined up perfectly with the shoulder seams!)

IMG_7997

Tunic Top II

IMG_7995

Outfit #2

Three hours later: another outfit.

I try to keep to the rule – new garment in, an old garment out! I tossed two summer t-Shirts so I could put these two new tunic tops in the closet. I confess, though, I didn’t throw out pants to be replaced by the leggings.

A quick mop up once I was finished and I’m ready to tackle whatever will be my next sewing project – likely a quilt.

Pillow Remakes


I don’t have “before” photos but here are the remakes. I did the needlework about 40 years ago. I was going to toss them out and look for new ones, but when I took a closer look I thought the needlework had held up well even if the velvet backing fabric was definitely showing its age. 

So I very carefully unpicked the seams, discarded the old backing fabric. This time I installed zippers, new backing fabric (on two of the pillows I used some of the leftover upholstery fabric from the sofa), and the pillows look like new – definitely refreshed.

What I find so interesting is that the colours I used 40 years ago are still the colours that draw me today! The pillows go fine with the new sofa and daybed fabrics. Didn’t take long to do, either.

Colourful Socks


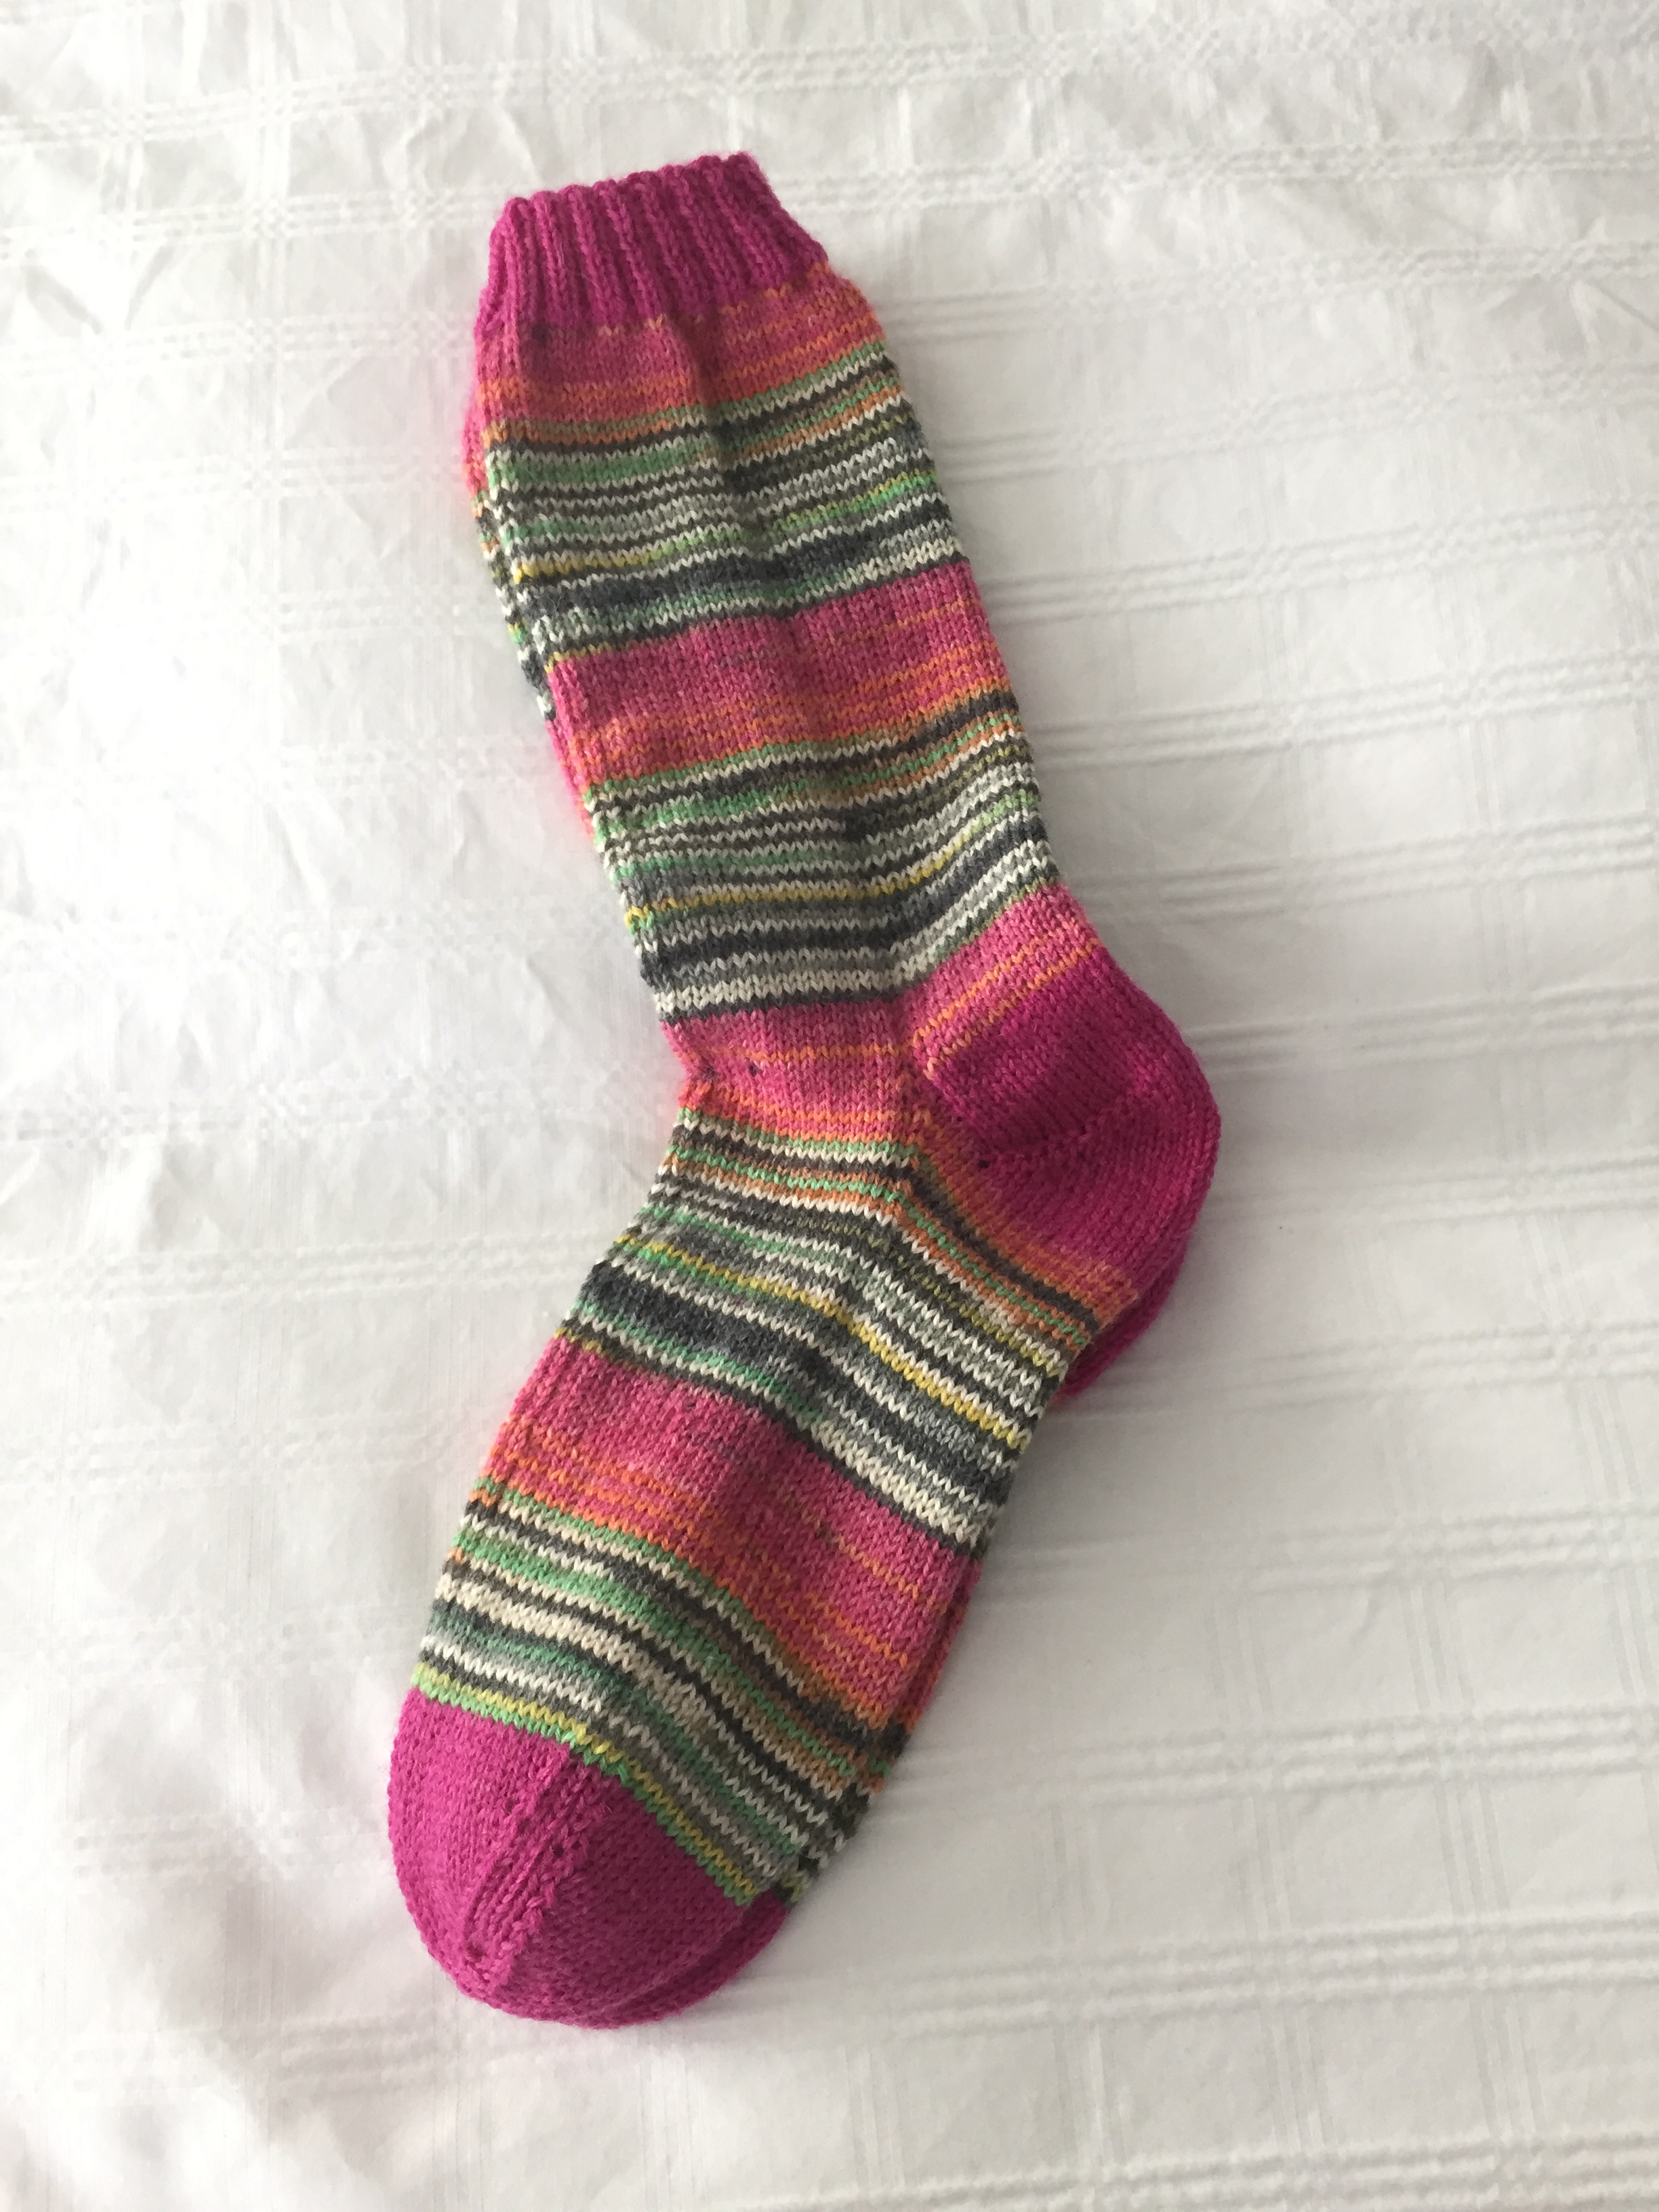
Just finished. They seemed to take forever! Probably because I didn’t work on them every evening so they took three weeks rather than the usual two. Anyway, they are now done.

Definitely bright. 

Usually I immediately start a next pair – no idle needles; but it’s now past midnight so new socks will have to be tomorrow….