A year and a half late – my Pfaff Creative Icon 2 sewing machine arrived two days ago! Development delays, computer chips unavailable, pushed the delivery of these machines way back. Some were sent out to preorder customers in later December – I opted to wait for the second batch (hoping that any glitches remaining in the software and mechanics would be worked out).
Got the call that my machine had arrived on Monday while working at the test kit assembly facility – I picked it up late in the afternoon, took it home, unpacked it, plugged it in, and played with it after supper until close to midnight.
The icons are different, and they’re located in different places from my original Creative Icon and it took me some time to find things I was used to using. Yesterday I was at it again and had a better time making the work flow. Today, I did what I always do when I get a new high-end embroidery/sewing machine – I made a bag for my foot pedal and power cord so I can slip them within the machine opening when transporting it.
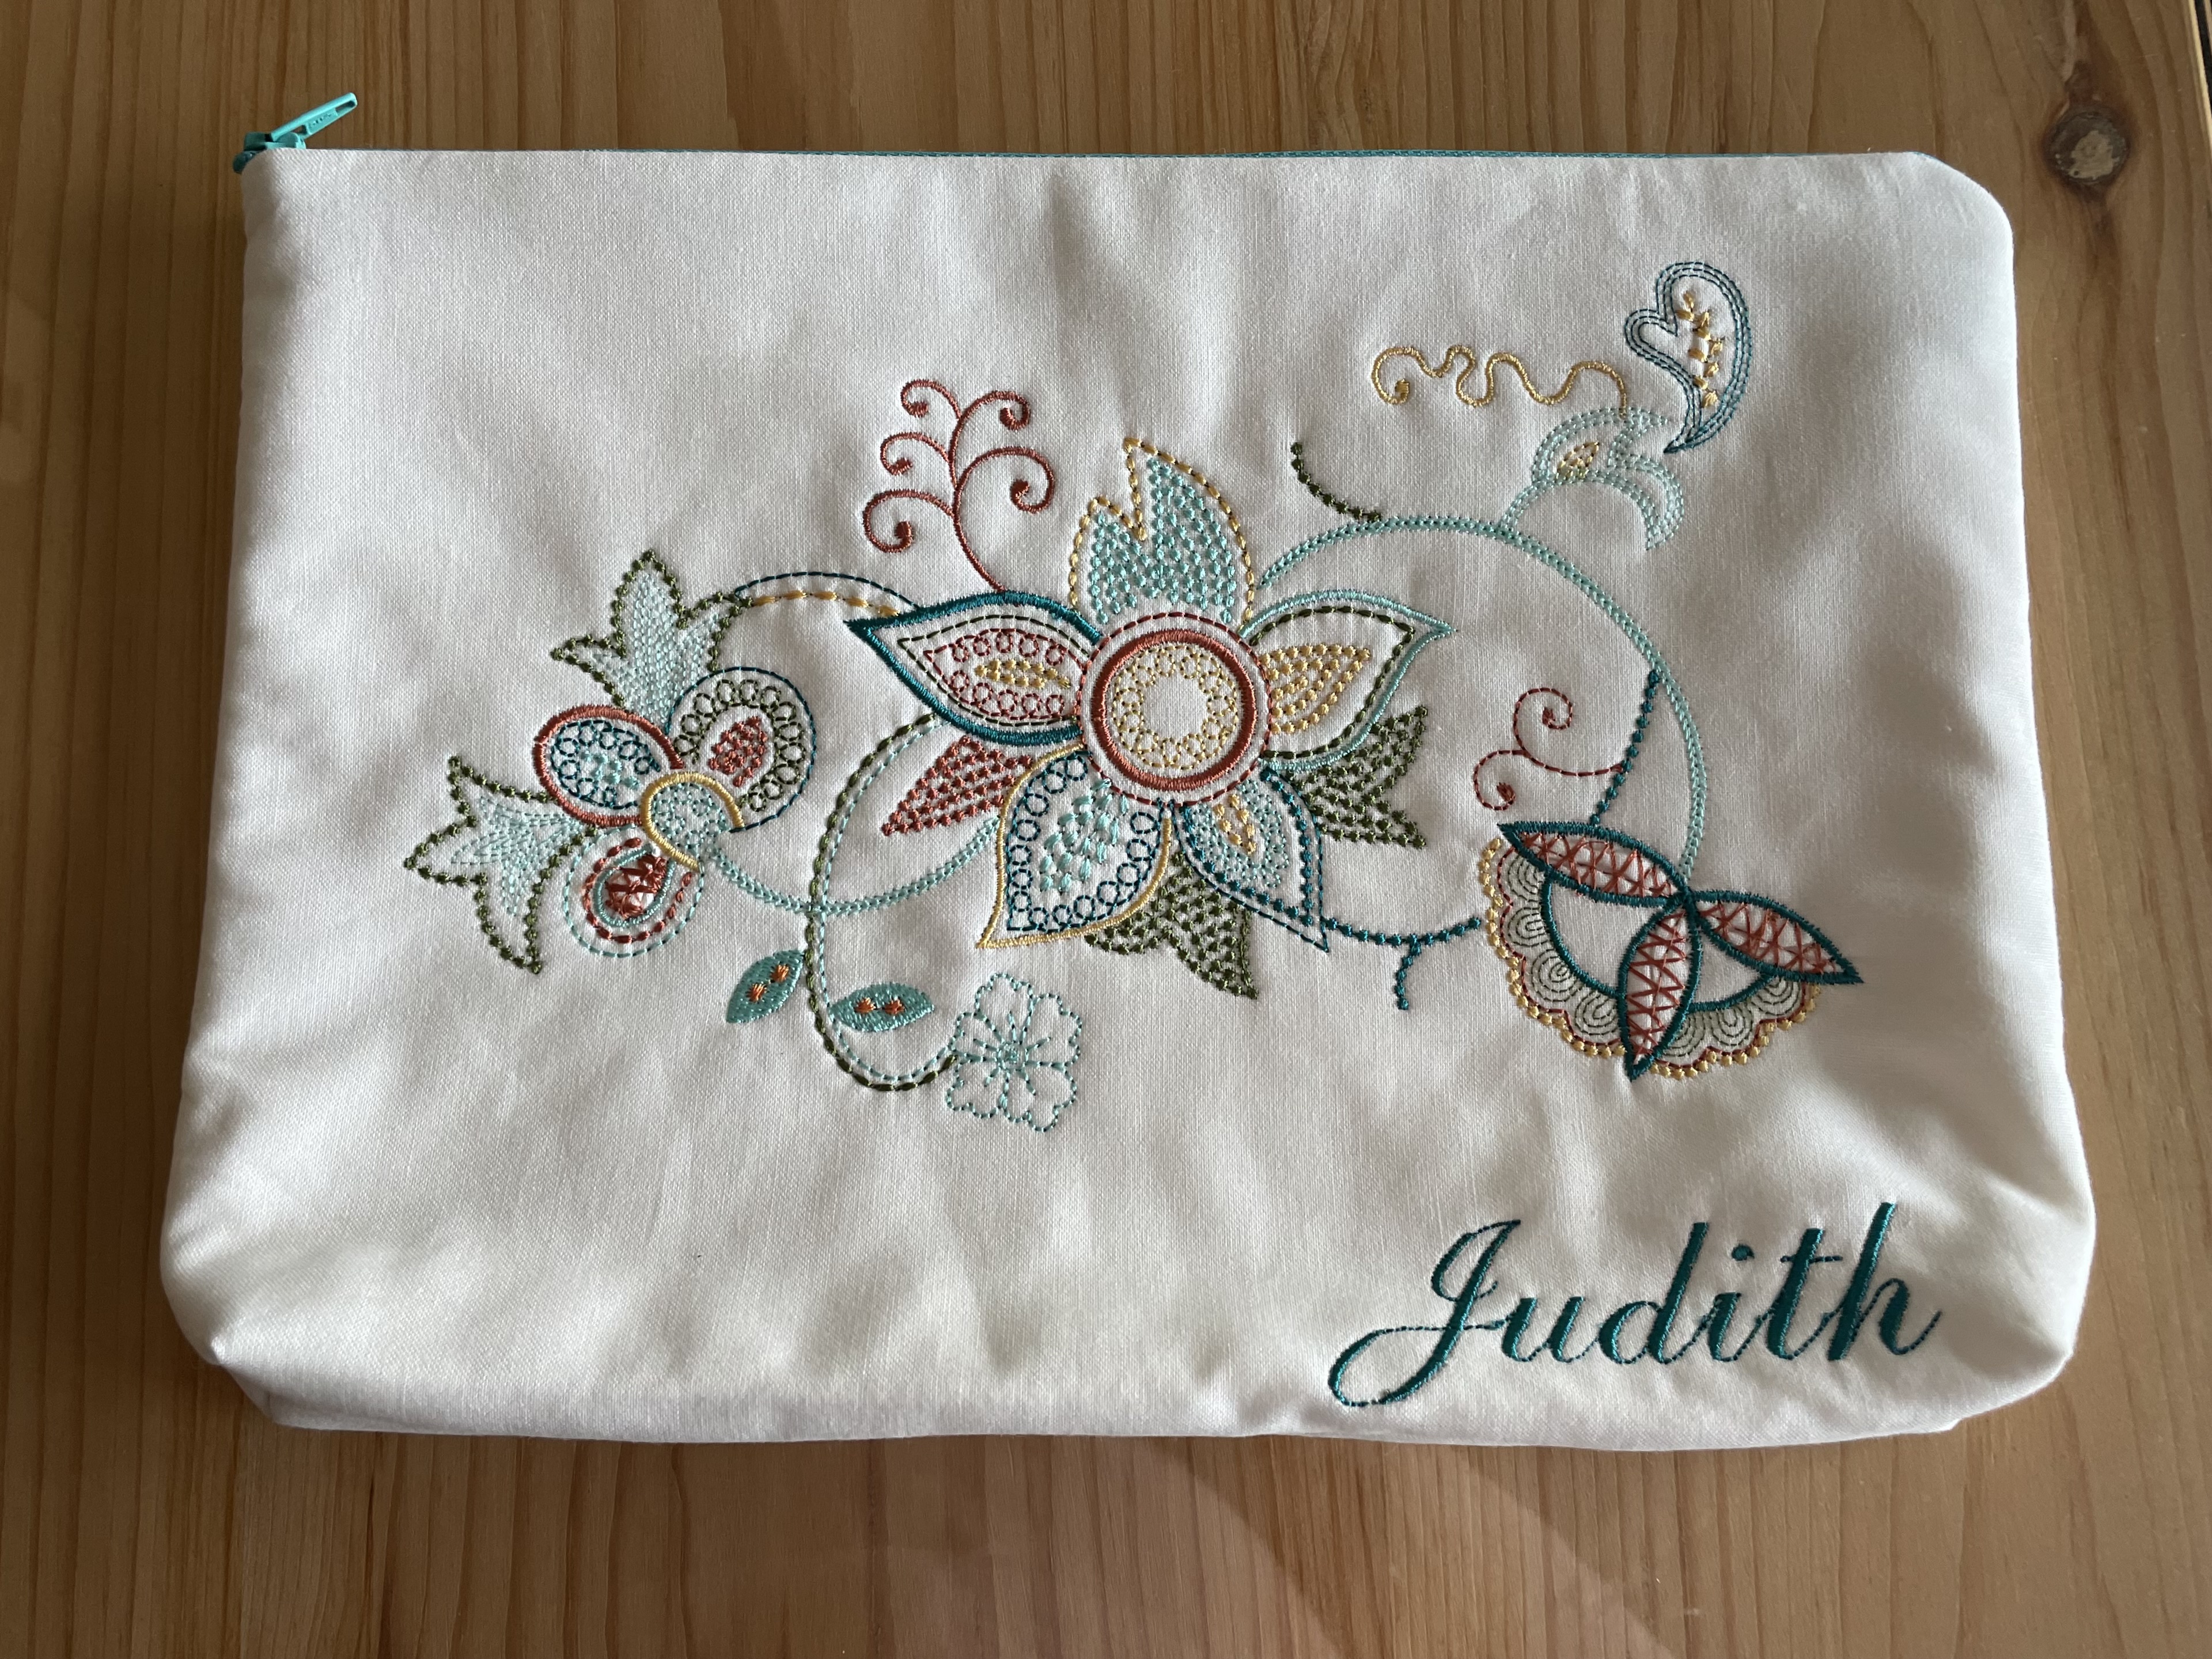
I used the same embroidery I’ve used before, in part, because I wanted to see how accurately it stitched out – the irregularities were my fault (not the machine’s) – I used batting and not stabilizer behind the fabric, I used the universal needle that came with the machine (instead of changing it for an embroidery needle) – and both of those decisions resulted in some pulling of the fabric and loose stitches when they caught on the embroidery foot. Otherwise, the embroidery worked out well, with all the bits matching up as they should. I quickly turned the embroidery into a zippered bag.
The second task today: I’m teaching a class in early April on “Using Your Machine’s Stitches” – intended for folks who have relatively simple machines and rarely explore all the possibilities of their mostly utility stitches (but it also could be of interest to folks who have a “cadillac” like I do and also don’t explore all their stitches, either).
To set up for the class I sat down with a piece of Kona cotton fabric (with tear-away stabilizer) underneath and a new 75 embroidery needle. I started embellishing the fabric using doubled embroidery thread (to make it stand out more strongly) and only the utility stitches (which I edited for length and width) on my machine:

Now here’s where I’m trying to become acquainted with my fancy new machine. Notice the grid projected onto the sewing area in the upper right of the photo! That’s the new feature of this machine – it has both a camera and a laser projector which allows me to line up my stitching precisely – I began with a chalk diagonal from corner to corner. After I stitched that line, keeping the pink guide line centred on my chalk line, I was able to add subsequent rows using the grid, without having to draw any further lines. I stitched over a piece of narrow blue satin ribbon; I also stitched a narrow piece of lace in place (not yet done when I took the photo). I filled the entire piece of fabric, then trimmed it. My plan is to use it to make a zippered bag. I could use undecorated fabric for the second side, but I think I’ll do a second piece using embroidery stitches probably in horizontal lines as an example of what that can look like.
I’ll be busy learning this new machine for the next couple of weeks. I have a physical printed users manual alongside the digital one I can access on the machine! I’m trying to figure this all out by invoking my knowledge of how my previous Creative Icon works and predict from there. I’ve made quite a bit of headway since Monday night!


