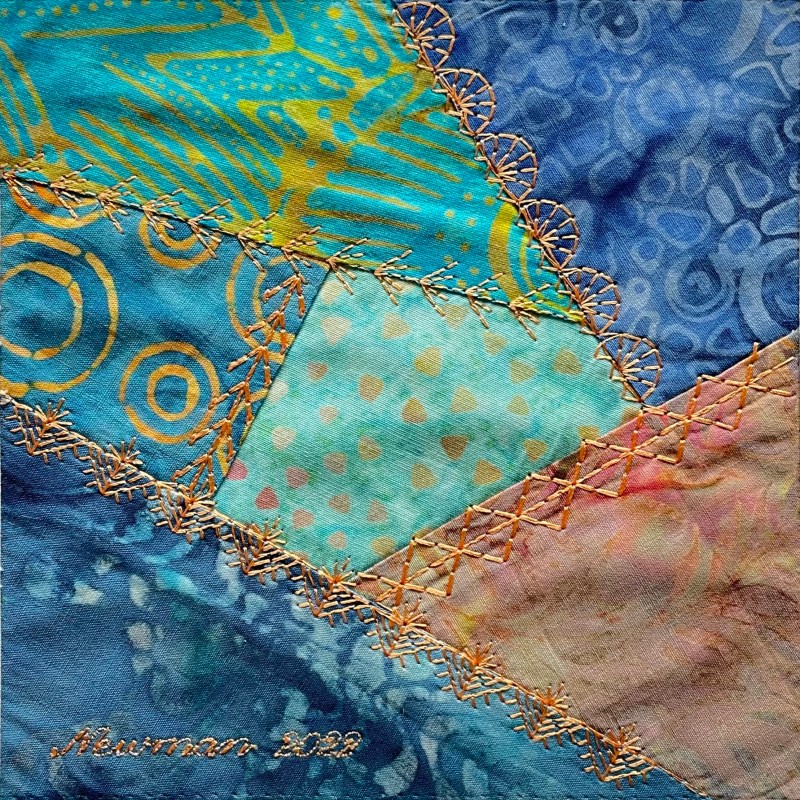
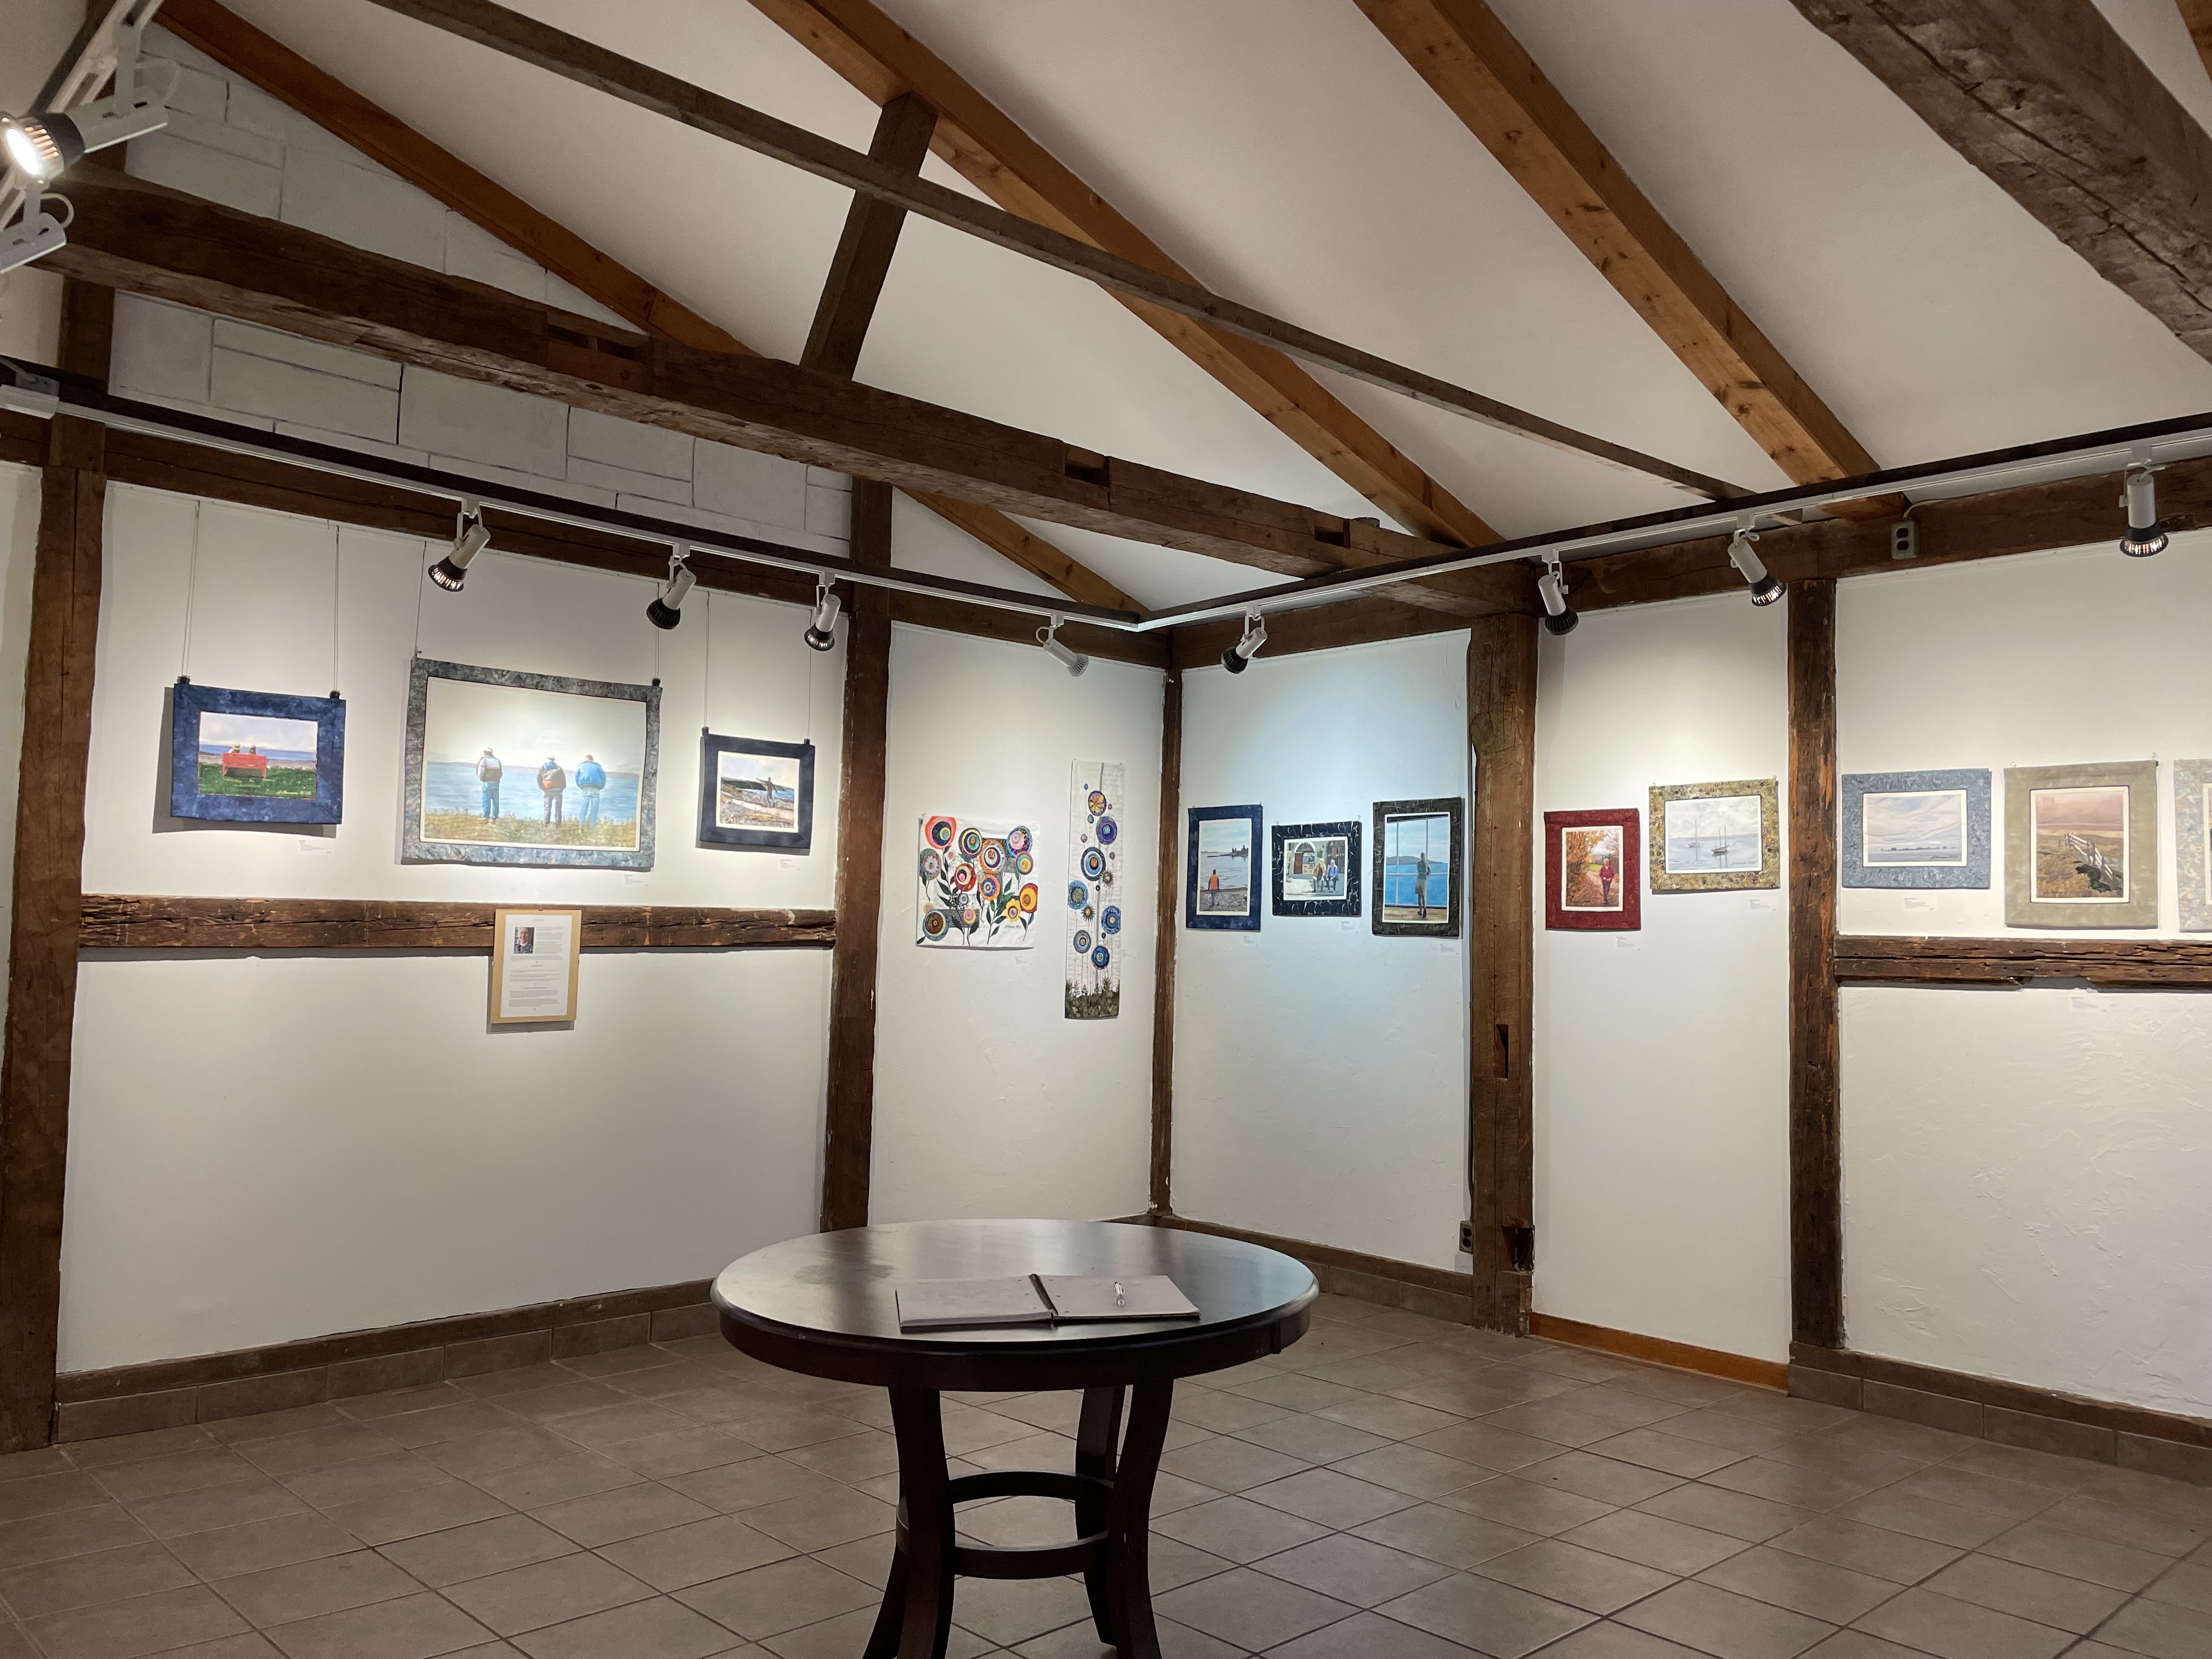
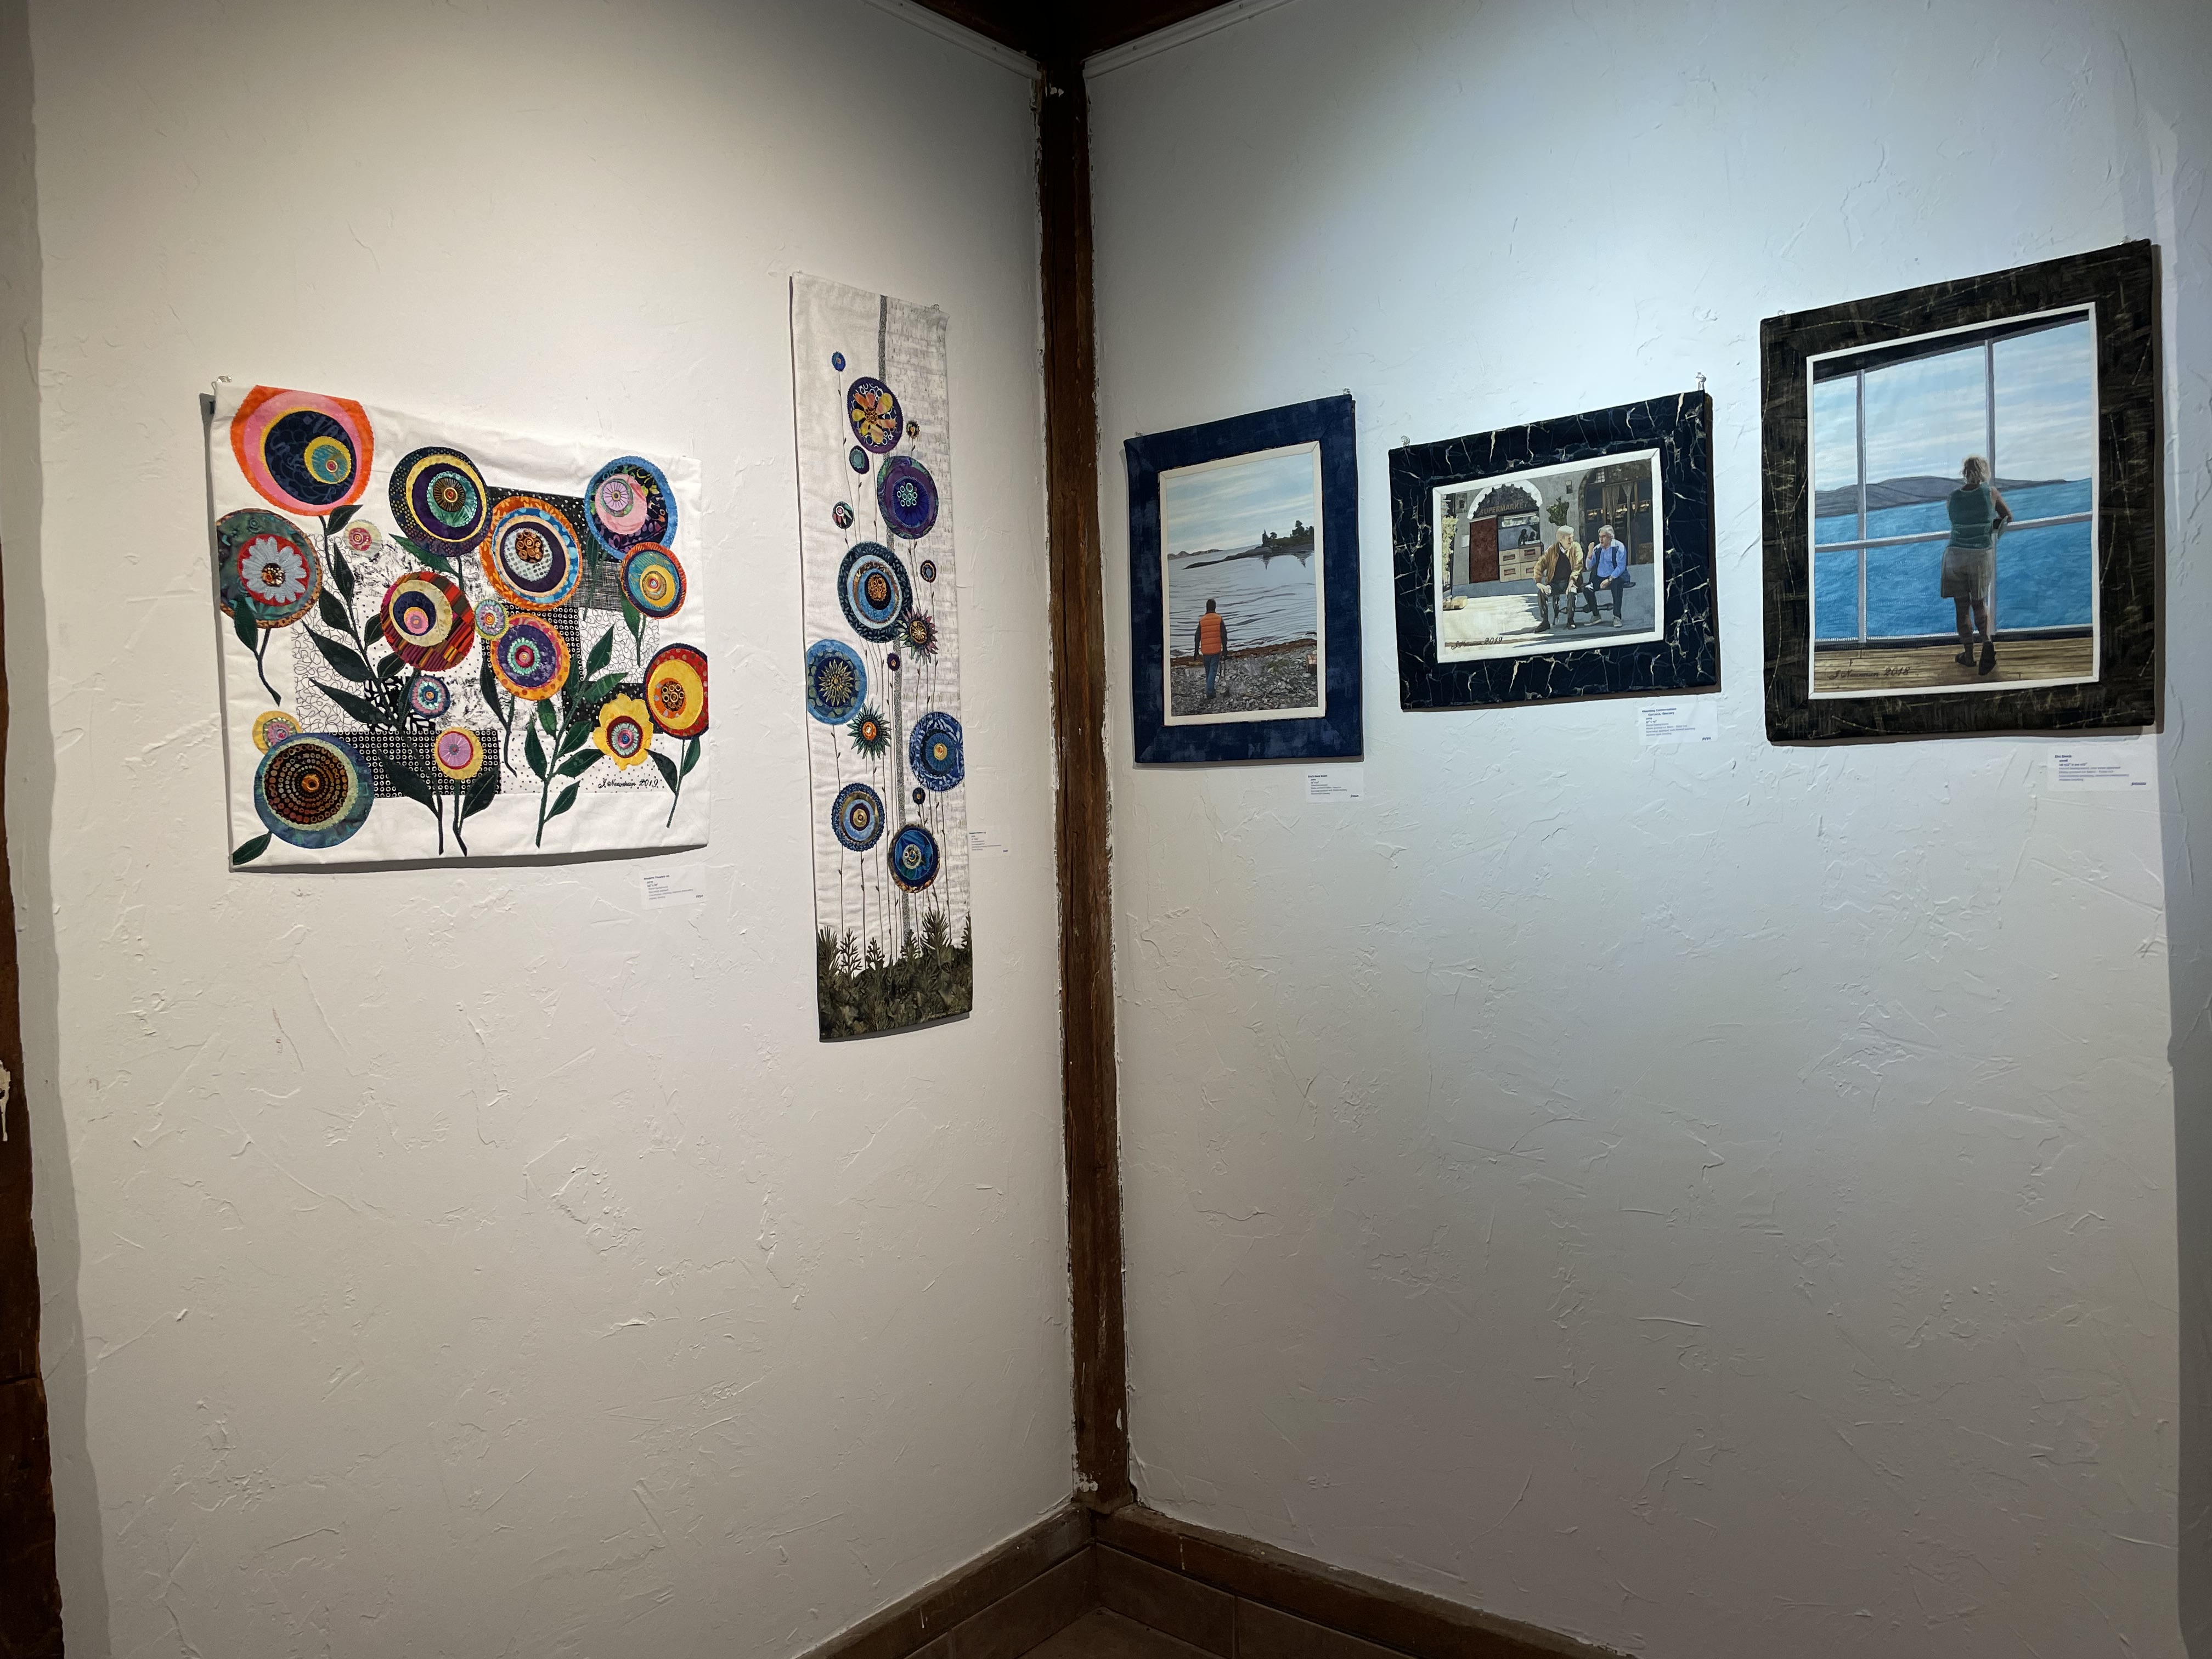
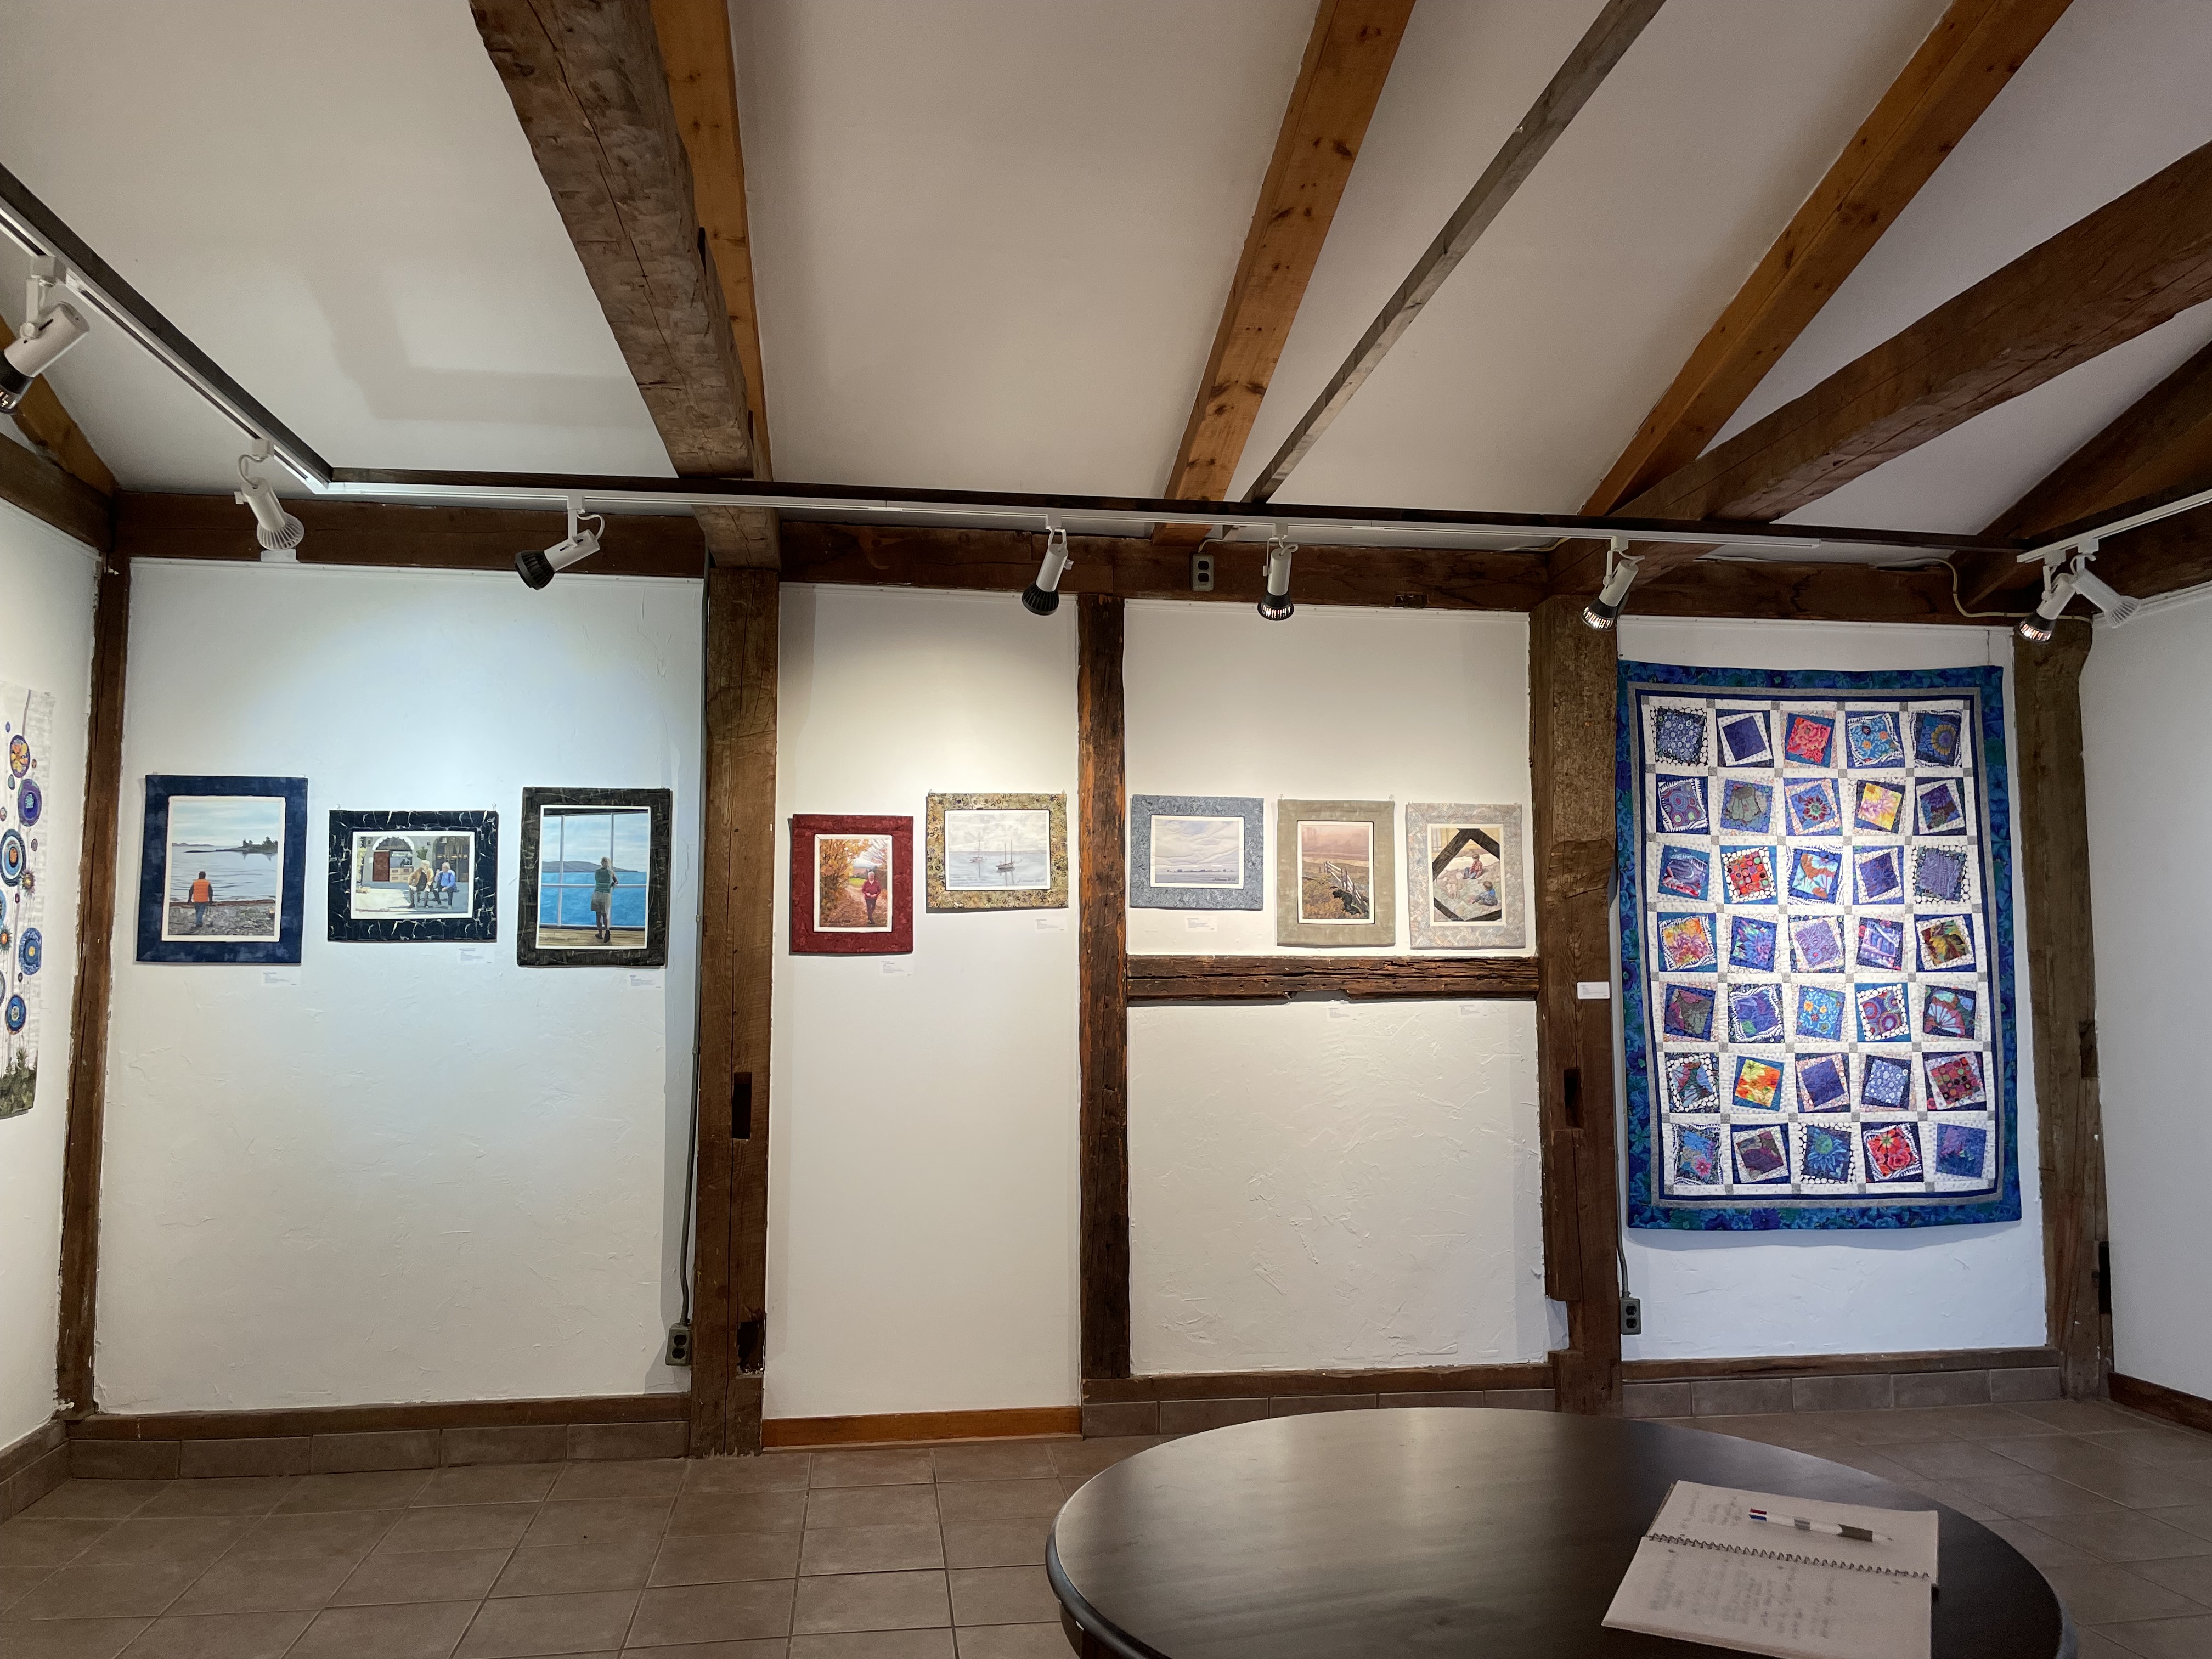
My order of a dozen 6″ square stretched canvases arrived day before yesterday. I tried stretching some of the panels I’d made to see how it went. I first tried the crazy quilt block – I had already added a white cotton border to it so I darkened that with a black permanent marker (just to see what it looked like) then folded the fabric over the stretched canvas. Very difficult to get the corners tidy!
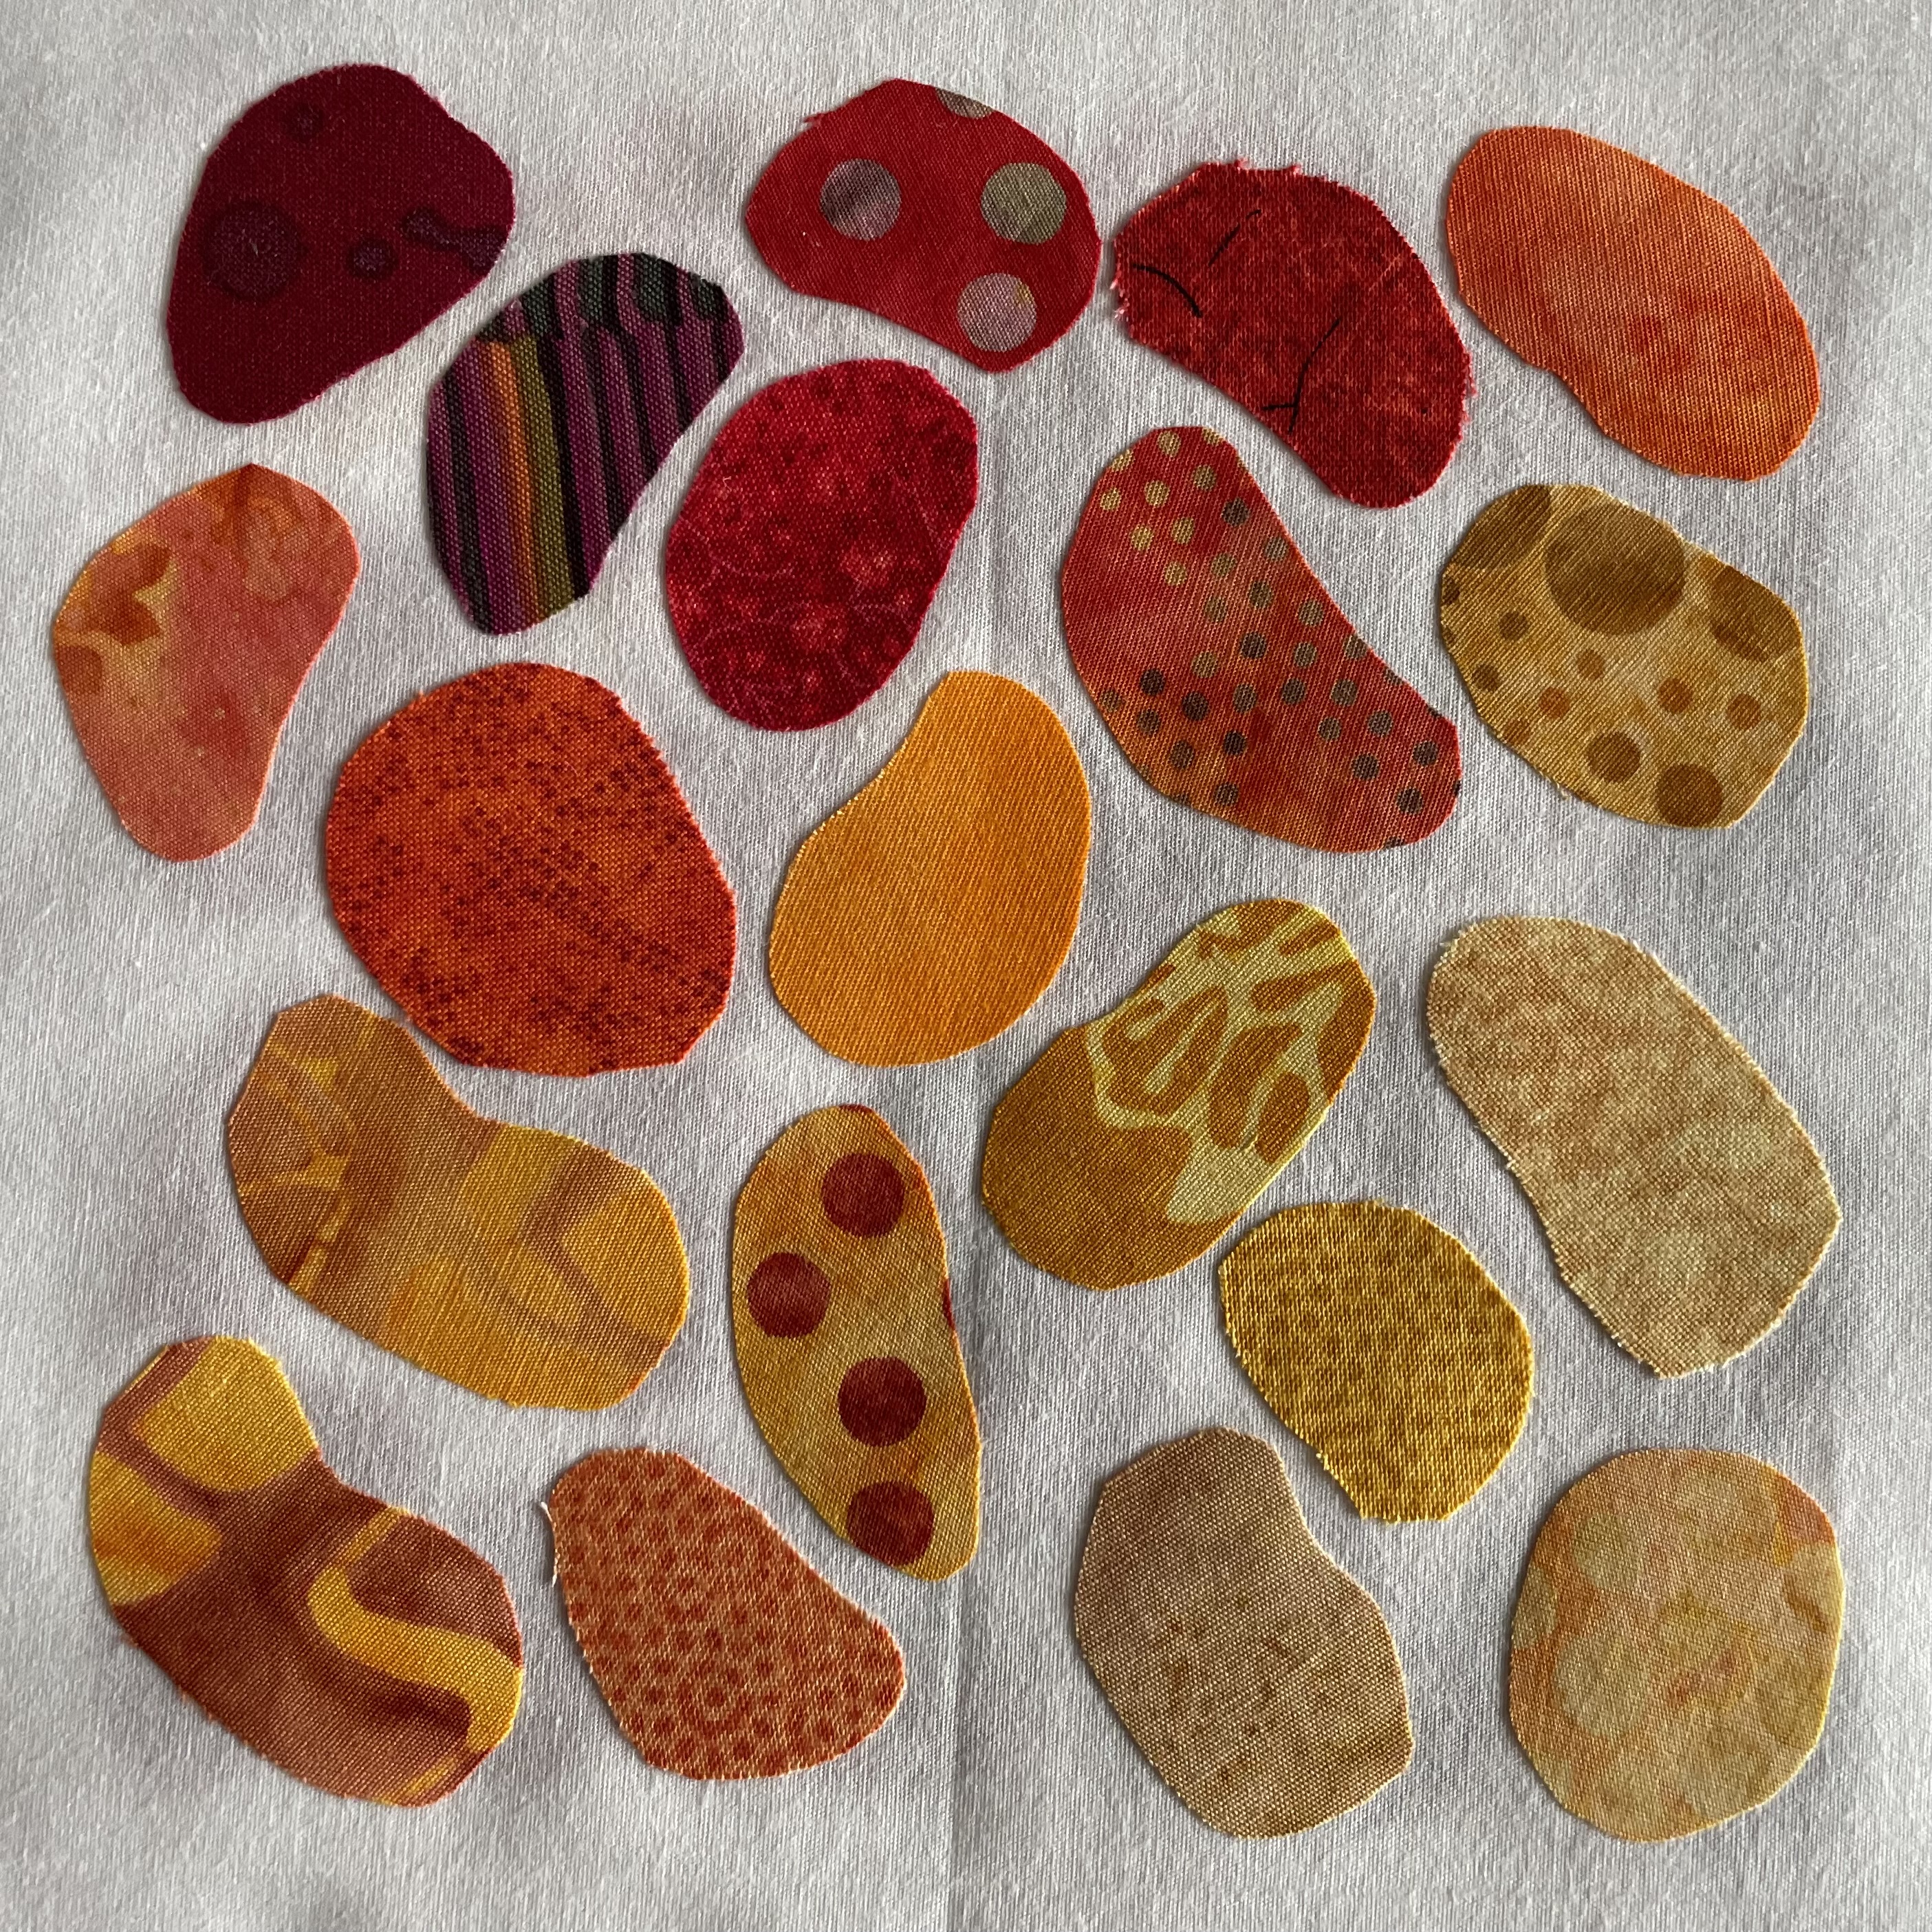
I next tried the beans – I didn’t bother trimming and making borders I was primarily interested in folding the corners. Again, they didn’t turn out as smoothly as I wanted. So I took both apart. I removed the canvas from the frame with the crazy quilt block – I wanted to use the canvas piece as a template to shape the bordered block. I trimmed both the crazy quilt and the beans blocks. Then I used double sided tape on the back of the frame so when I brought the border fabric around the sides and to the back it would stay where I put it without having to use a gazillion staples. I centred the crazy quilt block (trimming the corner from the batting underneath to eliminate some of the bulk in the corners) then folded the edges in the same way the canvas had been folded (which gave a flatter corner) and stapled the corners. I redid the beans piece the same way – the edges looked better.
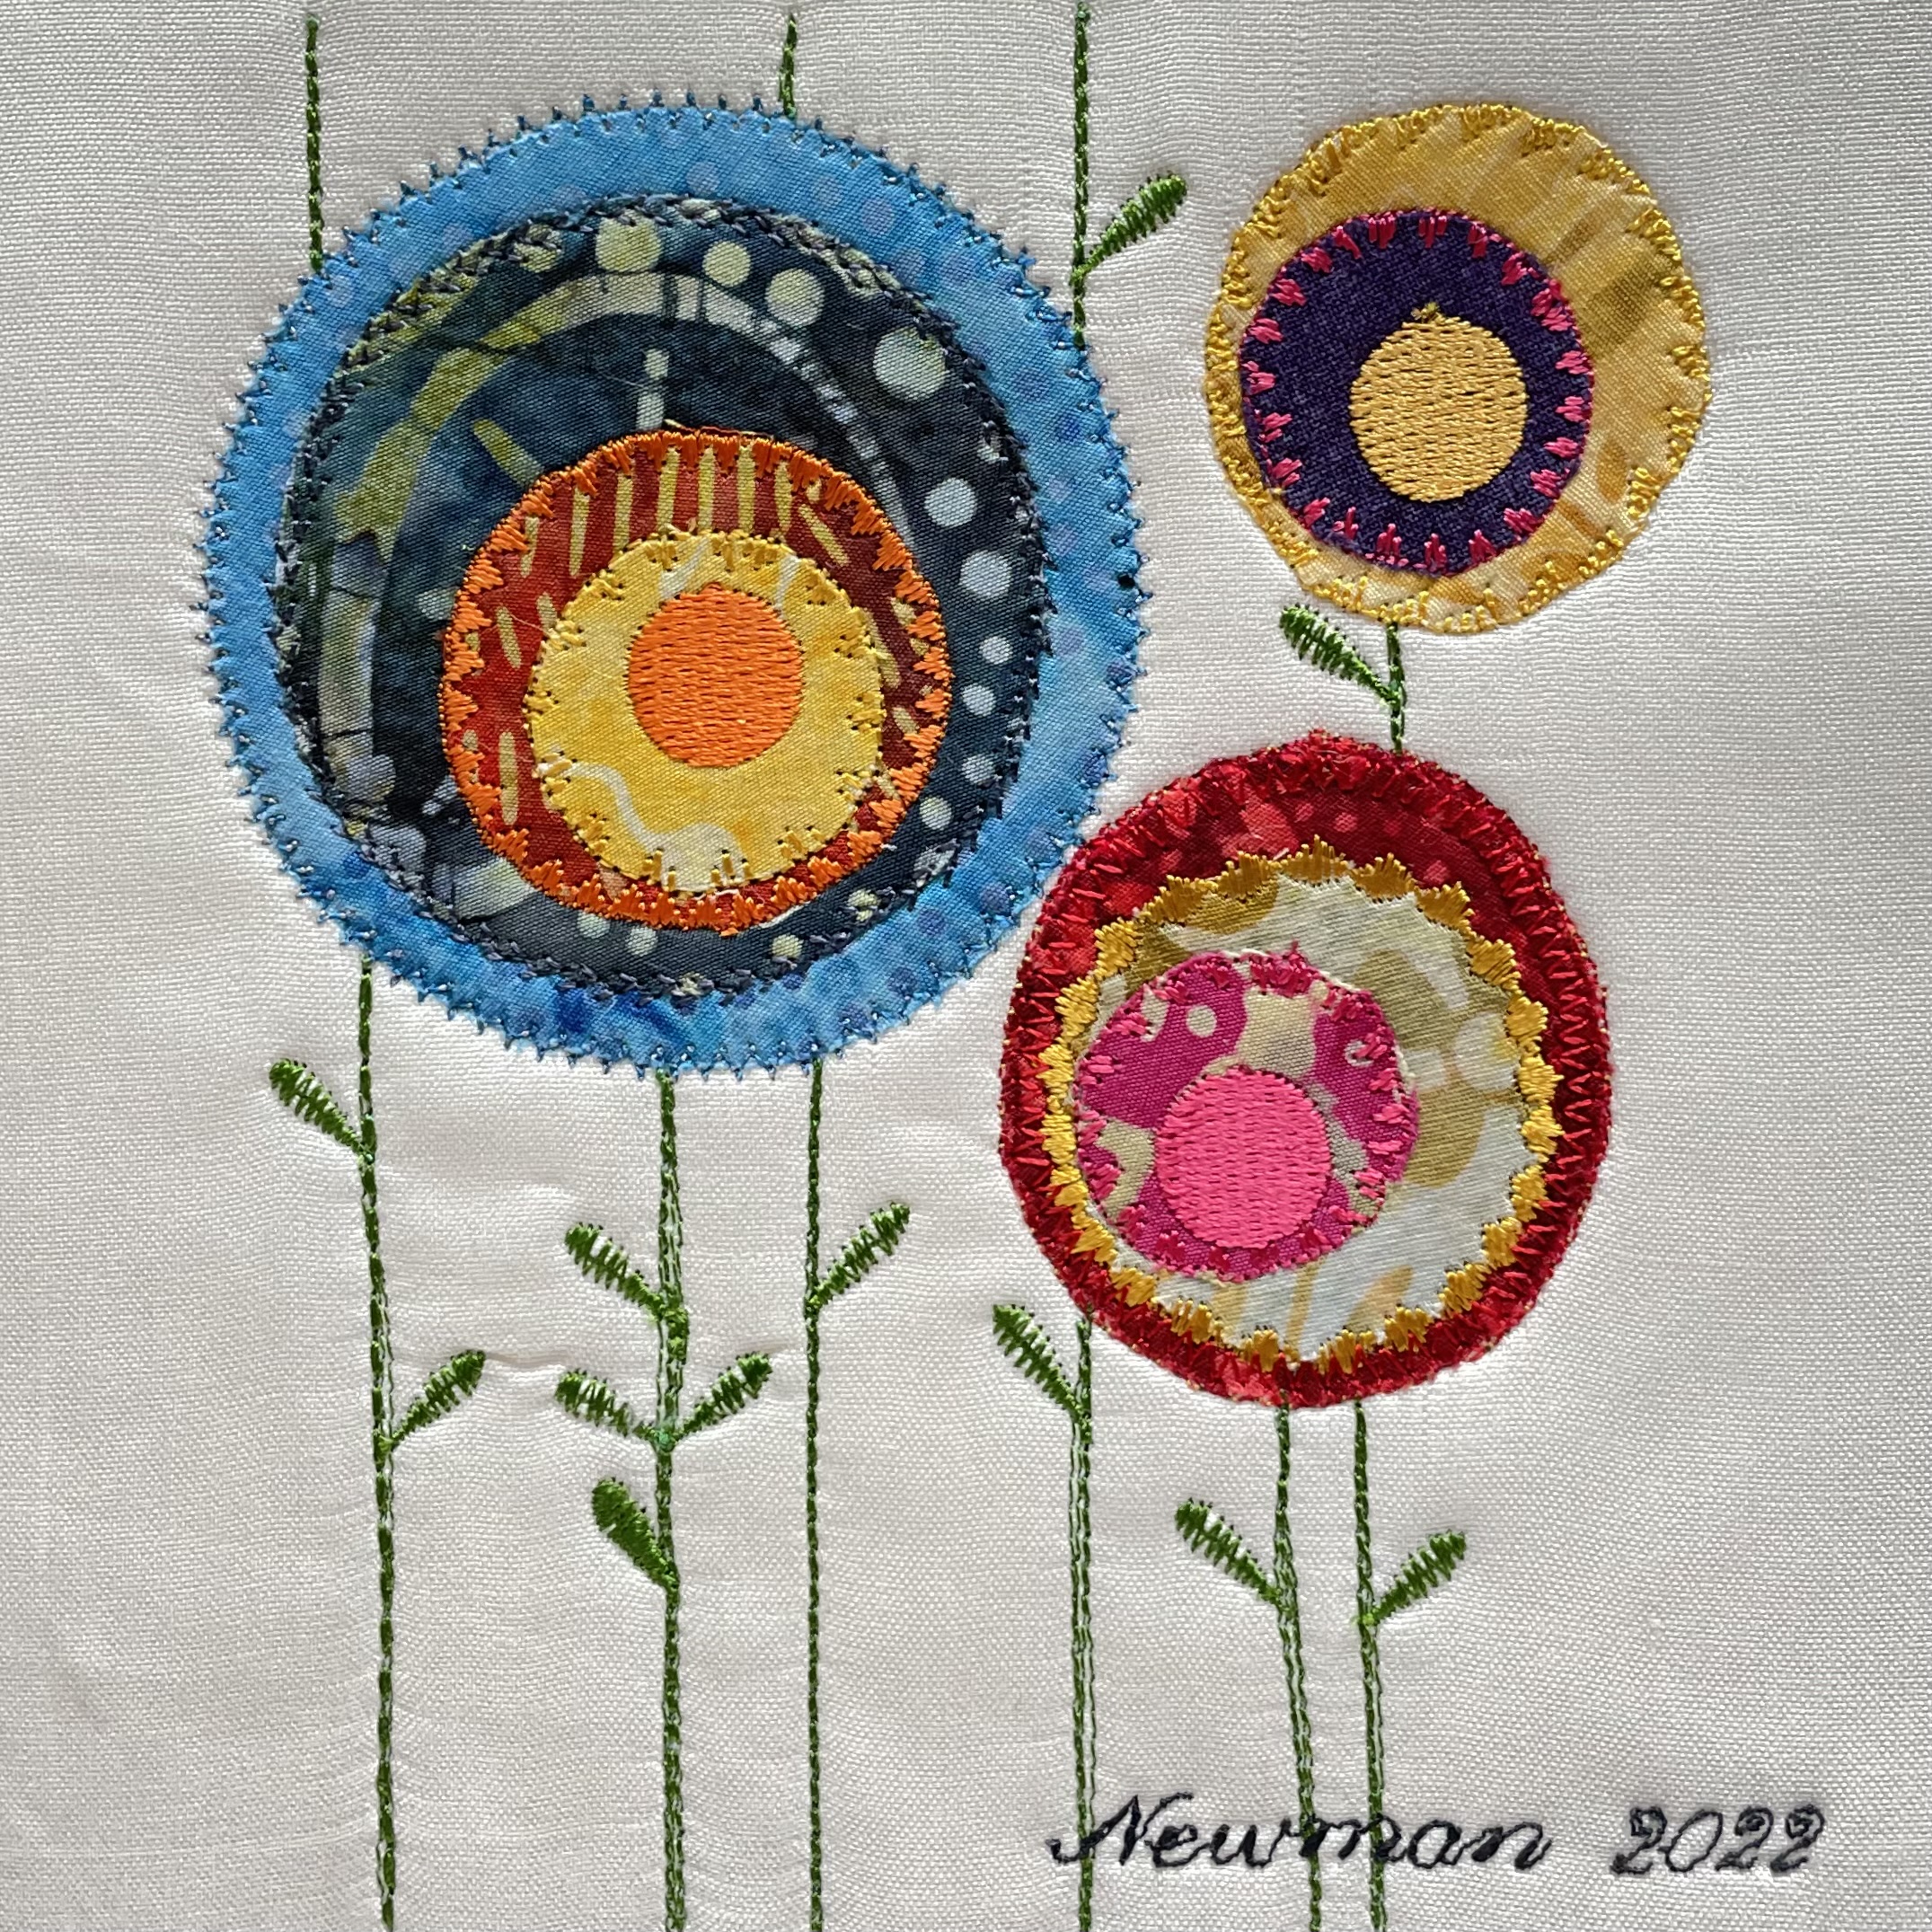
I decided I should try adding a black border to the flowers – I have a large piece of woven silk shantung which my sister had brought me from Thailand at least 15 years ago. I’d made a pair of silk dress pants from half of it but I still have at least 2 metres so I decided I’d give it a try. The silk provides a nice matte edge but in order to sew it without a lot of fraying I will have to back it with sewer’s dream interfacing to give it some stability. The second challenge is to mark the 6″ square as accurately as possible, then add a line 1/4″ from that, so I can align the border silk and stitch an accurate 1/4″ seam. I did an adequate job on the flower piece but I have to become more precise because the light/dark join is obvious and has to be well done!
Back to making more 6″ square blocks.