Quilt Top – Assembled

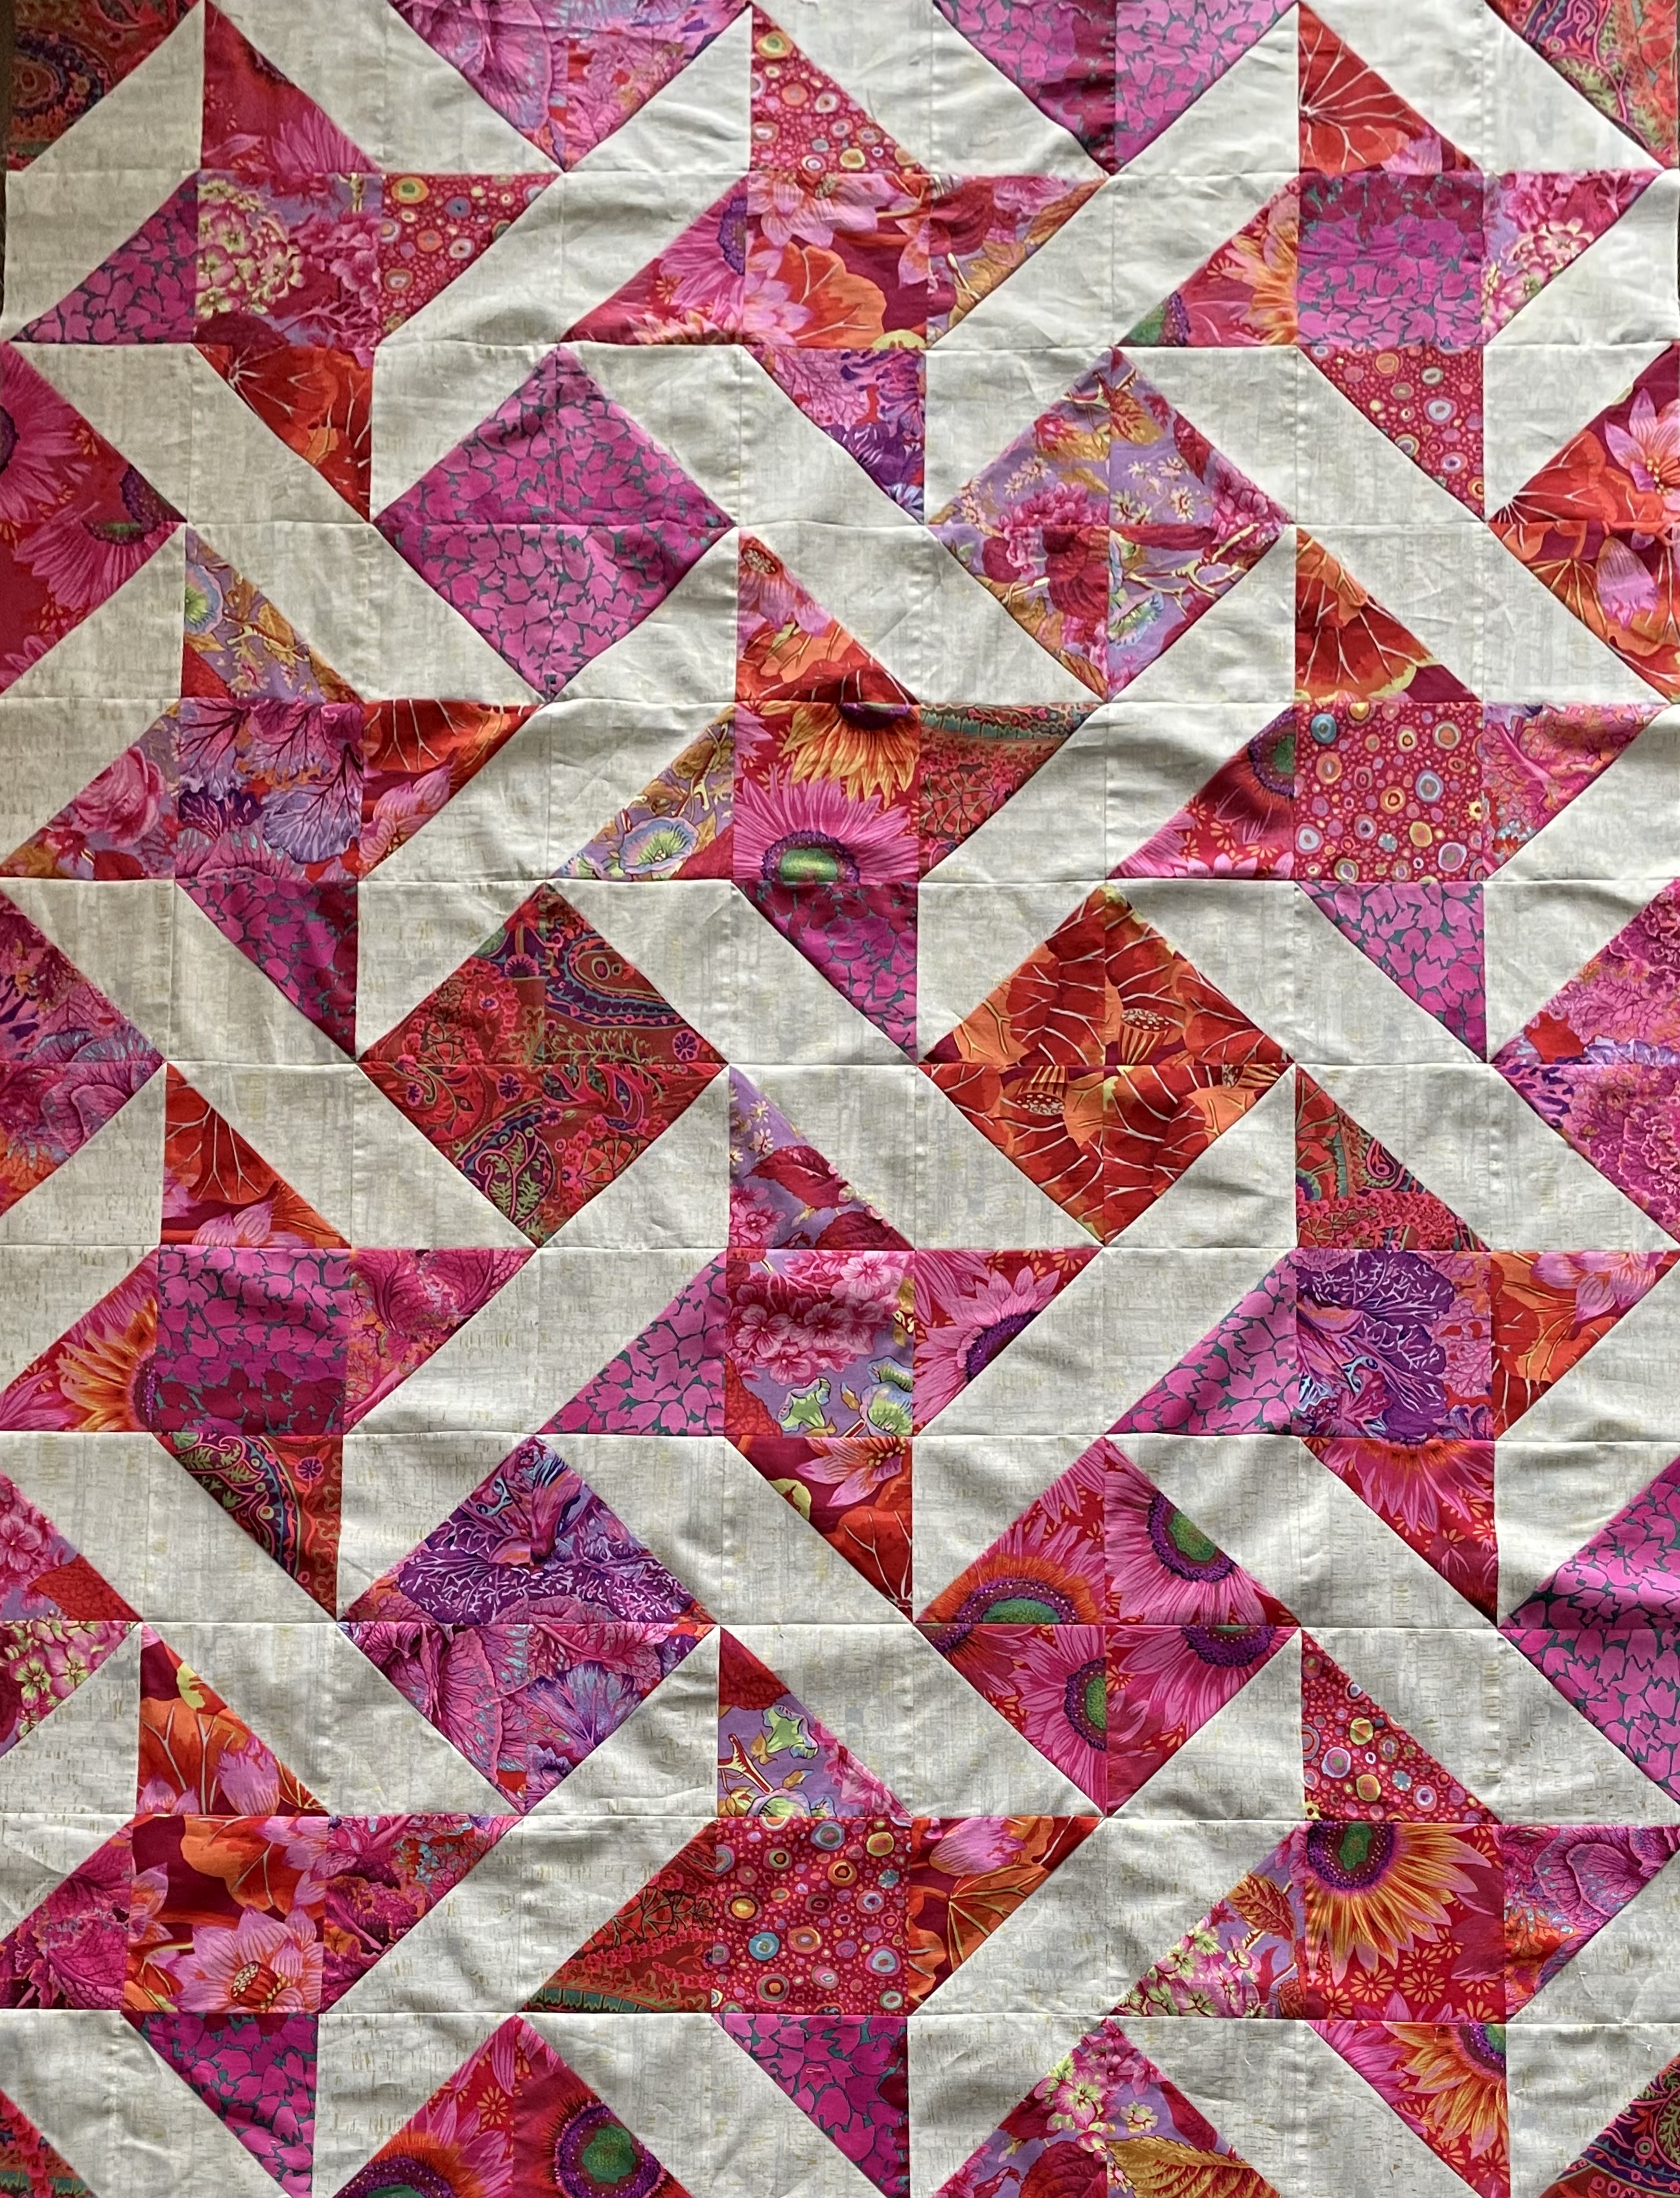
108 Blocks Assembled

I just finished sewing all 108 blocks together – they need a bit more pressing but I’m now ready to move on to the next step – adding contrasting circles and embroidery to make this a double layer quilt. Later this afternoon, I’ll add fusible web to the back of my pile of blue fabric scraps and begin cutting out circles in many different sizes to fuse to the top.

I’ve already spend a couple of hours looking through my embroidery design collection for circular shaped embroideries – I’ve put several in a folder so I can locate them later. They’ll all need modifying for size and included elements. It takes a lot of time!

The assembly of the quilt top went reasonably quickly – I didn’t pin each row to the growing top – I find my nestings aren’t as accurate if I do; I start at one end, match up the first nesting, hold it firmly against my machine bed with my right index finger as I stitch toward my finger/the join. I take a stitch or two past the join then align the next nesting, holding it firmly with my index finger as I stitch my 1/4″ seam toward that nesting point. I do that with each segment. When I flip and press that row open my joins/nestings are almost all dead on.

There are some small inaccuracies – the original cutting of the blocks may be a smidgeon inaccurate, the HST diagonals may be a very tiny bit off the corner, my seams may be a thread width from exactly 1/4″ in spots, etc. All those very small variations add up – that’s quilting for you! But if you look closely, my joins are pretty close and when when I’ve added the circles/embroidery and quilt the whole project, nobody but me is going to notice the “background” seam joins.

Thursday, I taught a “bargello” class – about using strips sewn together, the panel then cut in strips of different widths, these new strips are sewn together to create a “wave” – this involves lots of nesting of seams.

2 Bargello Blocks

The two blocks came from one of the two sets of WOF strips I created for a demonstration piece. I’m not going to make the second two blocks – I don’t need another table runner I’m not going to use. I could give it away, but this two block piece will go into my “demonstration” projects box along with the remaining set of strips which I can use on another occasion when I’m teaching “bargello” again.

Both women in the class were nervous about sewing nested seams – there’s lots of practice in this project and in fact they’re easy to do – also without pinning. The joins are actually more accurate, I find, if I just align each new nesting as I go along, one at a time. The whole block assembles surprisingly quickly.

I could have joined the two blocks end-to-end, with the yellow centre blocks pointing in the same direction; I could have aligned them side by side with the yellow centres both pointing toward the opposite side. I chose to alternate them – to make my join I added two narrow strips to each block to bring the yellow back to the edge on each side. I probably should have made the join using the widest strip on each block but one of my wide strips wasn’t cut accurately – I only had one I could use – so I cut it in half!

This is, after all, a demonstration piece.
Appliqué Circles?

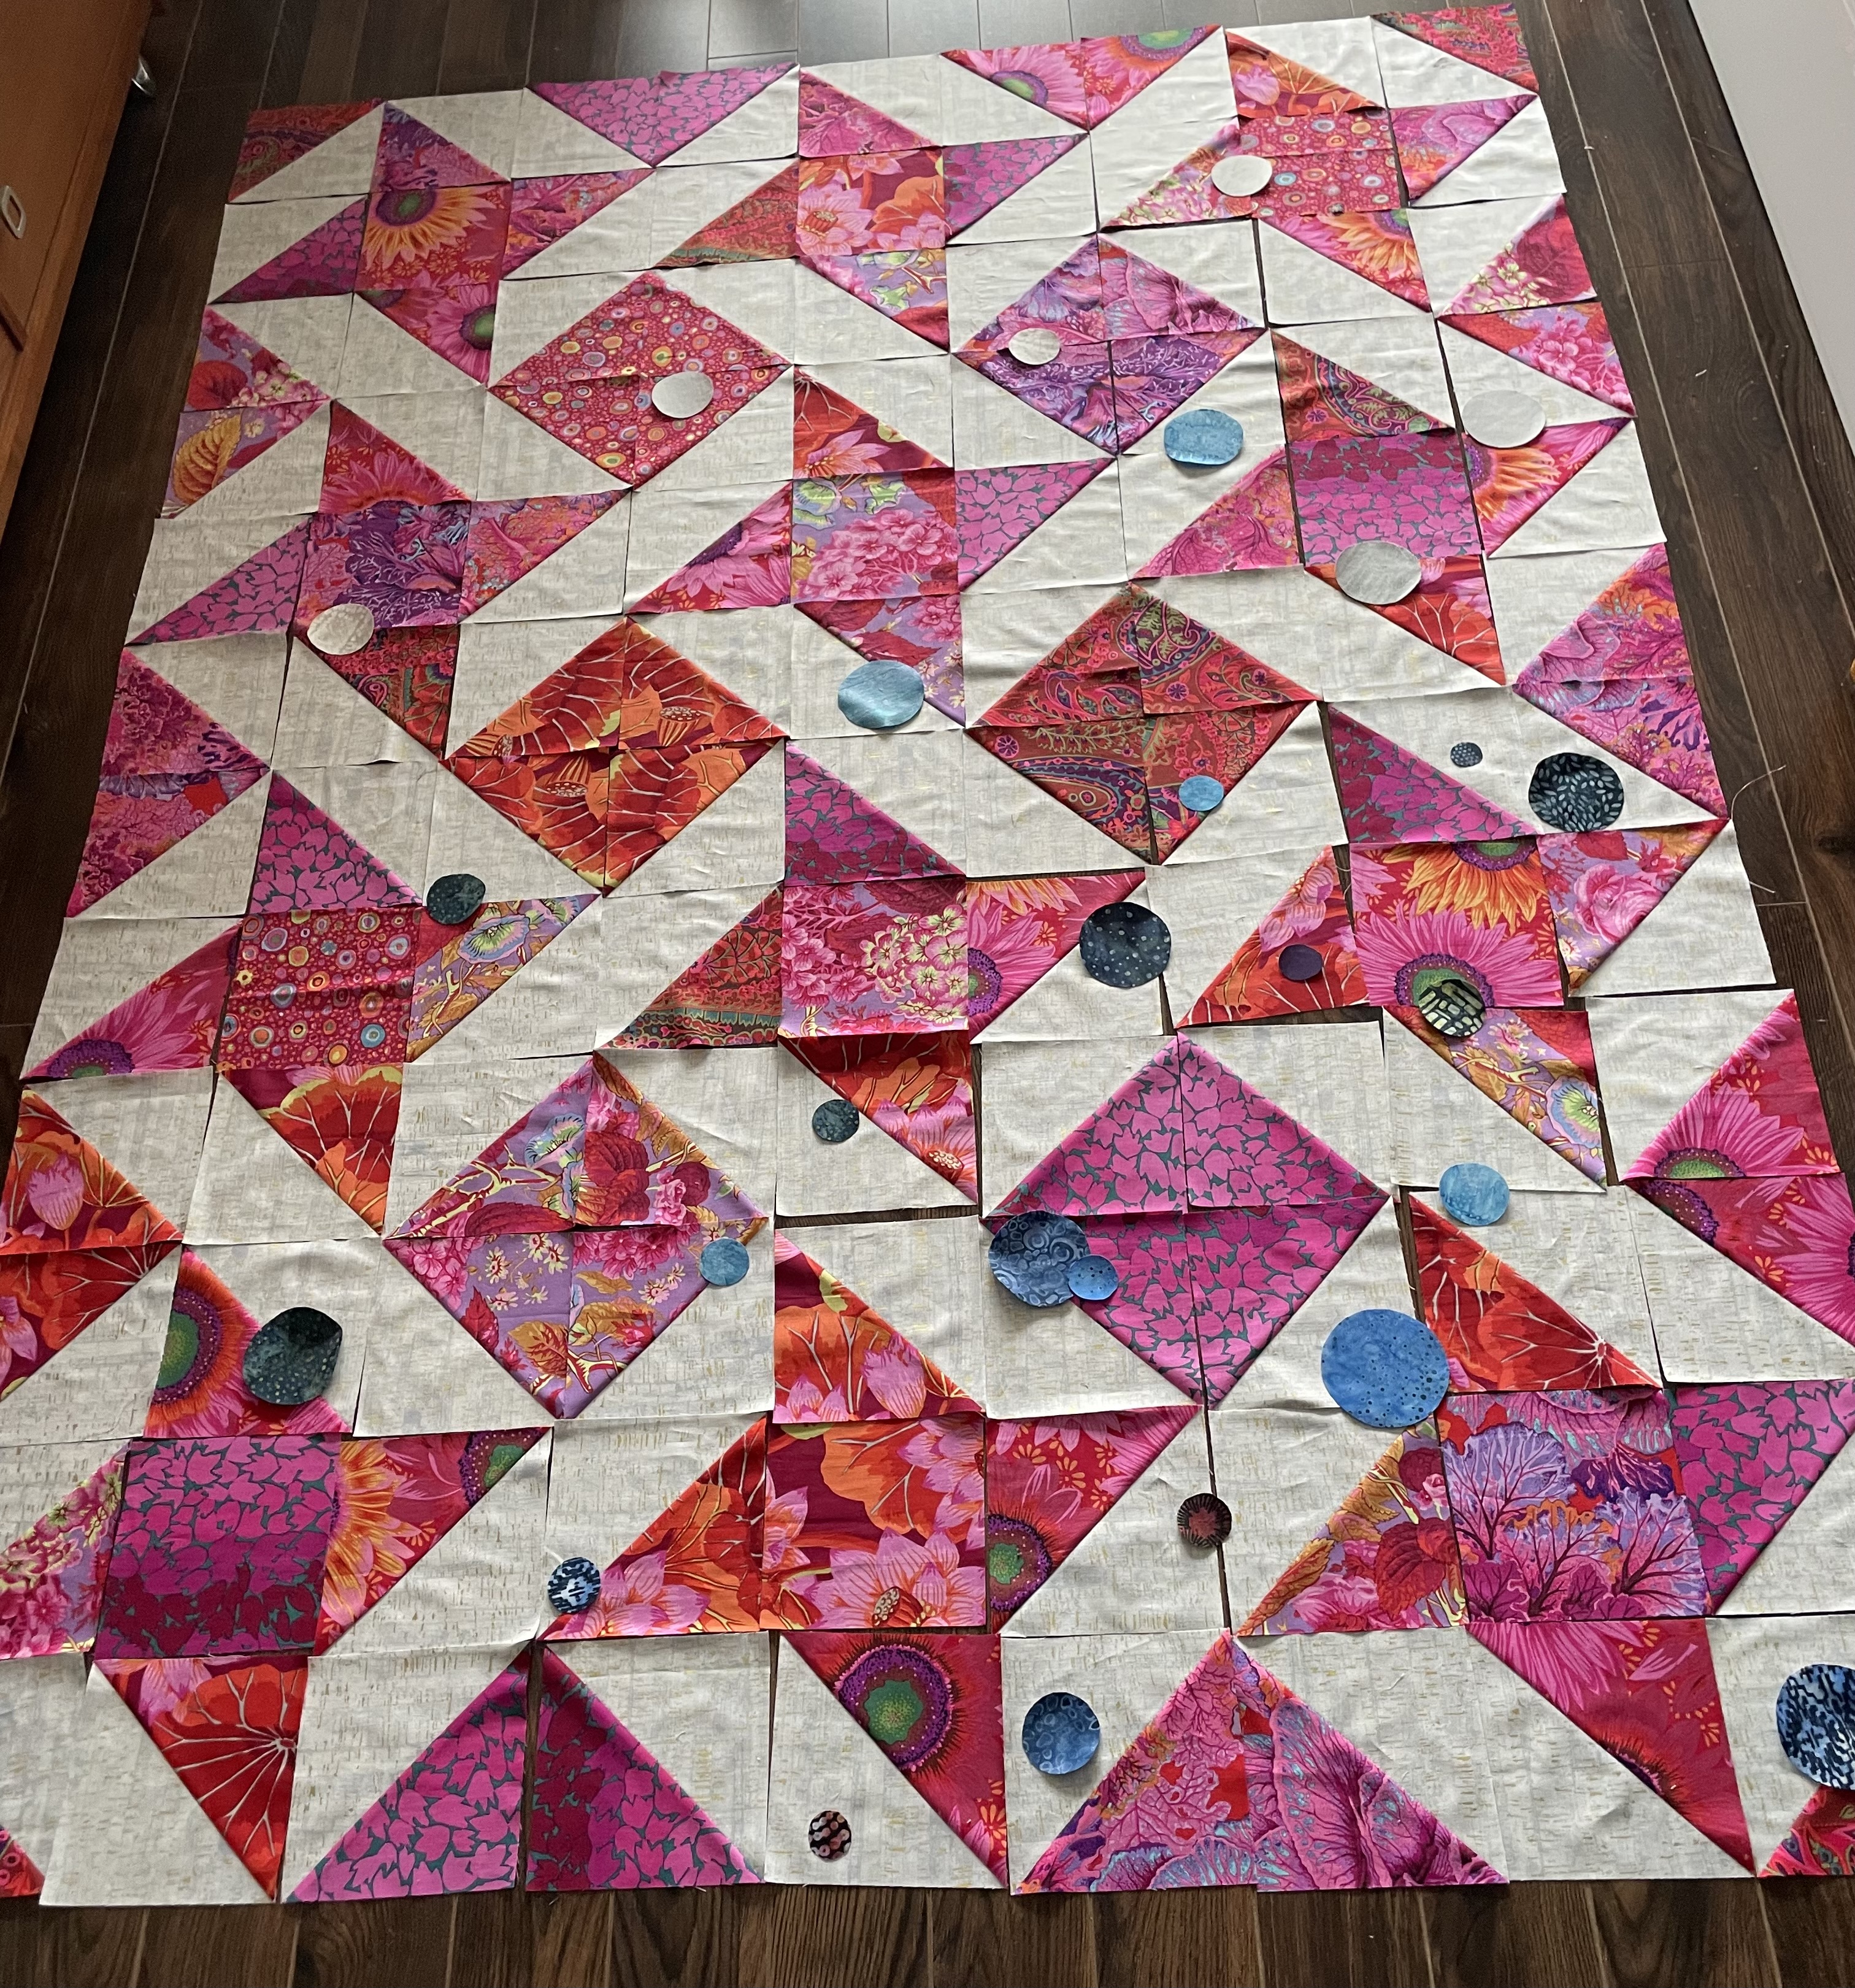
I dug out my stash of circles with fusible web and selected the blue and grey in whatever size I had and dropped them over the blocks. This tells me several things

  • I want a few circles larger than the largest I have here
  • I want to graduate my distribution from bottom right (darkest) to upper left (less dense and lightest)
  • I want greater density and more sizes of circles in the lower right
  • I will edge stitch the circles – what I don’t know yet is whether I also want to include some embroidery along with the appliqué – I think it may be a good idea – not much, but circles of some sort embroidered with blue threads
  • I’m trying to focus on something happening in the foreground rather than on the background quilt design

It’s time to start assembling the quilt top!

Makin’ Progress

I spent the weekend working on the latest quilt top – 108 6″ blocks (9 x 12) – 12 unpieced squares, 96 half-square triangles. Earlier in the week I cut the fabric into strips, then into squares, matching 48 squares with 48 background pieces, marked the diagonal. That’s where I stopped on Tuesday. Yesterday and today I sewed 1/4″ each side of the diagonal line, cut along the diagonal, pressed and trimmed the HST blocks.

The 8th Iteration of this Layout!

I’ve opted for maximum symmetry in this layout – at the same time doing my best to distribute the star centres as well as making sure all six fabrics are represented in the assembled on-point blocks with a decent distribution of fabrics on the periphery! That’s meant a lot of moving individual and sets of HST multiple times. (I just noticed in the photo that the direction of the background print isn’t consistent! You won’t see it but I can. I’ll have to try swapping blocks within each set to correct that!)

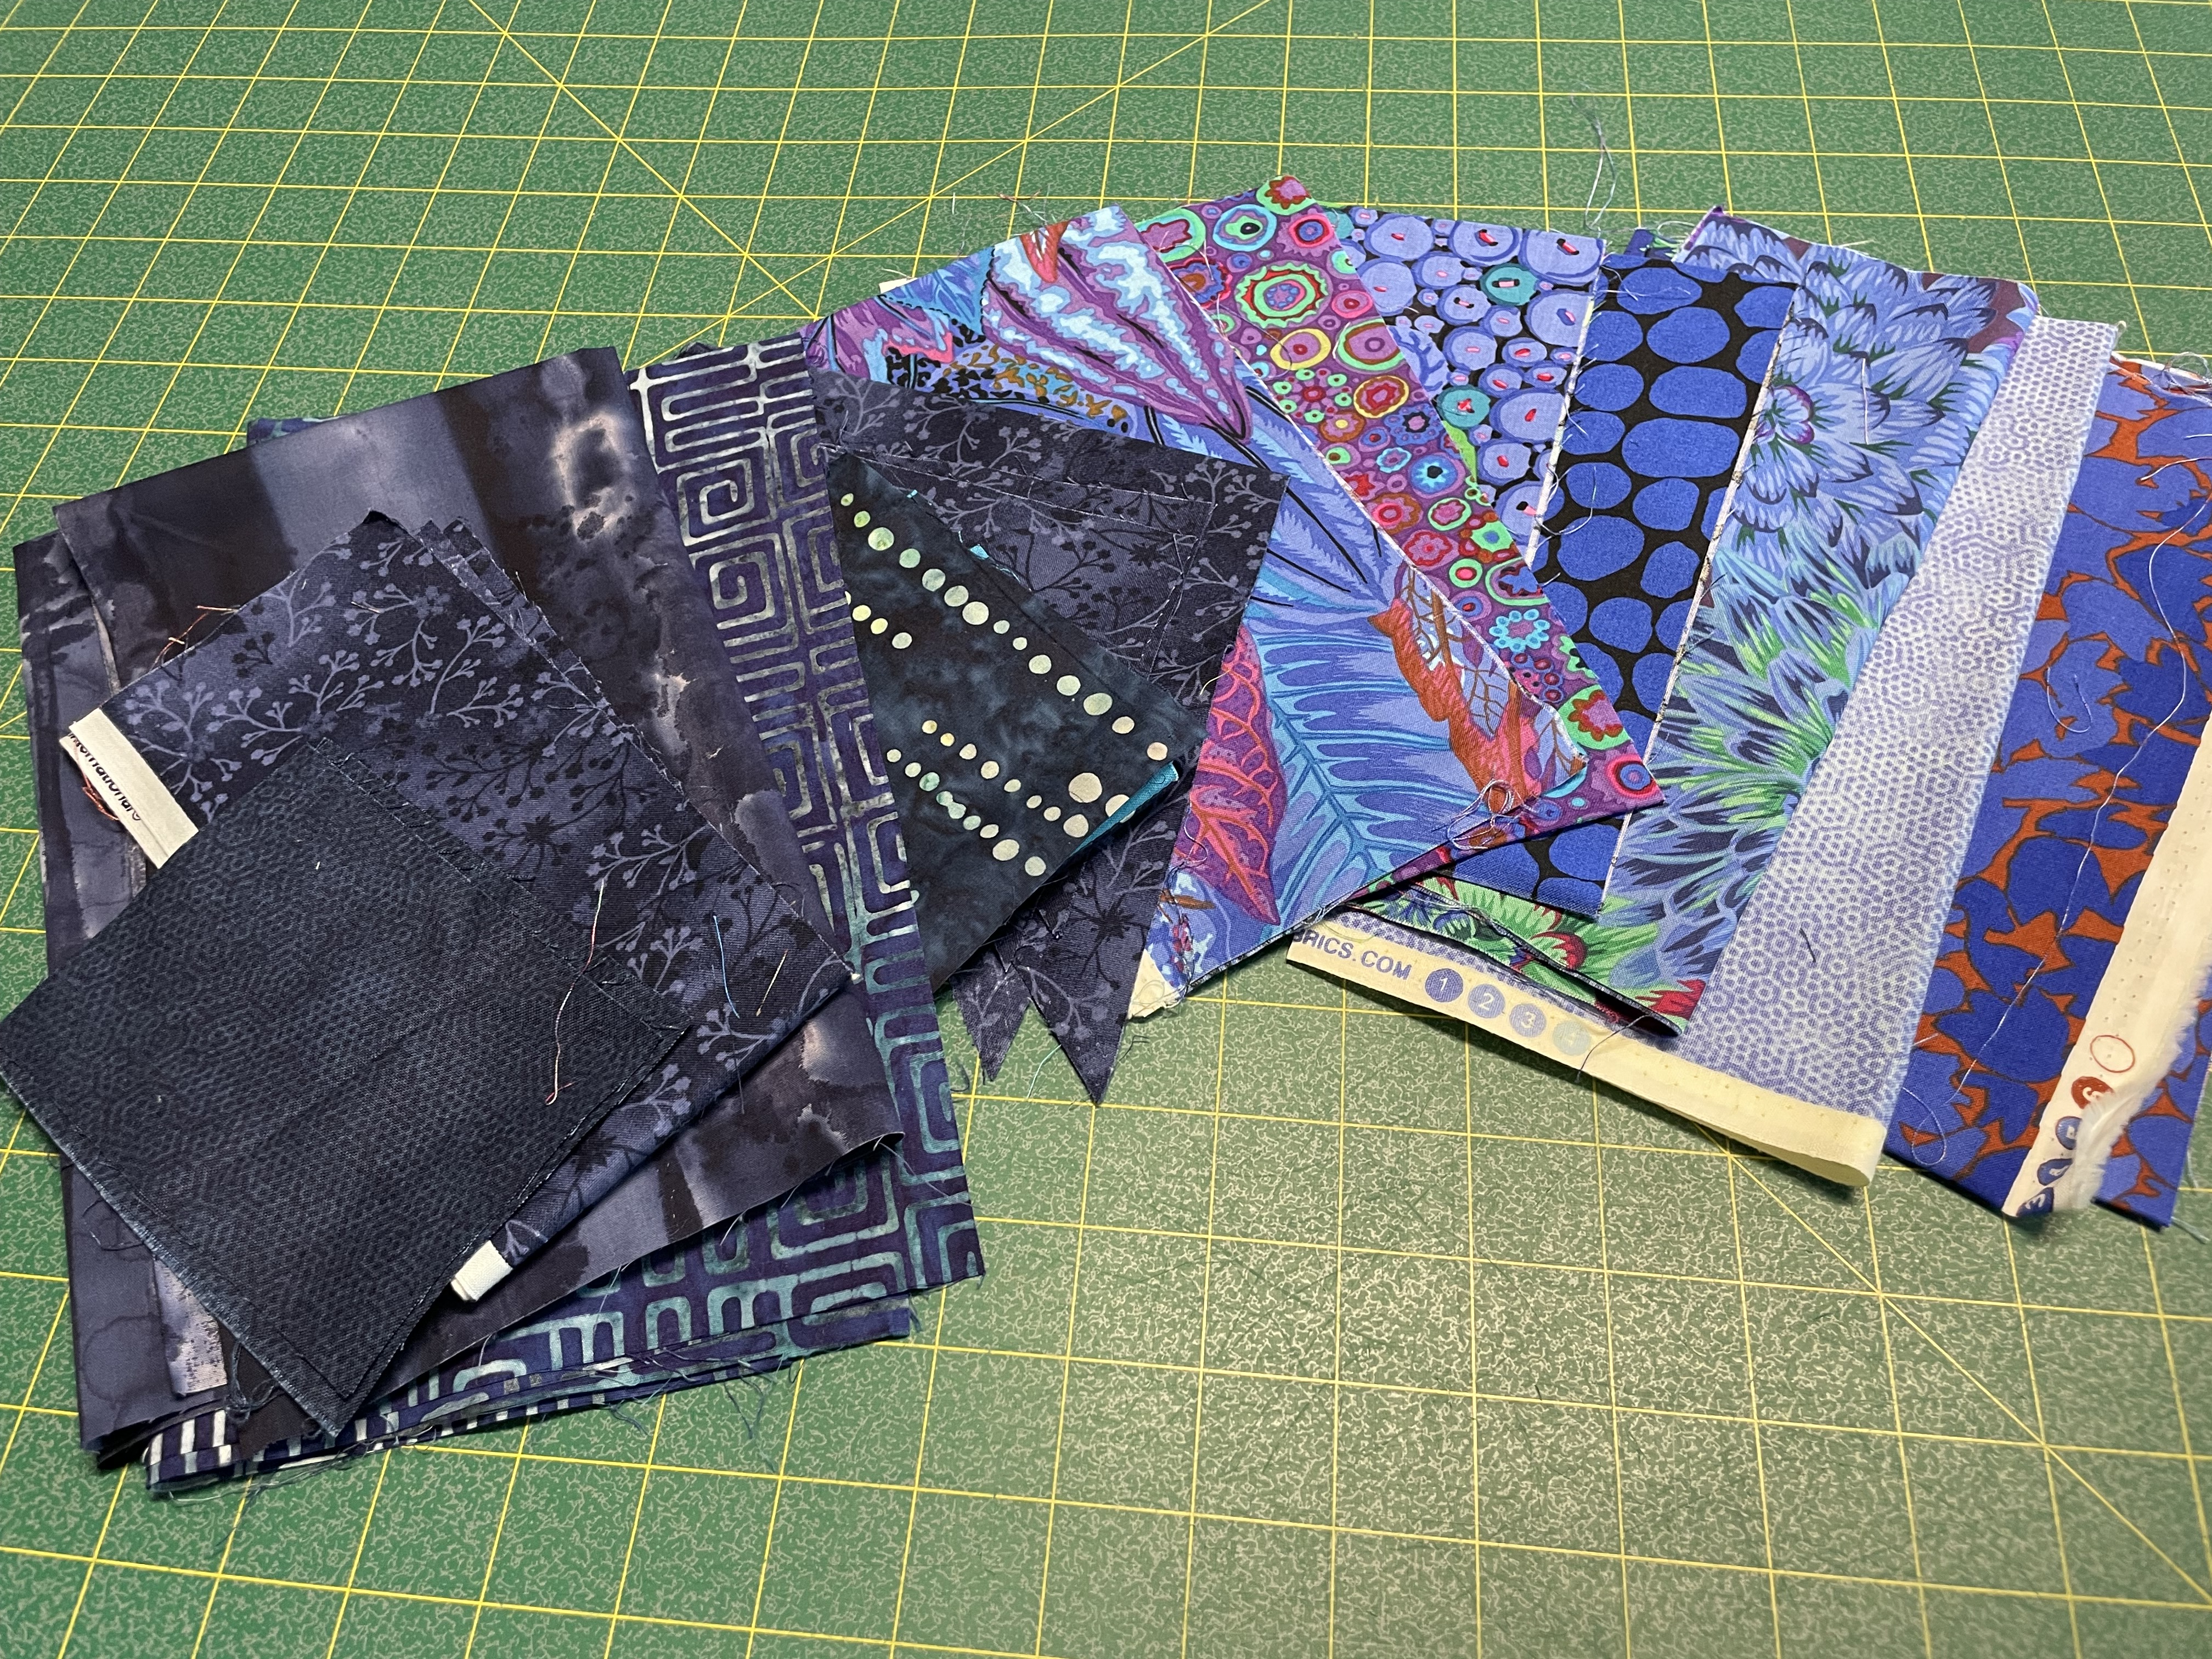
This is the layout at the moment. I realize nobody but me is going to notice the “clashes/repititions” that stand out for me. Besides, once I have the top stitched together, I’m thinking about appliqué of some sort in various dark purple/blue small prints (that will draw attention away from the overall fabric distribution beneath). I have no idea whether that should be circles of various sizes, or small diamonds (some of which might overlap), triangles? I’ve pulled several scraps

from various boxes and laid them out together. Until I assemble the top I won’t know what might work and what won’t. I have still more boxes to rummage through – I’ll do that tomorrow.

I’m finally moving on a quilt again. I’ll have time tomorrow and Wednesday afternoon to chain piece blocks together but before I do that I do want to check the layout at least one more time!

———-

I just took a careful look at the background triangles. I knew the background fabric had a directionality to it but I wasn’t aware of how it was going to play out.

The right leaning diagonals have the subtle background stripe horizontal; the left leaning diagonals have the background strip vertical. I looked carefully – they’re all like that. The background pattern is so subtle nobody’s going to notice it but me! Can’t change any of them! Interesting outcome. Completely unanticipated.

A New Quilt

Haven’t worked on a quilt in months but I’m feeling pressure to get one going – I’ll want to show in Parrsboro again next summer and I will need at least six new quilts for that (plus a bunch of smaller creations!).

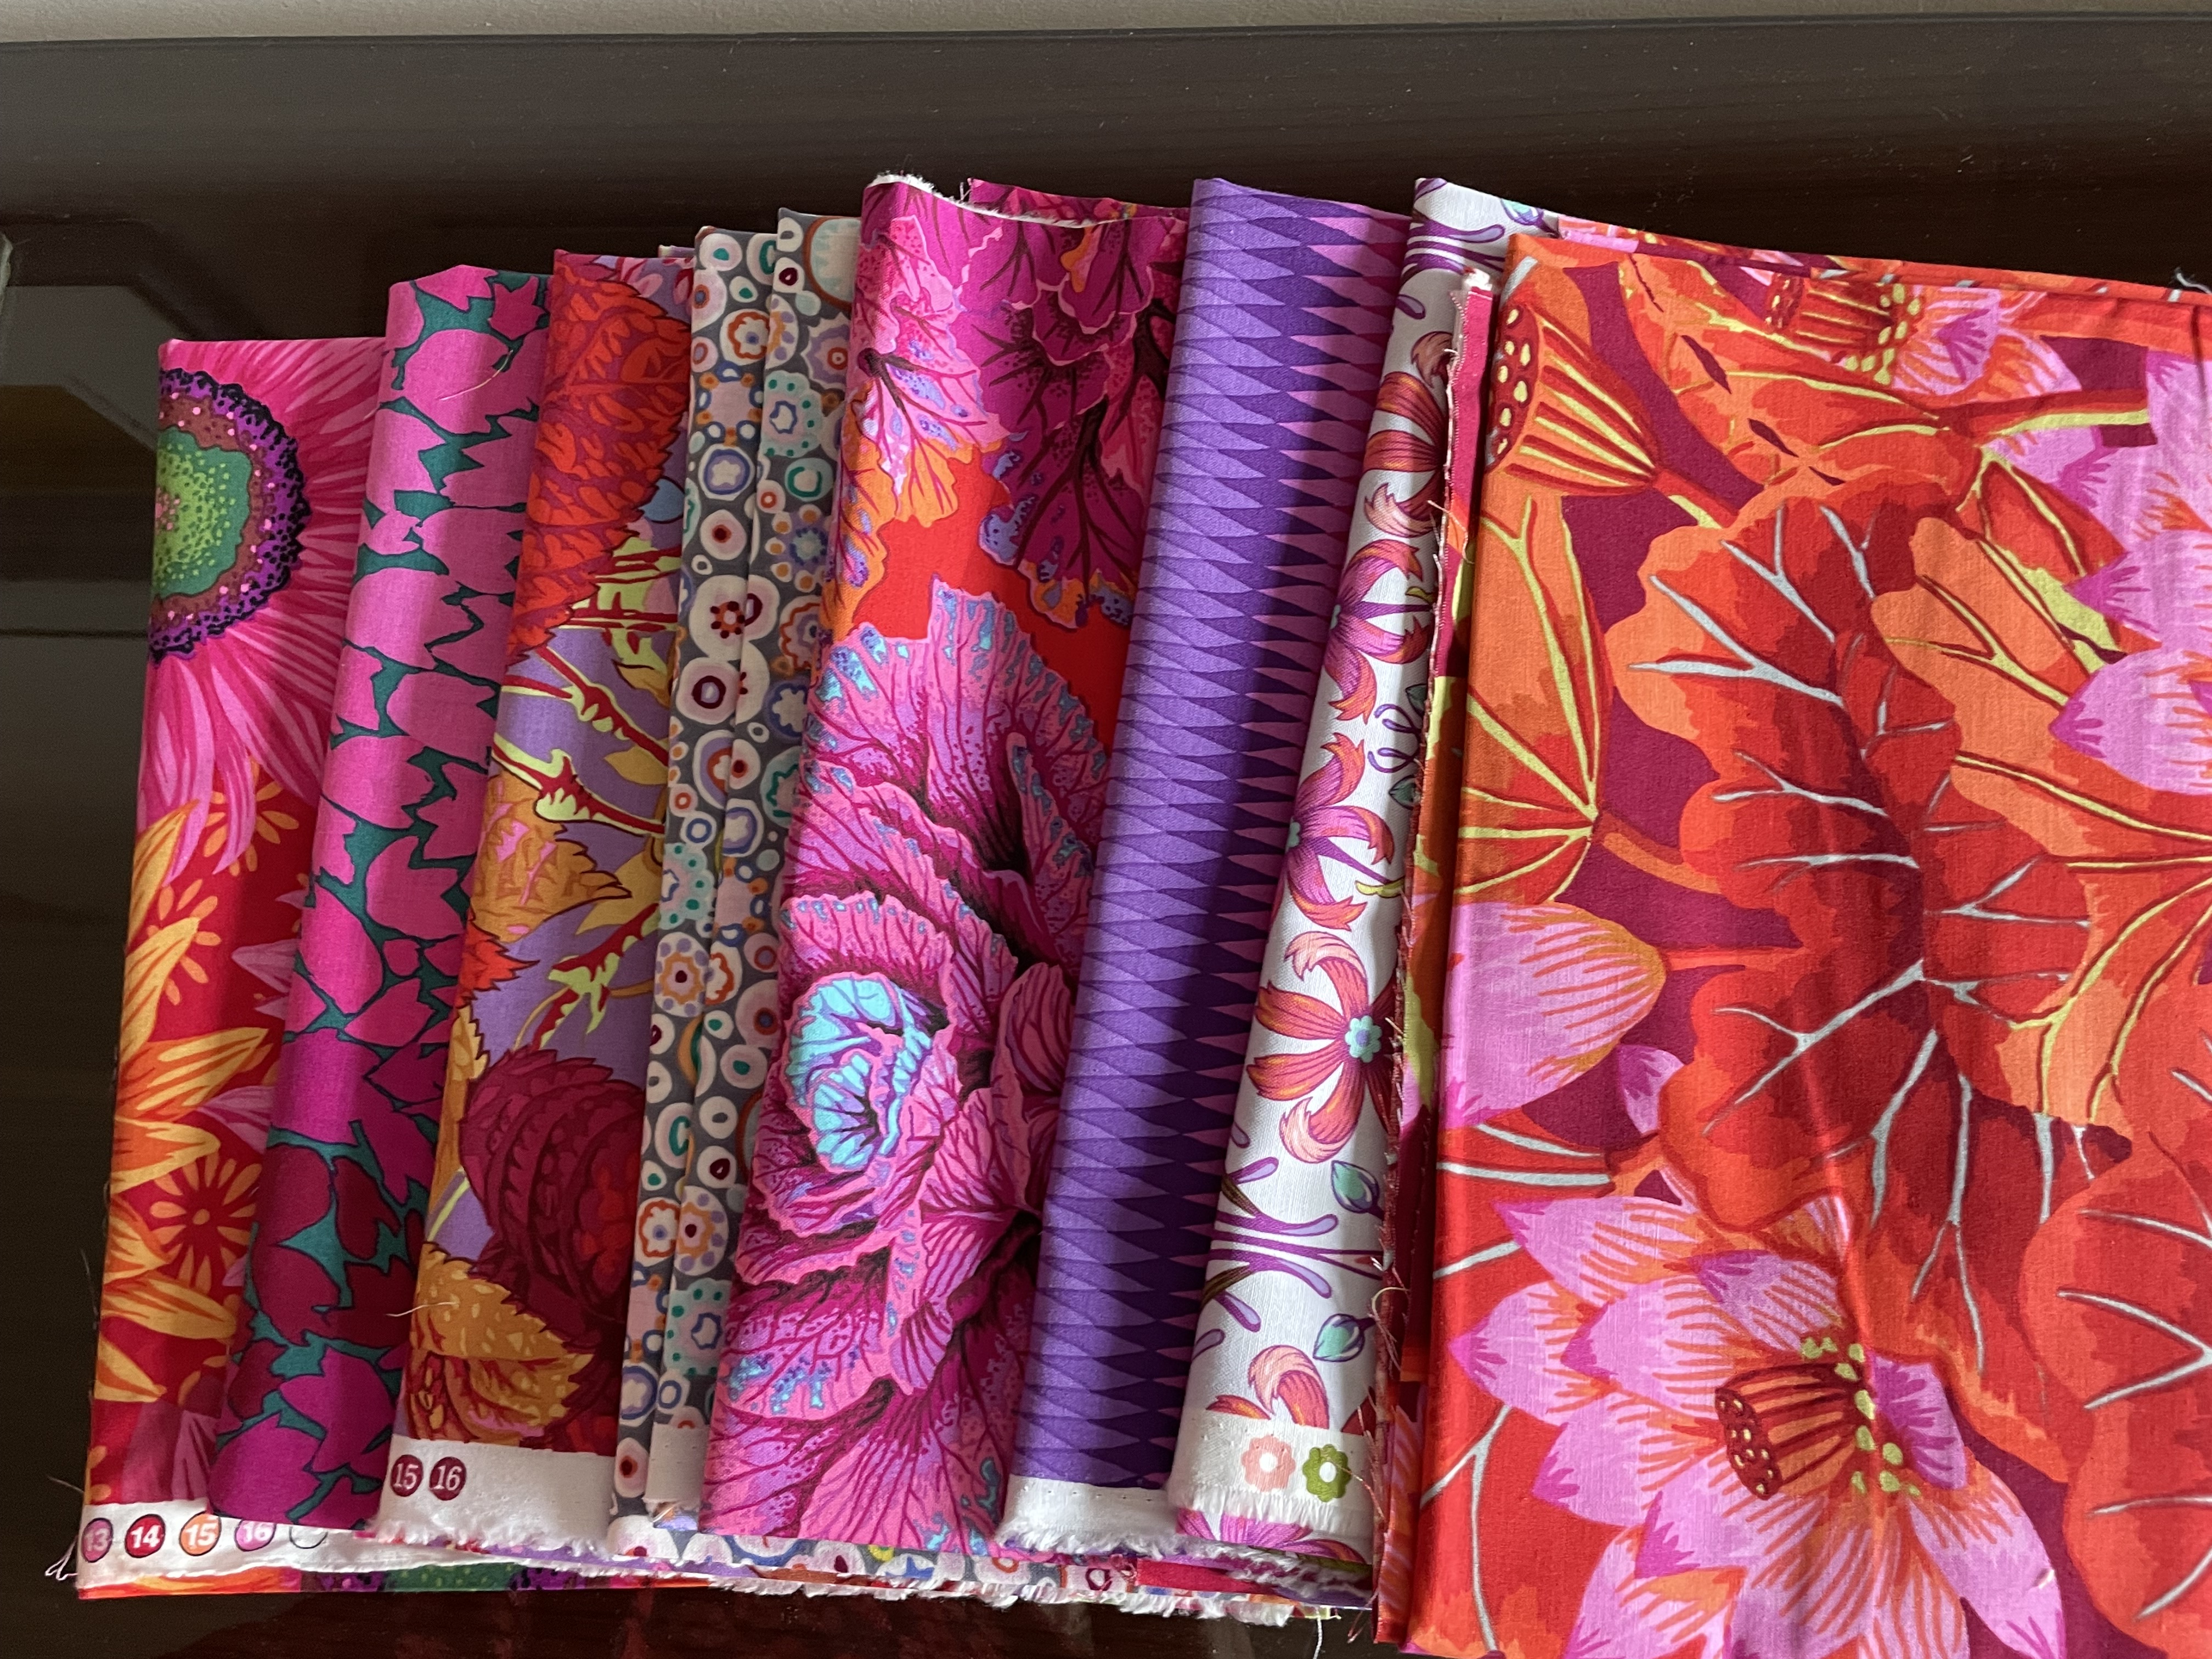
It’s not that I have no fabric! I have more fabric than I will ever use but when I visited Heidi Wulfraat’s Woolworks last Thursday, I couldn’t resist picking up some Kaffe Fassett Collective fabrics.

Eight Yummy Large-Scale Prints!

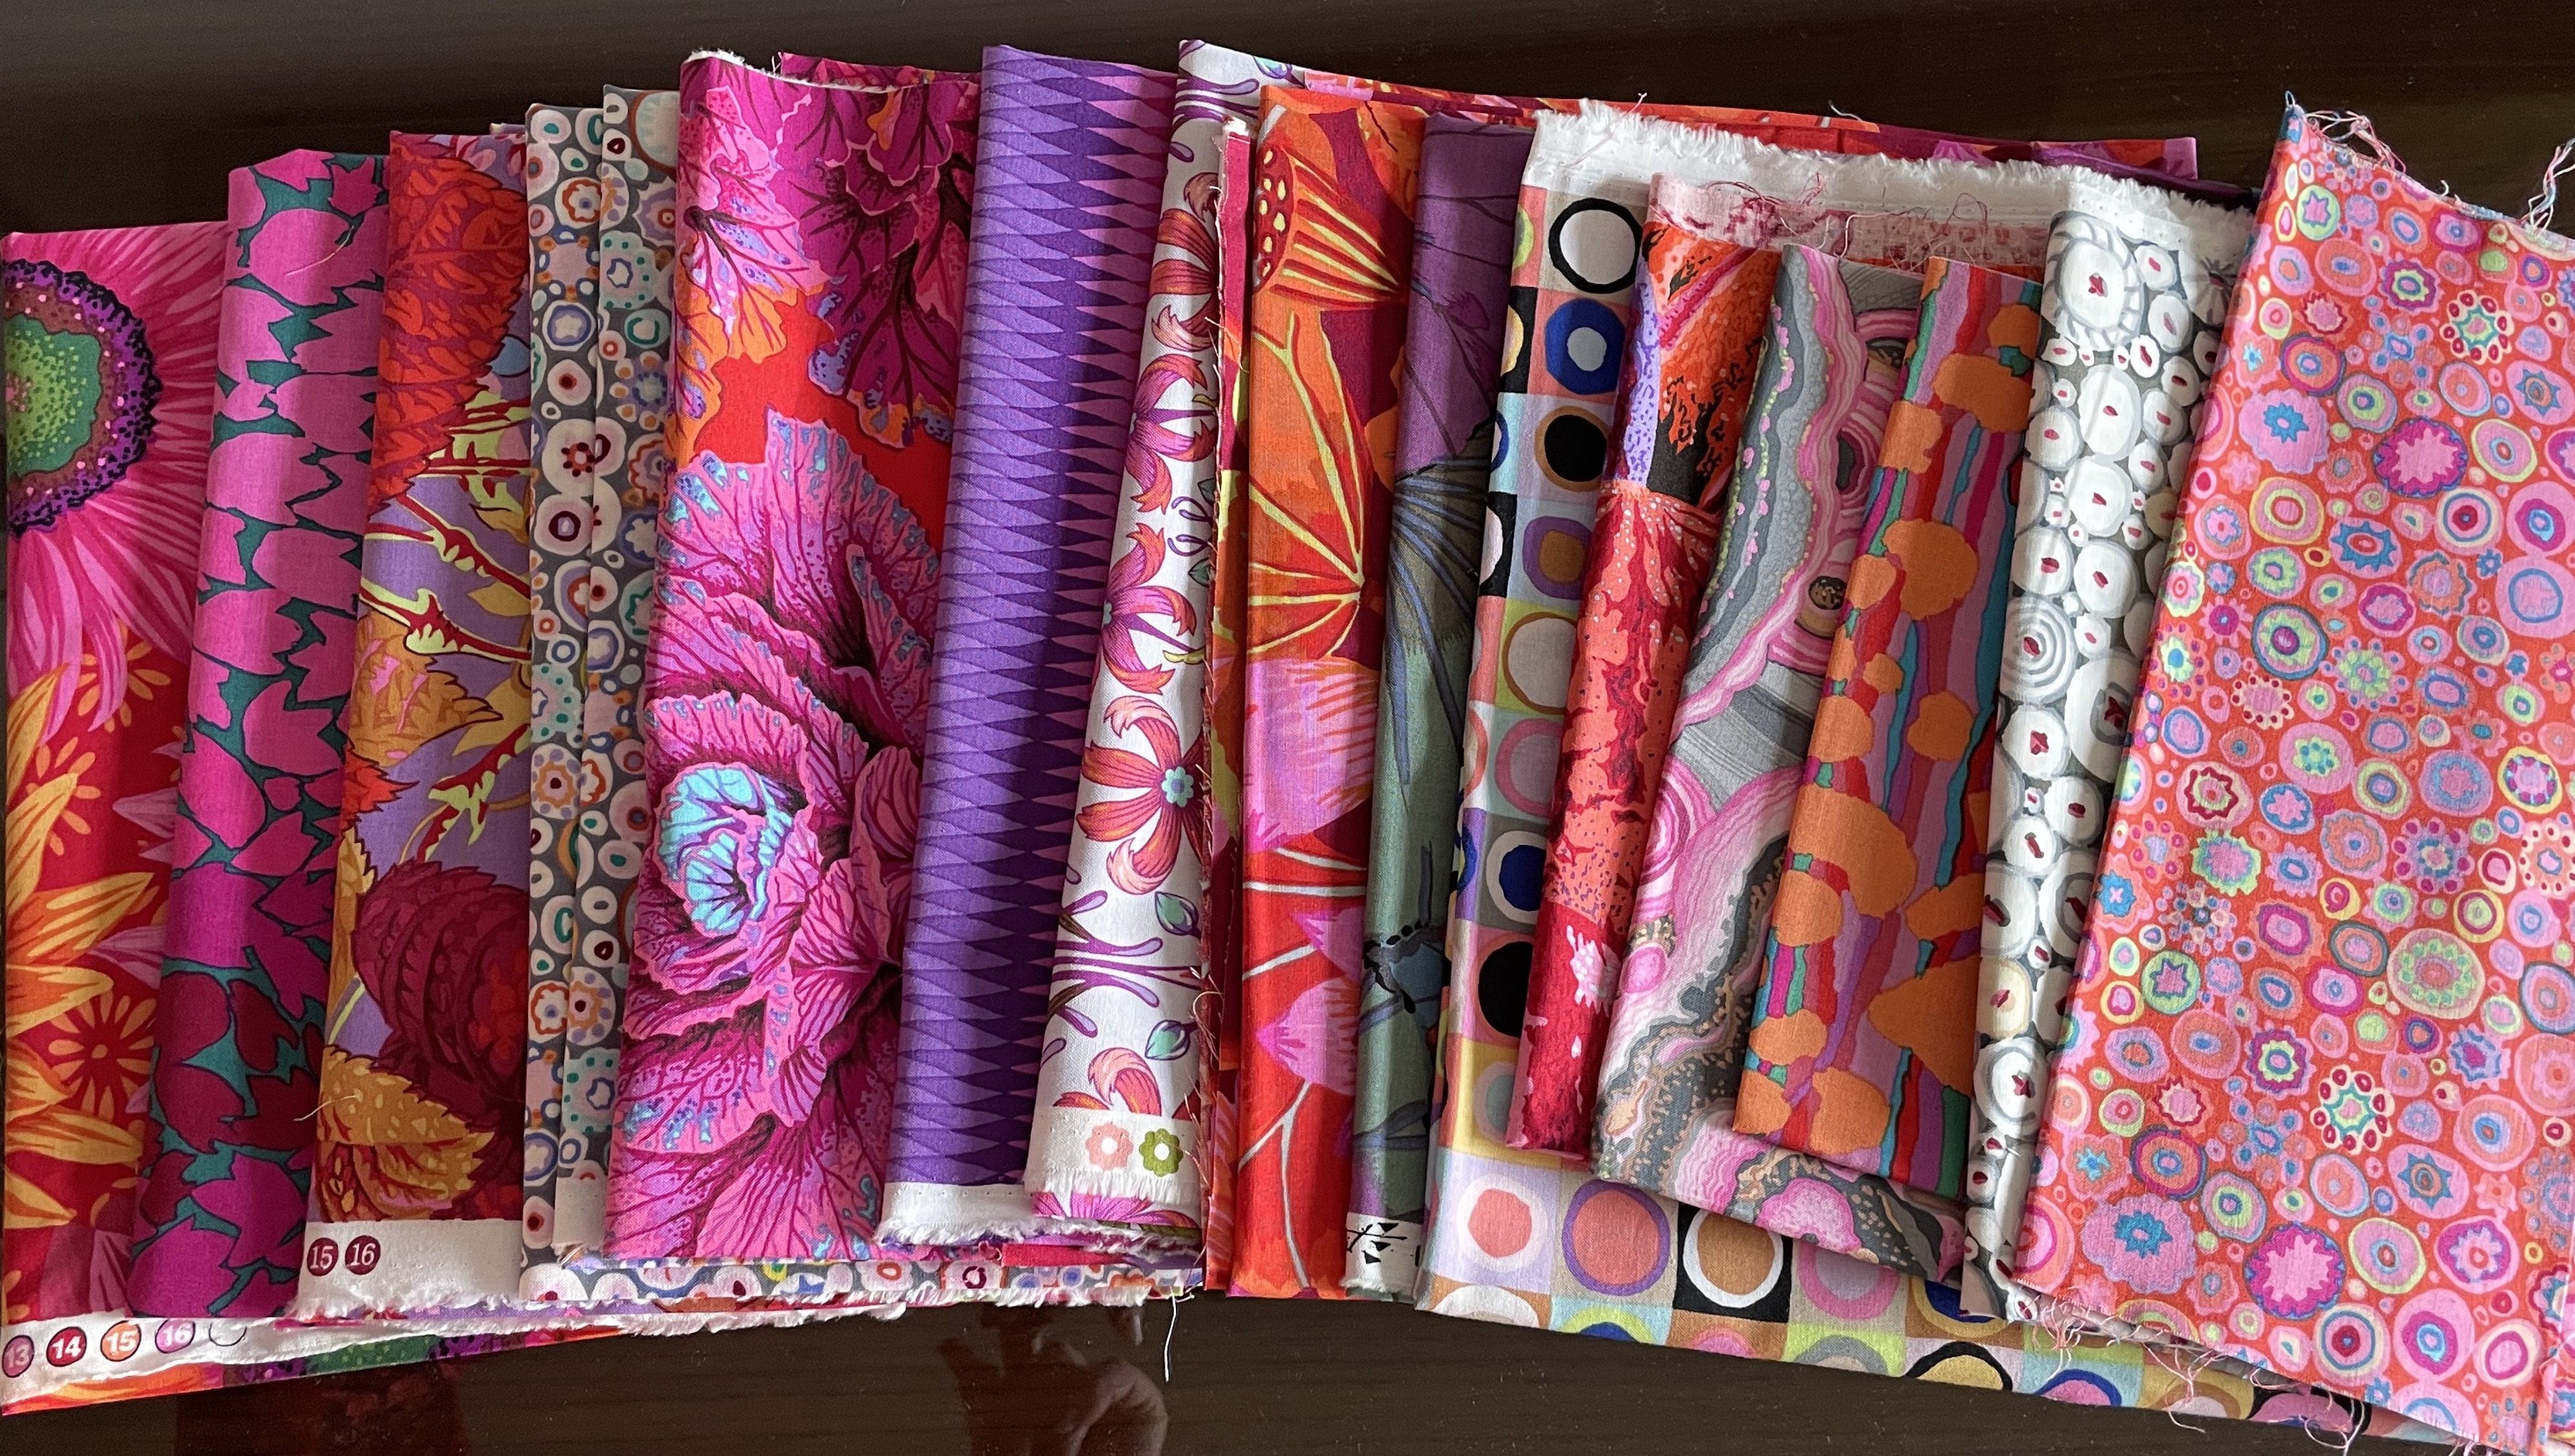
When I came home I dug into my KFC collection and came up with several more pieces

Next I looked in the Grunge Box – lots there

TOO MANY CHOICES! I was trying to figure out how to use all of these fabrics in a single quilt top. I considered diamonds, triangles, appliquéd circles, freeform appliqué. I slept on it but woke with no idea what to do with all this fabric. I looked through my Pinterest idea collection: Modern quilts, Quilts, Diamond quilts – over the years I’ve saved lots of pictures. Nothing called out. I then looked through photos of quilts I’ve made in the past. In order to start something I decided to revisit a quilt I made in April 2014:

This quilt was based on an idea I’d found on Pinterest, Yusef’s Quilt: Ribbon Star – it seems this 9-patch block (a traditional block) is called “Ribbon Quilt Block”. The intention of this 9-patch is to use a background fabric that creates “ribbon” sections that connect colourful 4-point stars.

My next challenge was to come up with a background fabric – I chose a “cork” textured print in a pale grey to complement and contrast with the reds/pinks of the large scale prints. 

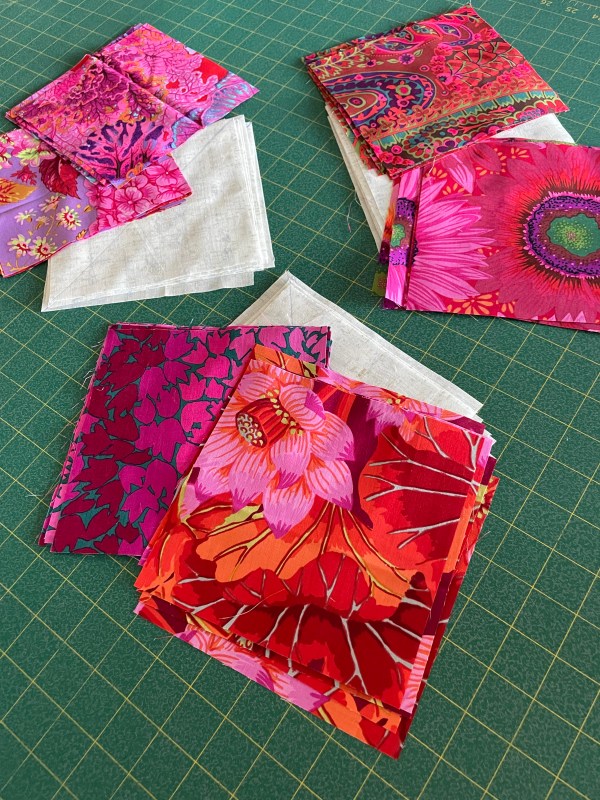
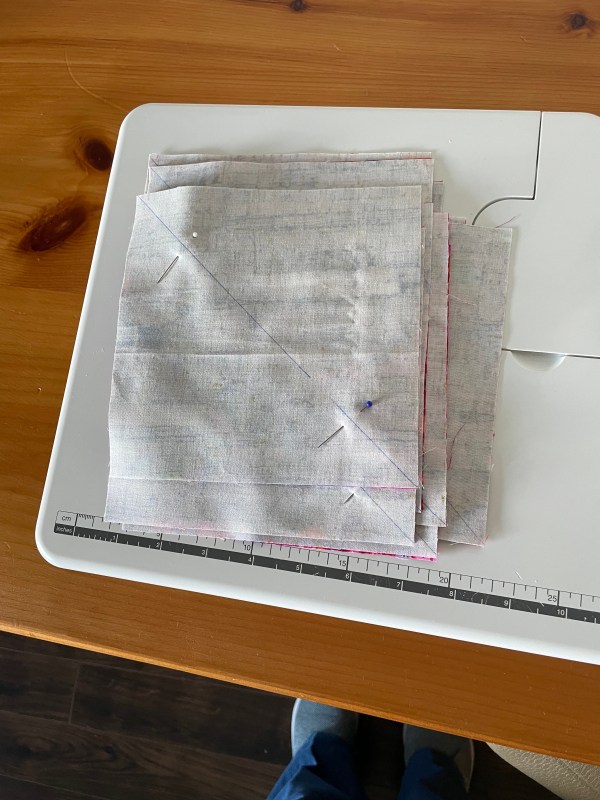
I’ve got all the prep work done. To make a 9 x 12 quilt I need 108 6″ squares – 12 are 6″ large scale prints (I’m using 2 of each print fabric), 96 are HST (half square triangles) constructed by pairing a 6 1/2″ backing square with a 6 1/2″ large print square, sewing 1/4″ beside the marked diagonal on each side, then cutting on the diagonal and trimming – creating two 6″ HST blocks. 

That’s where I am today. I’ll pick this up tomorrow and start sewing the HST. I’ll chain piece each stack; it won’t take long.

The Latest Iteration

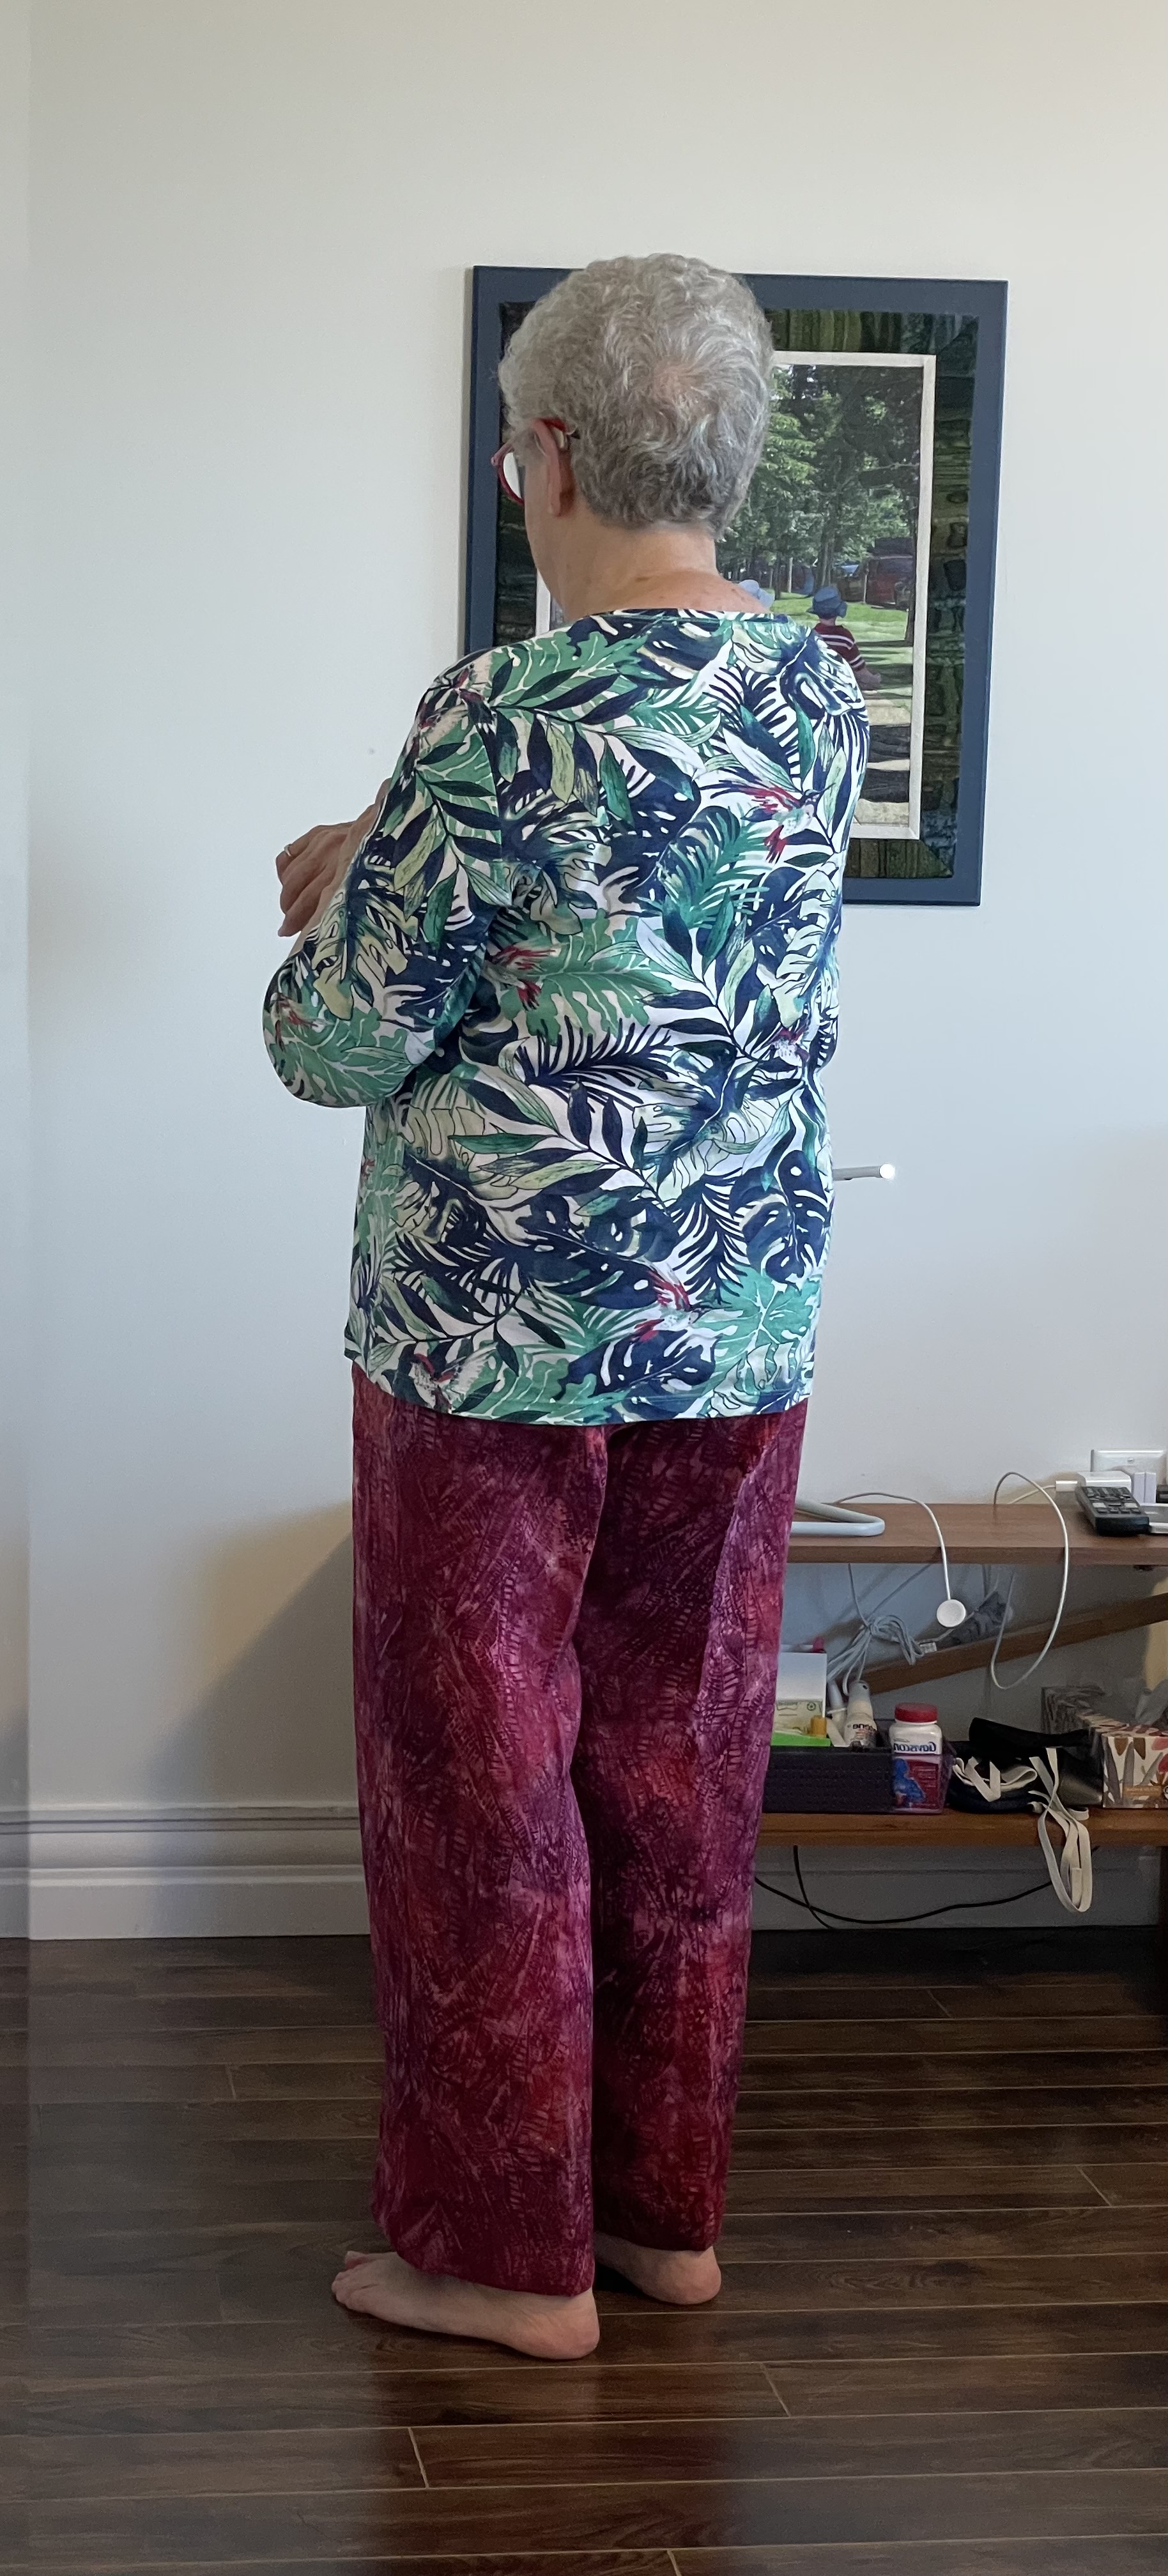
Here is the latest pants iteration – pull-on pants in a rayon batik I bought in Bali in 2014!

I redrafted the pattern again – adding 1/2″ to each side seam (front and back) which has given me a bit more room to sit down in. The crotch is also a bit wider in the back and extends closer to the knee which gives me slightly more fullness on the inner thigh which is helping the fabric fall straight from my bum and the inseam hang correctly.

I had intended to create a fly front on these pants but this fabric is soft and drapey so I folded the fly addition back and cut along the centre seam to make a straight front seam. I did want to shape the sides a bit but the waist on pull-on pants has to be as wide as the hips, so an elastic waist it is.

I made more work for myself with these pants – I basted the four panels together so I could try them on and assess the fit. I set up the waistband, then fit the pants to the waistband and it seemed I was probably close to the fit I wanted. Then I took apart the side seams so I could properly add the front and back pockets to the flat panels, basted them back together, and finally serged everything – in the order I would normally use for constructing pants. Just took longer.

Next time I’m not going to need to do the basting – this pattern is pretty close. For winter pants I am going to want the back to be shaped under the bum somewhat so the back dart will return, as will a fly front opening (which will allow me to taper the sides at the top).

I have to say, after all these years chasing a pattern and strategies for making pants that fit – I think starting with the straight monpei rectangles, building in the crotch triangles, adding a waistband, has got me closer than anything I’ve done before. I no longer have a “shapely” body – I’m straight, and flat, and dumpy! The peasant pants, based on two rectangles, gives me pant shapes on the grain of the fabric, with enough fabric where I need it and that hang straight from the fullness of my bum (given what little of it that I have).

I’ve actually learned more about making pants, particularly pants for myself, from this series of experiments, than I have for the past 30 years. I’ve drafted a pant sloper in the past, but the part that was missing, that I didn’t see, was pants are based on two rectangles based on a hip measurement and garment length from waist to hem (with seam allowances and hem added)! By adding a crotch based on the crotch depth measurement to one side of the rectangle, you get the curved shape around the hips, bum, and between the legs you need. You can add further shaping, if necessary, by removing fabric from beneath the bum with a dart down the back of the leg. You can remove fabric from the centre back and the top of the side seams if you have to to accommodate a curvy body shape. But you start with your hip measurement and crotch depth, which sets you up to draft the rectangular shapes that are the basis of the garment! Didn’t know that before.

My next attempt will be in corduroy (which has a small amount of stretch) – for fall.

A Close Match

Remember, I described the challenge of working with this yarn? How the sections of colour were too long so the transitions were not going to allow me to finish with a blue toe. That I had to cut out segments of the various greens to finally reach the blue.

The difficulty was trying to judge the transition segments so the colour demarkations were more blended. I didn’t succeed entirely, I was better with the sock on top – the first one, I think, than with the second. However, the recipient of these socks won’t notice any difference – I’m just being an obsessive perfectionist! The important part of the sock is the leg, anyway. Nobody sees the foot inside the shoe.

The next pair I’ve got underway is definitely BORING – an alternating pattern of magenta, brown, beige, pink stripes.

I haven’t reached the end of the first repeat which seems to involve at least 10 stripes – I’m trying to decide what I can do to liven up the colour palette. This is one of the Hobbii “Silly Socks” balls of yarn I ordered a couple of months ago – I’m not sure what I have in the “leftovers” collection that might intersperse with this to make it more interesting – but I want to do something!

An Afghan Feast!

Our Wonderful Meal

Last evening I was invited to dinner at the apartment of one of the two new Afghan immigrant families I am helping learn English. The occasion was a thank you to the group who sponsored them to Canada, including me for the time I spend with them each week.

The apartment is small, but in traditional Afghan fashion they had laid out the feast for 11 people on a tablecloth on the floor with plates etc. arranged around the perimeter. Two rice dishes, one with delicious lamb hidden beneath, the other with saffron and pistachios, kofta (tasty meatballs in a tomato sauce flavoured with spices I couldn’t name).

I just looked up a recipe:

For Meatballs (Kofta)
– 1 lbs ground beef
– 1 large onion, chopped in big pieces
– 2 green chilies, chopped
– 1 cup cilantro, chopped
– 1 tsp garlic paste
– 1 tsp salt, or to taste
– ½ tsp black pepper
– ½  tsp coriander powder
– ½  tsp cinnamon powder
– ½ tsp cumin, ground

For the Sauce (curry)

– 1 medium onion, chopped
– 2 medium tomatoes, pureed
– 2 Tbsp tomato paste
– 1 tsp garlic paste
– 1 tsp salt, or to taste
– ½ tsp black pepper
– ½ tsp turmeric powder 
– ½ coriander powder
– ½ cup Yellow split peas/chana daal, cooked 90%
– ½ cup oil

https://www.heratkitchen.com/post/kofta

There didn’t seem to be the yellow spit peas in this version (although I’ve had Kofta that did). The tastes I didn’t recognize: turmeric/coriander in the sauce, the coriander/cinnamon/cumin in the meatballs. Delicious on the saffron rice.

There was also:
A minty bowl of finely diced salad
A spinach dish – Sabzi – I could see finely chopped spinach and onion, I assume garlic
Some potato fries – which seems to be a common companion dish
And a custard dessert with cherry jello on top

A lot of work for these young people to undertake.

The challenge, of course, was getting down to sit on the floor – none of us guests are young. At 80 I can get down and up again – I do it a lot when I’m laying out quilt pieces on the floor – but I’m past sitting on the floor, let me tell you! I could not find a comfortable position other than with my legs stretched out in front of me with my back supported by the sofa behind me – taking up too much space for this group and my feet in everybody’s way! I tried sitting on my feet, on my bum with my feet tucked in on my right, on my left, lotus position – I could sustain no position for very long.

I loved the meal and the conversation and friendship. I paid for sitting on the floor – this morning when I got out of bed, I could hardly move. Once my morning dose of Tylenol and Lyrica kicked in and after an hour of Aquafit in the pool I could finally move.

In spite of the sitting challenge, I will certainly do it again!

Closing Down Of Summer

August 20 2023
There comes a day each year in August, in Nova Scotia, where you sense the impending arrival of fall. The smell in the air, the slight change in temperature, the shift in colour of the day, all signal the closing down of summer.

That was yesterday – Sunday morning, just past the middle of August. There is still a third of the month before September. There will be many more summer days – sunny, hot and humid, or overast and muggy, or brilliant sunshine with a more bearable temperature, but interspersed with them will be those slightly crisper days which will become more frequent as September turns to October.

The loveliest time of the year, here in NS, is mid-August ’til end of October. Who knows what awaits us this year – it’s been an unusual year of weather from the get-go. Our winter had less snow than we’ve come to expect, spring was the wettest we’ve ever seen with continuous rain. Summer seemed to start late and with unusual heat came torrential rain that extinguished the uncommon forrest fire conflagrations raging in a number of locations but also resulted in destructive flooding.

Will we experience a more “normal” transition to fall? We all hope so. In gardens, flowers are past their prime, grass (in spite of the rain) is showing brown spots, soon trees will hint of changing colour. That natural progression will occur, but the weather? It’s anybody’s guess, this year!

Earlier today it was cloudy with a bit of sun shining through, but as I walked from my car to the pool, I was aware of the slight chill in the air. This afternoon, it’s warm and very muggy – the air is heavy with moisture and the forecast calls for rain this evening.

Today, it begins to look and feel like fall.

Closing Down of Summer 2022
Closing Down of Summer 2020
Closing Down of Summer 2015

Monpei – Revisited

The Start Of A Drafted Pattern

I decided to take the Monpei idea further and create a “pants” pattern from it – two rectangles – one each for the leg front and leg back. Instead of the triangular gusset I grafted the crotch triangles onto the rectangles (10 1/2″ x 40″), curved the crotch additions using a French curve, raised the centre back by 1″, took the centre back in by 1 1/4″. I also added “jeans” pockets. The waist I finished with a facing and elastic at the top.

At some point in the past I had bought this Sandwashed Cupro Blend fabric online from Blackbird Fabrics.

Cupro is a ‘regenerated cellulose’ fabric made from cotton waste. It is made using the teeny tiny silky cotton fibres, known as linter, that stick out of the cottonseed and are too small to spin. The linter is dissolved into a cuprammonium solution, which is a mixture of copper and ammonium, dropped into caustic soda, then spun into fibre. Much like Tencel and Modal, cupro is a plant-based material that is chemically processed to produce the resulting fabric.

Cupro is said to have all the positive qualities of silk: it’s silky-smooth and drapes just like the luxurious material. 

https://goodonyou.eco/what-is-cupro-fabric/
Top Tucked In

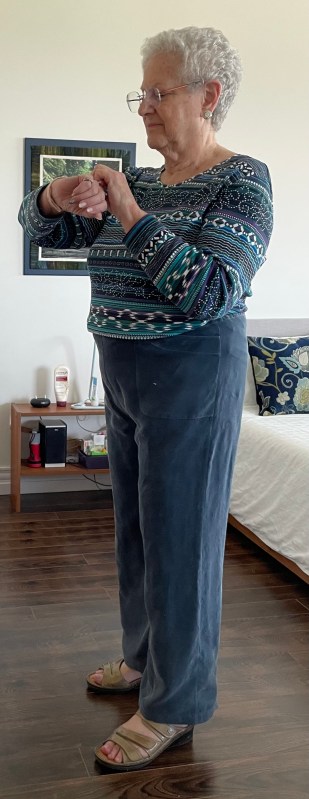
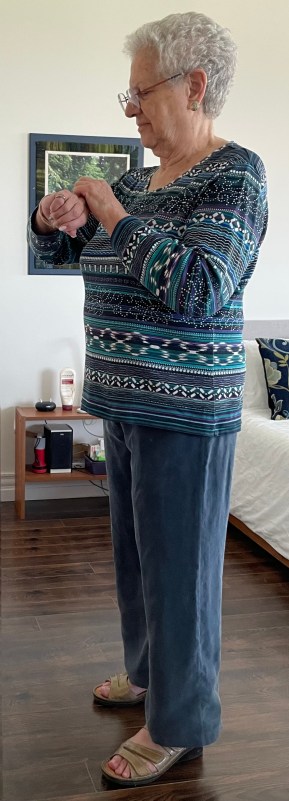
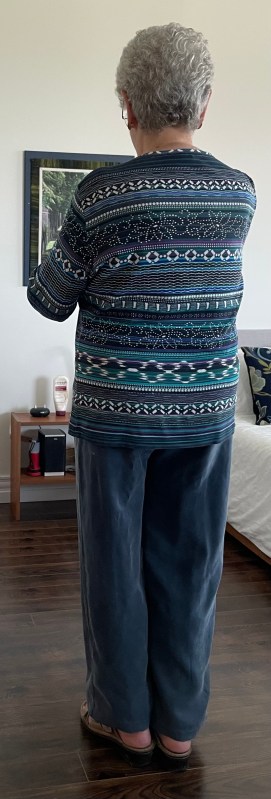
Not the most flattering photo but I wanted to show more of the top of the pants and how they fit – I tucked in the t-Shirt. The pants fit rather well both front and back.

The finished pants hang/drape quite well – no pulling at the front crotch, the side seam is straight, the back hangs nicely from the bum. I purposely hadn’t pressed the centre front/centre back to allow the drapey fabric to fall where it wanted. However, it turns out there is absolutely no give to the cupro fabric so when I sat in the pants they pulled tightly across my lap and wrinkled a lot.

This is, after all, just another experiment – I’ve ended up with a wearable muslin (although I can only wear the pants one day then they have to be washed – pressing alone doesn’t eliminate the wrinkles).

So how do I change the pattern to reduce that amount of wrinkling? Obviously by adding a bit of fabric across the front. That’s what I plan on doing next – I will add 3/4″ to the body portion of each side seam, along with a fly front as well as shaping the side seams so the top fits without elastic (although I may still want/need elastic in the back).

I’ve already pulled from my stash a piece of rayon I bought in Bali in 2014. It’s another drapey fabric which should result in a comfortable loose-ish garment. What I’m aiming to accomplish is a reasonable fit so I can make corduroy and wool (yes I have several gorgeous lengths of flannel I bought at Britex in San Francisco in 2015!) pants for winter.

On to the next experiment.

Half A Pair Of Socks

This has probably been the most labour-intensive sock I’ve ever knit!

The lovely dark blue and canary yellow ball of yarn caught my eye when I saw it at LK Yarns a couple of weeks ago. What I couldn’t know was the rest of the colour pallet was dull. I knit the yellow cuff then I pulled out the yarn from the centre of the ball (which I always do), found a medium blue yarn and started knitting. I expected the colour to change within a reasonable number of rows – didn’t happen – 25 rows into the sock I was still knitting medium blue – no yellow or dark blue in sight! When I peered into the centre of the ball, I could see a range of pale greens, but it was clear the last colours I’d get to would be the yellow and dark blue.

This particular ball of yarn turned out to be exactly two pattern repeats – each pattern intended to be a single sock – there was a white segment in the centre of the ball to mark the end of the first repeat. So I was going to end up with a very dull sock!

I unravelled the medium blue back to 9 rows, then picked up the dark blue from the outside of the ball and started knitting. The leg turned out mostly bright blue/yellow – just turning into the soft green as I began turning the heel. But then I ran into more green and more green. A sock for a size 7 1/2-8 shoe was going to finish on a pale green and never get to the medium blue. So I started splicing the yarn. I knit small amounts of the various greens until I got close to the toe, the I picked up the blend into a pale blue, then spliced it again to get to the medium blue to finish.

One sock done. Now I have to watch closely while knitting the second sock – carefully counting rows, so I can work up a colour match for the second sock.

Not gonna buy that yarn again!