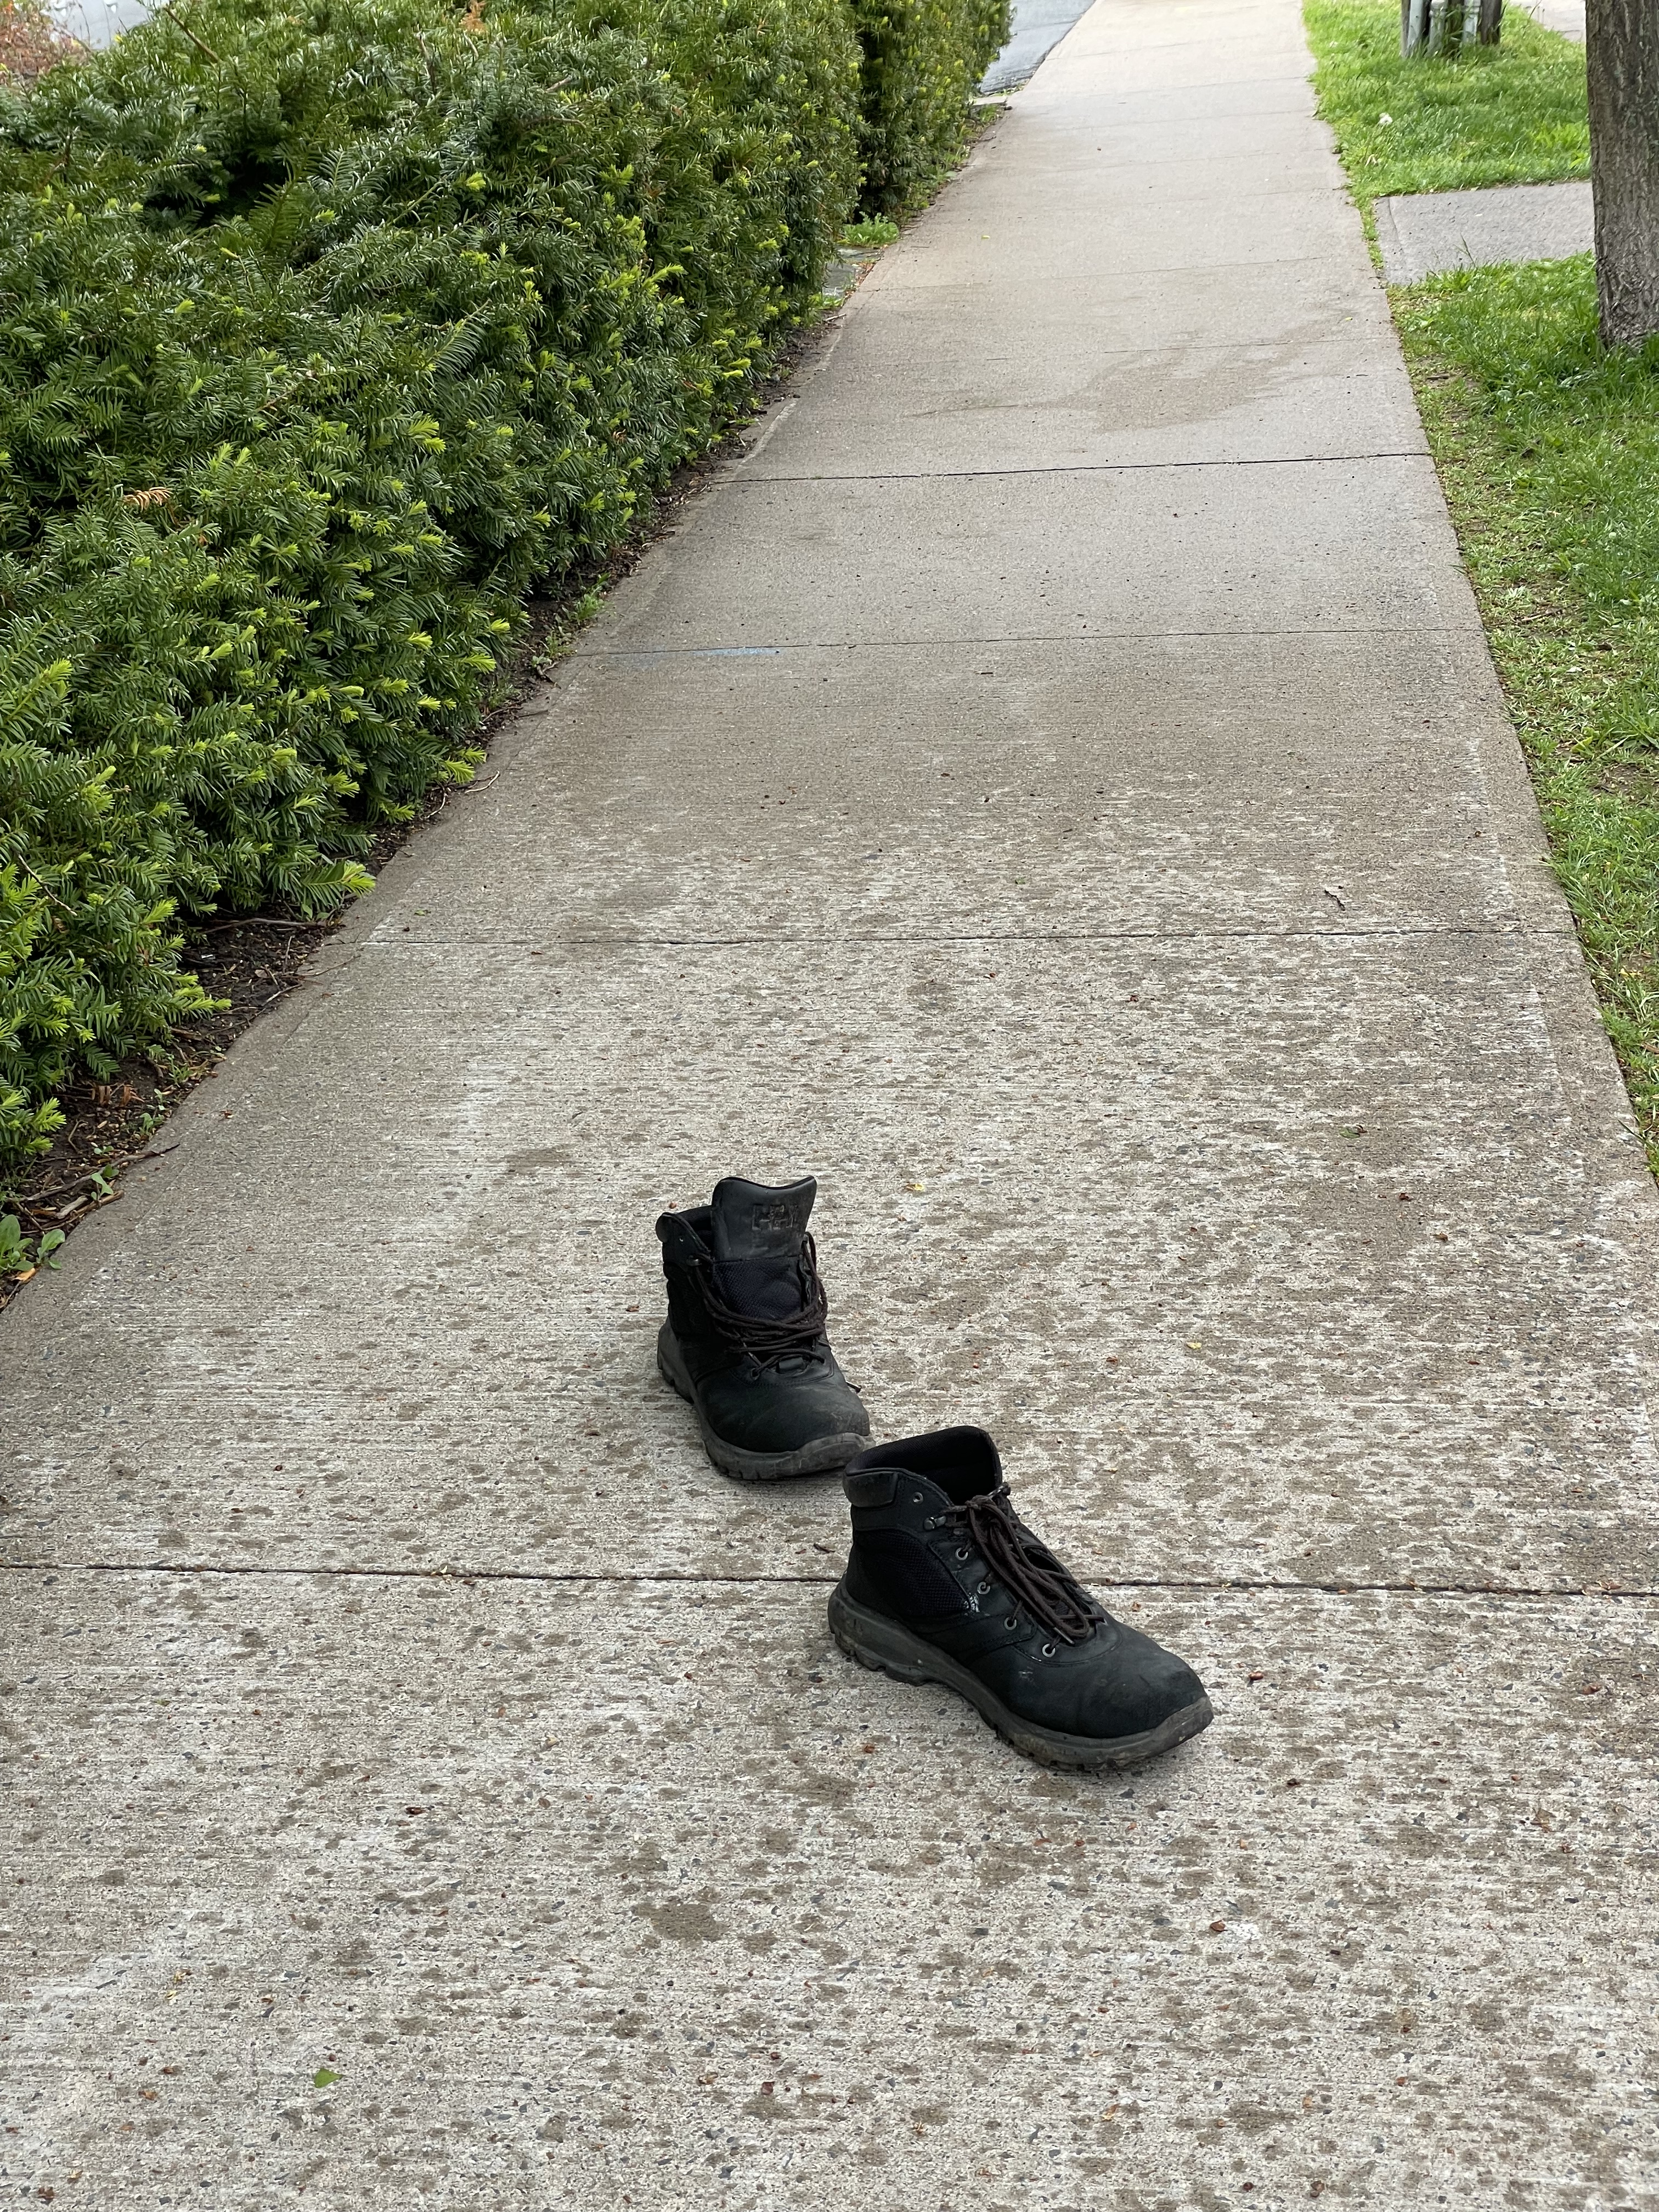
This afternoon, with my sister Donna, I visited the newest Afghan arrivals sponsored by the Jubilee Group here in Halifax. We spent a lovely hour engaged in conversation – I was trying to asses their English capabilities so I might know how to help them out. As Donna and I were leaving their downtown apartment (just off Gottingen Street), we saw these shoes just “standing” there.
How do you suppose they got there? Why would someone just step out of their shoes in the middle of the street? There is an intriguing story here, for sure.
The show was hung on Friday morning after our two hour drive from Halifax to Parrsboro. I’ve shown in the gallery enough times that knowing what I wanted to hang, where, required little deliberation. I knew I’d brought exactly the right number of pieces to display.
The show consists of eight lap size quilts, accompanied by two panels each with an array of 6×6 pieces – a total of thirty pieces of textile art. A respectable amount of work.
As you enter the gallery space
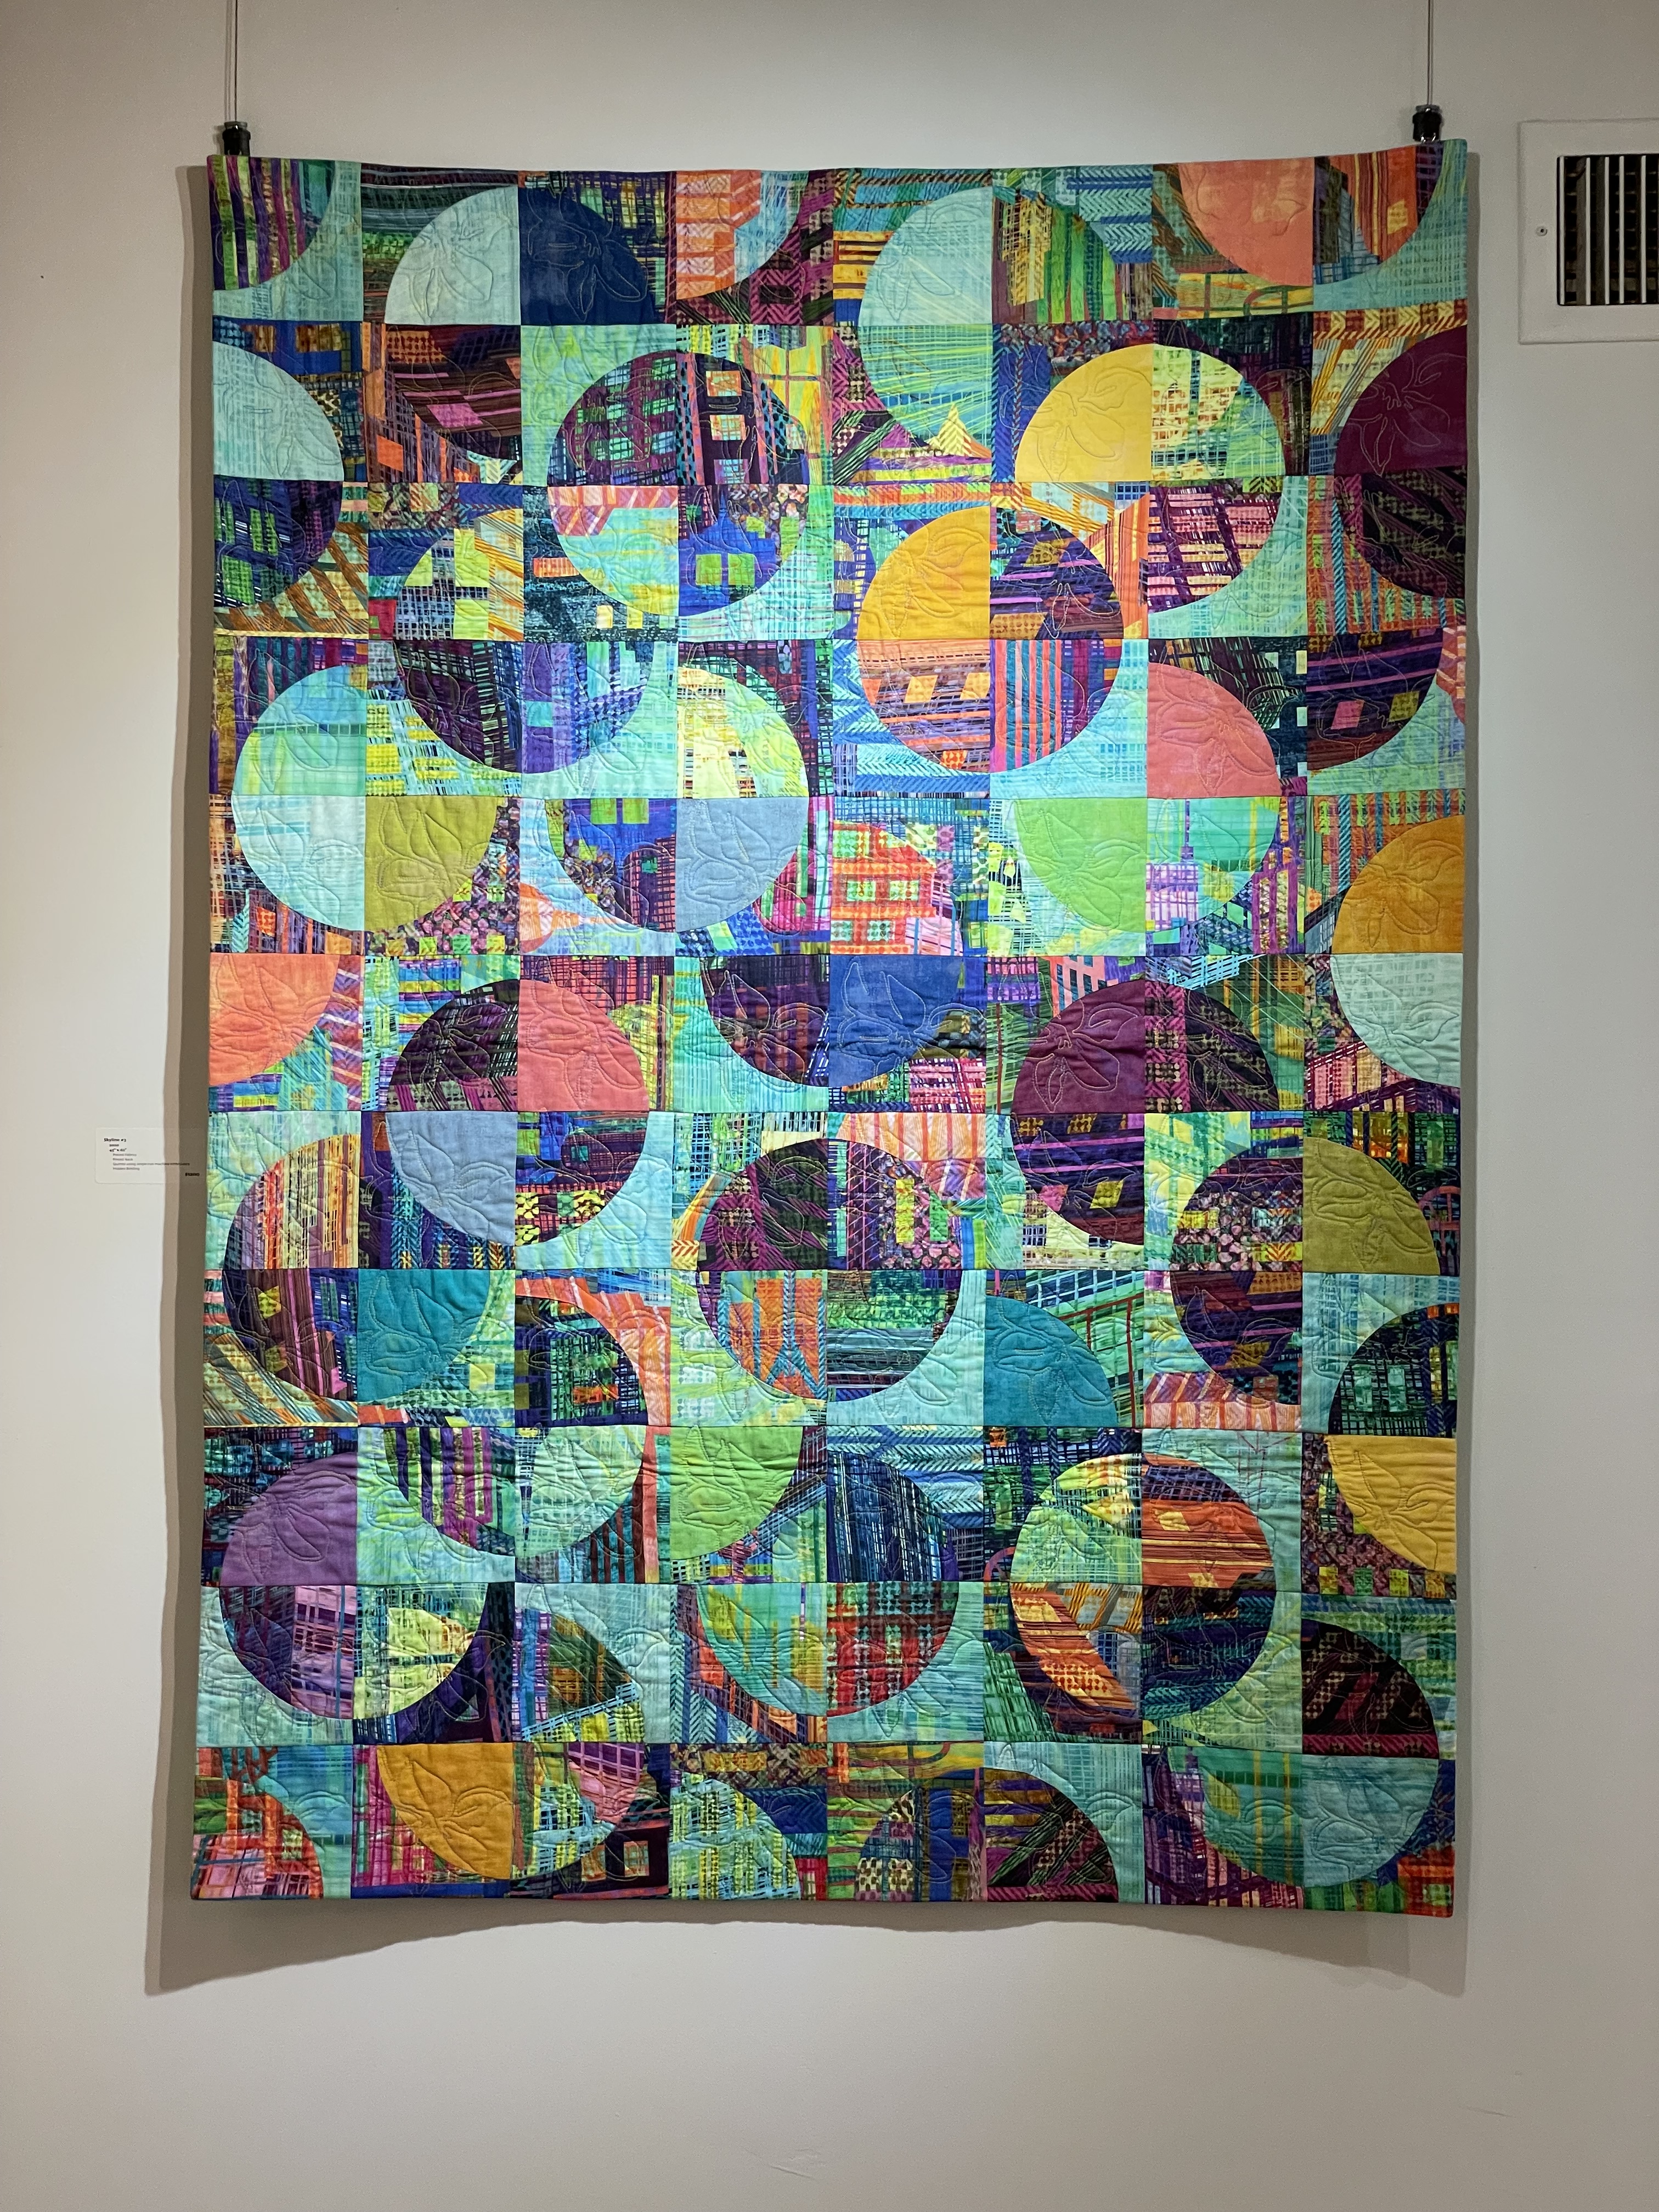
On your right as you enter the Community Gallery you find the four Drunkard’s Path Blocks quilts: Let the Trumpet’s Sound, Drunkard’s Path #5, Skyline #3, and Planet’s With Moons (from right to left). It doesn’t immediately strike you that all four quilts are built using the same block construction, but if you look closely you see the basic quilt block is the same in each.
The “Modern Flower” Pieces
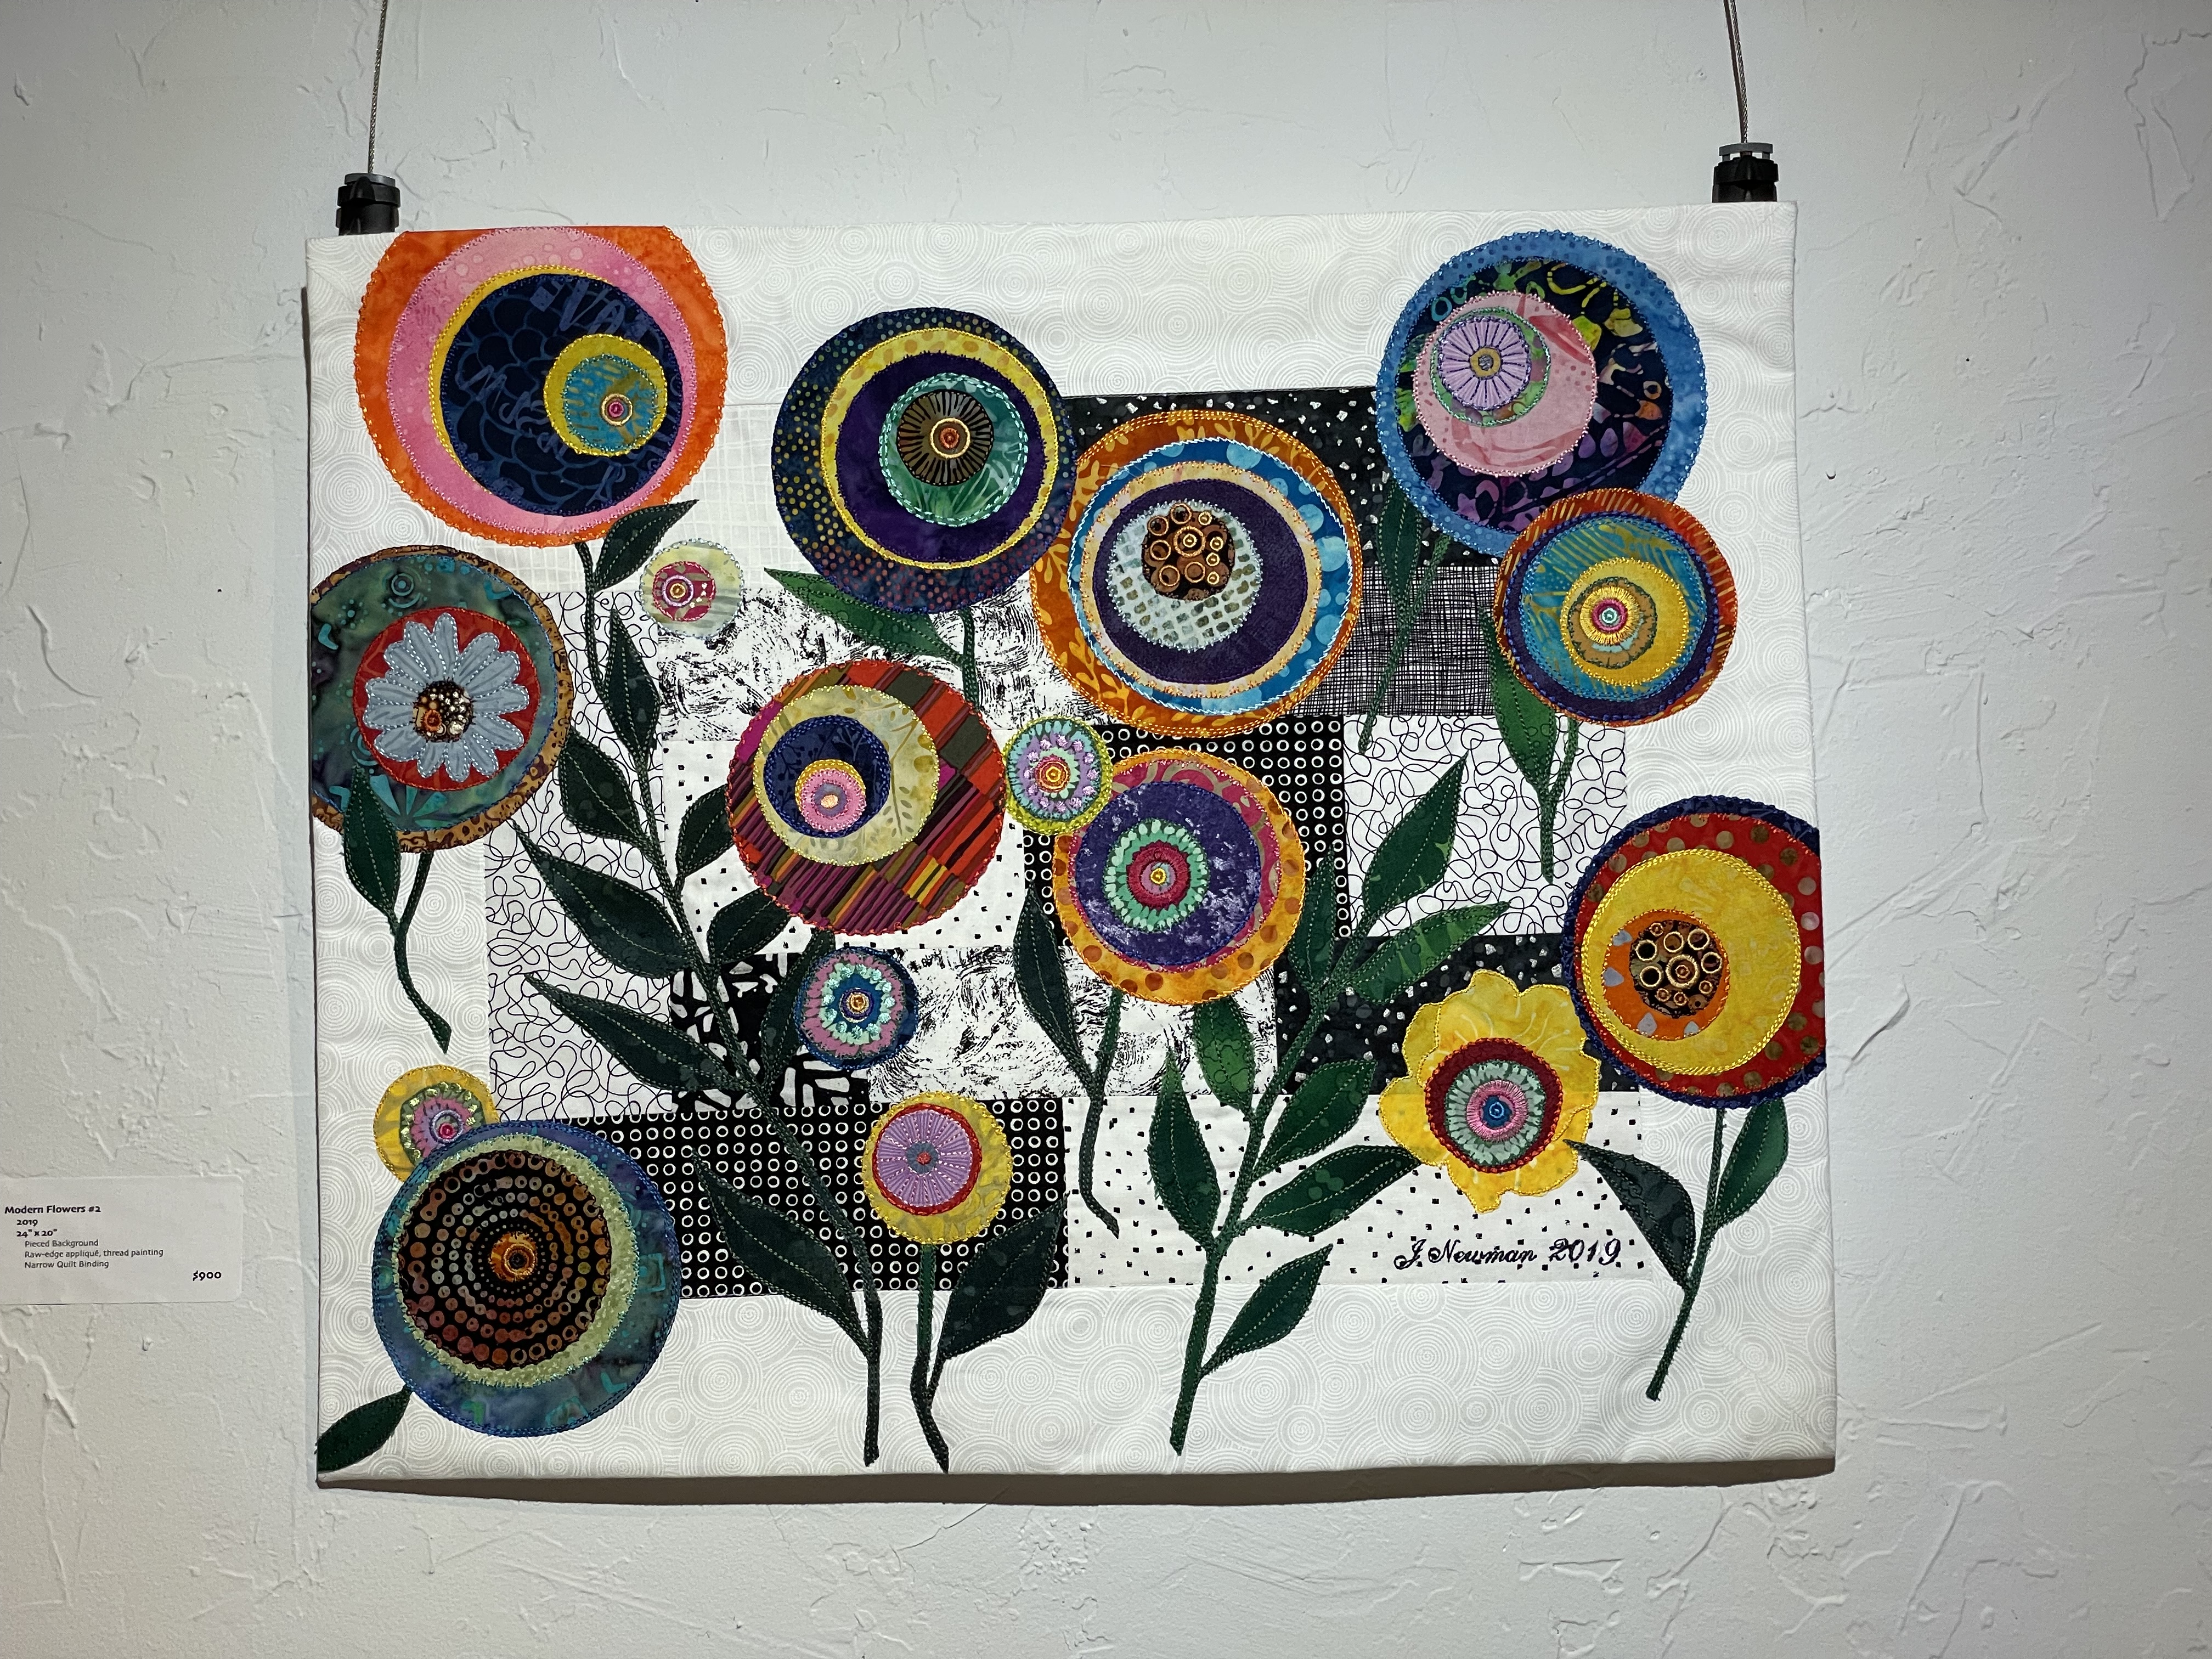
Turn to your left and you see the “Modern Flower” pieces – a couple of larger raw-edge appliqué works with the 6×6 pieces on a panel in between. On the end wall (on the left) I chose to hang the Asian Strips piece, showcasing the use of the asian print leftovers I used to assemble that quilt.
The “Convergence” Quilts
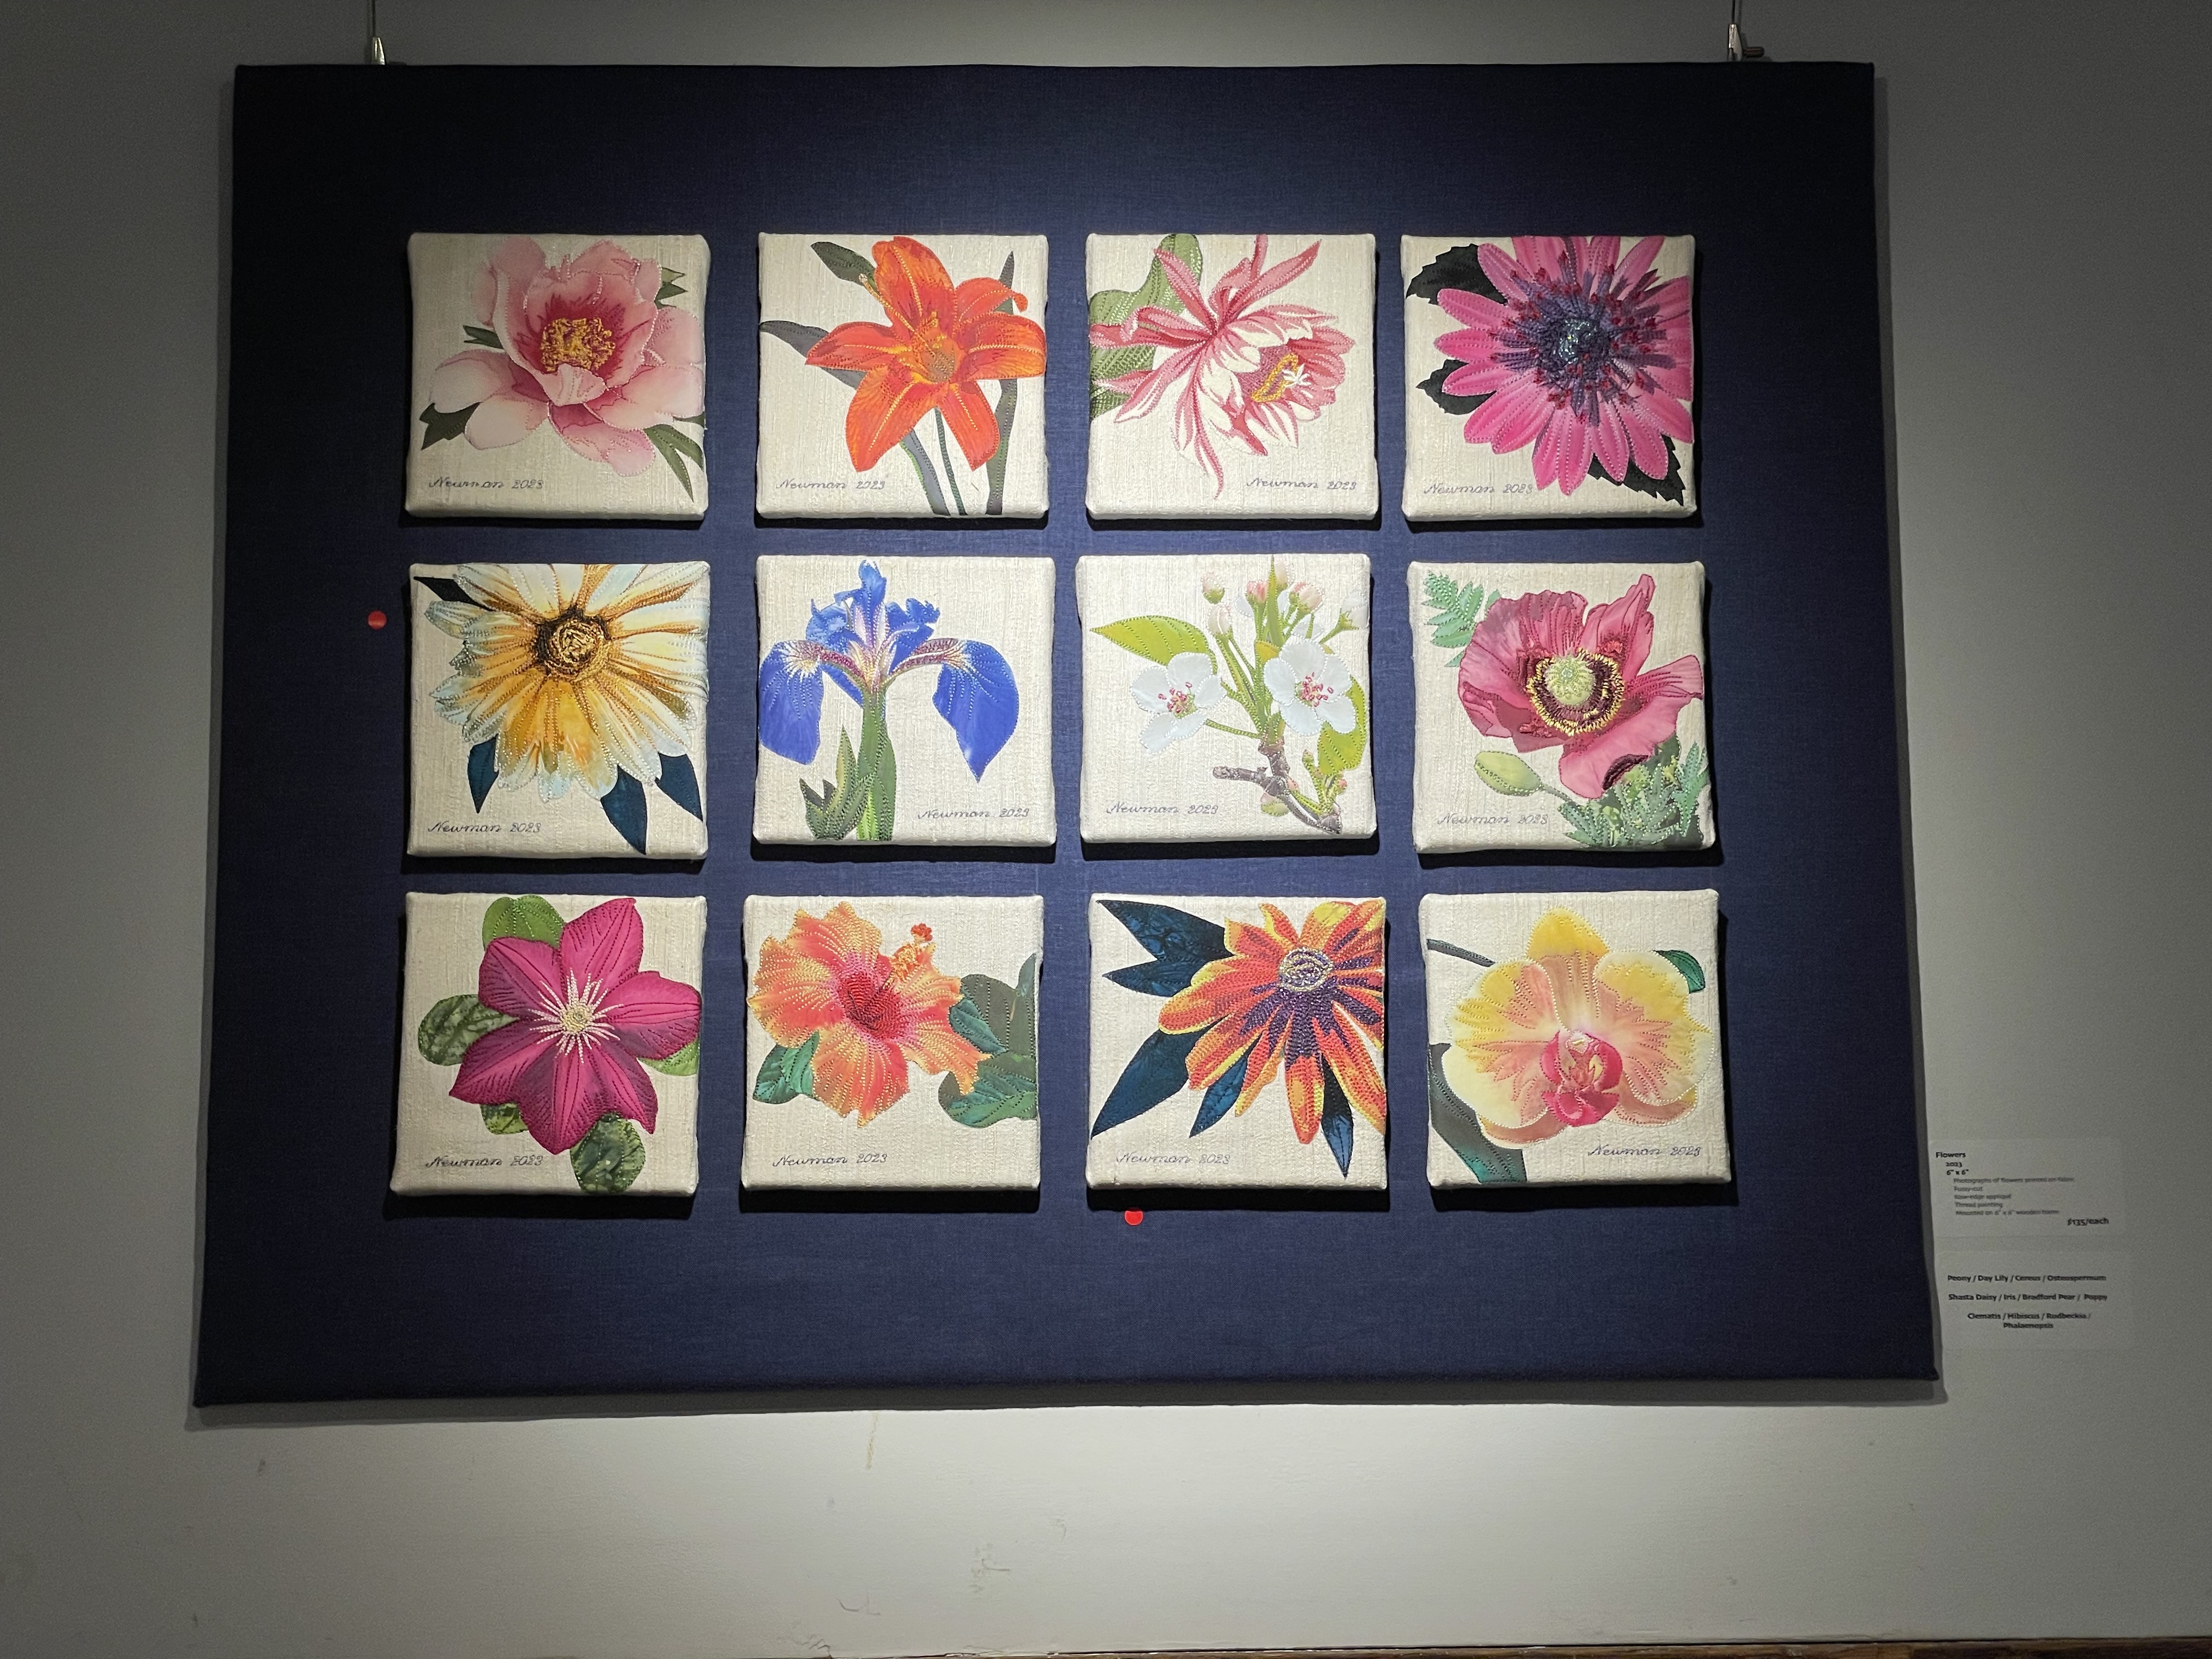
Again, turning to the left you see the “Flower” 6×6 panel above the horizontal post (three have sold so far!), followed by the Convergence quilts – Convergence Quilt #4, #3, and #2.
It always amazes me to see the quilts and small pieces hung in the gallery – the collection has such a different impact than seeing the art one quilt at a time. The technical work slips into the background as the visual impact takes over.
I spoke to a number of people at the opening during the afternoon, all of whom were interested in the decision-making that goes into each work, whether a lap quilt or a small 6×6 piece. People always want to know how long does it take – it’s an unanswerable question – there’s no way to account for the “thinking about it” time that goes into each textile work. The execution, the cutting out, the piecing, the quilting, the embellishing, the binding are all straightforward aspects of making this art. I can predict reasonably accurately how long each phase will take; but the thinking about it is out of my control – it takes as long as it takes.
The show is hanging in the Art Labs Community Gallery (121 Main Street) in Parrsboro NS until late afternoon on Thursday, June 15. If you happen to live near Halifax, or near Parrsboro, do drop by. In addition to the Community Gallery the four resident artists display their work as well. It’s worth a visit.
If you make it a day trip from Halifax, I’d recommend leaving around 9:00 am, driving straight to Parrsboro, visiting the gallery, then having lunch at the Harbourview Restaurant. After lunch mosey your way back, stop at the Five Islands Lighthouse Park to take in the ocean view. Further down the road visit Lowland Gardens – they always have some unusual plants there. You can’t drive back to Halifax without stopping at Masstown Market – fresh produce, great ice cream, good chili if you’re hungry. Depending on how long you take at each stop you should make it back to town between 6:00 – 7:30. You’ll have enjoyed the day.
PS – all of these pieces are for sale. If you’re interested in knowing more about any of them, email me: newman.judith@gmail.com.
I finished Drunkard’s Path #5 last night. I got the facing/hidden binding hand stitched down, the label added. It just needs a sleeve for hanging which I will do sometime today.
Quilt Top
Because the quilt was so wide (60″ x 71″) I had to add a wide insert into the backing fabric. I used corners I cut from the borders when assembling the front, adding in two of the leftover drunkard’s path blocks along with large cuts of scraps in the colour family I used for the top. I finished the quilt with a facing/hidden binding. It was a close thing – I had to fudge the fabric for the top binding with another scrap that kind of blended with the fabric there, and managed to salvage just enough from one of the side cut-offs to finish the top facing.
Quilt Back
I didn’t have enough backing fabric left over to make a label! I had to scrounge through my box of grey scraps to find something in the same colour tone to use. So, unfortunately, the label stands out, rather than seem part of the backing.
I just have a couple of small preparations to finish up (labels to print, dowels to cut to size for hanging, packing everything up for travelling) and I’ll be set for Friday morning’s departure to Parrsboro.
I’ve been working away frantically to finish the last quilt. the show at Art Labs in Parrsboro opens a week tomorrow at 2:00 pm! That’s a month to six weeks earlier than I was hoping for so it’s been a crunch to complete everything and get it all ready to hang. I’ll make the deadline but there’s still quite a bit to get done.
As far as the final quilt is concerned, I have the centre panel quilted, the sashing and inner border seam stitched-in-the-ditch. That leaves two more border seams to stitch all the way around, the wide outer border quilted, and the facing and a label applied to the back. I have time, but the minutes are slipping away!
I just finished adding the sawtooth hangers to the back of the flowers, carefully measuring the hanging position for each on the linen-covered panel, adding small nails to hang each piece on. With a little aligning they’ll be fine.
Flowers Hung on Navy Linen Panel
I still have to figure out some way to hang the panel itself – I’ve got an idea for how to do that, but whether it will work or not remains to be seen.
I’ve finished the Modern Flowers panel, as well. Last week I stopped into Sew With Vision to see whether I could find a fabric to cover the hanging panel because I didn’t have enough navy linen to cover it. I came home with a metre and a half of Moda Basic Grunge in Peacoat Navy. It shows off the small pieces beautifully.
Modern Flowers on Grunge Background
Because the navy Grunge worked so well, I thought I’d recover the Flowers panel to match. I went back to the shop this afternoon hoping to find another metre of the navy grunge – no luck – none left. I bought some dark teal fabric but it was worse than the navy linen – it has lighter blue elements which fight with the Flowers. I decided to stick with the navy linen. I did some browsing to see whether I could find a couple of yards/metres anywhere – looks like this particular Grunge fabric is out of stock just about everywhere, and even if I had found some, it wouldn’t have come for a couple of weeks and I have just one week to get everything finished.
I’m working away on this quilt. The top is now complete. I had to buy a 1/2m of fabric for the dark narrow inner border – there was nothing bright enough or strong enough in my stash to complement the panel. A quick trip yesterday afternoon to my local fabric shop and I was able to set up and attach the borders.
I cut all three border strips at one time, sewed them together, then added them to the panel, finally mitring the corners – much easier than trying to mitre each border strip individually and then struggling to get the mitres to align. Took less time, as well.
I’ve pulled out fabrics for the backing – I’m going to do a wide strip (24″) using large blocks of fabrics comparable to the scraps I used for the blocks. I have a couple of nice soft grey prints that will blend with the bright colours to finish the backing.
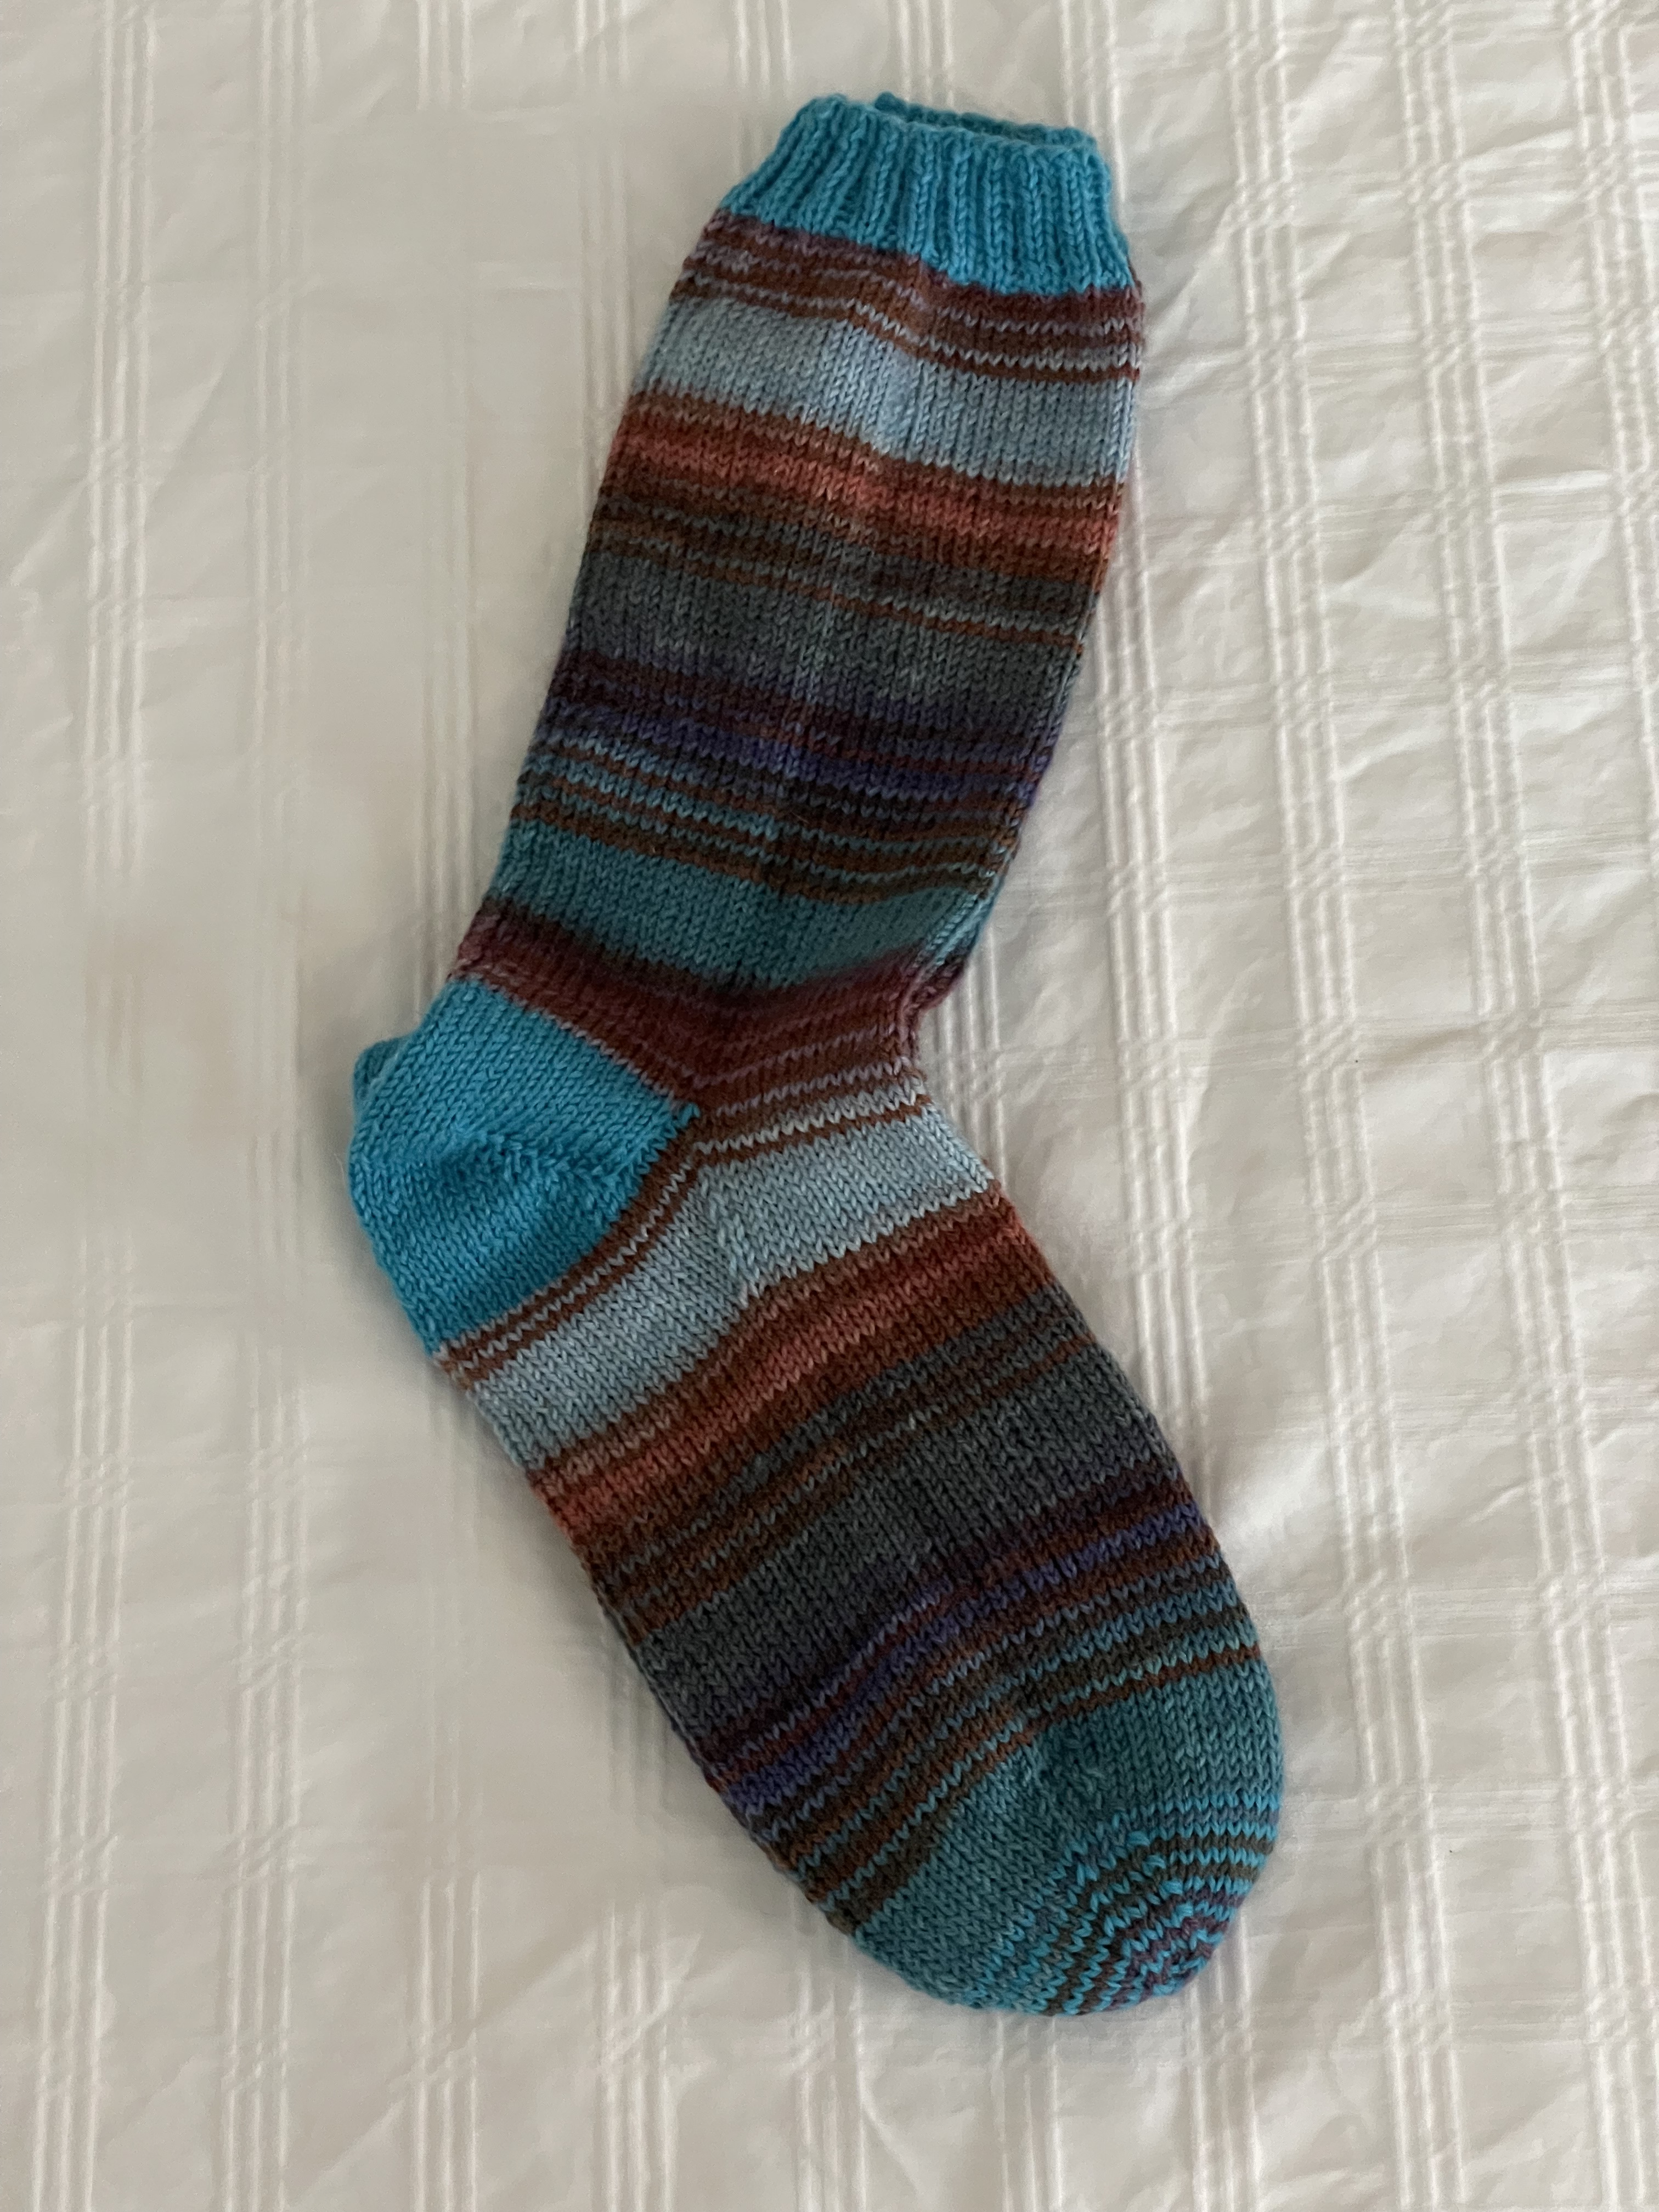
I finished this pair of socks a couple of evenings ago. I really liked the colours and the colour flow. I used a contrast yarn for cuff and heels but decided to carry on with the patterned yarn for the toe, introducing the contrast 1/4 of the way through in alternate rows. The teal and rusts make a nice combination.
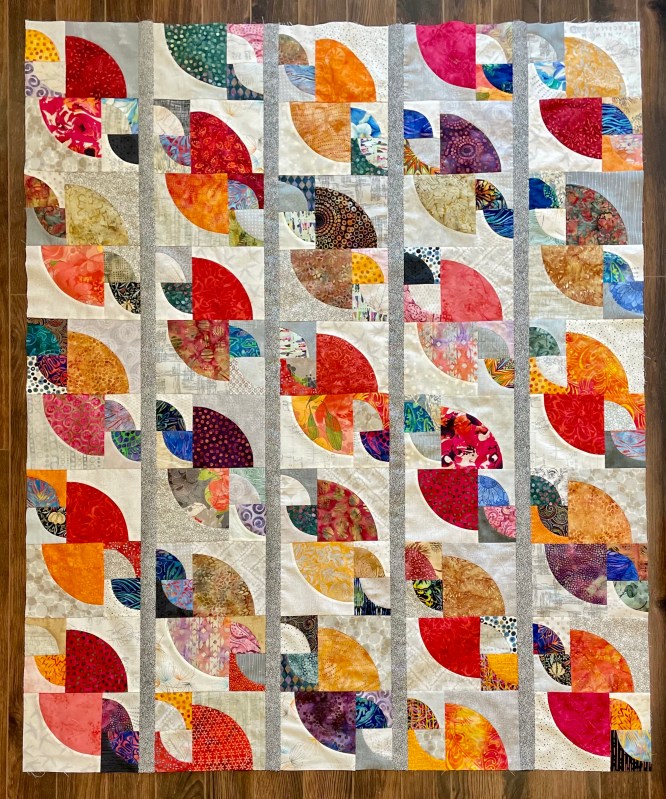
Interesting and several surprises. The overall “redness” of the panel is coming through – I intended that. I wasn’t anticipating the diagonal lines – the top left/bottom right “rope” like lines popped out when I laid out the blocks – I could have eliminated them by rotating the position of the blocks in columns 2 and 4 to replicate the orientation in columns 1, 3, 5 but that layout was uninteresting ( didn’t take a photo). I knew I was going to use sashing to join the columns – I thought it might interrupt the diagonals – it hasn’t.
The colour distribution is pretty good – no block jumps out saying “I shouldn’t be here!”. However, I laid the panel on the floor, took a photo, and the placement of four small drunkard’s path blocks smacks me in the face – you’ll have to look hard to find them all in the same column adjacent one another! Didn’t see it before sewing the panel together. I was focused on the large pie pieces, not paying attention to the small ones. Not taking the panel apart. I bet if I say nothing, nobody will notice.
Now the borders. This quilt is growing larger by the minute – with the planned borders added the top will finish at 62 1/2″ x 73″ – close to a double bed size! I will have to carry through, though, because were I to simply add an outer border using the sashing fabric, the panel will be diminished. I have to end with a lighter fabric on the outside, with a coloured element between.
I’m feeling the pressure to get this quilt done before the end of May – I want to include it in the Parrsboro show – so my goal is to finish the top today, construct the backing on Saturday, set up the quilt sandwich Sunday, then spend next week quilting. I lose Wednesday – I’m doing a workshop on making a Fidget Quilt – but maybe by a week Sunday I will have the quilting done – that leaves me a day or two to bind it.
BTW, I just googled “Drunkard’s Path images” and could find no picture of a quilt top that uses this array for the block. I guess it’s an original improvisation!
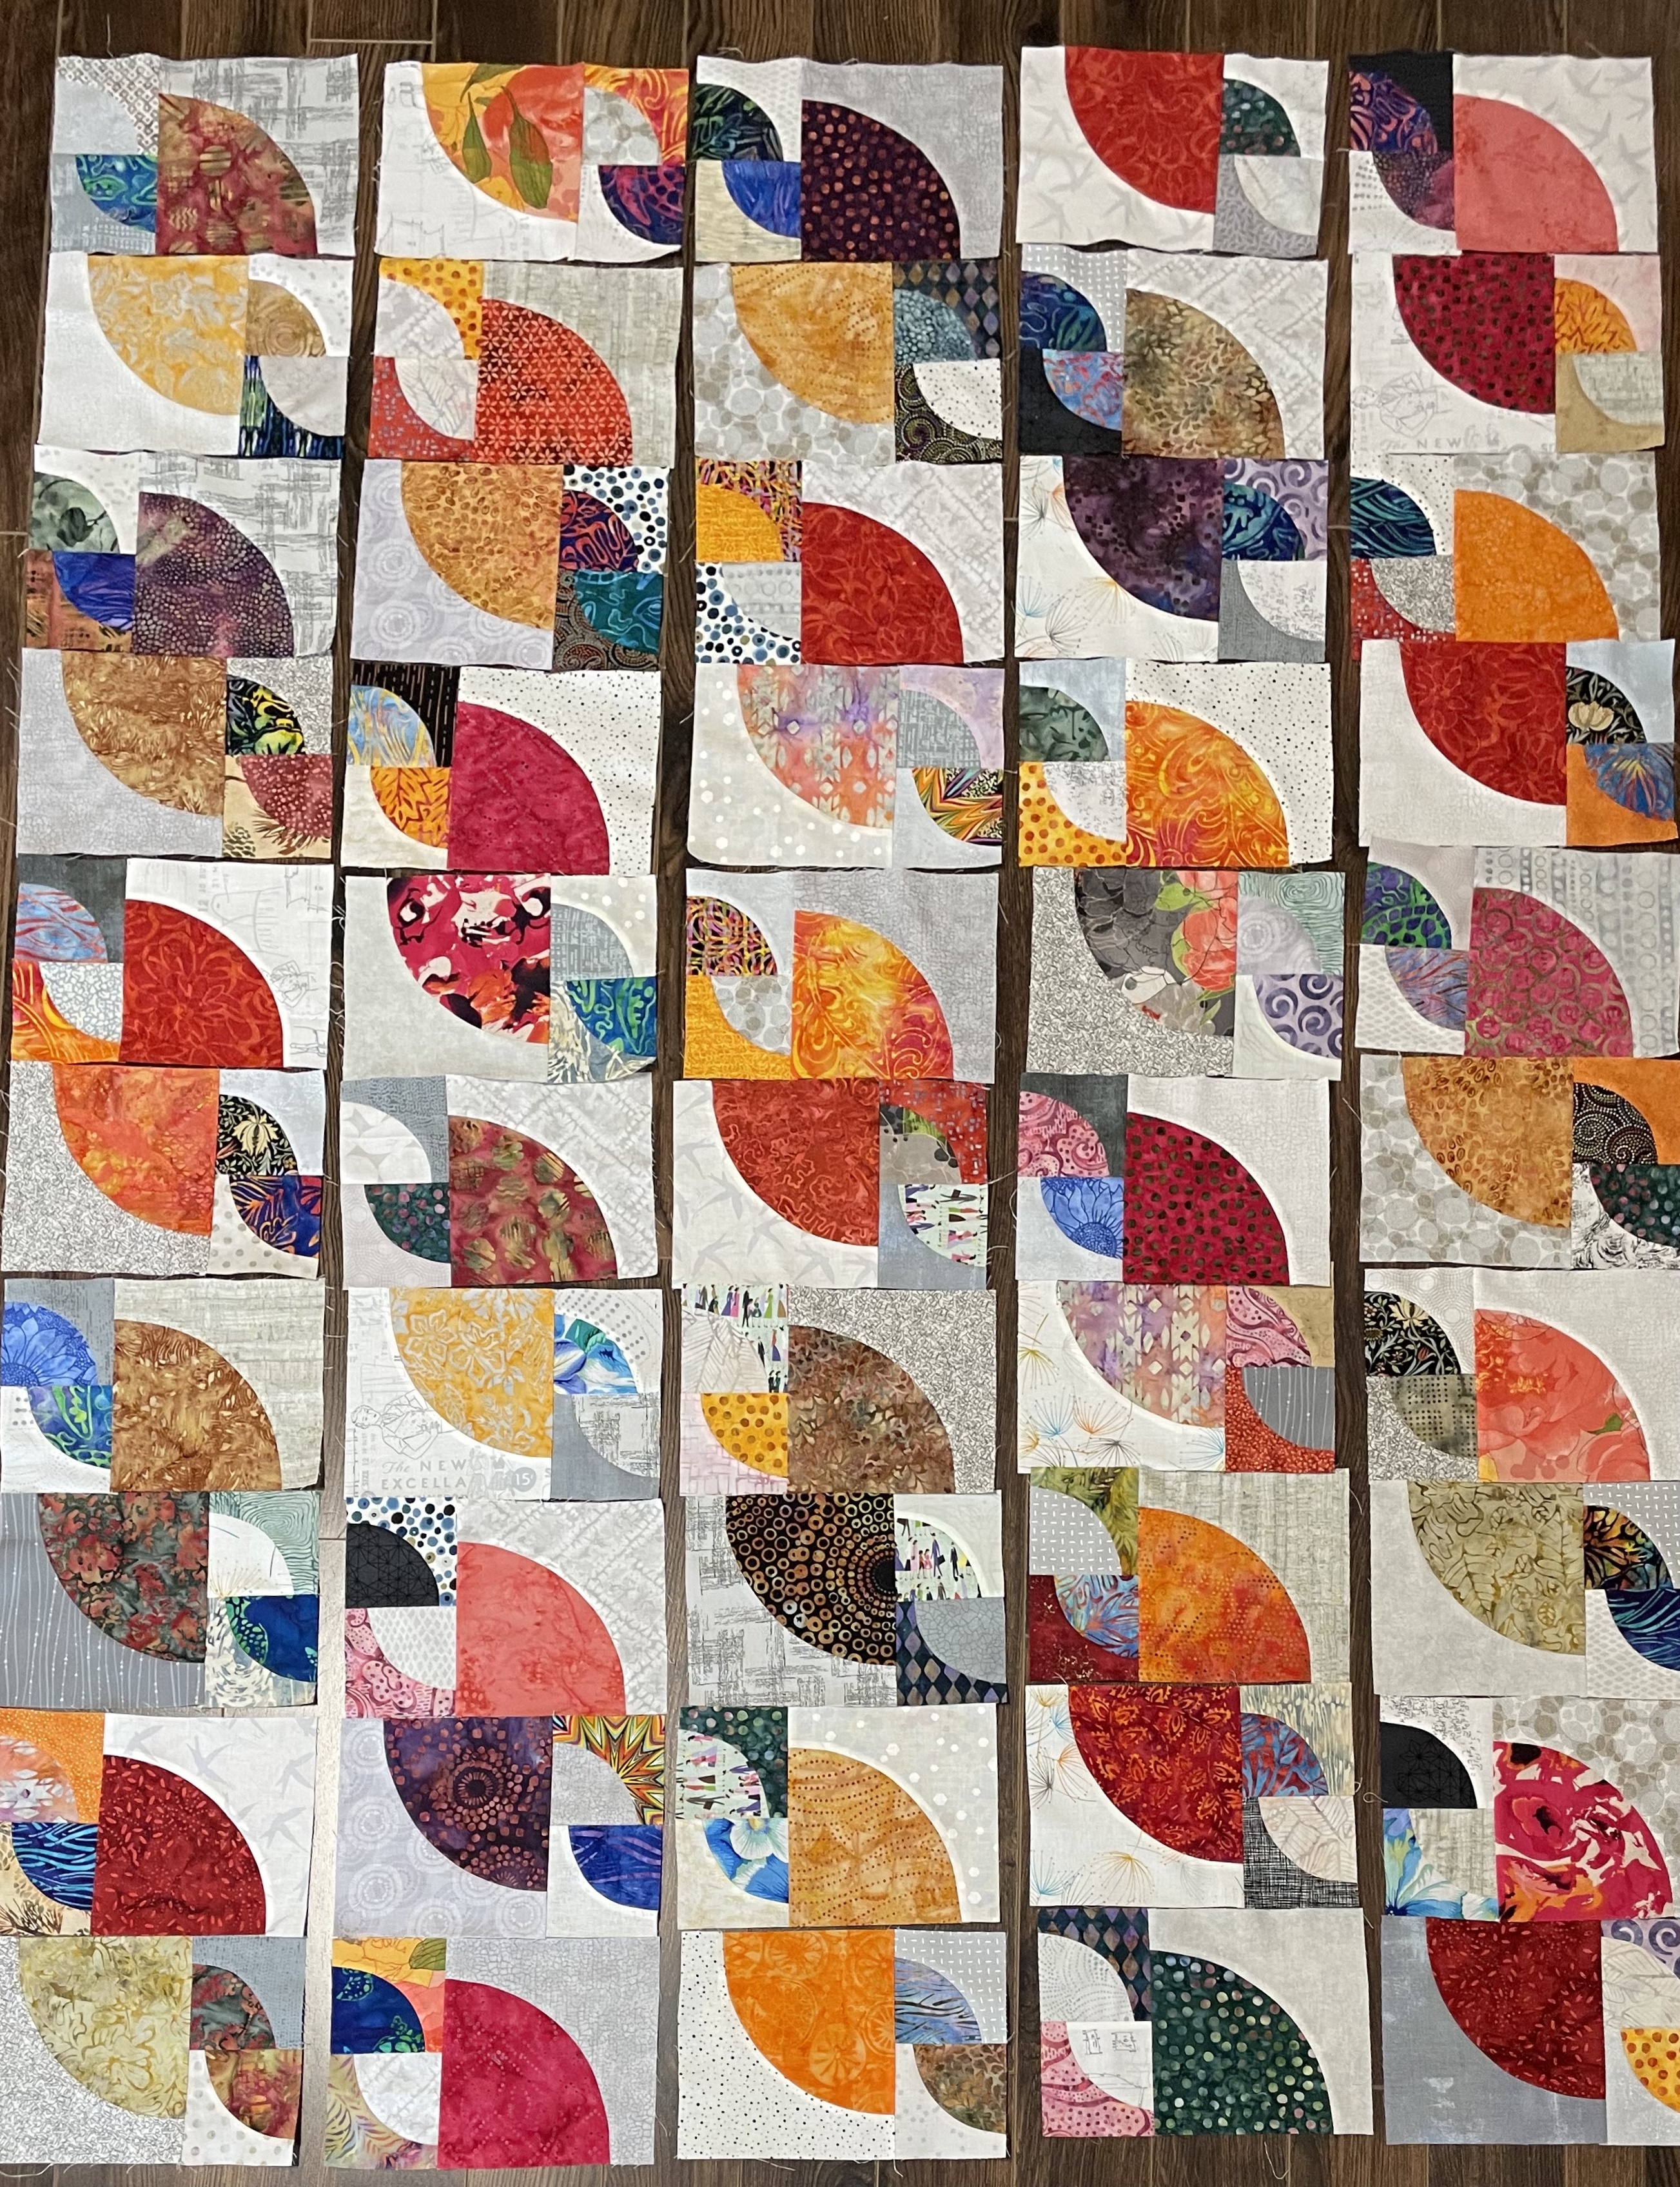
I’ve just finished sewing and trimming the last of the small blocks, attaching them to the larger blocks, trimming the resulting blocks and auditioning them on the floor. (I don’t have a flannel hanging wall in my apartment – there isn’t a spare wall to set one – so I use the floor space beside my cutting table for laying out quilt blocks. Good thing I can still get down on my knees and back up again!)
Before I laid out the last column, I removed the palest yellow blocks – they stood out as weak. I had enough large blocks assembled that I could draw in stronger ones. Having arranged all fifty, I began moving them around. I’m trying to avoid duplication in both columns and rows.
here are two diagonals happening here – completely unanticipated when I started out. There are the “top left – bottom right” diagonals – I’m also trying to avoid duplication along those rows. The large pie shapes on the “top right-bottom left” diagonals also stand out – not as obviously as the other diagonals but they’re visible, so I have to take time tomorrow to examine the array closely for duplication and colour flow.
I’d say, I’m about on schedule for this quilt. Once I’m happy with the layout, assembling the top won’t take long – sew the columns, add sashing between the columns – 3-4 hours.
I’m already thinking about the back panel. The temptation would be to add a bordered strip of Drunkard’s Path blocks (which I did in the previous quilt), but I want to come up with something different, yet complementary. I’ll sleep on that. It shouldn’t take more than a day or two to get the backing done.
I expect quilting the quilt sandwich (once it’s set up) should take about a week. I have 2 weeks before the Parrsboro exhibit. I’ll be cutting it fine, but I should be able to finish this quilt so I can include it in the collection.
At the moment I have four rows of 9 blocks (I’ll probably make it 10; that was what I planned initially). I’ve finished 40 of 60 half-blocks. Now that I have evolved a technique for sewing the small Drunkard’s Path blocks I’m going more quickly.
The array is, at the moment, an audition. I won’t do much moving around until I finish the remaining 24 semi-blocks. Then I will be able to decide what to put where.
With this much laid out, I started thinking about sashing and borders. These three fabrics were in my “backing” collection. I tried several grey printed fabrics for the sashing/inner border but the dense black dots on white will be neutral, yet strong enough, to make the colours stand out. I have a hunch the white with fewer dots might be best as my wide outer border.
Just thinkin’ about it all as a rest from sewing those small blocks!
I have all 60 large blocks sewn together. I’ve begun working on the small quarter size ones. So far I have stitched thirty – leaving me ninety small blocks to go.
The 6 1/2″ Drunkard’s Path block is relatively easy to sew – with the “L” piece on top, three pins, one on each end, one in the middle, the fabric spreads itself out so the opposing curved edges more or less align themselves. Sewing slowly, I get a nice 1/4″ seam on the curve.
The 3 1/2″ block is DIFFICULT! Because it’s small it’s hard to put in three pins to hold the centre and the ends. I think I’ve figured out how to sew them more efficiently. Again, with the “L” piece on top, I just use two pins, one on each end, then sewing slowly, using my fine point tweezers, (with lots of stopping to realign the opposing curved edges), I adjust top and bottom as I go. I’ve just finished a dozen this way – it took me about 12 minutes to sew the batch.
The 3 1/2″ Blocks
Each large block is sewn to two small ones to set up a half-block element. Two half-block elements go together to make a block. I intend to assemble 5 blocks into a strip. The strip width will finish at 9″. For the moment, I think I want five strips (5 x 9″ = 45″), with 1″ sashing I’ll end up with 49″ width; add 2 1/2″ border I finish at 55″. Finished length I will worry about once I have the strips sewn.