I’m working away on this quilt. The top is now complete. I had to buy a 1/2m of fabric for the dark narrow inner border – there was nothing bright enough or strong enough in my stash to complement the panel. A quick trip yesterday afternoon to my local fabric shop and I was able to set up and attach the borders.
I cut all three border strips at one time, sewed them together, then added them to the panel, finally mitring the corners – much easier than trying to mitre each border strip individually and then struggling to get the mitres to align. Took less time, as well.
I’ve pulled out fabrics for the backing – I’m going to do a wide strip (24″) using large blocks of fabrics comparable to the scraps I used for the blocks. I have a couple of nice soft grey prints that will blend with the bright colours to finish the backing.
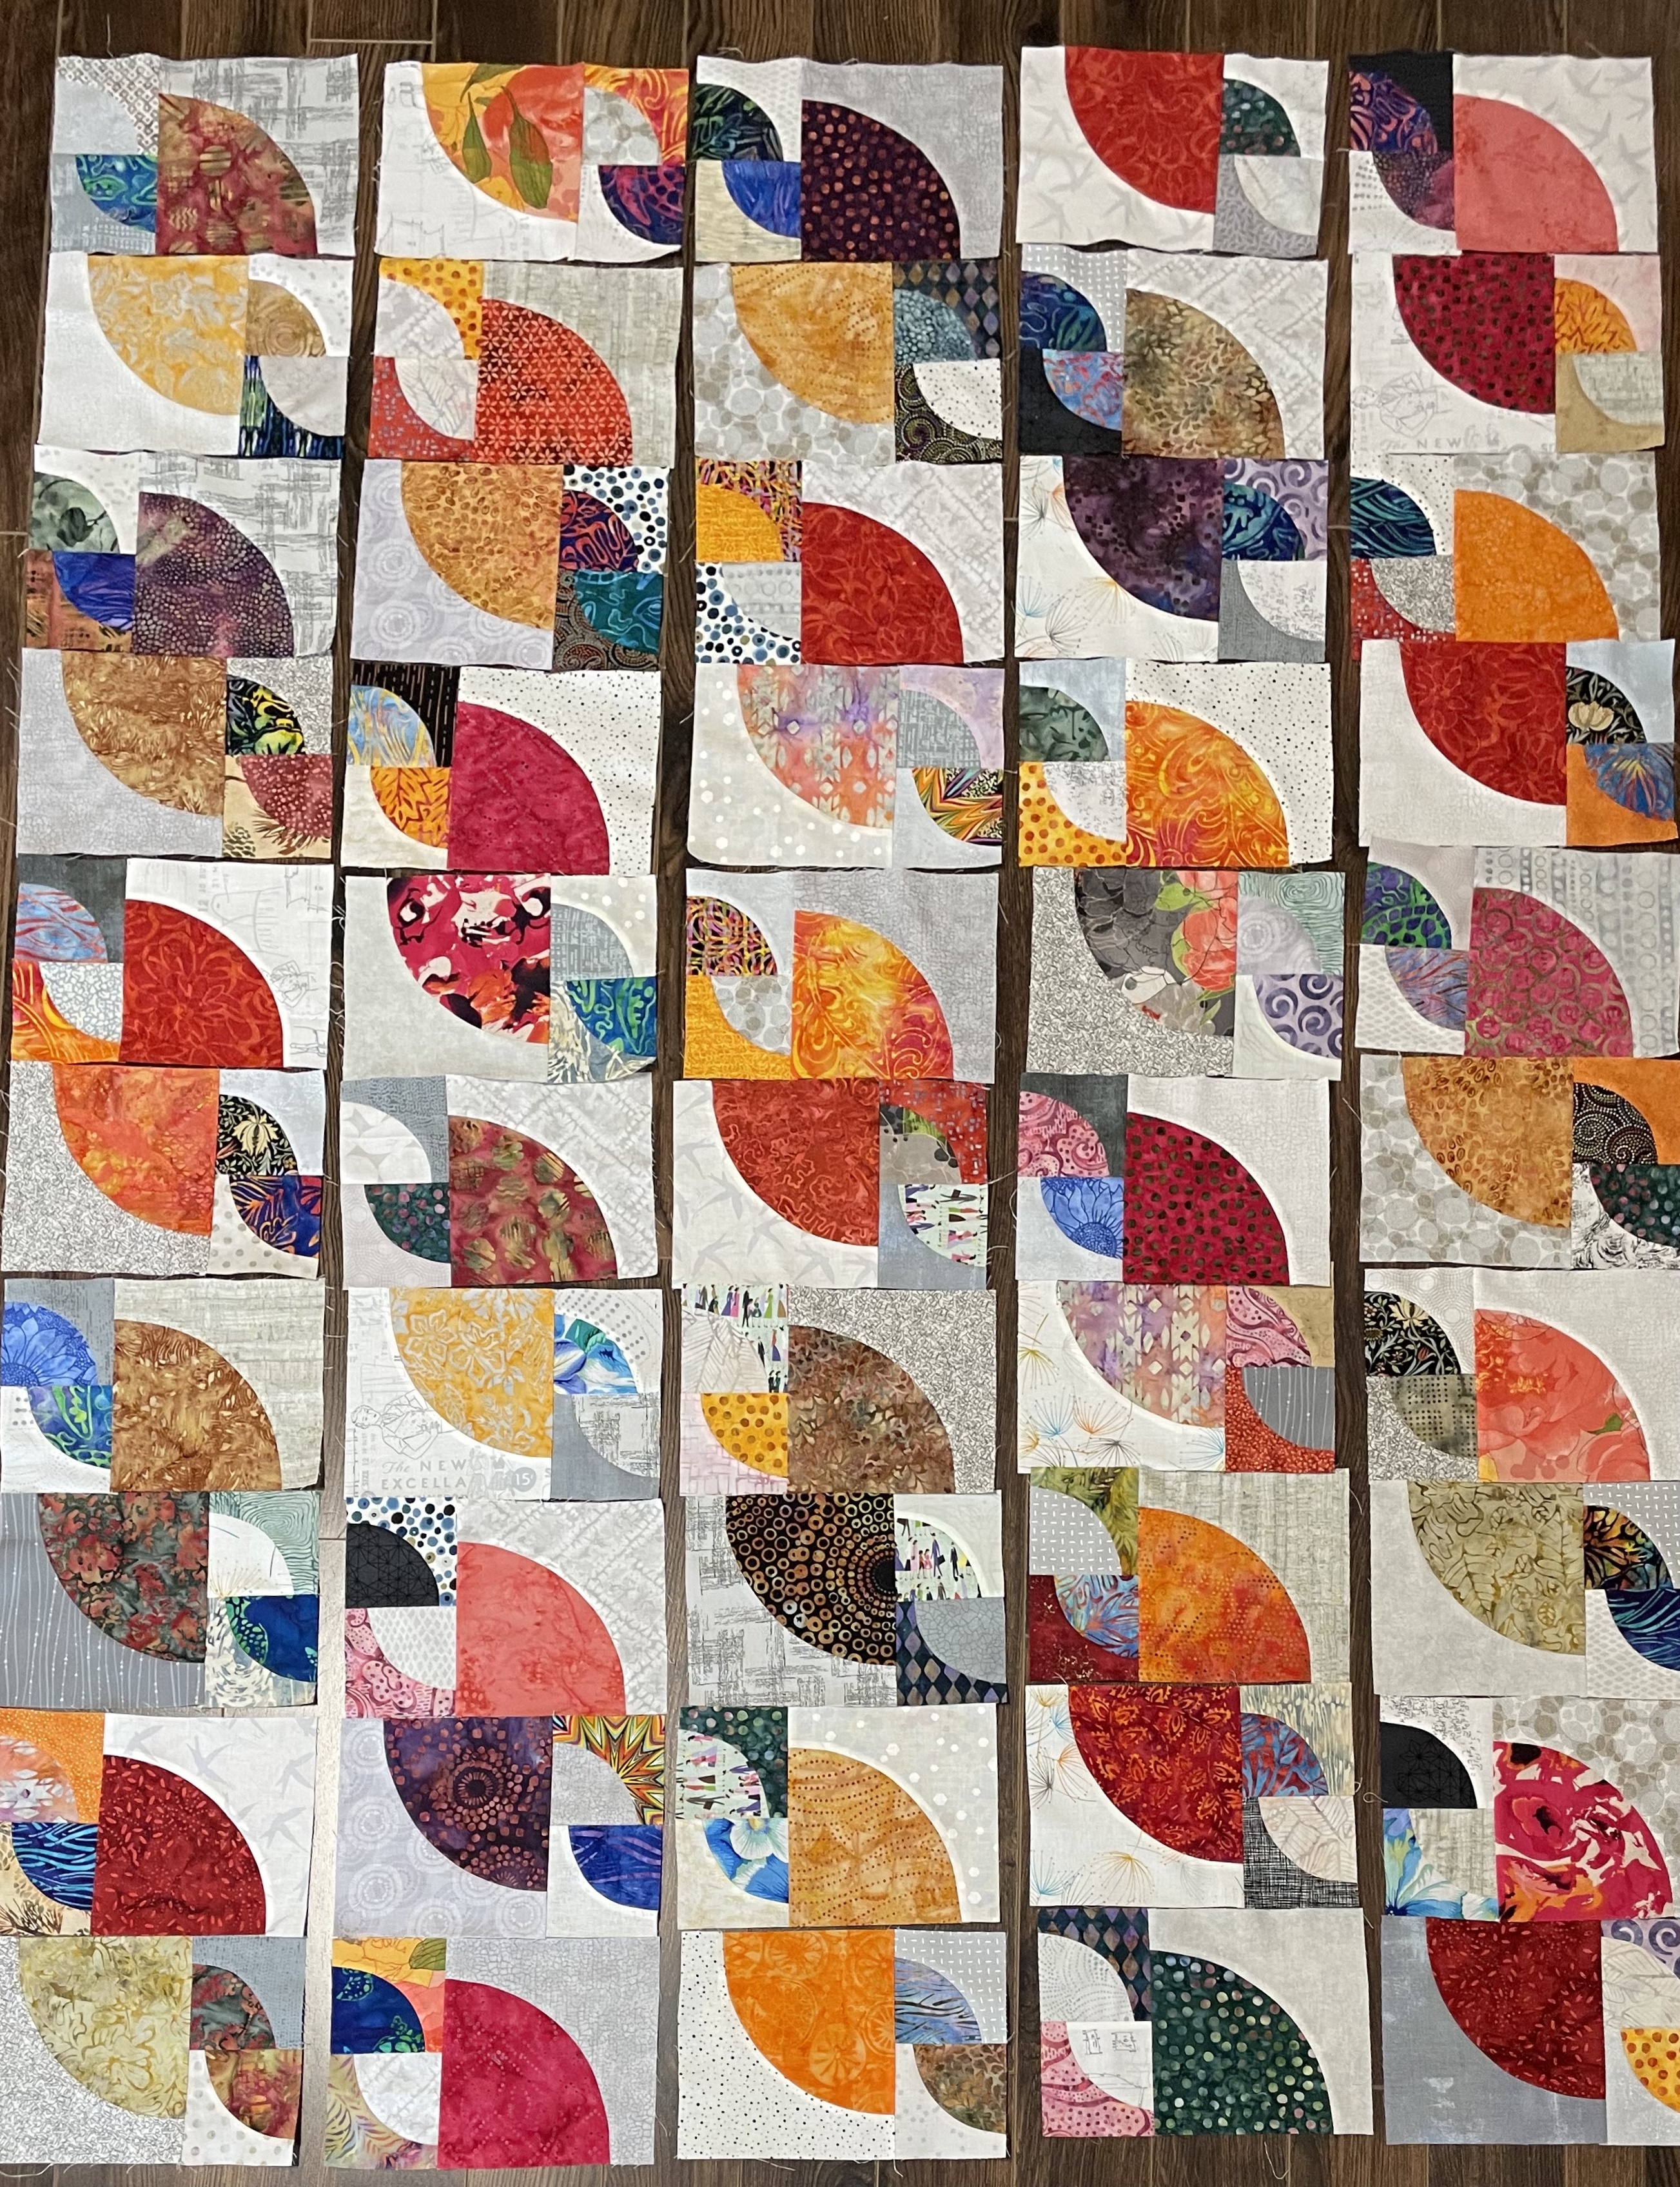
I’ve just finished sewing and trimming the last of the small blocks, attaching them to the larger blocks, trimming the resulting blocks and auditioning them on the floor. (I don’t have a flannel hanging wall in my apartment – there isn’t a spare wall to set one – so I use the floor space beside my cutting table for laying out quilt blocks. Good thing I can still get down on my knees and back up again!)
Before I laid out the last column, I removed the palest yellow blocks – they stood out as weak. I had enough large blocks assembled that I could draw in stronger ones. Having arranged all fifty, I began moving them around. I’m trying to avoid duplication in both columns and rows.
here are two diagonals happening here – completely unanticipated when I started out. There are the “top left – bottom right” diagonals – I’m also trying to avoid duplication along those rows. The large pie shapes on the “top right-bottom left” diagonals also stand out – not as obviously as the other diagonals but they’re visible, so I have to take time tomorrow to examine the array closely for duplication and colour flow.
I’d say, I’m about on schedule for this quilt. Once I’m happy with the layout, assembling the top won’t take long – sew the columns, add sashing between the columns – 3-4 hours.
I’m already thinking about the back panel. The temptation would be to add a bordered strip of Drunkard’s Path blocks (which I did in the previous quilt), but I want to come up with something different, yet complementary. I’ll sleep on that. It shouldn’t take more than a day or two to get the backing done.
I expect quilting the quilt sandwich (once it’s set up) should take about a week. I have 2 weeks before the Parrsboro exhibit. I’ll be cutting it fine, but I should be able to finish this quilt so I can include it in the collection.
At the moment I have four rows of 9 blocks (I’ll probably make it 10; that was what I planned initially). I’ve finished 40 of 60 half-blocks. Now that I have evolved a technique for sewing the small Drunkard’s Path blocks I’m going more quickly.
The array is, at the moment, an audition. I won’t do much moving around until I finish the remaining 24 semi-blocks. Then I will be able to decide what to put where.
With this much laid out, I started thinking about sashing and borders. These three fabrics were in my “backing” collection. I tried several grey printed fabrics for the sashing/inner border but the dense black dots on white will be neutral, yet strong enough, to make the colours stand out. I have a hunch the white with fewer dots might be best as my wide outer border.
Just thinkin’ about it all as a rest from sewing those small blocks!
I have all 60 large blocks sewn together. I’ve begun working on the small quarter size ones. So far I have stitched thirty – leaving me ninety small blocks to go.
The 6 1/2″ Drunkard’s Path block is relatively easy to sew – with the “L” piece on top, three pins, one on each end, one in the middle, the fabric spreads itself out so the opposing curved edges more or less align themselves. Sewing slowly, I get a nice 1/4″ seam on the curve.
The 3 1/2″ block is DIFFICULT! Because it’s small it’s hard to put in three pins to hold the centre and the ends. I think I’ve figured out how to sew them more efficiently. Again, with the “L” piece on top, I just use two pins, one on each end, then sewing slowly, using my fine point tweezers, (with lots of stopping to realign the opposing curved edges), I adjust top and bottom as I go. I’ve just finished a dozen this way – it took me about 12 minutes to sew the batch.
The 3 1/2″ Blocks
Each large block is sewn to two small ones to set up a half-block element. Two half-block elements go together to make a block. I intend to assemble 5 blocks into a strip. The strip width will finish at 9″. For the moment, I think I want five strips (5 x 9″ = 45″), with 1″ sashing I’ll end up with 49″ width; add 2 1/2″ border I finish at 55″. Finished length I will worry about once I have the strips sewn.