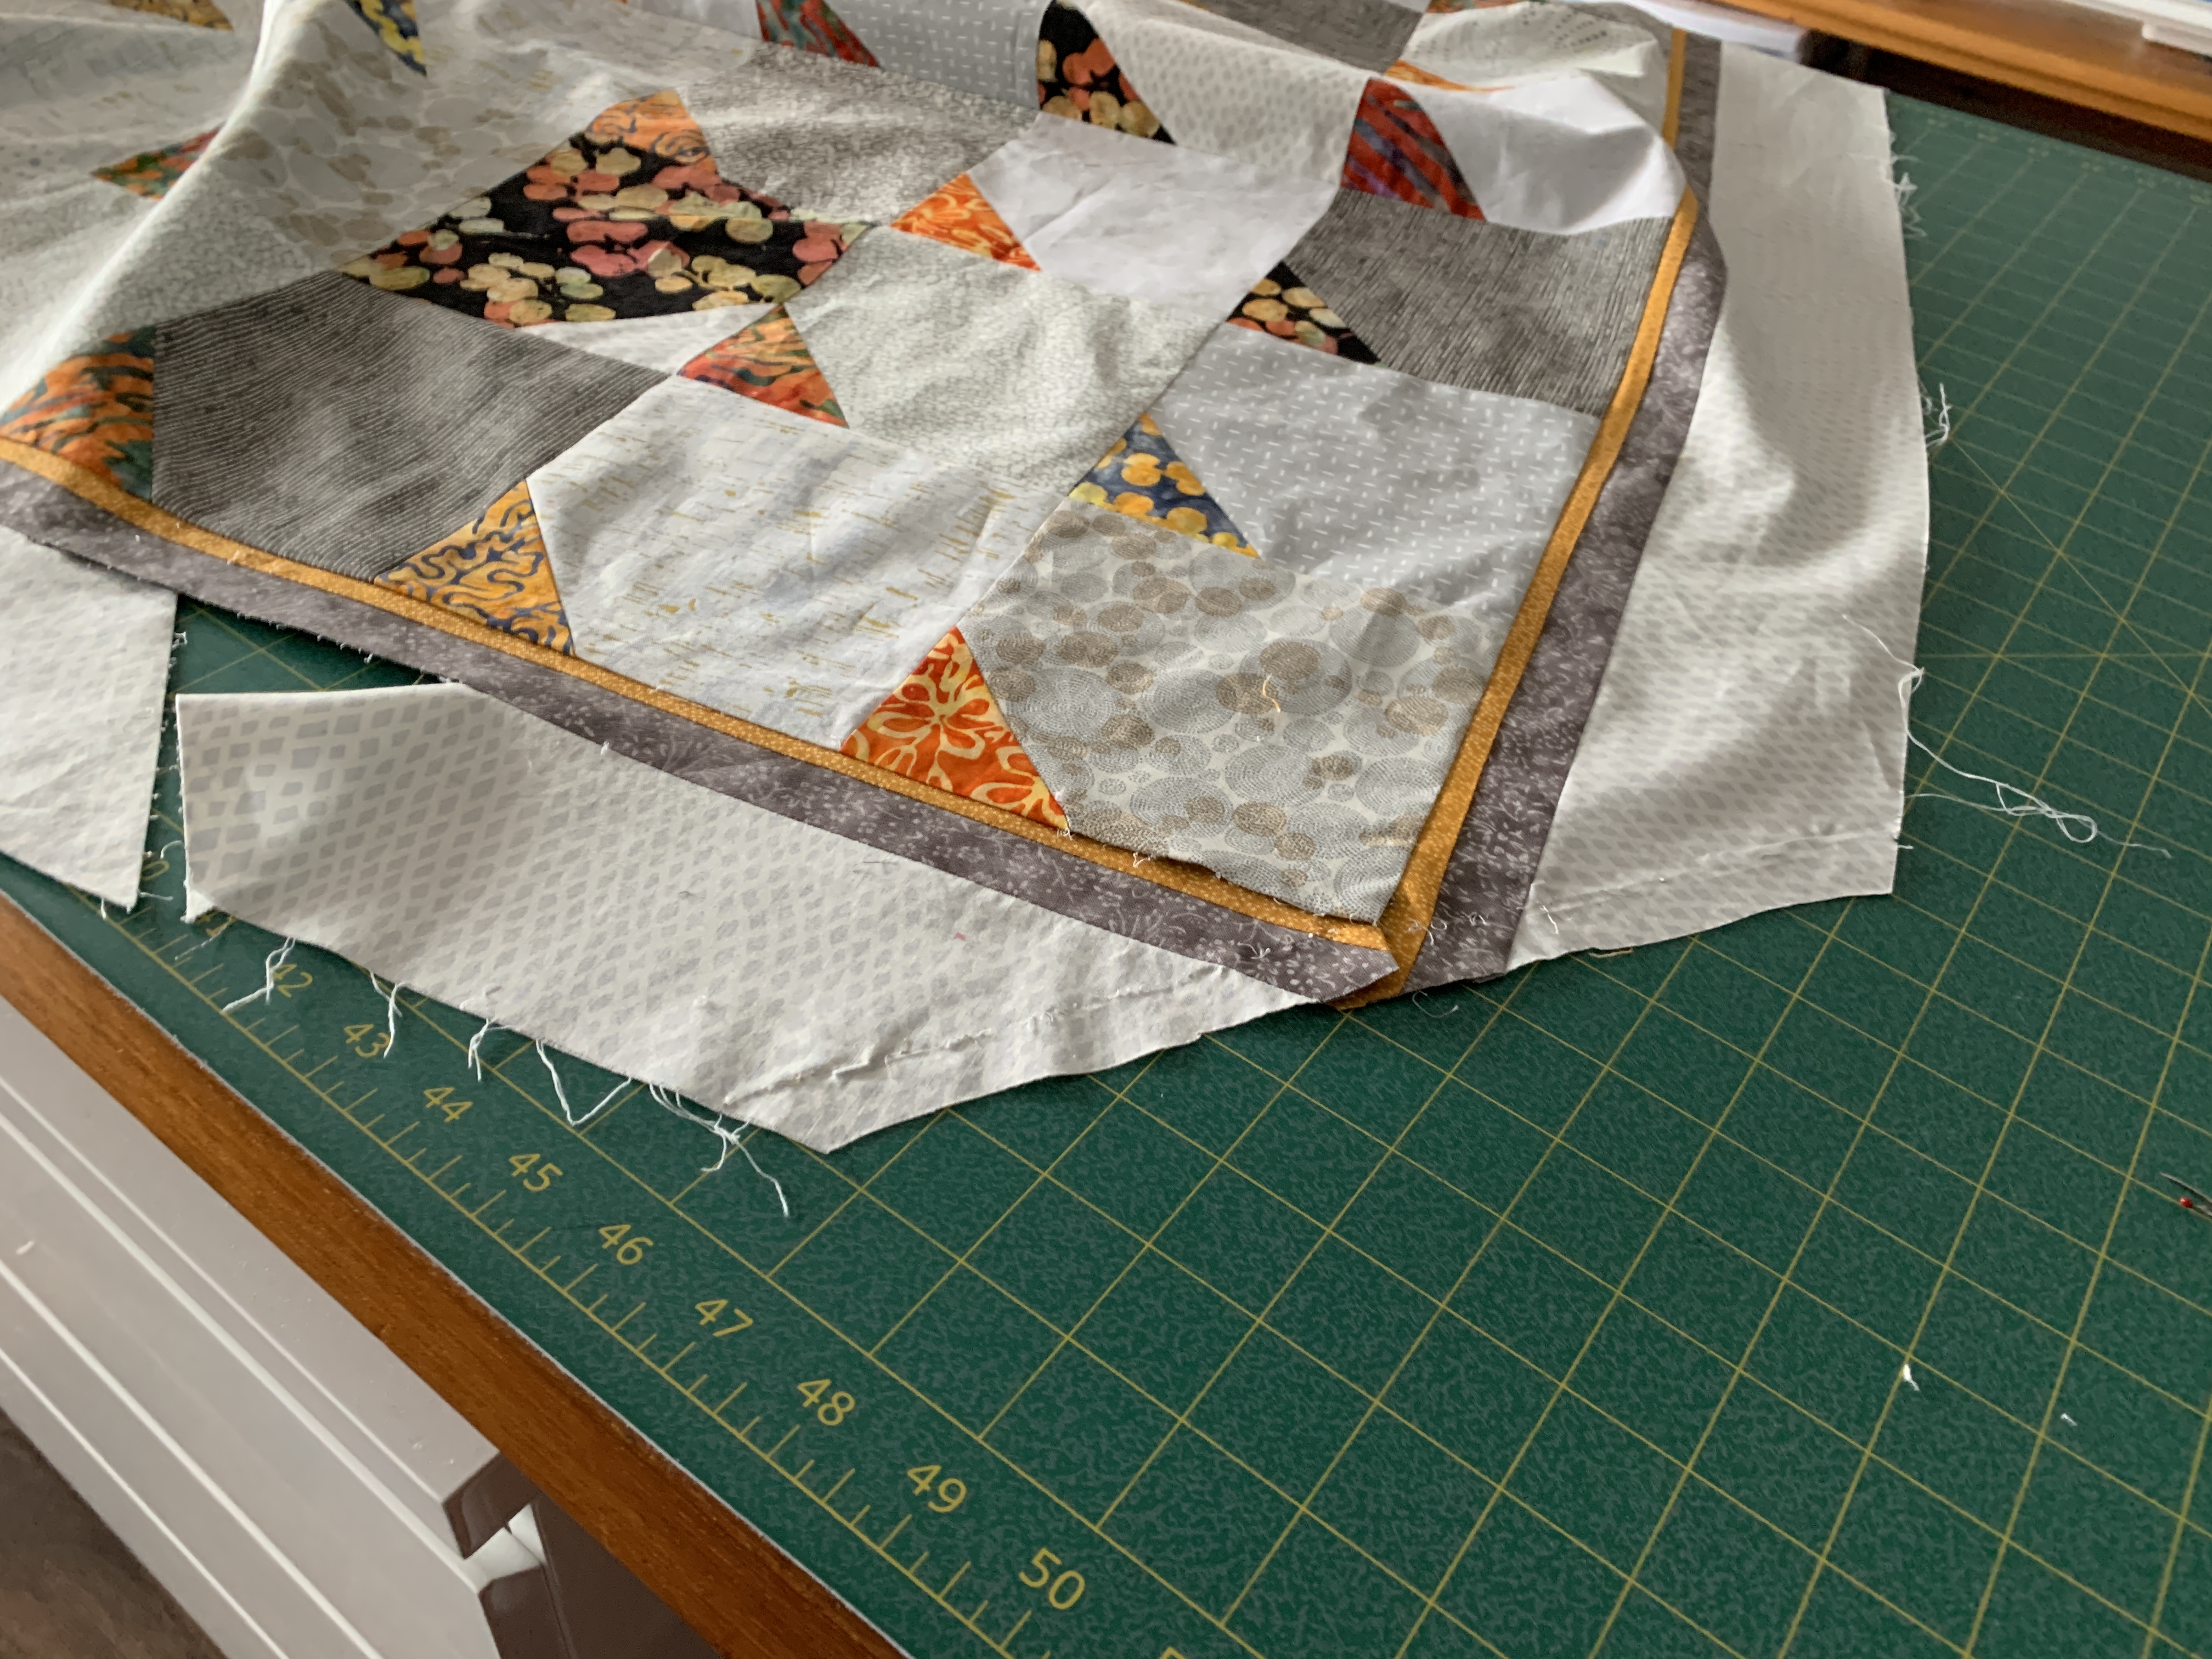
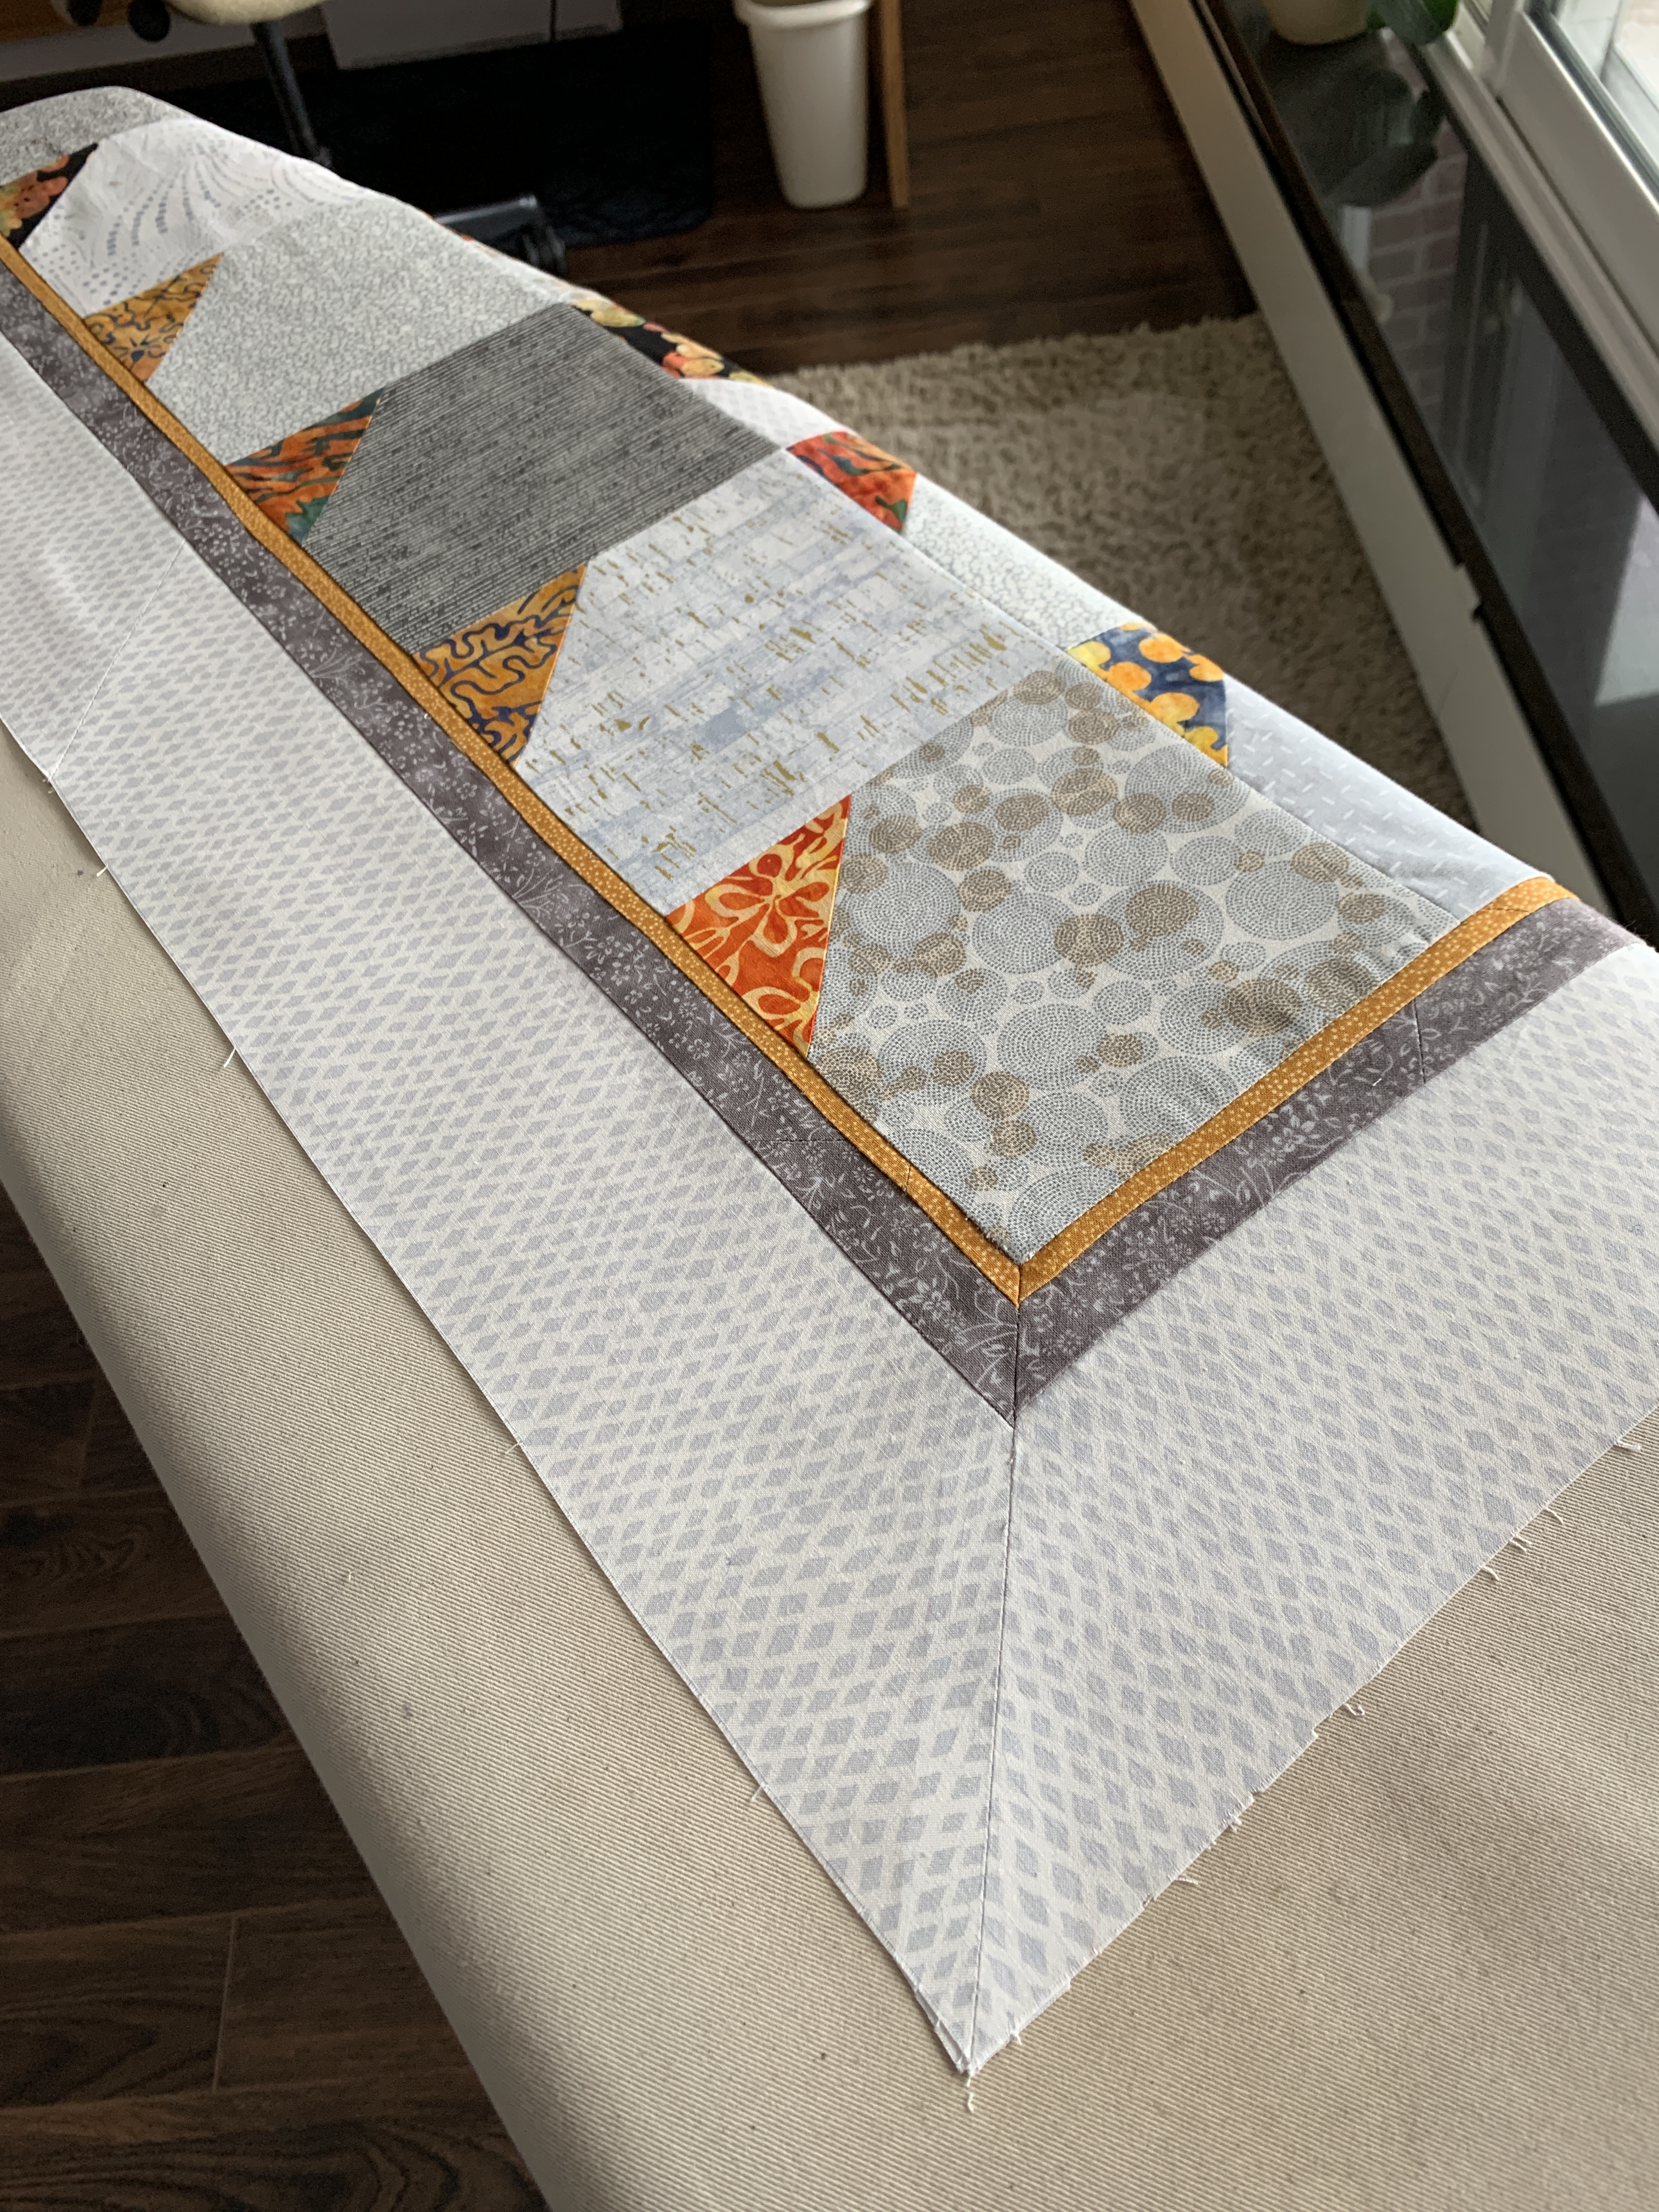
Not much to say about these – I can practically make them with my eye’s closed. The size of these bags was determined by the fabric pieces I had – a sample collection of colour ways in graduated sizes I was given at the sewing retreat last month. I was limited by the size of the smallest sample piece. That was when I decided to add a top strip using leftovers from the larger pieces.
Last 10 Bags For 2019!
I have now sewn close to 50 this season – that’s it, no more. Ten went to my niece for her to use as gifts.
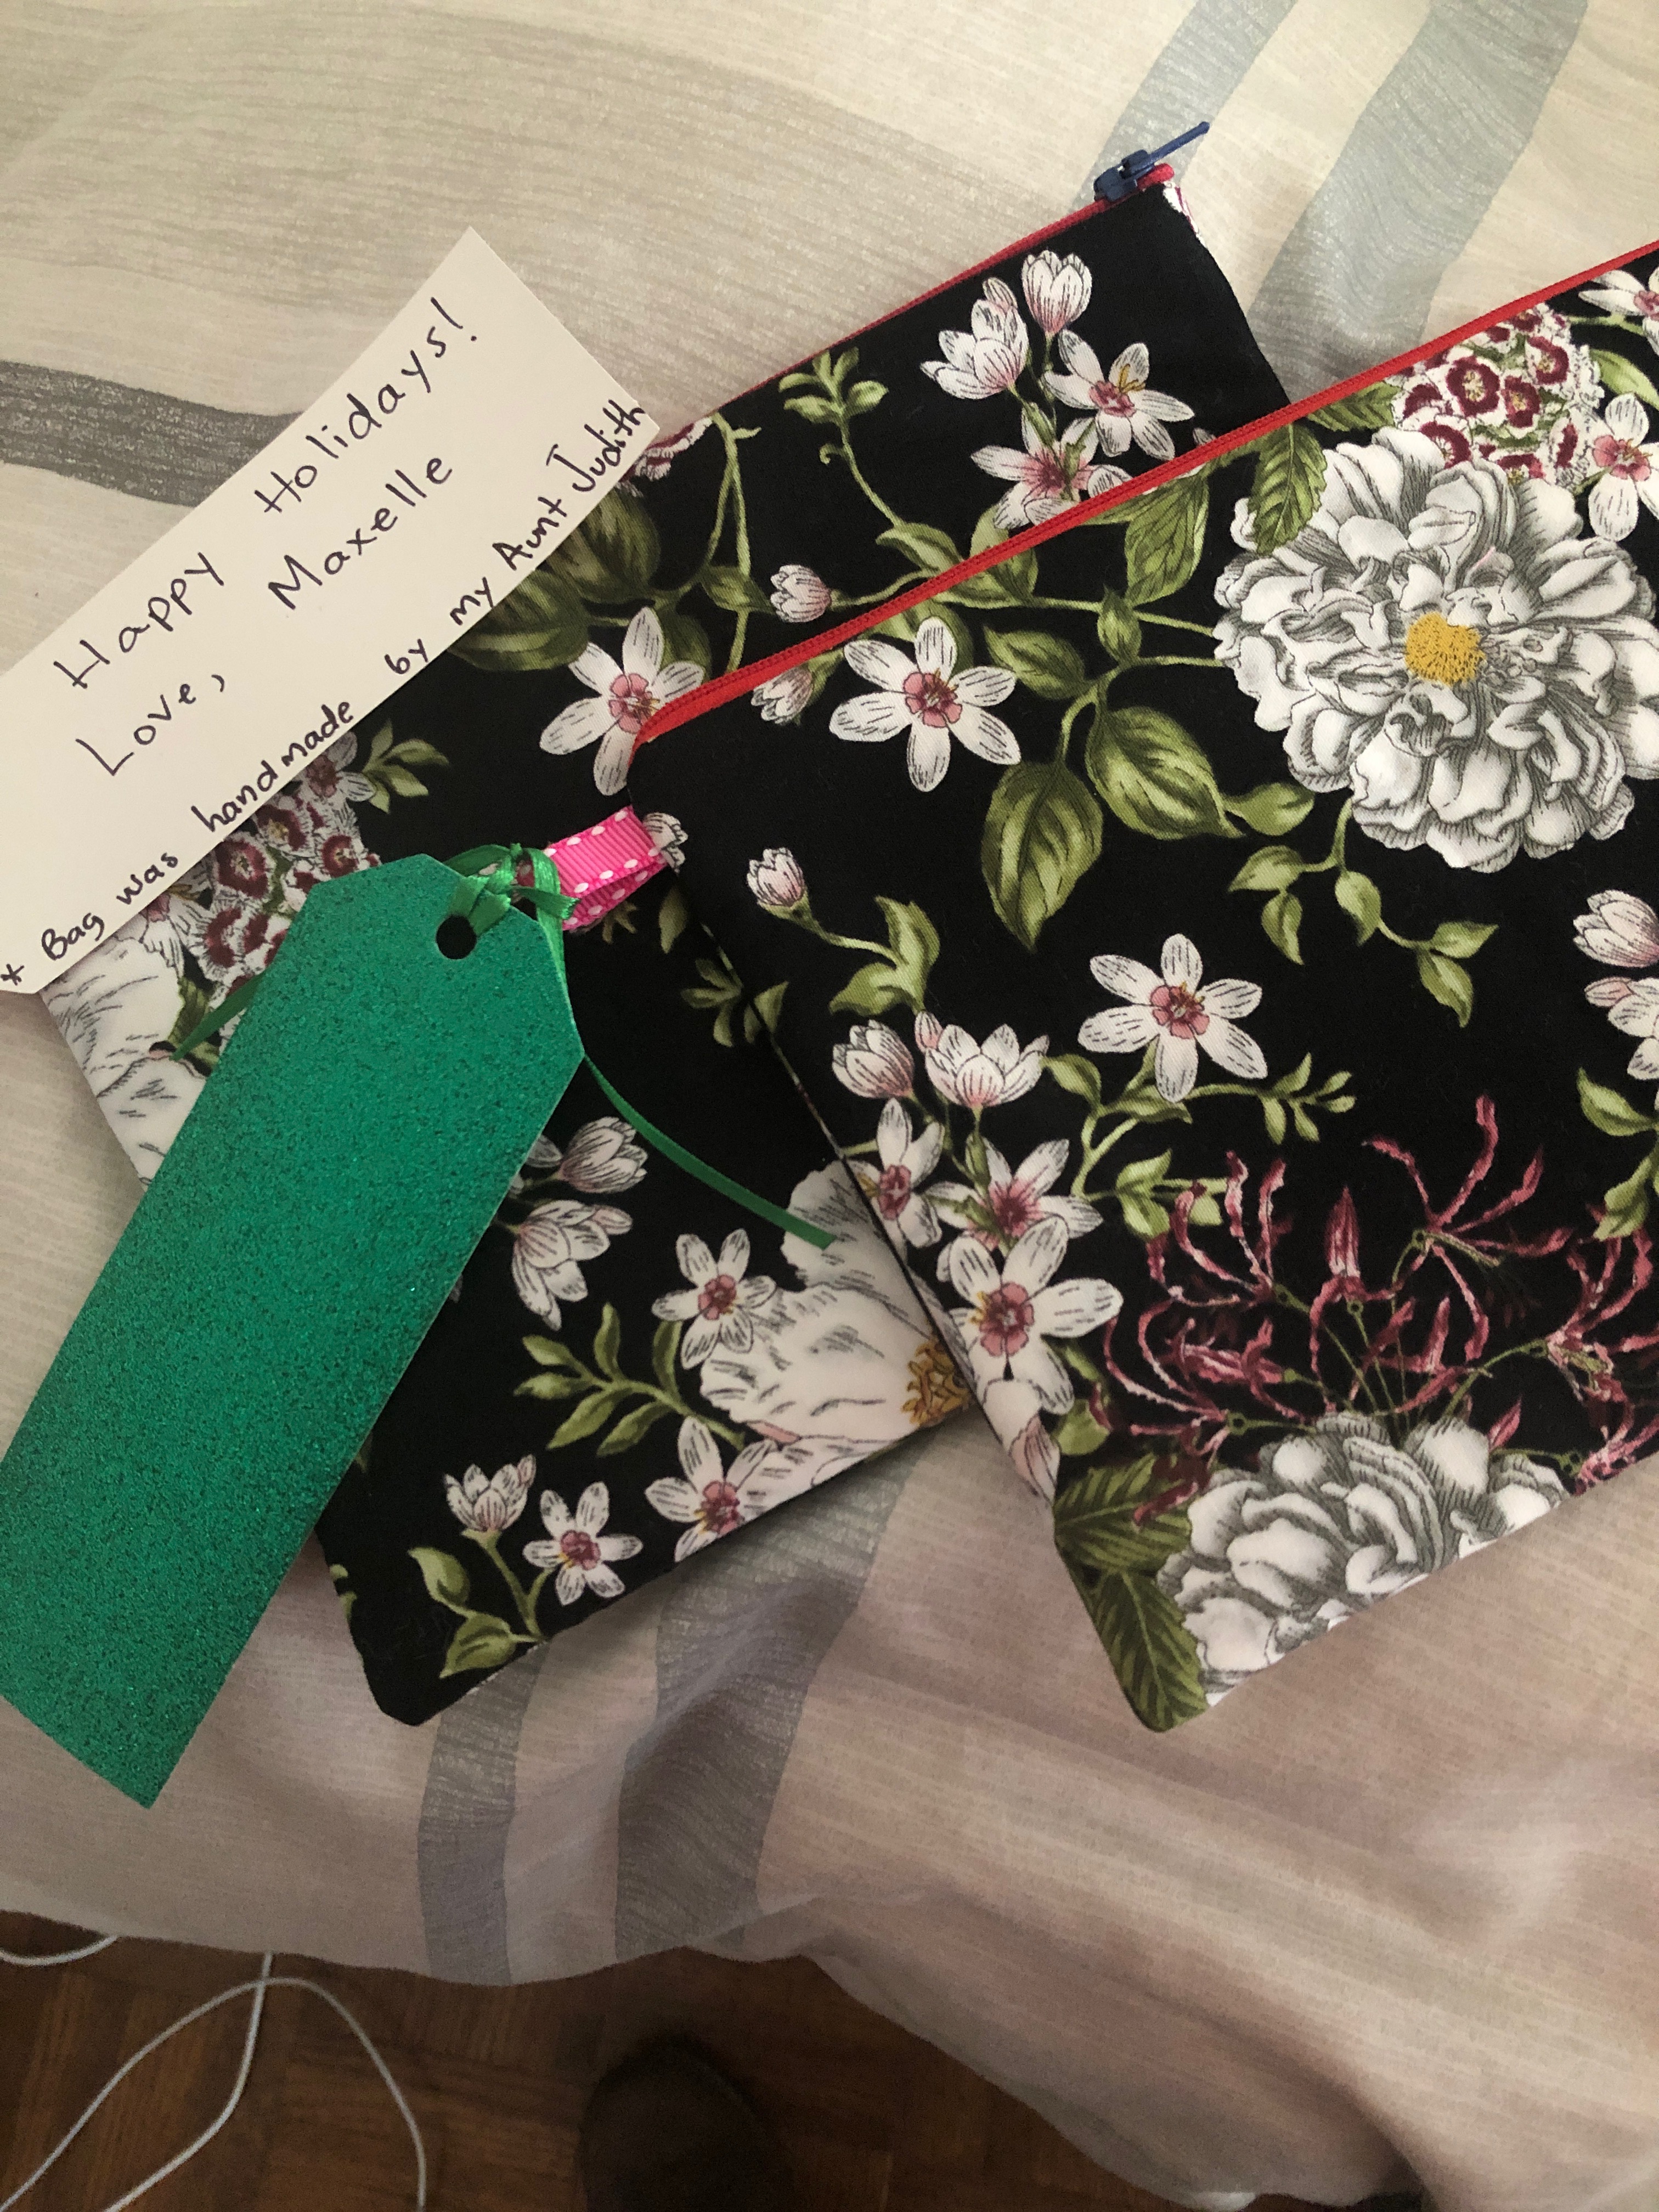
Maxelle’s Gift Bags “Hand-made by Aunt Judith”
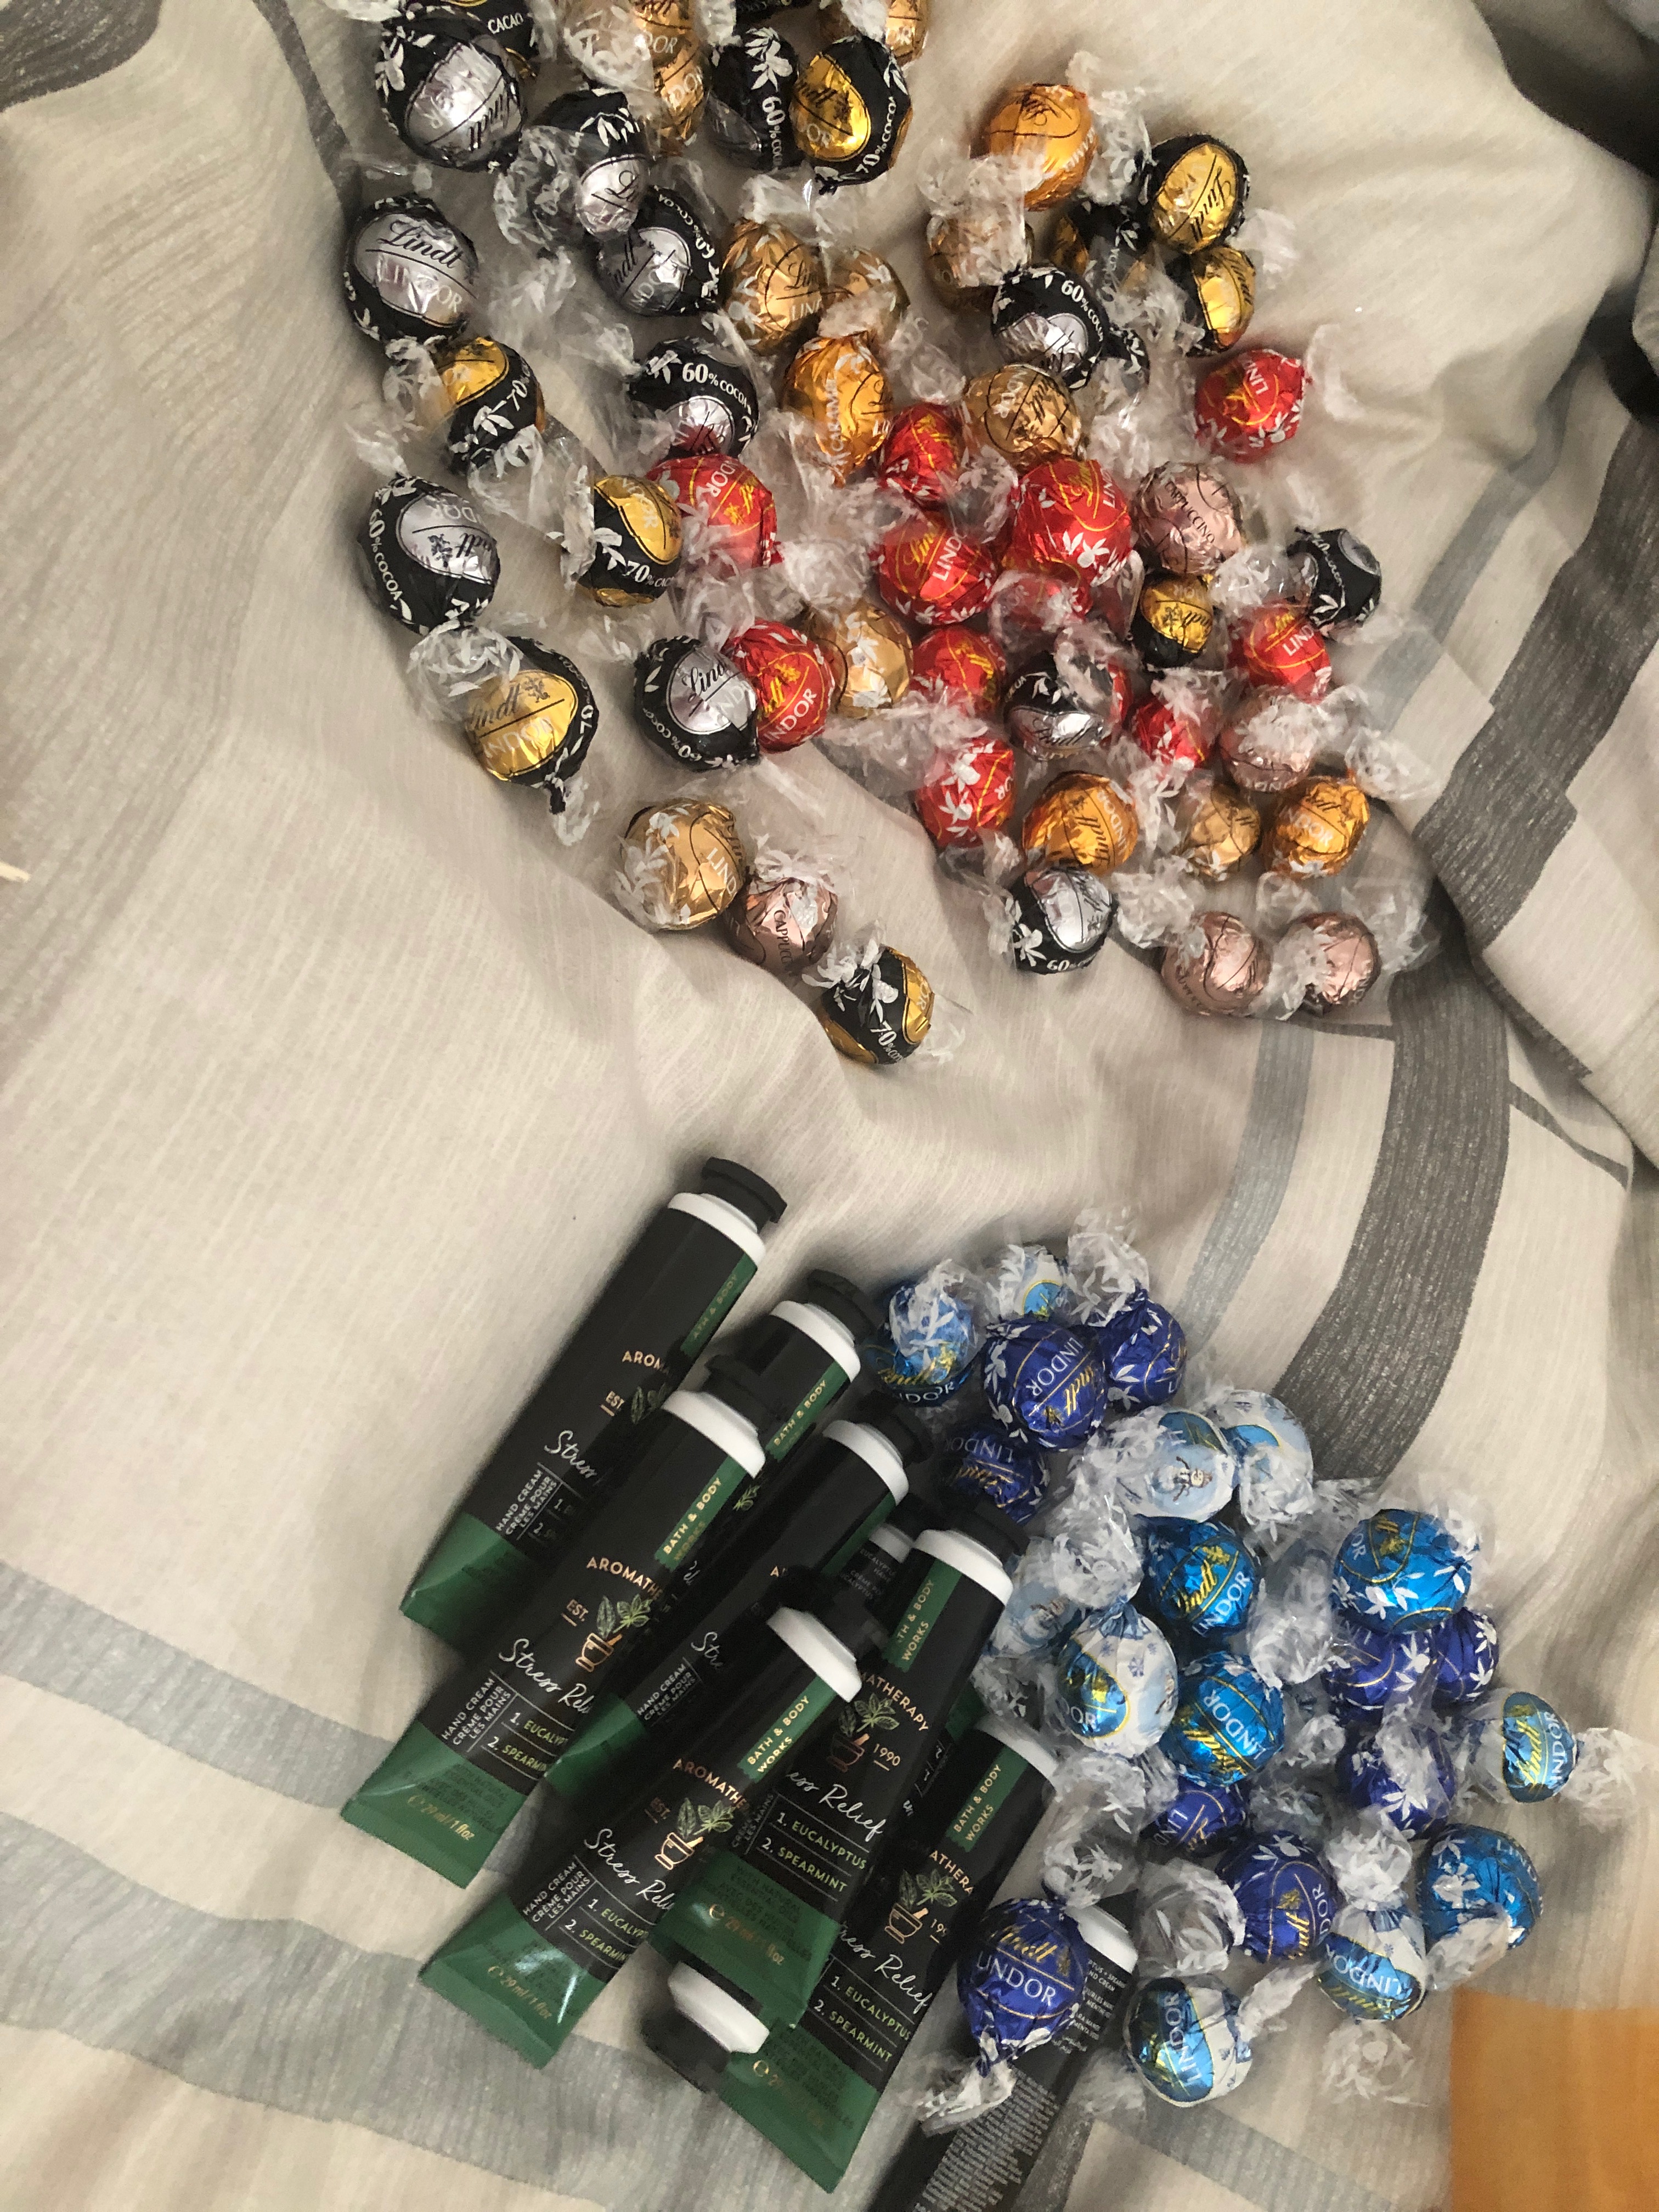
The Gifts
Twelve are for the women in my knitting group – they get their’s tomorrow. The others have been disappearing quickly from the stash – which is why I decided to make ten final ones.
I should now have enough zippered bags for this season with a few left over to give away during the year. The bags don’t need to be wrapped – they are the wrapping and useful besides.
I have two quilts to work on but I’m not satisfied with the embroidery design I’ve created to quilt the “Nine Shades Of Grey” quilt and that has me hung up. So instead of quilting Magic Squares Quilt IV, I decided to work on edge stitching Fish 2.
Fish 2
Fish 1 also used these same leftover off-cuts from Quilt-On-The-Go with the “X”s and “O”s appliquéd to background layer of blue blocks.
Two weeks ago I gave away Fish 1 to a friend to whom I’d promised a wall hanging (Well, really I made “Tropical Flowers” with her in mind, but once I’d spent 2 months thread painting, and then had it hanging in my home for a while, I couldn’t part with it, so Fish 1 went to her, instead.) I know it has found a welcoming home.
After Fish 1 left the house, I missed it. For some reason I felt attached to it. However, I still had quite a few fish in a bag and two lengths of an ombre fabric in turquoise shades, so I decided to make Fish 2.
Same construction as the other Skinny Quilts/Banners – two unequal wide-ish pieces of fabric (cut from width-of-fabric) joined by a 1″ strip of a definitely contrasting fabric, with the appliqués fused then stitched in place.
This afternoon I edge-stitched all the fish, then added rather bright-coloured eyes (which I thought would be an improvement on Fish 1). I even managed to embroider my signature (even if I have it going in the wrong direction – the bottom edge of the signature should be facing the fish – nobody is ever going to notice it – once the embroidery began I knew I wanted it running bottom toward top but it was too late to stop and change it – as with a lot of this embroidery work – you get it right the first time, or you live with it.)
BTW – a better name for this piece is “Against The Crowd” or “Swimming Upstream” – one fish is swimming against the others!
Now I need to set up a hidden binding, add a backing, then hand stitch the binding in place – maybe tomorrow, or the day after.
I got a phone call from my sister Donna not quite two weeks ago – “You don’t happen to have a pair of men’s socks in your stash, do you?” I didn’t. However, I had just started another pair – was at the heel on the first sock so it was no problem making the foot long enough to fit a man’s foot. “What size shoe?” “The same as Ian’s (her husband).” So a man’s size 9 shoe – 60 rows from the end of the heel gusset to toe-off.
They’re a gift for a friend of hers so I’m charging. “My socks are $50 a pair….”
No pause – “Not a problem.”
I knit a longer foot – 10 rows longer than I do for my generic women’s socks that fit size 7 1/2 – 8.
A Pair Of Men’s Socks
And now I’m knitting under pressure.
Donna is going away on the 18th so I have to have the socks done before that. There’s no putting my knitting aside in the evening to do anything else – the socks have to be finished before the 16th which is fast approaching.
Got the second toe completed last night – whew! I’ll deliver the socks tomorrow in time for them to be gifted before Donna leaves town.
That’s a relief and now I am on to more relaxed knitting and sewing and baking and whatever.
I hate working to deadlines – I have little trouble setting them for myself, but when they are external ones it sends my blood pressure up (probably not literally – I haven’t checked, though); I certainly feel the stress.
I described in December of 2015 how I make my Christmas Shortbread Bars. I related their history and offered recipe information.
They are a once-a-year-thing, for the Christmas season. I made them again yesterday – the photo above is 1/8 of the large cookie sheet I made. It’s enough for a gift – it can, in turn, be cut into 12 – 16 bite size pieces – more than enough for anyone to taste because these bars are VERY rich.
So if you are interested in how I make them check out that earlier writing – Christmas Shortbread Bars. They’re easy to make, pretty fool-proof. And if you make them once, I guarantee you’ll make them again next year.
The story from yesterday is I thought I had assembled all the ingredients. I made the shortbread and baked it for 15 minutes to set it up. I had the topping ingredients in a bowl ready to be mixed when I discovered I had no condensed milk to glue everything together. So off to the supermarket to get some. While I was there I picked up some of the ingredients I need for the Christmas Sweet Kugel – more about that next week after I make a batch of them. Came home, mixed the topping, spread it over the now-cooled, partially baked shortbread, put the full, heavy cookie sheet back in the 350° oven to bake for another 20ish minutes – until the coconut began turning golden.
You can see, this pastry is forgiving – it turned out fine and the gals in my knitting group today enjoyed it. Now to refrain from eating any more myself!
Top done! I finished the sashing early this afternoon and just this minute finished the border with mitres all done properly the first time! And you can see from the photo that I managed to get the sashing to intersect well – that’s tricky on a quilt like this because all of the block outer edges are on the bias and therefore stretchy. To make sure I’d come close on size I carefully cut all the sashing pieces the same length and then eased the quilt block edges into place. The quilt top is square.
Sashed And Bordered!
It’s too bad really that I can’t capture the vibrance of the batiks with my iPhone camera – the quilt top is a lot brighter than it looks here. I’m much happier with the final panel than I thought I’d be – the light sashing toned down the 4-strip block corners and the border ties the many colours together, making the panel overall less red/green and more turquoise.
Now I need to construct two quilt backs – one for this quilt (I have lots of leftover half-square triangles with which to work), and another for the grey/gold quilt (and I have leftover blocks there as well).
So marching along with both projects at the same time.
The other day Barbara Emodi shared in her newsletter “The Elastic Wallet” (from Threads Designs Inc. Theory). Sounded interesting so I bought and downloaded the pattern and tried one.
The Elastic Wallet
The wallet is made from 2″ elastic with a non-fraying fabric piece on one side (although there’s no reason not to add it to both sides if you wanted to). The elastic is just the size of a credit card – Barbara suggests giving it as a gift with a gift card included – a nice idea.
The wallet is simple to make – but I have one suggestion – in the instructions is tells you to cut 15″ of a 2″ elastic (I just used the black elastic I had on hand), fold the two ends into the centre point, then fold in two again enclosing the two ends.
After constructing the one above, I’d do it the opposite way, I’d fold the ends into the centre but fold the elastic in two again leaving the open ends on the outside – my reason for doing it that way is because my 1/8″ seam allowance missed the open ends of the elastic in a couple of spots and they’re not secured. Leave them on the outside, use a decorative stitch to sew the two side and bottom edges together, and those ends would be sewn securely. I plan on making another one that way tomorrow.
I completed the panel sashing this afternoon. The light fabric tones down this “quilt of many colours” somewhat. Now I need to add a narrow border using the sashing fabric to frame the panel. (Here’s what it looks like without the sashing.)
Quilt Of Many Colours
Then a border – I found this batik fabric in my stash a couple of days ago – it wasn’t the fabric I was originally planning to use to frame this panel but I think a 2 1/2″ border of this dark teal might just bring the colour hodgepodge together – fingers crossed.
Possible Outer Border
I plan on looking again through my stash – there may yet be another largish piece of fabric that works with the panel although I don’t see any in my mind’s-eye. I may even take the panel shopping to see if there is a fabric that says “take me.”
Yesterday, I gave away my “Fish” banner to a friend. Last evening, I dug out my remaining fish and this afternoon, I found some ombre fabric that might work well with them to create another skinny quilt/banner. It’s a quick and easy project to fill in my wall art collection for this year’s showing in Parrsboro. I lost close to three months of sewing/quilting time this summer with my fractured wrist. I’m trying to catch up so I have enough new creations to show.
Fish II
And while I’m at it, I will have a go at another couple of these skinny quilts – however, not until the two throw quilts I’m working on are finished – I try to complete one piece at a time before starting something else – that way I don’t have unfinished projects sitting around. I don’t know how other quilters live with a closet full of UFOs – I need closure.
So I will get the Magic Squares Quilt IV top done in the next day or two, then set up backs for both the grey/gold and this quilt and get both of them quilted – I’m aiming for end of December.
I thought this would be a relatively quick quilt top – simple enough to work on at the sewing retreat a week ago. I began with leftover jellyroll strips – sewed them in groups of four – that yielded a width of 8.5″ – I cut those 4-strip panels into 8.5″ squares. That’s what I took with me to the retreat. While there I arranged two blocks right sides together with the stripes in the two blocks at right angles, stitched around the edge, then cut in four along the diagonals – that gave me blocks with a diagonal – two strips of fabric on one half-square triangle, four strips on the other.
Although the four-strip pieces were colour coordinated, what I didn’t bargain for was the lack of colour coherence in my blocks. I tried several random placements but nothing worked.
I came across a layout that nested bordered squares giving me three sides of a block butted agains three sides of another block – but the layout was just a jumble. There was no obvious colour flow at all.
Layout #1
Several attempts later, I decided to group four blocks into larger blocks with an internal square on-point that would stand out. That organized the colour somewhat but overall the top was still a jumble.
Layout #2
This afternoon I stopped at the fabric store to pick up fabric for backing the grey/batik quilt and came across a Northcott Stonehenge fabric: Monogram-Lichen
Perfect for creating sashing between the blocks. The sashing will lighten the whole, mute the strips outside the on-point square at the centre of each block, highlighting the central square.
I’ve cut out the sashing pieces – now to sew the whole thing together. Can’t wait to see how it will turn out.
The way I quilt I’m never sure how anything will look until I see it emerging. I may start with a known quilting technique – in this case half-square triangles created from 2.5″ strips sewn four together then cut to form 8.5″ blocks….
In this quilt top I let colour rule itself with unanticipated consequences. However, I think I’ve found a way to tame the assembly. We’ll see once I get the sashing sewn to the blocks and the large top panel put together in another couple of days.
Even experienced quilters from time to time make fatal mistakes – I made one two days ago. I’d finished assembling the blocks for the grey/batik quilt top and had found fabric for the borders. I set up the borders by sewing a narrow gold strip (.25″) to a grey strip (.75″)and both to a wider (3.5″) outer pale grey strip. My plan was to mitre the corner, not by doing each strip separately but by doing them in one mitre.
I added my compiled border to the sides – no problem. I added the border to one end, successfully executed the corner on the bottom left side and then began working on the right bottom corner mitre.
Mitred Bottom Left Corner
My mistake wasn’t in sewing the mitre – although I drew the 45° angle line in the wrong direction and stitched it along the line. No that wasn’t my fatal mistake. My fatal mistake was trimming the seam before opening the corner to confirm I had it laying flat!
How stupid was that.
So when I went to press the mitre I discovered it curled over the quilt corner rather than lying flat.
Screwed Up Mitre – Bottom Right
I unstitched the seam and thought about reattaching the cut….
Useless Fix
There was absolutely no way to fix this mess except by going back to the original fabric joins, rebuilding the binding on two sides and creating a new mitre. Which is what I did – the next day!
Fixed Bottom Right Mitre
I correctly executed the remaining two mitres – checking each when I pressed them BEFORE trimming the mitred seam.
Finished Quilt Top
The lesson – check and press, before trimming a mitred corner – I can always take a seam out, press it flat and stitch it in the other direction if I haven’t cut off the excess.