Nine Shades Of Grey – Completed

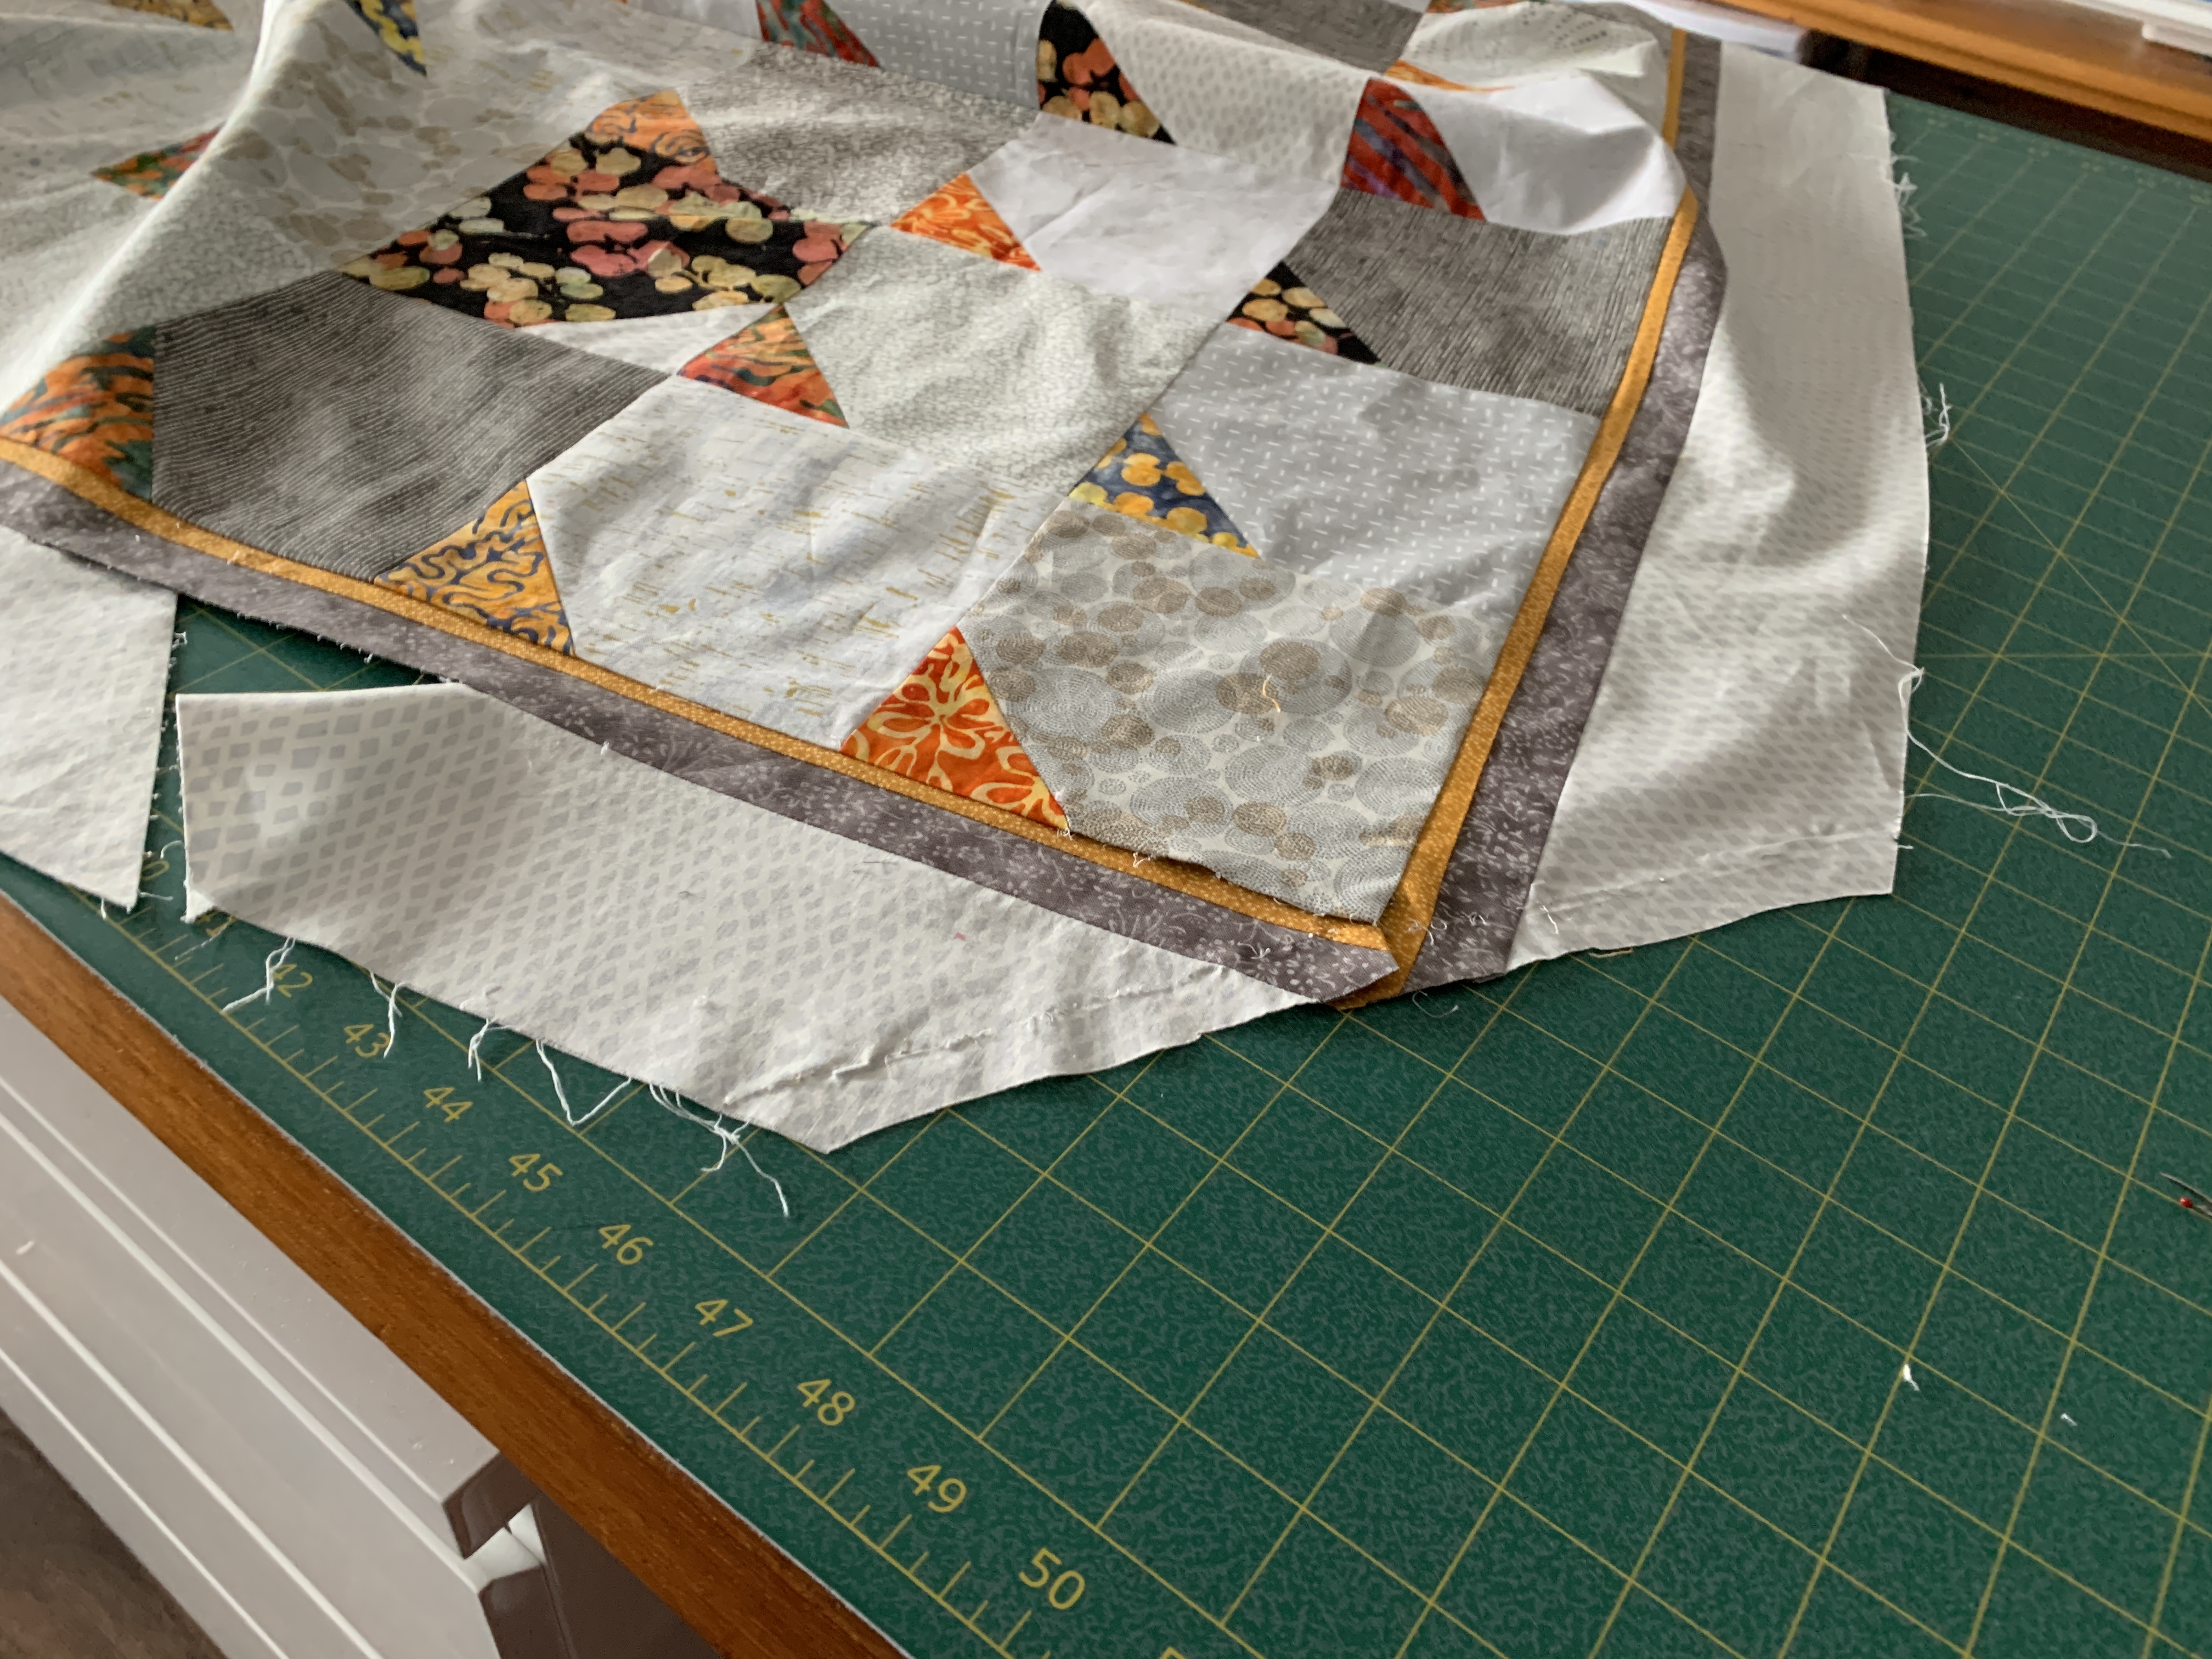
Finished this quilt a couple of days ago, now. Although a very simple quilt, I find it’s simplicity appealing and I’m happy with how it turned out. I particularly like how the two narrow borders frame the inner panel bringing out the darker greys and highlighting the golden colours in the batik fabrics.

Nine Shades Of Grey

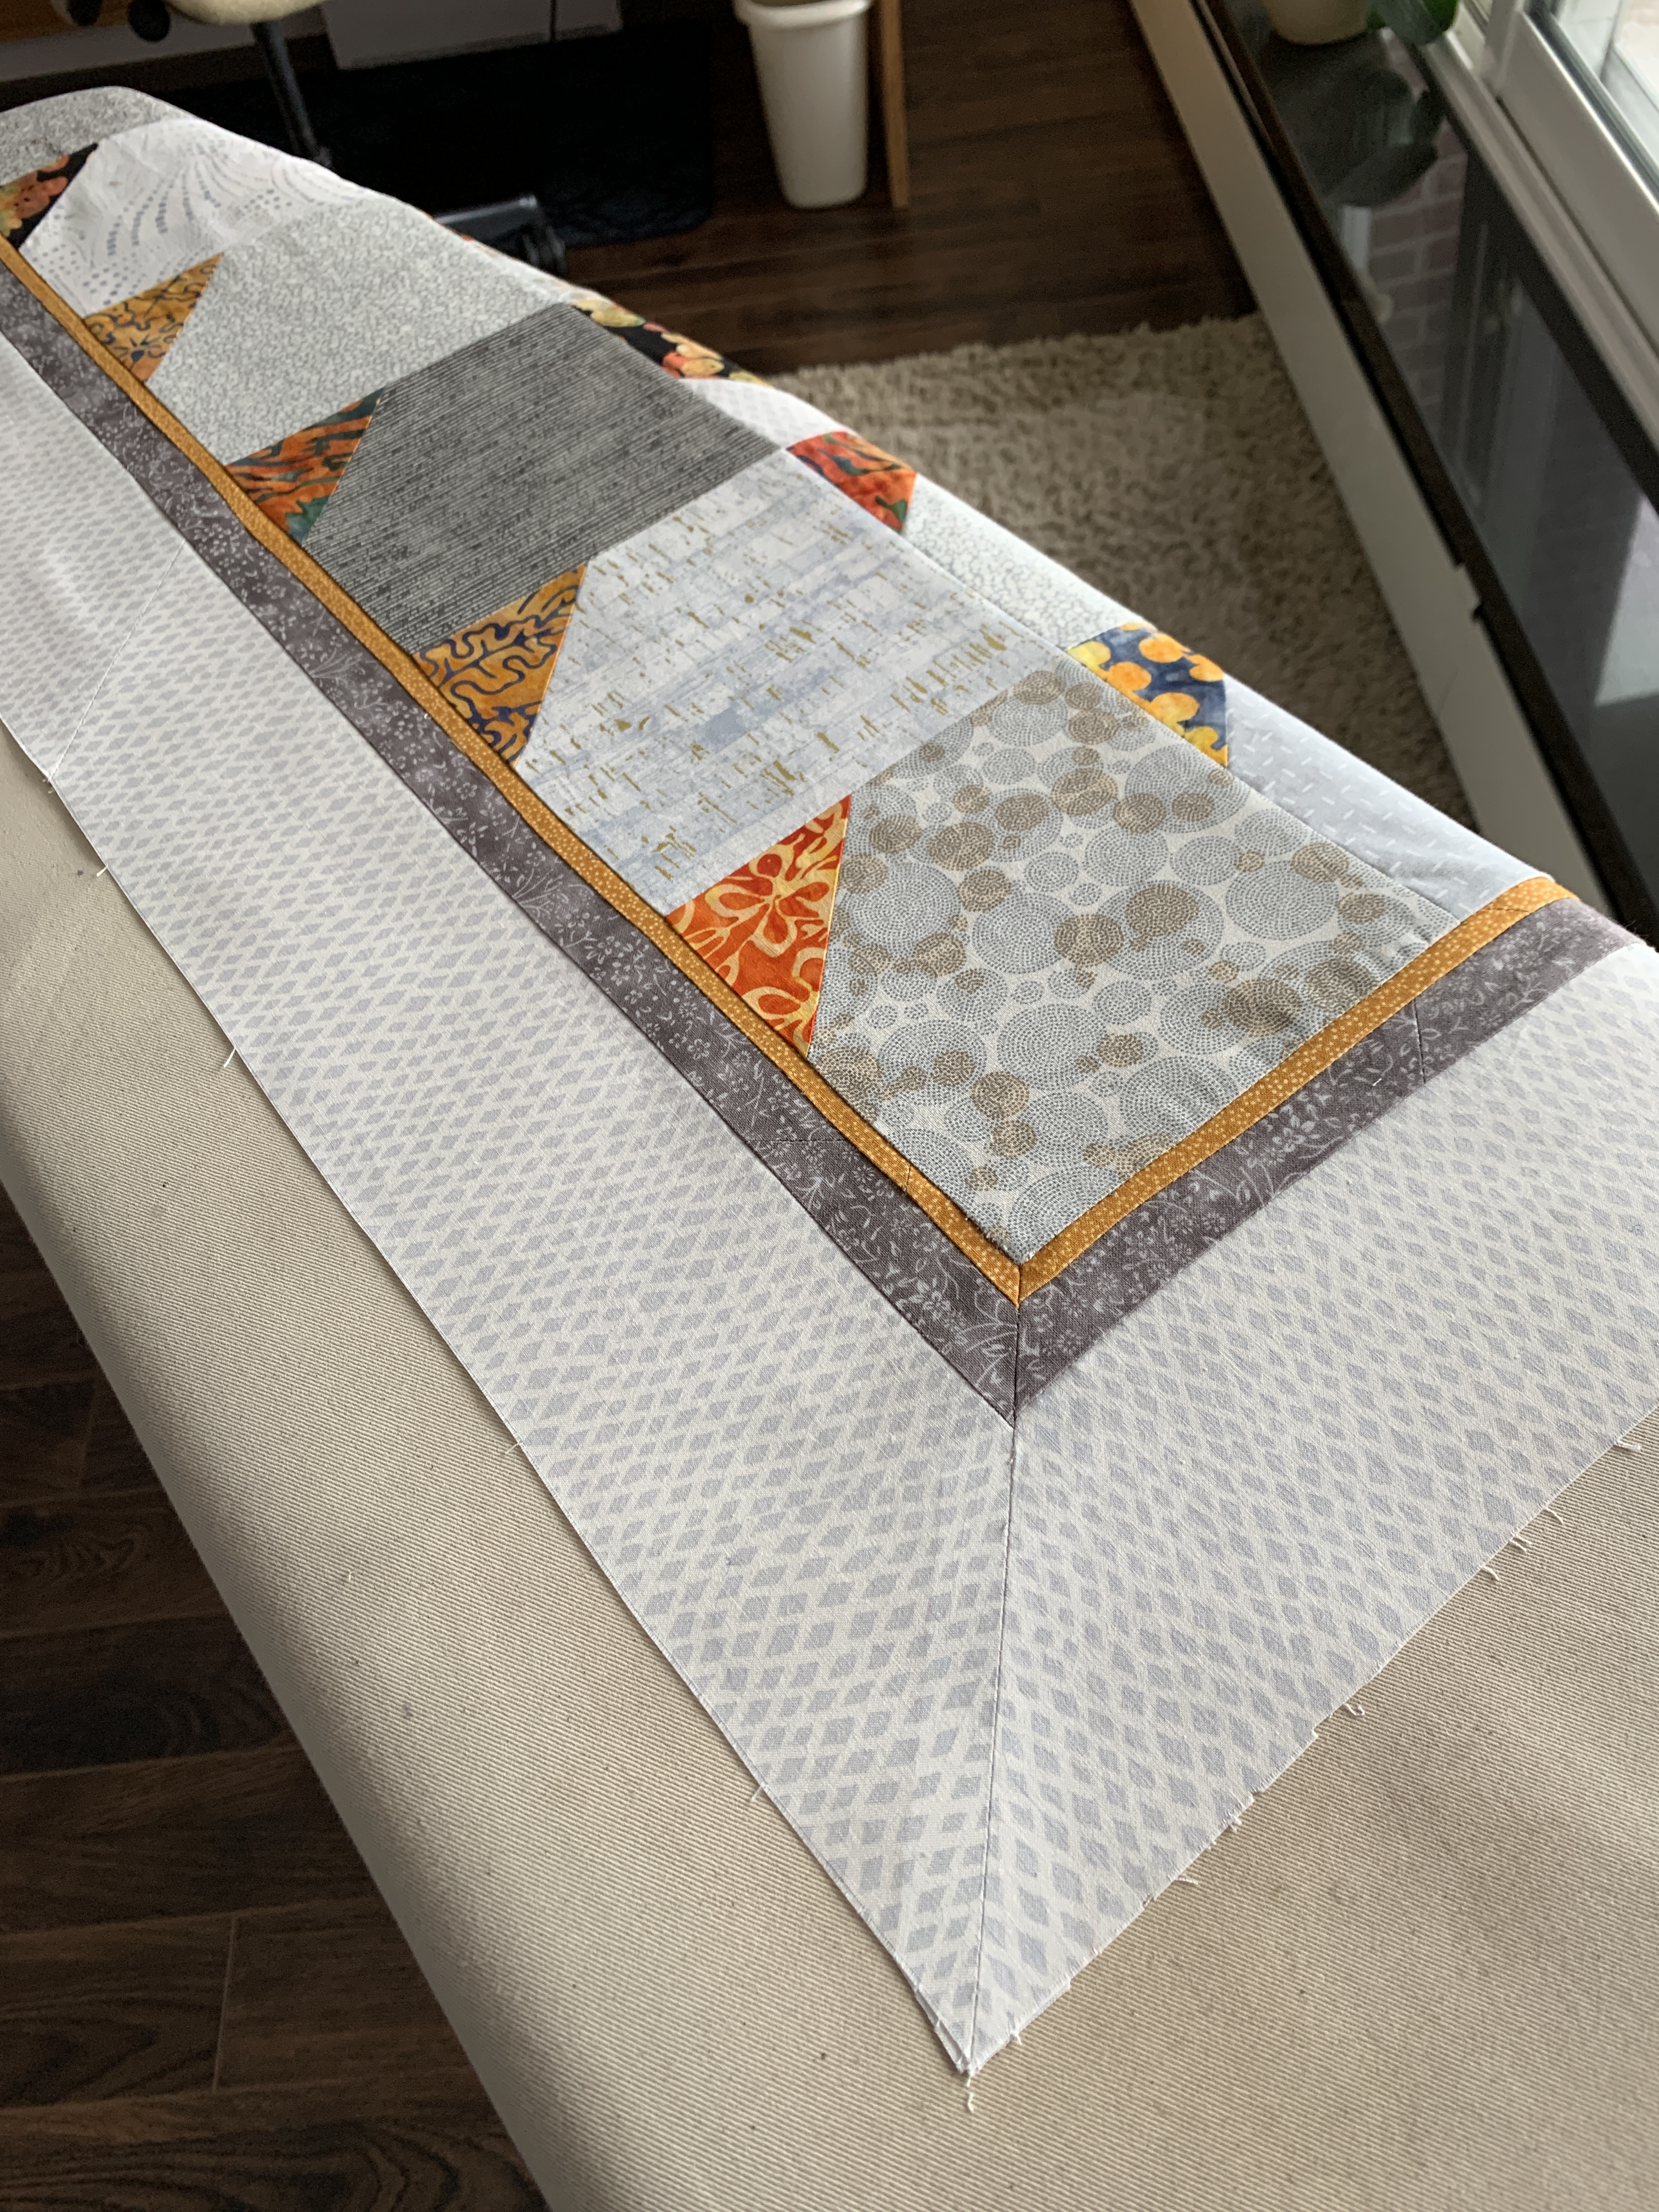
I’m happy with the back as well. Finding a way to use the small half-square triangles along with the cornered blocks was satisfying.

NIne Shades Of Grey – Quilt Back

I elected to bind the quilt in the same fabric as the wide outer border so the binding would be relatively invisible. I also didn’t use a decorative stitch to apply the front of the binding – I just straight stitched it down – harder to do accurately than working with the decorative stitch which is more forgiving! But I didn’t want to introduce any distracting detail into the overall simplicity of the quilt.

I Can’t Believe I Did That!

Even experienced quilters from time to time make fatal mistakes – I made one two days ago. I’d finished assembling the blocks for the grey/batik quilt top and had found fabric for the borders. I set up the borders by sewing a narrow gold strip (.25″) to a grey strip (.75″)and both to a wider (3.5″) outer pale grey strip. My plan was to mitre the corner, not by doing each strip separately but by doing them in one mitre.

I added my compiled border to the sides – no problem. I added the border to one end, successfully executed the corner on the bottom left side and then began working on the right bottom corner mitre.

Mitred Bottom Left Corner

My mistake wasn’t in sewing the mitre – although I drew the 45° angle line in the wrong direction and stitched it along the line. No that wasn’t my fatal mistake. My fatal mistake was trimming the seam before opening the corner to confirm I had it laying flat!

How stupid was that.

So when I went to press the mitre I discovered it curled over the quilt corner rather than lying flat.

Screwed Up Mitre – Bottom Right

I unstitched the seam and thought about reattaching the cut….

Useless Fix

There was absolutely no way to fix this mess except by going back to the original fabric joins, rebuilding the binding on two sides and creating a new mitre. Which is what I did – the next day!

Fixed Bottom Right Mitre

I correctly executed the remaining two mitres – checking each when I pressed them BEFORE trimming the mitred seam.

Finished Quilt Top

The lesson – check and press, before trimming a mitred corner – I can always take a seam out, press it flat and stitch it in the other direction if I haven’t cut off the excess.